inside: Grab this amazing free sewing pattern for a womens cardigan. This Womens Cardigan Sewing Pattern has pockets and comes in sizes xs – xxxl.
Its been awhile since free pattern Friday, but it’s that time again and I’m super excited about this womens cardigan sewing pattern is a perfect transition piece for winter to spring and it HAS POCKETS! Yep- you can’t go wrong with a cardigan that has pockets. With 3/4 length sleeves and an fun open front this womens cardigan comes in sizes xs – xxxl large.
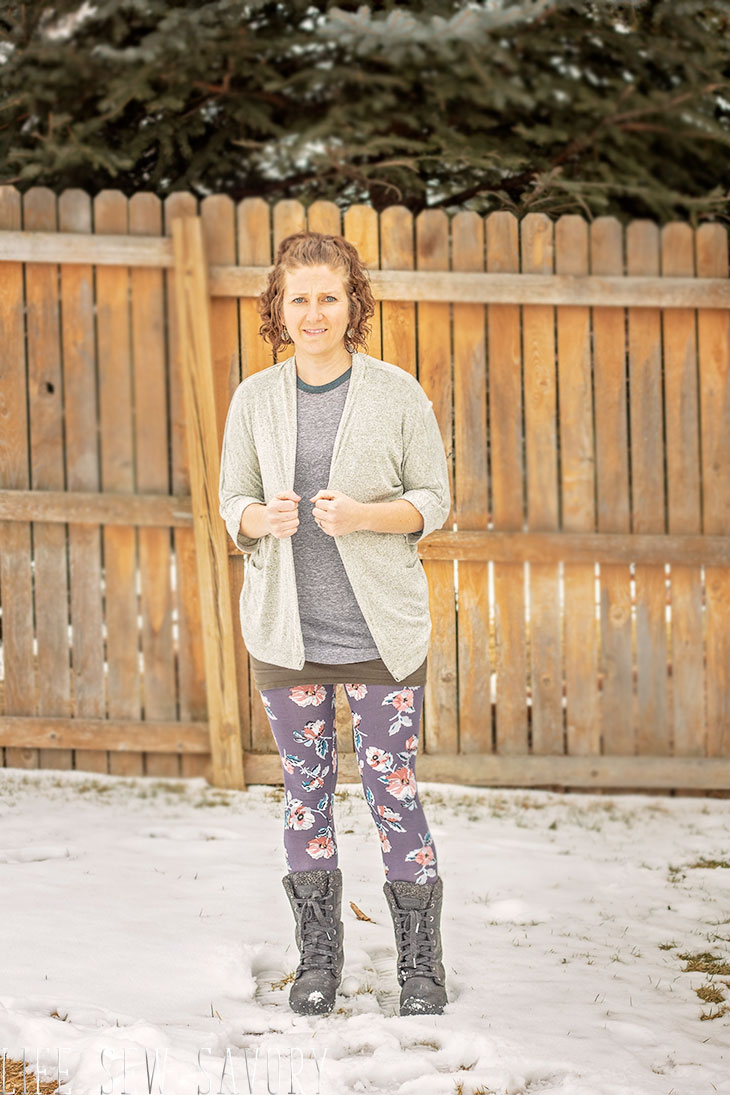
The fit is super forgiving and with sweater knit this cardigan sewing pattern with be your new favorite at a staple in your wardrobe. Don’t mind my “I’m cold” look in the picture below.
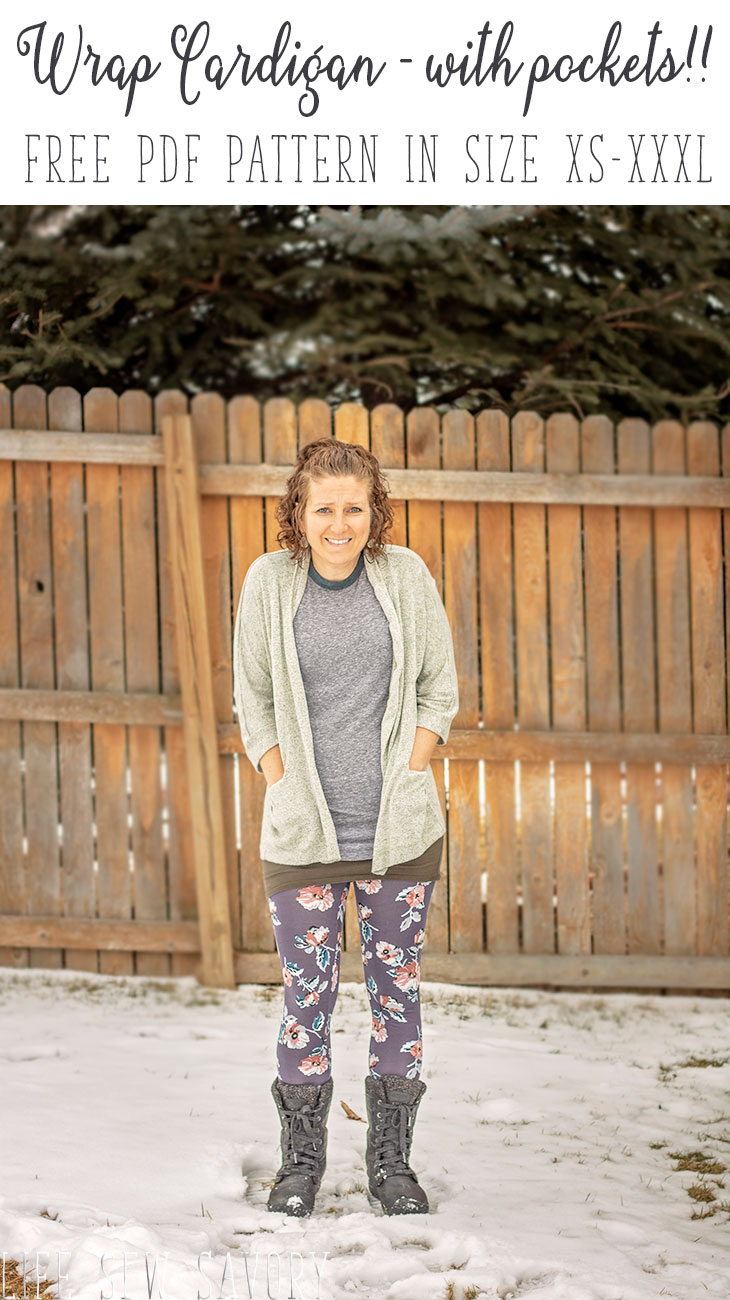
Womens Cardigan Sewing Pattern –
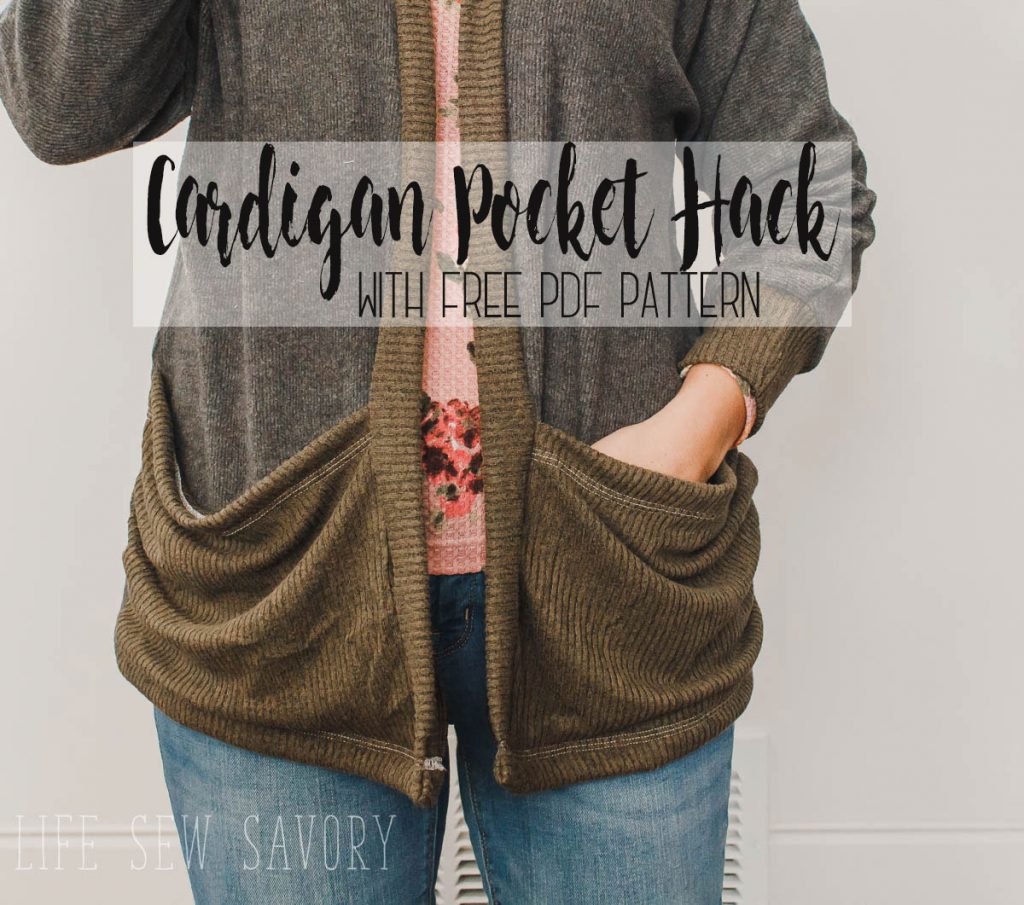
Can I just say again that this womens cardigan sewing pattern has pockets!! Seriously, my favorite!! If you want a super simple free sewing pattern you can even leave the pockets off and still have a cute cardigan. The pockets add a fun detail, but they can be optional. AND I’ve now added another pocket option/hack. They look like the photo below and you can find the details HERE.
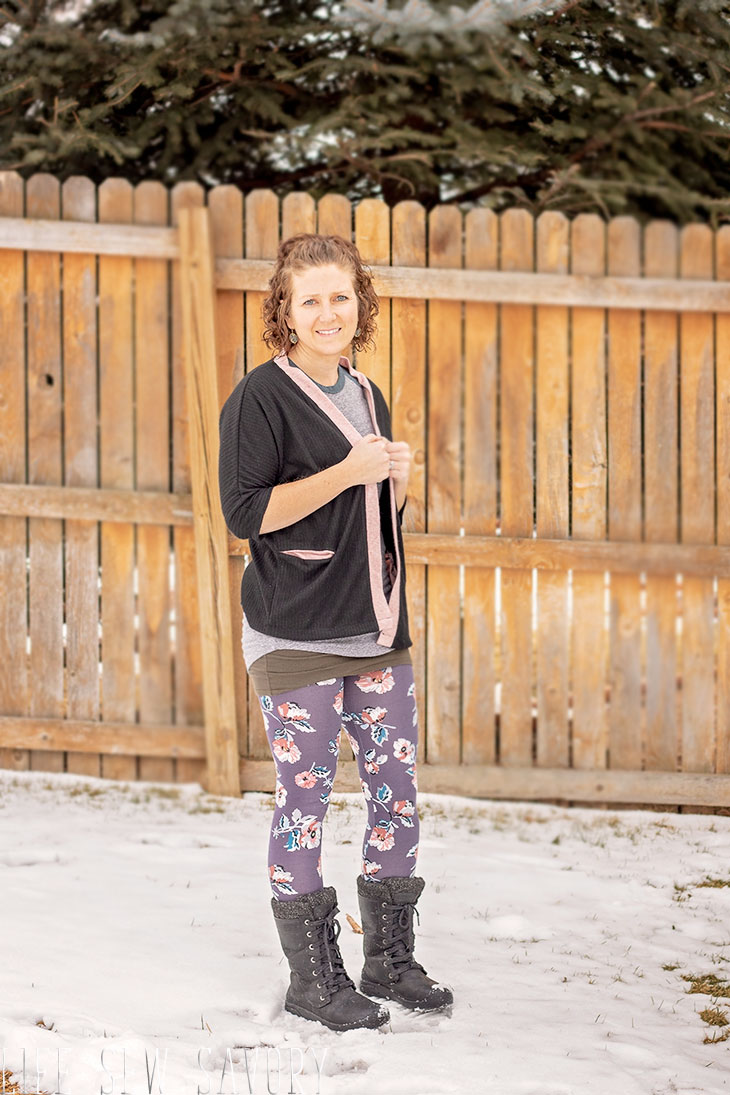
I sewed up my example here with black and pink sweater knit, and I don’t love it, but I wanted fabric that you could see the individual pieces.. I love the brushed sweater knit version, but it all blends together. Please let me know if you have any questions along the way and show off your finished photos in our pattern group HERE.
Here are the fabrics used in this cardigan sewing pattern:
Lightweight Marled Sweater Knit
When working with sweater knits a serger is VERY HELPFUL! {want to find out more about sewing with a serger? check out my new class!}
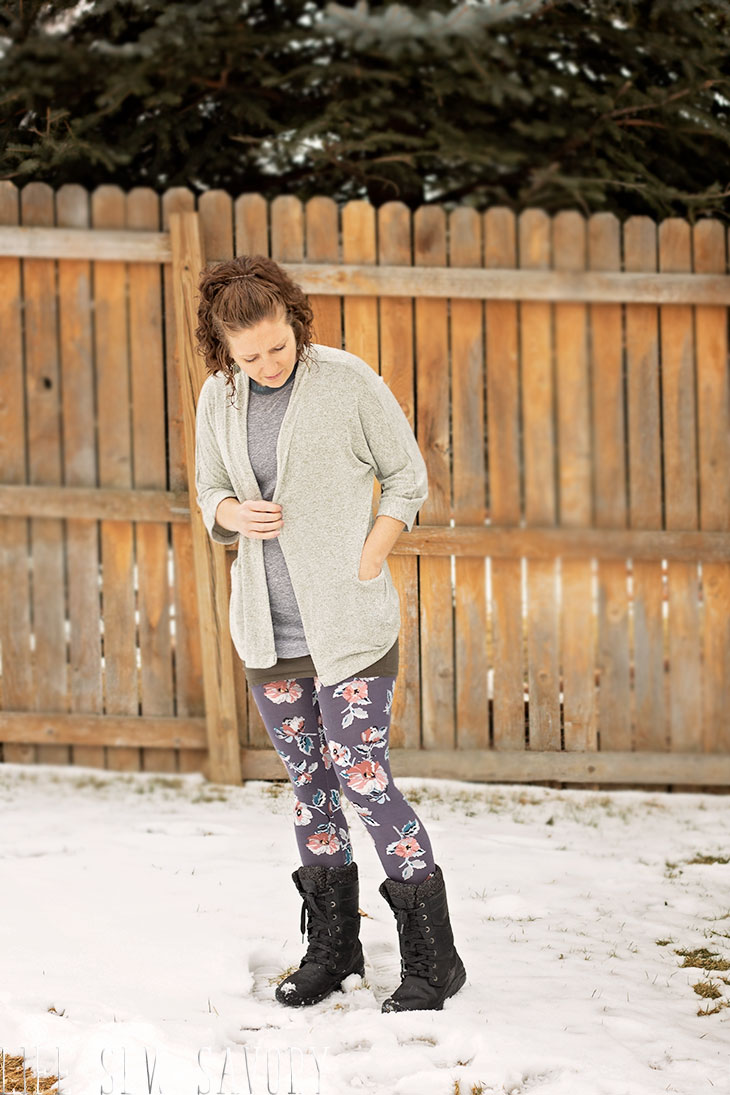
I’ve worn this cardigan with pockets so many times already and if you can find a good fabric it will be the most comfortable thing you own. It is perfect for layering! I keep thinking that spring is coming, but of course these photos were taken in the snow. Of course I am wearing my free legging pattern which you can find here.
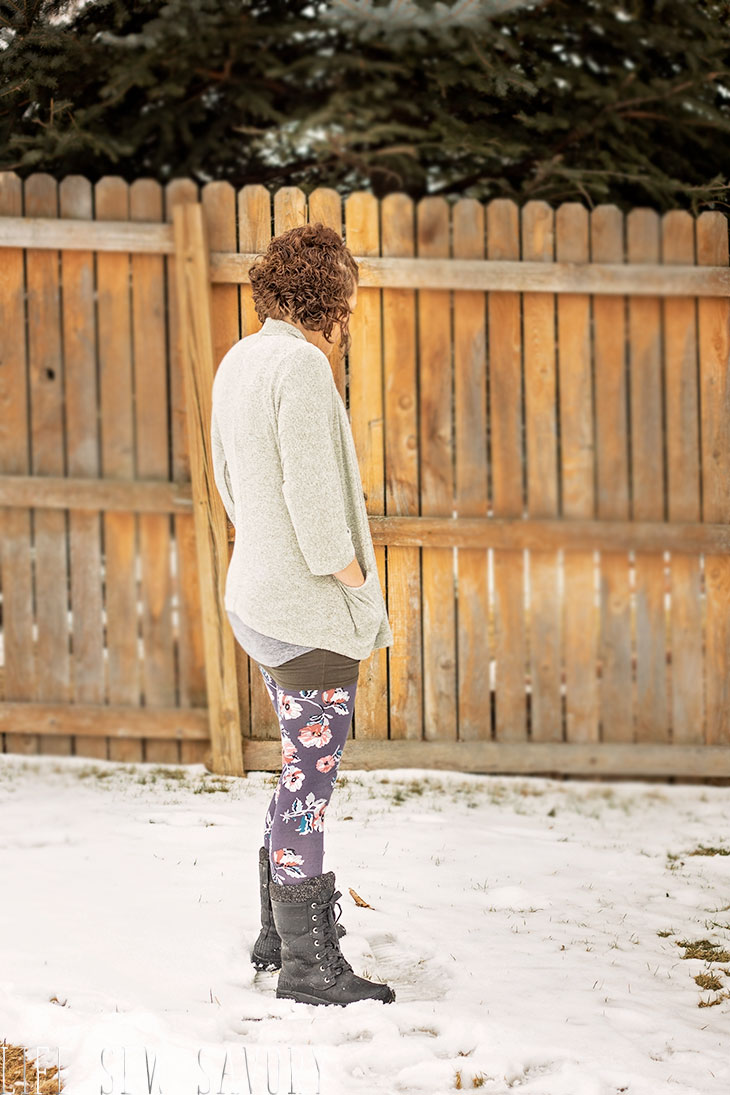
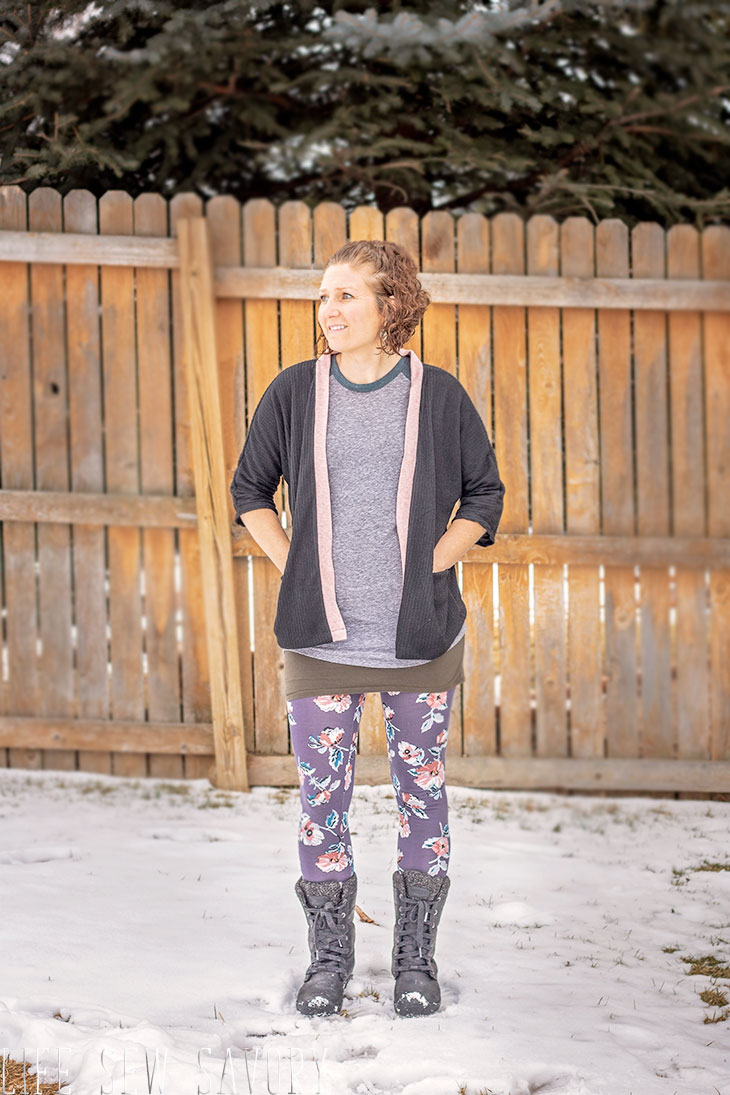
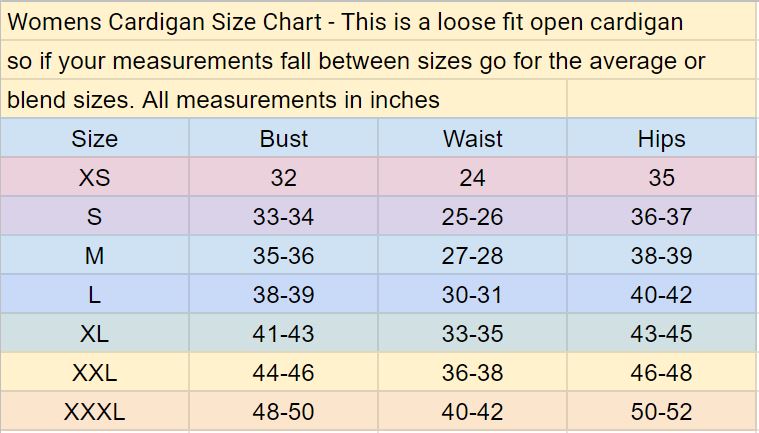
Okay, so now that you’ve seen just how adorable this free sewing pattern is, and you KNOW that you need to make it, let’s take a look at some of the details. Here is the size chart… You can also find this on the printed pattern for your reference. It is a very loose fit and forgiving style with the open front.
If you don’t fit in a single size I would just go with your waist or hip measurements.
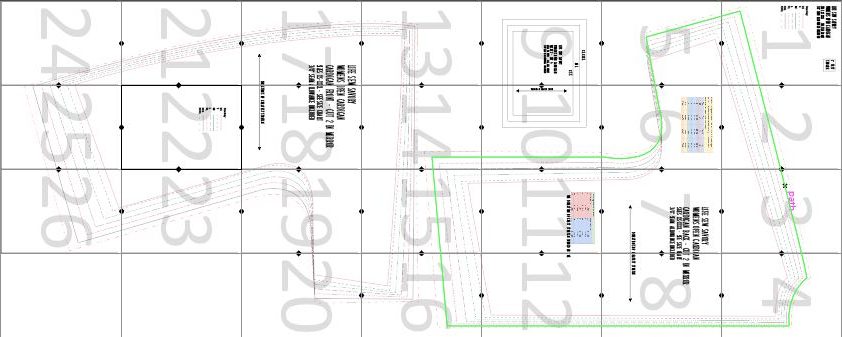
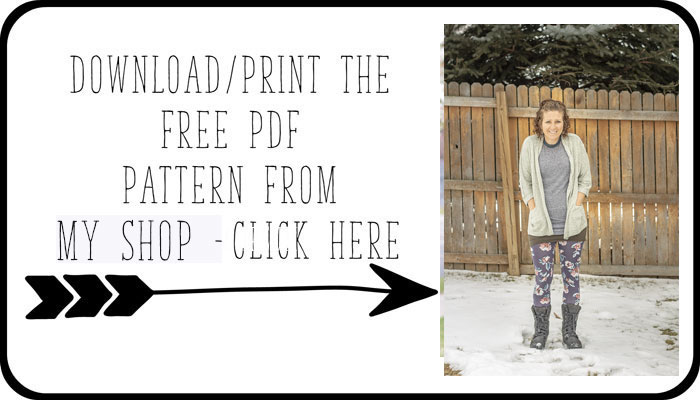
The link to go download and print the free sewing pattern online is below, and after you print you will trim the paper and assemble like this. I don’t know why the one green line is highlighted. You can print the pattern in either color or black ink and still be able to read the size key. There are a few piece you will need to cut with a measurement chart and there are no actual pieces.
Head over to my shop and download and print the free sewing pattern. Just as noted on the pattern pieces a 3/8″ seam allowance is included in the pattern.
free sewing pattern online –
Alright! let’s jump into sewing….
cardigan sewing pattern tutorial –
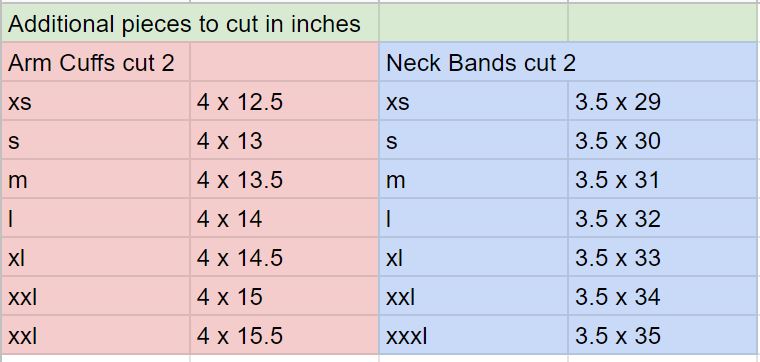
In addition to cutting the provided pattern pieces you will need to cut cuffs and a neck band according to this chart. This is also printed on the pattern. You can just hem the sleeves and skip the arm cuff, but the neck band is not optional. The direction of greater stretch should be the long way on the pieces.
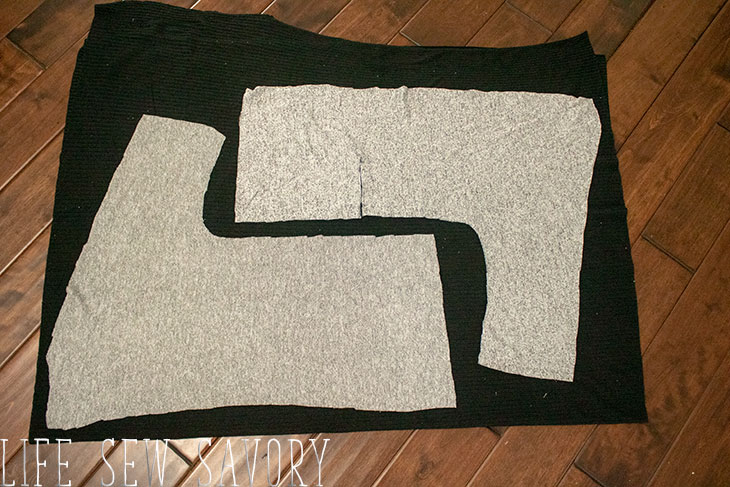
I was able to cut a size S from 1.5 yards of fabric. You will need probably closer to 3 yards for the largest sizes. I just folded my fabric in half and laid out the pieces as show. You do not need any folds. I used sweater knit, but you can use an stretch {knit fabric} for this cardigan.
If you are making pockets will will start there. Take two pocket pieces and one side of the cardigan front. Place the pockets two inches from the bottom edge and line up one long side with the under arm side of the cardigan.
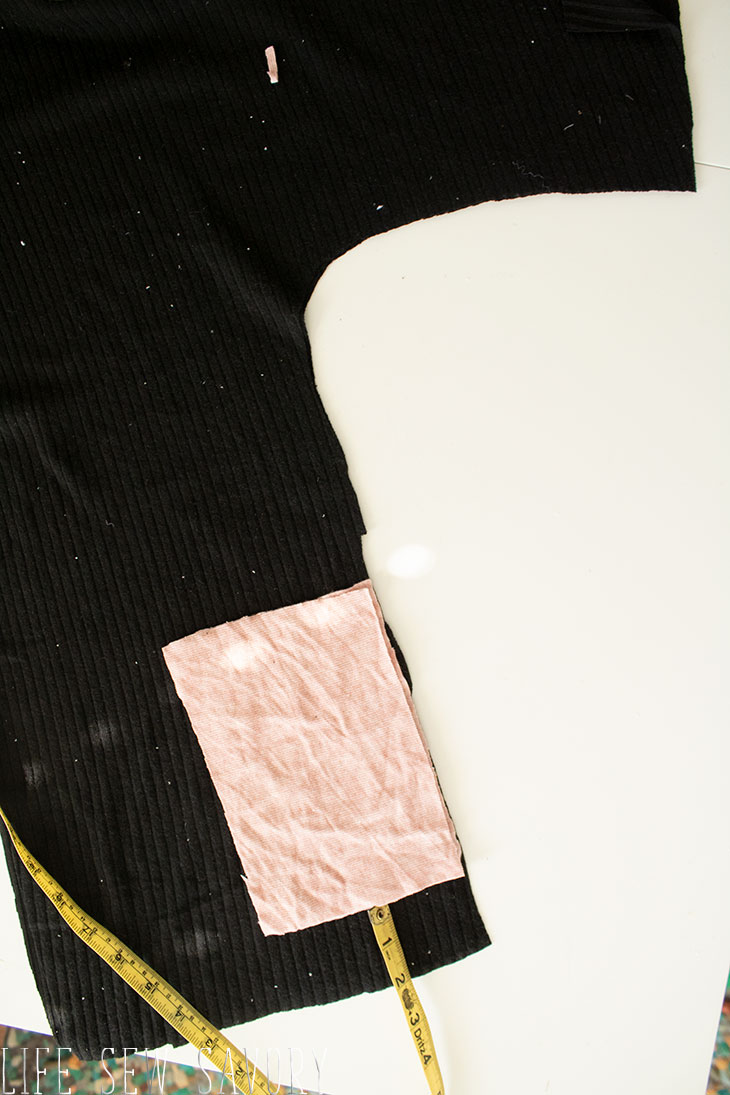
At the top edge of the pocket cut from the side of the cardigan to 1″ from the edge of the pocket as shown.
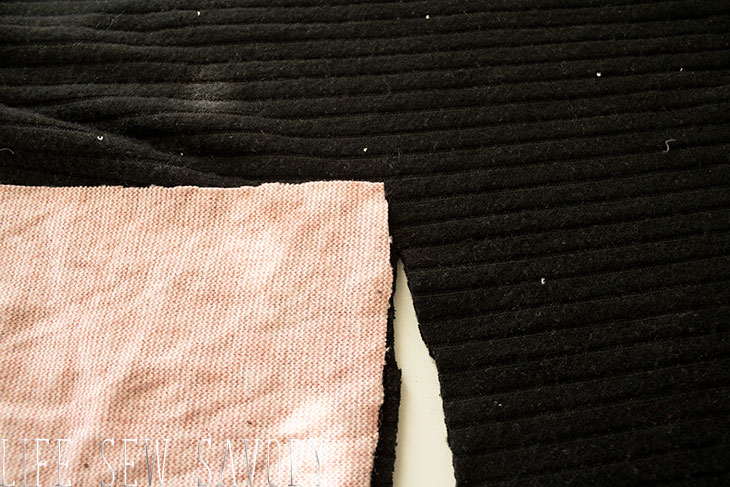
Place ONE of the pocket pieces on top of this cut. The top of the pocket should be one inch from the cut. Then cut the pocket to match. With right sides together pin in place.
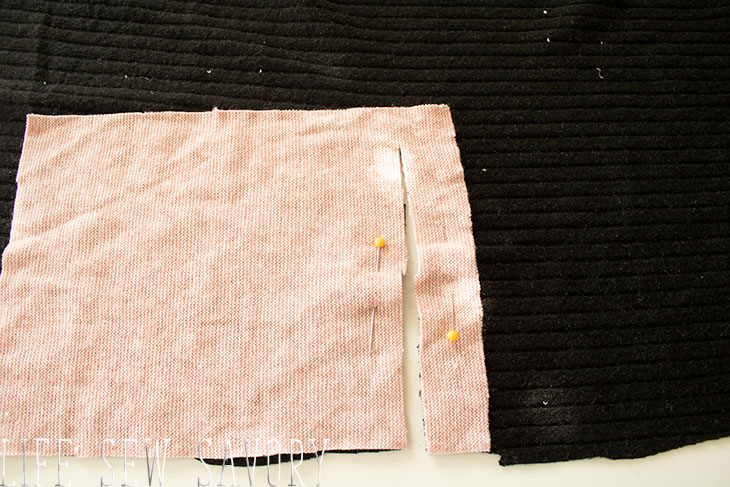
Sew with a serger or zig-zag stitch the raw edges. I wasn’t able to get my serger in the very corner of the V so I used my regular sewing machine and serger.
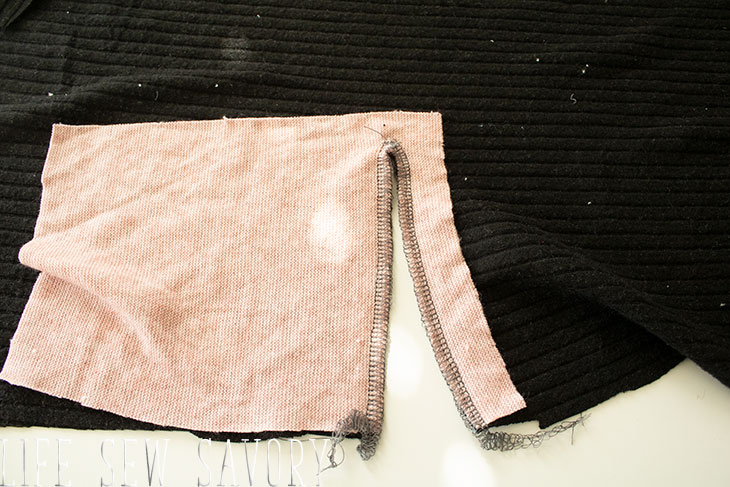
Turn over to the back side of the fabric. Top-stitch the seam allowance of the pocket to the main cardigan fabric. here you can see mine stitched to the black. You can also reinforce the corner with a zig-zag if you want.
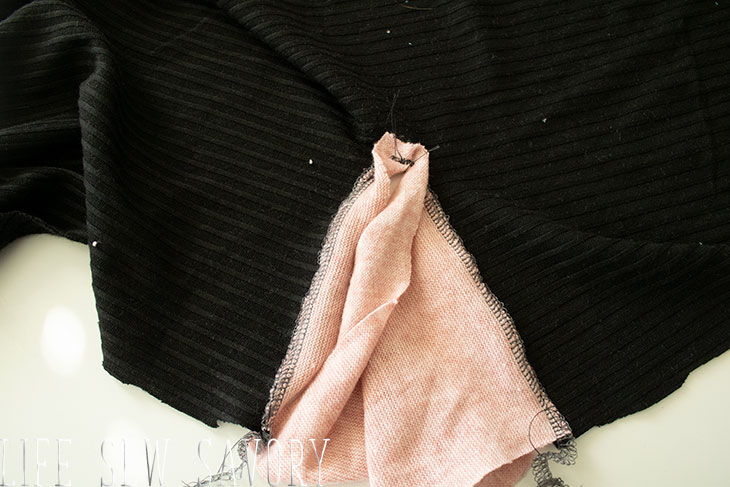
Pull the pocket completely through the hole to the back of the cardigan front and press the seams at the opening. Then place another pocket piece with right sides together on top and pin three sides. Sew all sides except the side where it lines up with the cardigan edge.
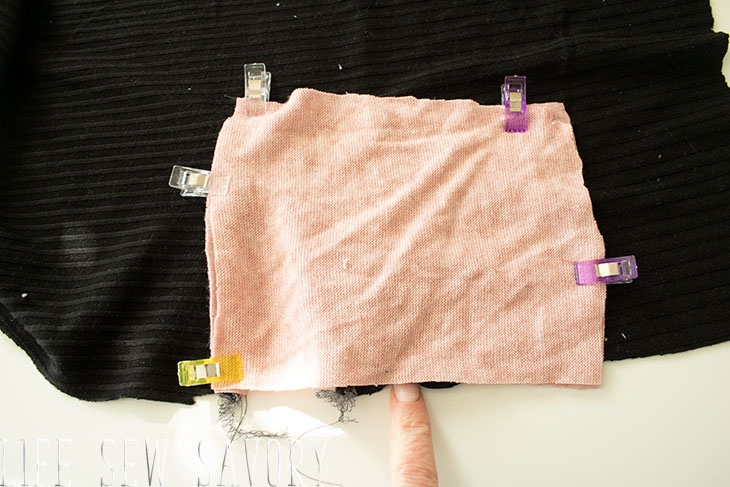
Repeat with the other side of the top and now you have two pockets. Again, I like the version where I used all the same fabric the best, but for this tutorial the two different fabrics work best so you can see. But the pockets blend in more if you use only one fabric.
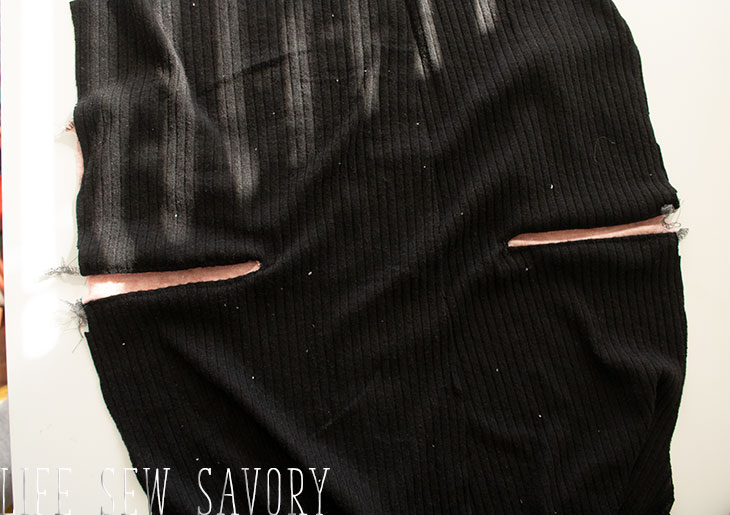
Take the two back pieces and sew the back center seam with right sides together.
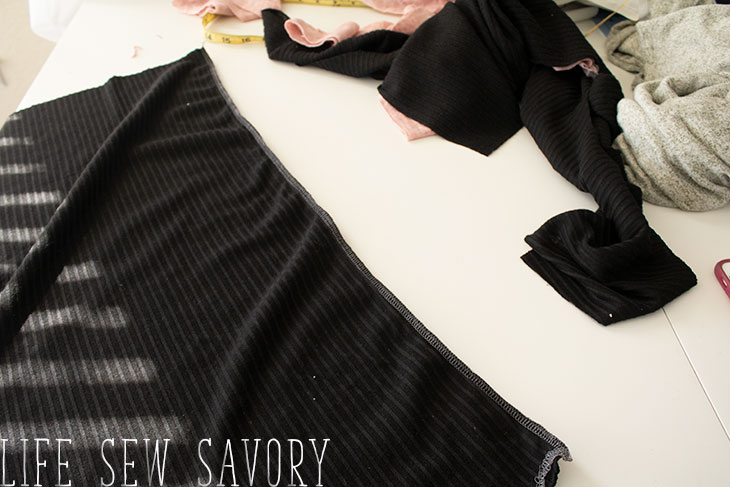
Place one front on the back and line up the shoulder and side seams.

Be very careful to keep the edges of the pocket together at the side so you don’t have a weird huge opening. You will also want to to keep the top of the pocket up. Sew the side seam.
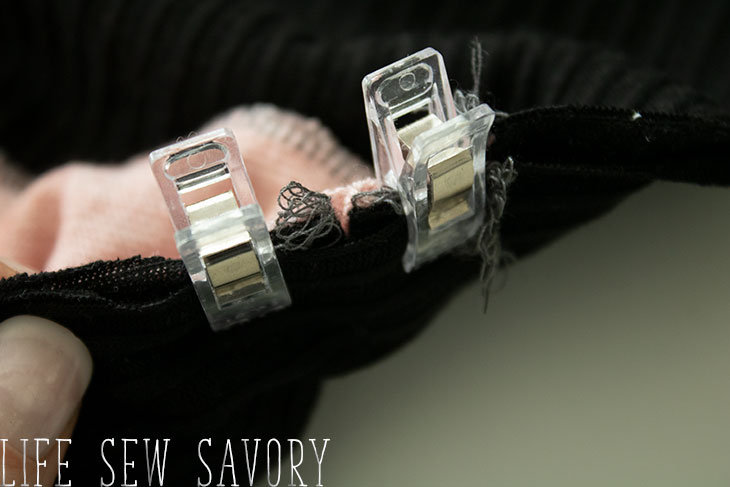
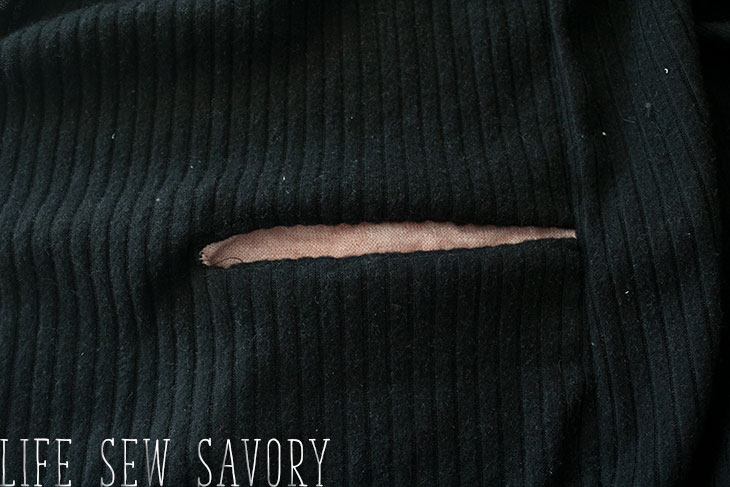
The edge of the pocket is now caught neatly in the side seam.
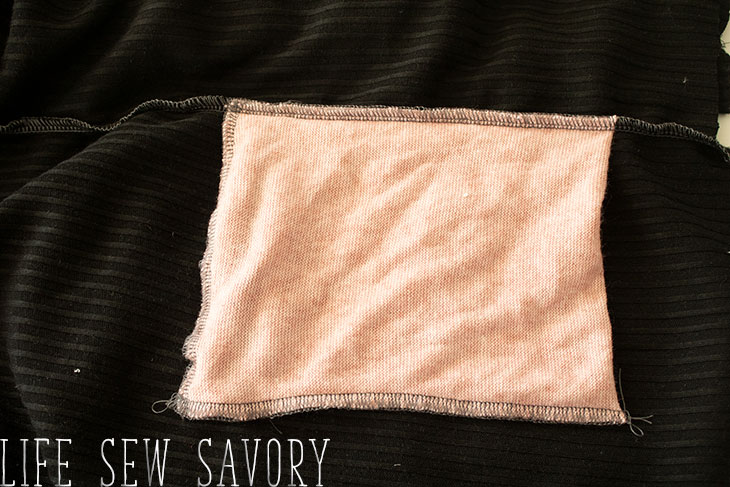
Here’s what the pocket opening looks like.. It’s all neat, except for that one thread I needed to clip in this photo {haha}
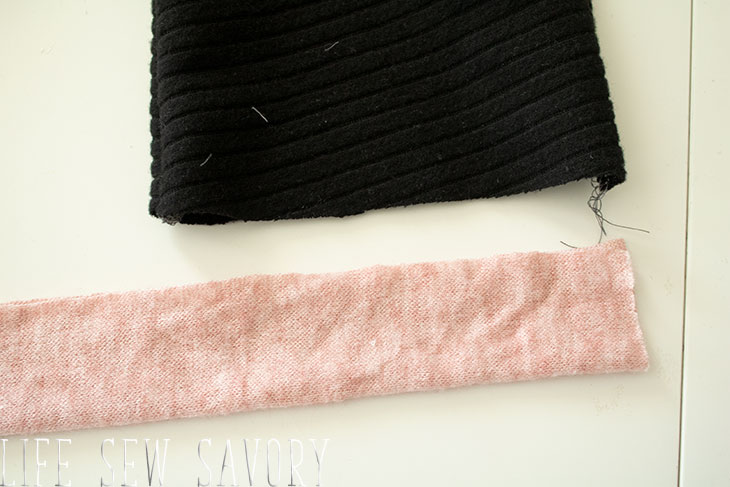
You can now add cuffs to the sleeve or just hem. For the cuff, fold in half so the long edges are touching and then sew the shorts ends to form a circle. Pin and sew to the end of the sleeve.
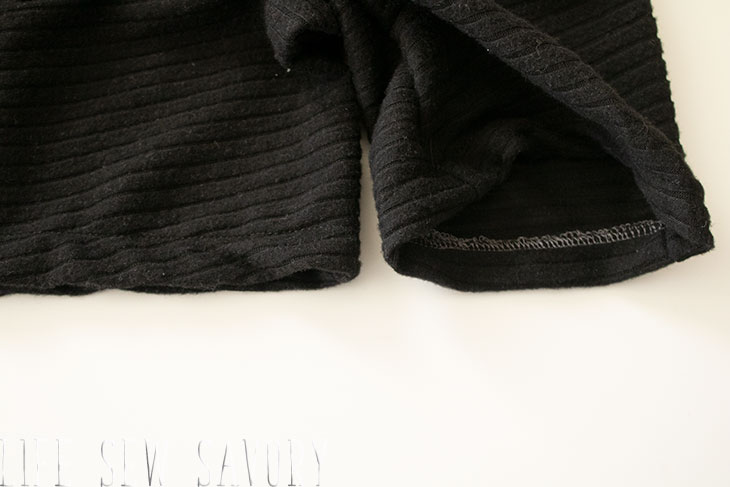
If you are going to hem, finish the raw edge with a serger, then fold up and stitch. I didn’t use a stretch stitch, but you can.
For the neck band sew the two long pieces together by sewing one short end of each piece together. You will line up this seam with the back center seam.
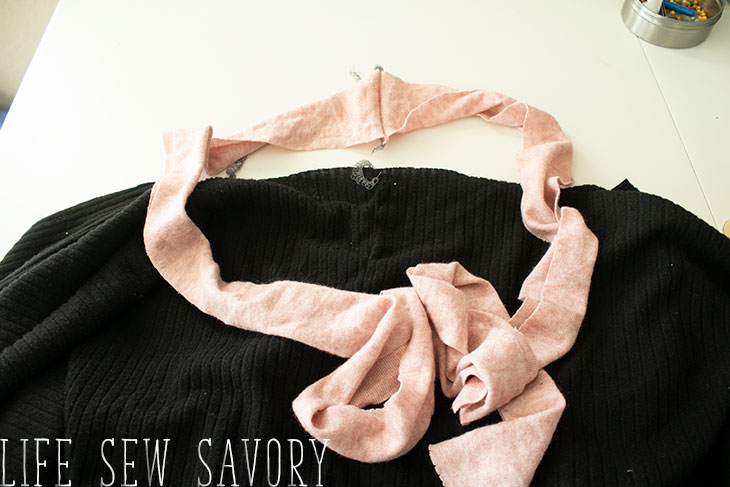
Fold the binding together with the right side facing out and pin from the back neckline down each side of the front. You may have to stretch the binding just slightly for it to fit.
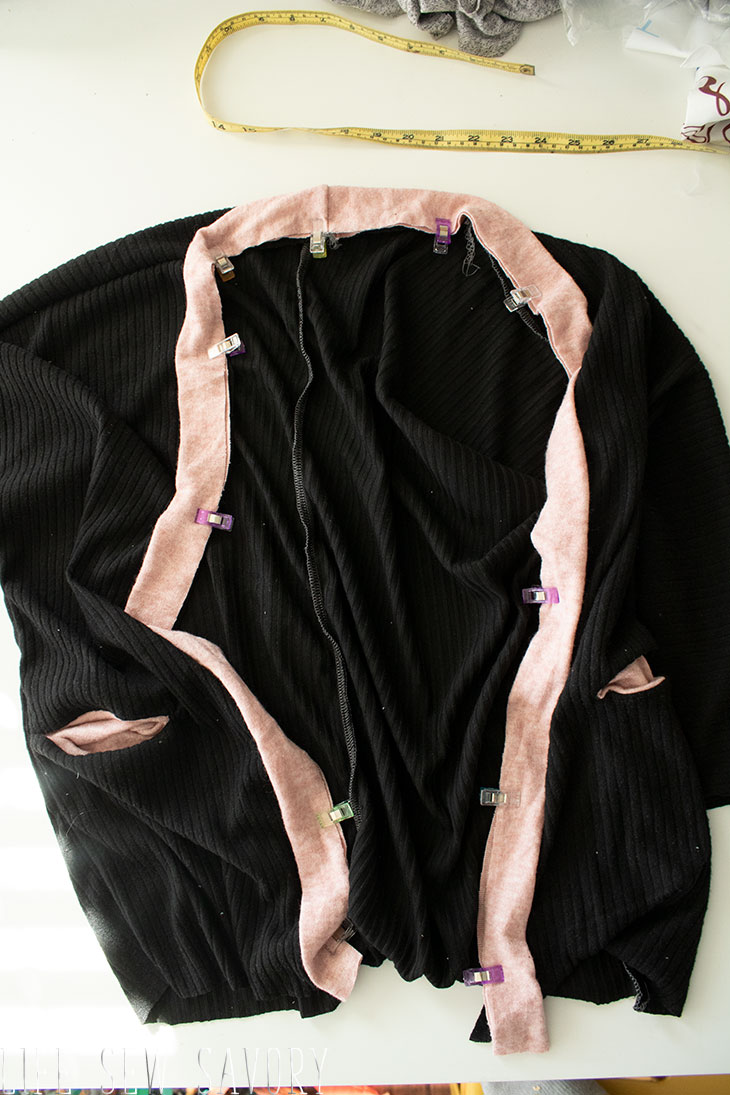
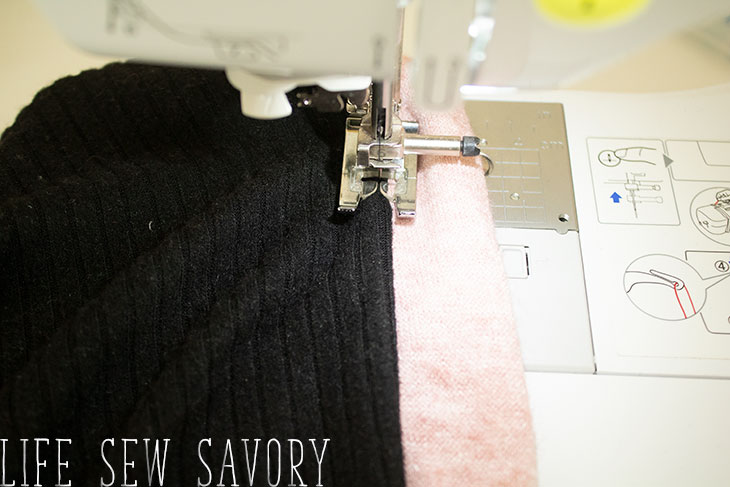
Top-stitch the binding seam allowance over to the cardigan main fabric.
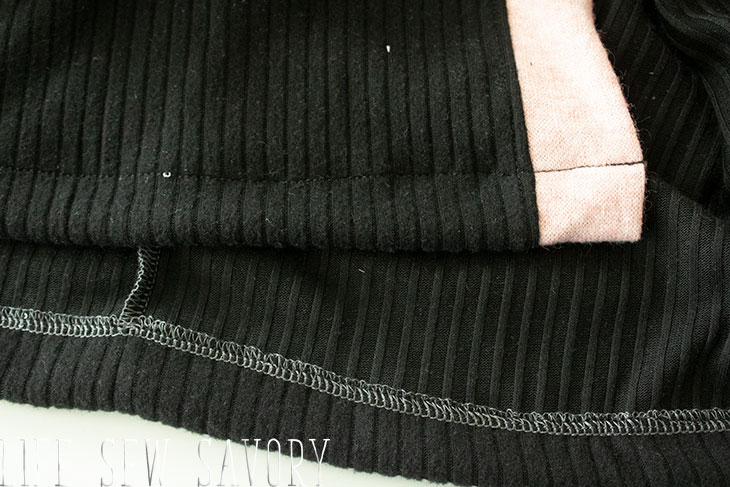
Fold up a 3/4″ hem. I used my serger to finish the raw edge of the cardigan, then folded up the hem and sewed.
And you are finished! YEAH! Make sure you show off your photos in our group… I hope your new sweater brings you joy as you wait out the final weeks of winter.
here are some other free sewing patterns online you may enjoy-




high-dee says
Thanks for sharing <3
Greetings from Germany.
El says
It seems the link to the pattern has been removed. Correct me if I am wrong.
Emily says
nope! just click the picture that says click and you will find the pattern
Kris says
This was my first attempt at a sweater pattern, other than the old Stretch & Sew patterns. I used sweatshirt fleece, which did have quite a bit of stretch to it. I was more wanting to see about fit before using my sweater fabric. It was easy to work with, and the pattern went together nicely. I should have re-read the blog post, as I missed a couple of things along the way!! Nothing that I couldn’t work with, but I’ll definitely remember to do it the next time! I made an XL and would go down a size or maybe even two next time, as this garment turned into a wrap-front!! All in all, though, I always love something warm and snuggly to throw on when I’m downstairs during the winter months, so it will get plenty of wear:) Thanks Emily!
Tasha Stowers says
Thanks for this pattern, I cannot wait to make it for my daughter. she’s 5’6…might I ask you for tips on lengthening this garment without losing the style (shape)?
Emily says
I would add length more in the middle to keep the look.
Montse Vinas Garcia says
Muchas gracias
Yolanda Ballesteros Rey says
Me encanta, muchísi.as gracias!!!🥰
Rachel Kennedy says
Whew! The pattern was awesome, though my late night sewing habit made the pockets seem super hard. I made this as a gift for my BFF’s daughter who’s like a niece to me. I’ve never worked with sweater knit before and don’t know that I will any time in the new future, but I am confident she will love her Christmas gift! Thank you for the amazing cardigan with POCKETS!!
(I used this fantastic, super soft and slippery knit: https://nickoftimefabric.com/products/melon-white-s-stripe-sweater-knit-fabric-sku-5393b?variant=31423066112043)