This is a project that has already gotten tons of wear!! I desperately needed a new suit this summer. The straps of my other one were SO stretched. I had looked in a few stores and just hadn’t seen anything I liked… then I found this tutorial on Sew Mama Sew and knew that I could alter it to be my perfect swimsuit, so today I’m sharing a free swimsuit pattern and tutorial. I’ve reworked the top of the original pattern to now be a tankini and have a few options, so I hope you will find something that works for you!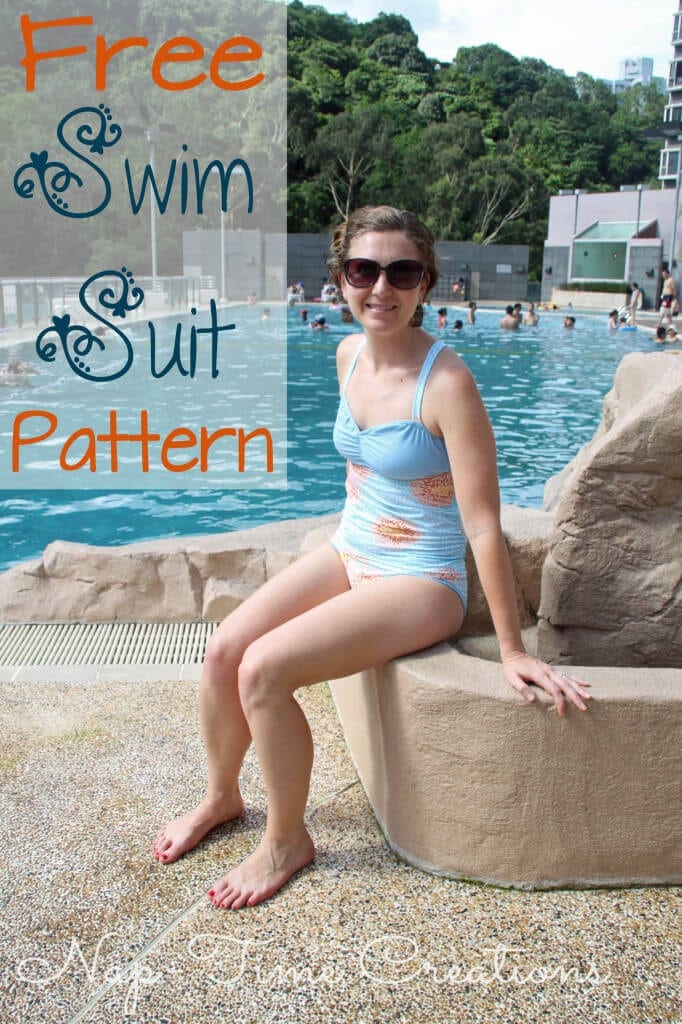 You will need around 1 yard of fabric + 1/2 yard of lining.
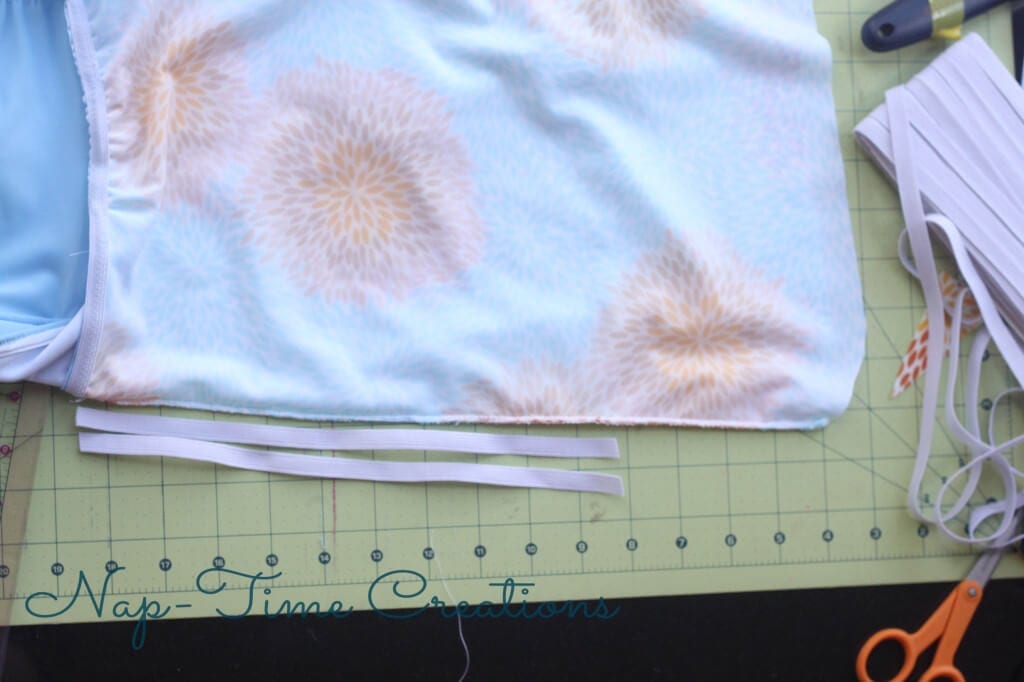
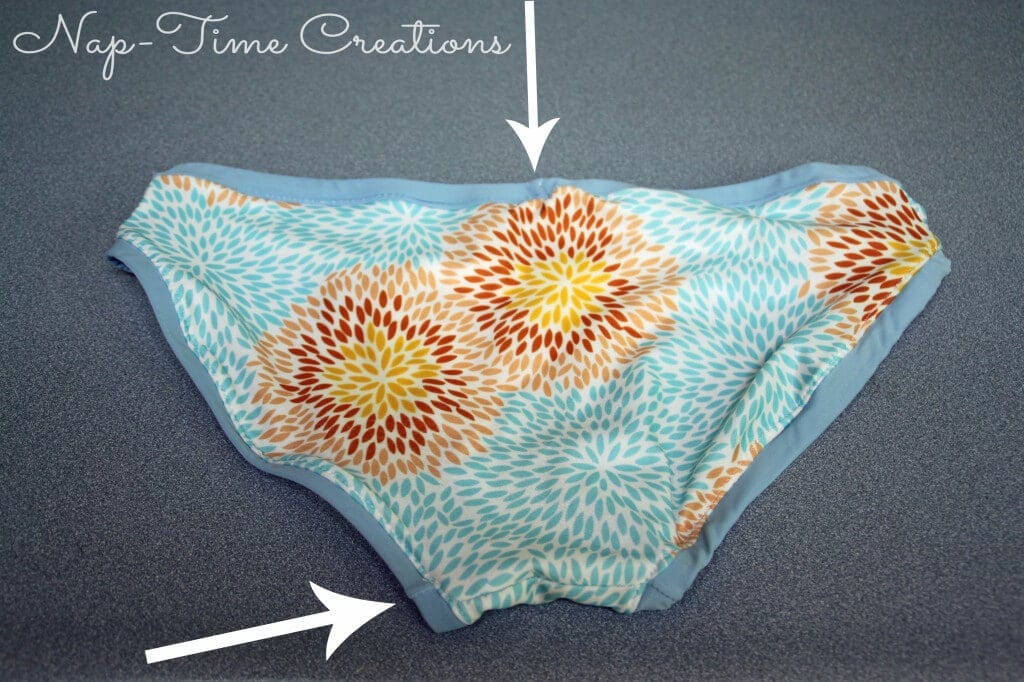
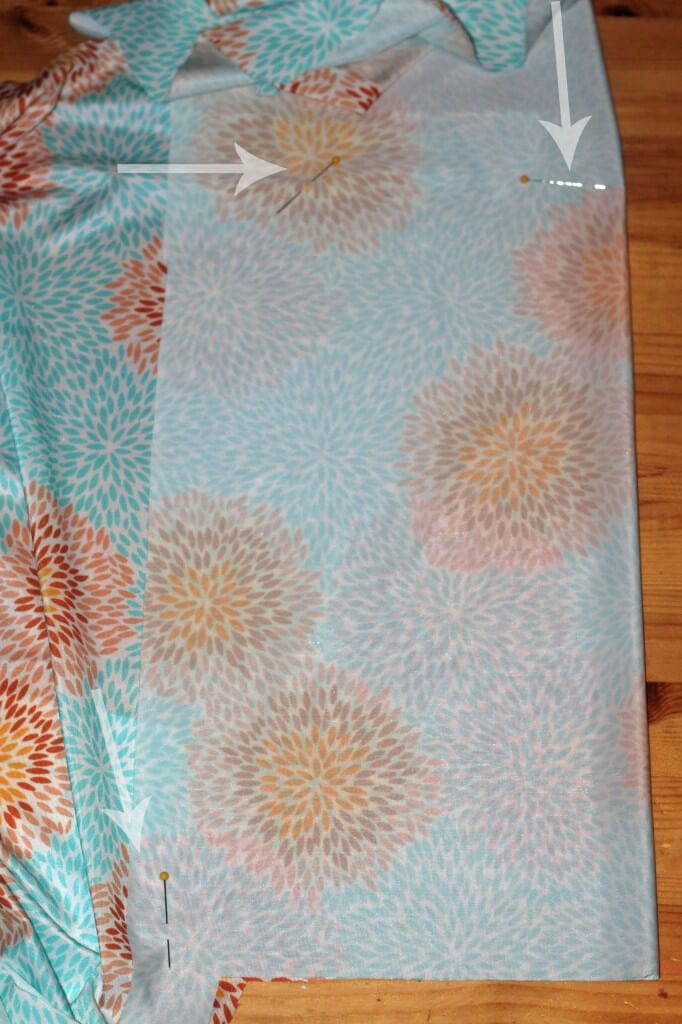
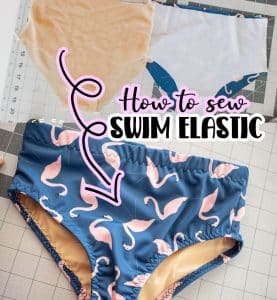
For the bottoms I used the pattern provided on Sew Mama Sew {you can get it here}… however I realized after the fabric was cut that I hadn’t printed it at full scale. So to save the fabric I cut one inch strips of the coordinating fabric and made elastic castings with it. This extended the legs and top just enough to account for the printing error. And NO I’m not going to show a close up of my swimsuit bottoms on, but here is how they turned out. I tacked the elastic in a few places {the arrows} to keep it from twisting. It started as a mistake, but I actually really love the two fabric look. The elastic doesn’t want to lay so flat, but when it’s on it was fine.
You can also use a suit bottom fits well to modify the pattern. My bottoms are fully lined.
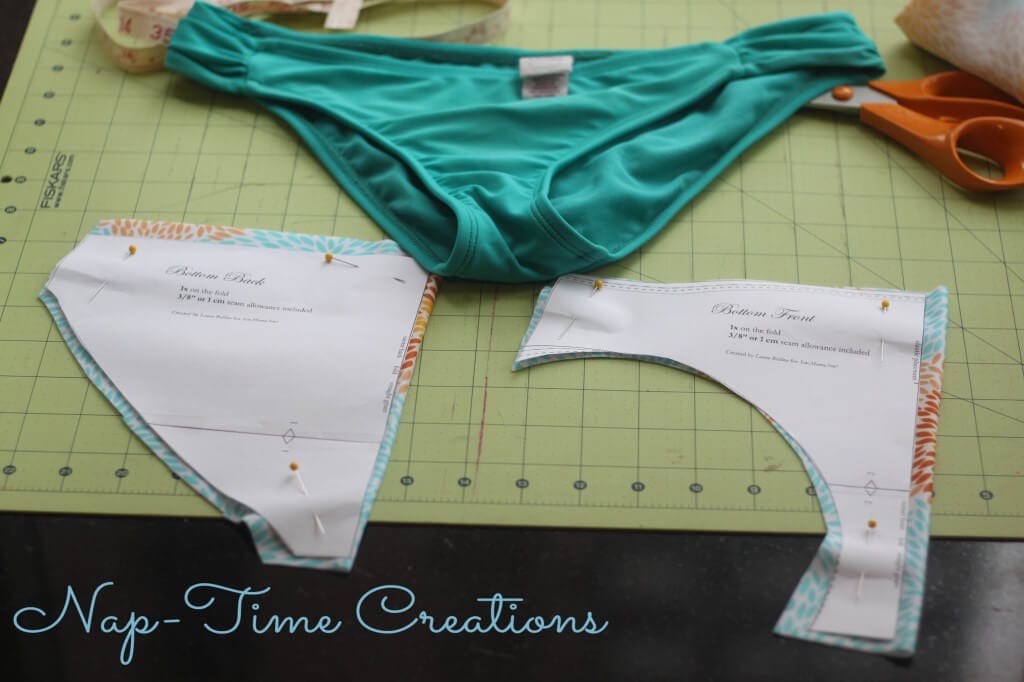
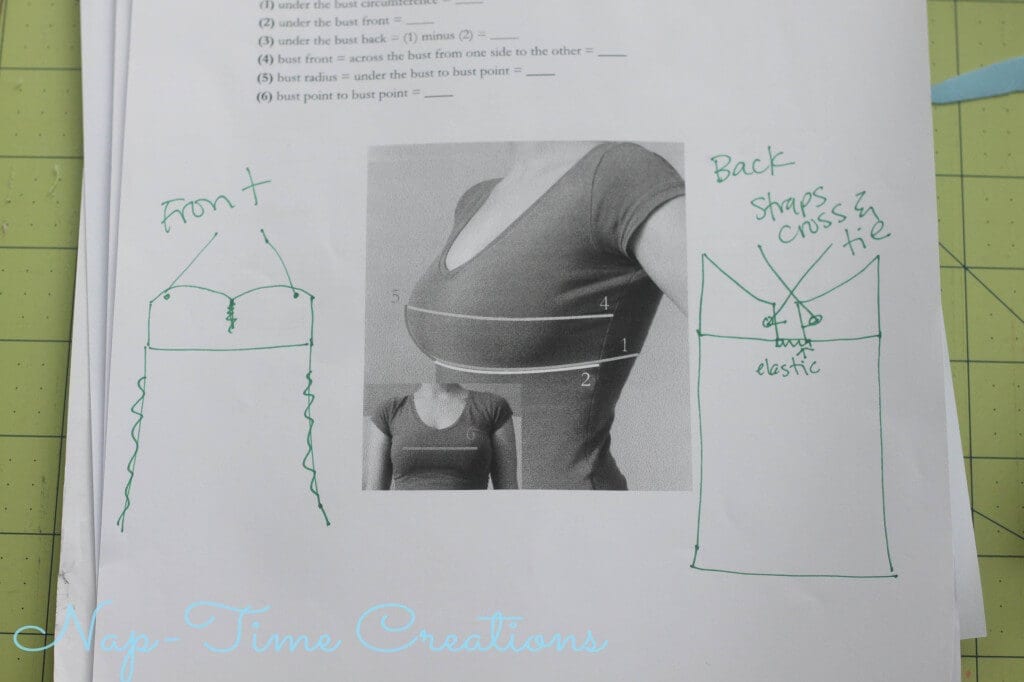
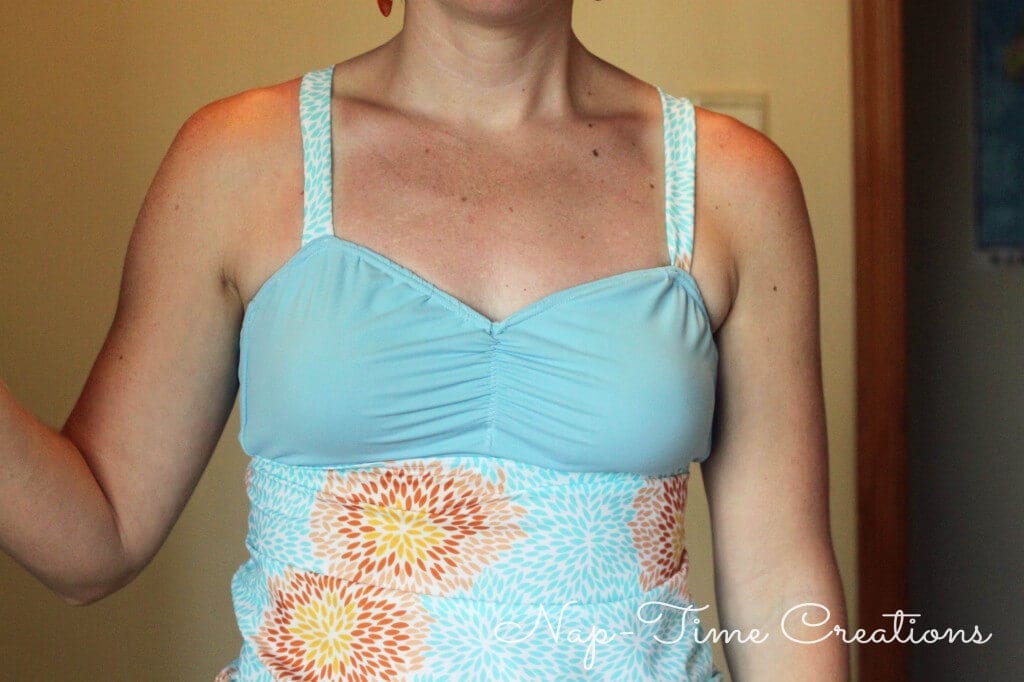
Ok, now for the top… here is the page you can print from the Sew Mama Sew pattern. It is for a basic top. I decided make it a gathered tankini with straps that crosses and tied through rivets in the back. Check out my neato sketches for the basic idea. I also fully lined the top part of the tankini.
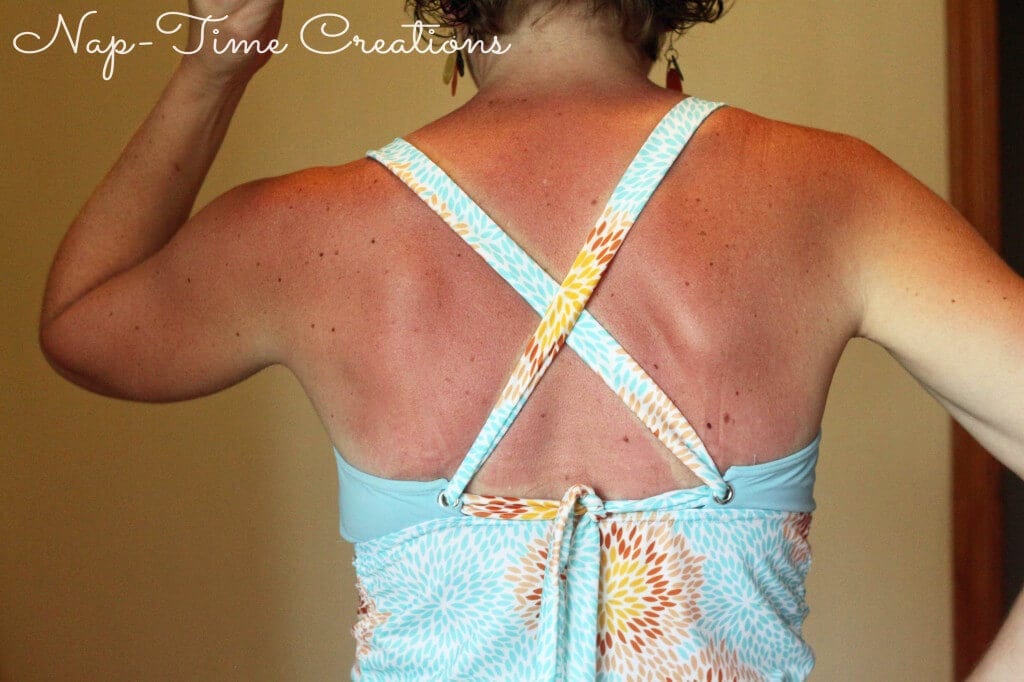
Here is the finished back {yes, I got a little too much sun at the pool this day!}
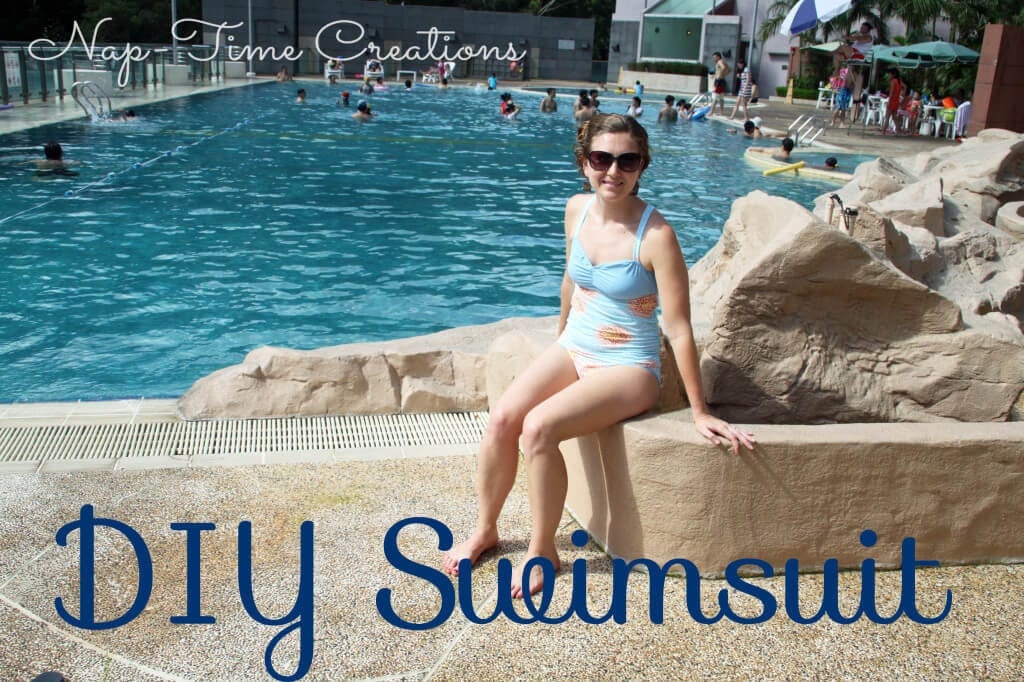
And front. There are a few puckers in the top-stitching around the top edge… I don’t love it, but couldn’t get it better.
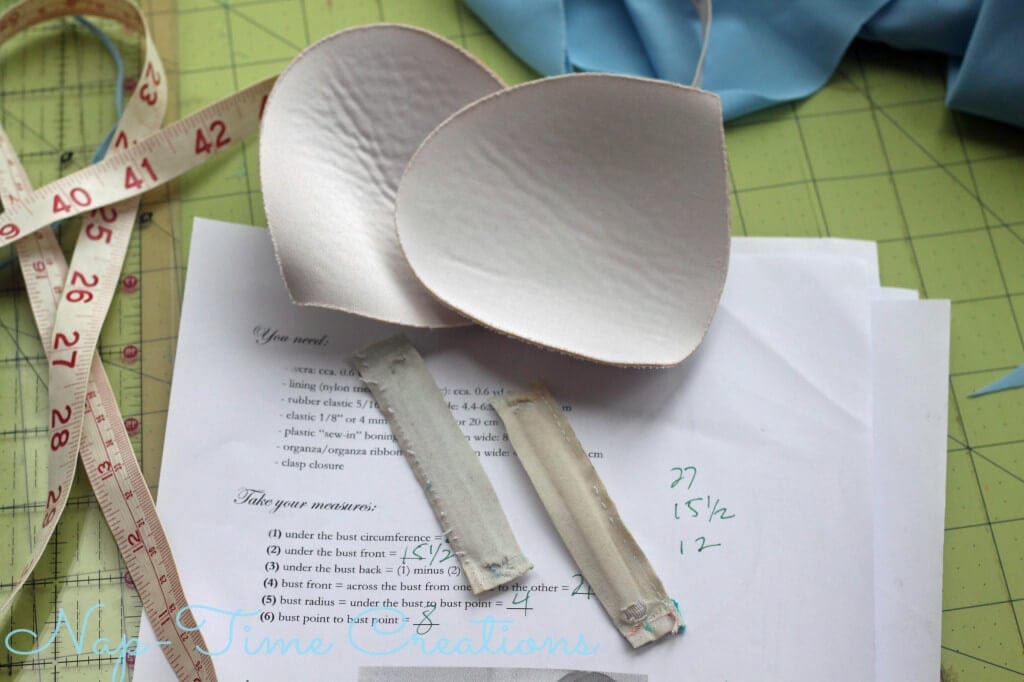
You will need around 1 yrd. total, in a combination of fabric or just one color. You also need soft cups and plastic stays, and around 3 yards of elastic. I cut both of these out of an old swimsuit and they still worked great.
To add the tankini part to the top of the suit measure your under bust front to the side:_______and back to side:______ add 1/2″ to each for seam allowance. Measure your hips and divide that in half:_________. Now you have a top width and a bottom width for both the front and the back. They will be slightly different. Measure from your under bust down to where you want it to sit on your hips/waist._____ If you want to gather the sides later add 4 inches. If you want it straight down add 1 inch for hem. I placed my fabric on the fold, marked the top width, then measured the length and marked the hip width… then I just cut on the angle from the top to the bottom. Repeat for the back piece.
You will now basically be following the instructions on the free swimsuit pattern you printed from the other site. I will be showing a few modifications though… I have some major “headlight” issues and so I need to put a foam pad in my swim top. I like it to be removable though in case I need to change it out.
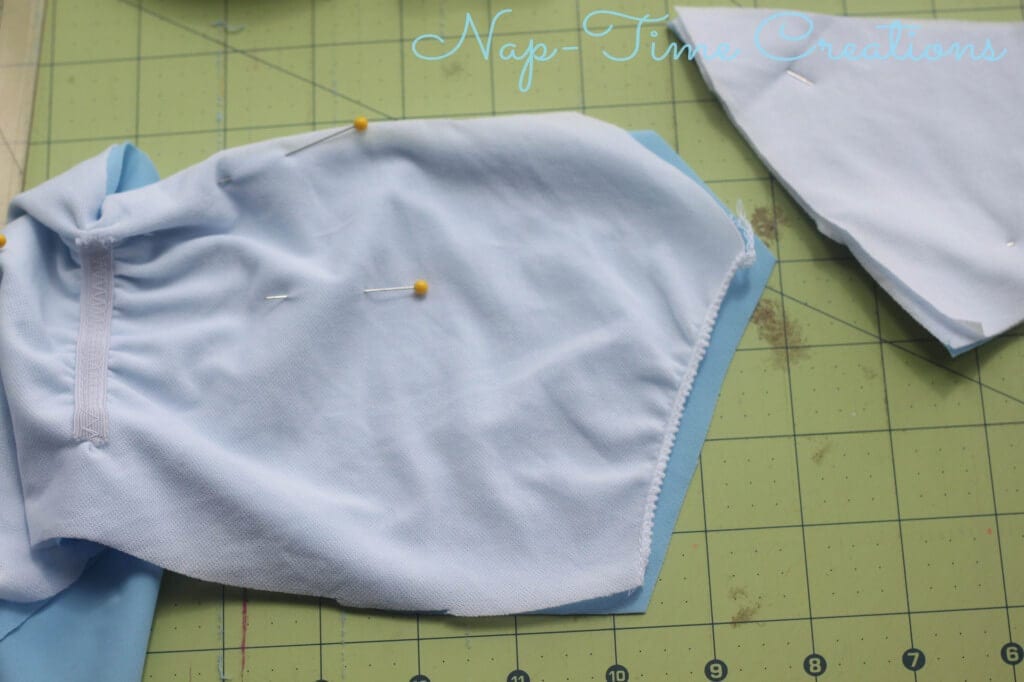
Finish the edge of the lining as shown below.
Pin the lining so it won’t get caught when you sew the side seam.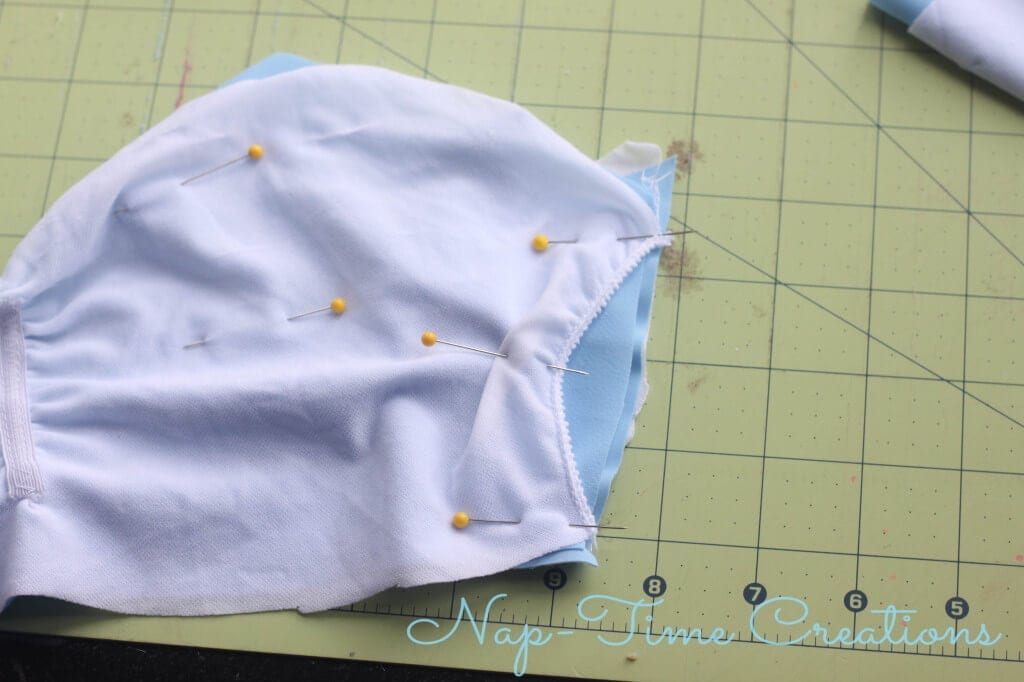
Sew the side seams and put the elastic in the top leaving an opening in the elastic to slide in the foam pads.
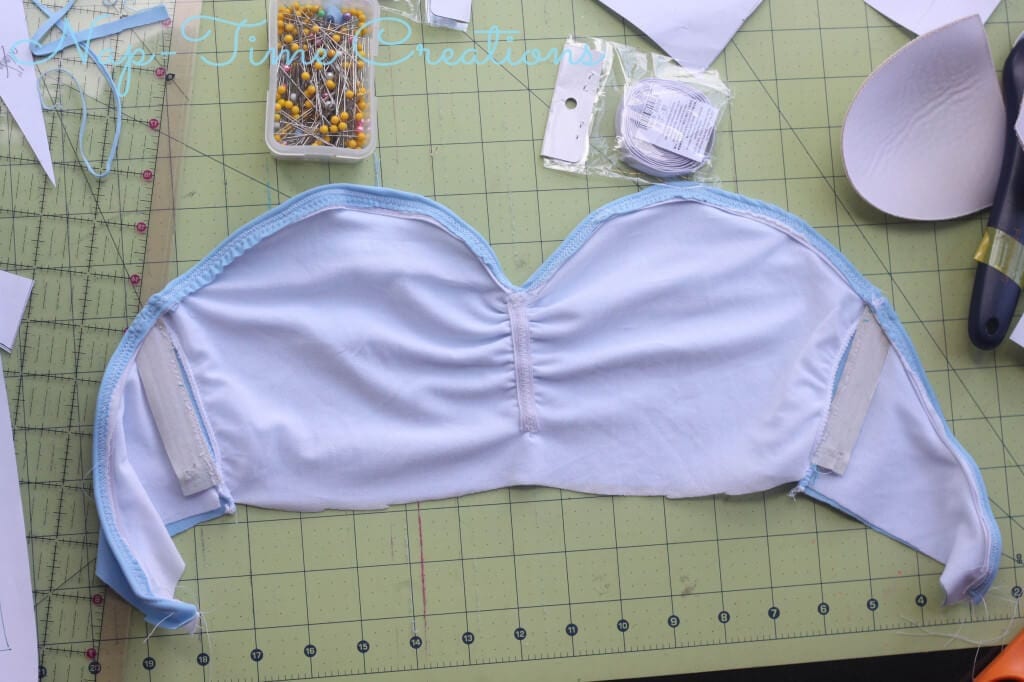
Continue to follow the printed directions until your top looks similar to the on above. The bottom should be unfinished. Stretch elastic around your under bust to measure, adjust so its not too tight. Sew the sides of you swim middle together at the sides.
Fold over the back edges and put in the rivet, catching both the front and the folded back layer. 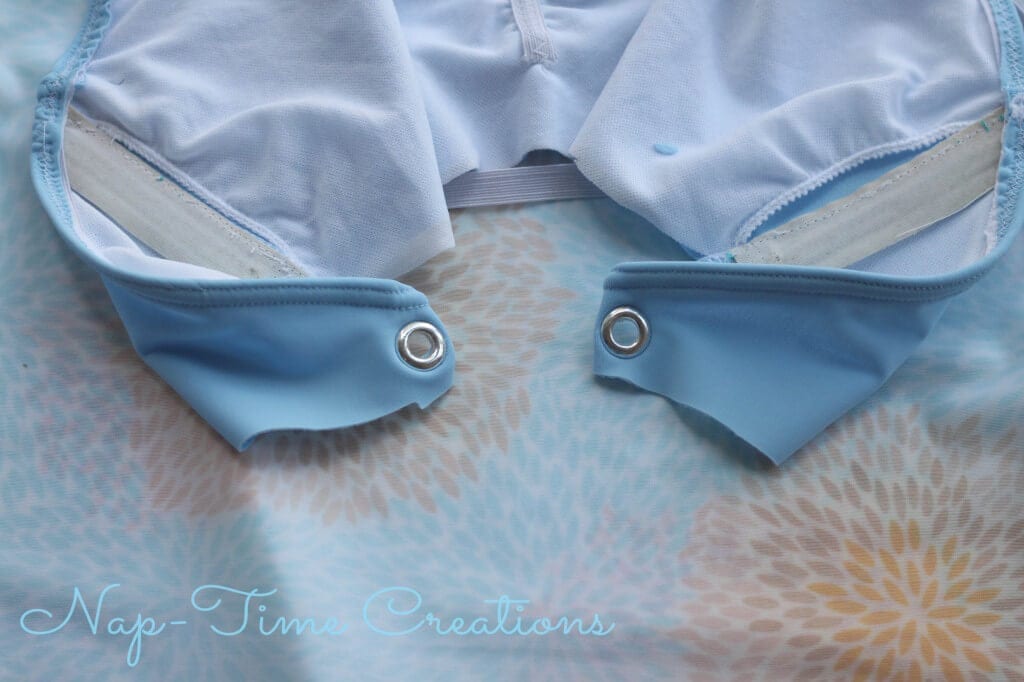
Pin the top, middle and elastic together at the bottom of the top and the top of the middle {whew, are you confused by that sentence!} You will have a several inch gap between the top back pieces as shown here. You can also sew the top to the middle, then add the elastic on top of the seam.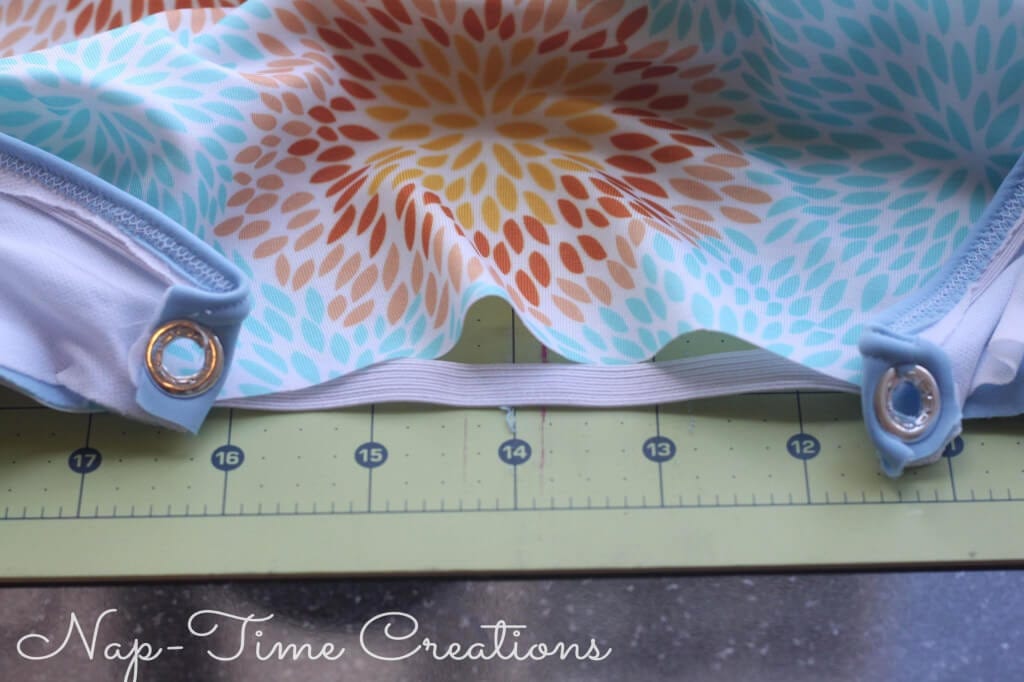
You can see here the elastic where the top and middle of the suit come together. Slip in the foam pads here.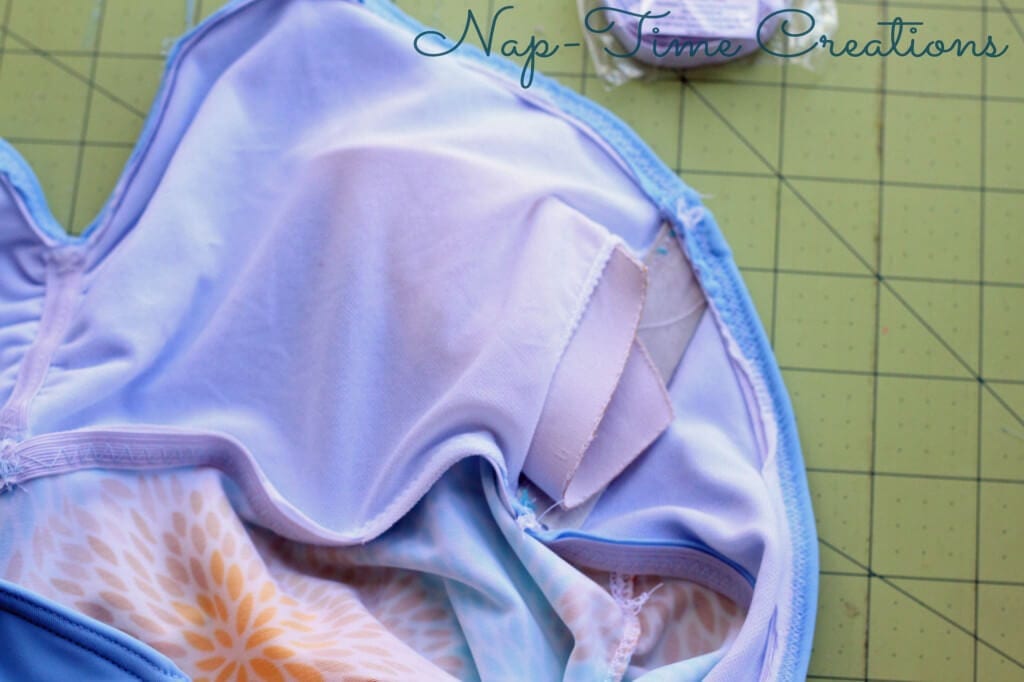
Fold over the back between the top sides and top-stitch all the way around. 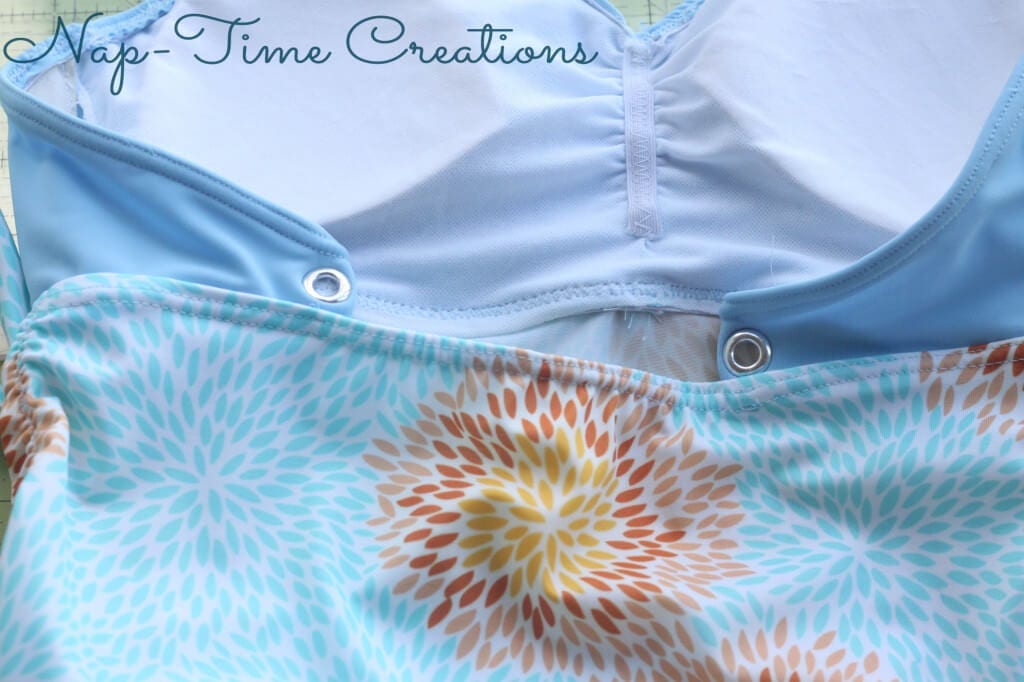
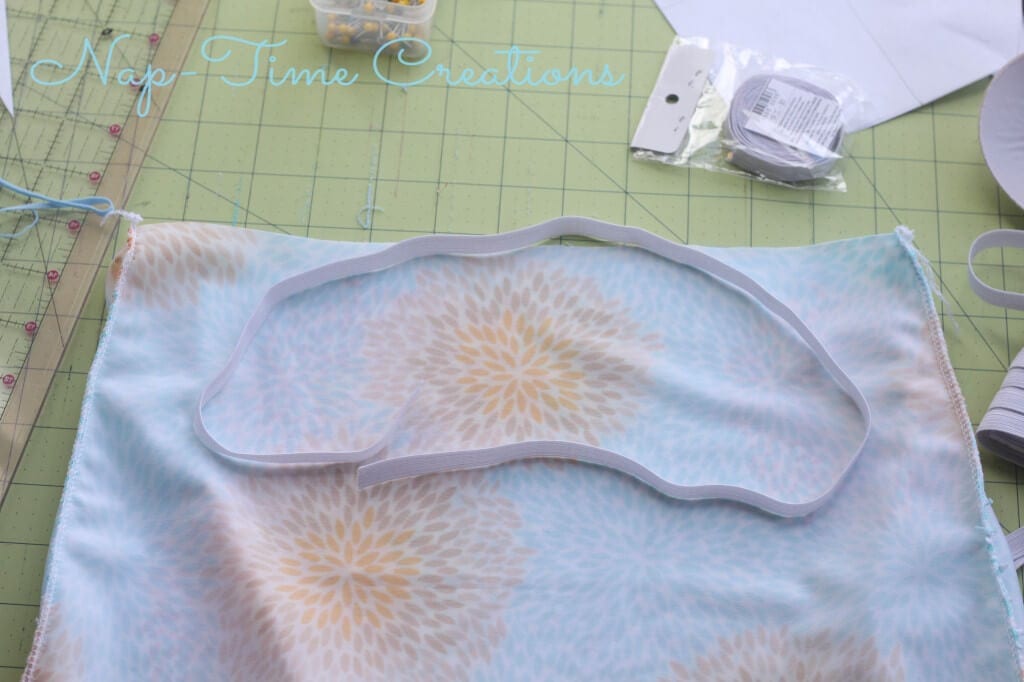
Time to gather the sides. If you opted for a straight side, hem now. If not, cut your elastic 4 inches shorter than your suit. Stretch as you sew with a zig zag down the side seam of the suit.
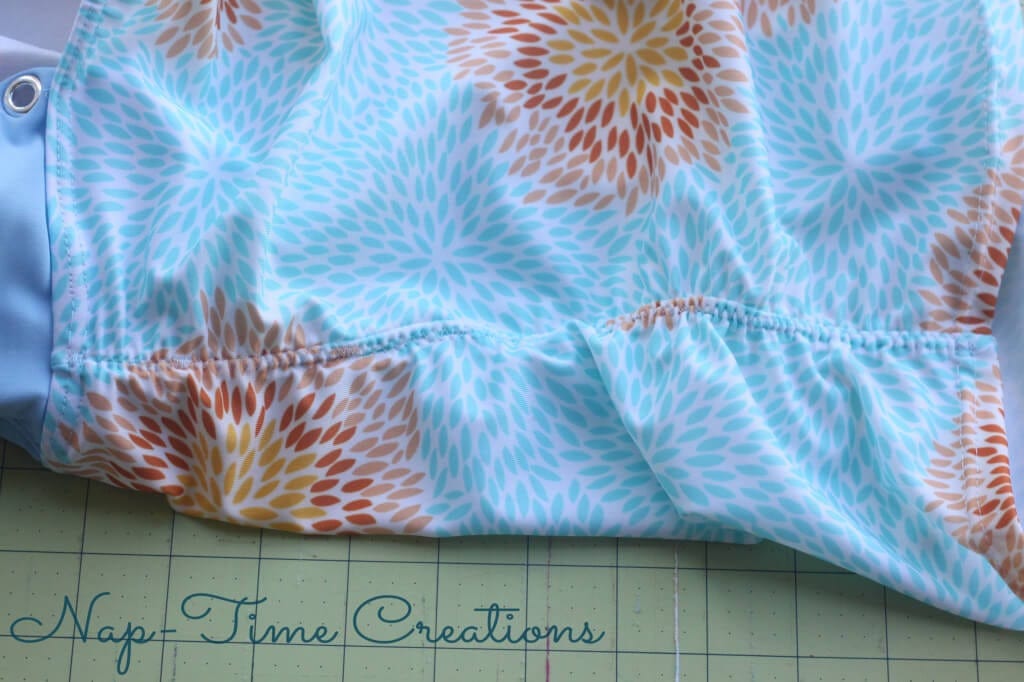
Cut two straps two inches wide by plenty long {you will have to estimate this…. from upper bust, over the shoulder with enough to tie} Sew the long edge and turn. Attach to the front. Placement is dependent on personal preference so I would recommend standing in front of a mirror and pinning. Cross over your shoulders and thread through the rivets, tie in the middle. 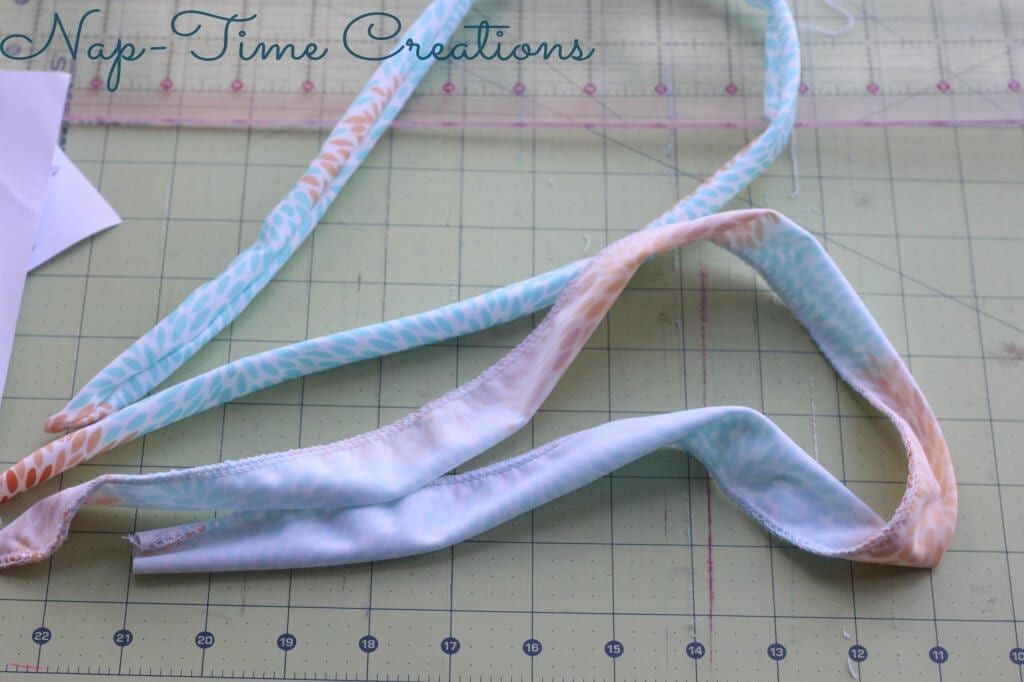
Now you are ready to hit the pool and have a blast this summer with a suit that stays in place and covers just like you want it to! I love that the straps are adjustable and I can tie it tighter if they stretch.





Pam @Threading My Way says
Looks fabulous, Emily!!! Great job modifying the pattern.
Emily says
thanks! I had fun with this one!
Lisa Hall says
Wow! Emily you did a great job on this bathing suit! I love it and you look great in it! Thanks so much for sharing!
Lisa
Emily says
thanks! I’ve been wearing it all the time!!
Clare says
Wow, that looks lovely! Thanks for sharing a great tutorial 🙂
Elizabeth says
Wow, you did an amazing job! I have no talent in sewing, but you got me truly inspired to try something like this. What a beautiful blog you have as well 🙂 Blessings!
Camila says
WOW girl! Making a swimsuit seems so hard you made it so easy!!! Looks awesome! Love it!
XOXO
Mel says
well done, that’s so awesome!!
Emily says
thanks!! I’ve been wearing it all the time!!
Gena says
Emily,
Amazing! I have been mulling over in my mind making my next swim suit. I can’t find anything in the stores that is decent for a mom of many and cute too. Sigh! Thank you for the idea and tutorial, I may finally get brave enough to do it. 🙂
Thank you, Gena – ILikeBigButtons.com
Emily says
you could totally do this! There are tons of cute swim suit patterns out right now for women… I liked this one cause it was free.
kristi@ishouldbemoppingthefloor says
This is adorable, Emily! You have such a great talent! Thank you bunches for linking up and partying with us!
Emily says
thanks!
Kimberlee says
Really cute bathing suit and great tutorial. I have made several bathing suits and I use the Kwik Sew patterns – they work pretty well. Last year I also did the turn a bra into a swimsuit top – idea I got from pinterest and that one turned out really well. I am getting ready to make another bathing suit this week or next – I just finished a pair of shorts and a knitted shawl.
Emily says
haven’t tried the quick sew patterns for suits… i should check it out… I bet you could do this one easy!!
Emily says
haven’t tried the quick sew patterns for suits… i should check it out… I bet you could do this one easy!!
Val says
Where does everyone buy their fabric for swimwear? I went to Joanns, and found nothing cute.
Emily says
Fabric Fairy has a great selection of prints and solids ;o)
Mary says
I have made swimsuits before and love making my own. You have a good pattern, with changes. Only part I might like to see different is having to tie those straps that go around the neck and are tied in the back….that is really difficult if a person is alone and putting on the swimsuit. Or is it meant to be tied and then just pull on the whole swimsuit somehow….. is that it?
Emily says
YEs! I just leave the straps tied! I slip it over my head like a cross strap suit and it seems to work fine like that. I do like that if the straps stretch out i can tighten them up!!
kostiumy na plaże dwuczęściowe says
Great blog here! Additionally your website lots up fast!
What web host are you using? Can I get your associate link
in your host? I desire my web site loaded up as
fast as yours lol