


inside: learn how to create a gathered shoulder raglan style shirt with this sewing hack. Use the free tutorial to create beautiful gathered shoulders on your shirt.
I love hacking patterns to create new looks. This gathered shoulder raglan tutorial and hack is one of those times. I’ve seen patterns with shoulders like this and I thought it would be easy to create with a hack, I didn’t need a full sewing pattern to create this look, a simple sewing hack was enough to get the job done. The results are so super cute too!
Gathered Shoulder Shirt
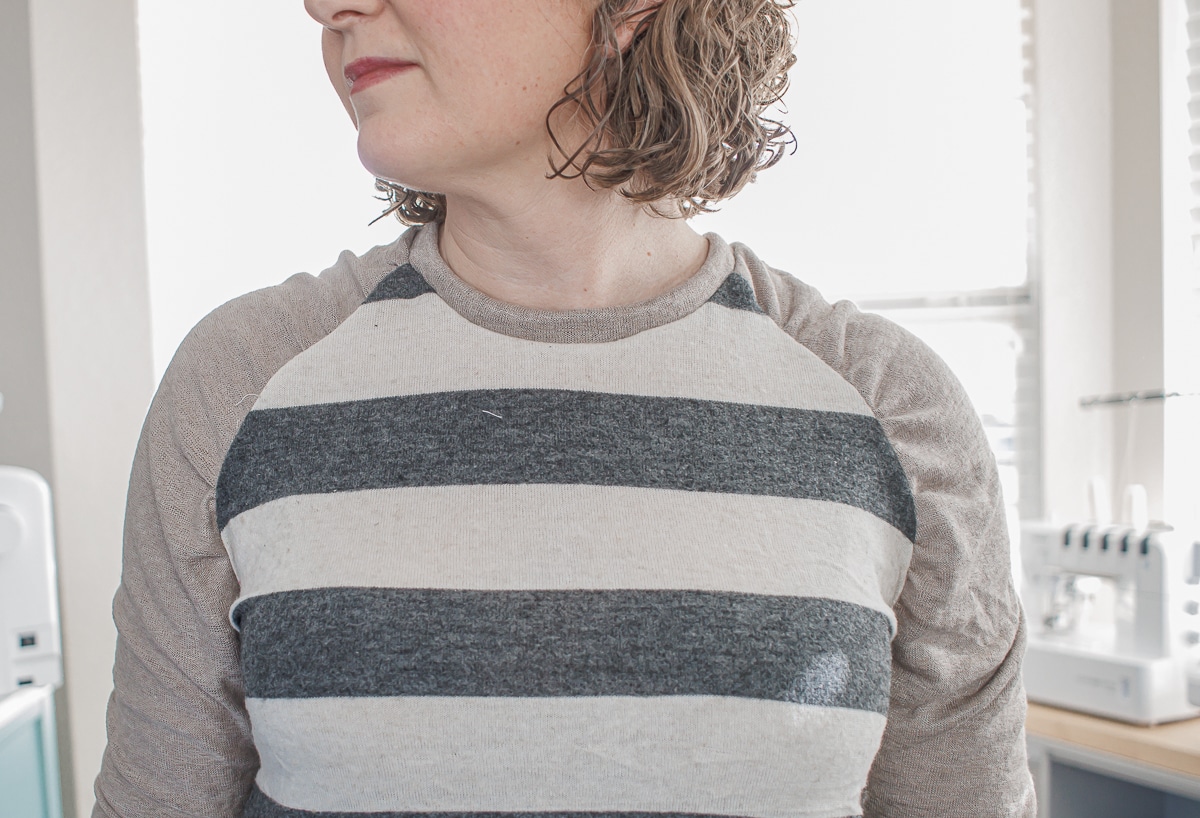
I took so many photos, but I was so pleased at how this shirt turned out. This fabric combination is actually not really my favorite, but I was just looking for something to try out this sewing hack. In the end I love the sweater knit and it turned out better than I thought it would.
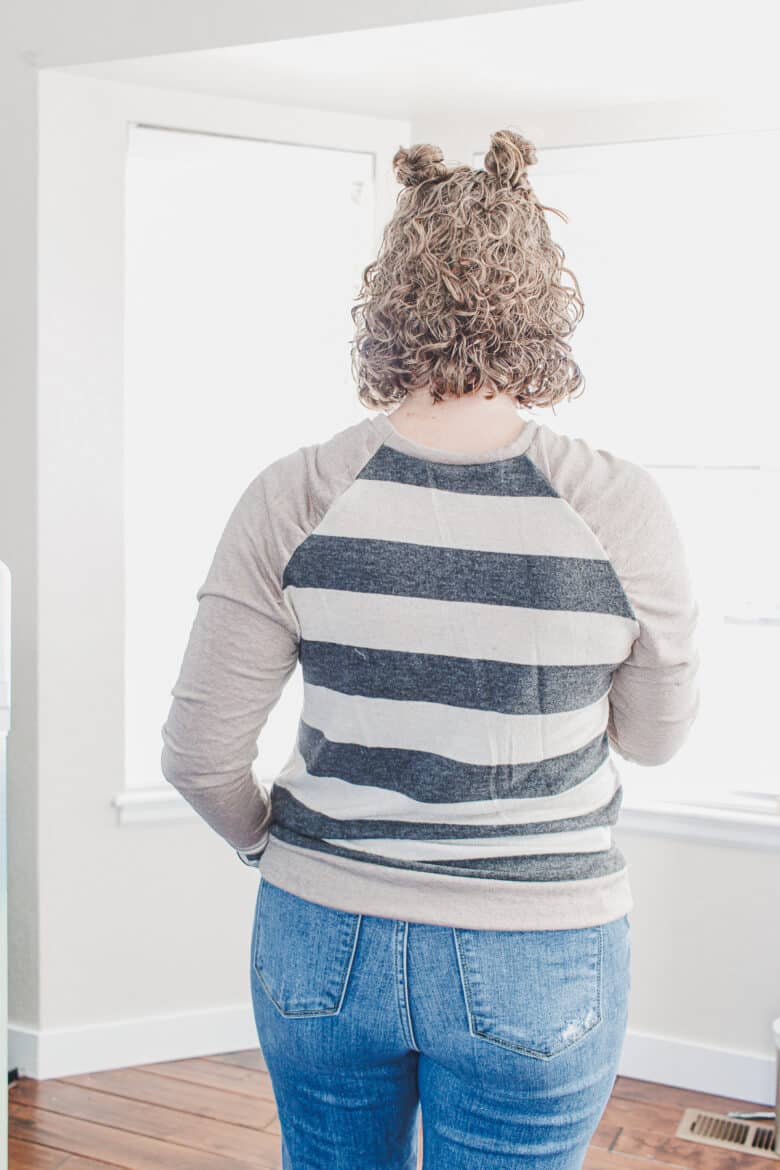
I just updated this post a year later and how funny to realize I did my hair almost exactly the same {haha!}. The striped two-tone version is the original from a year ago and the green one is the new version I just made.
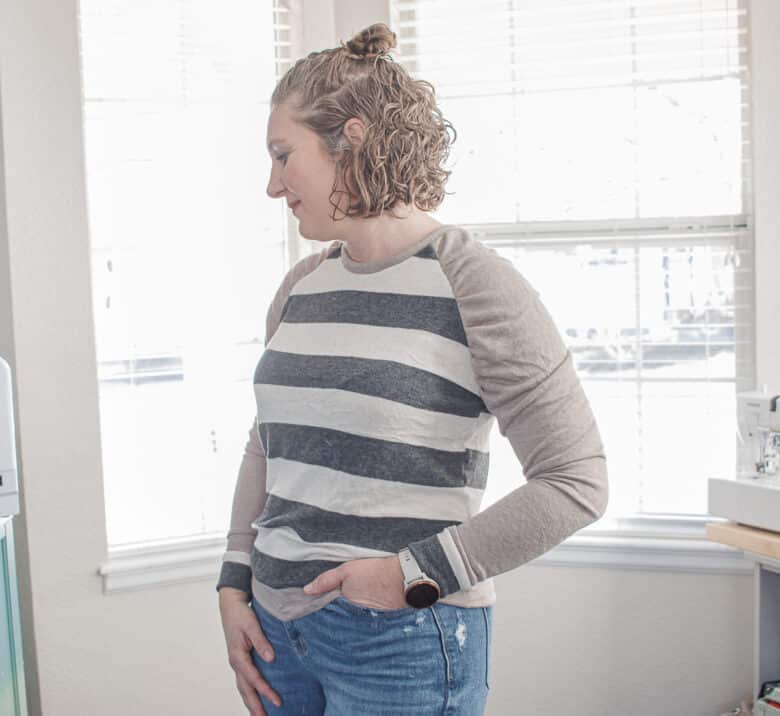

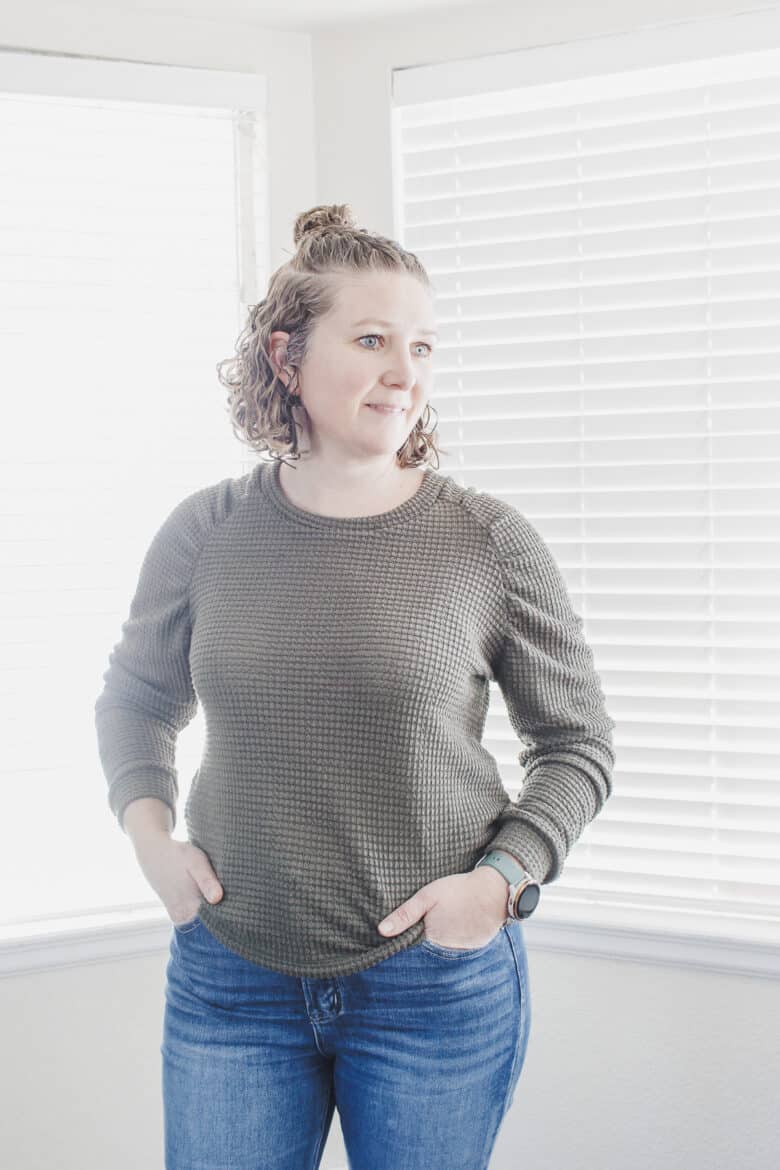
The gathers on the shoulders are divine. I wish I had lowered the neckline a bit, I forgot this pattern has a true crew neck line. In the new green version I did lower the neck line a bit, I love it. I also love the chunky sweater fabric of the green version, but it make the shirt seem bigger. Both shirts are the same size, but the fabrics make it seem like a different size.
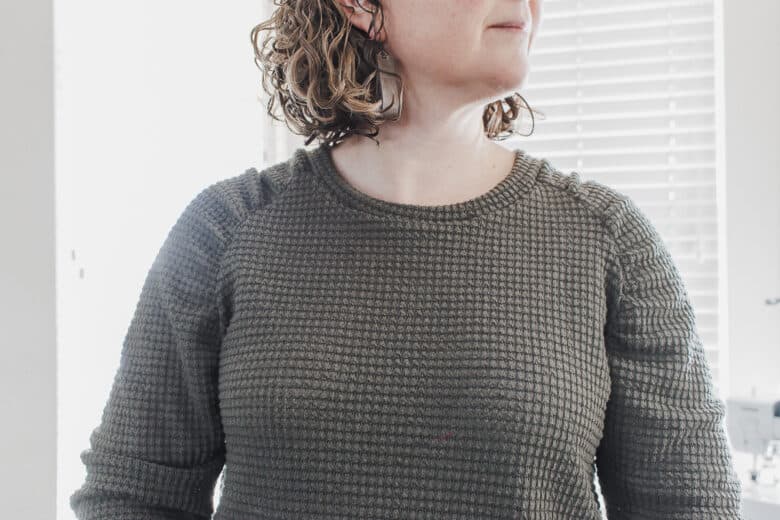
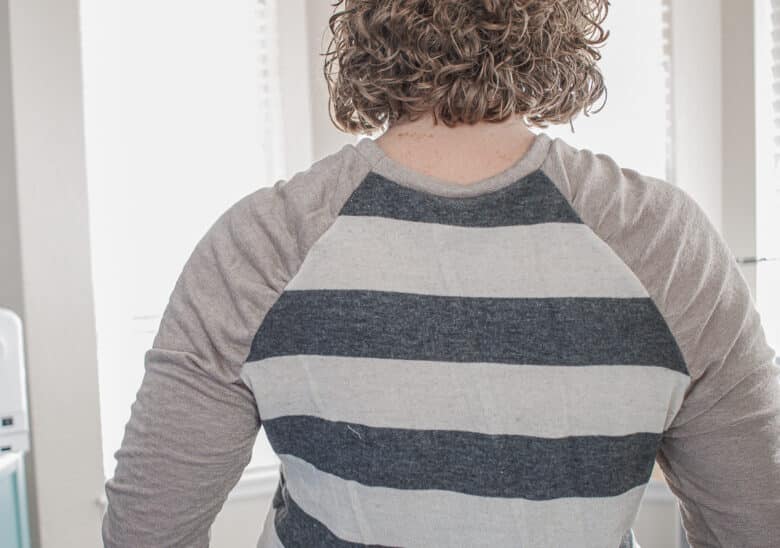
In addition to the gathers on the shoulders, I added wrist and a bottom band as well. This was to try and tie my two colors of fabric together a bit better. The green version I just hemmed and did not add a bottom band.

For a first attempt, I’m super happy with my gathered shoulders, but I think I could make them even more gathered next time for a dramatic look. Ready to create this look yourself? check out the full tutorial below.

More fantastic raglan hacks
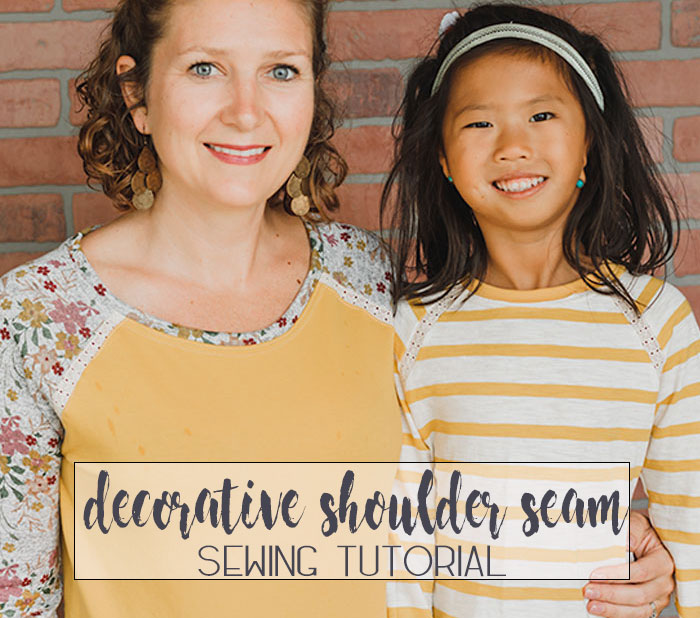


- Decorative shoulder seams
- Add a zip collar
- Make a raglan dress
- Add a hood, or make oversized
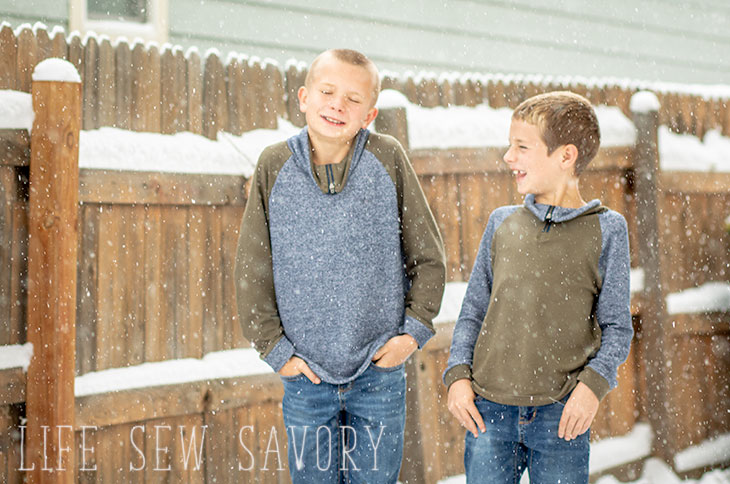
- Drop shoulder raglan sweatshirt for kids
Raglan Sleeve Gathered Shoulders
How cute is this look? I love the way this sewing hack turned out and it was pretty easy as well! All you need is some fabulous fabric and a raglan shirt sewing pattern. I’ve used my women’s free raglan pattern that you can download using the button below. I used a light sweater knit for this shirt, and I already have plans to make another one in a waffle knit. Any fabric that you would use to sew the original raglan top can be used for this sewing hack.
Gathered Shoulder Raglan Tutorial
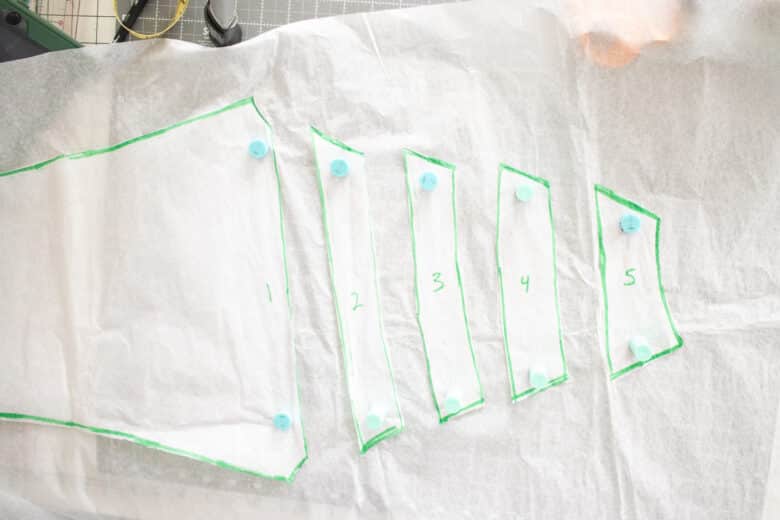
Ok, start by tracing the sleeve for the size you want. I outlined in green, just to make it easier to see here.
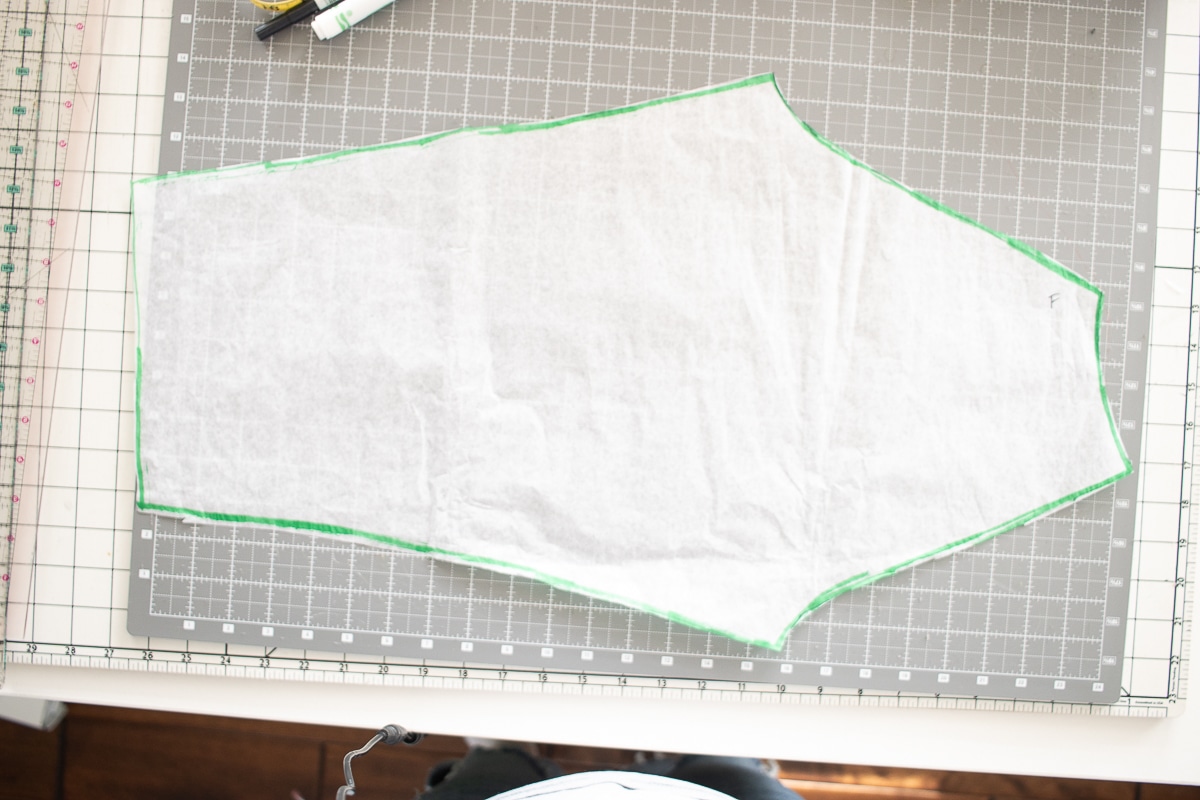
Draw a line down the middle of the pattern. This will help keep it all lined up when you cut it apart and put it back together. When I just made this again recently I cut the pattern apart at each 1-1.5″
These are photos of my original attempt without the line down the middle. I would still place on top of the tissue, but I would add the line down the middle to help with the lining up.
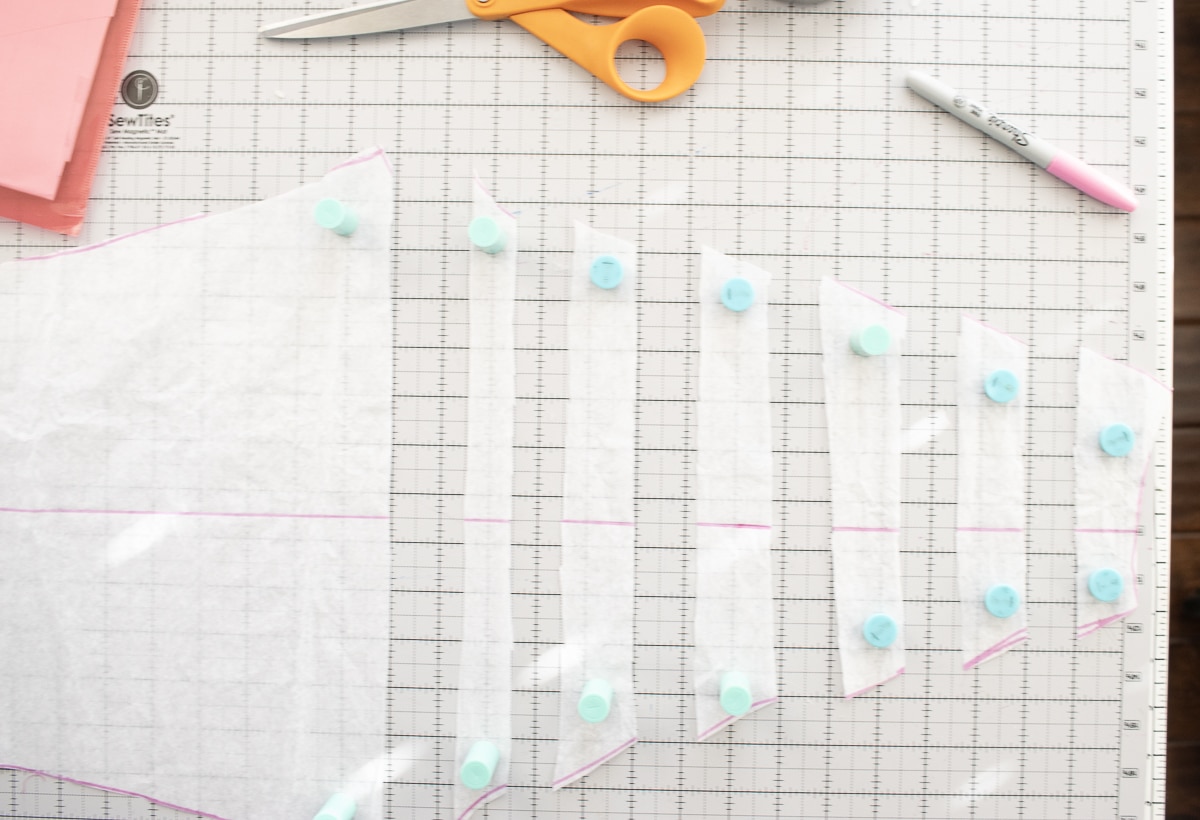
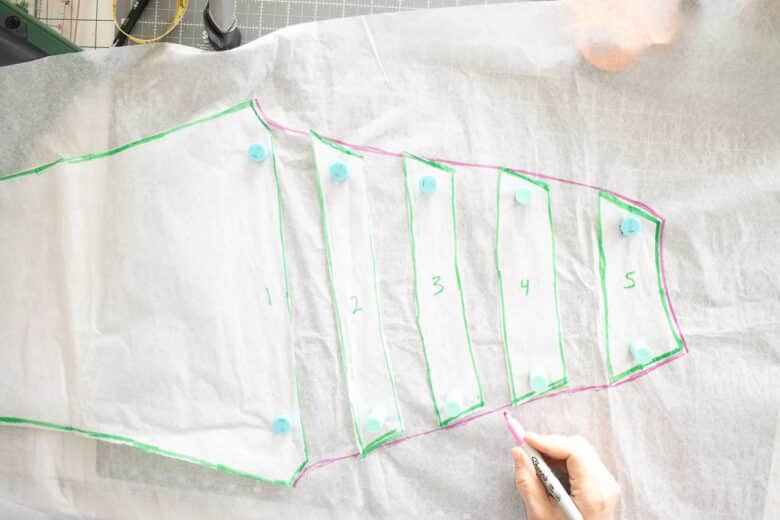
Grab a new piece of tissue and spread out the pieces of sleeve to extend the size. Try to keep the piece straight and evenly spaced out. I had about and inch between each piece… and I would do a but more next time. Trace a new sleeve shape from these pieces.
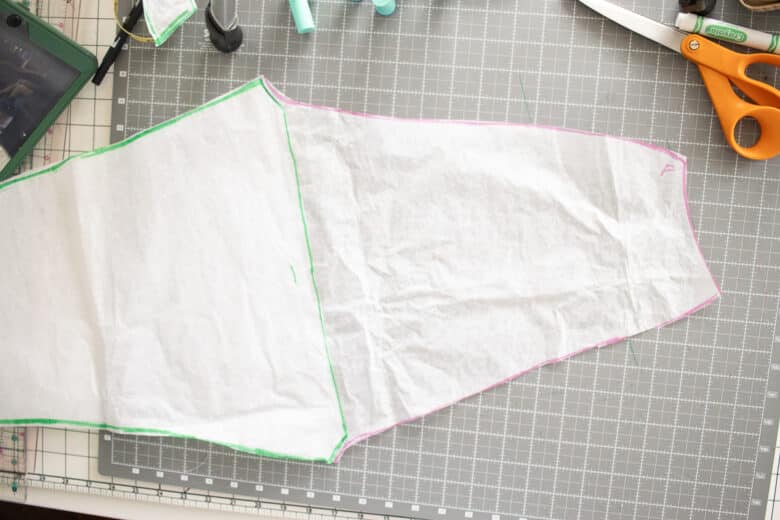
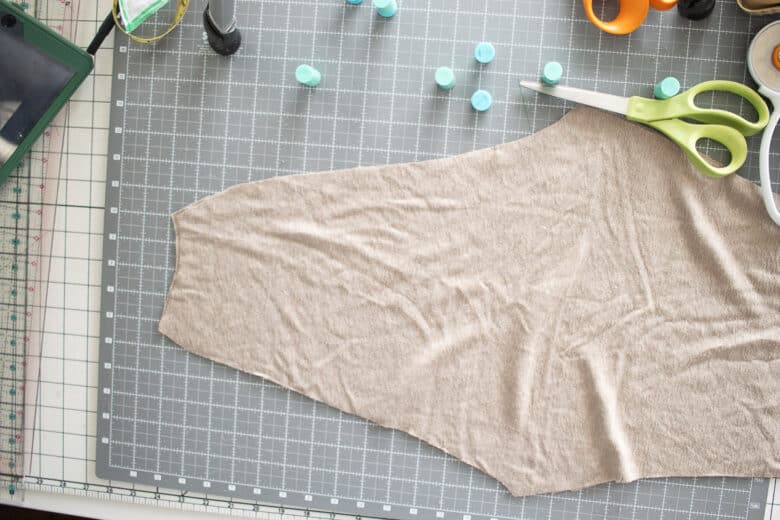
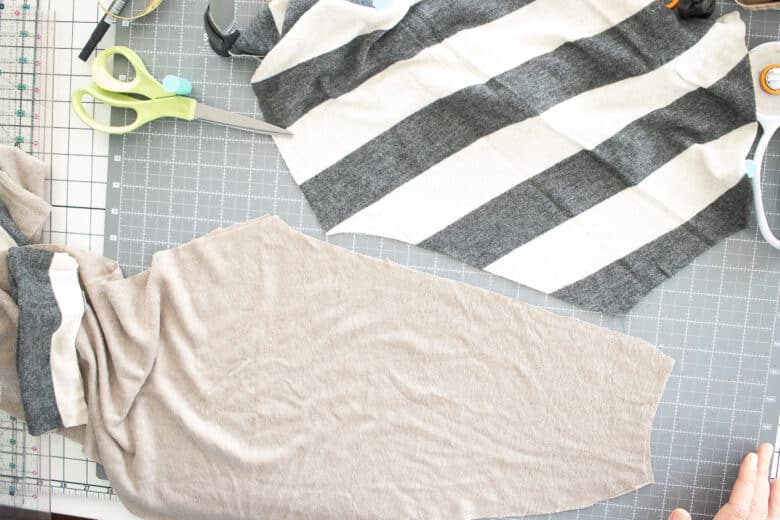
Now you have a new sleeve pattern. Cut two from fabric in mirror. Make sure to mark the back and front.
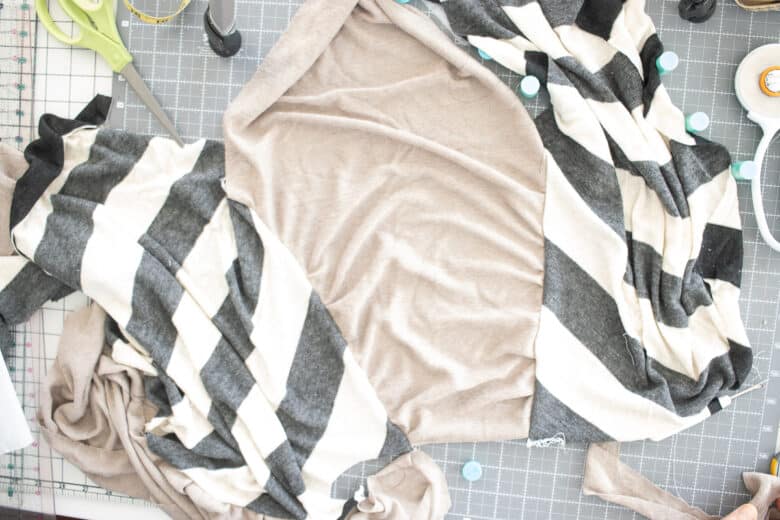
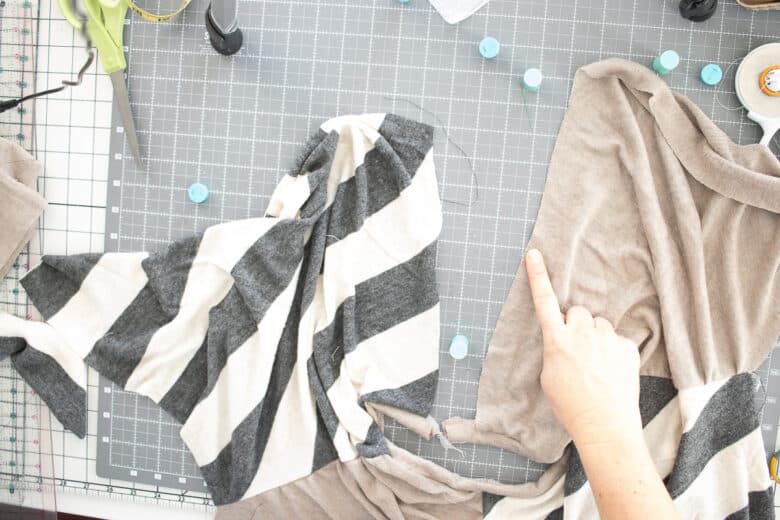
Take one sleeve and match to the front or back shoulder. Gather the sleeve side to match the shoulder and then sew together. Sew the other side of the sleeve to the other shirt piece. Sew the other front shoulder in place, gather each side of the sleeve to fit. Need help gathering? Check out my gathering tutorial post.
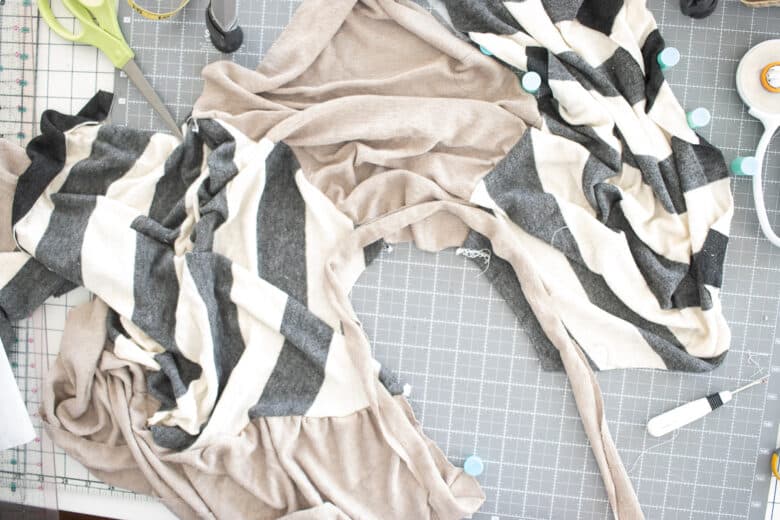
**If you want to make a lower neckline, do so after you have sewn all the sleeves to the shoulders and before add the neckband. I cut about a half inch from the shoulders/sleeves about 1″ from the front shirt. I did not cut any fabric from the shirt back. **
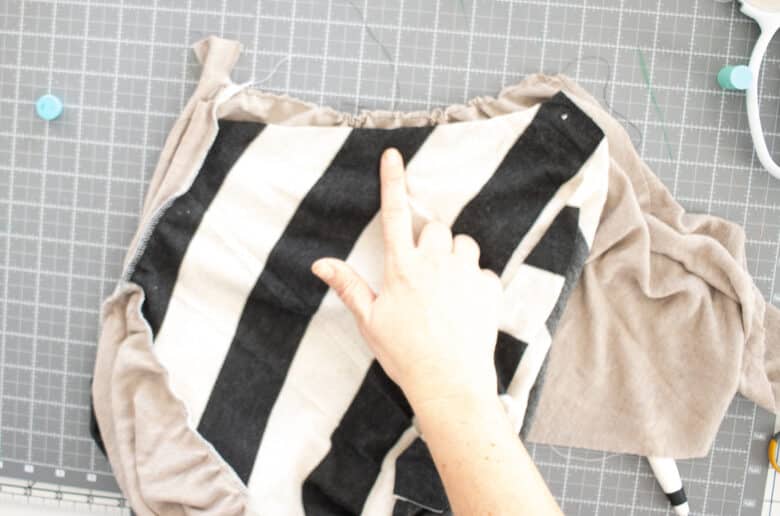
When you just have one back shoulder left to sew, add the neckband. When I’m using sweater fabric I cut my neckband wider, around 2″. You are going to sew up the rest of the pattern really as directed in the original tutorial. Need a link? Here’s womens raglan tutorial.
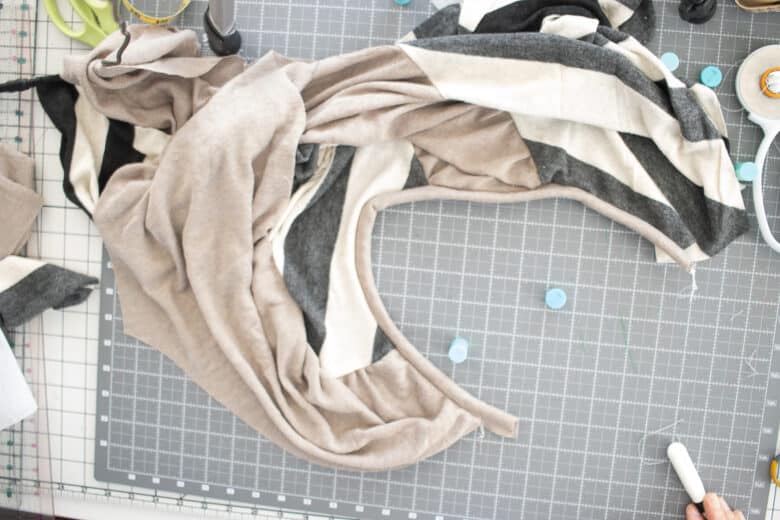
Gather and sew up the final shoulder.
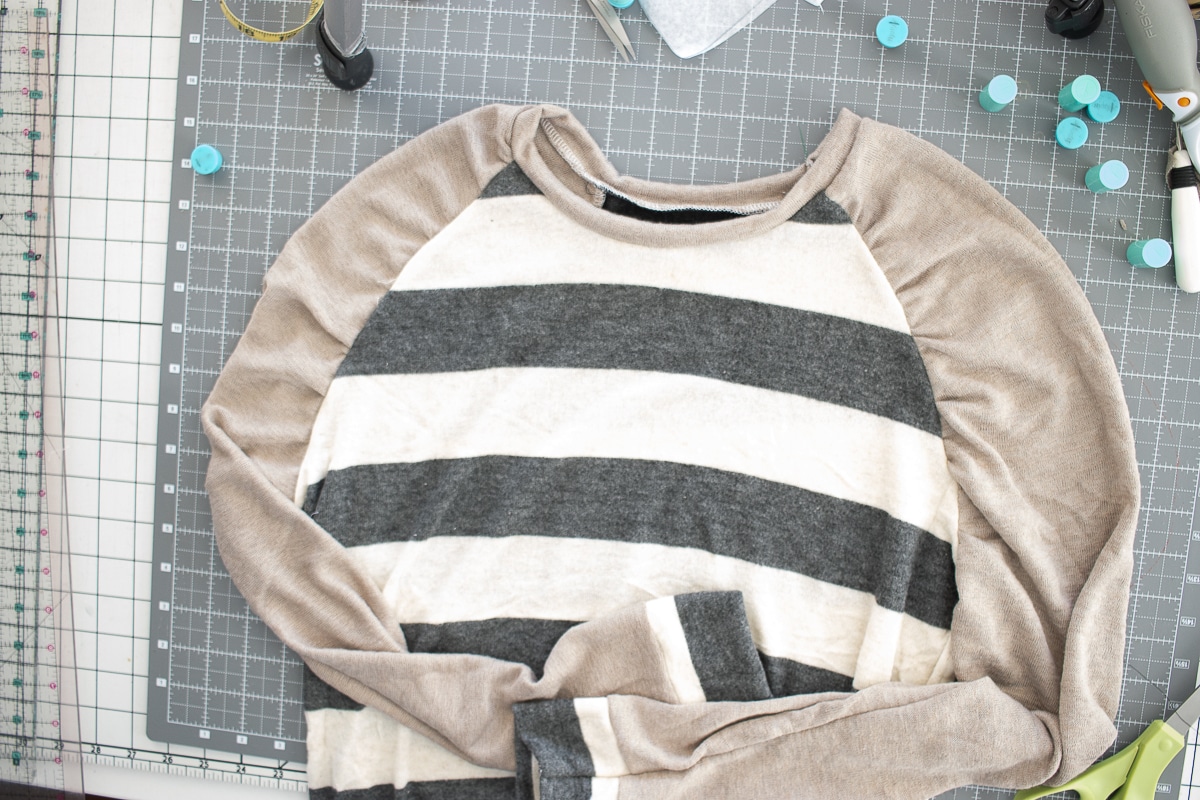
Sew the cuffs, side seams and bottom band to finish the shirt. I think it’s so cute and makes me want to buy more fabric… although I’m trying to use up some of what I already have!


Leave a Reply