inside: Learn how to sew up a free tank pattern to create a fun and easy summer top. The style is more fitted at the top with a bit of a flare at the bottom. A great free tank pattern for hot summer days.
It’s free pattern time again! This week I’ve got an adorable girls free tank pattern for you all. It comes in sizes 18M-6Y and sews up fast and easy. Your little one needs a few of these in her wardrobe for summer. I know my daughter does!! This free tank pattern is true to ready made Old Navy sizing and is a classic slim fit girls tank. Make sure to check out all my Free sewing patterns here. {Post updated 6/2021 with new photos}
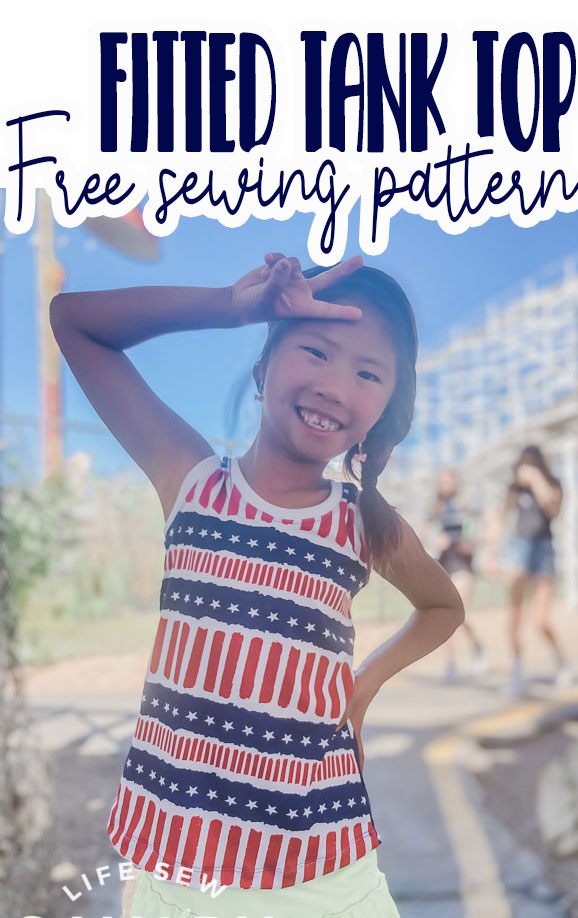
Fitted Free Tank Pattern
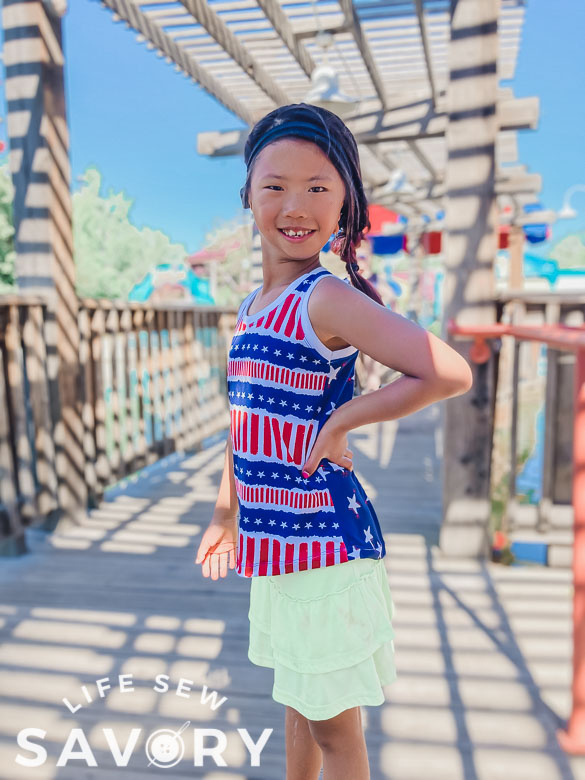
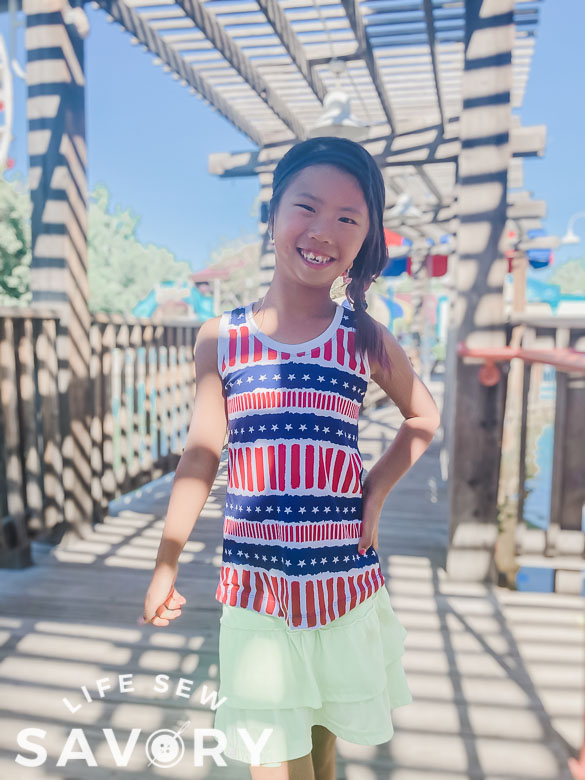
My daughter is living in comfortable clothes that she can be active in this summer. She loves this tank {I need to make a few more!} and the Shortie Leggings {free pattern here}. I used a thin ribbed fabric for the neck and arm holes, but you can also just use more of the same tank fabric. Here is my tiny daughter in the original 18M size I sewed for her.
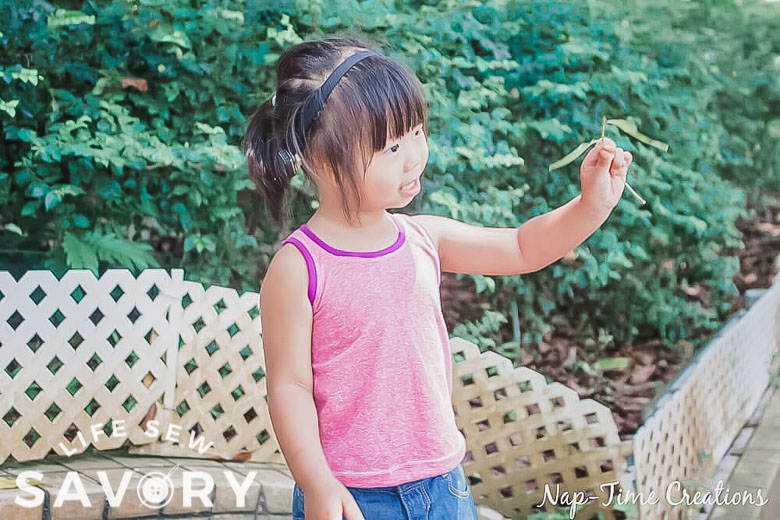
And now in the largest size!! I will need to add sizes to this pattern.
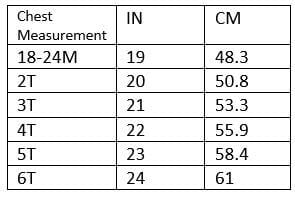
Tank pattern size chart –
Here’s the size chart so you can see if this will work for you. All sizes should be able to be made with 1/2 yard knit fabric. A thin t-shirt fabric {or upcycle and old one} should work great for this tee.
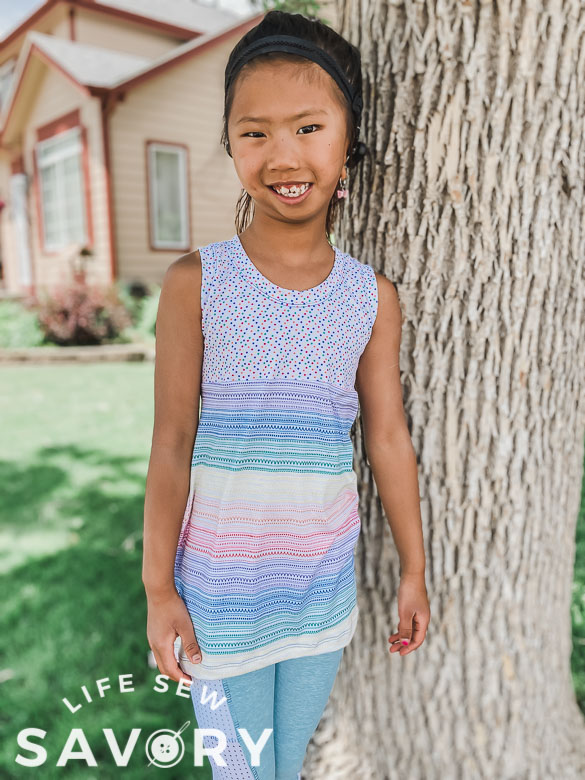
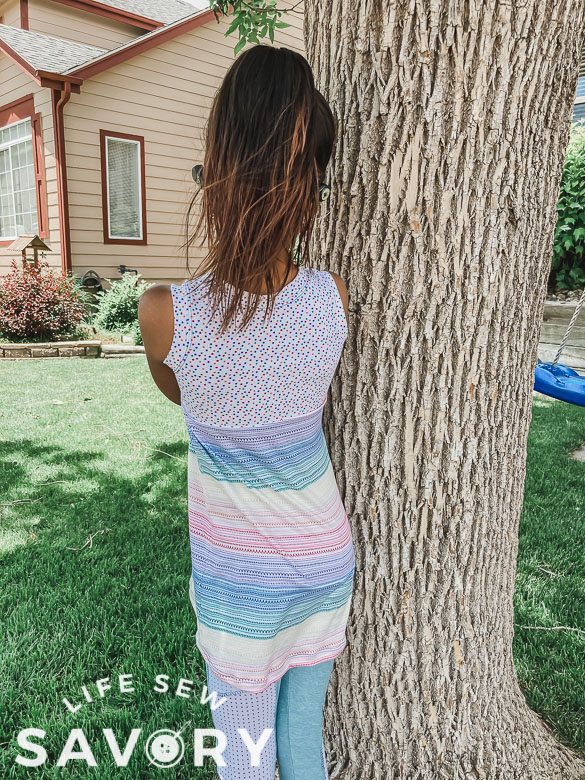
I also made one of these tank tops in a tunic length. I think it’s so cute! In addition to the tunic length I had to color block it because I was short on fabric. Here are some great tips on color blocking.
I cut the top 2″ under the arm to sperate the top and bottom. I added about 5″ to the length of the back of the tank and slight less to the front. I used the high-low concept for the hem of my tank. You can get find more details on creating a high-low hem here. Use these tips to color block or create a tunic length top.
How to sew a tank top from a free pattern
You will need 1/2 knit fabric and coordinating ribbed fabric or the same knit fabric for the bindings. You will head over to my shop to print the pattern, {button below} then keep reading to get the directions for putting this Girls Free Tank Pattern together.
Okay… so.. did you PRINT the pattern yet? Start by doing that.. then choosing your size based on this chart. You can easily adjust the length, so I’ve only given you the chest measurement. You may want to compare the length to a top you have that fits or just hold up the pattern pieces to your child to see if you need to lengthen or shorten.
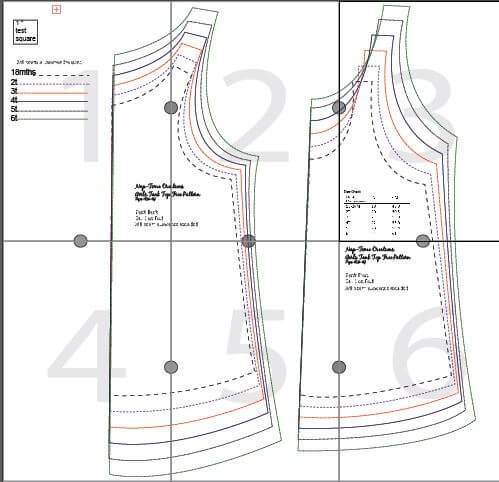
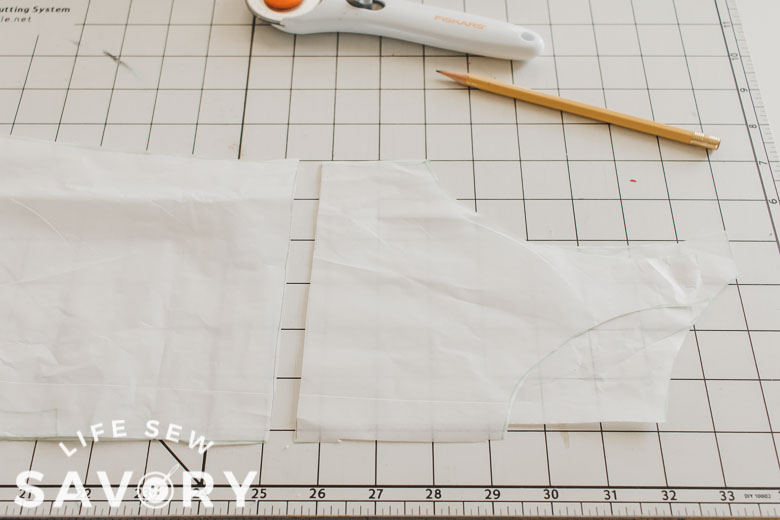
You will trim and tape the pattern together… and it should look something like this… remember to print at %100 or actual size, check the test square after printing.
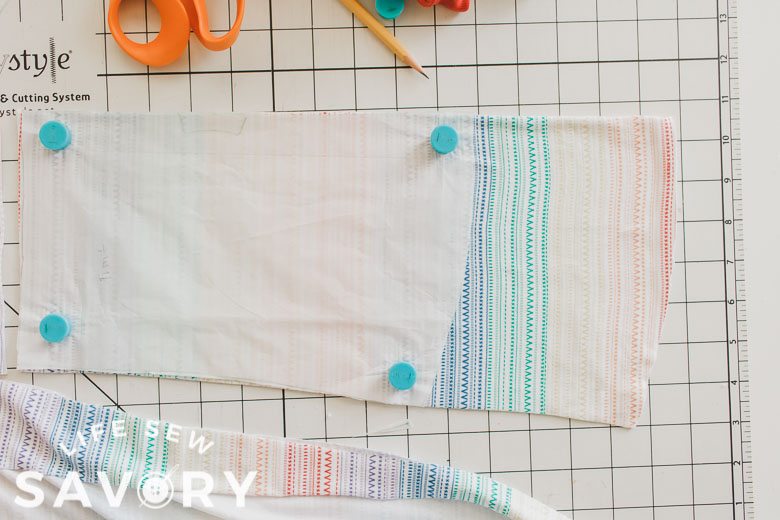
Cut out your tank front and back on the fold.
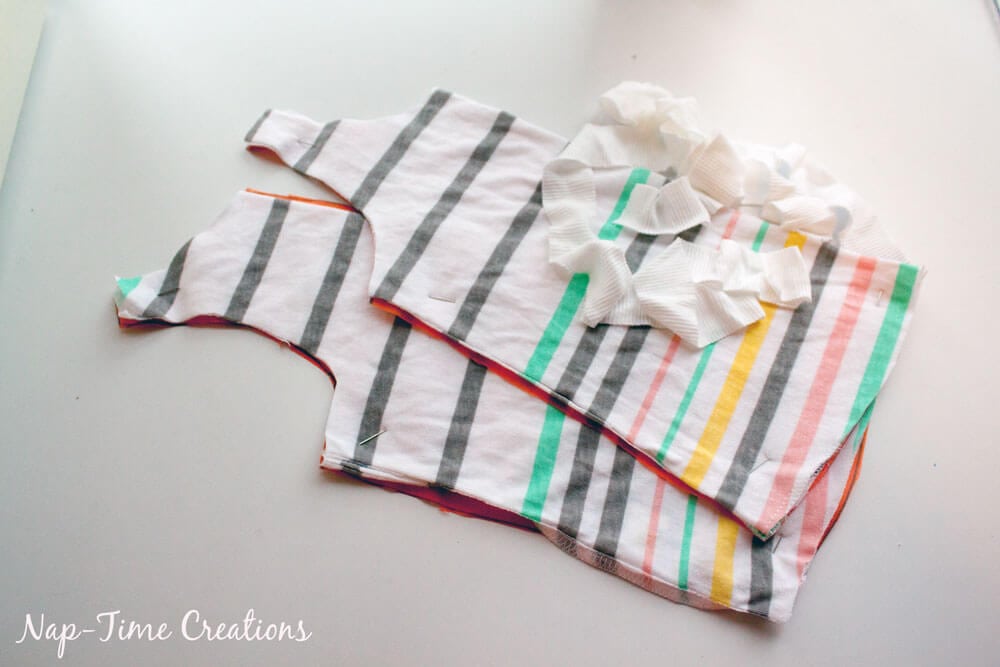

Use this chart {the same one is also on the pattern pieces} to cut your neck and arm bindings. This is based on having very stretching ribbed binding fabric, if you are using a less stretchy fabric, you may need to add a bit of length to these measurements. I would cut your pieces longer and you can always trim if not using ribbed fabric. {the original chart posted had correct measurements, but the arms/neck were switched, updated 5/24}
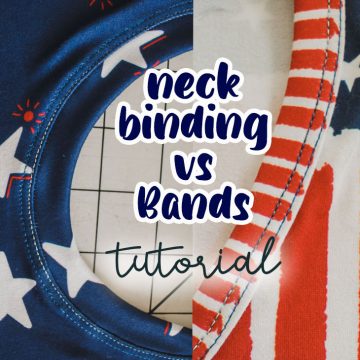
You can also check out my post on bands vs bindings, both methods can be used for finishing the neck and arms of this tank pattern.
Line up your tank at the shoulders right sides together and sew ONE shoulder. All seam allowances are 3/8″ unless otherwise stated.
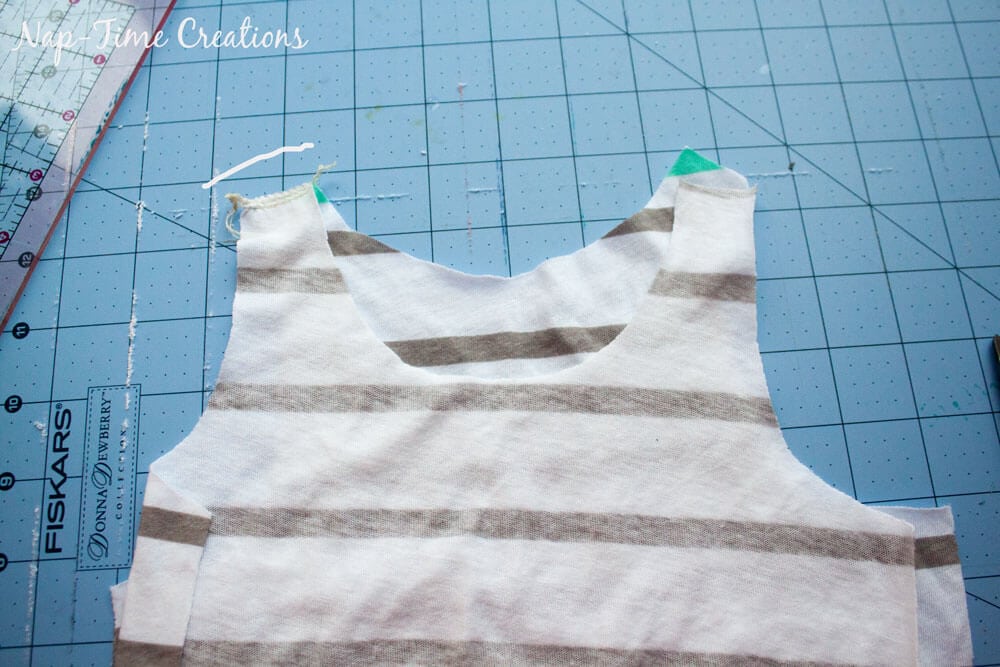
Open up the neckline and starting at the open shoulder pin the neck ribbing around. With wrong sides together and the neck band folded in half, pin the two ends, and the middle and stretch the in between evenly around the neckline.
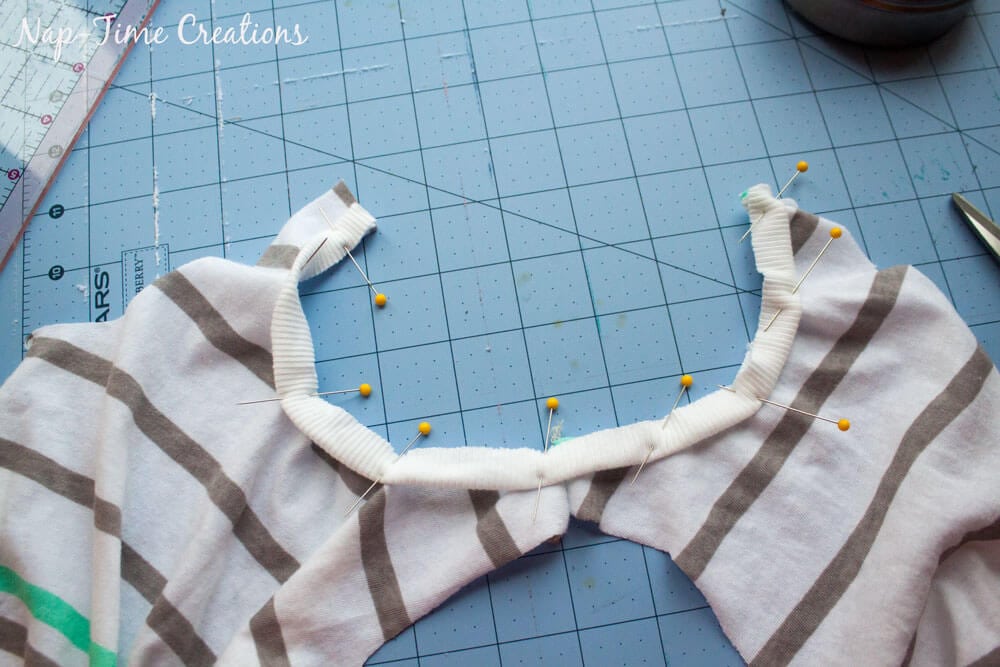
Sew with a serger or a zig-zag stitch on your normal sewing machine around the neckline. I use a narrow seam allowance here, just sew on the edge.
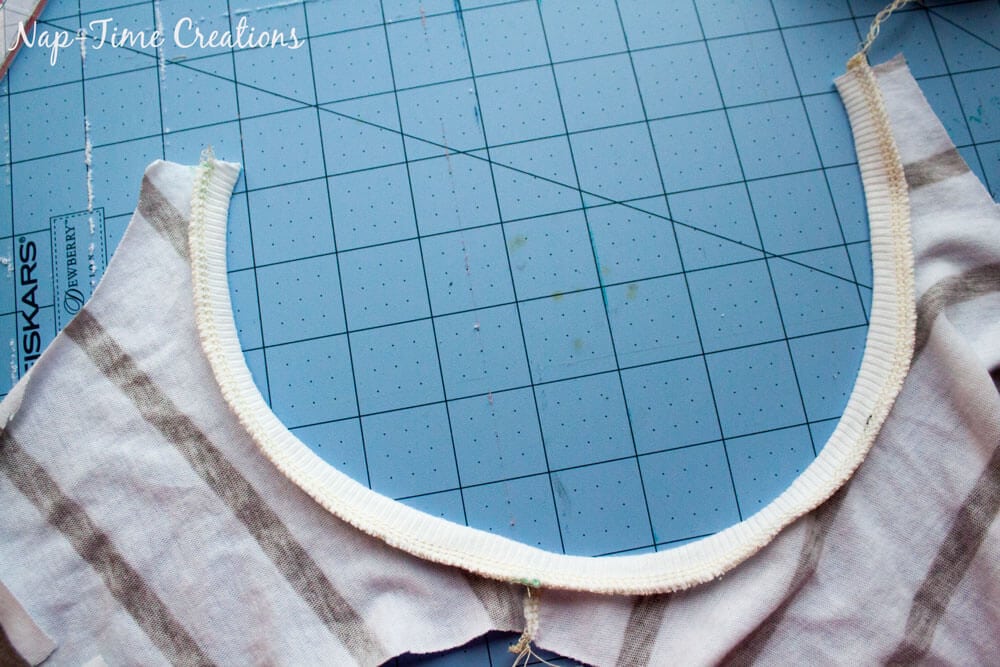
Sew the other shoulder together, with right sides touching and top-stitch around neckline with a stretch stitch or I like to use my double needle with wooly nylon thread {see my video tutorial here}. Secure the seam allowance of the neck back with some stitched to hold it down {the pin stitching on the left shoulder here}
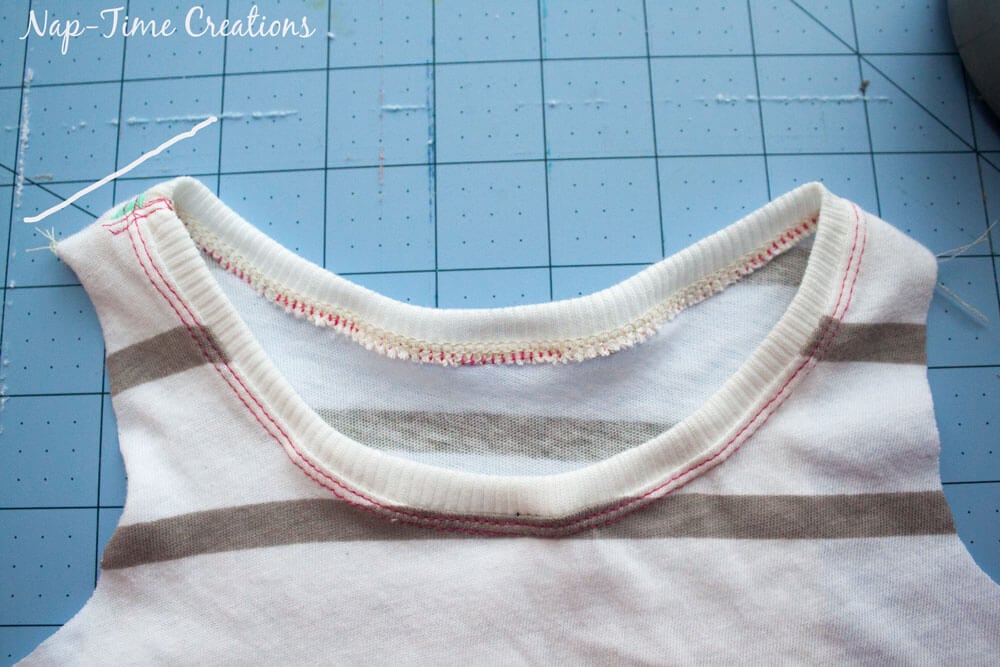
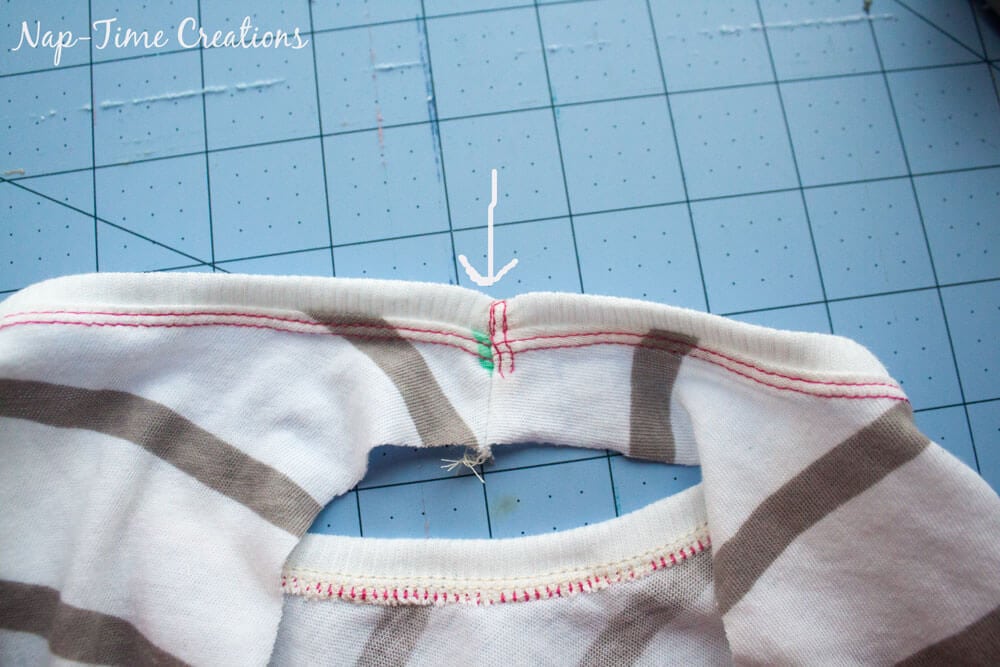
Pin the arm bands in the same way as the neck band. Fold the band in half with wrong sides together and pin the ends and middle, then stretch to fit.
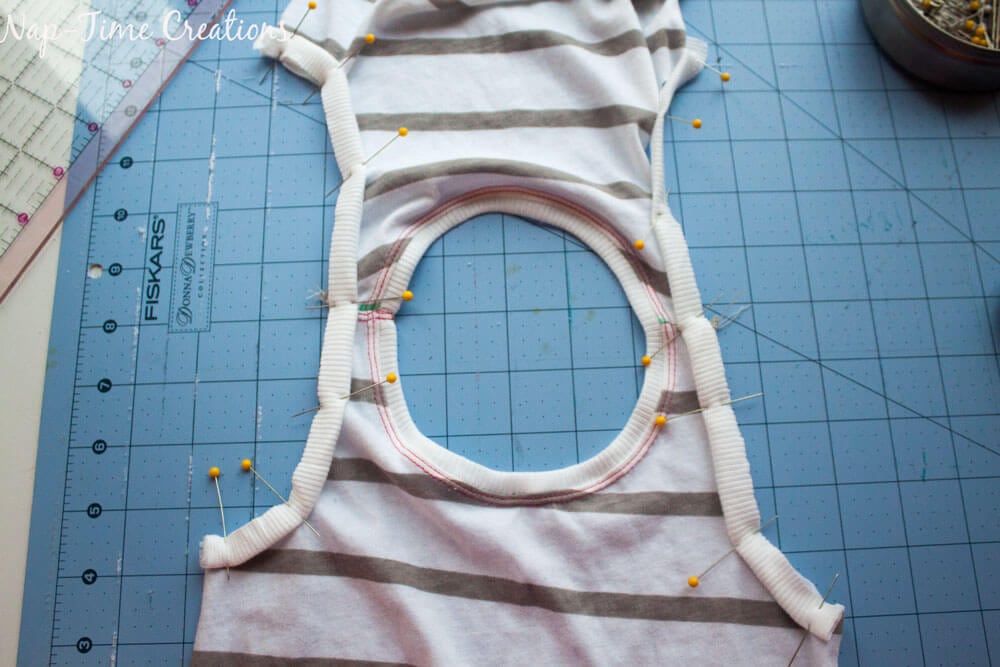
Sew and then top-stitch the arm bands.
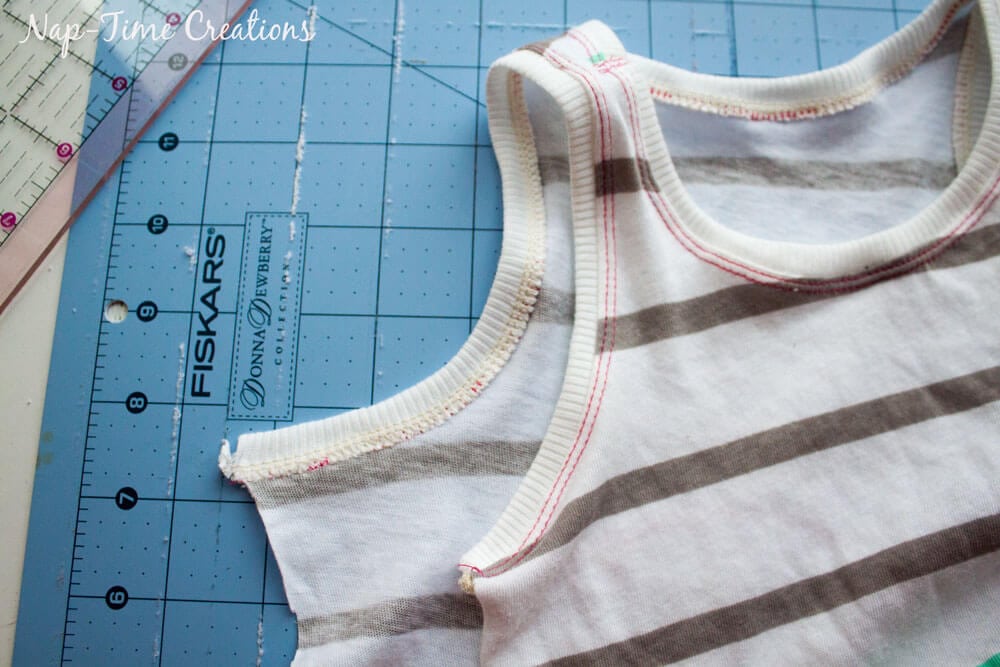
Sew up the side seams and tack down arm band seam allowances.
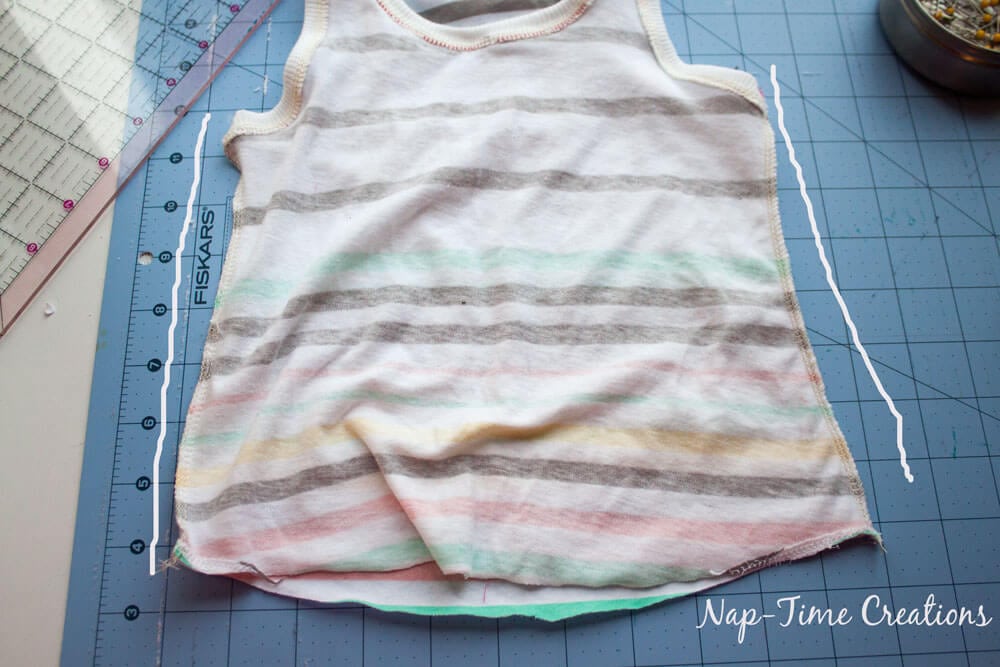
Turn up a 3/4″ hem and sew with a stretch stitch or double needle.
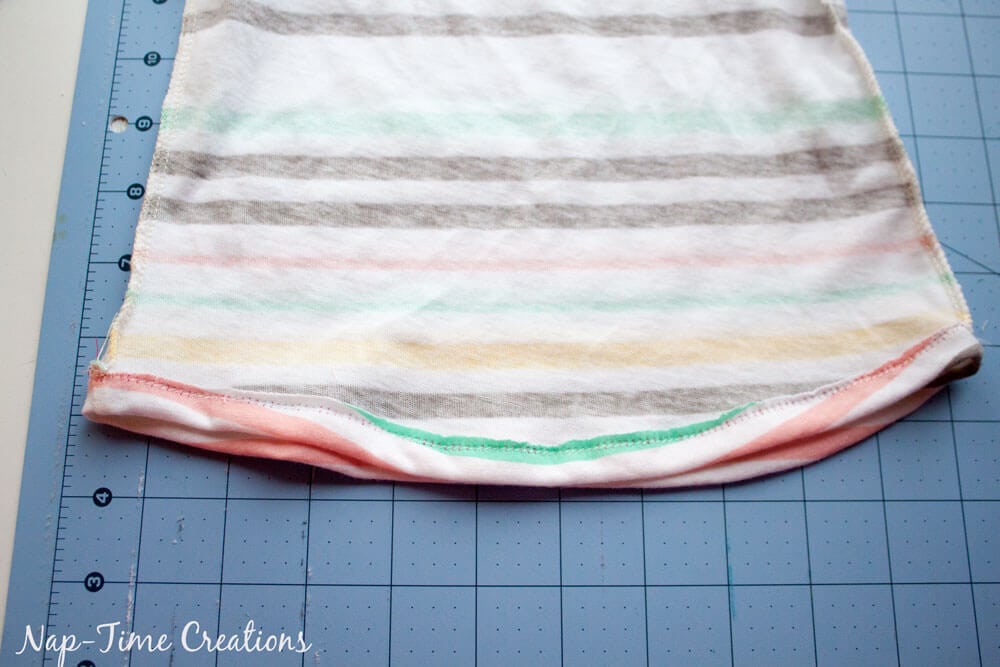
And you are finished! So cute right? I love the curved hem and the fit is super cute on my daughter. You can add length if you want a bit longer tank. I may try that on my next one. {which I did finally! See my notes near the top for the longer length tank}
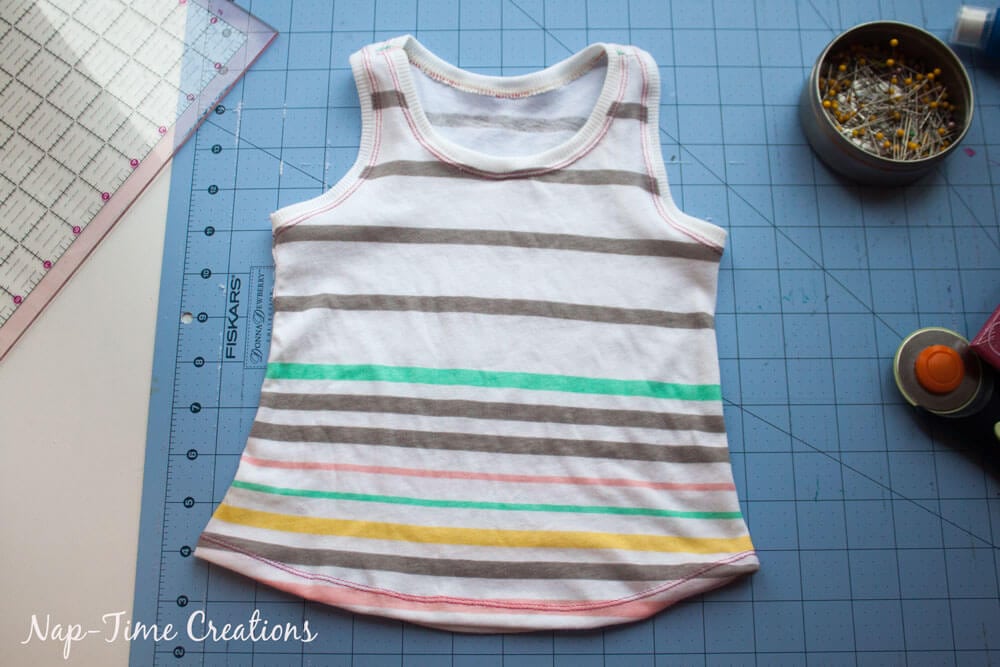
You can head back to the main page to see the modeled style shots if you want.. and one more link to MY SHOP to PRINT the pattern if you need.
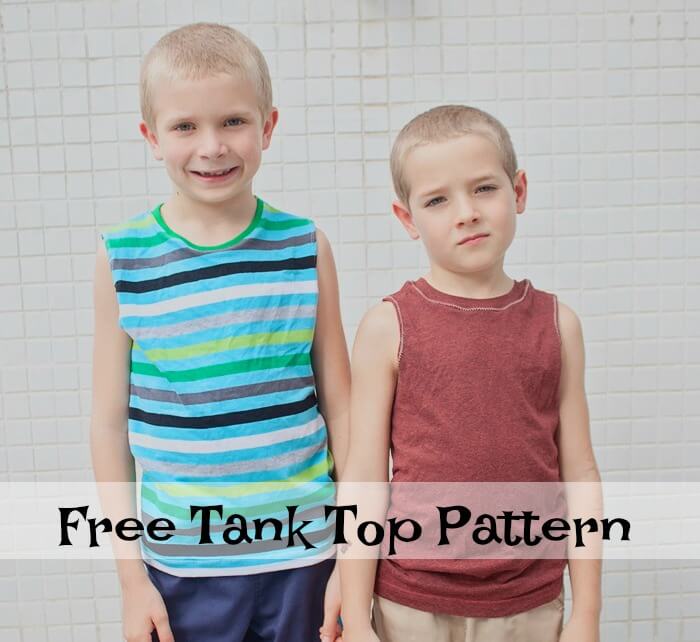
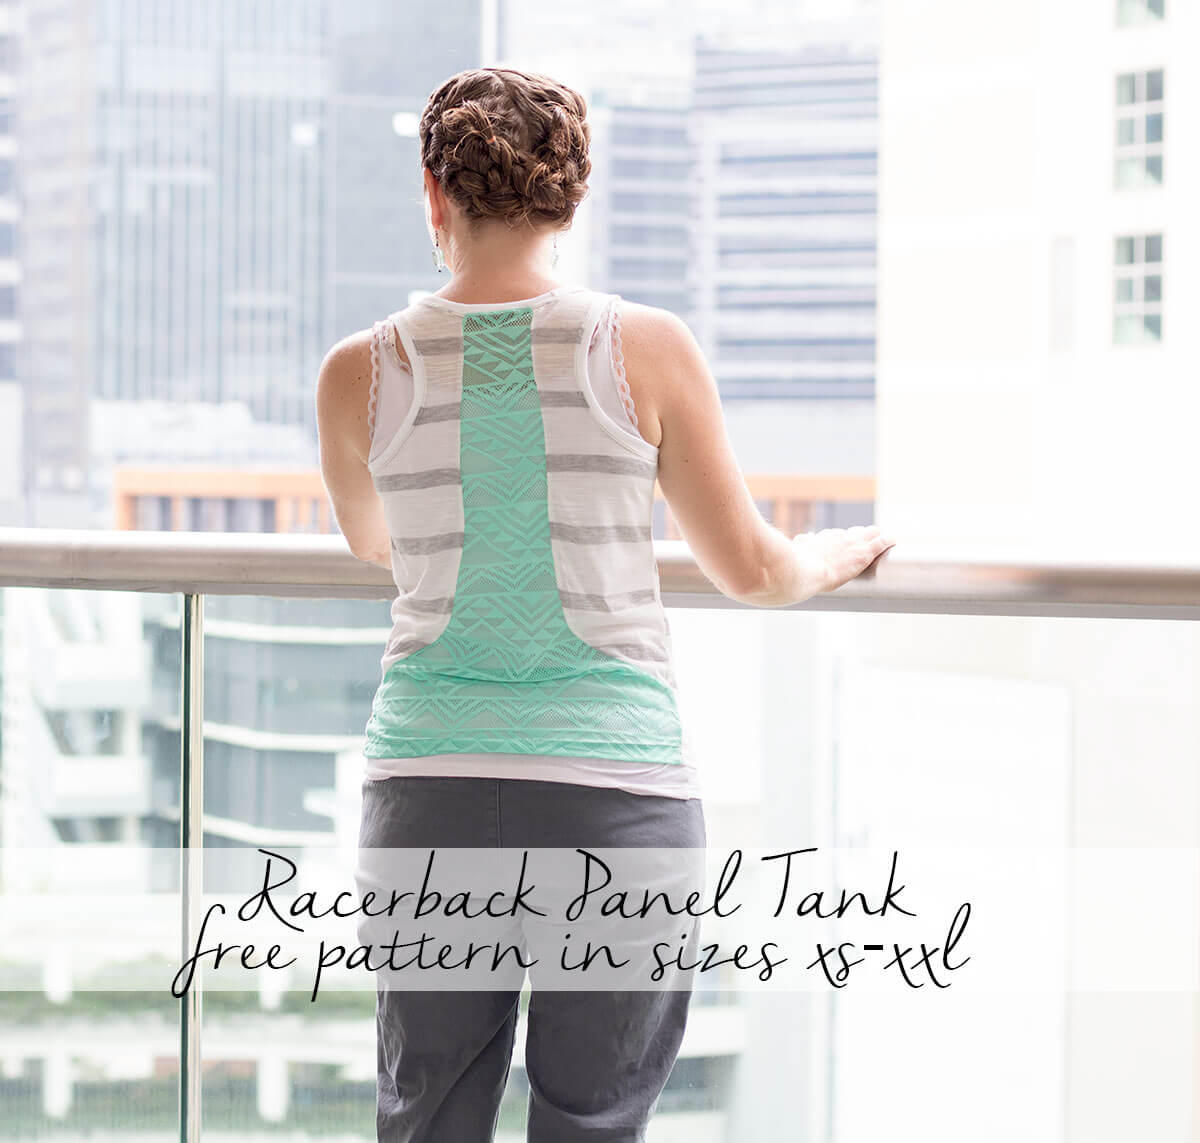
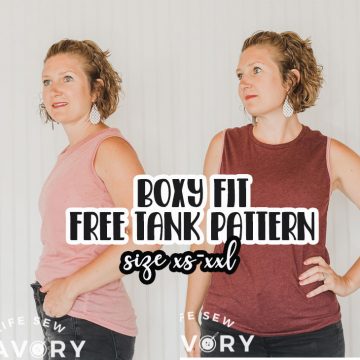
More free tank patterns:





Anne says
Perfect for summer play time!! I’ve got a Craft Gossip post scheduled for tomorrow afternoon that features your free pattern: http://sewing.craftgossip.com/?p=88071 –Anne
Lisa @ Fun Money Mom says
These look so comfy and perfect for summer! Thanks so much for sharing with us at Share The Wealth Sunday! xoxo
angie says
summer heat has us all looking for something to keep us cool. These cute little tanks can help keep the little ones cool. Thanks for sharing and the pattern as now everyone can make adorable tanks
come see us at http://shopannies.blogspot.com
Maria says
Love this! My daughter is most comfortable in tank tops over the summer as well, so I’m so glad I found your pattern this week. I’m definitely going to attempt to make a few of these! Thanks for sharing this with us on #shinebloghop! Happy to have you join us 🙂
Crystal says
These are some adorable t-shirts. Thank you for giving us a tutorial on how to make them ourselves.
Thank you for sharing this with us on the #HomeMattersParty. We hope to see you again when we open our door at 12 AM EST on Friday.
madden mobile coins says
say thanks to so a lota lot for your internet site it aids a great deal
Keren Bigman says
Thank you so much for this easy pattern that is a lovely slim fit. I have made several for my little granddaughters and they love wearing them. I can’t figure out how you attach the bindings and then join them up so neatly, so i just make them into a circle and sew them in that way. I also cut the back armholes out a little more to make it more of a racer back (as per requested by small person.) I love how easy it is to print them out and just get cracking. Thank you for your patterns, they fit well and are easy to run up.