


inside: Check out this fun and east glitter star garland tutorial. Use your cutting machine and sewing machine to cut and make a gorgeous and sparkly star garland.
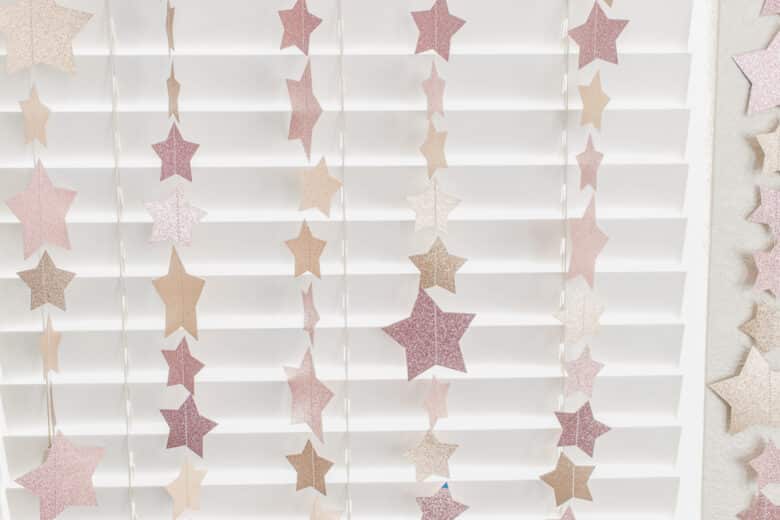
I’ve made other star garlands in the past, but I’ve finally found DOUBLE SIDED glitter cardstock and it makes these stars just so much better! These are my new favorite and if you have a cutting machine they are super simple to make. Cut out on the cutting machine, then sew together in a long garland on your sewing machine and you have a gorgeous glitter star garland.
Glitter Star Garland –
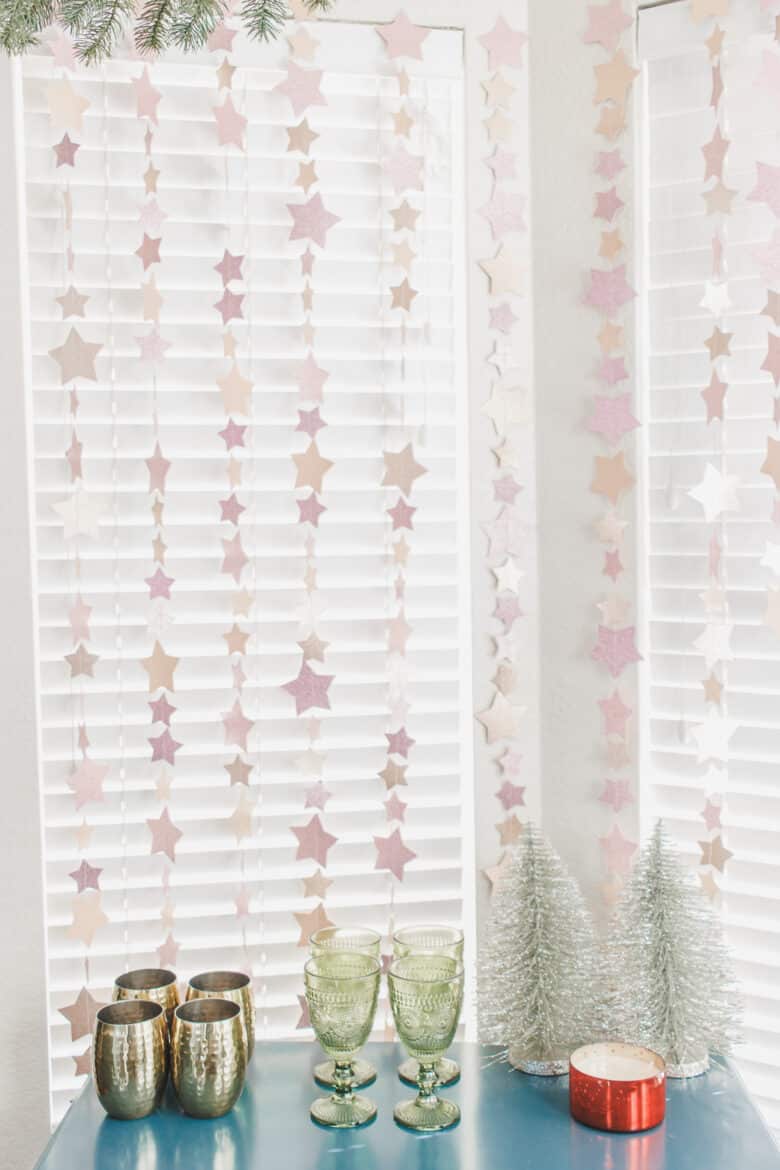
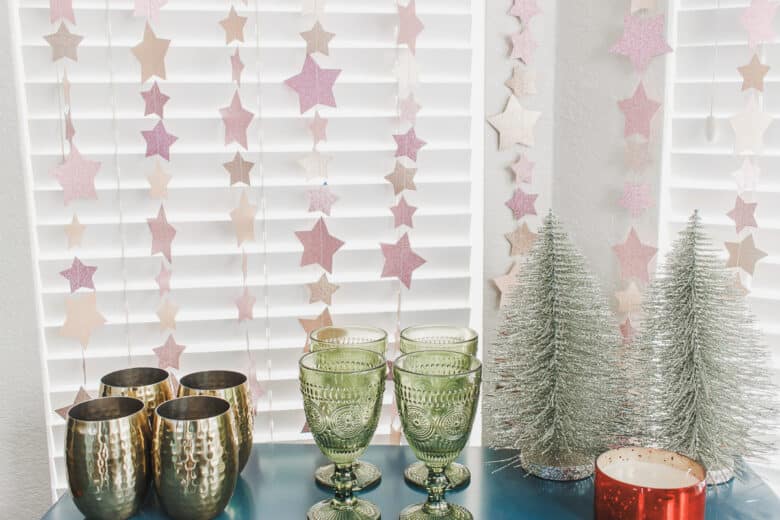
I’m excited to share this star garland AND a simple tutorial for adding some bling to your New Year’s toast!! My kids love these glitter glasses and it just elevates the simplest of party supplies. Tutorials are below!
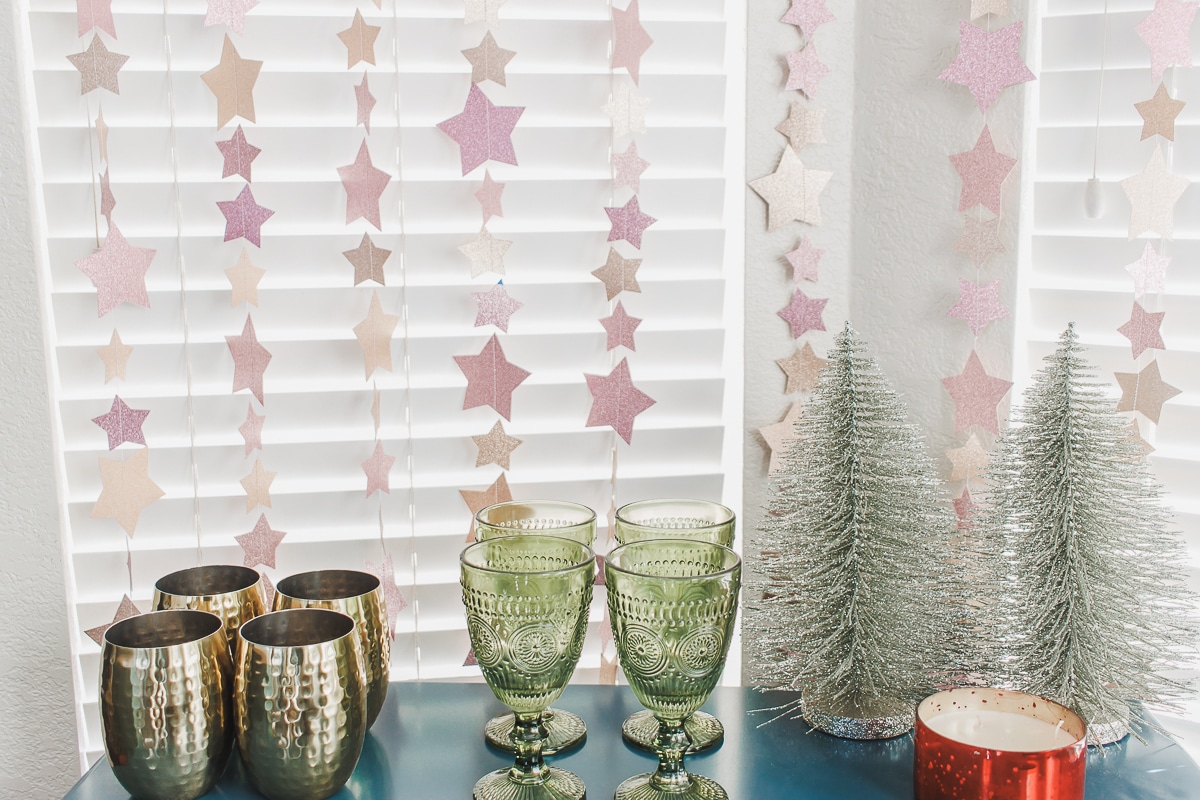
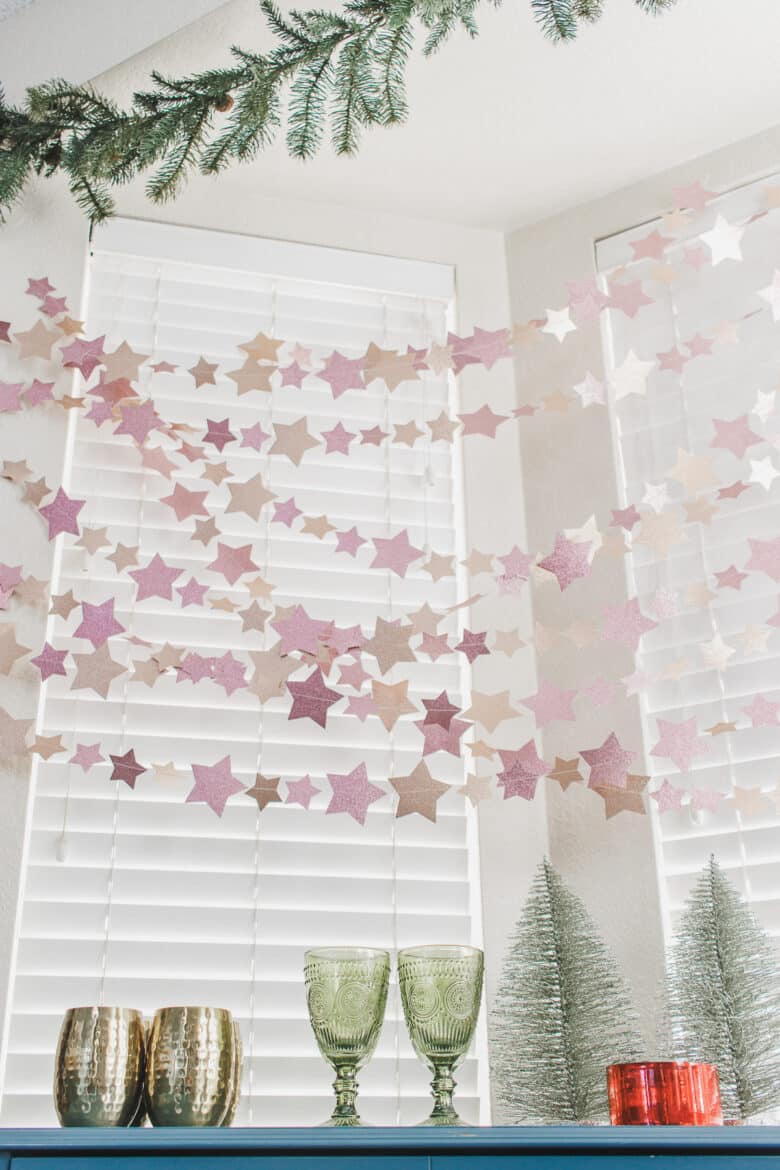
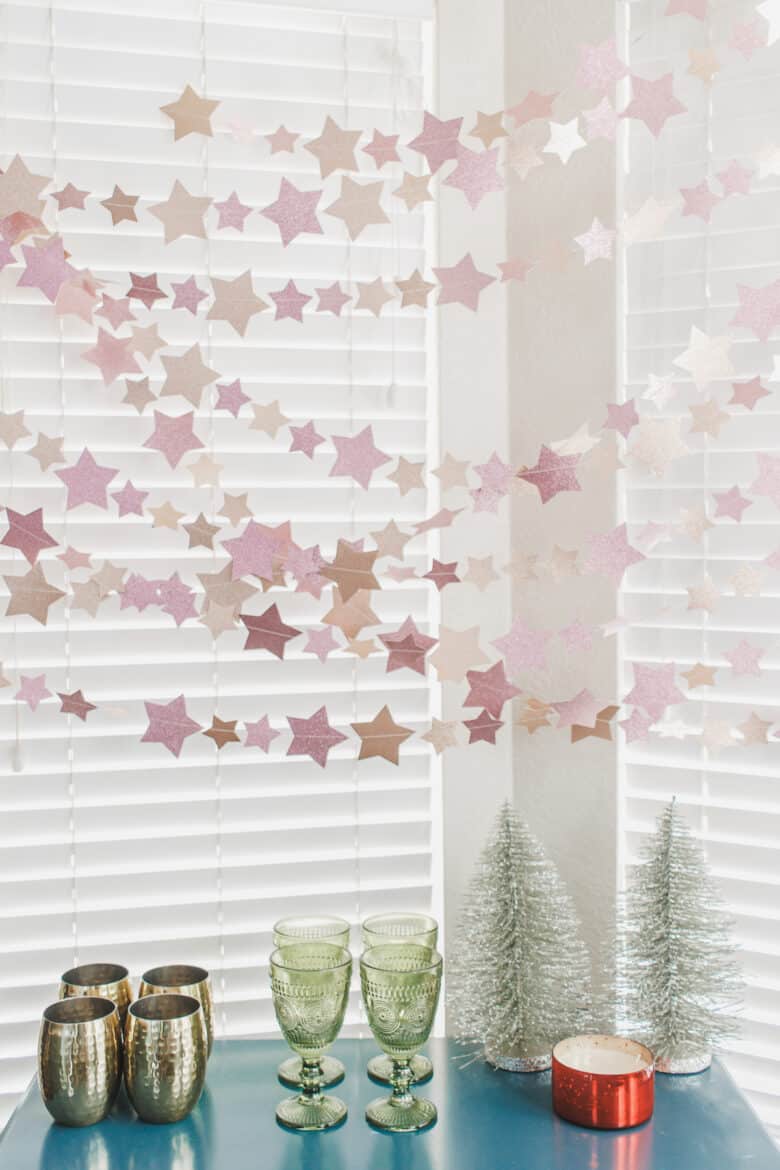
I hung my star garland two ways to inspire you, and I love both of them. The strips hanging down would be so easy to cover a whole wall and I think are my favorite.
I sewed my stars in pretty much one long piece, I did end up cutting into smaller sections to hang up.. If I did it again I may just sew into 6-8 foot sections to start, but once I get sewing I just keep going.
I takes a bit to cut all the stars, but sewing together is pretty quick and easy and I love the result. These star pieces are easy to store in a bag, untangle easily and can be kept from year to year.
The tutorial video in this post should be right here below this text. if you don’t see the video, make sure you aren’t running an ad blocker or try a different browser.
Other fun garland ideas-
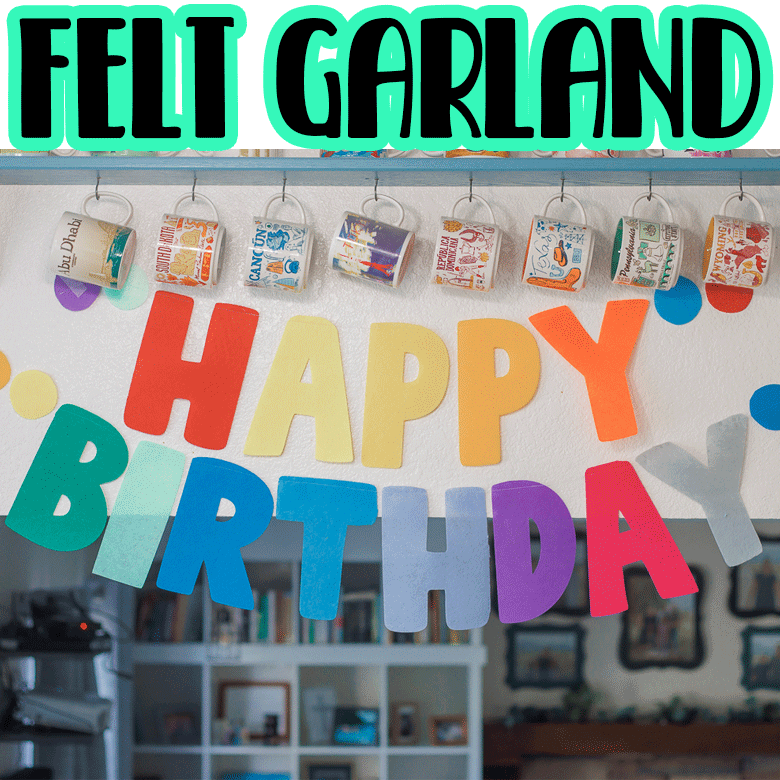
- Felt Letter Garland
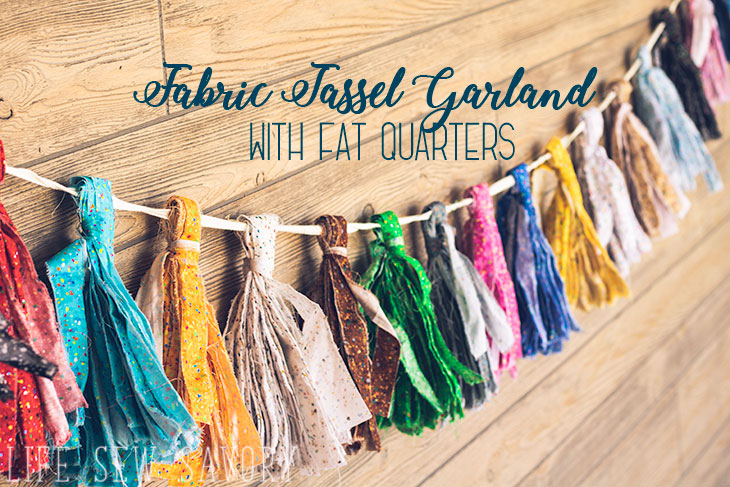
- Fabric Tassel Garland
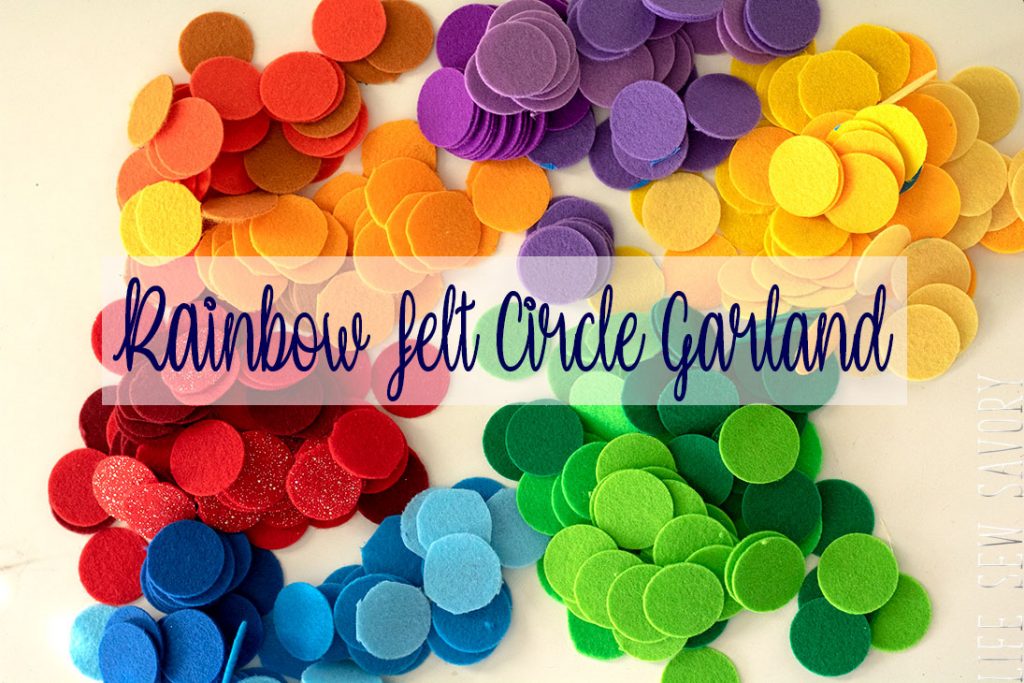
- Felt Circle Garland
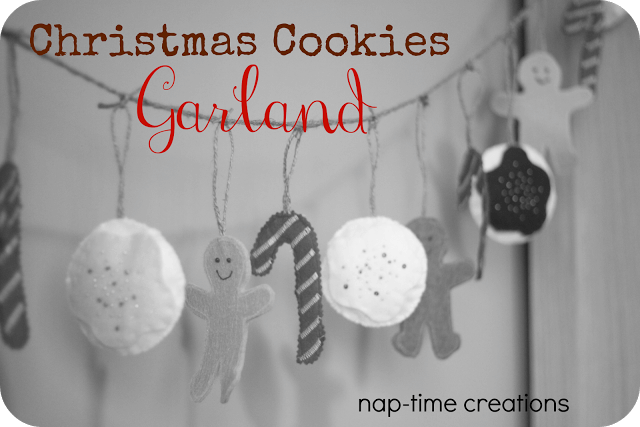
- Christmas Cookie Garland
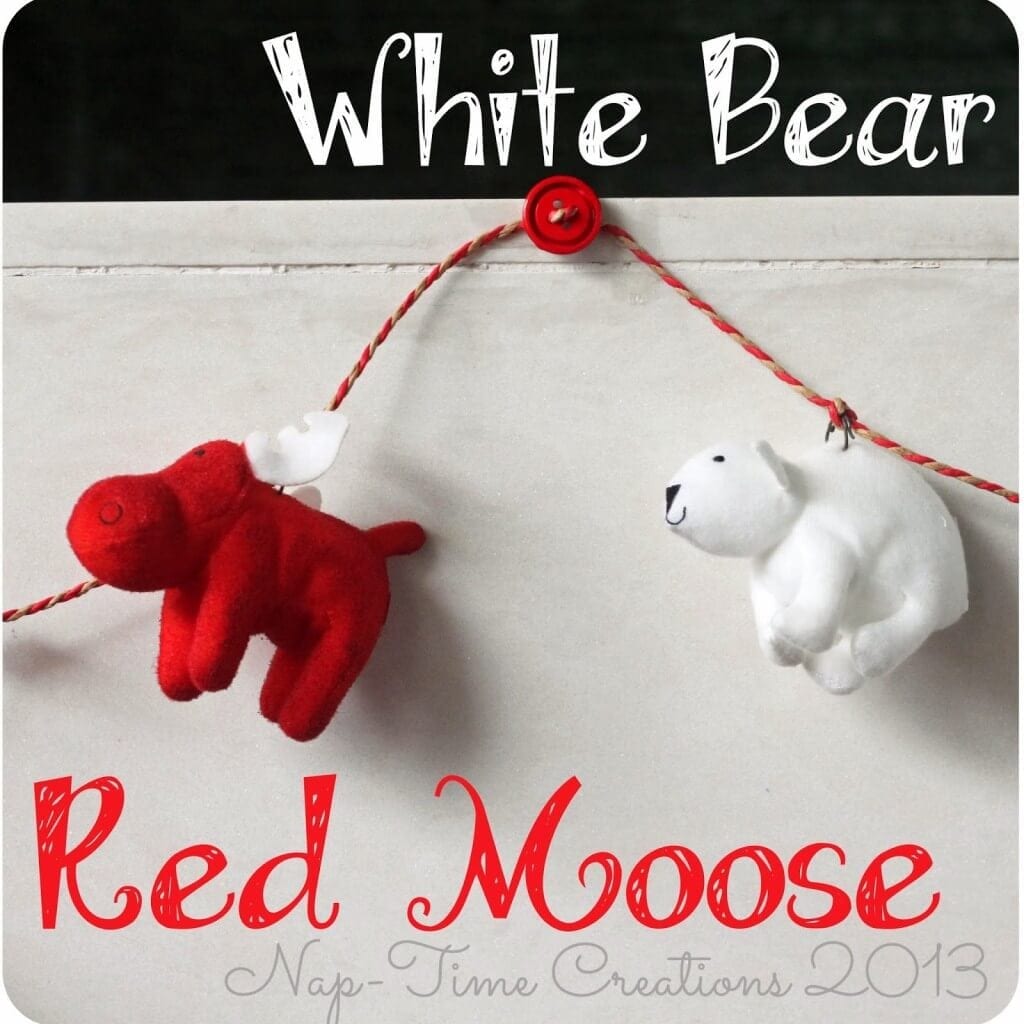
- Small Animal Garland
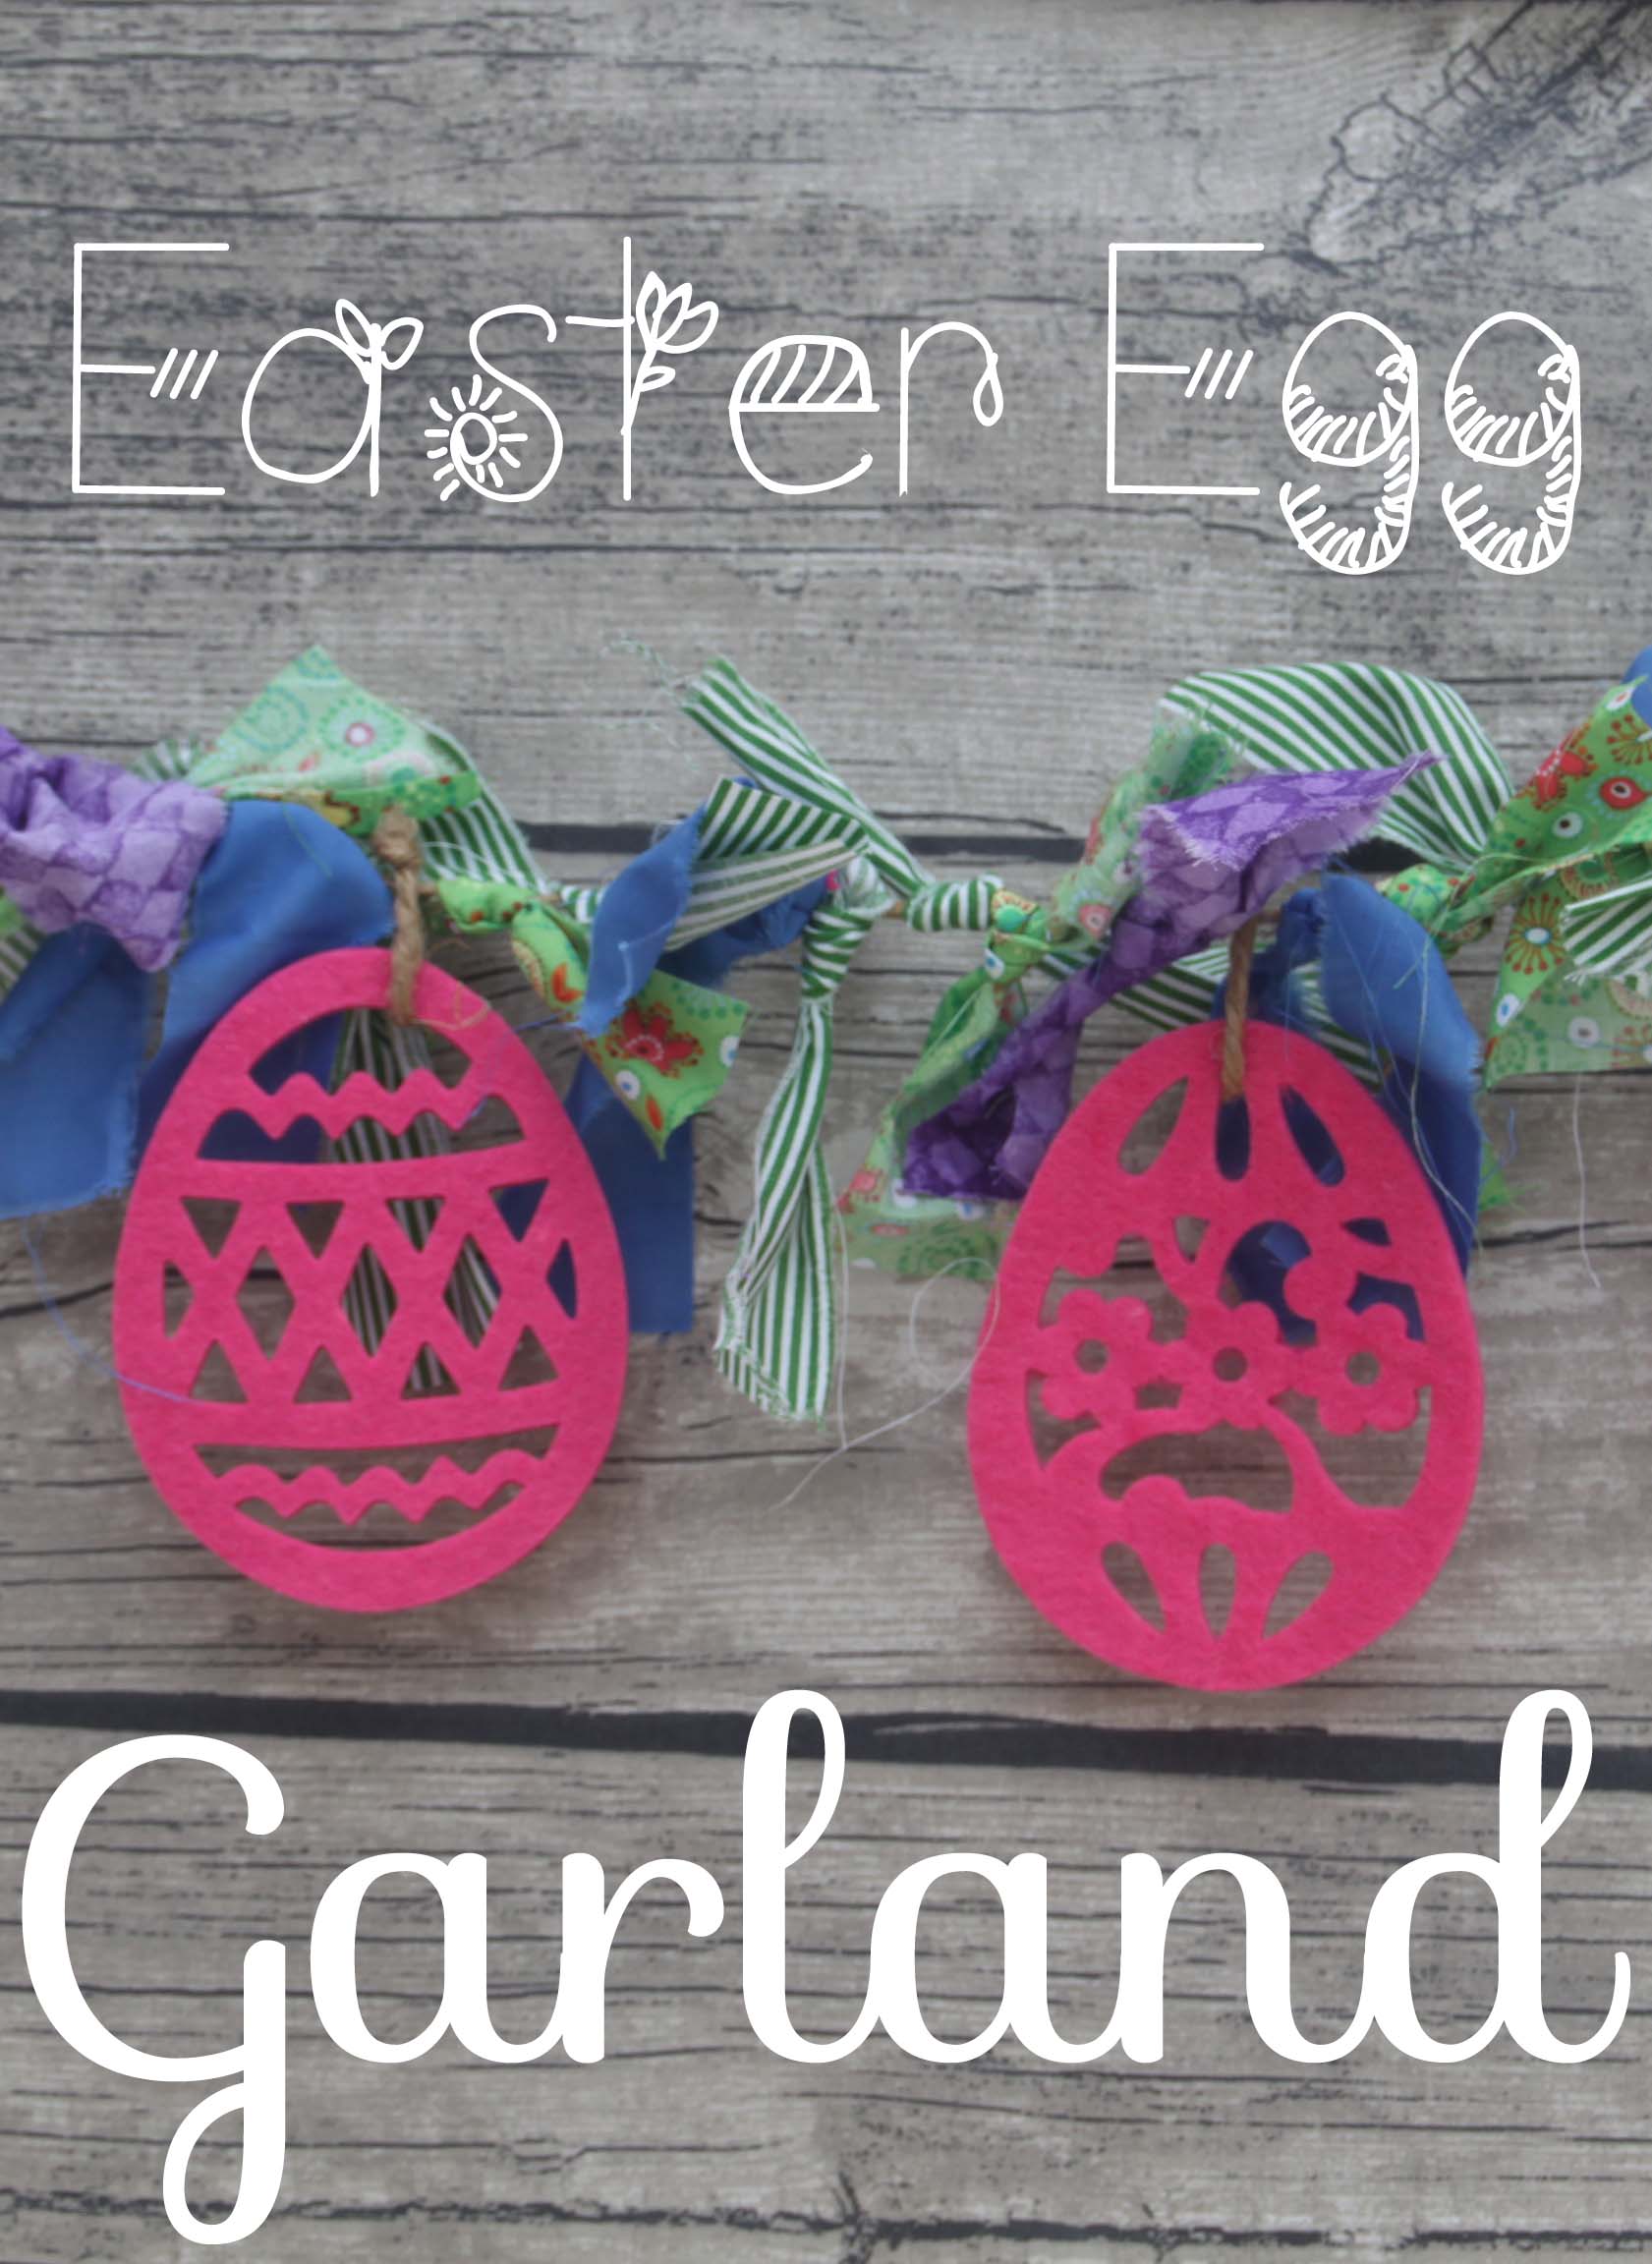
- Felt Easter Garland
Glitter New Years Garland and Glasses
Here is what you need to make this special treat for your New Years Party…{or anytime you are looking for some bling}
- Plastic Champagne glasses
- Glitter Can use multiple size glitter
- Champagne or Bubbly Apple Cider Bottle
- Mod Podge
- Cutting machine and sewing machine
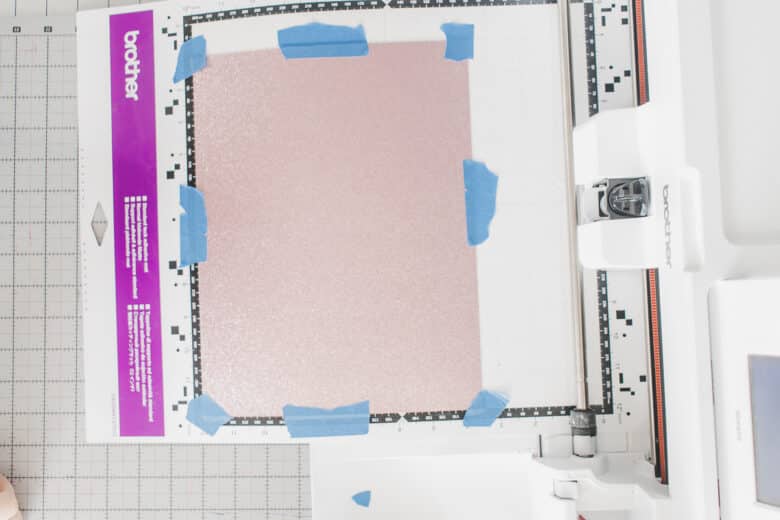
- Double sized glitter cardstock – I bought two colors
I’ll start with the glasses first, it’s quick and easy and a way to sparkle up some ordinary plastic glasses!
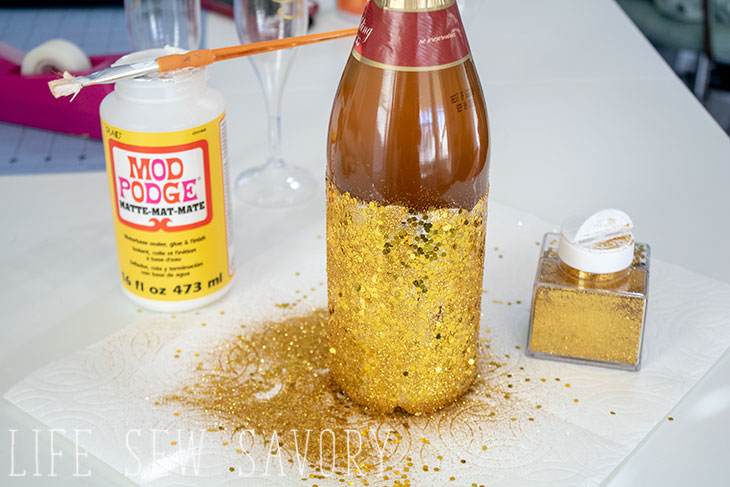
Use a paint brush to spread the Mod Podge on part of your glass. Shake glitter over that section and then shake off the loose glitter.
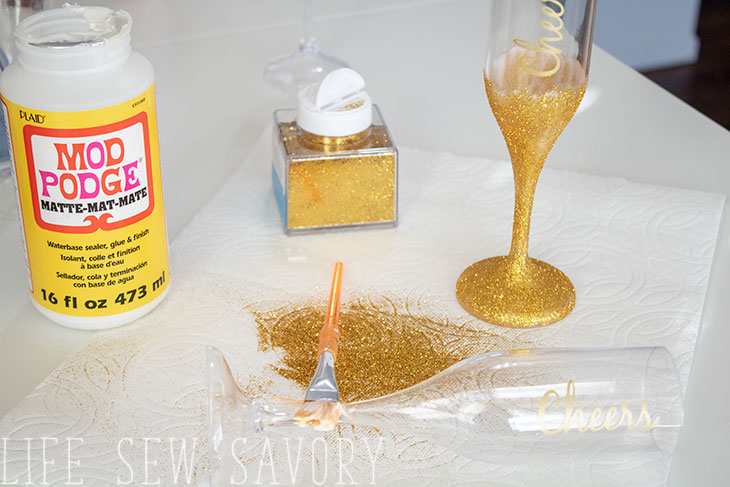
You can do the same over the label of a bottle of sparkling cider or champagne.
For the Bottle I tried to peel off the label, but then it was taking too much time so I just glittered over it. Try mixing different colors of glitter for a fun look.
Glitter Star Garland tutorial
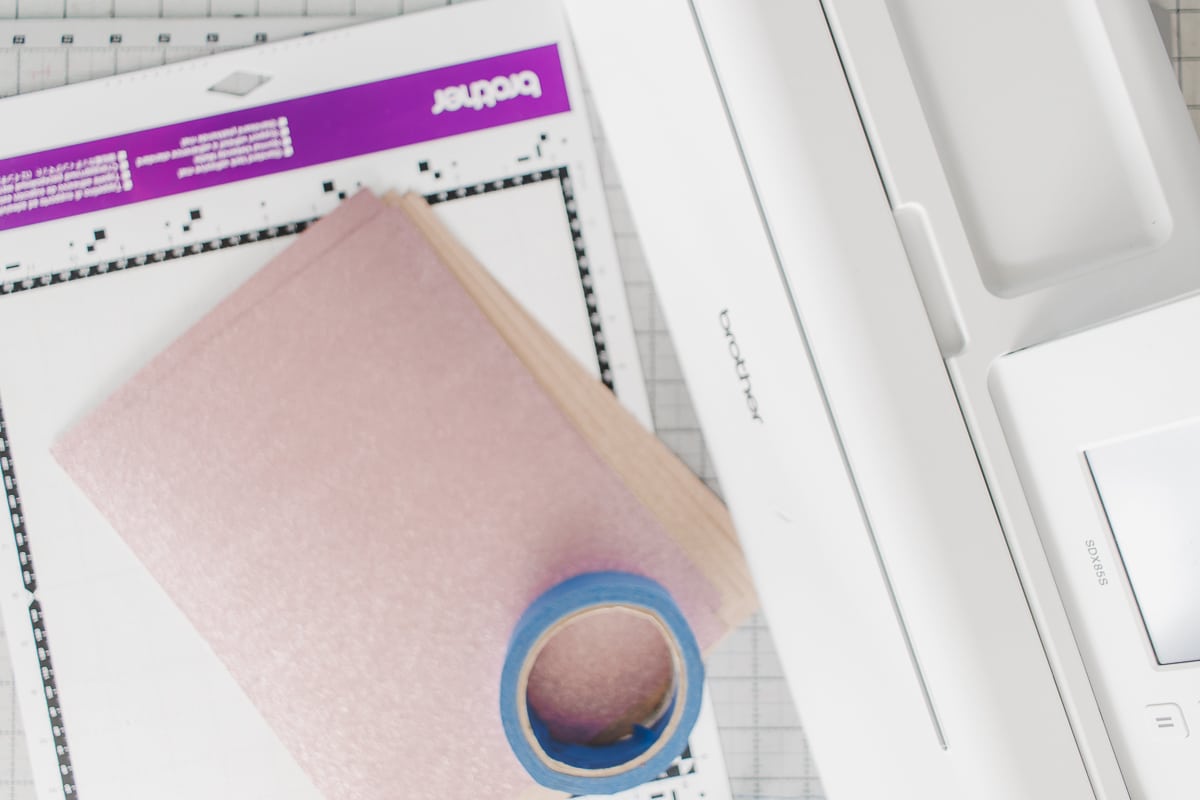
The double sided cardstock was hard to find {see my Amazon line above} but I think it was totally worth it! I’ve done this project before with single sides glitter paper and it was so annoying to have the plain side to try and hide. Having the double sided paper made it so pretty!
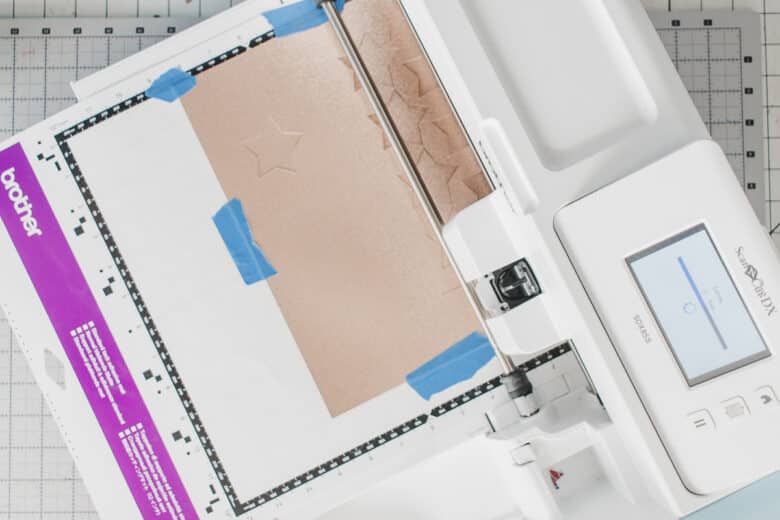
I used my standard tack mat for this, but because of the glitter, I did also have to secure with some painters tape.
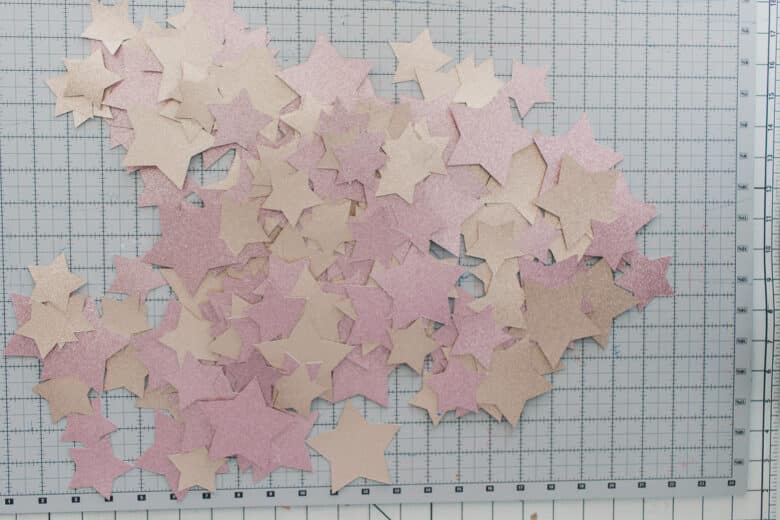
I used the star shape built into my ScanNCut. If you are using another cutting machine that doesn’t have built in designs you can use any star shape that you can find to cut. It doesn’t matter what kind of star. Press the cardstock onto the mat, then add several pieces of painters tape to secure.
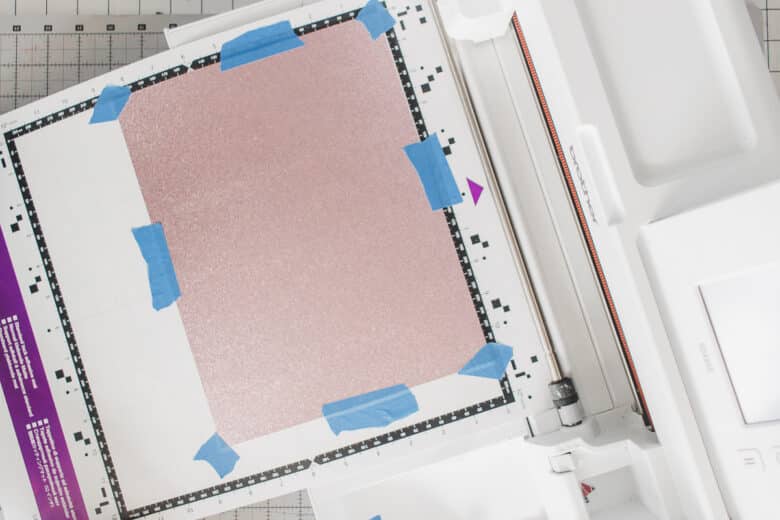
Unfortunately this paper is only standard size, so you can’t fill the whole mat with stars.
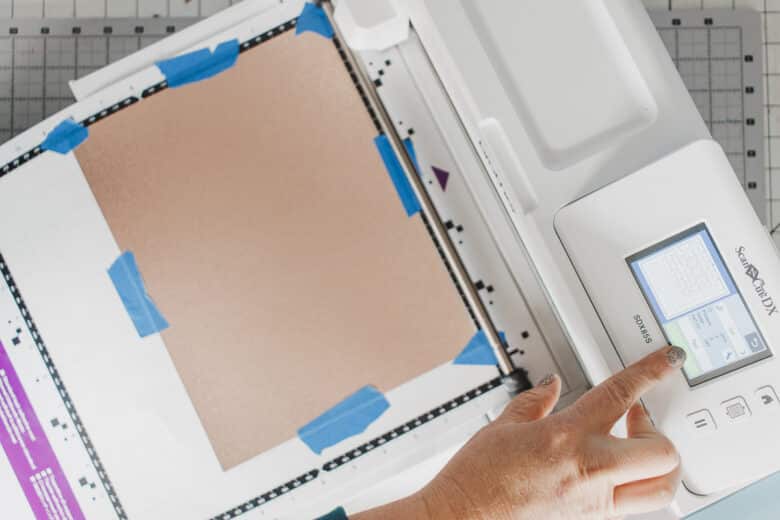
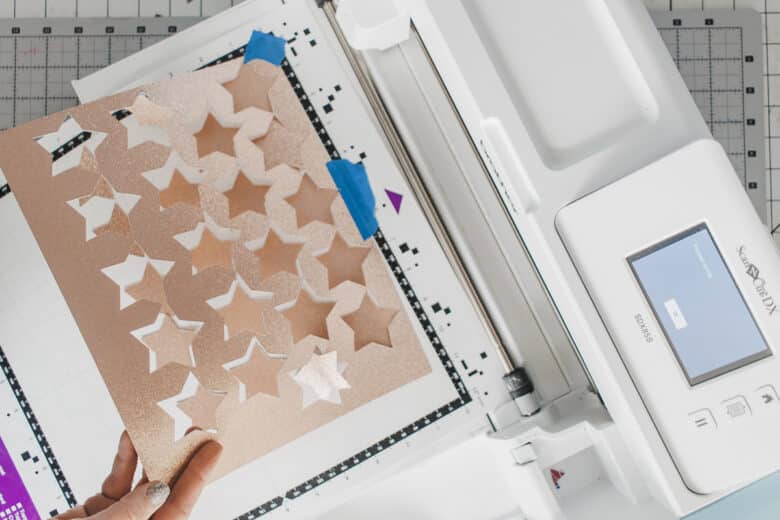
As I cut out the stars I moved the placement around the mat, so I wasn’t always cutting in the same corners. When you are cutting a lot of the same pattern, moving around your mat is important. I also cut some large and some medium stars and in both colors of glitter.
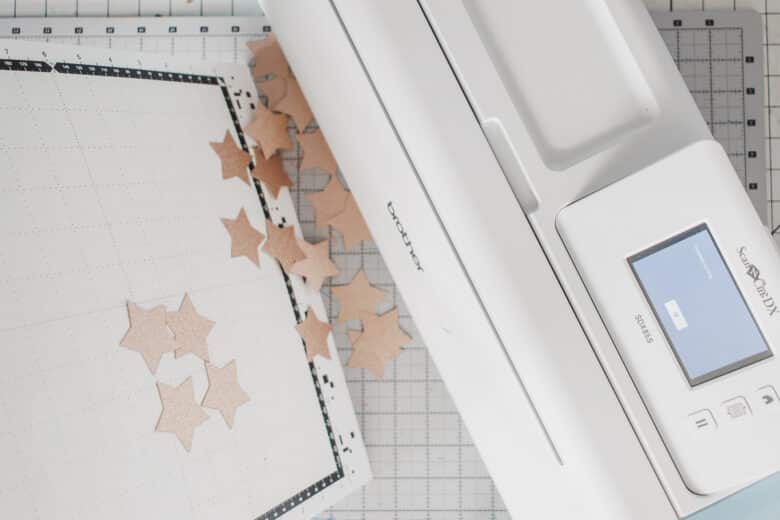
After cutting and removing the tape, my stars pretty much just fell off the mat. They weren’t stuck hard at all due to the glitter.
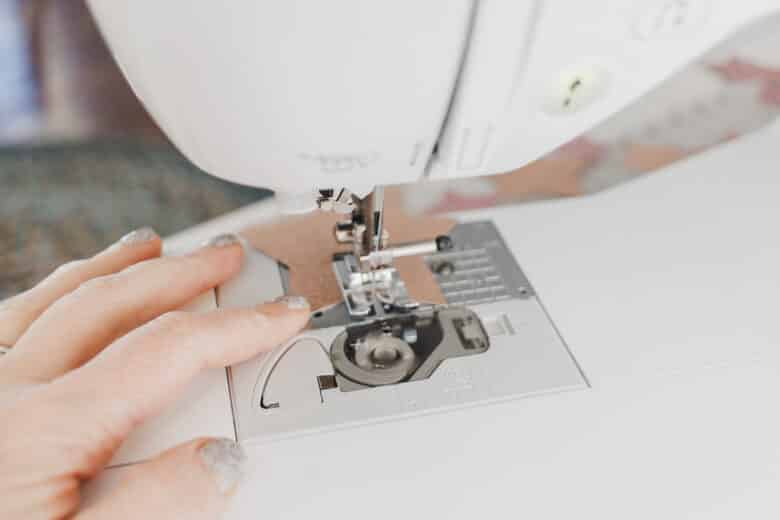
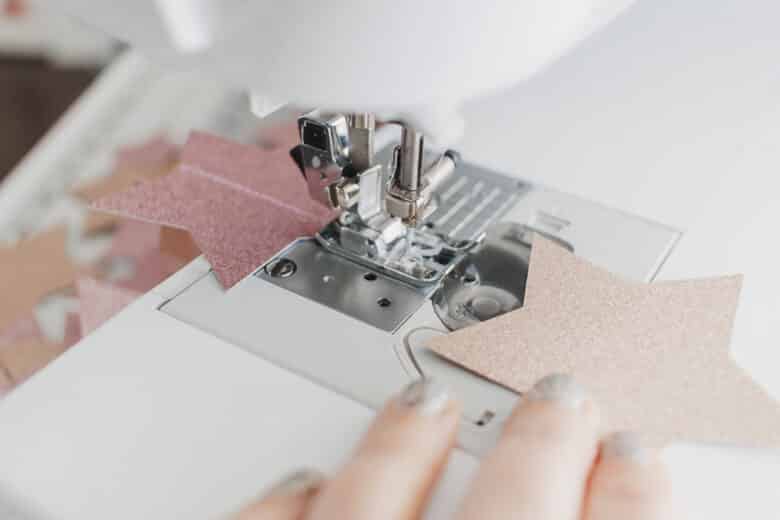
Now comes the fun part!! Put a dull old needle in your sewing machine {or if you use a new one NEVER use it on fabric again – haha} I used a needle that had been doing a bunch of embroidery projects and was ready for retirement.
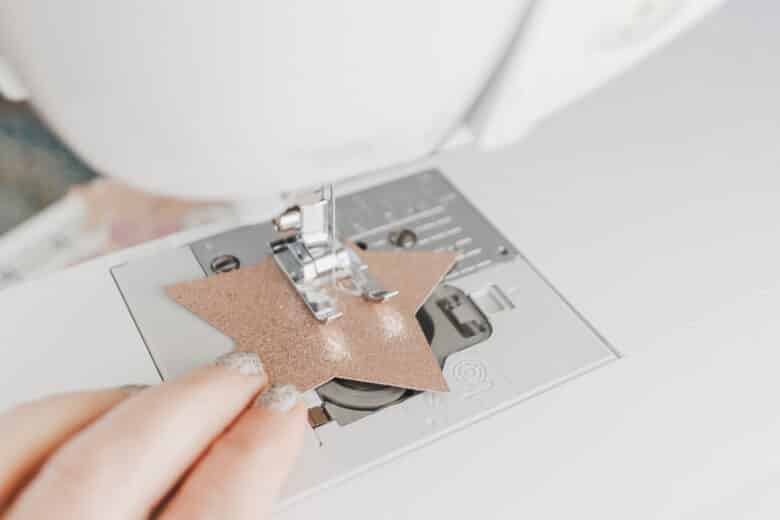
After all the stars were cut {as many as you want} I made a pile right next to the sewing machine. You will want to have them very handy. Place one star under the pressure foot and sew across, when you get to the edge of the star, keep sewing for 5-10 stitches, then slide another star to the edge of the pressure foot and keep sewing.
I set my machine on medium speed and use the start-stop button. This way the machine keeps stitching and I just keep grabbing stars and sliding them into place.

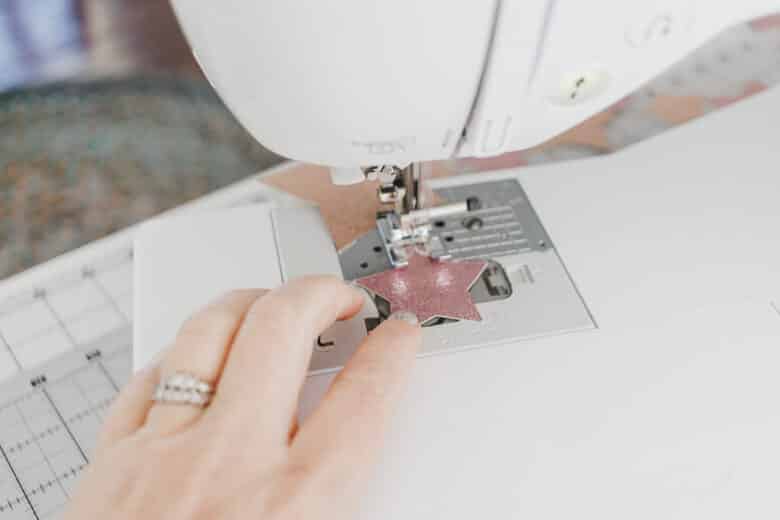
Tip: As the machine is sewing one star, have another ready to go, push it to the pressure foot when ready.
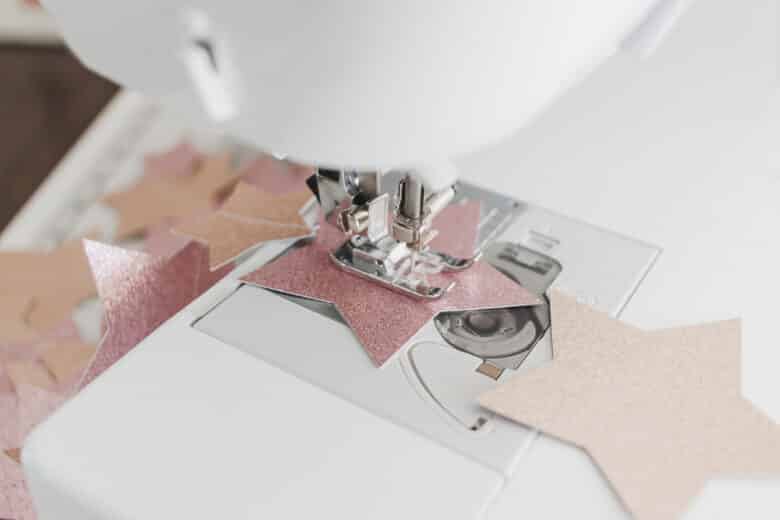
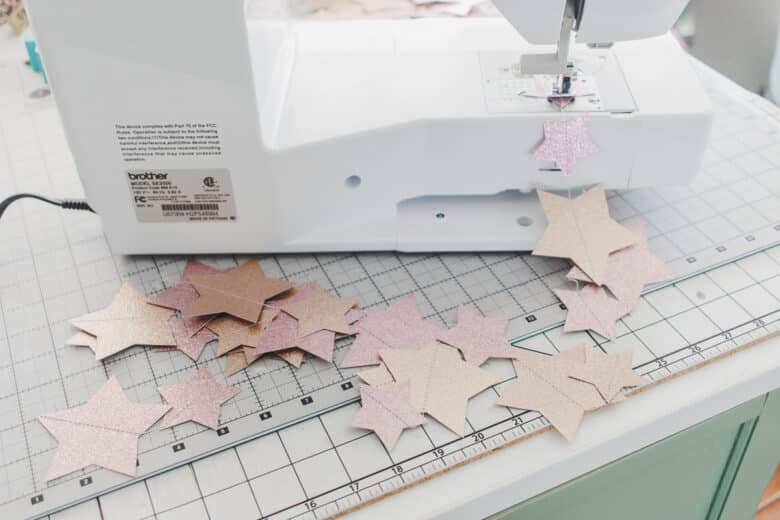
You can make one long garland or start and stop to have shorter pieces. I just let the stars fall off the back of my machine. They can tangle, but are easy to untangle and I’m surprised at how easy it is to hang.
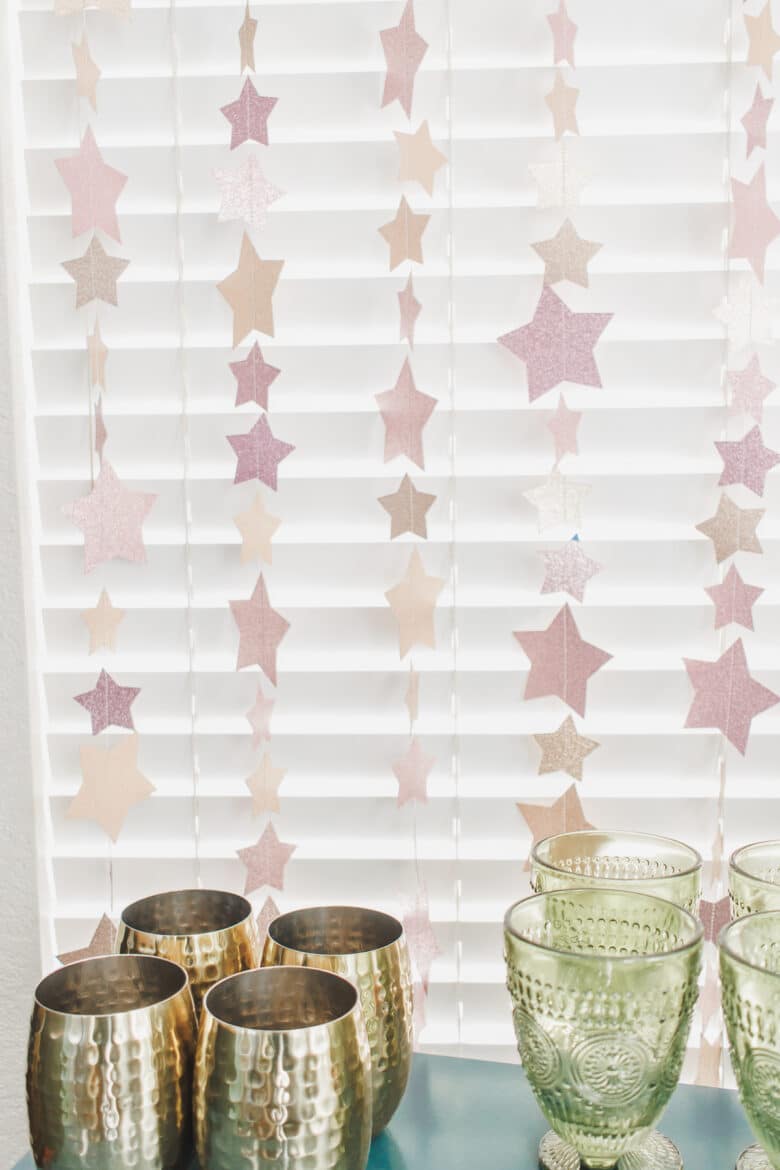
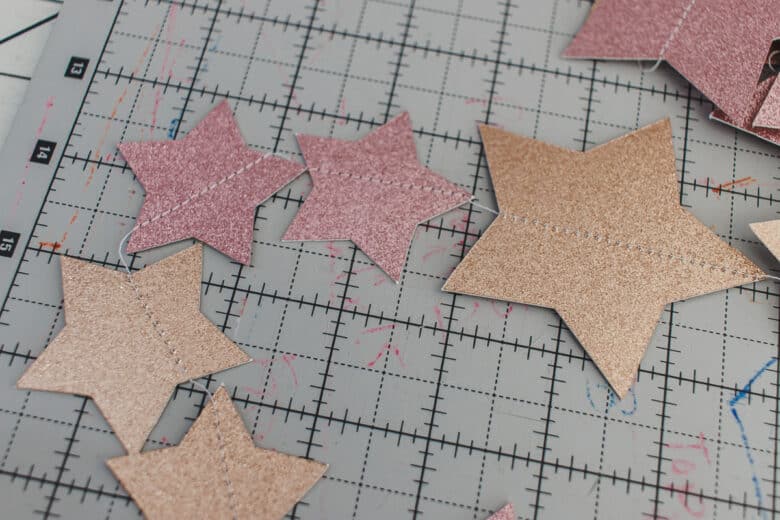
Here’s a close up of the stars sewn together, and the finished result! It’s so pretty and makes an amazing backdrop.


Leave a Reply