Inside: Sew a perfect summer grilling apron for dad or anyone in the family with this free sewing pattern. Add a cute free cut file for Red, White and BBQ fun all summer long.
We love to grill all summer long. In fact as I’m writing this I have chicken wings on the grill for dinner. There are so many amazing grilling recipes and if you have a grill, you need a grill apron. Today I’m sharing a free pdf pattern to sew your own grilling apron for dad or anyone else in the family who loves to grill. PLUS… add my fun and free svg design to make it even more festive for summer.
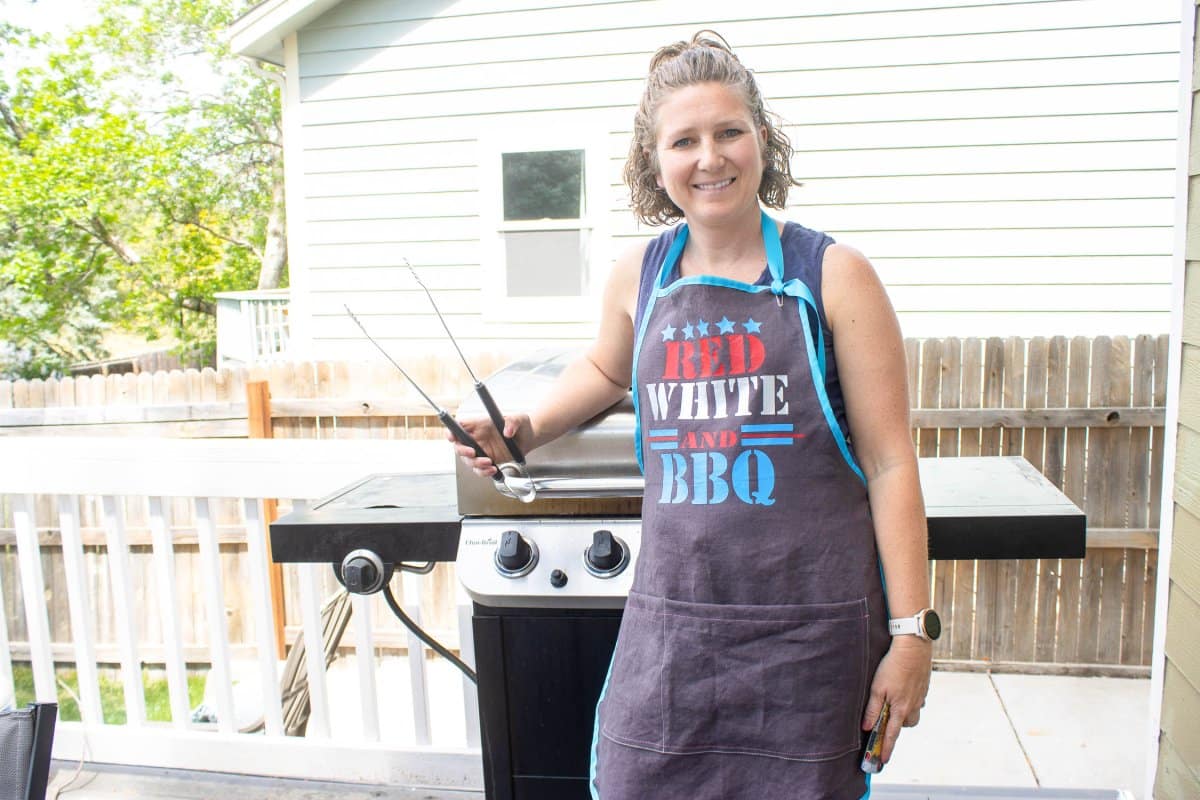
Grill Apron for Men, Dad, or me!
My husband loves to grill, but is often not home for the meal prep portion of the day. I end up doing quite a bit of the grilling because I’m around and willing, so when I designed this apron I made sure it was one men and women would like to wear. I think it came out so cute and I love the finished look.
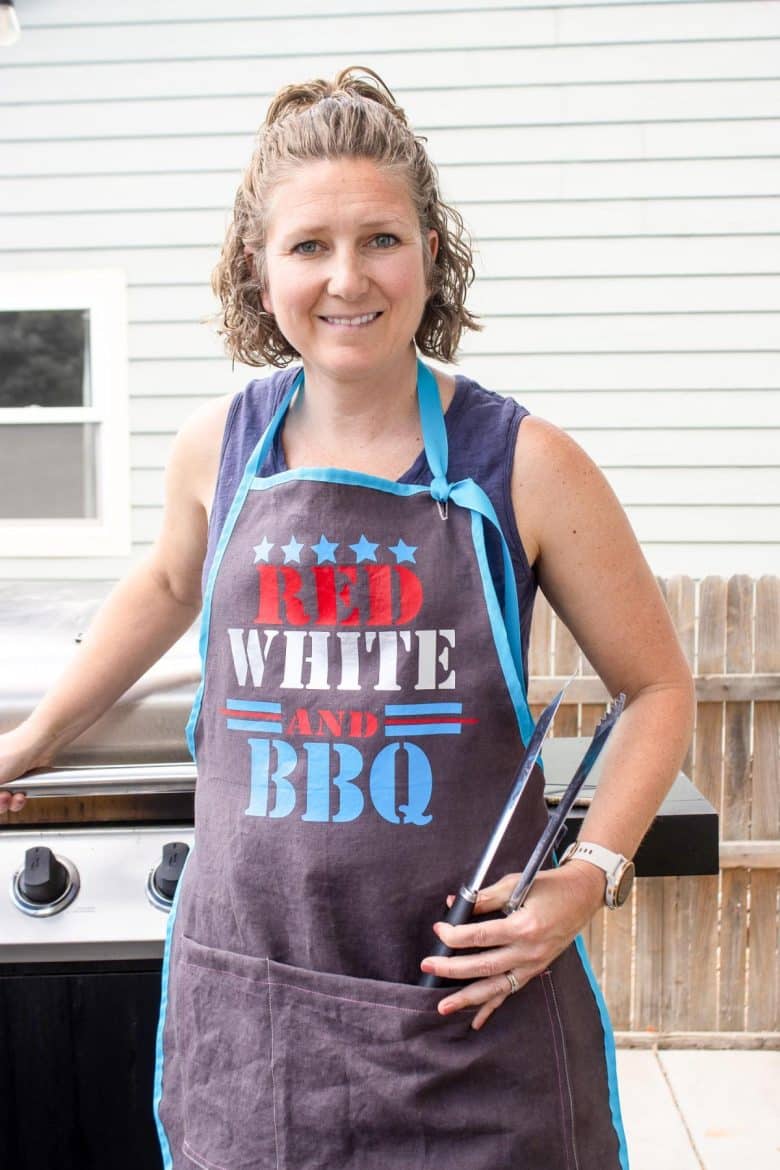
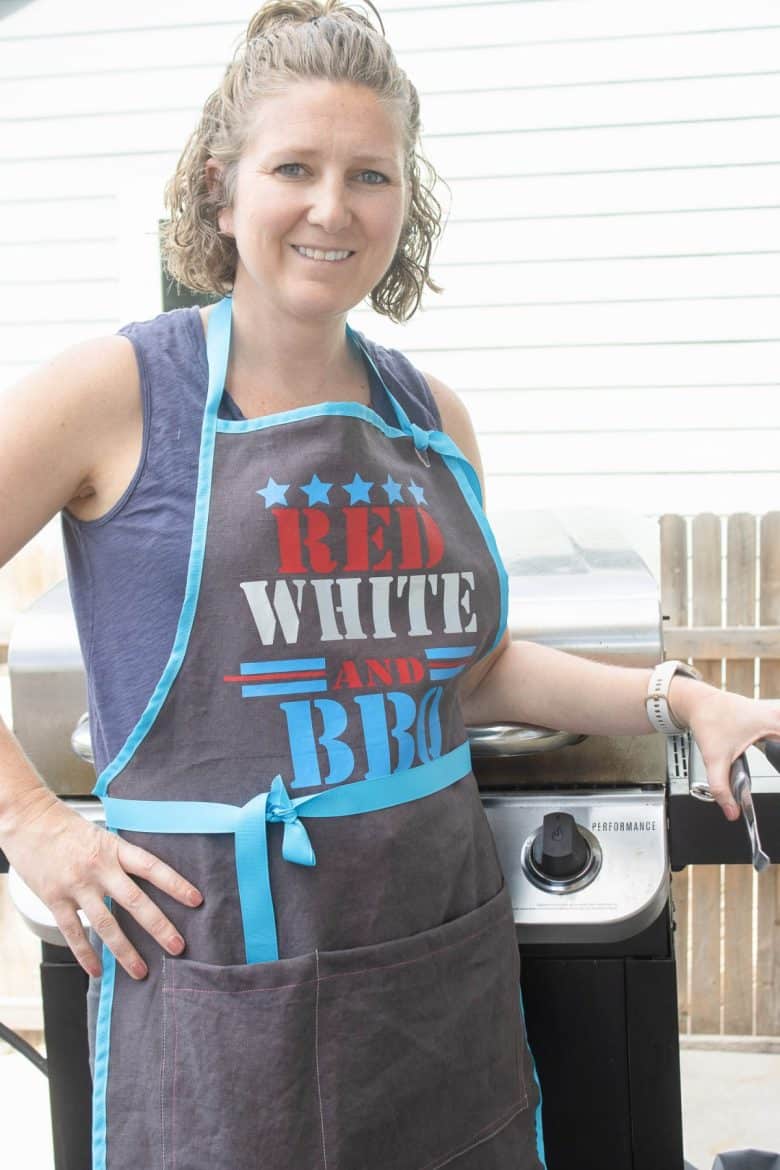
You can sew the free apron pattern and just use it like that or you can add the free design to make it super festive. I love it both ways, but the Red, White and BBQ design adds a super fun look that I want with my summer makes.
Other amazing Red White and Blue Projects:
- Red White and Blue food
- July 4th ruffled garland
- Ruffle Skirt tutorial
- Patriotic tealights
- July 4th centerpiece
How to make a grilling apron
Ready to sew a fun summer grill apron? First go download the free pdf pattern and SVG. The two buttons below will take you to each pattern separately.
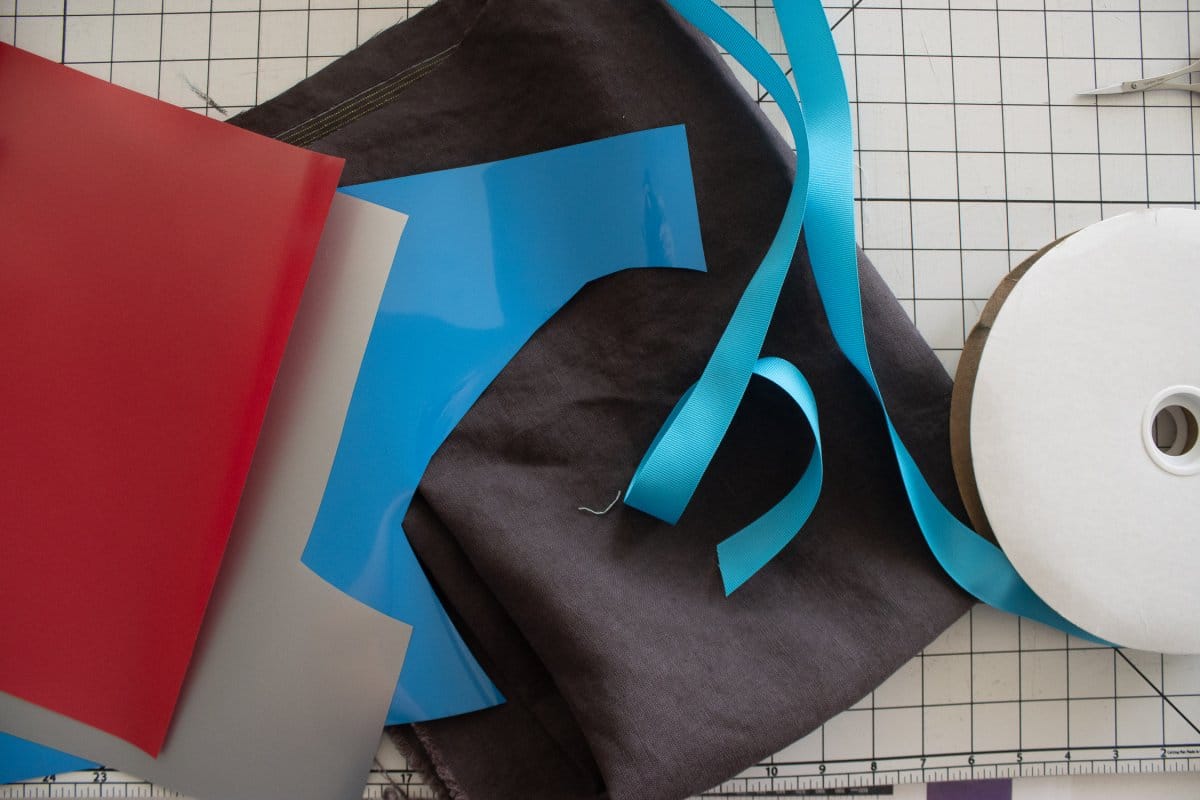
Supplies needed for grilling apron making:
- Free apron pattern {see button above}
- Optional free svg {see button above}
- Heat Transfer Vinyl {red, white and blue}
- 1 yard of canvas or linen fabric
- 5.5 yards of 1” ribbon or wide bias tape
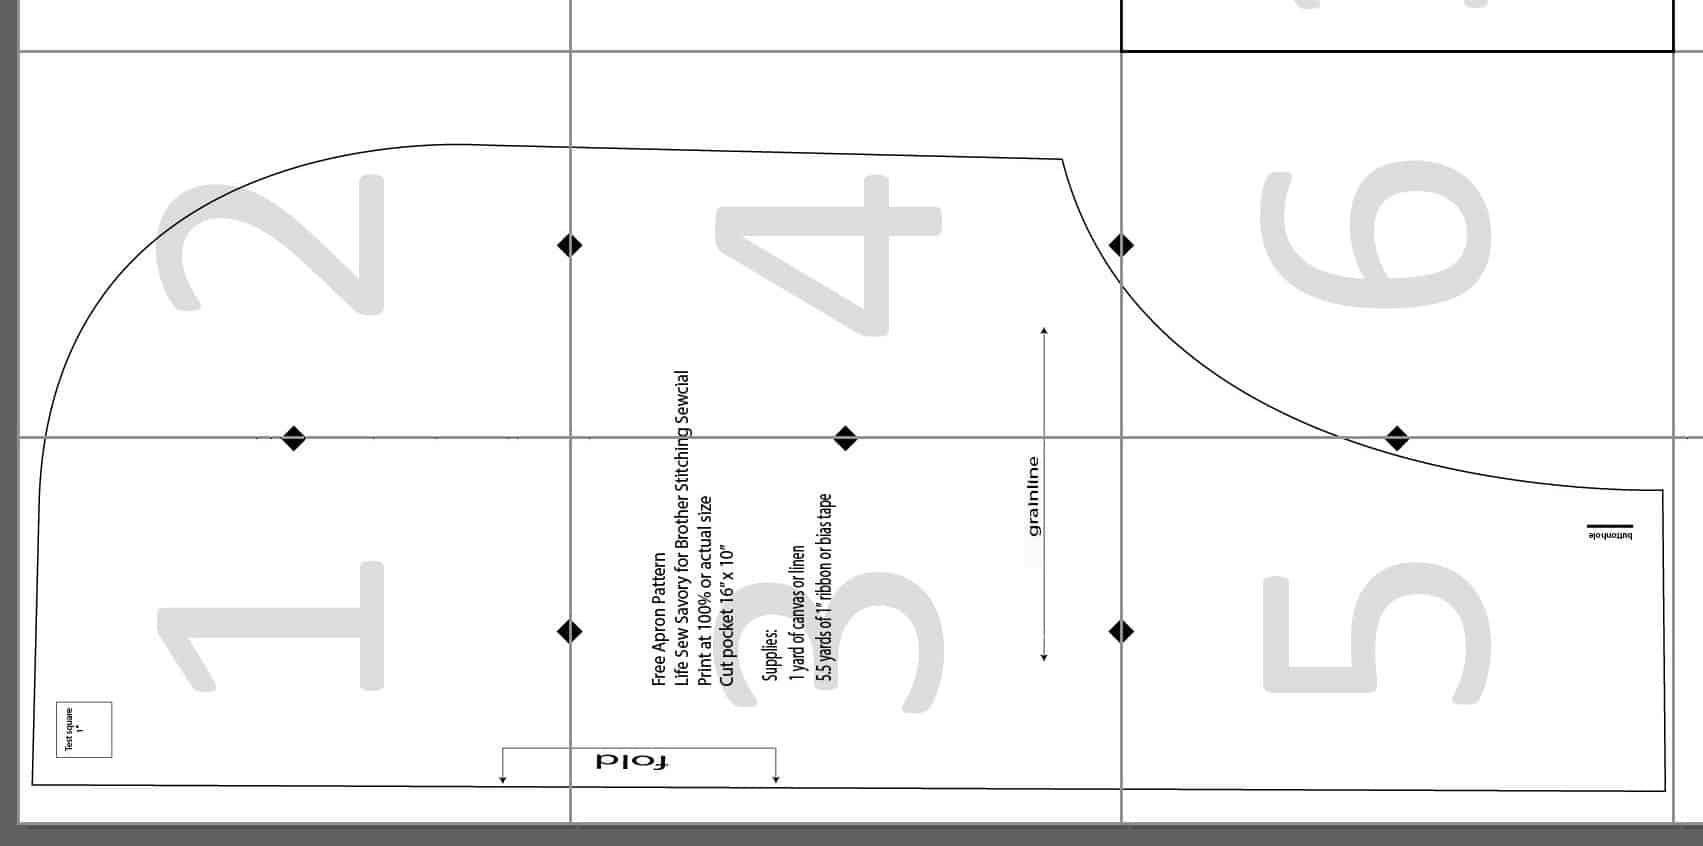
After you have downloaded and printed the pattern here is what it should look like assembled.
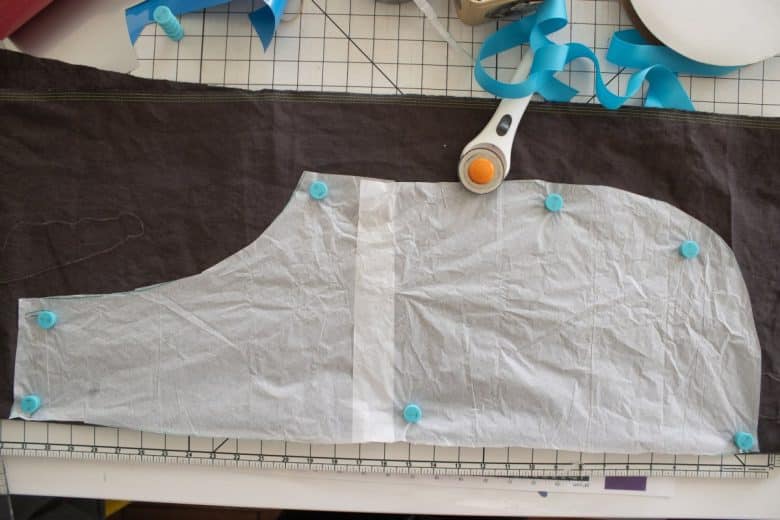
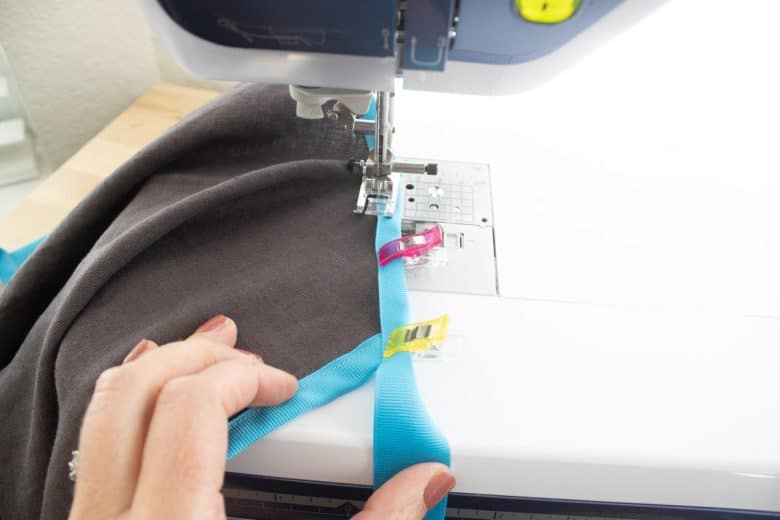
The apron is just one piece cut on a fold. To finish the raw edges of the apron I just used 1″ ribbon that I had on hand. Wide bias tape will also work for this. We will finish the bottom curved edge of the apron first. Place 1/2″ of the ribbon under the back of the apron, then fold it over to the front and pin or clip in place.
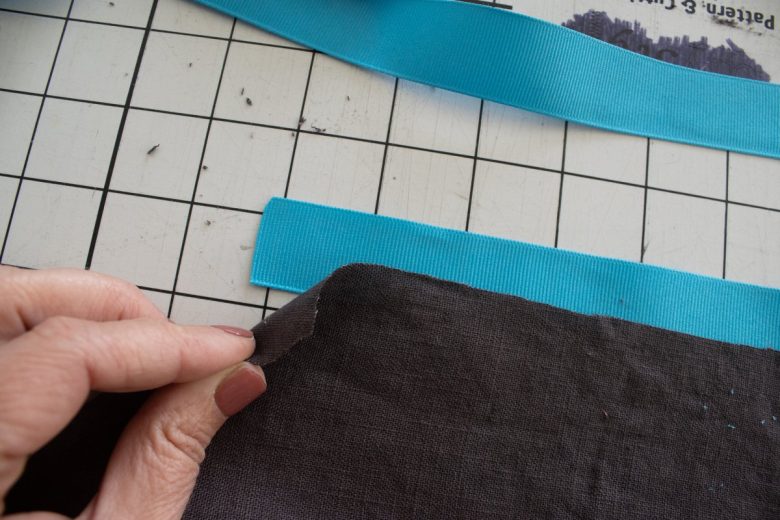
Sew with a straight stitch or zig-zag to sew the ribbon to the edge of the fabric.
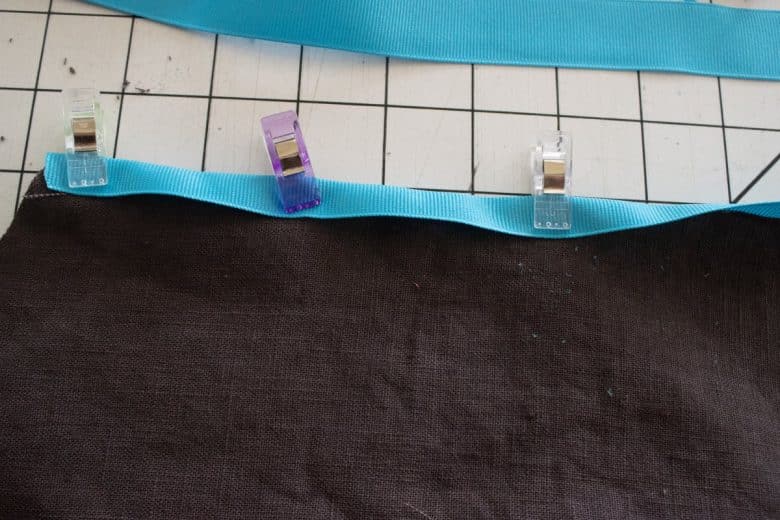
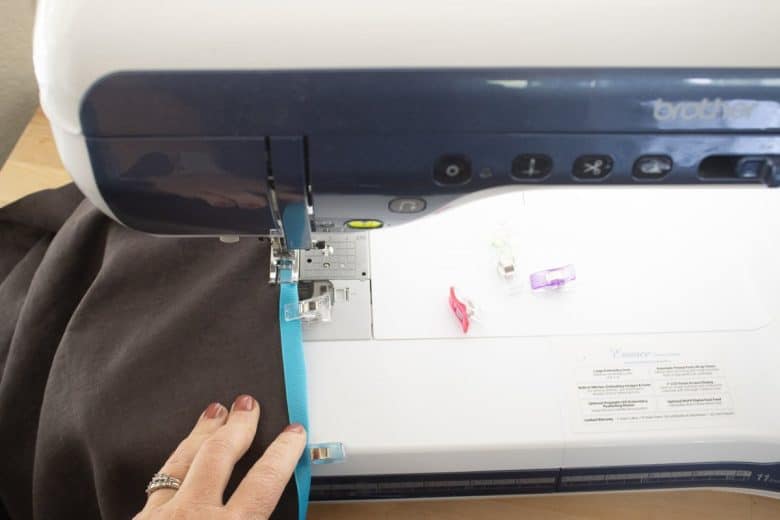
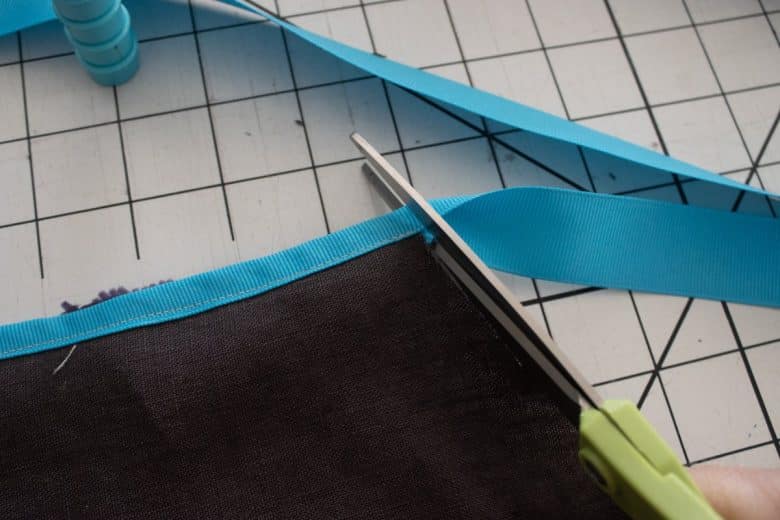
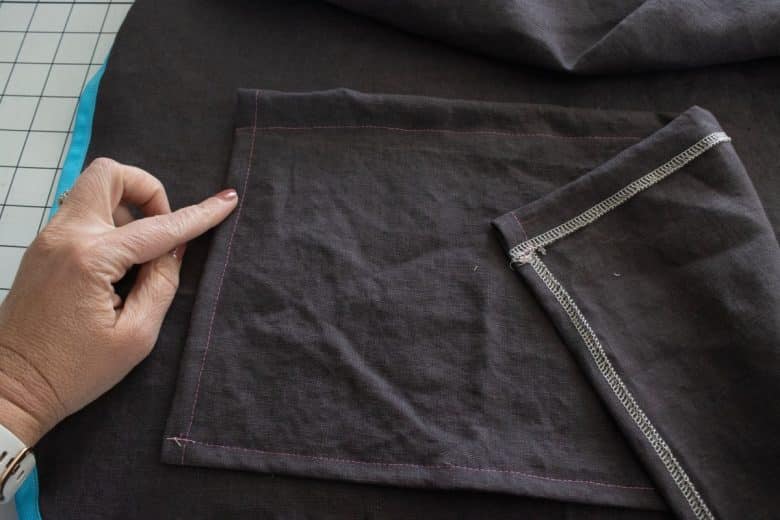
Cut off any extra ribbon when you get all the way around to the other side. Finish all the raw edges of the pocket {if adding one}. You can finish the raw edges with a serger or zig-zag stitch.
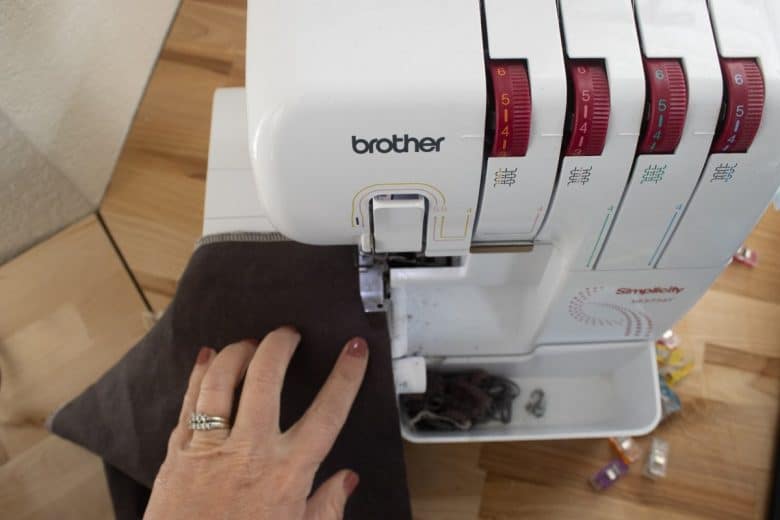
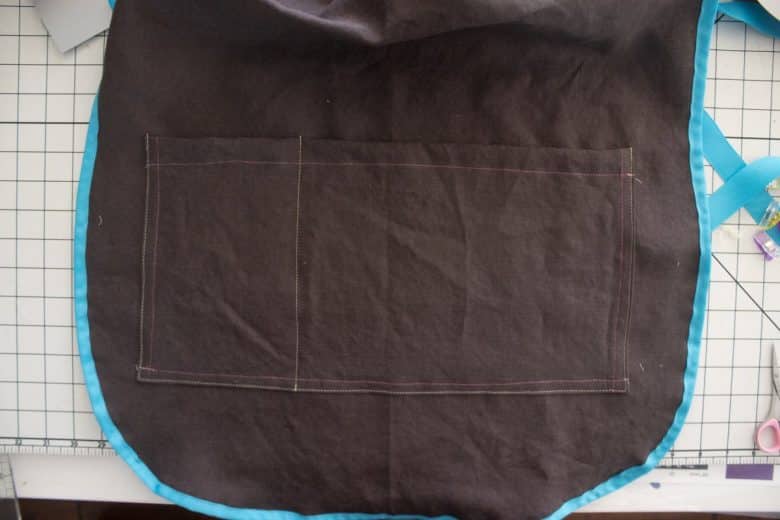
Fold back 1/2″ of the sides and 1″ on the top of the pocket and sew in place. Place the pocket on the bottom part of the apron and pin in place. Stitch the pocket in place with a straight stitch close to the very edge of the pocket. This will create a double line of stitches and attach the pocket in place. I divided the pocket into two sections with another line of stitching.
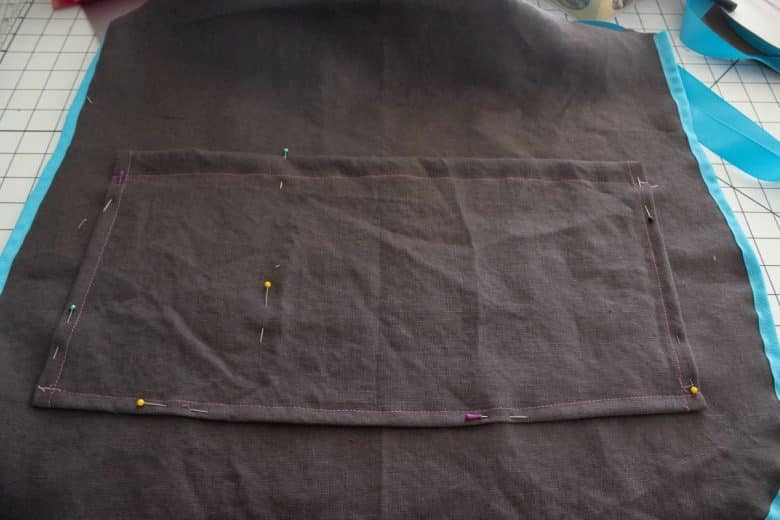
After the pocket is in place, add ribbon to the top edge of the apron. Sew in place.
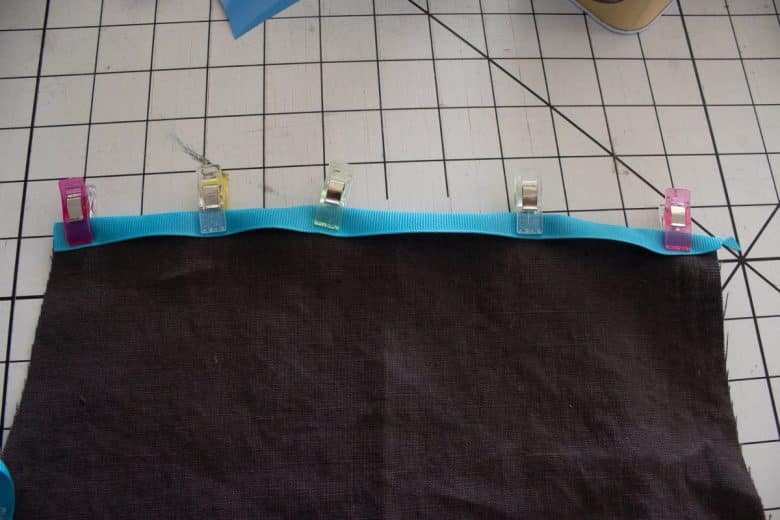
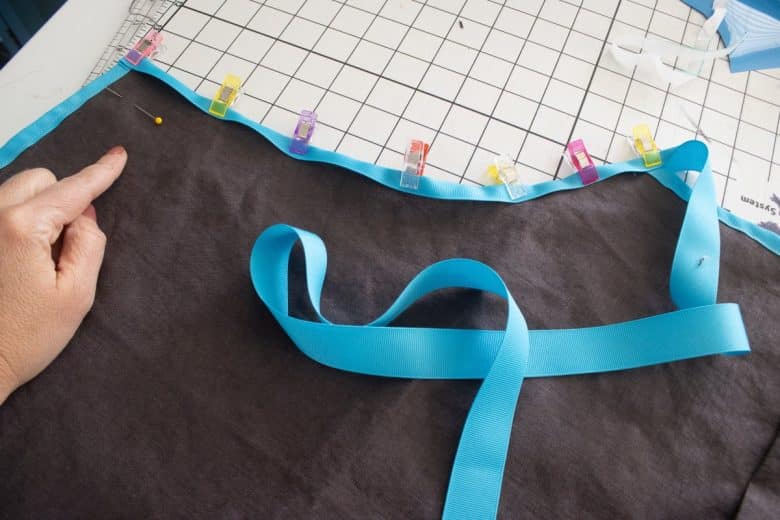
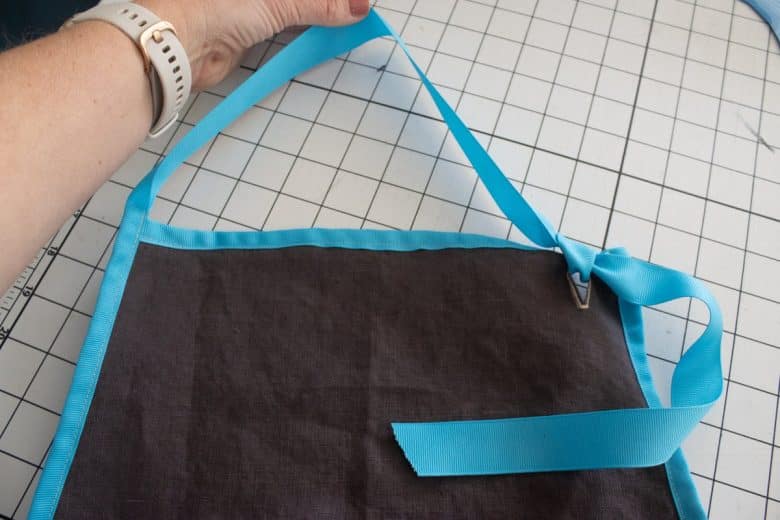
Measure out 36” of ribbon and extend that extra out to the SIDE of the apron. Pin the ribbon along one side of the apron then measure out 24” for the neck.
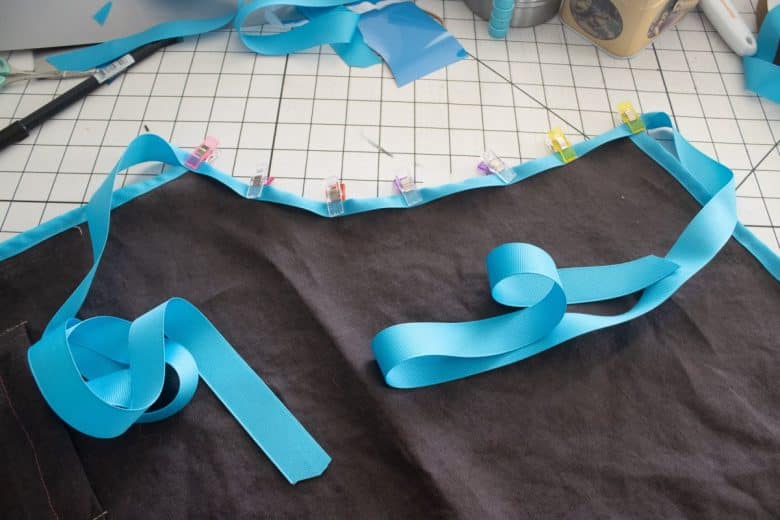
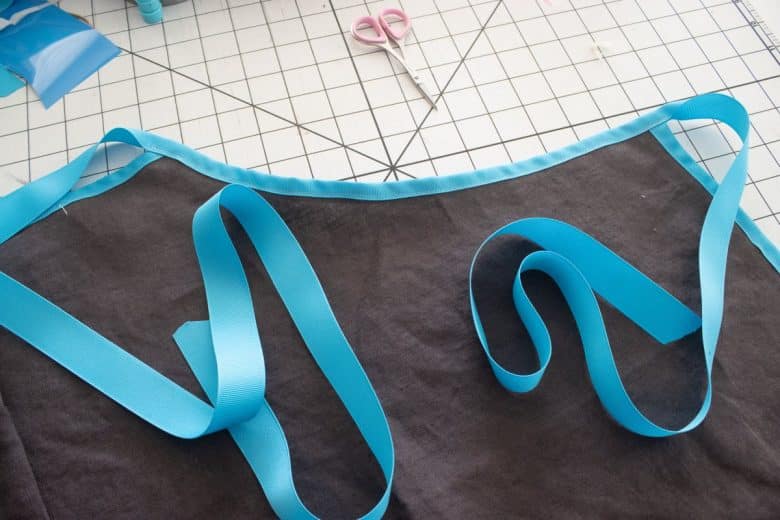
Now it’s time to sew the other side of the apron. Fold over ½” then place that on the top edge of the apron. Pin along the rest of the curved side. The extra ribbon should be about 36” and becomes the other waist tie.
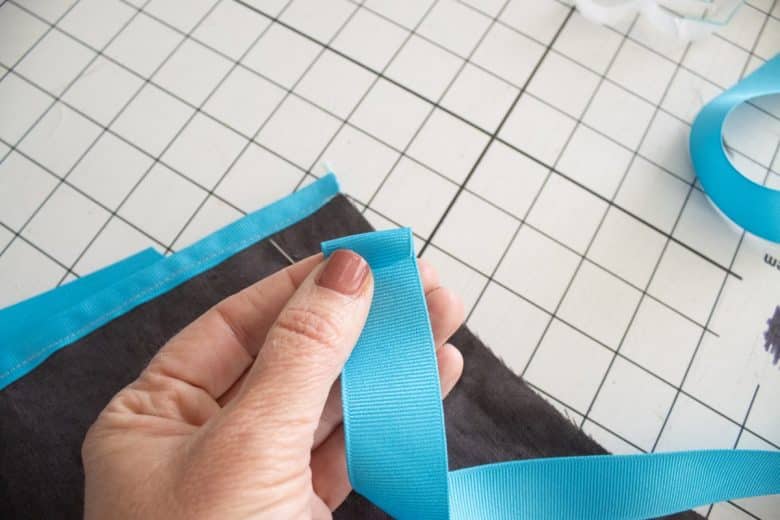
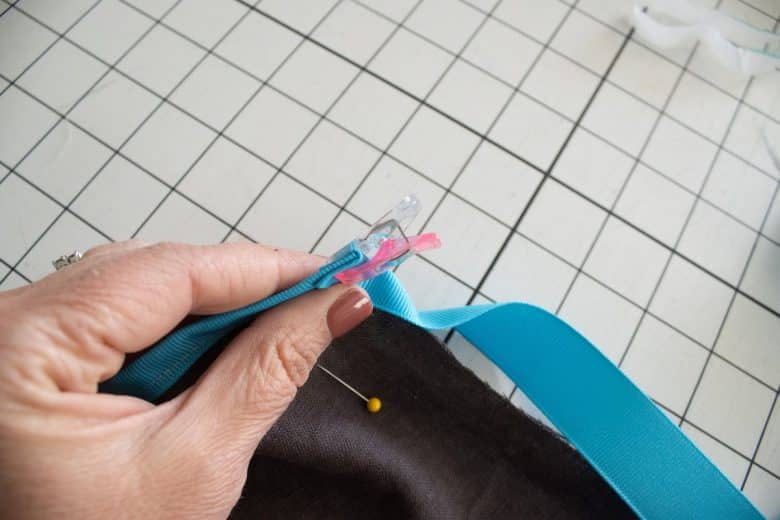
Again sew this final piece of ribbon in place.
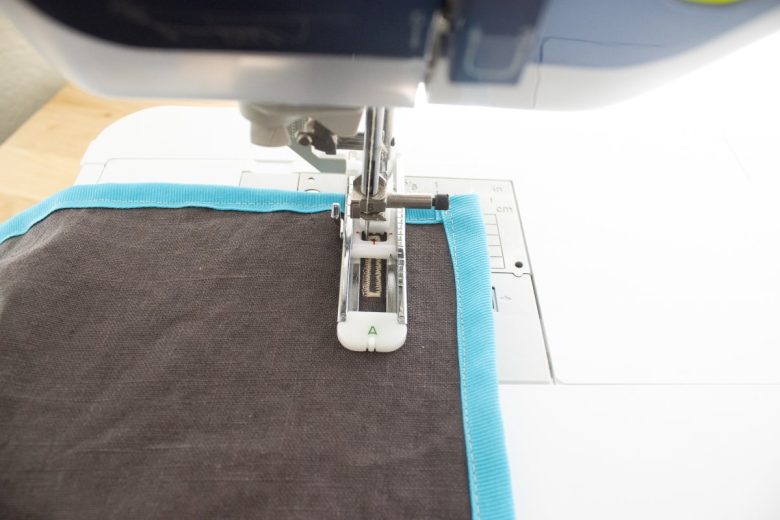
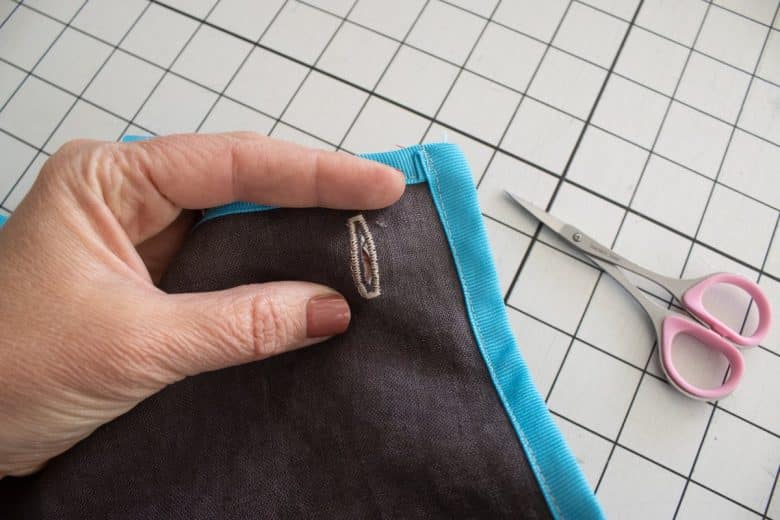
Now we need a way to attach the neck halter and make it adjustable. I did this by sewing a buttonhole on the opposite side of the apron top. Sew a 1” buttonhole on the side of the apron top opposite of where the neck ribbon extends.
Now you can thread the neck tie through the hole and tie at the length you need. This also allows more than one person to wear this apron and adjust to fit as needed.
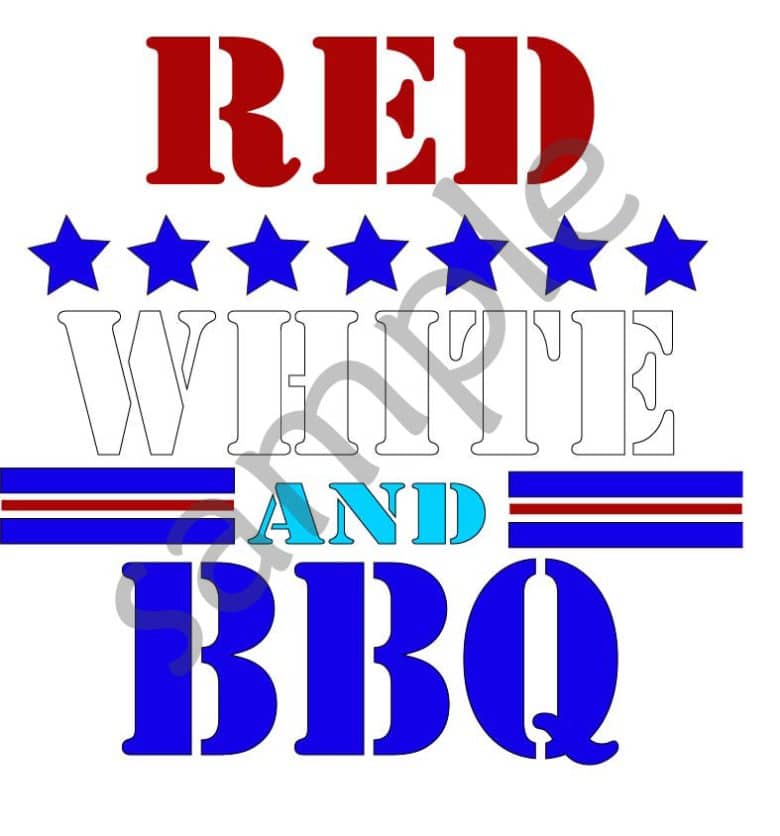
Red White and BBQ free cut file design for apron
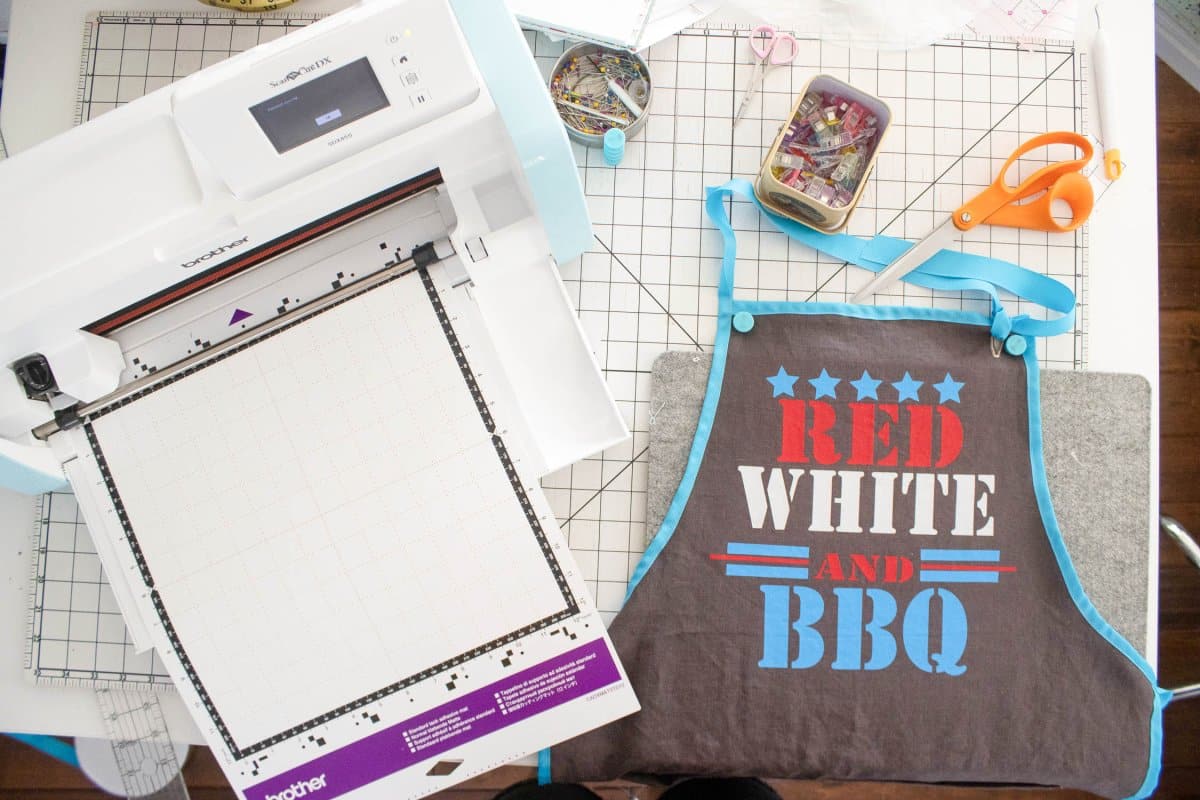
If you downloaded the free cut files from above you should have a zip file with JPG-PNG-SVG formats for this file. I will be using the SVG and my Brother ScanNCut for this project but you can use whatever version works for you and your cutting machine.
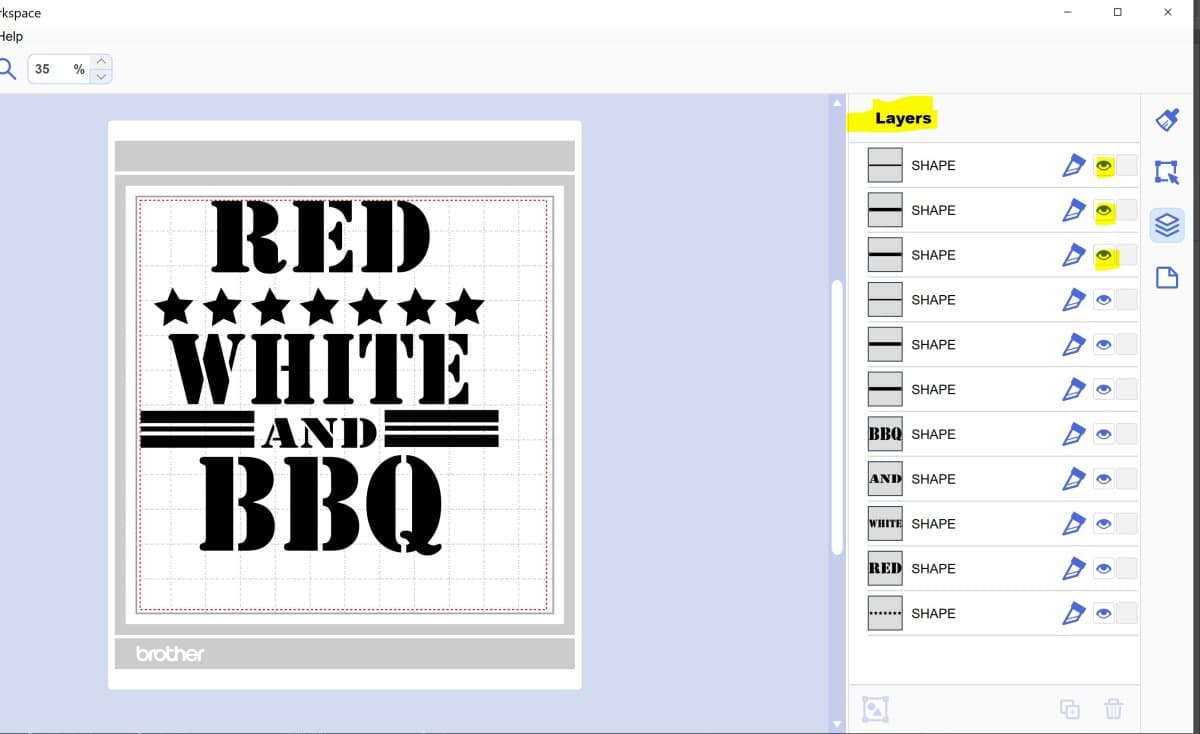
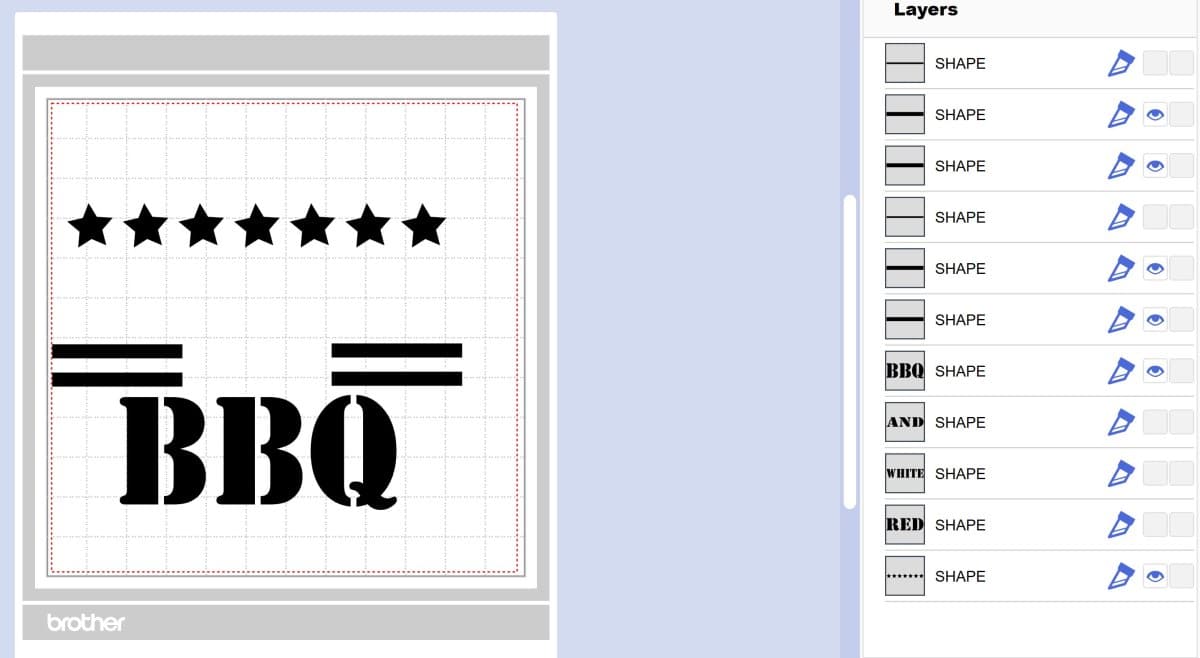
When you open the file you should see the full design and all the layers for this design. Make sure you can see the layers as this will help you cut three different colors for this project.
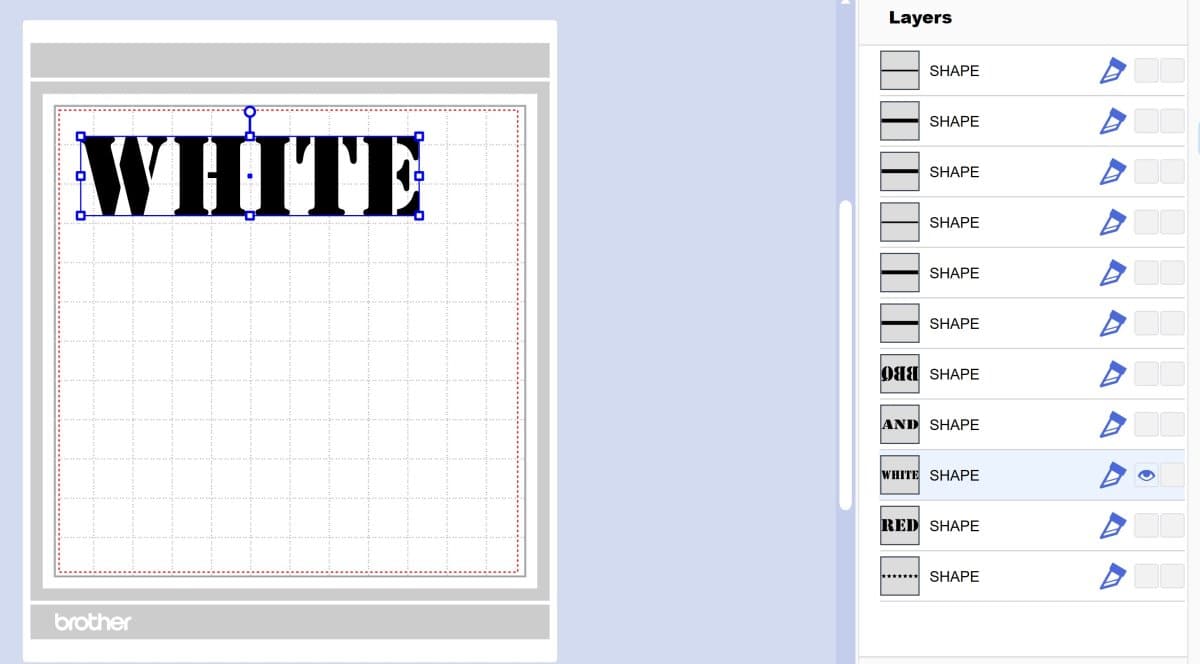
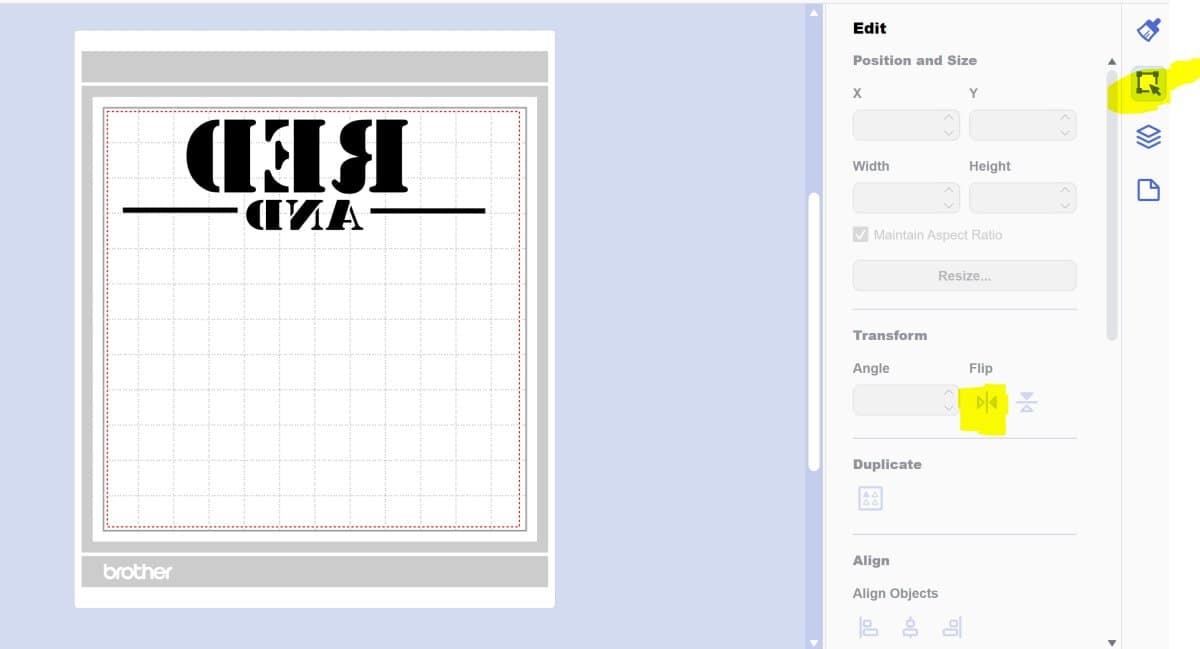
MAKE SURE TO REVERSE THE TEXT FOR EACH LAYER BEFORE CUTTING!!
I cut the white first. Turn off all the layers except for the word white then send to your cutting machine and cut. Reverse the text before cutting.
The blue layer should look like this. Turn off all other parts of the design. Make sure to mirror the text before cutting.
Here is what should be visible on the red layer and also how I reverse/mirror the layer before cutting.
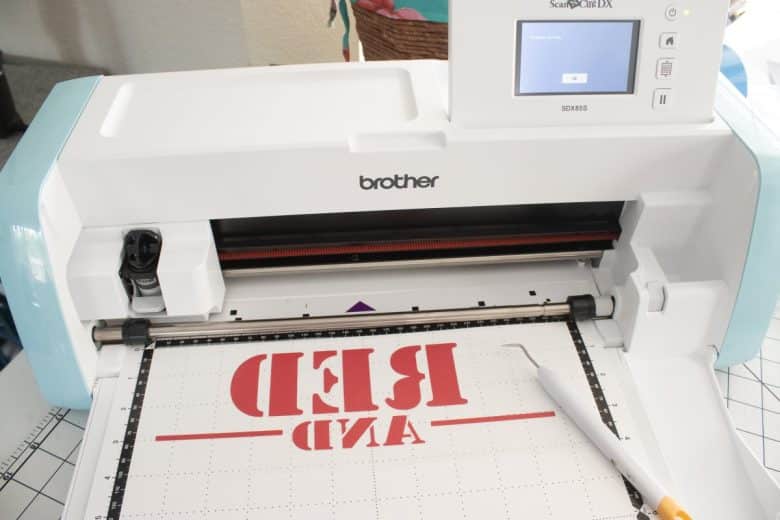
I’ll show you how I cut and iron on the red layer. Repeat with the other layers. The Red will need to be separated into tow parts as the and goes lower on the apron. I moved them close together to conserve the vinyl when cutting.
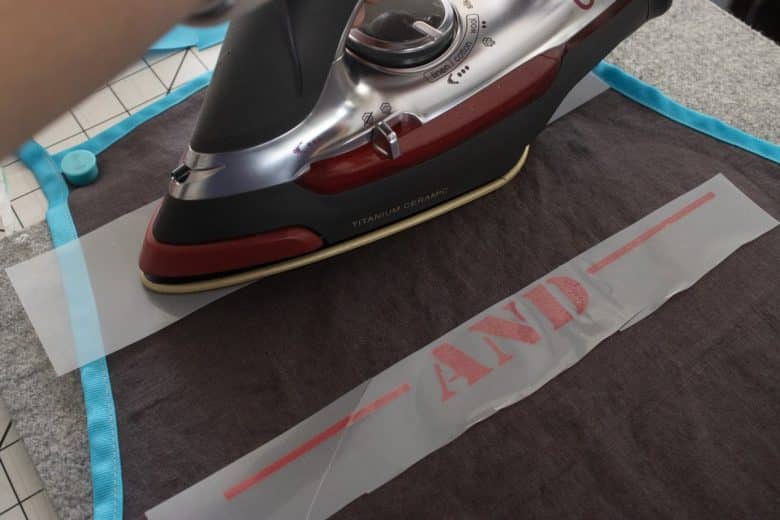
Iron on one layer of vinyl at a time, but as you add the other layers, make sure you are covering the previous ones with parchment paper or some other heat resistant covering. Your iron will quickly melt any vinyl it touches. Need help with applying heat transfer vinyl? check out my Iron on vinyl tutorial here.
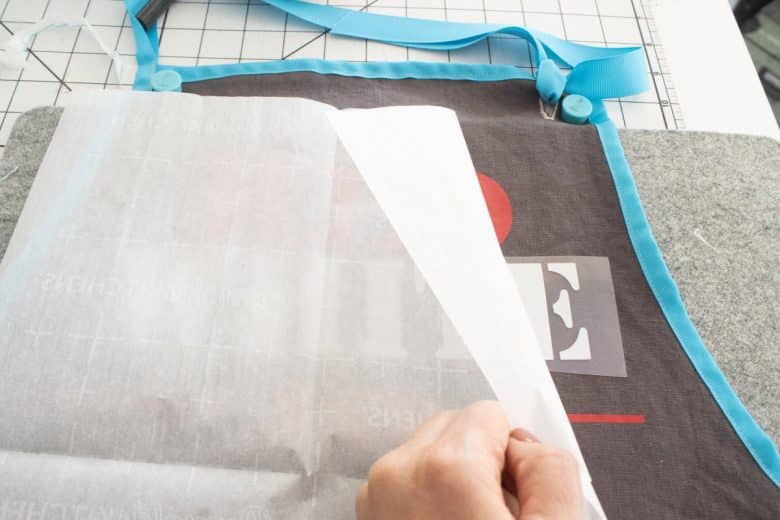
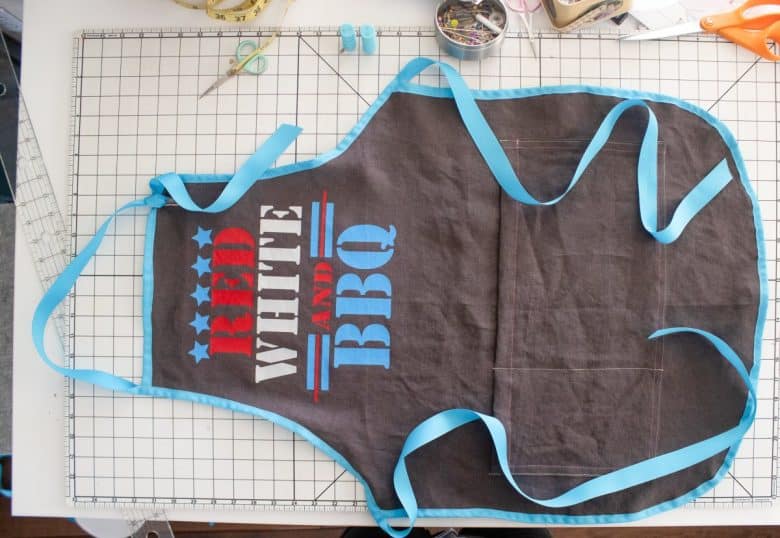
And that’s it!! You sewed and created a grilling apron that you can use all summer long!! Make sure to share photos and tag me on all socials with @lifesewsavory





Leave a Reply