inside: Learn how to turn a hem to cuff in this simple sewing tutorial. Any pattern with a hem can be sewn with a cuff, these basic steps will help you create easy cuff finishes.
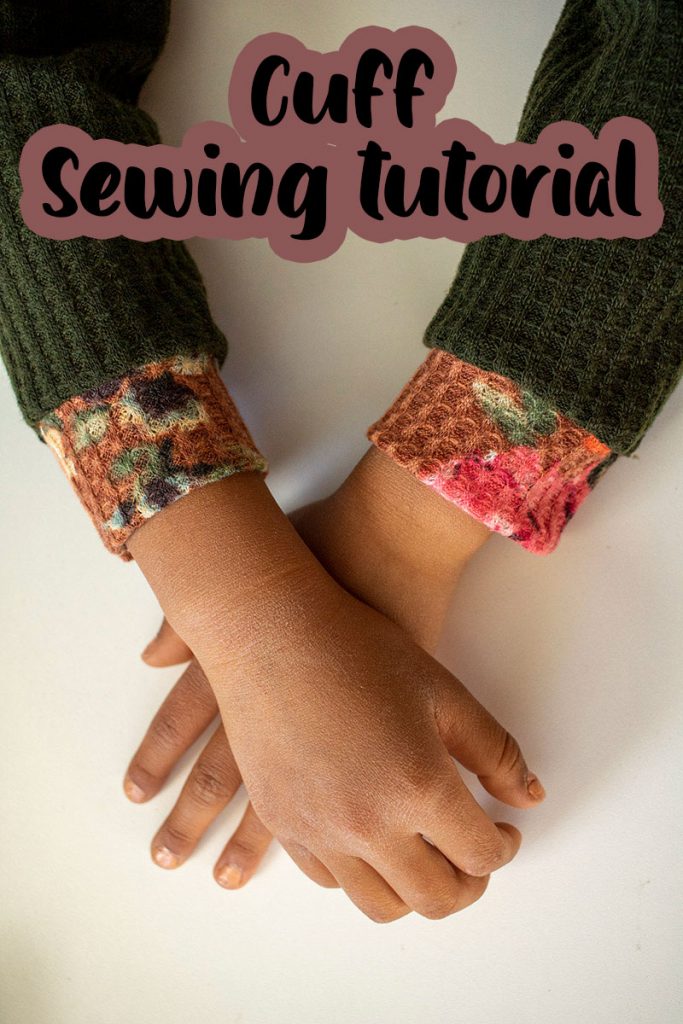
Hem to Cuff Sewing tutorial
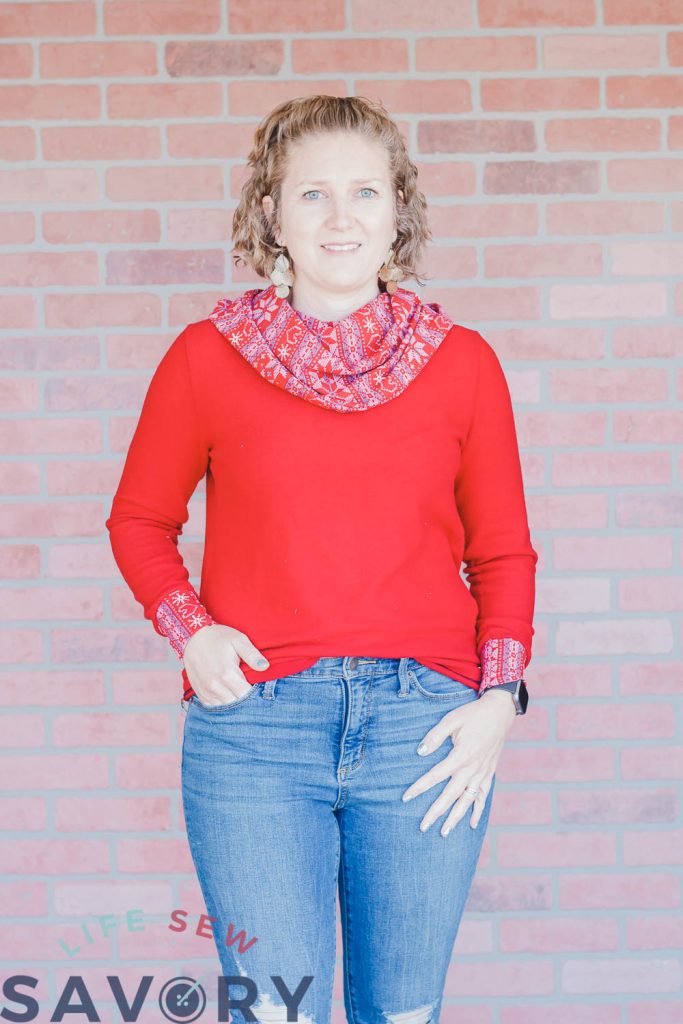
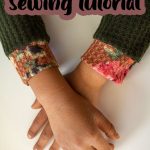
I would rather sew a cuff than a hem any day… You may notice that when I sew for myself or kids I often will add a cuff instead of hemming. Like on this sweater I recently sewed for myself…
See the pretty cuffs on this sweater? Also, if you love the cowl look on the Brother Sews blog this month as I’ll be sharing the tutorial and pattern there!
Here are cuffs on a dress I made for Rose and the ones I used for this hem to cuff sewing tutorial.
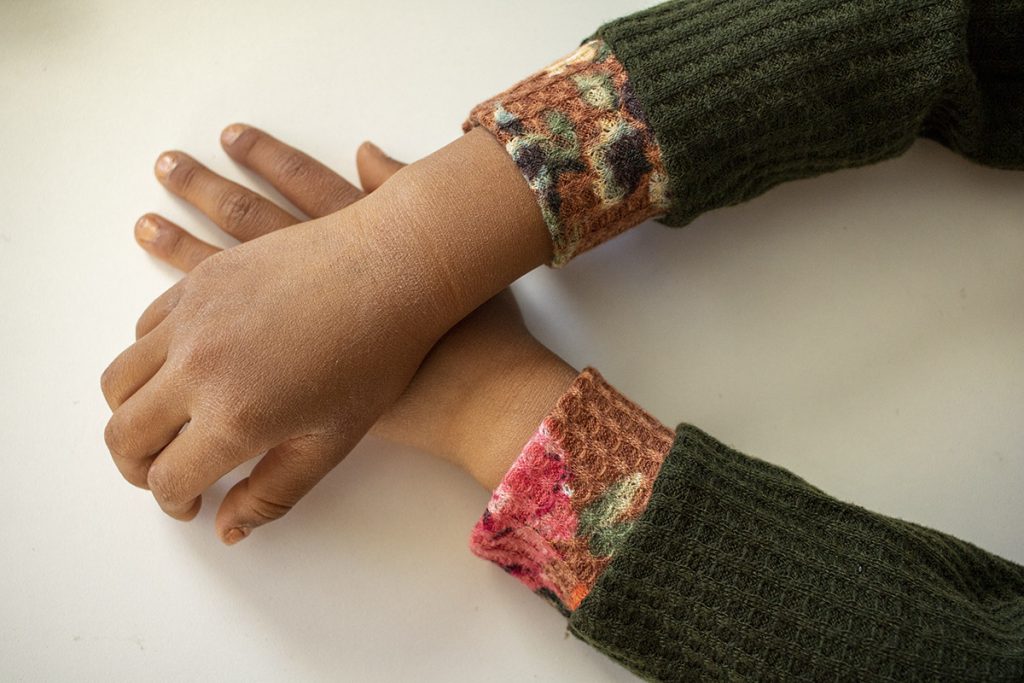
You can easily substitute hems for cuffs on sleeves, shirts, and leggings. I will be showing you the process using sleeves in this tutorial, but the same basic principal can be used on any finish.
I will be showing how to sew cuffs two ways as I use a simplified method to sew most my cuffs. Not everyone likes this method, so I will also detail a more traditional way to sew cuffs.
free patterns to use when sewing cuffs
Try any of these free sewing patterns to try turning a hem to a cuff.
Ready to sew? Let’s take a look at just how easy it is to create cuffs on the end of sleeves.
Sew Sleeve Cuffs Two Ways
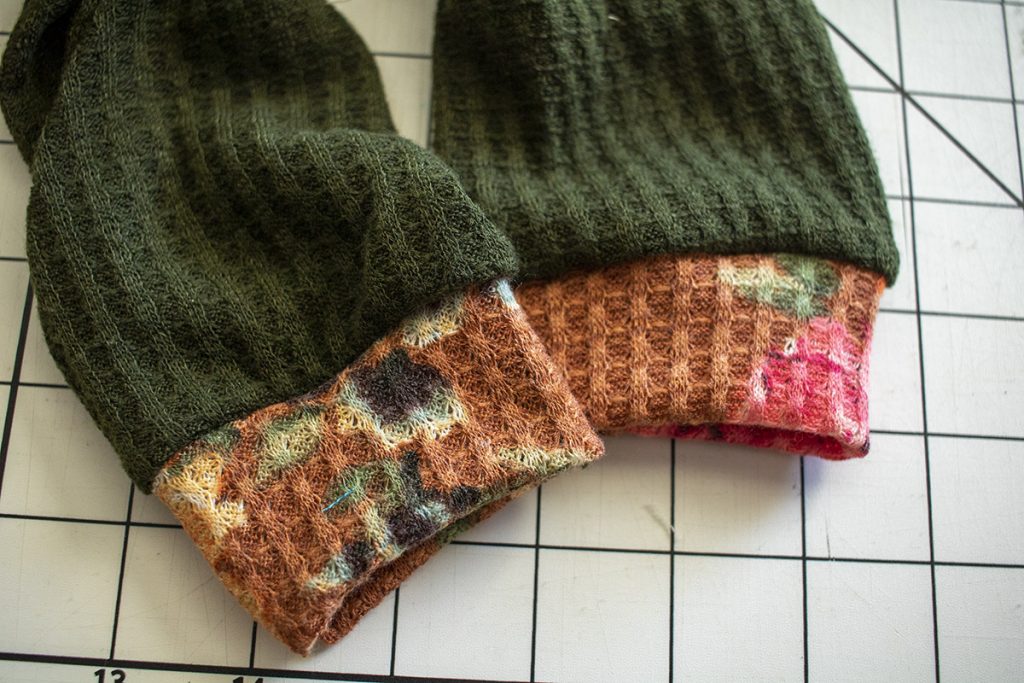
These cuffs were both created with the same method, but they were sewn to the shirt with two different methods. The first way is to sew the cuffs to the shirt before sewing up the side seam so the cuff is sewed in a flat open seam.
The second method is to sew the cuff and shirt in a circle, then sew together. The looks a bit better and is the more traditional method but takes longer and is not as easy.
Let’s first start by adapting the pattern to add the cuff. You want to shorten the sleeve by the height of your cuff. I am shortening the sleeve 2″ to create a 2″ cuff.

The cuff fabric should stretch the most from side to side. For wrist cuffs I cut smaller than the sleeve to cinch in. For a waist band, I usually make the same width.
Fold the cuff fabric in half as shown on the left. Stretch goes from side to side {of sleeve} My finger is pointing to the fold. You can see that the width of the cuff is less than the sleeve. This is intentional, I usually make it about 10% less. But you can adjust based on the fullness of your sleeve and tightness of desired cuff.
Fold the cuff back to the height you want. Me sure to add seam allowance to the height. Cut across the top of the fold line. Then repeat for the other cuff.
Here are two cuffs folded on the side.

Unfold the cuffs and then fold again with the long sides together and the right sides facing out. Stretch the raw edges along the end of the sleeve.

Sew the three layers of fabric together with a serger, stretch stitch or zig-zag.

Sew the side seams of the sleeve after sewing the cuff. Finish the raw serger tails of you used that sewing method. If you sew the side seam with a sewing machine, just back-stitch.

Second Cuff Method:
Create the cuffs the same as above, but do not unfold the side fold. Sew the short sides with a serger or zig-zag. Sew the side seams of the sleeve as well with right sides together.
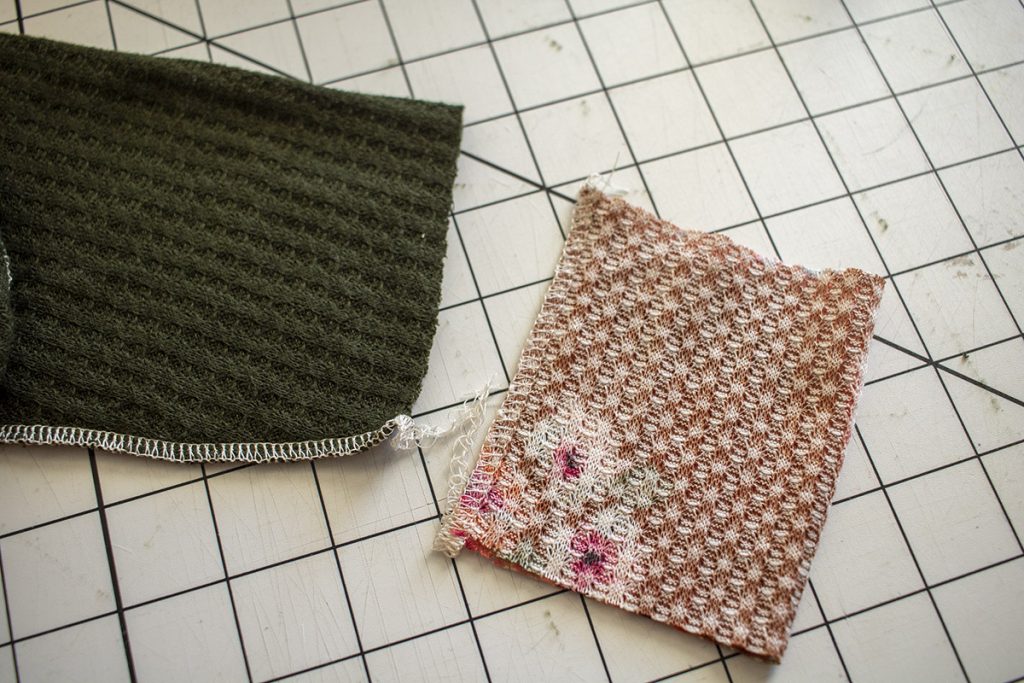
Fold the cuff over to align the raw edges and right sides out.
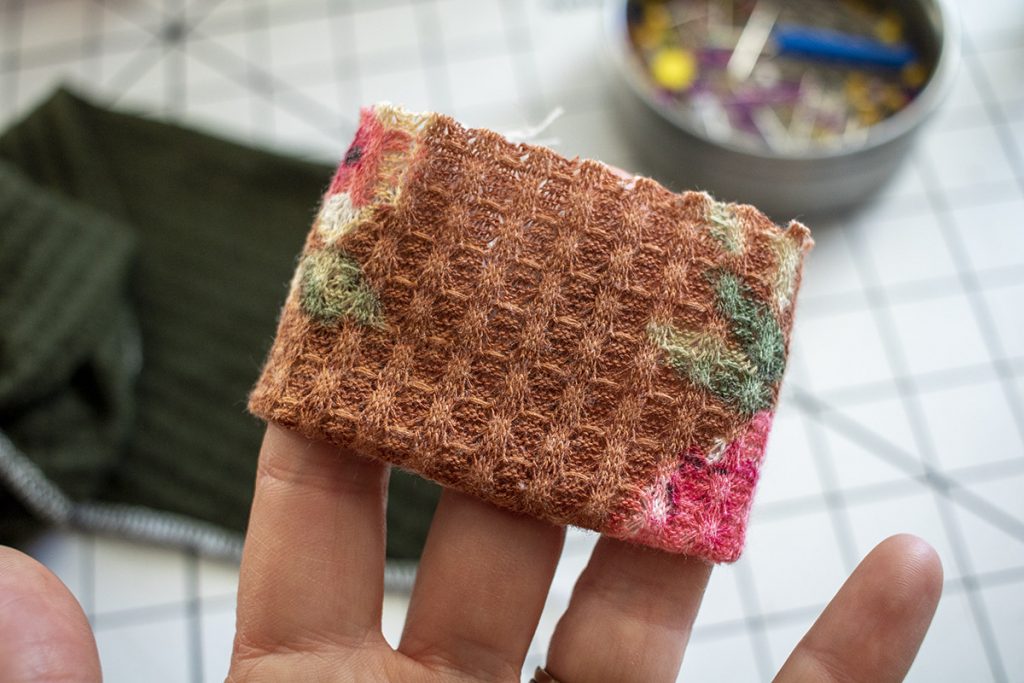
Place this circle cuff on the right side of the sleeve. My sleeve here is inside out, so the cuff goes on the inside. Match the seams and stretch to fit.
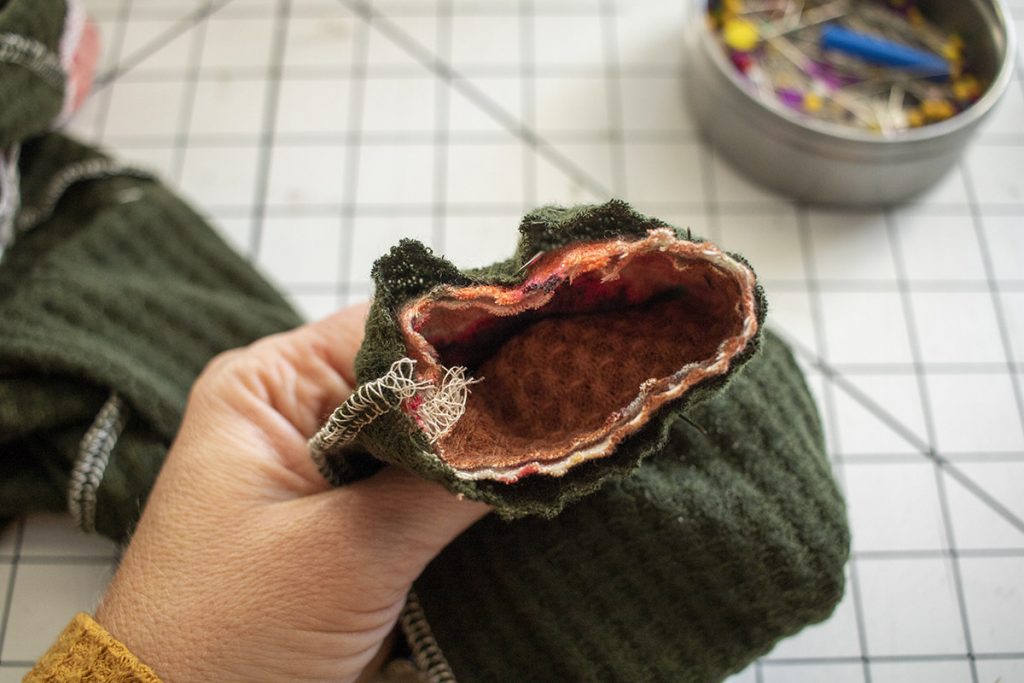
Sew the cuff with a serger or zig-zag. The circle makes it a bit harder to sew, but I like to sew on the inside of the circle.
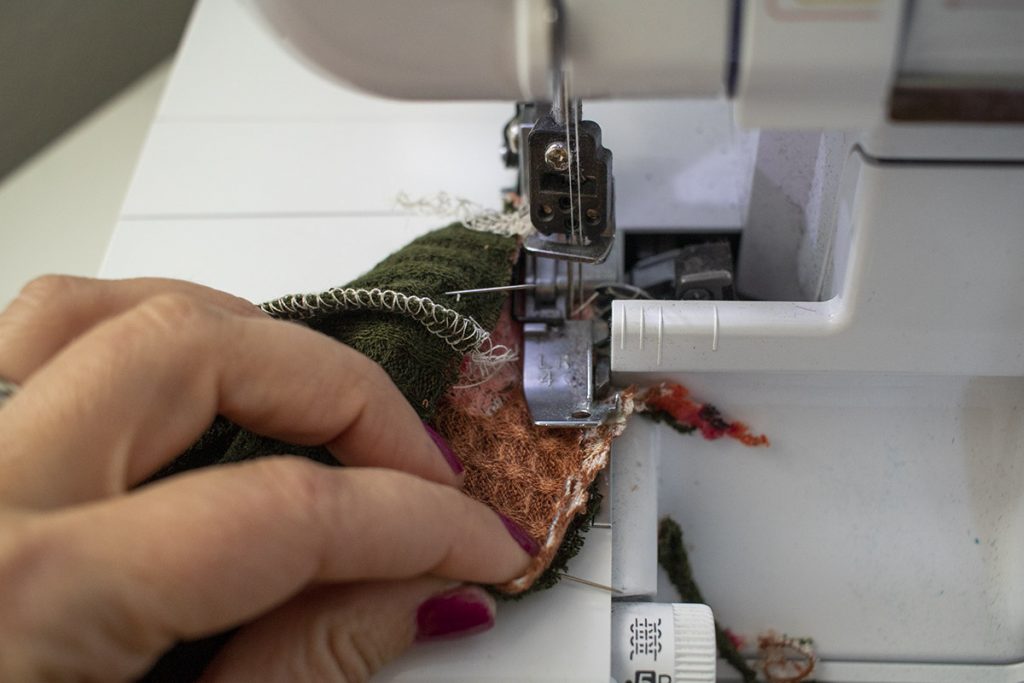
And that’s it! How to sew a cuff two ways. Which do you like? Try changing a hem for a cuff on your next sewing project.




Deb says
Thanks for posting this. I definitely will be testing out both methods. It’s a good way for me to use up coordinating fabric and to add a bit of color or contrast to a shirt. The first method seems easier since I don’t have to fuss with sewing inside a tiny circle but I’ll try both on test fabric.