inside: Learn how to color tie-dye on black fabric. Color tie-dye on a black shirt is possible with a few steps. DIY tutorial to put color on a black shirt.
A few years ago I shared a tutorial for reverse tie-dye to create fun tie-dye on black shirts. While this process is fun and easy, you only get the brownish color on the black fabric of your shirt. Rose and I wanted to try to add color to the bleached black shirt, so here’s the process of color tie-dying a black shirt.
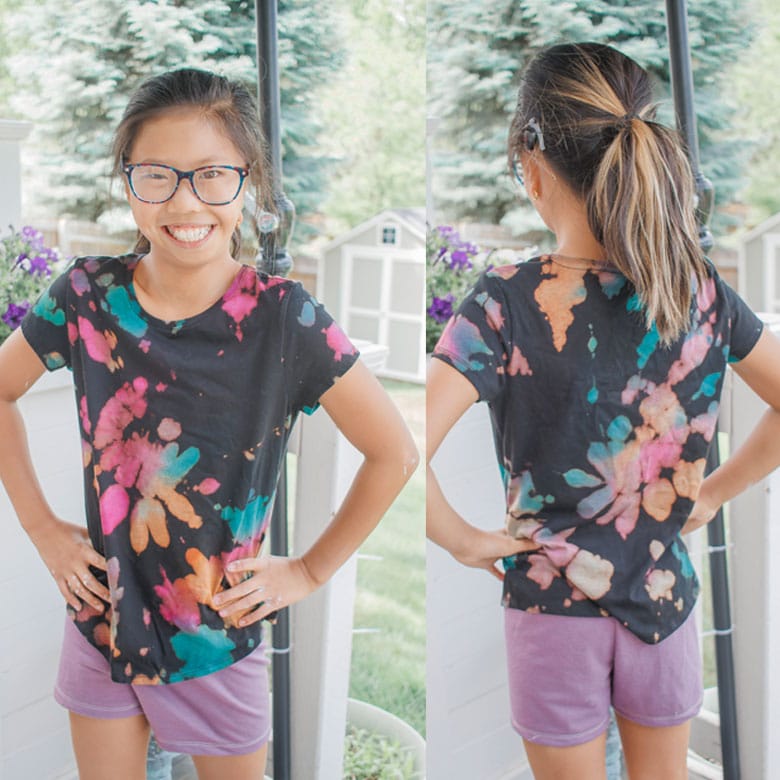
Bleach tie-dye and color dye
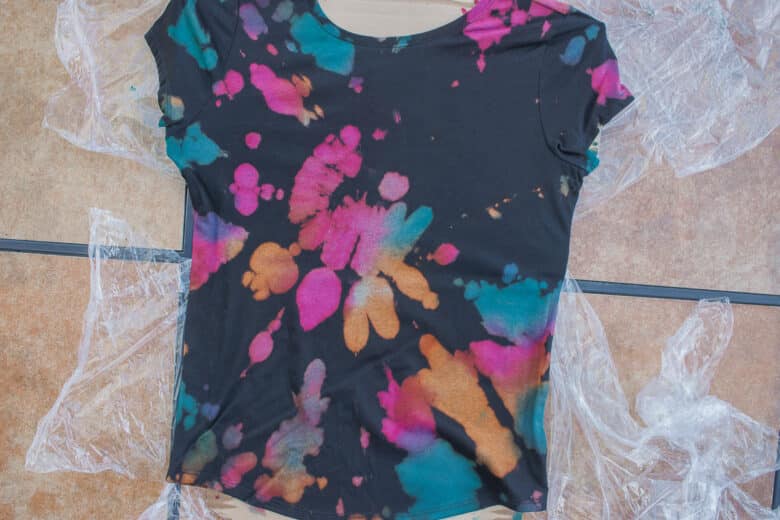
Before we get into the details I just wanted to show off how pretty this black tie-dyed shirt is. The color really pops against the black.




Can you tie-dye a black shirt?
Yes you can!! Here’s my quick video walk through with narration. You can also see the photo tutorial below if you want to read though it. If you are having trouble seeing the video try disabling any ad blockers or ever try a different browser.
How to tie dye a black shirt
Supplies:
- Black t-shirt or shorts
- Tulip Tie-Dye kit with squeeze bottles – We used this one
- Bleach
- Extra squeeze bottle for bleach
- plastic wrap or large plastic garbage bag
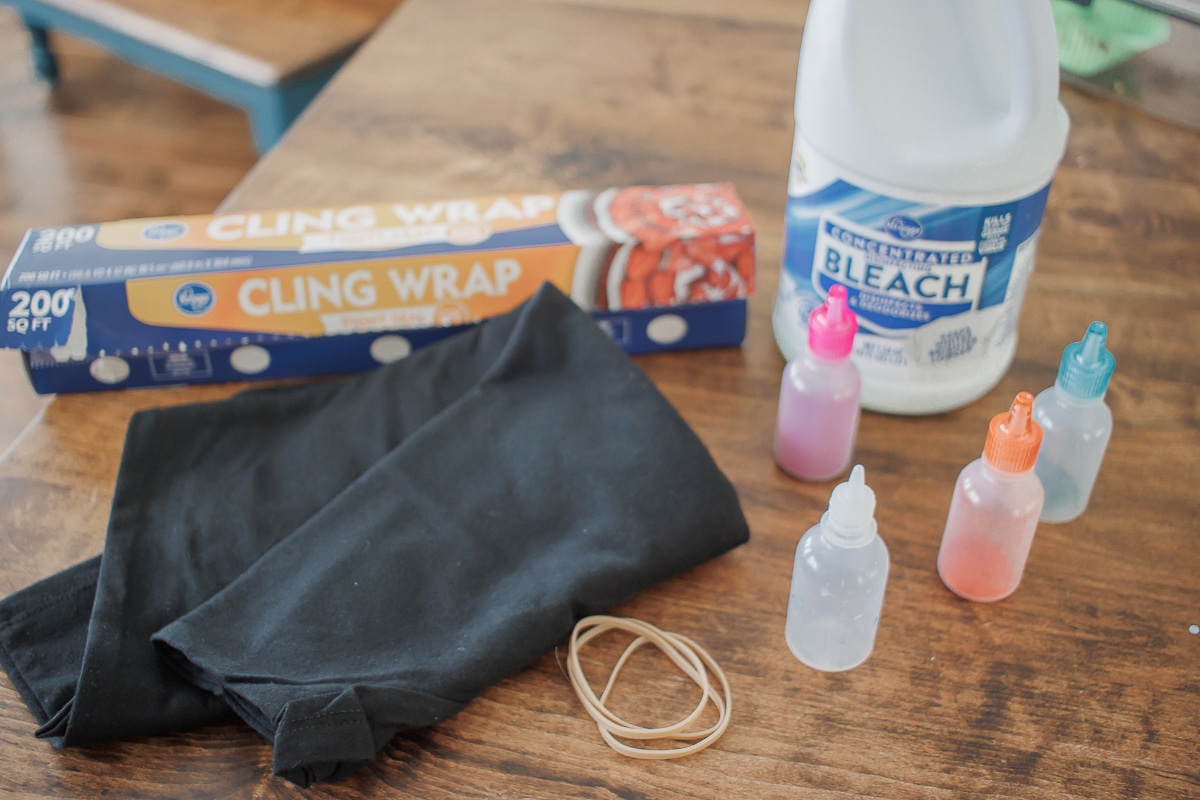
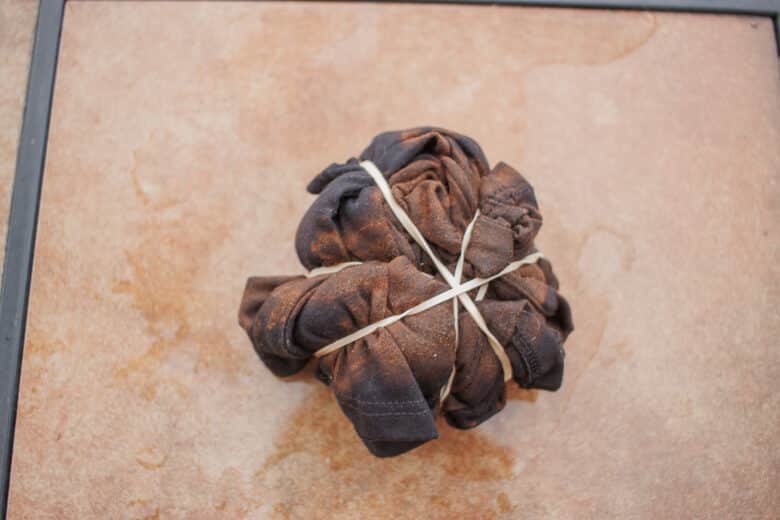
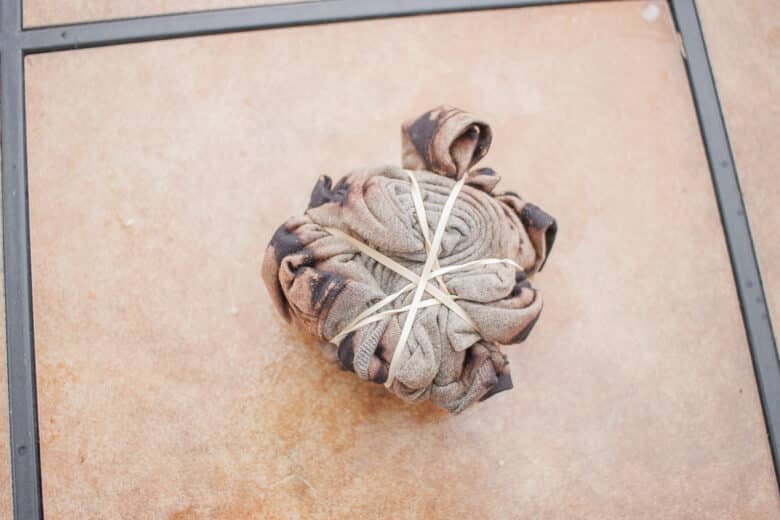
The first part of the project is just reverse tie-dye with bleach… You can find the full tutorial for this reverse tie-dye method here. I swirled my black shirt and then used a few bands to secure it. I filled a small squeeze bottle with bleach and used the entire small bottle on the shirt. I just used straight bleach.
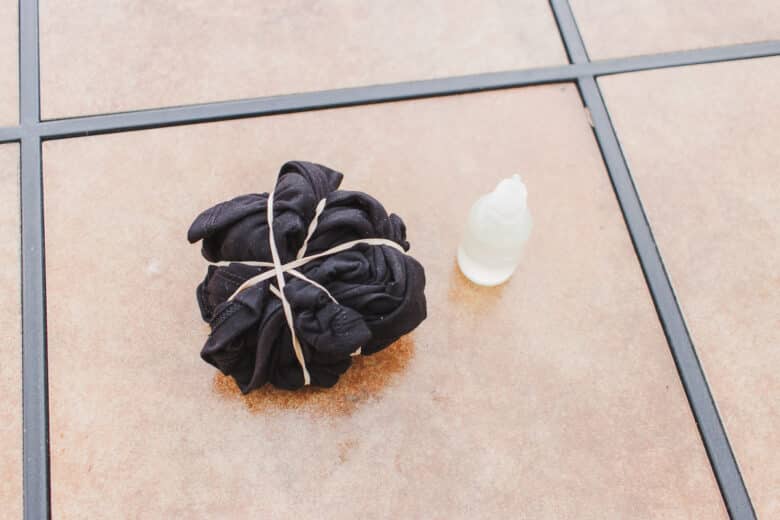
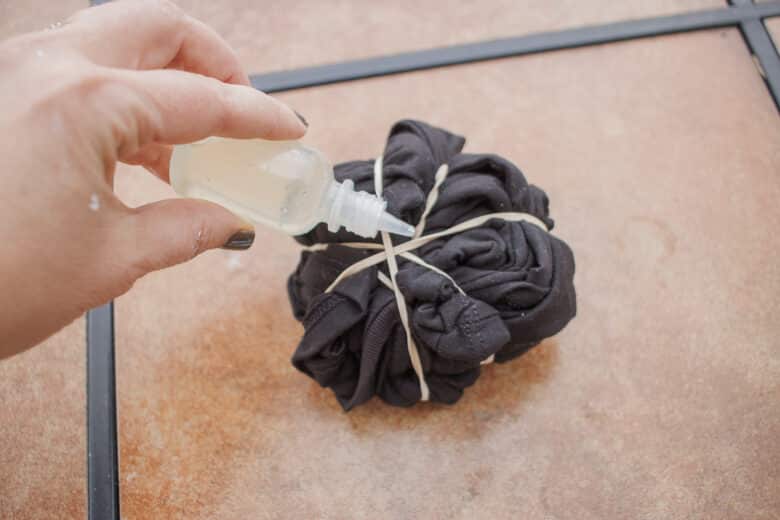
I did this outside to prevent mess, and the sun also helps activate the bleach. Don’t walk away at this point, you will literally be able to see the color of the shirt change before your eyes. When its gets light gray it’s time to rinse out the bleach. Don’t let the bleach sit too long or it will eat through the fabric… it’s a fine line.
I used a hose {I was outside!} and fully rinse all the bleach out. Wash and dry the shirt at this point.
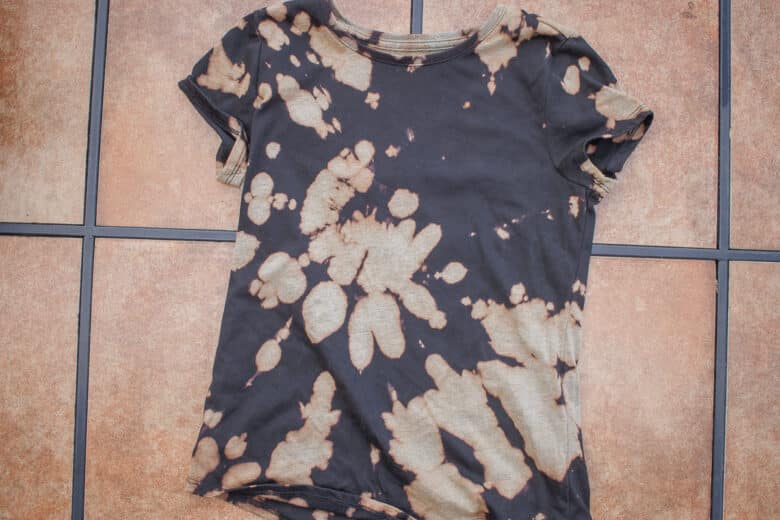
Now you should have a black shirt with some light color patterned splotches. I made a cardboard insert out of a box to keep the front and back of the shirt separate.
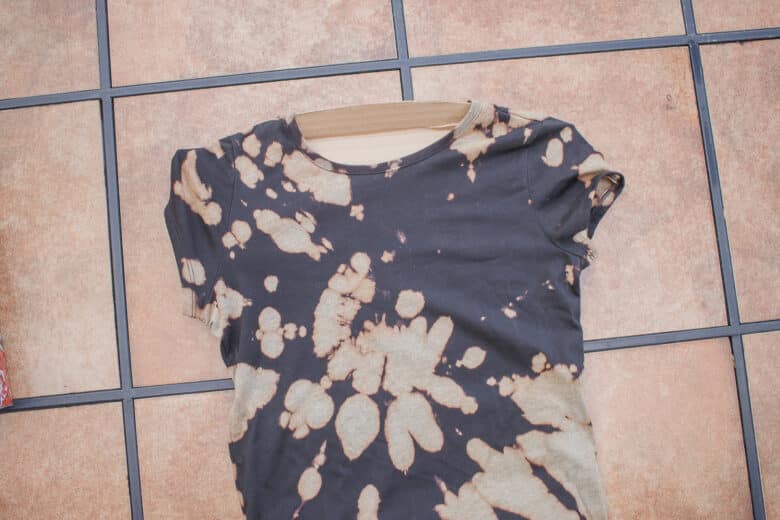
Grab 3-4 bottles of color dye. A squeeze bottle works best for application so you can be precise with the colors. We painted all the light parts of the shirt, make sure the fabric is soaked through.
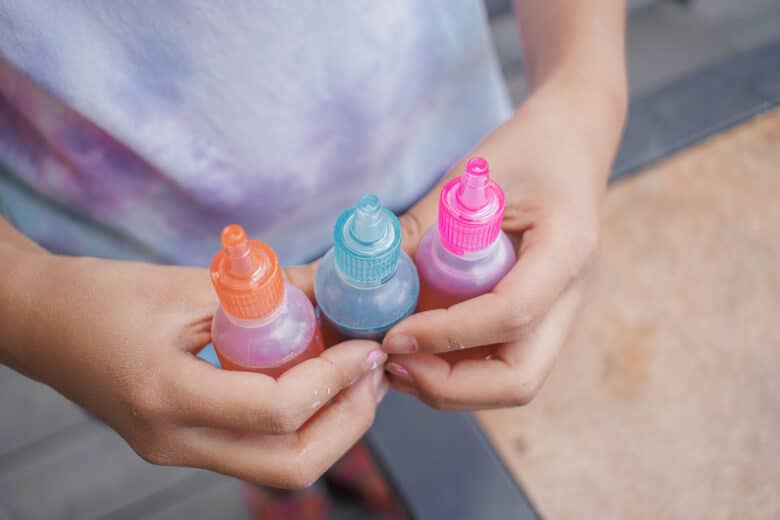
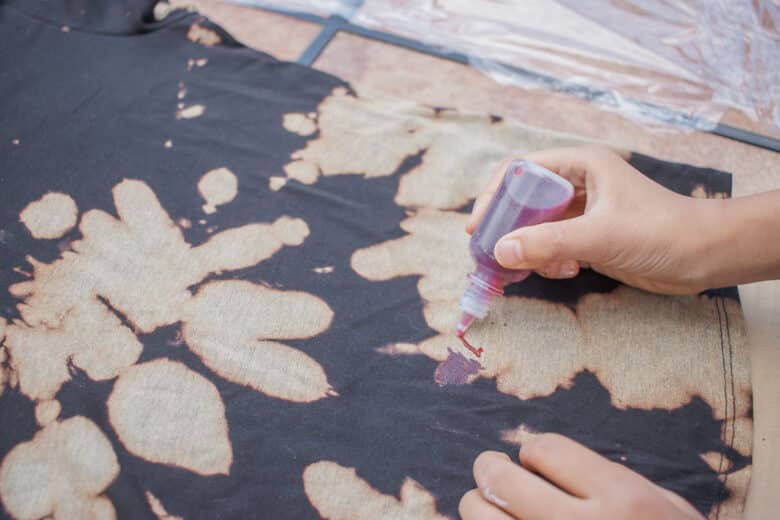
I helped out a bit, but Rose was really into this part and wanted to fill it all in.
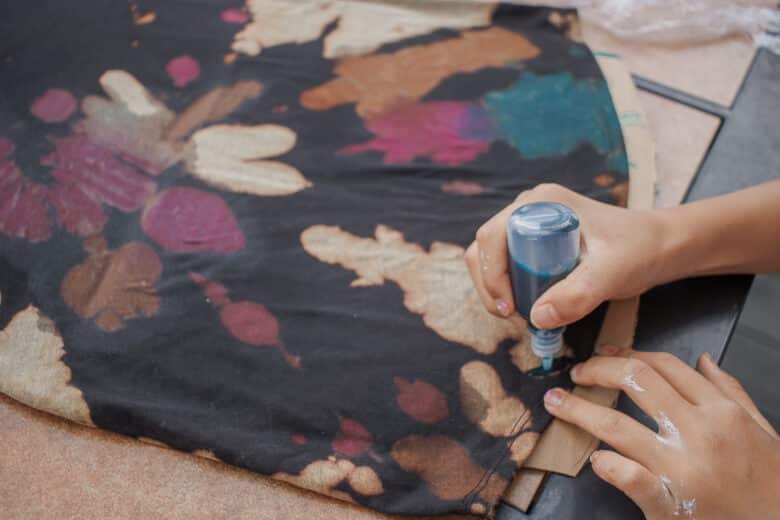
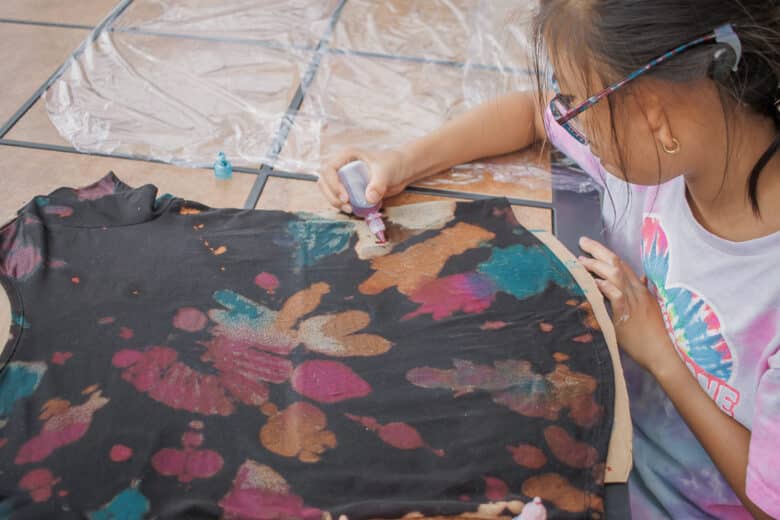
While she was coloring the front I prepared several pieces of plastic wrap to form a big sheet. When the front of the shirt was covered in dye, flip it over with the front down on the plastic.
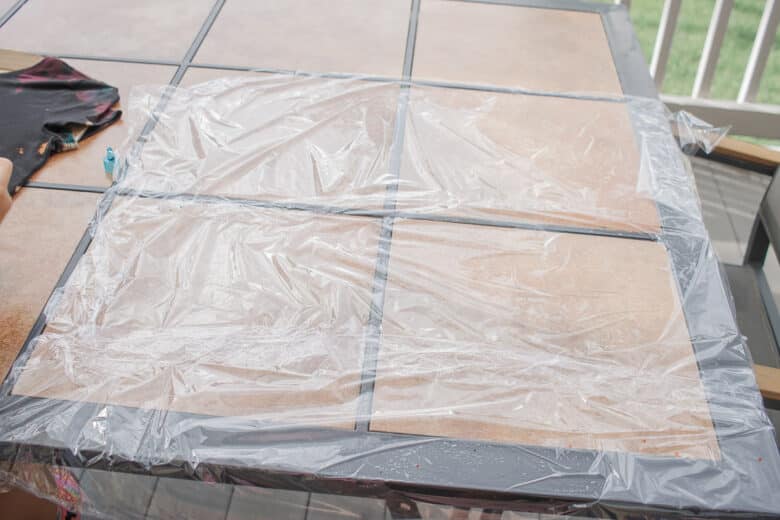
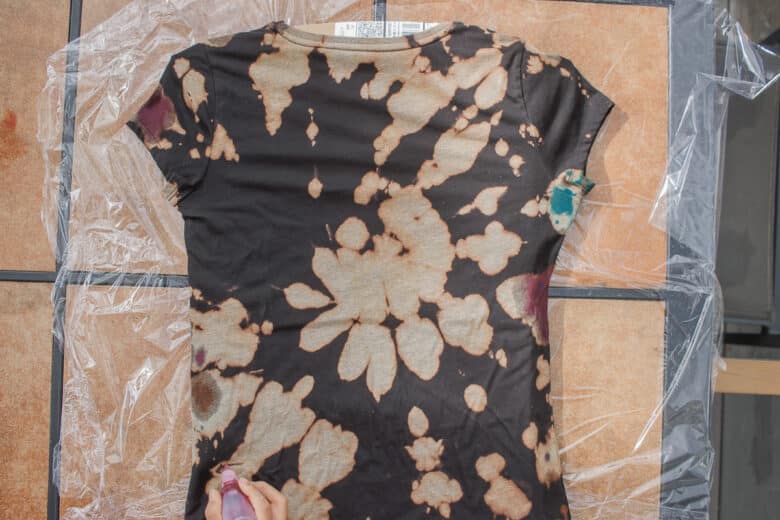
Dye the back of the shirt in the same was as the front. When the whole shirt is covered in dye, fully wrap it up in the plastic. You can also use a garbage bag to completely cover and seal it up. I left it overnight.
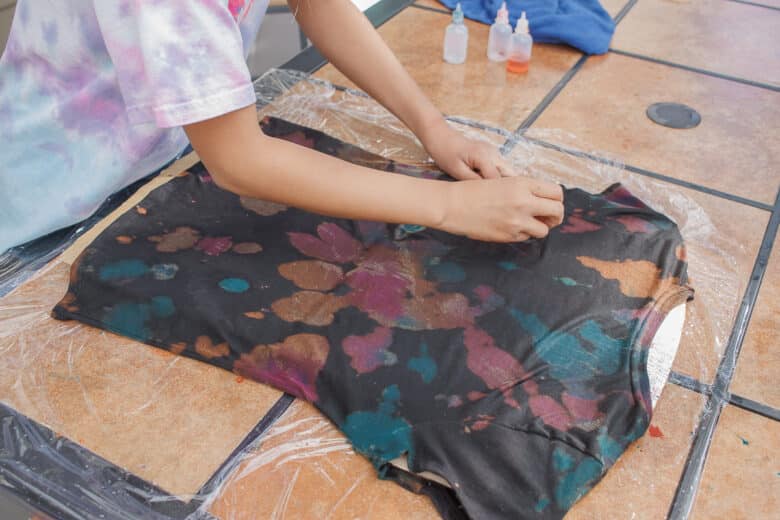
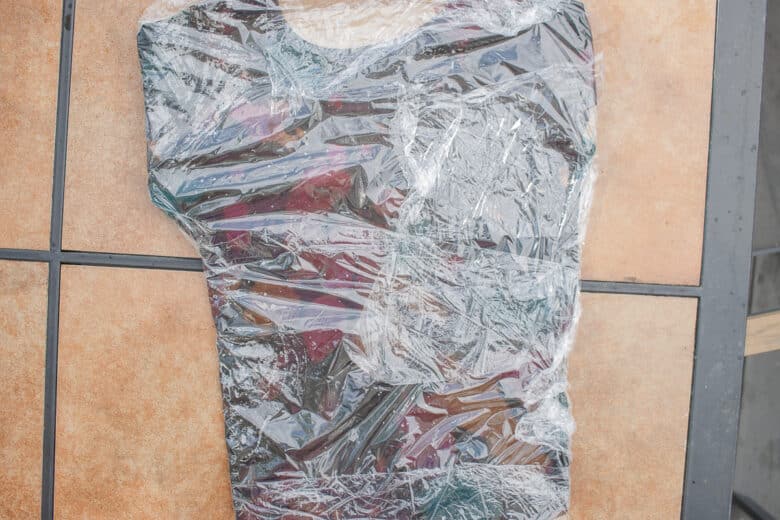
In the morning unwrap the shirt and wash {with hot water} and dry it. You should wash it separately at the point and maybe for another wash cycle to prevent the dye from getting on anything else. I may add some vinyl lettering on this in the future, but for now we have a super cute tie-dyed black shirt to wear.




Carlo2 Stewart says
Hey. Whether you’re a student working on math problems, a teacher explaining sequences, or a data analyst exploring trends, this calculator makes the process simple and efficient. The sequence pattern calculator https://calculatorprofessional.com/number-sequence-calculator is an incredibly helpful tool for identifying patterns and relationships within a series of numbers. It’s user-friendly and provides clear, accurate results, saving time and reducing the guesswork. I appreciate how it can handle different types of sequences, making it versatile for various tasks. The detailed explanations of the patterns help to better understand complex sequences. If you’re looking for a reliable tool to analyze number sequences, this is a great choice!