Inside: learn how to combine the techniques of yarn couching and embroidery. These two mediums together look so beautiful and are the perfect embellishment to your next clothing or accessory project.
*Post sponsored by Brother , but all ideas and opinions are my own**
My Stellaire 2 is my new favorite machine. I’ve been obsessed with trying out all the features this machine has that my previous one did not. One of those features is the yarn couching function. It’s just so fun to sew and beautiful to see when finished. Today I’m going to show you how to combine yarn couching and traditional embroidery on your next project.
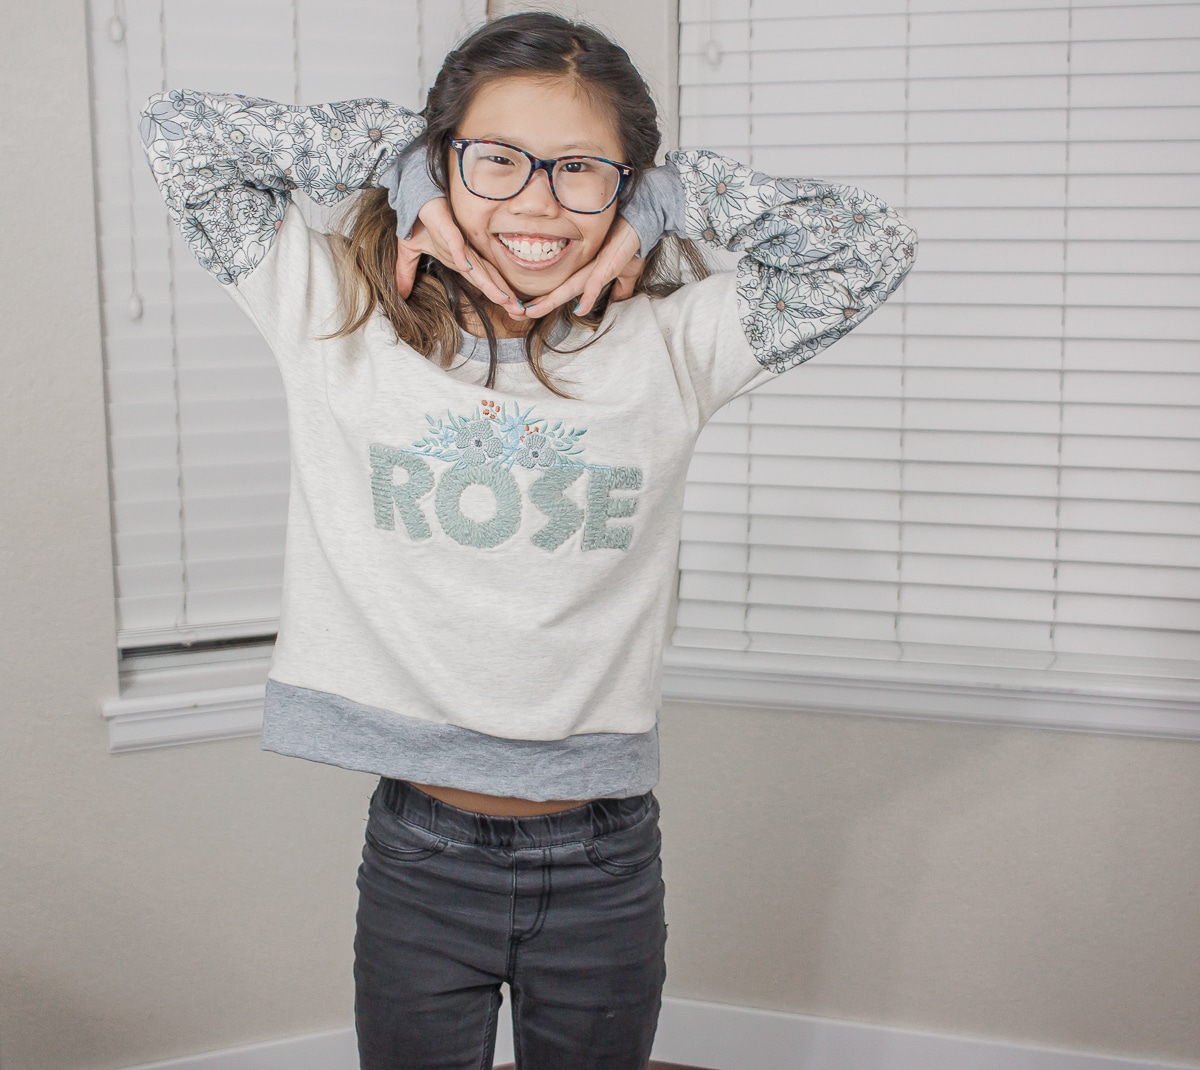
How to make an embroidered sweatshirt
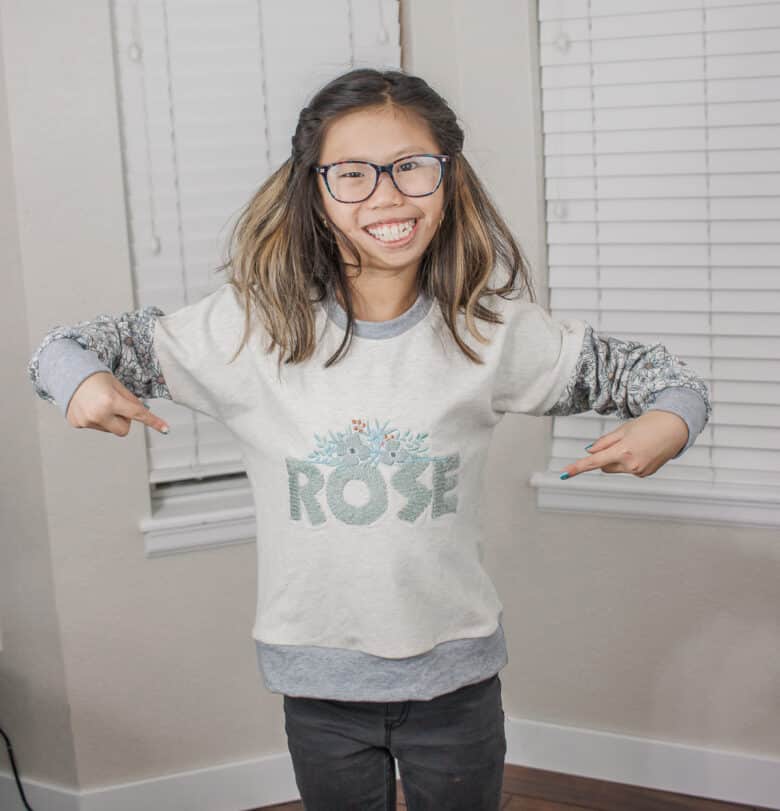
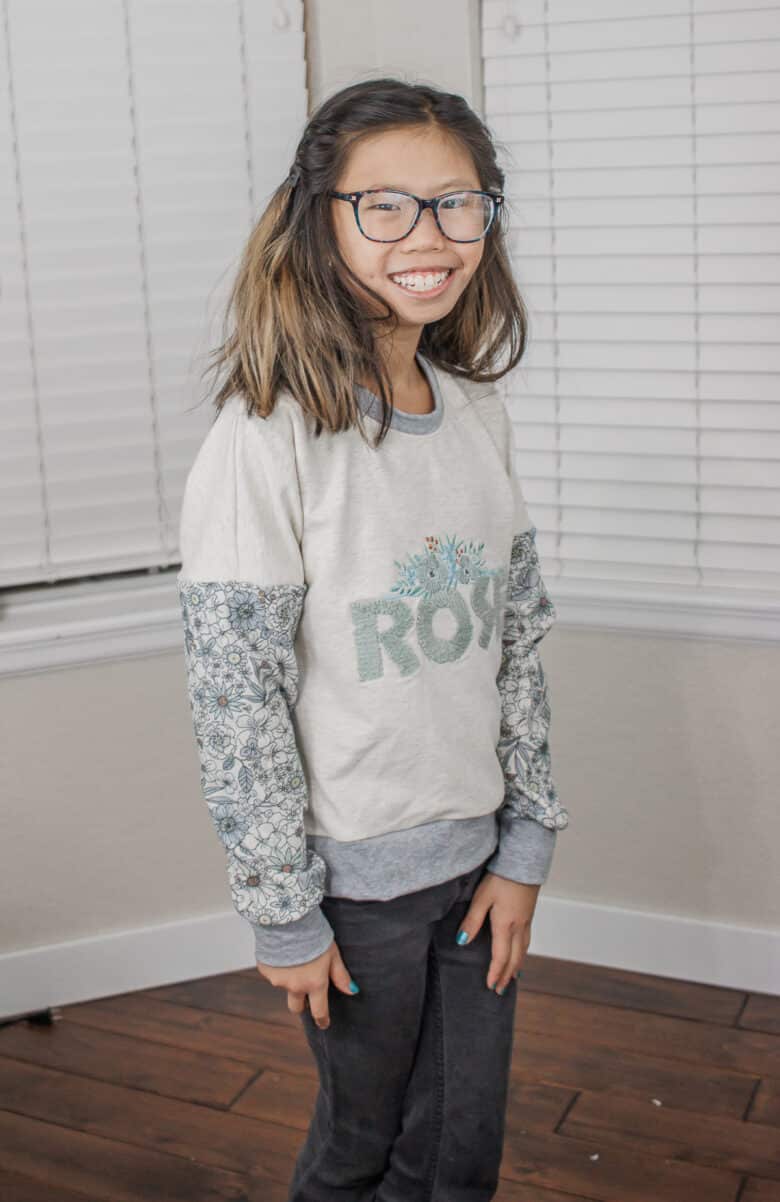
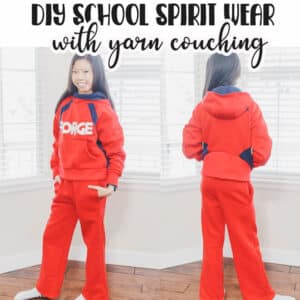
Rose needed some cozy sweatshirts as the cold has hit here in Colorado. I had these scraps of French Terry to use and I also wanted to use my new favorite technique of couching. Not only did I add the yarn, but I decided to add some regular embroidery as well.
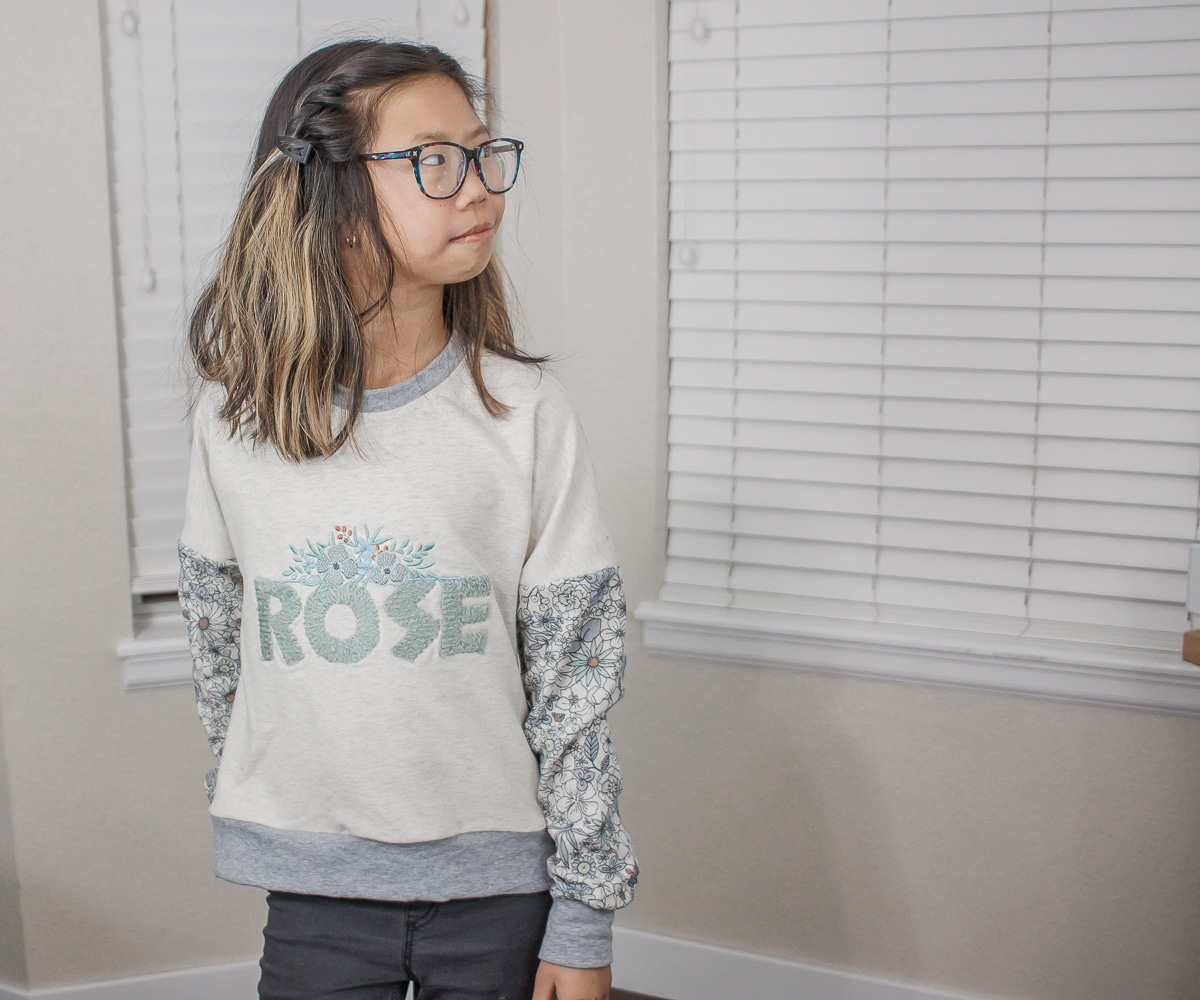
How cute did this sweatshirt turn out? I had the floral sleeve scraps and I tried to use those as the color pallet for the embroidery. The floral and the gray were scraps from my bin and the oatmeal color was off a new order I recently received.
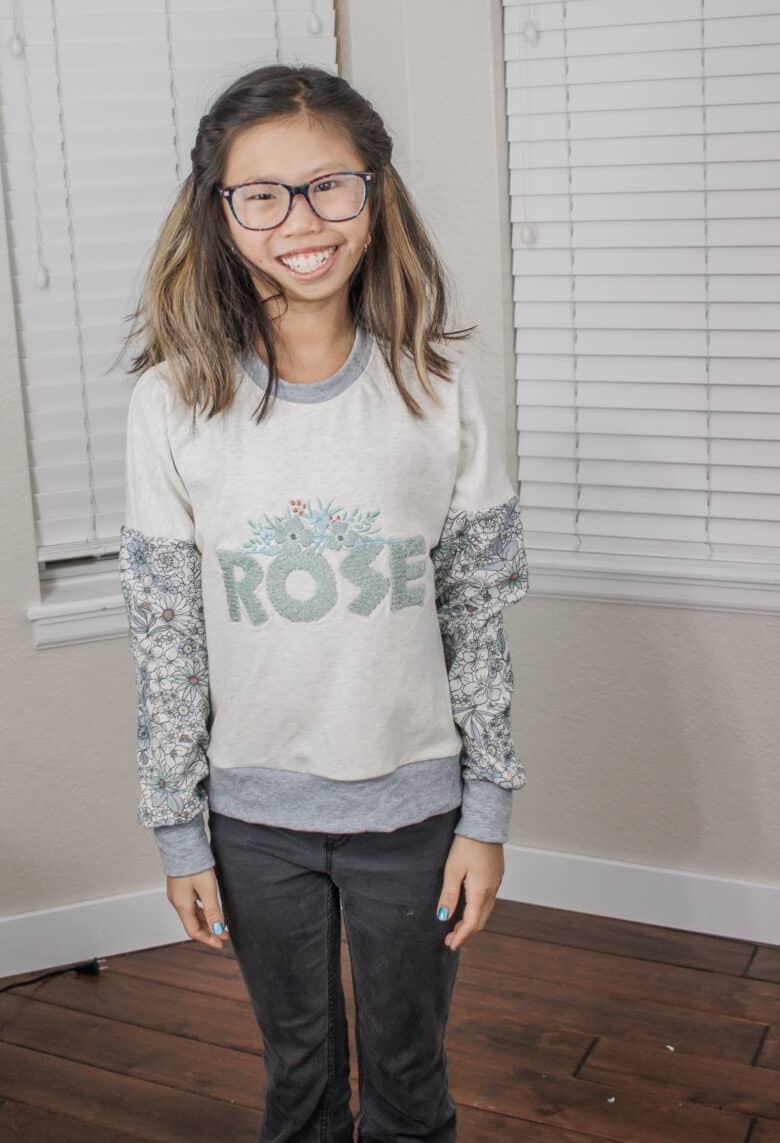
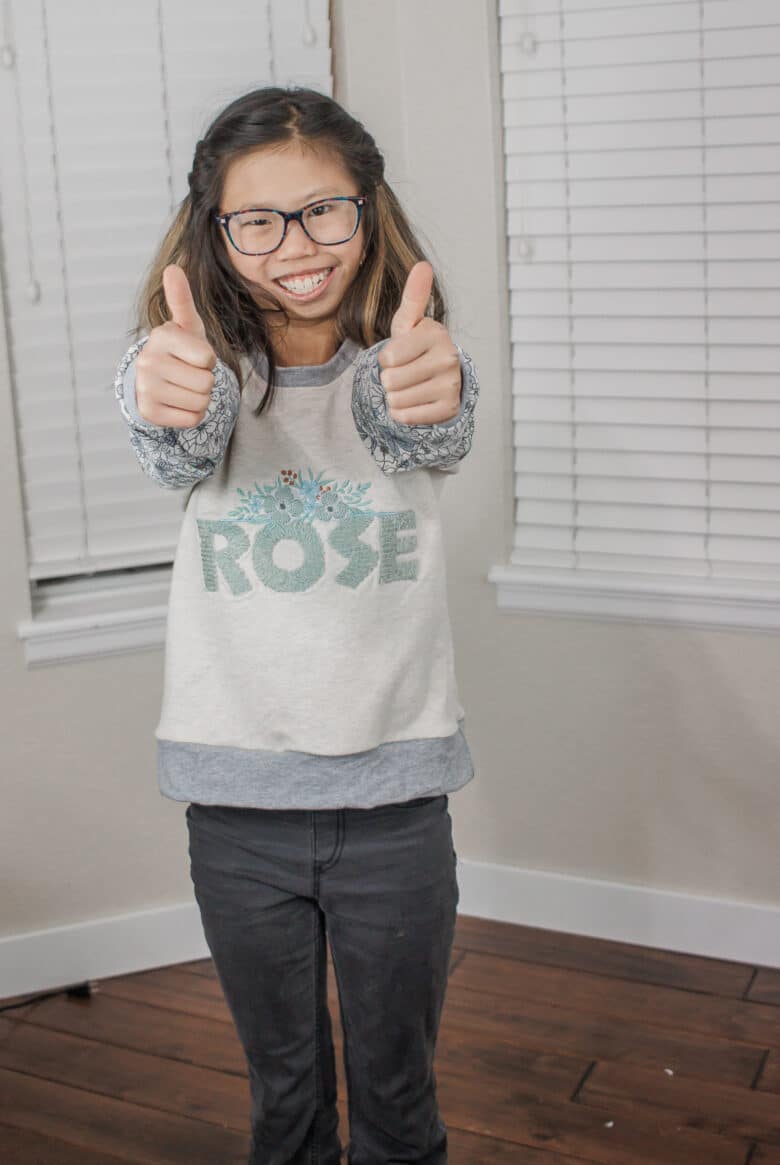
This cozy sweatshirt turned out even better than I envisioned and everything going together so well. The base is my girls crop top turned into a sweatshirt, and I’ll share the links to these free patterns and tutorial in the supply list below. This free pattern works with all kinds of cozy fabrics… waffle, French Terry, Sweatshirt fleece, etc.
Other amazing embroidery projects to try:
- How to make custom clothing with embroidery
- How to use the Artspira app for embroidery
- How to mend a hole with embroidery
- Holiday sweatshirts with embroidery
- Introduction to embroidery for beginners
How to combine couching and embroidery
For this tutorial you will get a bit of information about couching AND some information about the My Snap App too! Let’s first talk about the supplies you need for this project –
- A project pattern {I’m making a sweatshirt}
- Stellaire 2 sewing/embroidery machine
- Yarn {I found the Yarn Bee tender touch yarn the perfect blend of fuzzy and small enough to fit through the couching foot.
- Embroidery thread
- Adhesive stabilizer
- Clear topping stabilizer
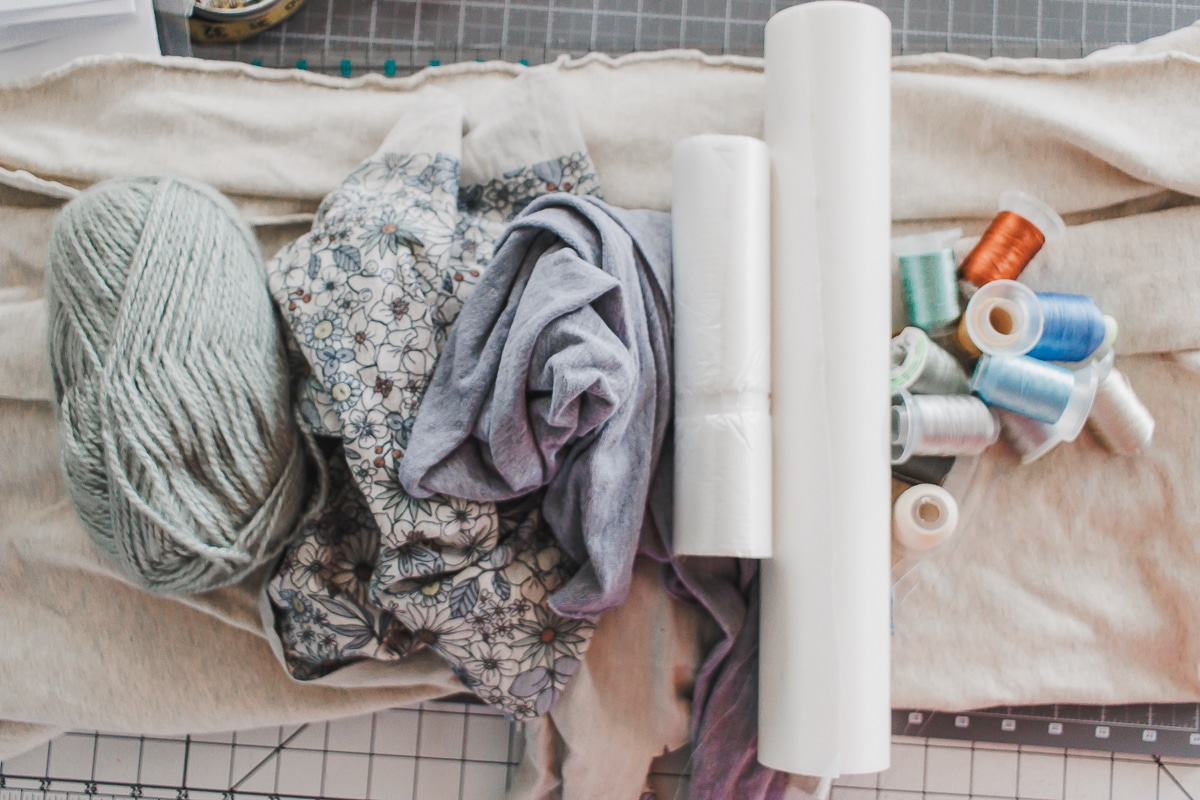
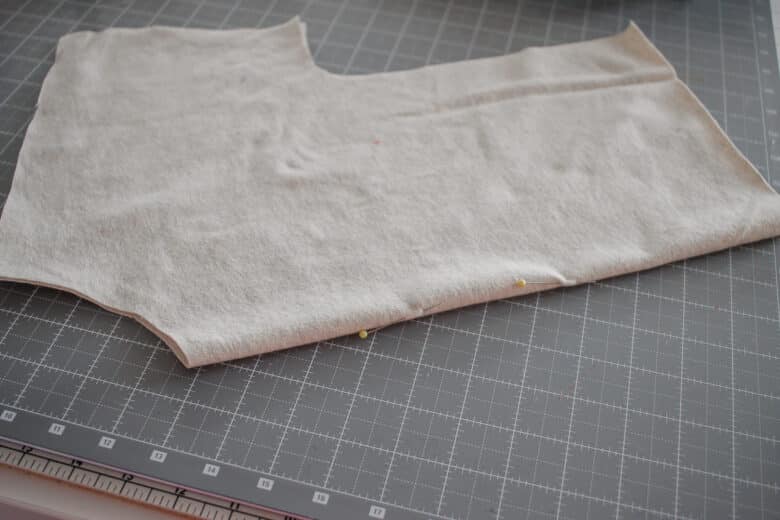
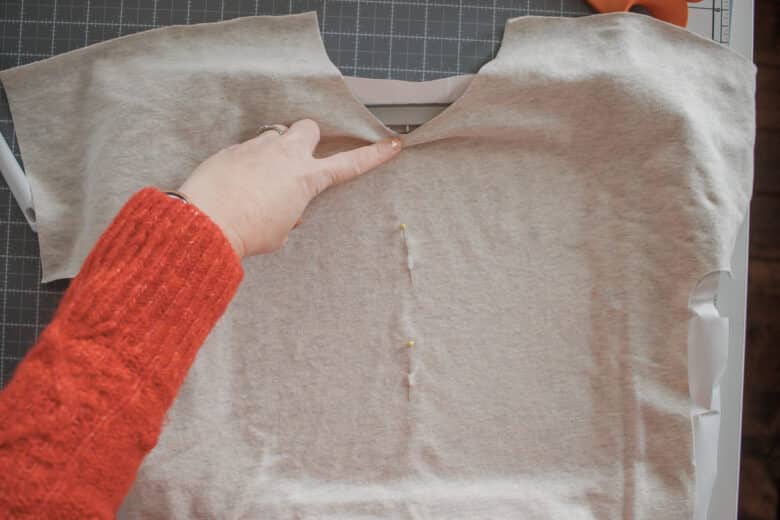
I find it way easier to embroidery before sewing the garment {of course!} so I cut out the front of the sweatshirt, then did the embroidery on the front. Once you have the front cut out, mark the front center of the shirt. Prep the embroidery frame by hooping a piece of the adhesive stabilizer, then peeling off the backing in the hoop.
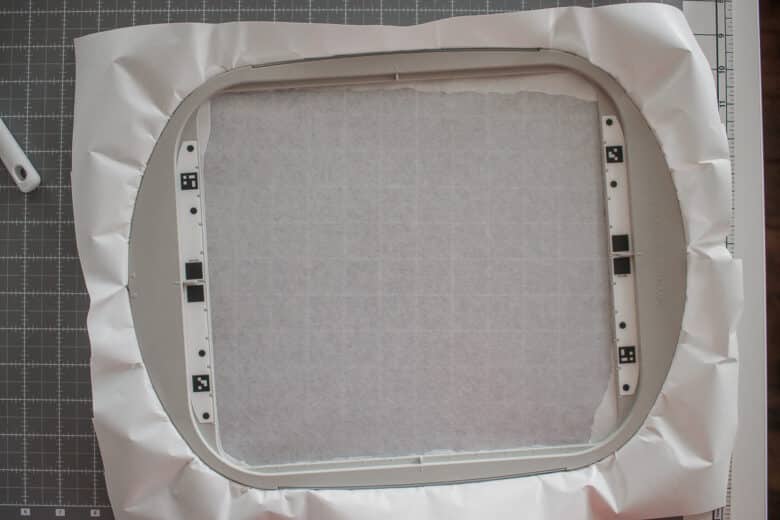
Use the markings on the hoop and the markings on the shirt to center the fabric in the hoop. I used my 9 ½” x 9 ½” hoop for this project. For the couching letters you can only fit 4 or 5 letters in this size hoop, so if the name/word is longer you will have to use a larger hoop or move the fabric as you go.
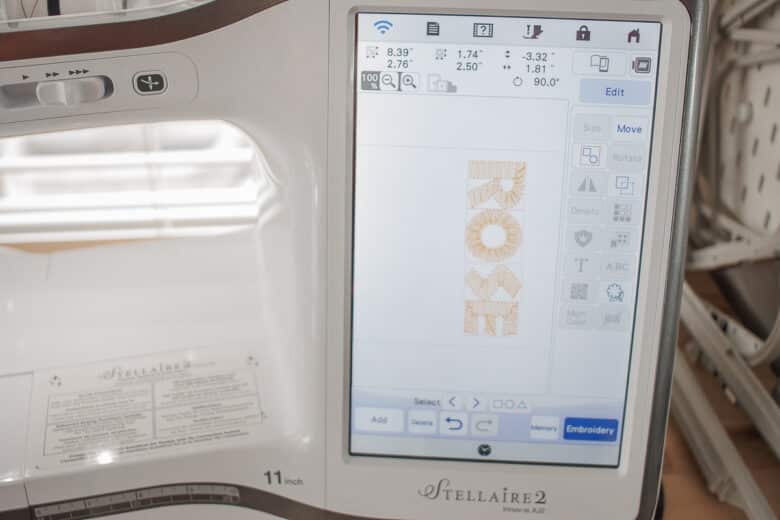
Layout the couching letters on your embroidery machine. I grouped and centered the text in the hoop so the middles lined up. I rotated the text as well, since that was how I had hooped my shirt front.
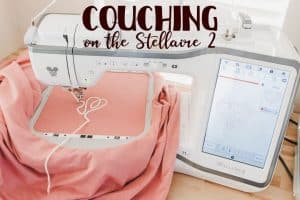
Set up the couching attachment on the side of the machine and I use the top spool thread holders as well. I place my yarn behind my machine, make sure there is plenty of yarn pulled loose off the bundle, then up through the thread guide. Looking for more tips on couching? Check out my couching tutorial post for all the details.
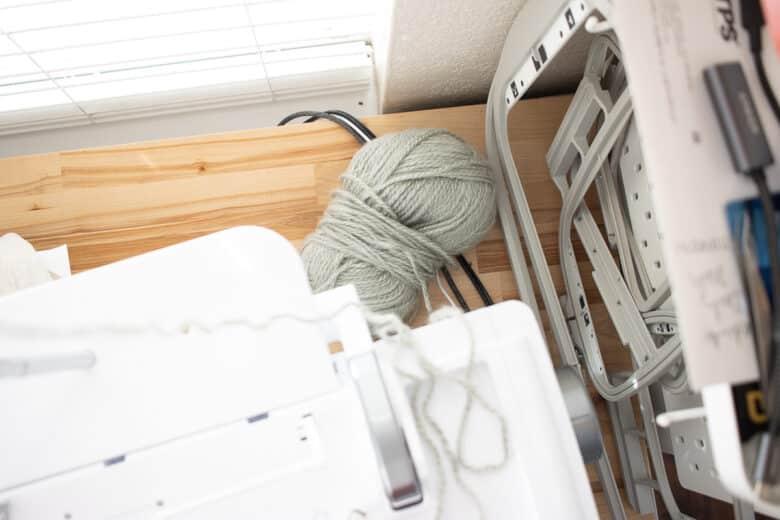
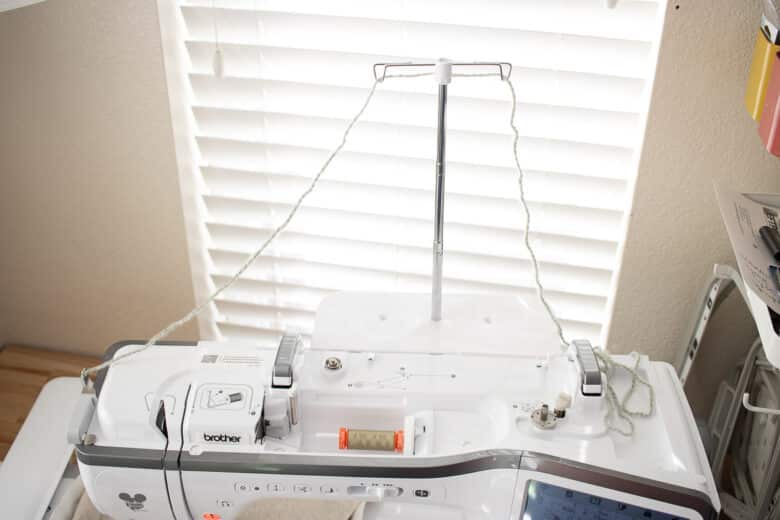
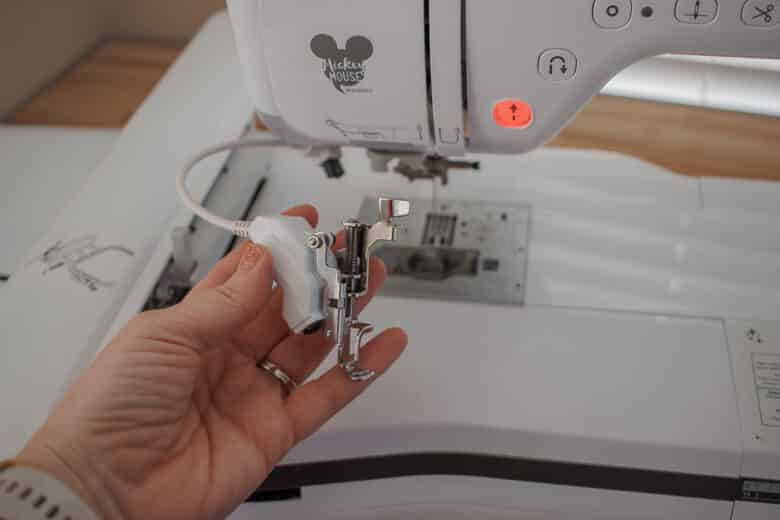
Remove your sewing or embroidery foot and place the couching foot on the machine. Make sure the needle is left of center, and threaded with thread that coordinates with the yarn. Pull the yarn through the couching foot with the included threading tool.
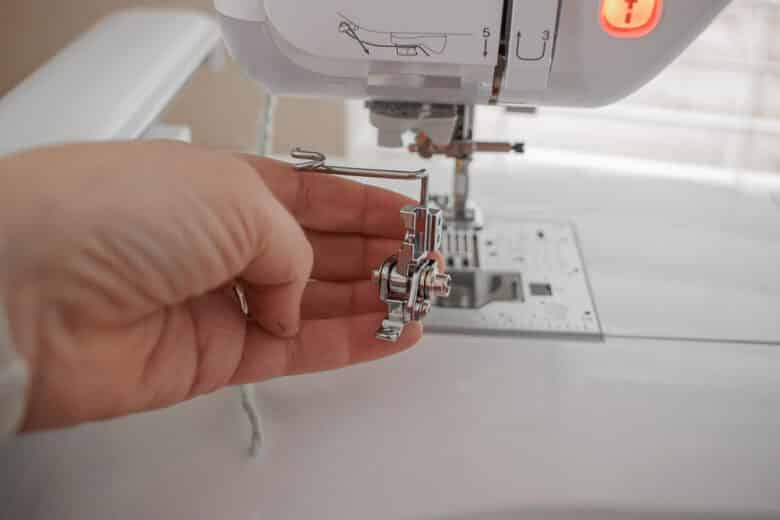
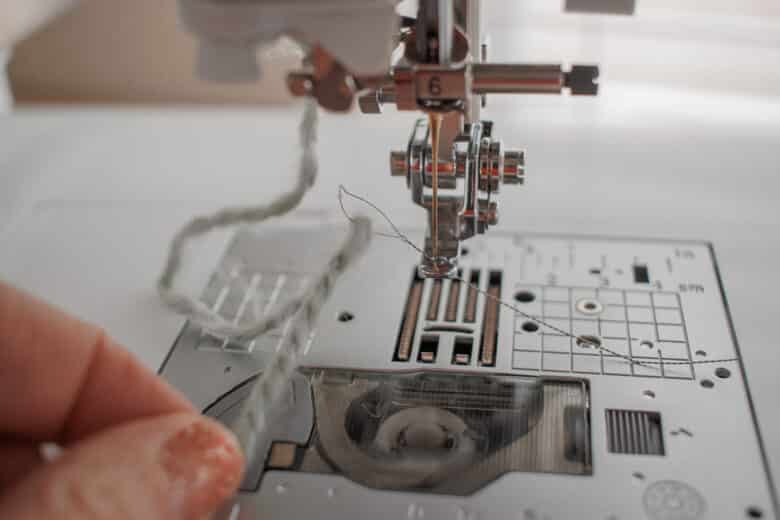
Slide the hoop into the machine and lock in place. Move the embroidery design up to down to get the placement just how you want it. I am going to add embroidery on the top of my couched letters, so I placed the words slightly lower on the shirt than I normally would. Begin the embroidery.
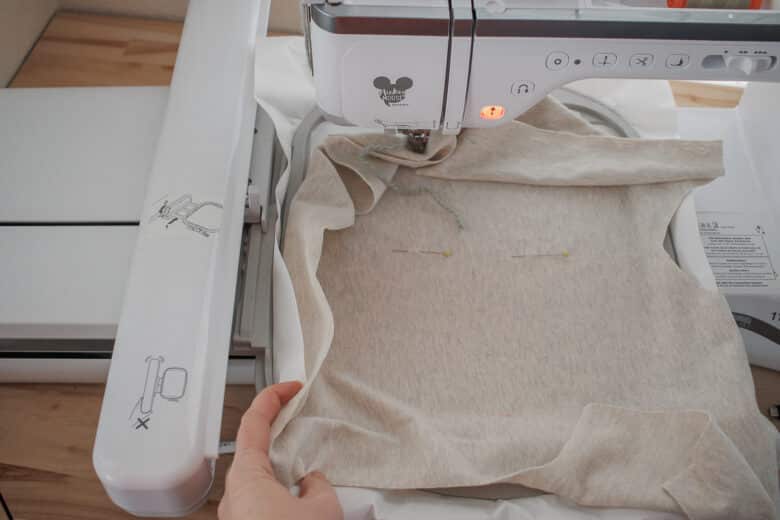
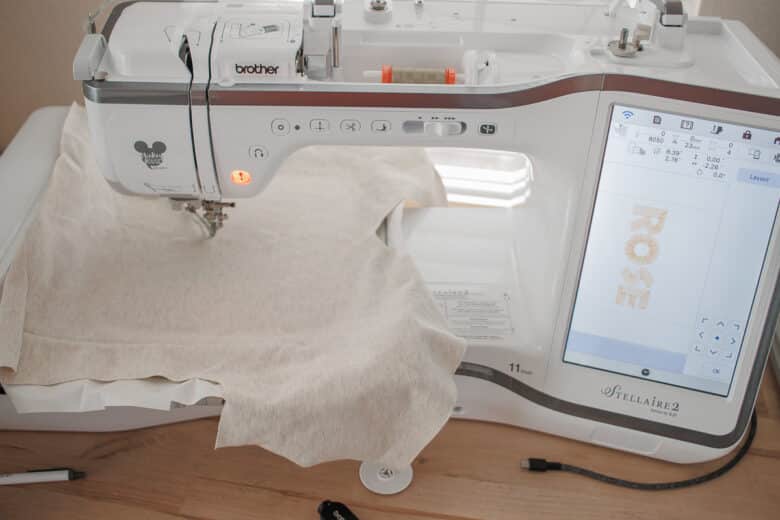
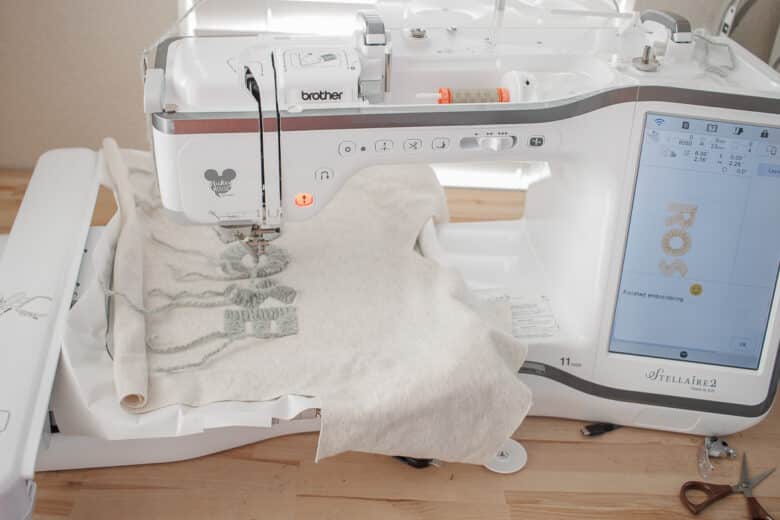
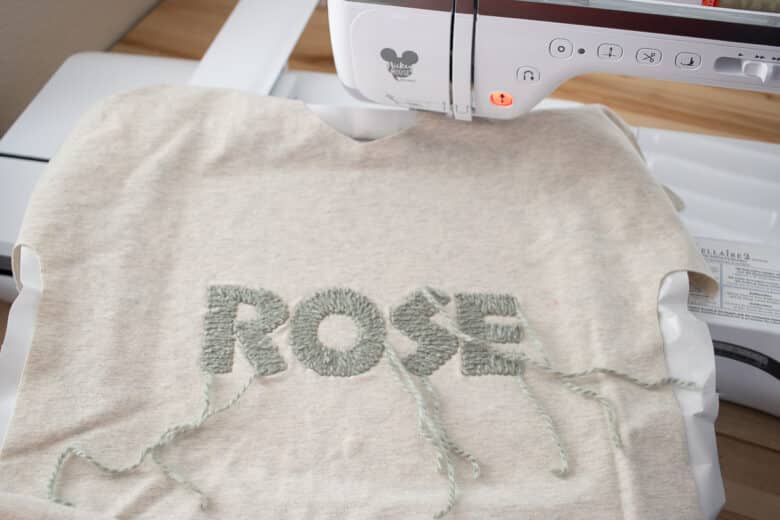
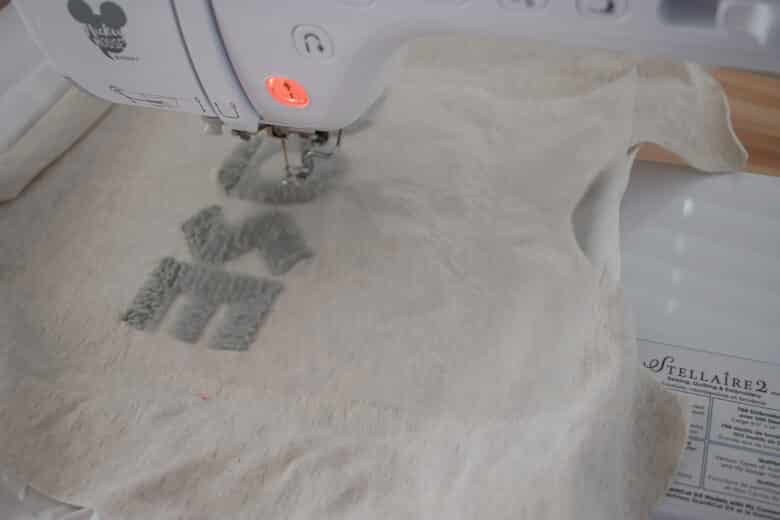
The machine will embroidery one letter at a time. You will need to pull out some yarn and cut a tail between each letter. I cut them long enough to be able to tie off on the back of the design layer. The thread will be cut and trimmed by the machine. Watch the first bit to make sure the yarn is flowing through the couching foot unhindered. If the yarn is too thick it may cause issues. This is the yarn linked above and it’s just the perfect mix of thick and fuzzy, but able to flow through the foot. I didn’t have a single issue with these letters.
Now it’s time for the fun, magic part! Fold the fabric of the shirt in to reveal the code markings on the embroidery hoop. I folded it over, but then tried to tuck it under so I could still see the lettering AND the code on the side. Use the My Snap App from Brother to take a photo of the frame and send it to the machine. Change to the embroidery foot on your machine.
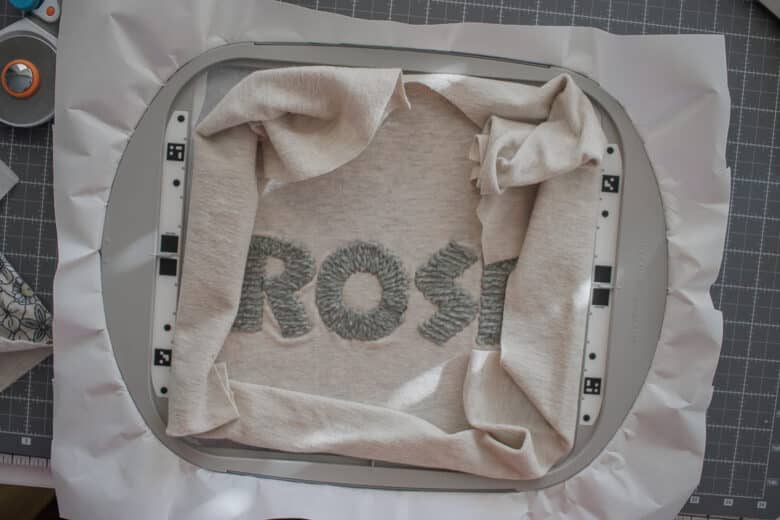
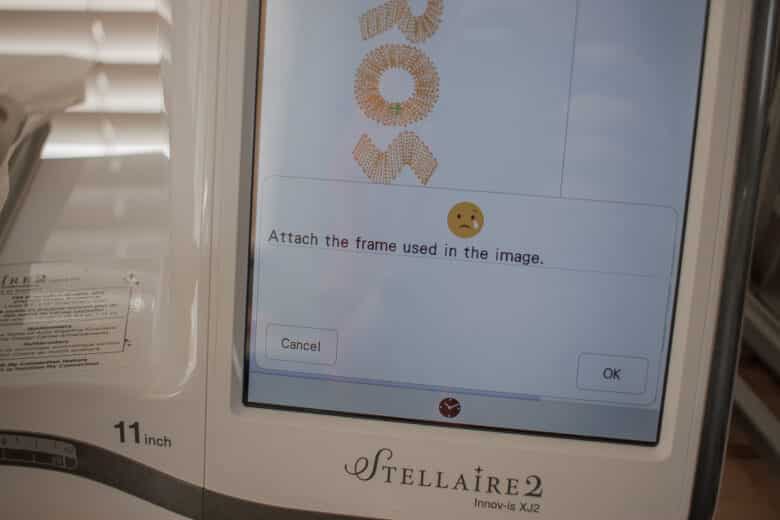
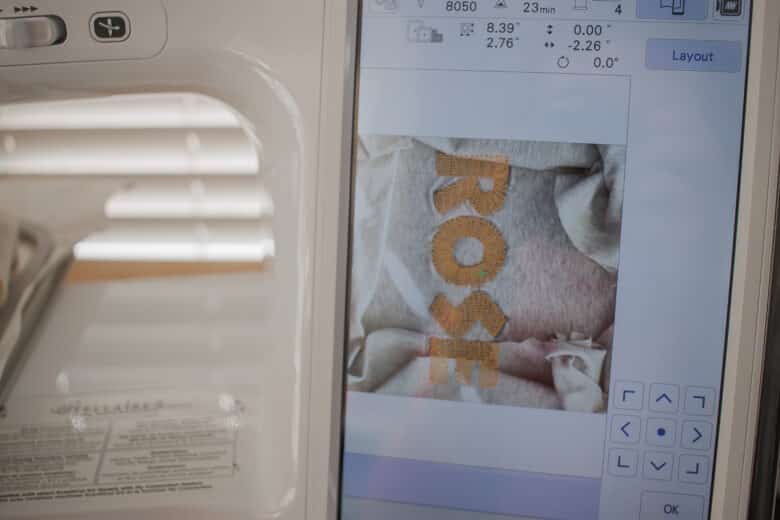
Once I hit send on the app, this message popped up on my machine screen. I placed the hoop back in the machine and the second image popped up. Look how perfect the alignment is!! This makes it SO easy now to line up the second part of the embroidery I want to do. Due to the fabric being folded over in my photo I can’t see the whole image, but I can see plenty to line up my next embroidery. Unfold the actual fabric in the embroidery frame.
Delete the couching letters from the screen. Use the ADD button to then go back to all the embroidery designs and pick the one you want to go with your letters. You can also import a design as well. I chose this floral frame. It has a top and a bottom.
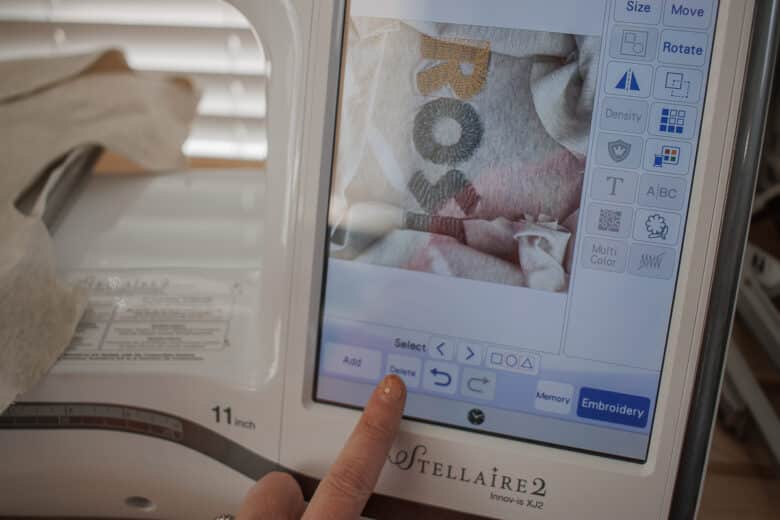
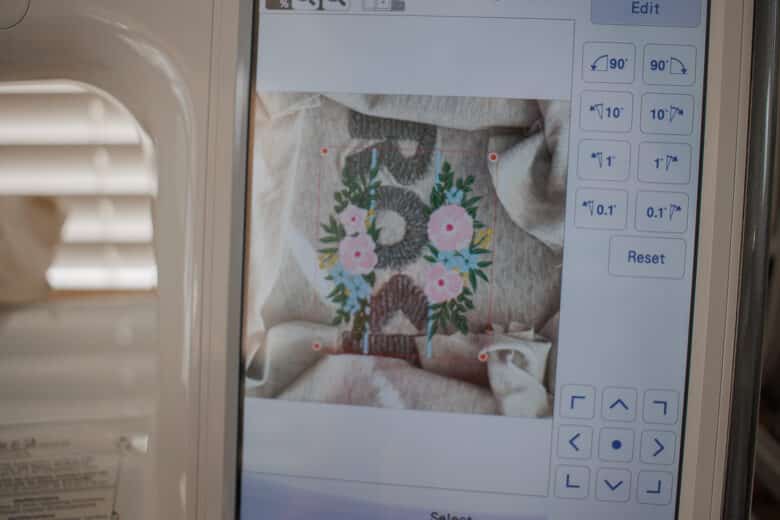
I eyed up how it would look if I just used the top of the file and I really was excited by how it looked. I moved the file around until it was centered over the letters AND overlapped just a bit on the top. This will move the needle on the frame into position as well.
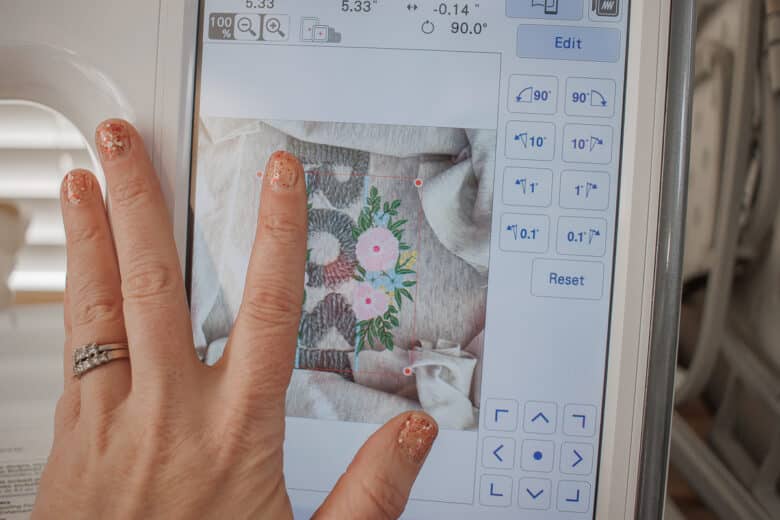
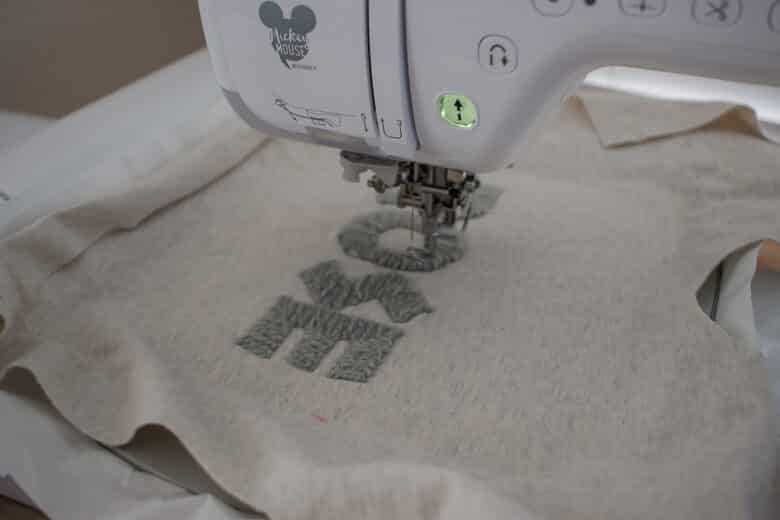
You can embroider just the top part of the file OR you can use the no-sew button to remove the bottom part of this file and only see the top flowers. Grab your top stabilizer and cut a piece just a bit bigger than your embroidery design.
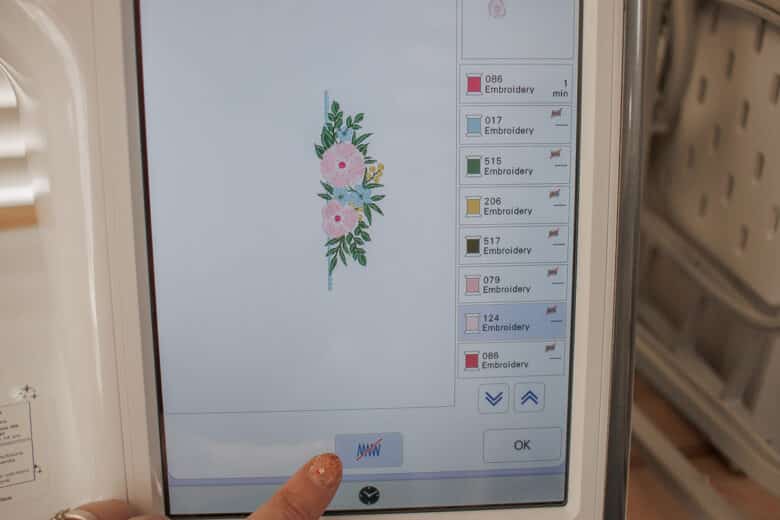
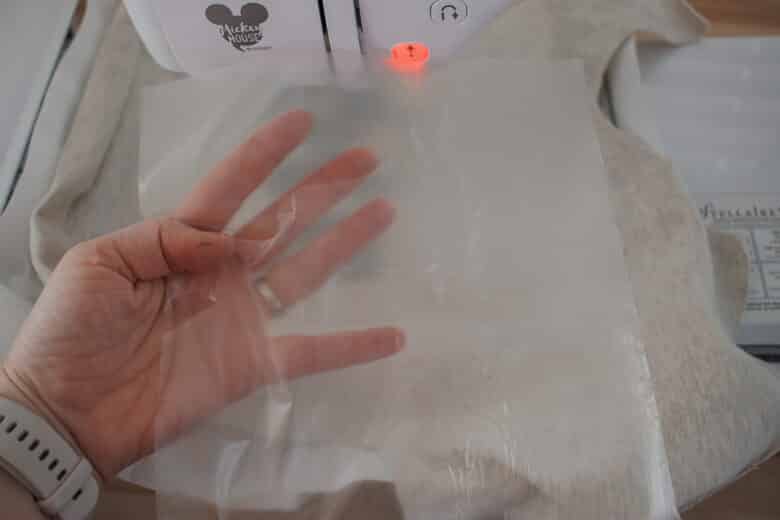
Place it under the needle and in position on the fabric. This will keep the embroidery foot from getting caught up in any of the yarn from the letters and make the layers smooth. Embroidery the second part of the project. It looks so pretty with the colors together.
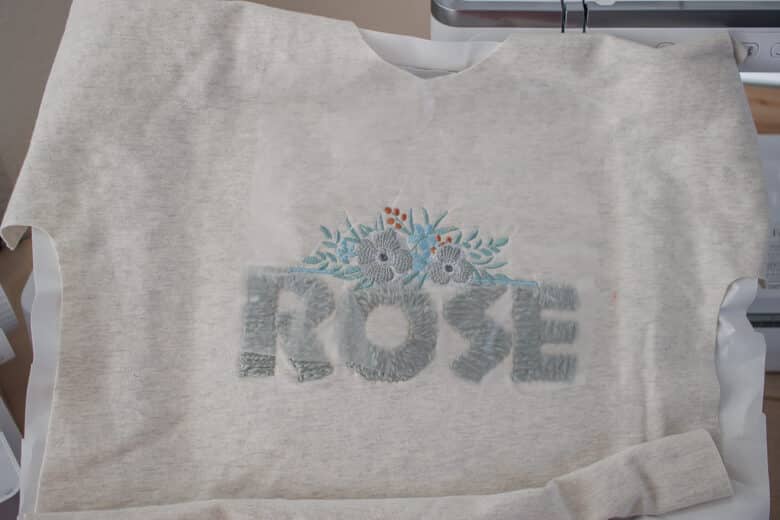
Remove the top stabilizer as much as you can. Once you wash the shirt any little bits left will dissolve. At this point you can also carefully remove from the adhesive backing stabilizer.
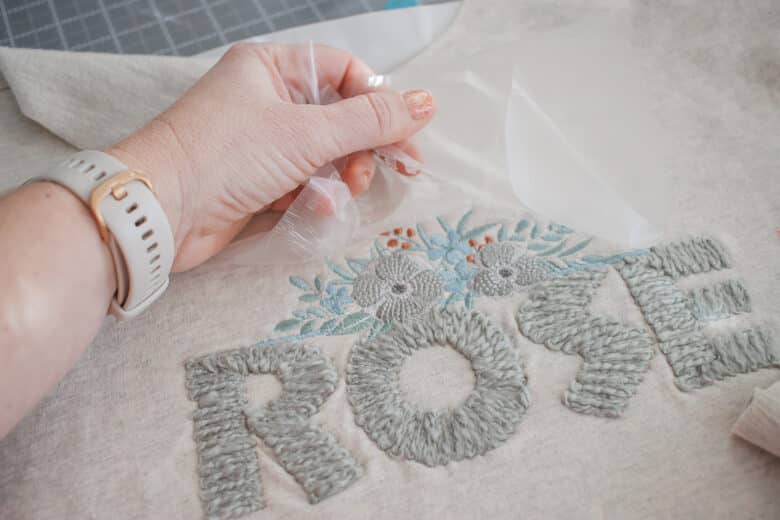
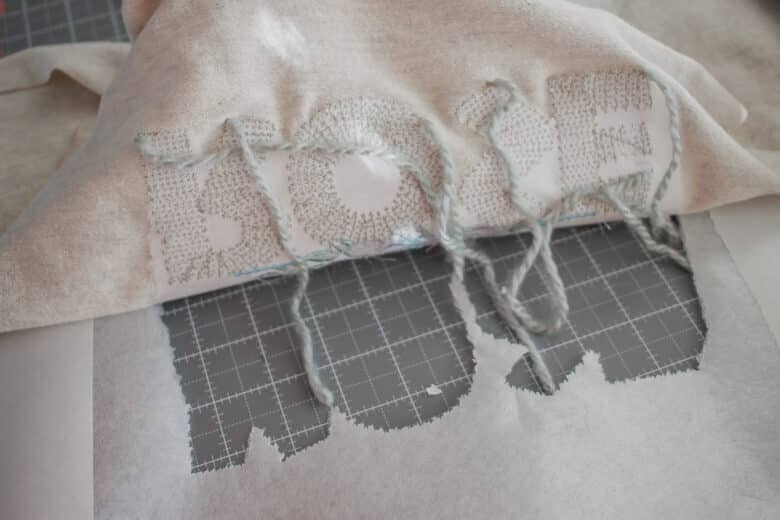
Use a darning needle to pull all the yarn ends to the back of the design and tie them off. Clip any jump threads on the top and your design is finished.
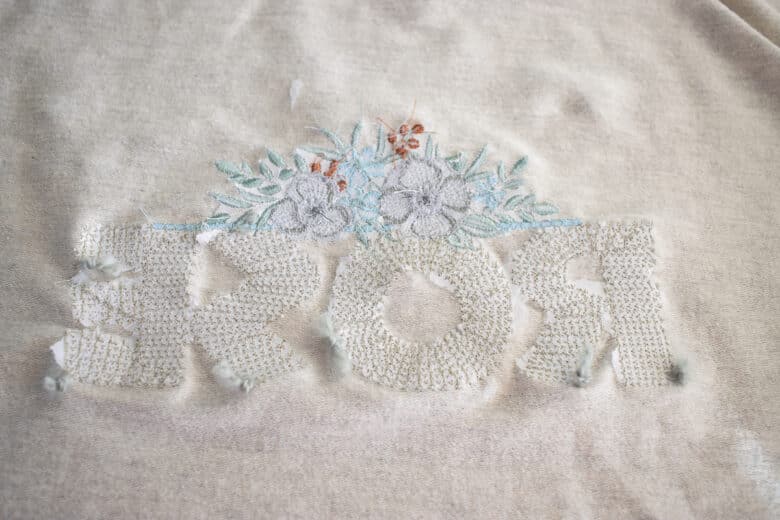
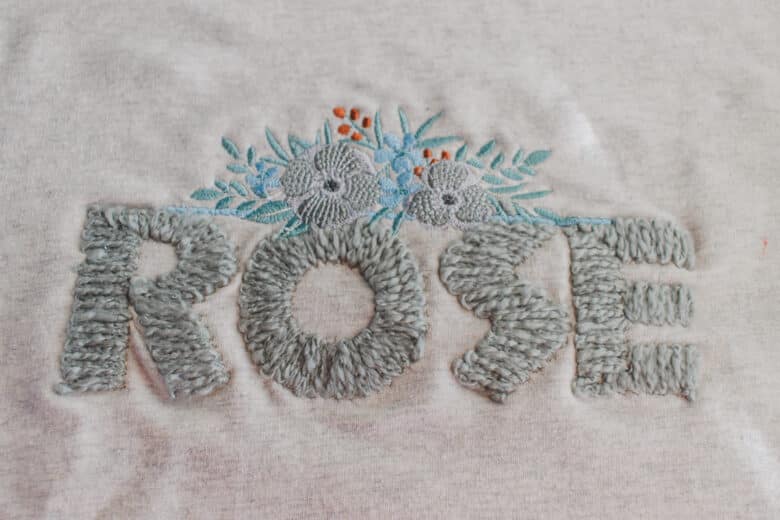
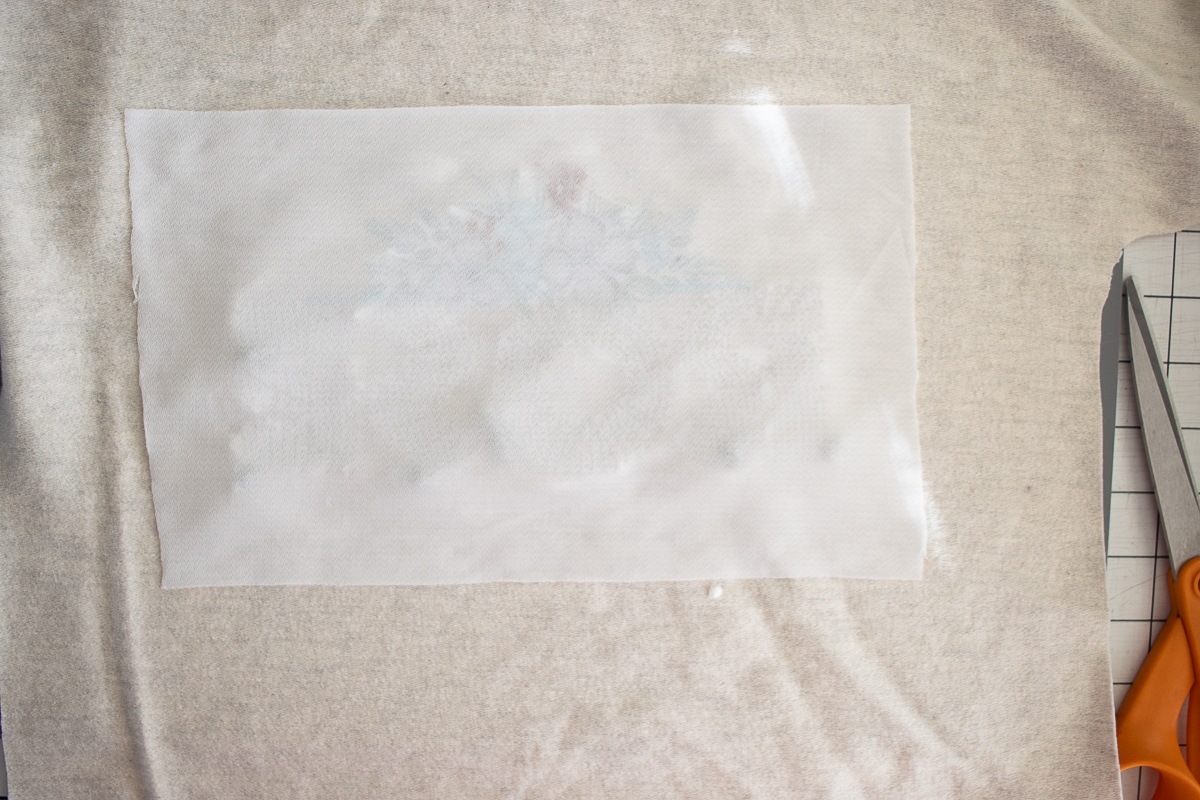
I completed the project by pressing on a piece of embroidery backing so this is soft on my daughter’s skin. Sew up the rest of the sweatshirt as directed and you have an adorable, cozy top to wear!




Leave a Reply