inside: How to create a neck facing for sewing. Create a facing when needed to sew a neckline that usually has a band. Beautiful finish on a neckline with a neck facing.
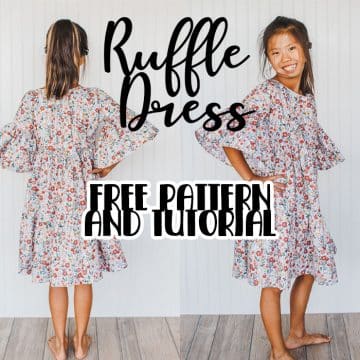
I’ve used my kids crop top pattern for several hacks in the past several months and today I’m using it for a woven fabric ruffle dress. Since the original dress is for knit fabric and had a neck band, in order to use this dress for woven fabric I had to figure out how to add a neck facing {either that or fully line the top}. Fully lining a top makes it thicker and stiff. A facing finishes the neckline and doesn’t add bulk. It’s just important to make sure it lays smoothly around the neck.
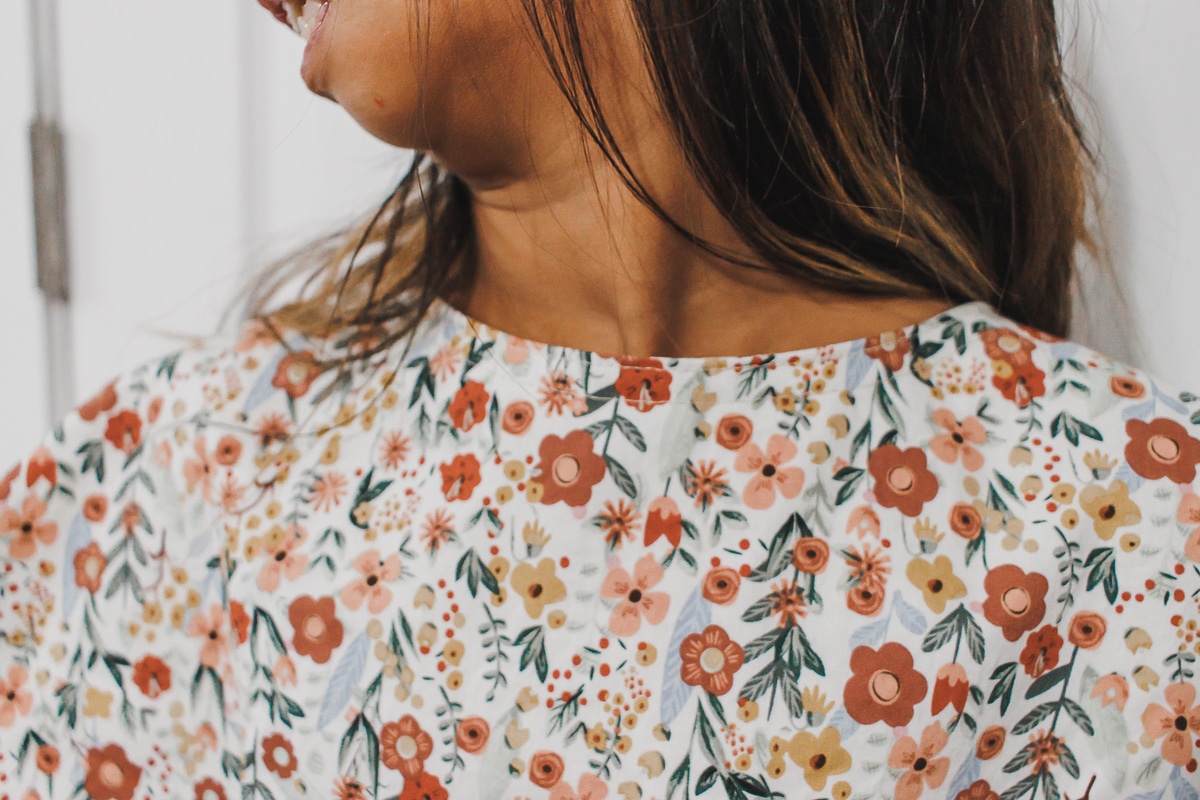
Create your own facing for necklines
I’ll be sharing the rest of this gorgeous dress on Friday, but for now, here’s the neck facing. You can check out the original top here {kids crop top free sewing pattern} I also used this top to sew an adorable free babydoll dress hack, using the same top. This dress also used knit fabric so I didn’t have to change up the neck.
For this ruffle dress with woven fabric the neckline needed a new finish. It’s actually really easy to create a custom neck facing for woven fabric and today I’ll show you how.
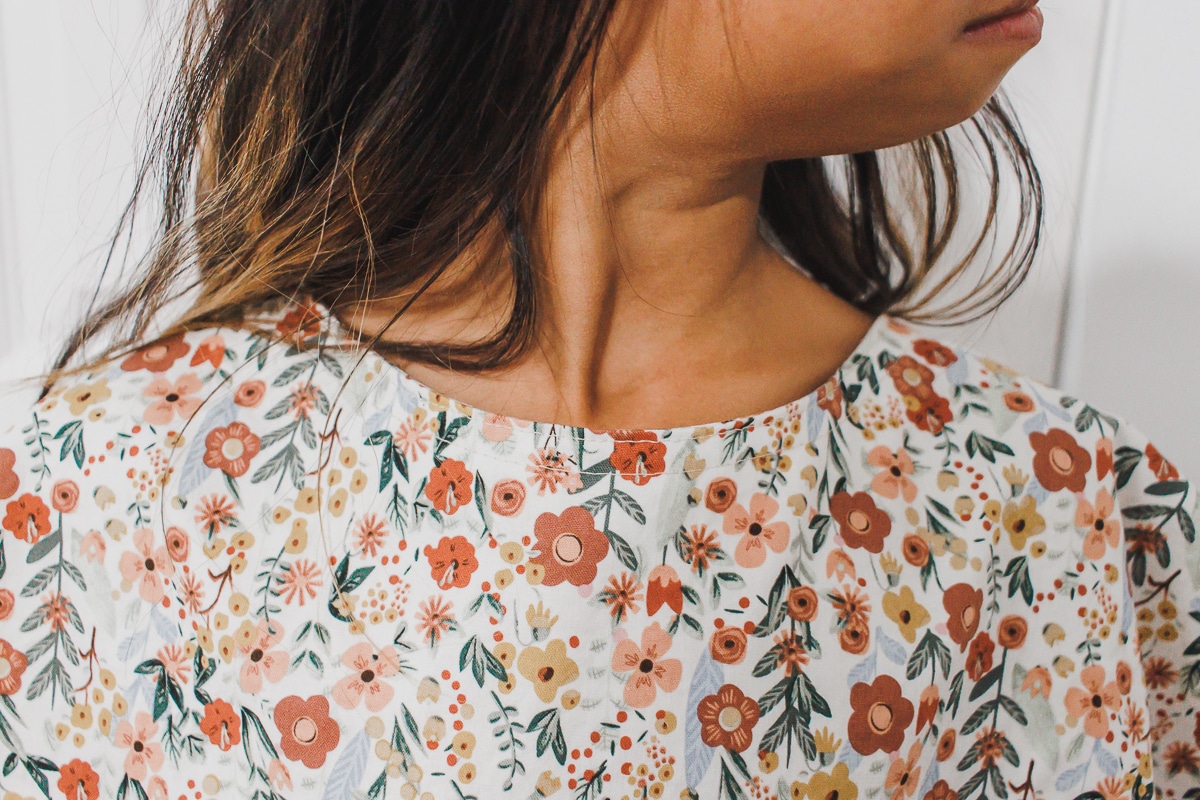
I ended up double top-stitching the facing, but you can just do a single line as well.
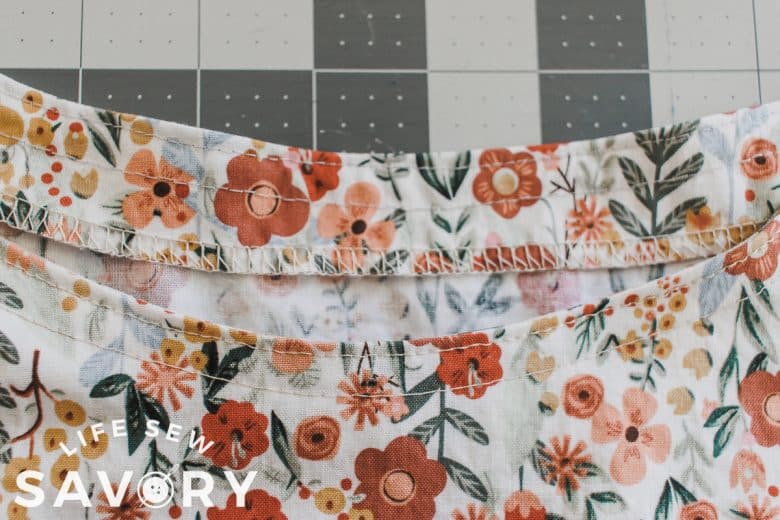
Draft a neck facing for woven fabric
Supplies Needed:
Ok! let’s create a facing for this dress neckline. Cut out the bodice of your dress and make sure to keep a piece of fabric that matches or coordinates. I am creating a full circle facing, but you can also create a front and back facing then sew them together at the shoulders.
Sew the shoulder seams…
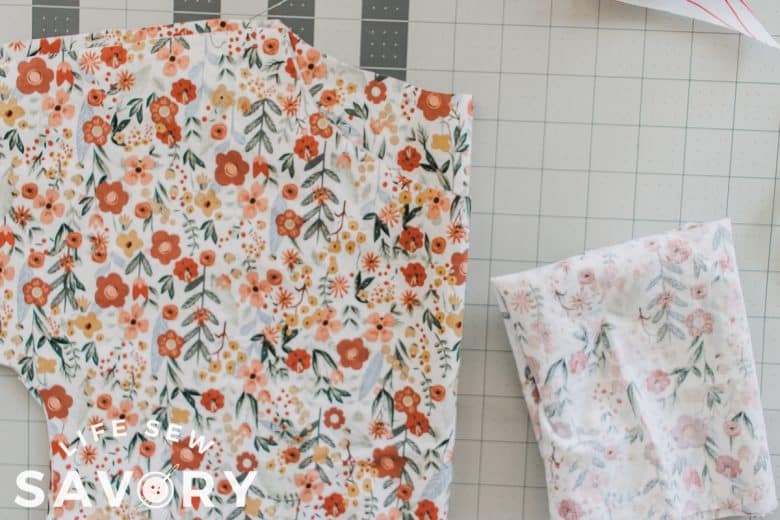
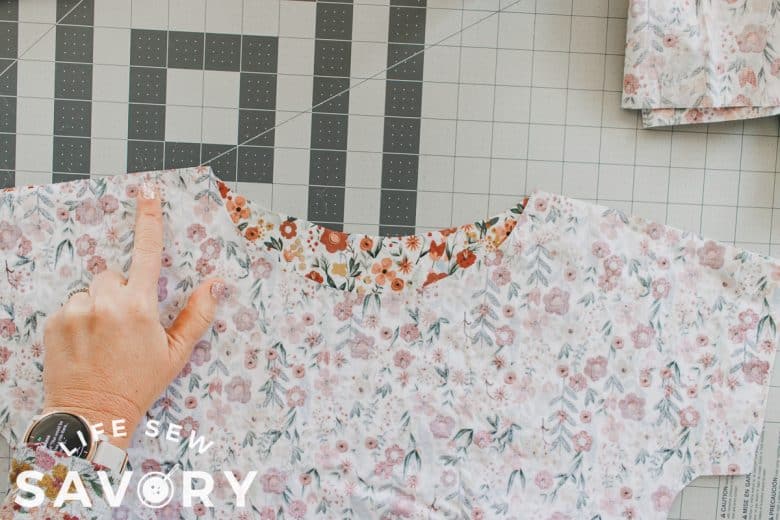
After you have the shoulders sewn lay out the scrap of fabric you set aside at the beginning. Make sure at this point that the top goes over your head {before you add the facing.} Lay the wrong side of the fabric up.
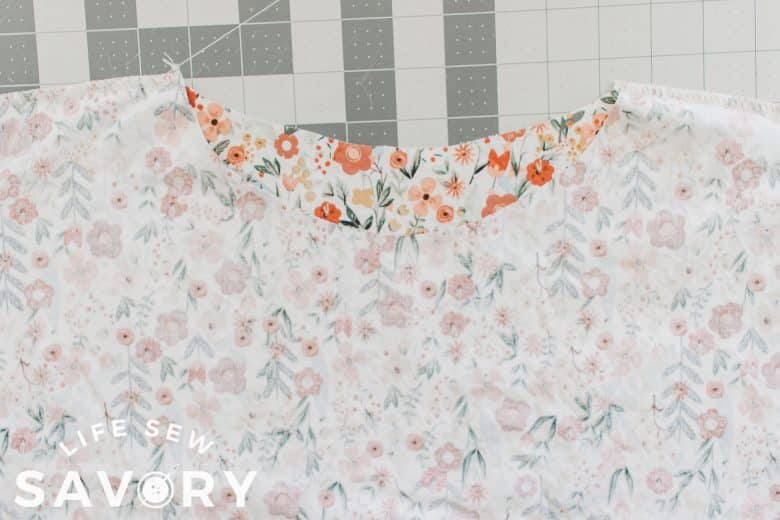
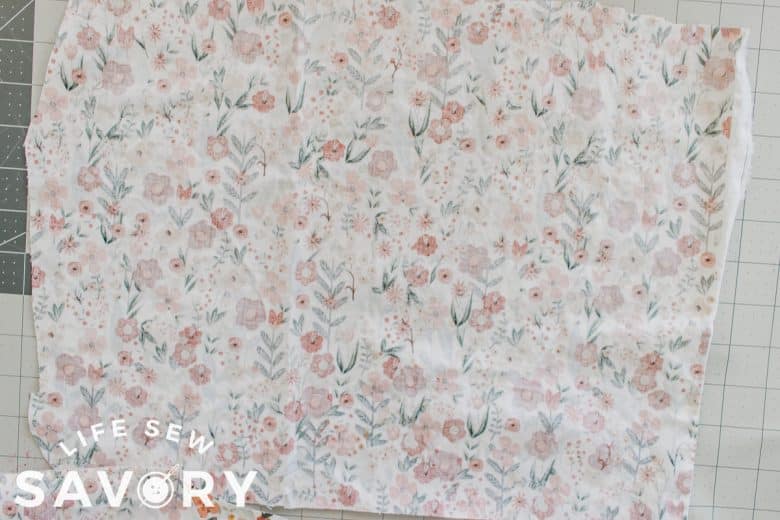
Place the neckline on the scrap fabric and trace the back neck onto the fabric. I used a fabric pen. Flip over the front side of the top and trace the other side.
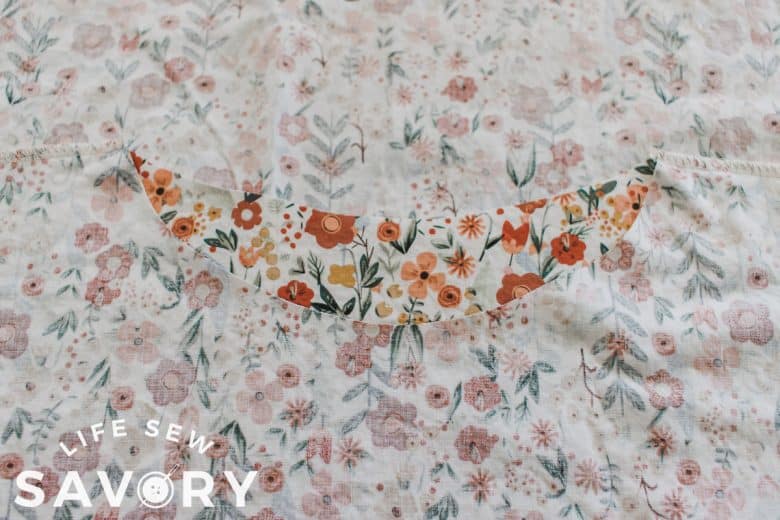
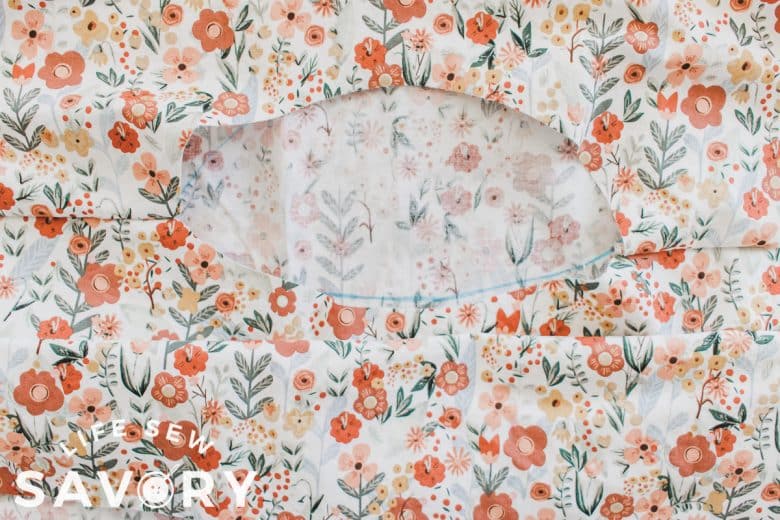
You could have a complete neckline. It probably isn’t a circle, but it should be full. Cut just outside the line your drew on the fabric.
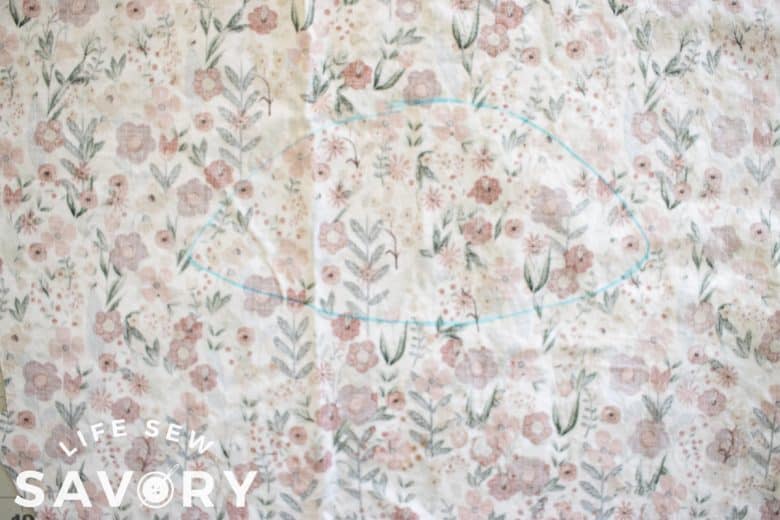
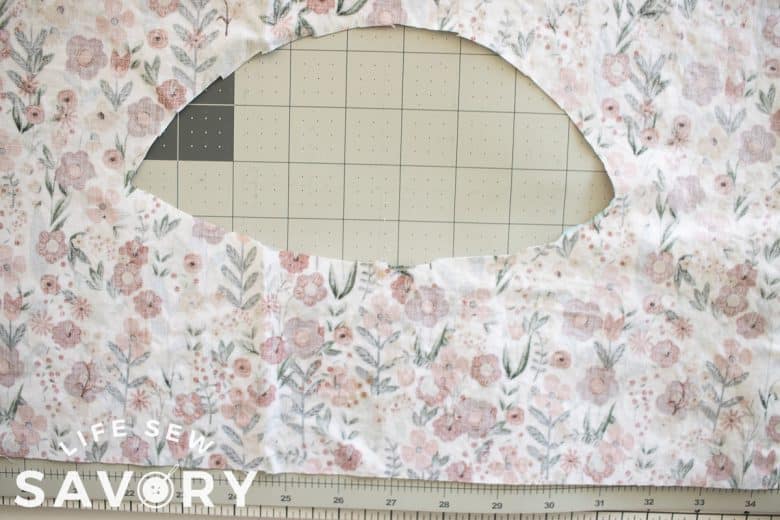
Now cut the outside of the facing. It should be 1-1.5″ wide all the way around. {I didn’t measure for perfection}. Finish the outside edge of the facing with a serger or zig-zag.

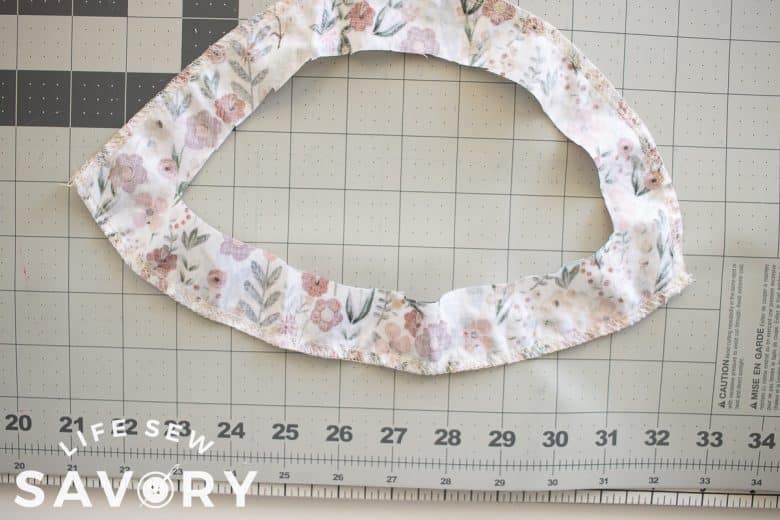
How to sew a neck facing
Now it’s time to sew the facing we created to the neckline. With right sides together, match the front/front and back/back and pin or clip in place. Sew with a 3/8″ seam allowance around the neckline. I pivoted the needle at the shoulder seams.
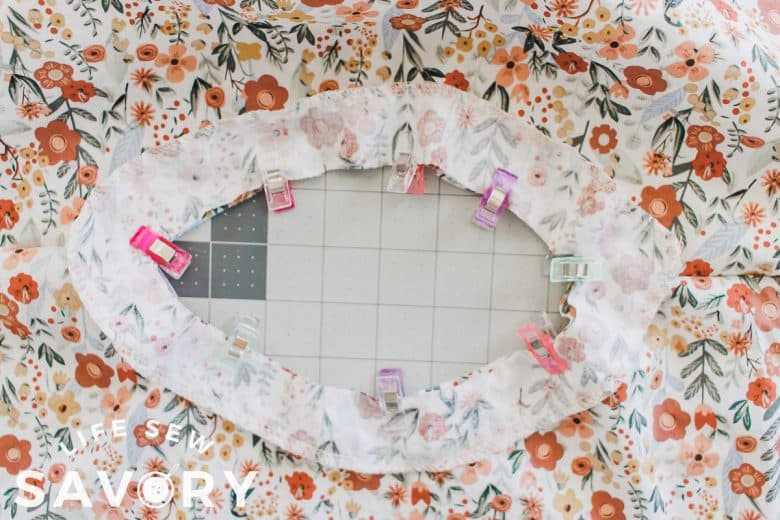
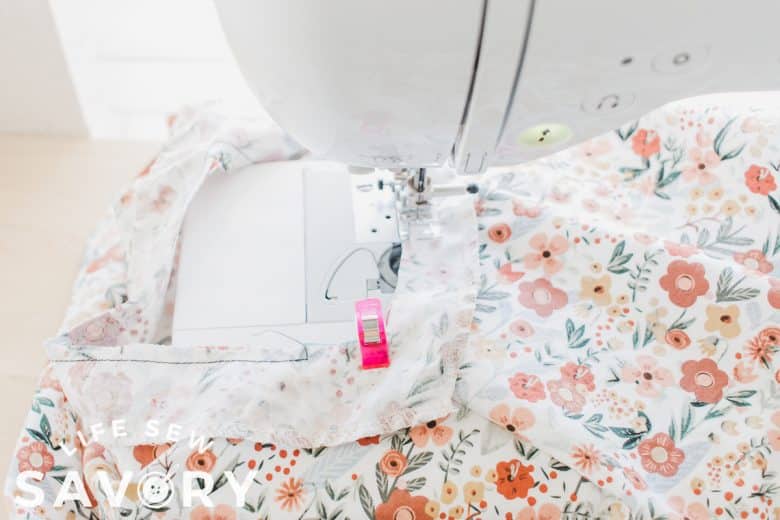
If you have a V at the shoulders, clip that fabric.

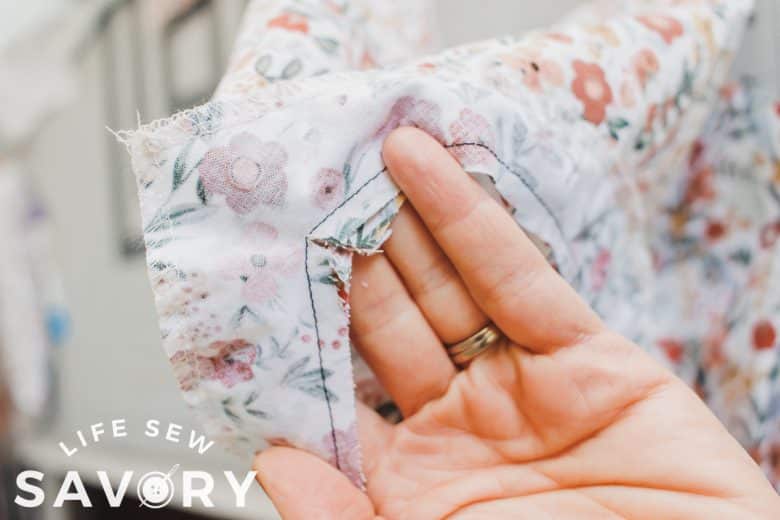
Also clip the curves of the rest of the neckline all the way around. Fold the facing to the back side of the neckline and press. Pin or clip in place.
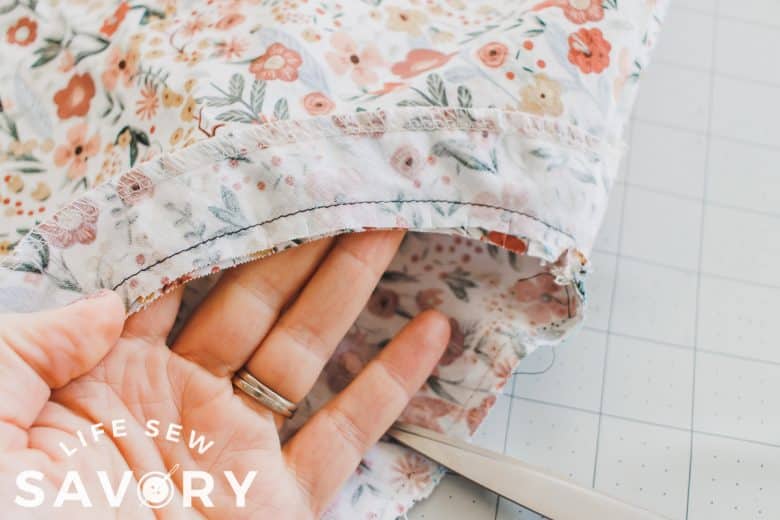
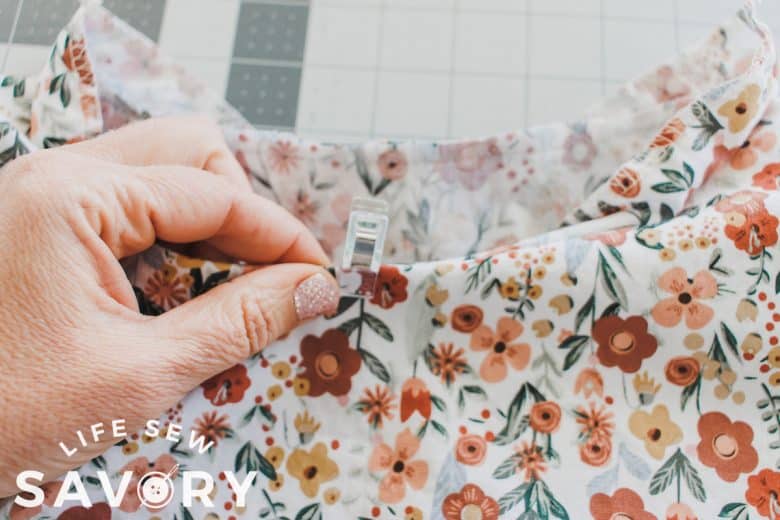
Top-stitch very close to the edge for the first top-stitching. You can add a second row as well if you want.
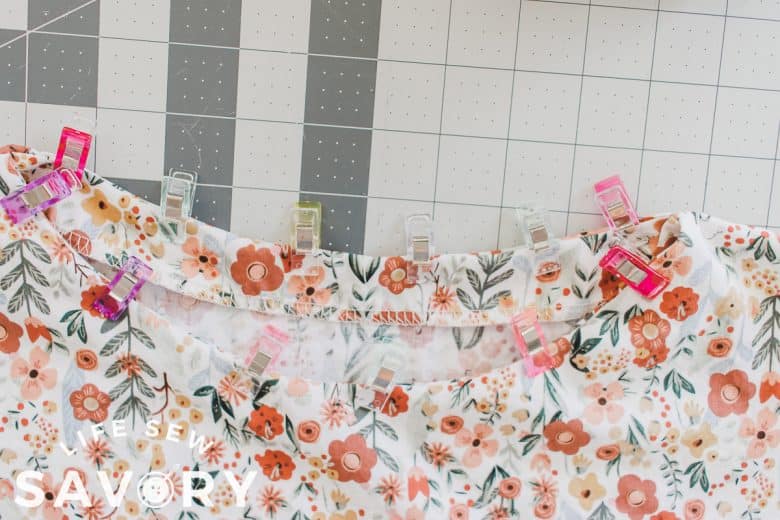
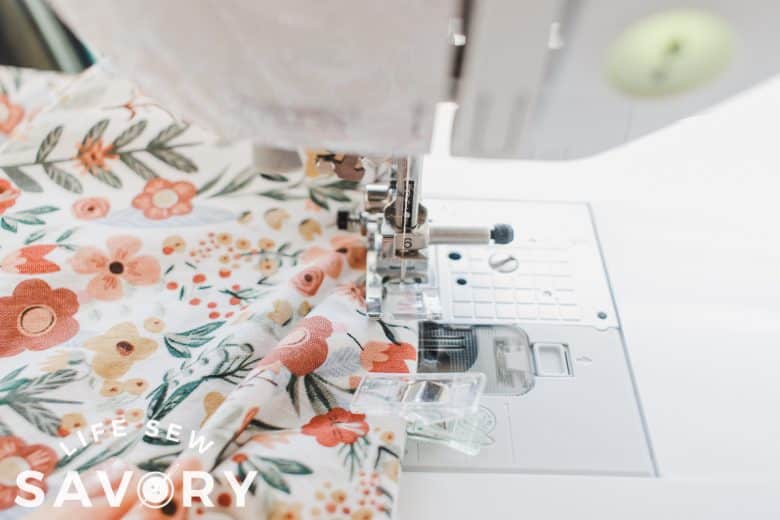
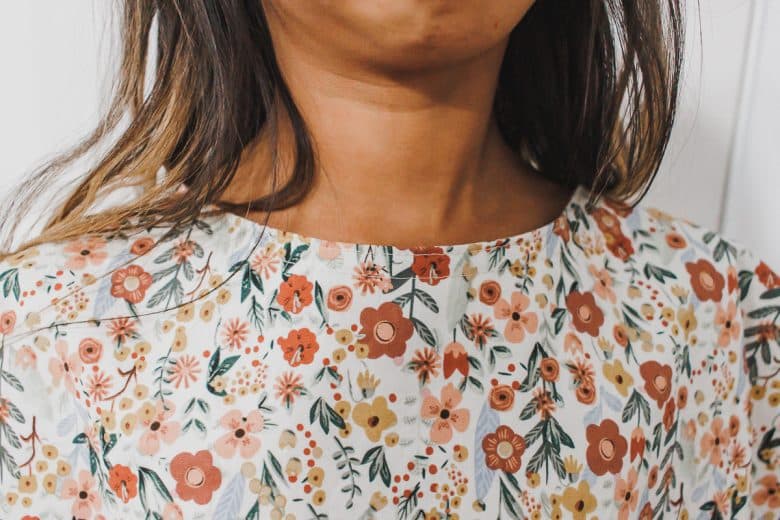
Now you have a finished neckline, ready to create the rest of this dress. Creating your own neck facing is easy and simple to do! Get sewing.







Sarah says
Thank you, I needed this! I just made a beach cover up and the neck won’t pay flat – I’ll need to add a facing. Any tutorials for adding a notched neckline?