


inside: Learn how to create puff embroidery with this sewing tutorial. Puff embroidery is so cute and fun and easy to create. Everything you need to get started with your own puff embroidery project.
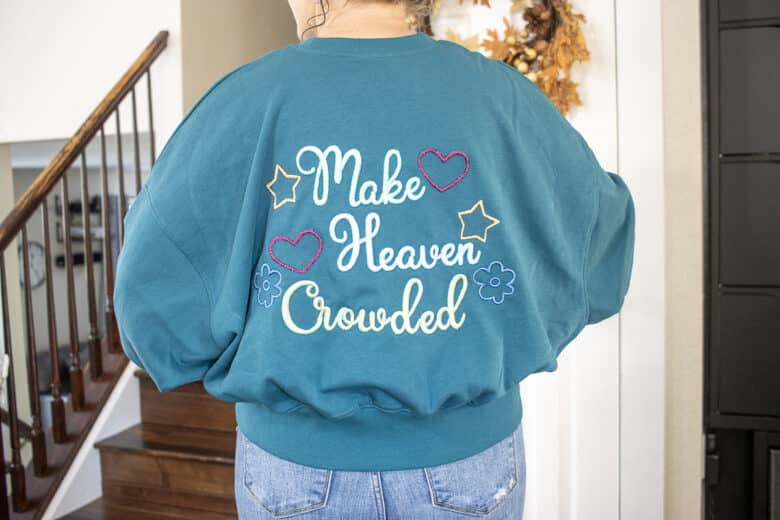
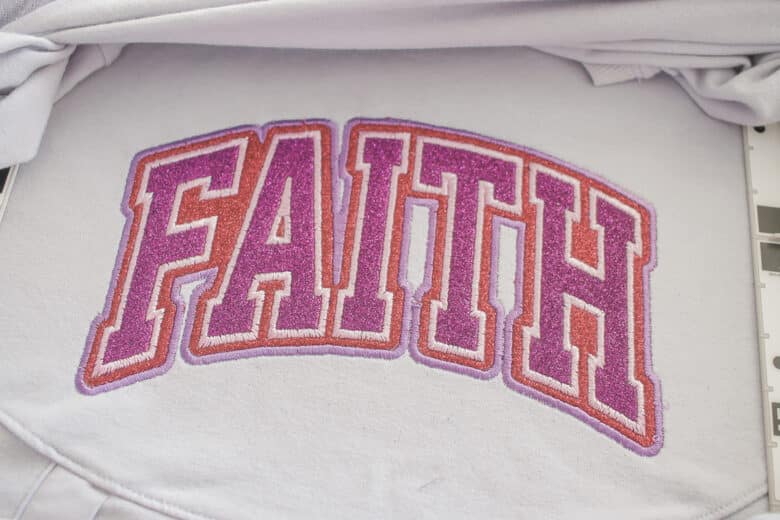
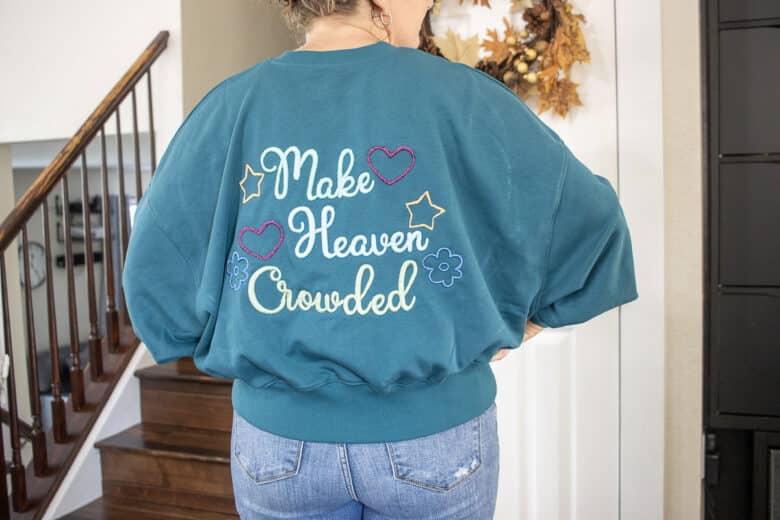
Like many of my projects, I’ve been wanted to making this one for months. It takes awhile for ideas to percolate in my head and get the supplies I need, but last week I sat down to tackle this project and I’m so so excited with how it turned out. Today I’m going to show you this new sweatshirt I embroidered, plus a tutorial for creating puff foam embroidery. I’m not sharing this exact design, but just the tools I used so you can create your own custom shirts.
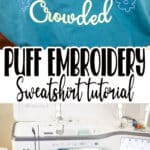
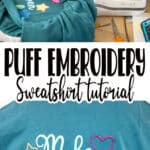
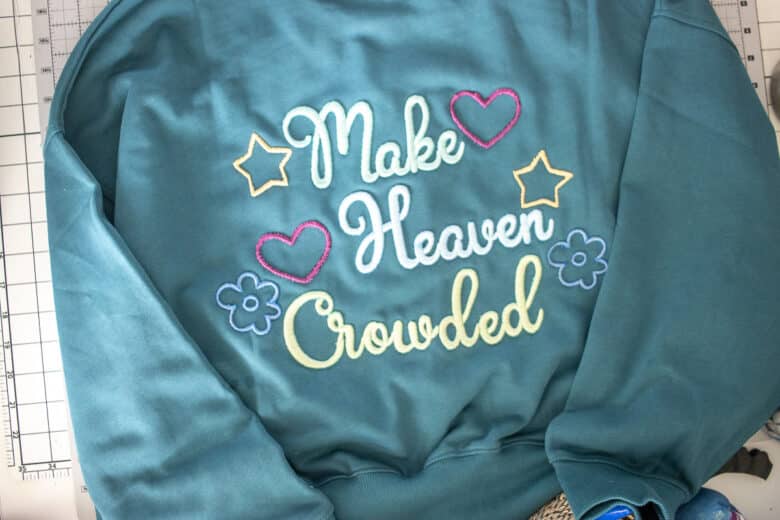
Puff foam embroidery sweatshirt
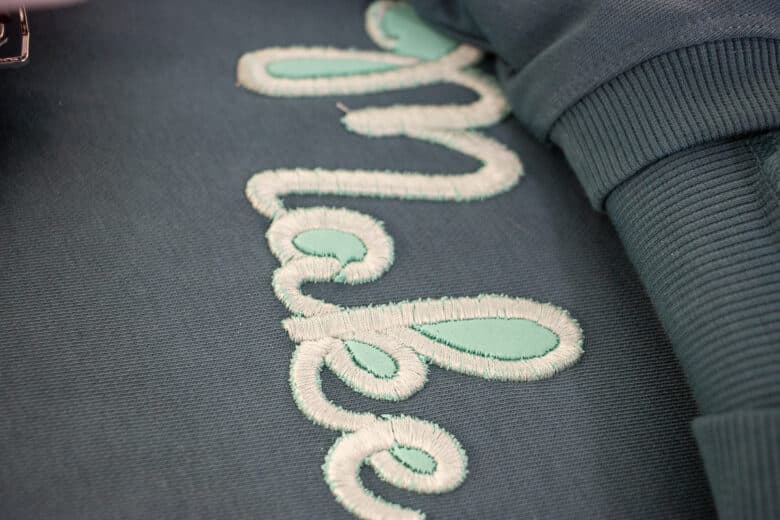
I played around with puff foam for the first time a few weeks ago. I was trying to see if some fonts built into my embroidery machine might work. They looked like they would work since they were a wide blocky satin stitch, but they didn’t have the under layer that cuts the foam like these fonts that are made for puff foam. After a few attempts with other fonts, I purchased this puff foam font from Etsy… {link below} This font was easy to use and I loved how it came together.
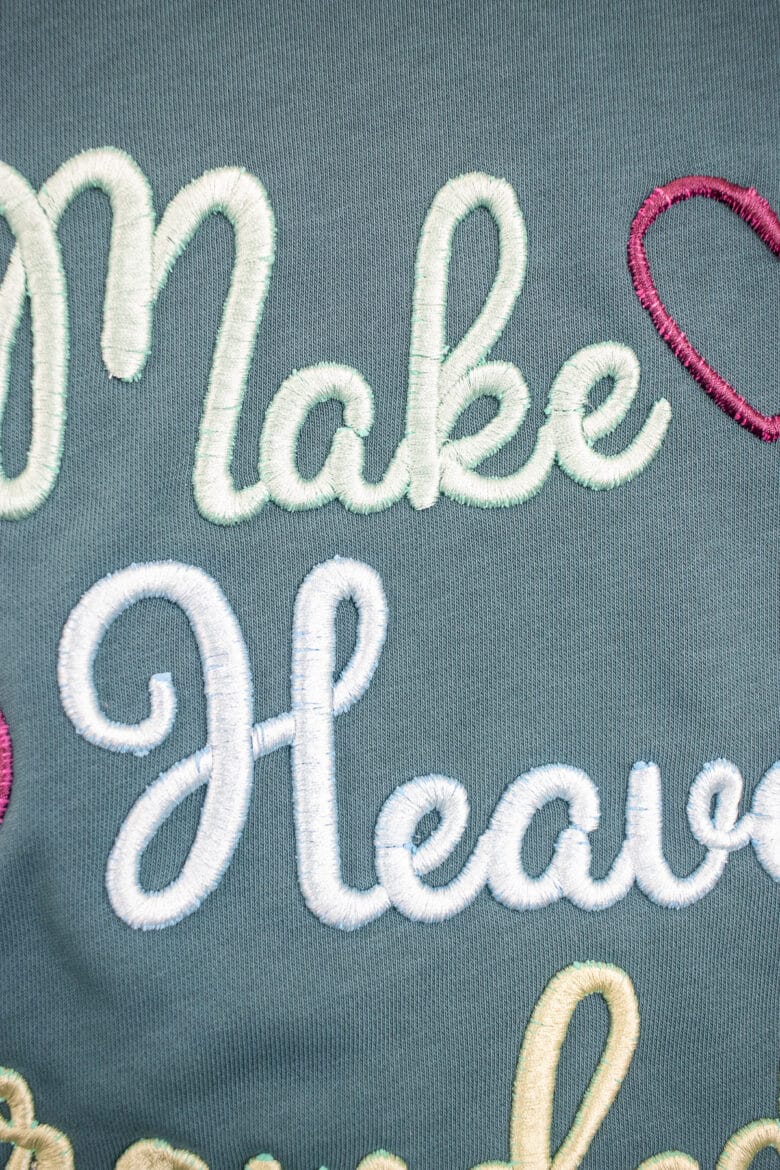
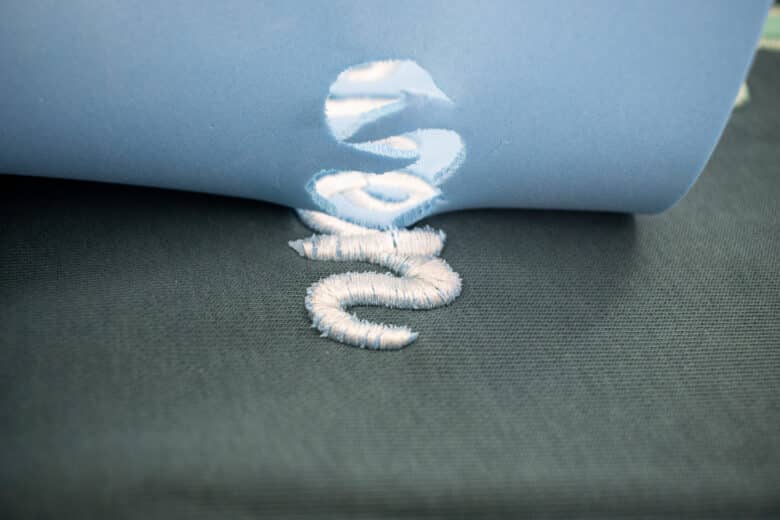
The cute other graphics I found on the Brother Artspira app and were the perfect touch to finish the sweatshirt. They were not created for puff foam so they worked, but it wasn’t as good as the files made for puff foam. The heart and star were pretty good, but the foam didn’t tear from the flower very well. Next time I wouldn’t use foam if I used the flower file. The puffy foam is just so cute and I love the texture.
Other embroidery projects
There are so many embroidery projects on my site. I love using my embroidery machines and creating beautiful designs and clothes. Click the links below to see each of the other projects.
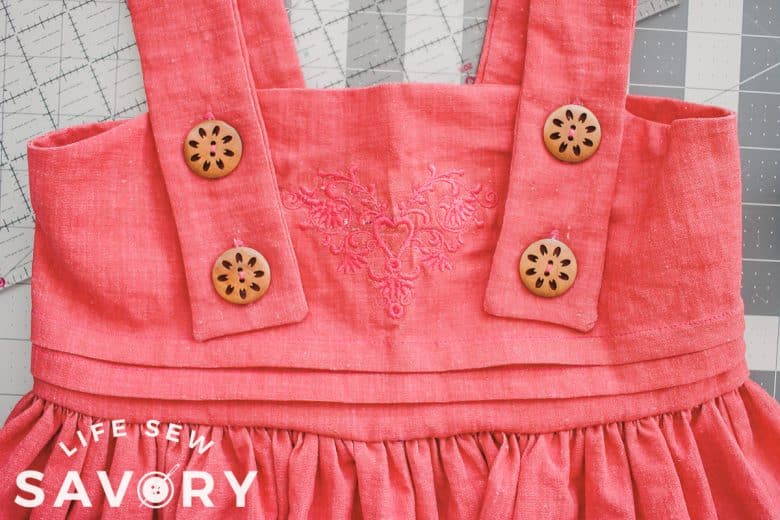
- Custom pocket logo embroidery
- Double layer glitter embroidery
- Embroidery on paper {make a card}
- Embroidery and couching combination project
- Embroidery on fleece
- Covering a hole with embroidery
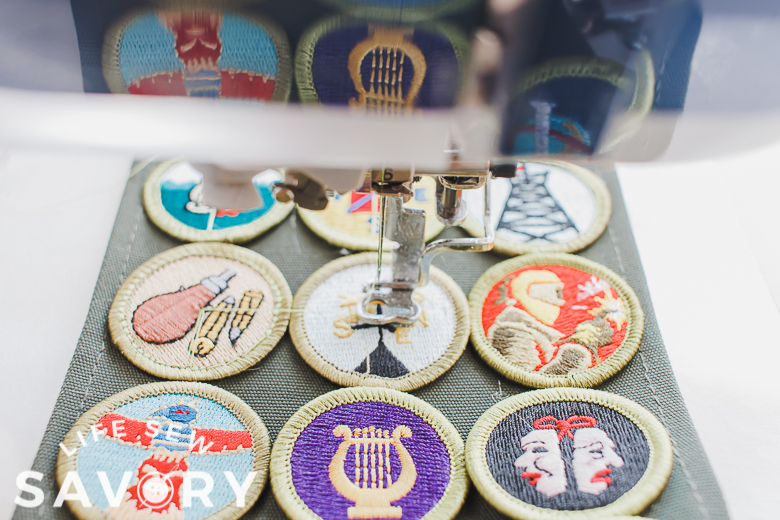
- Sewing on patches with embroidery
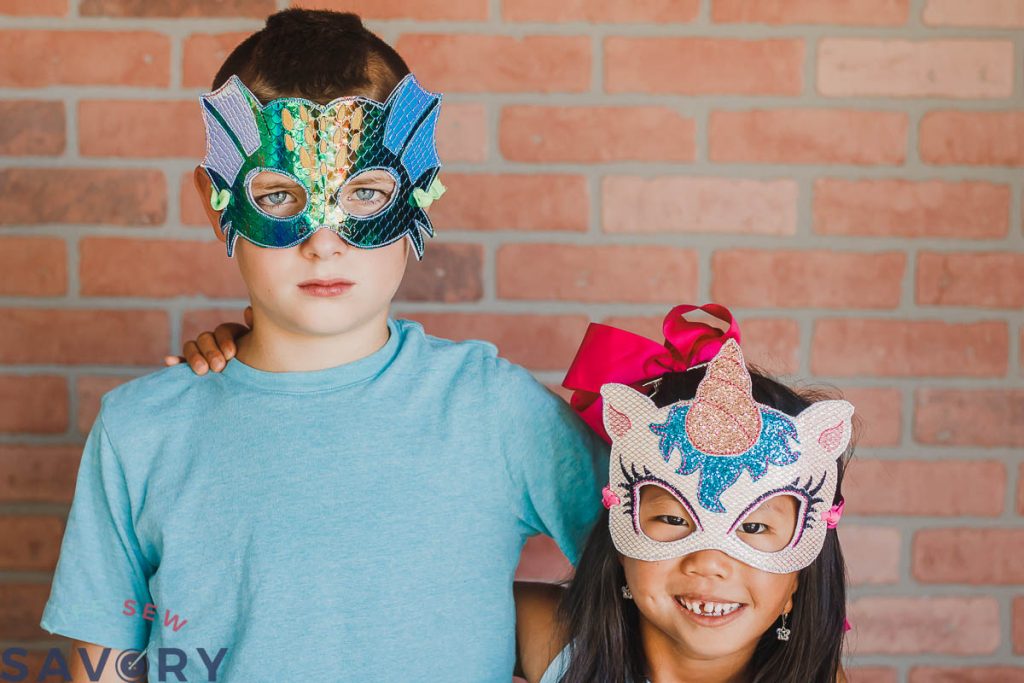
- In the hoop costume mask
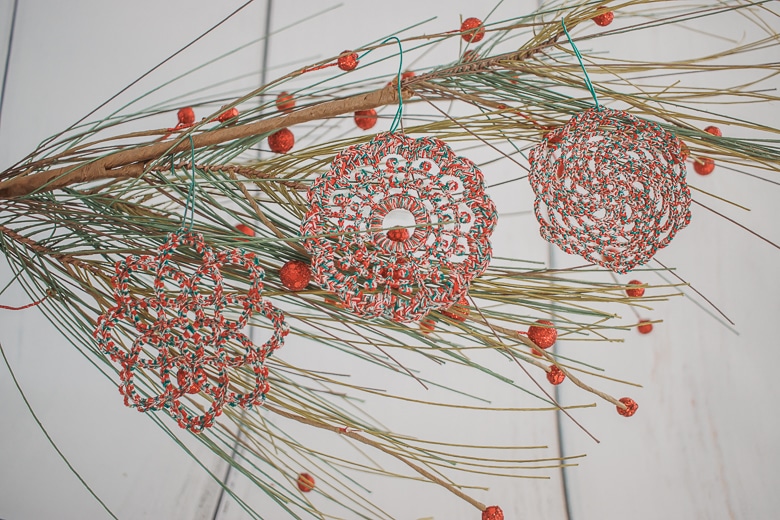
- Crochet ornaments on the embroidery machine
Puff foam embroidery video tutorial
Check out the video walk through of this project below. If you don’t see the video below this text check the sidebar and make sure any ad blockers are turned off. Video should be right below here.
How to create puffy embroidery with foam
In addition to all the normal embroidery supplies, to make this project you will need two more items. The first is the foam, and the second is a puff embroidery font. I have linked all the items I used for this project in the supply list below.
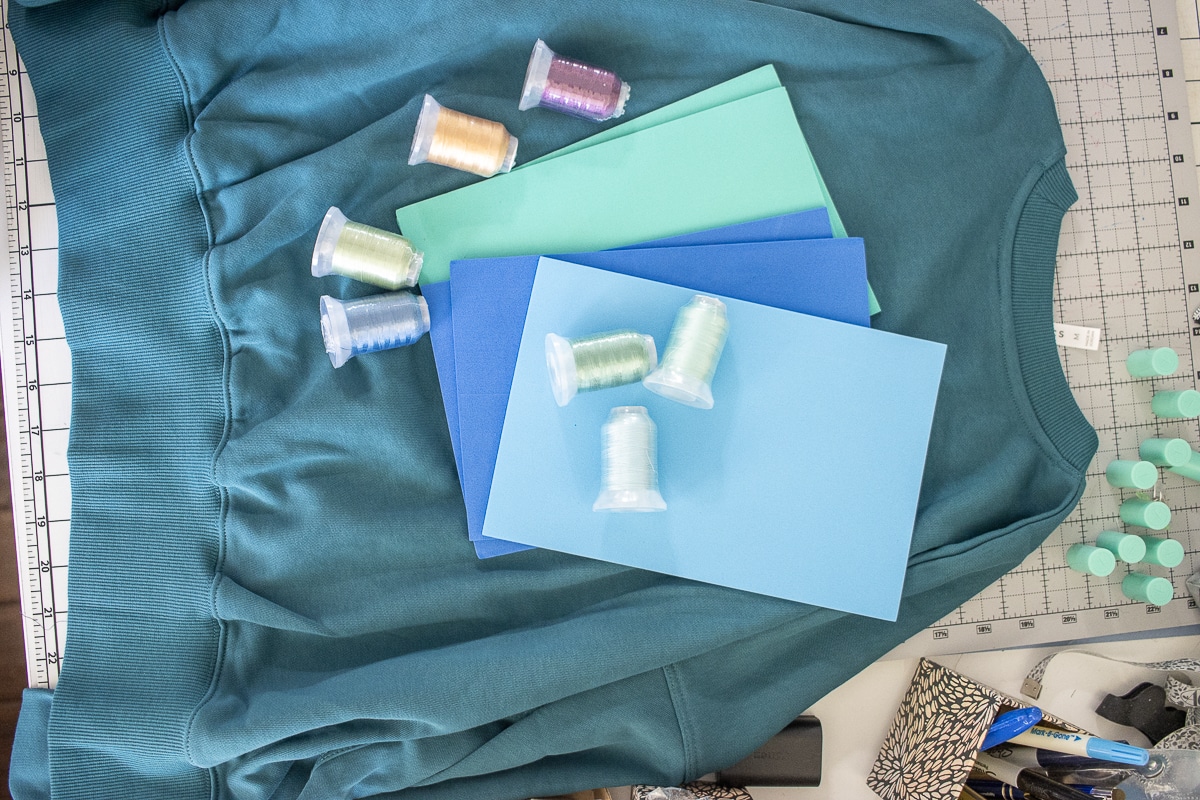
Supplies for creating puff embroidery
- Puff foam font – the one I used. {There are many fonts… this is the one I used for this project, it comes in several file types and sizes.
- Puff foam {you want to use foam close to the color of the thread you are using}
- Embroidery thread
- Embroidery stabilizer
- Sweatshirt – I got this one from Fabletics
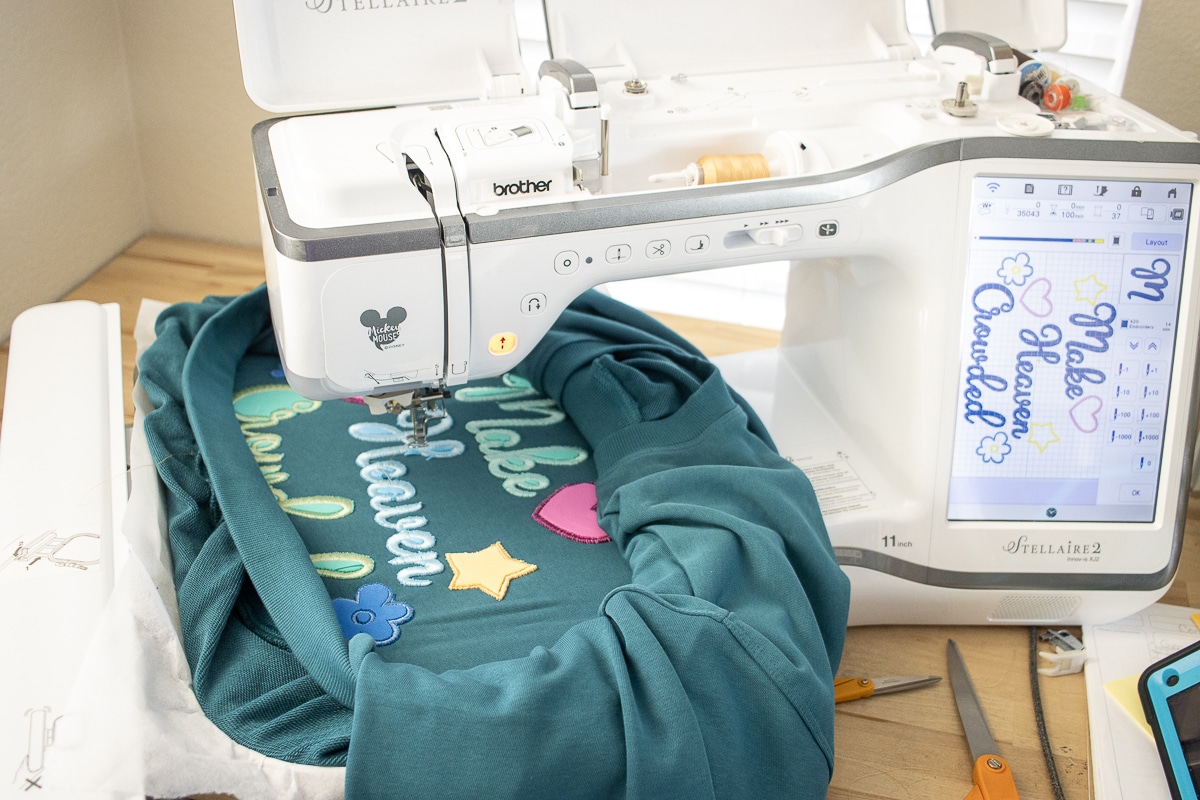
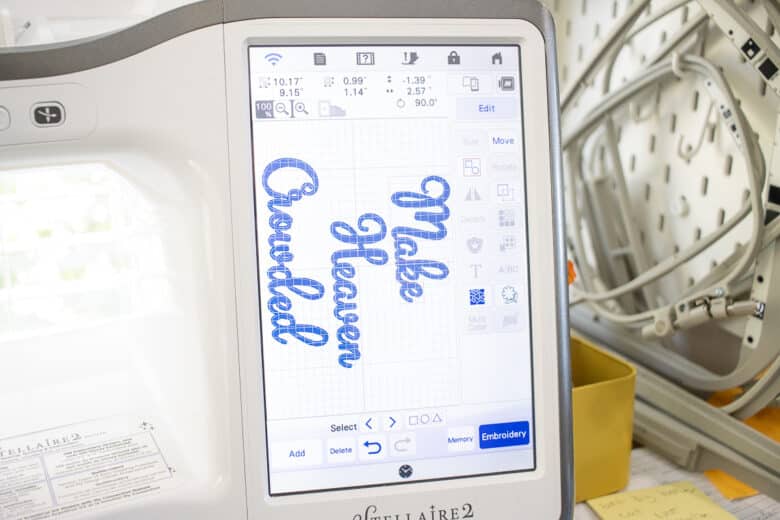
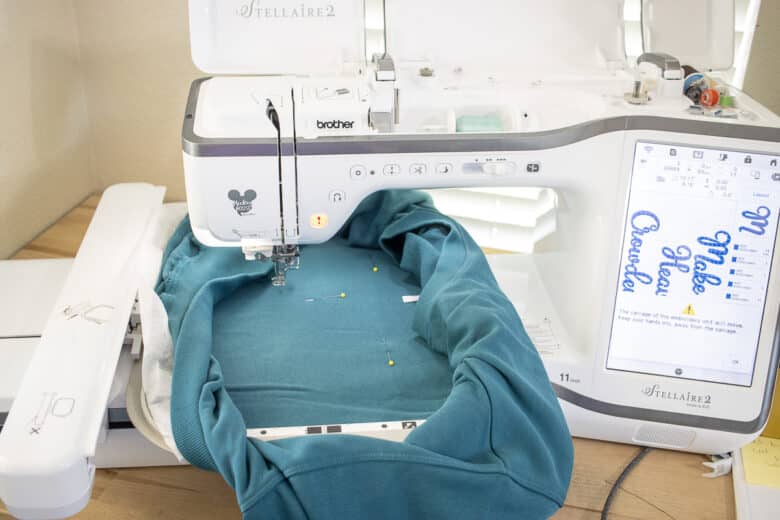
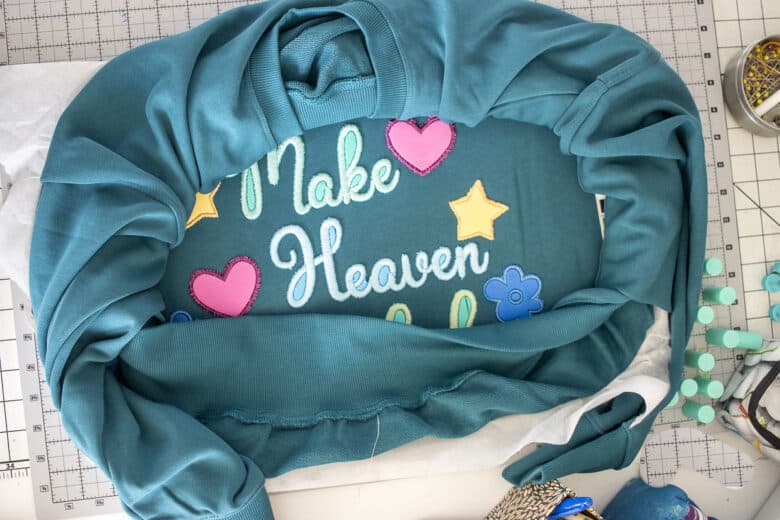
To create this design, I transferred the letters I needed to a thumb drive from my computer {where the file was downloaded} you can also use wifi, but I’ve not set it up with my computer/machine. From there I opened each letter and arranged them in the three words, so the letters all overlap to create the script.
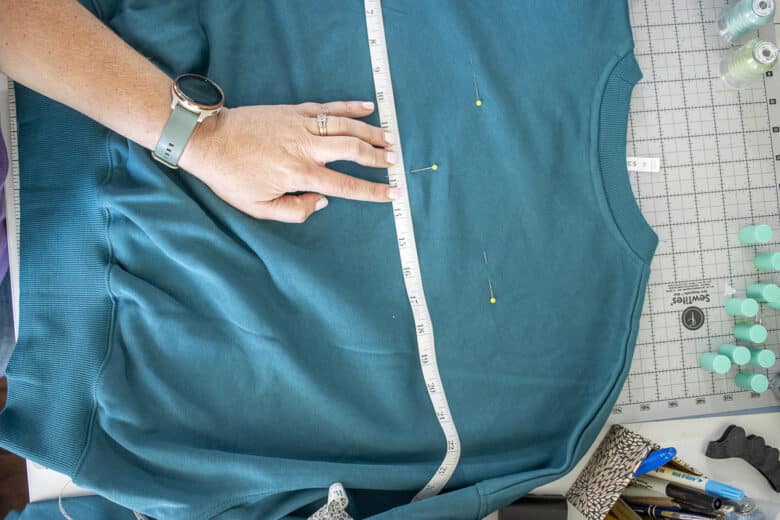
On the sweatshirt I marked the center, and two markings where I wanted the top of the design to be.
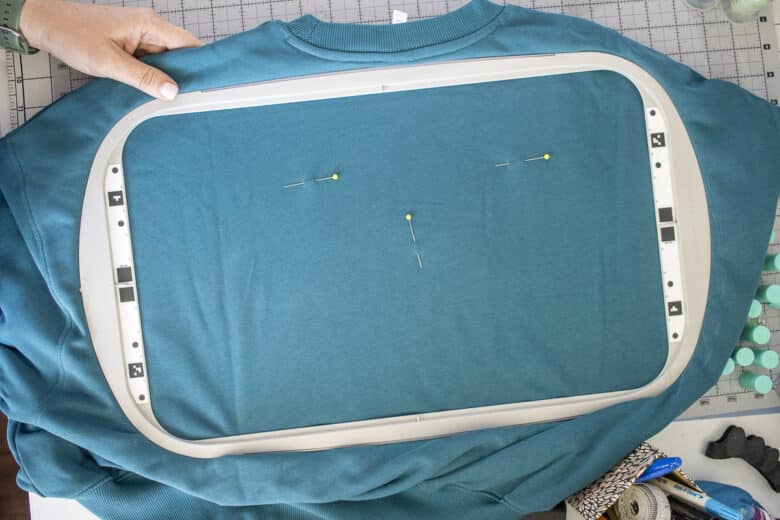
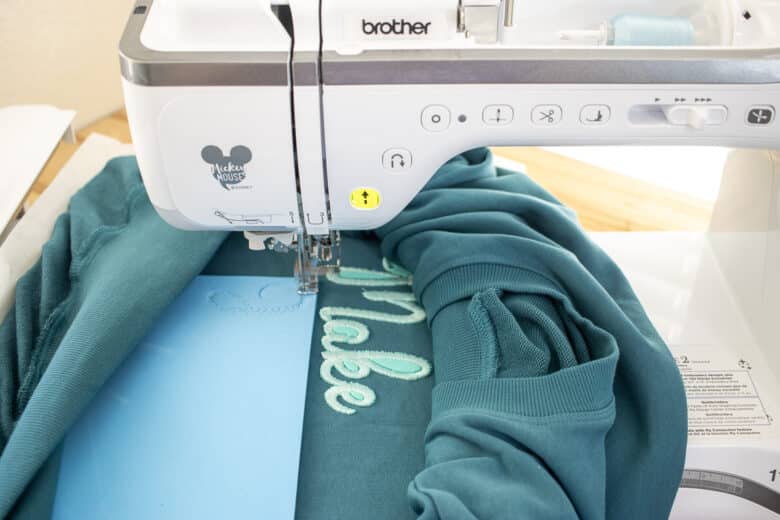
Hoop the shirt. Some sweatshirts I open up the side seam for more room. See this sweatshirt embroidery tutorial here for more general sweatshirt embroidery tips here. I ended up re-hooping the shirt so that the top pins were along the top edge of the hoop. My design was better placed this way.
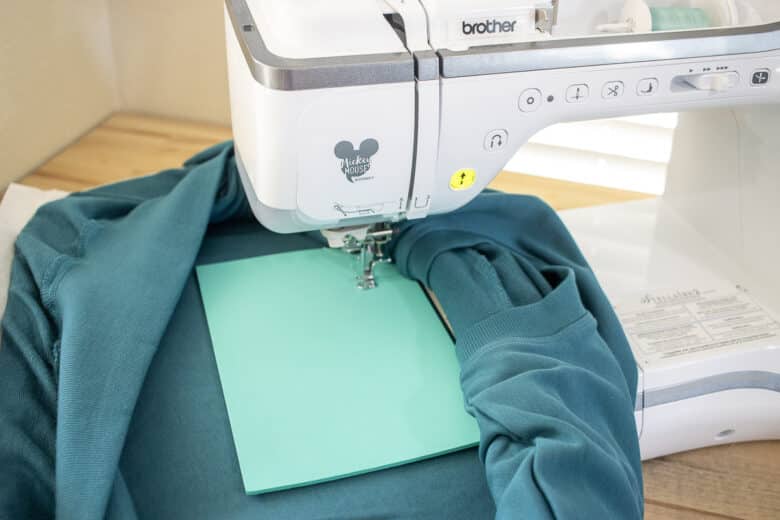
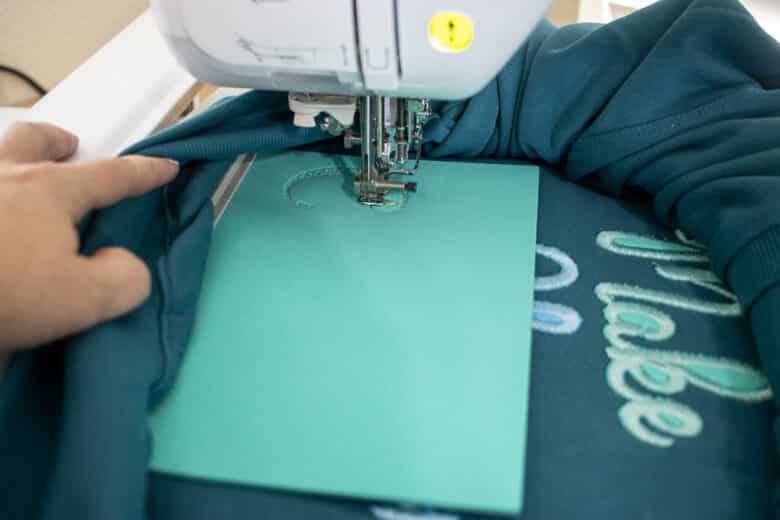
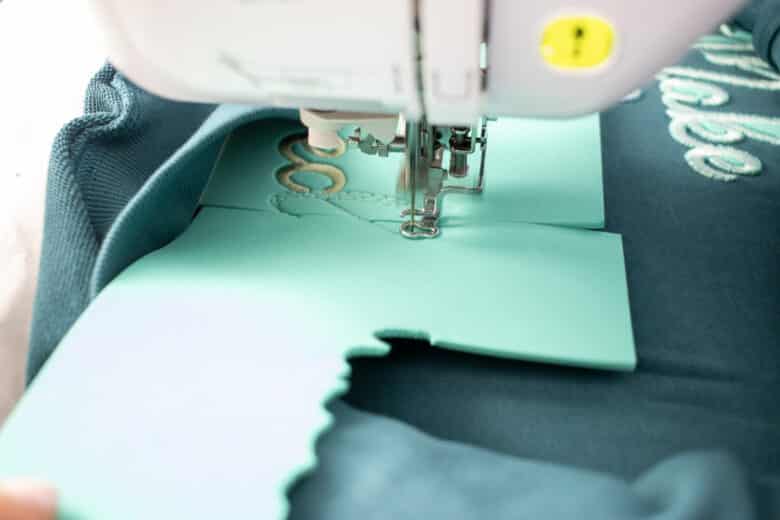
Use your positioning tools to move the needle to the first work and slide the foam in place under the foot. Start the embroidery, Make sure to keep the fabric out of the way. This was not a start the machine and leave project – I had to stay close to help keep the fabric from getting in the way.

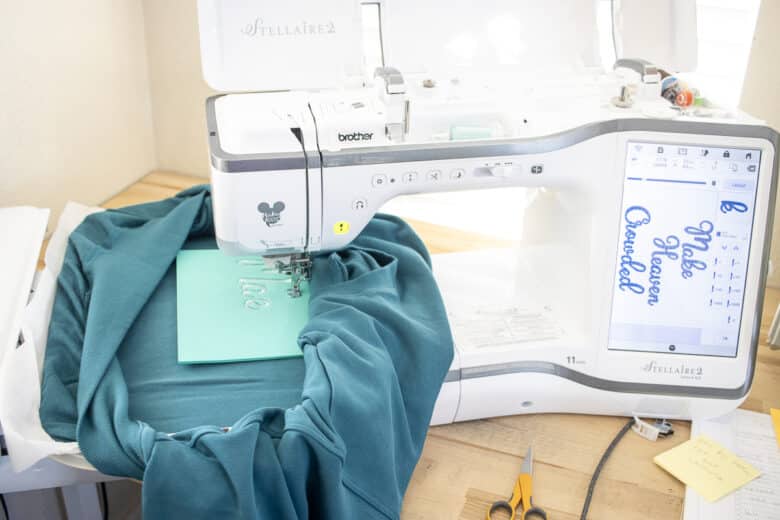
Finish the first color {word}.
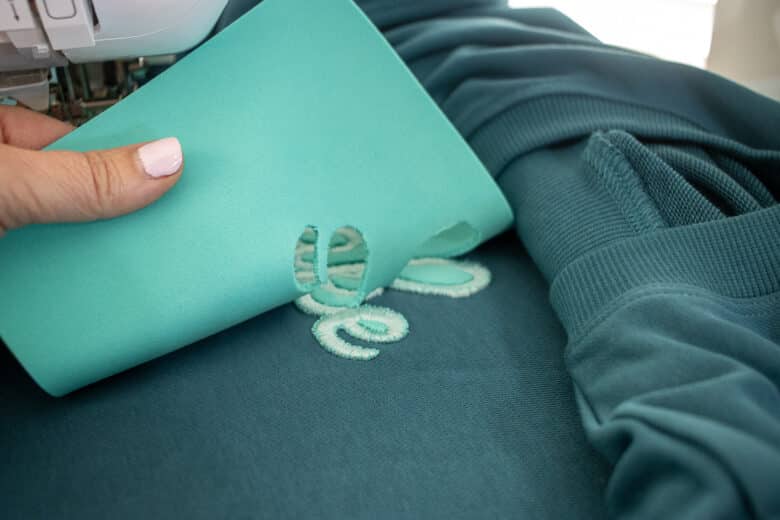
If the foam is in the way for the next part, you will need to tear away the foam before moving on. I didn’t pick anything out from the inside, just got the big piece out of the way.
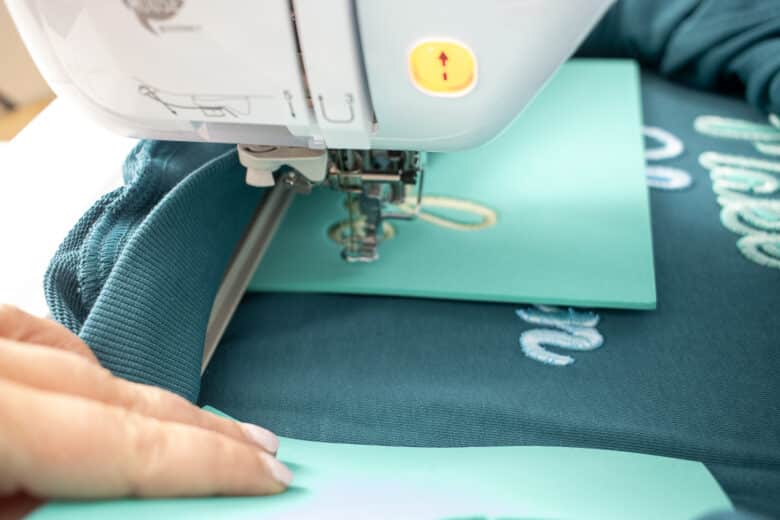
Slide the next piece in place {I changed foam color to better match my thread}
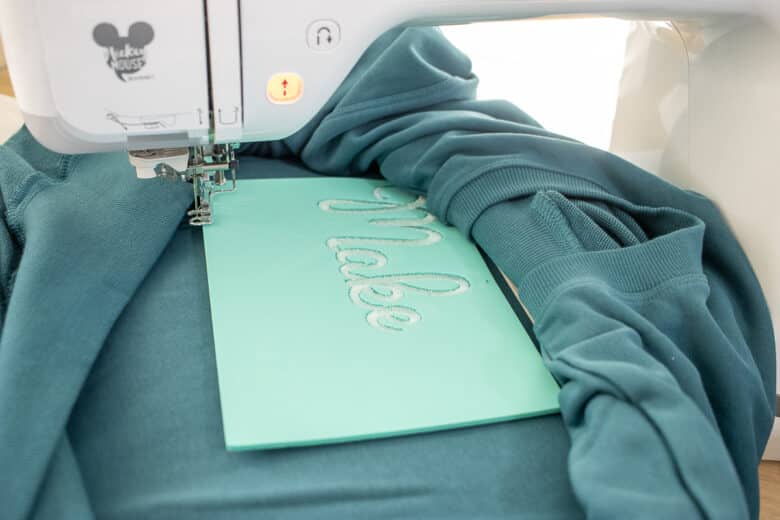
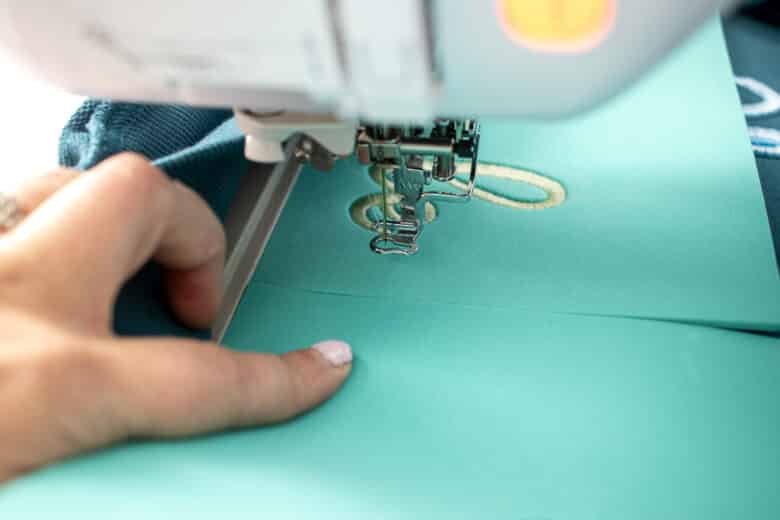
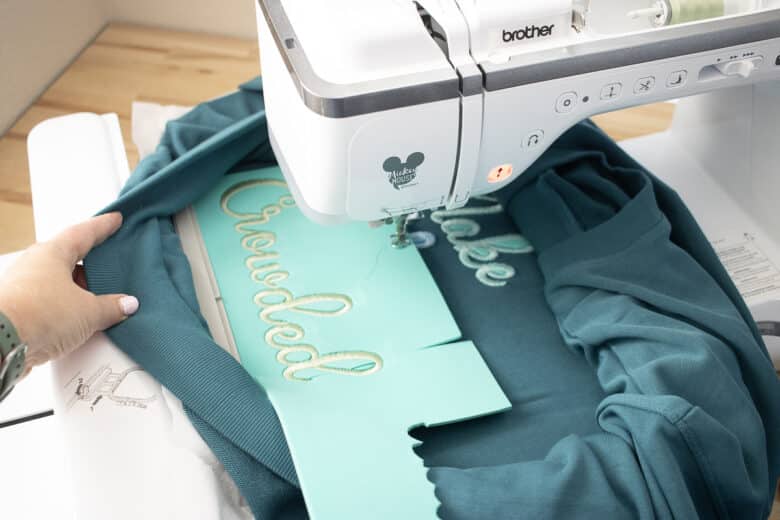
Repeat with embroidery, tearing foam and place the new piece.
For the final word, my foam was a bit too small. I just placed a new piece right along side the original and held it in place while the placement stitches are put in place. Then I was able to release my hold.
When the word is finished, tear off the foam as before.
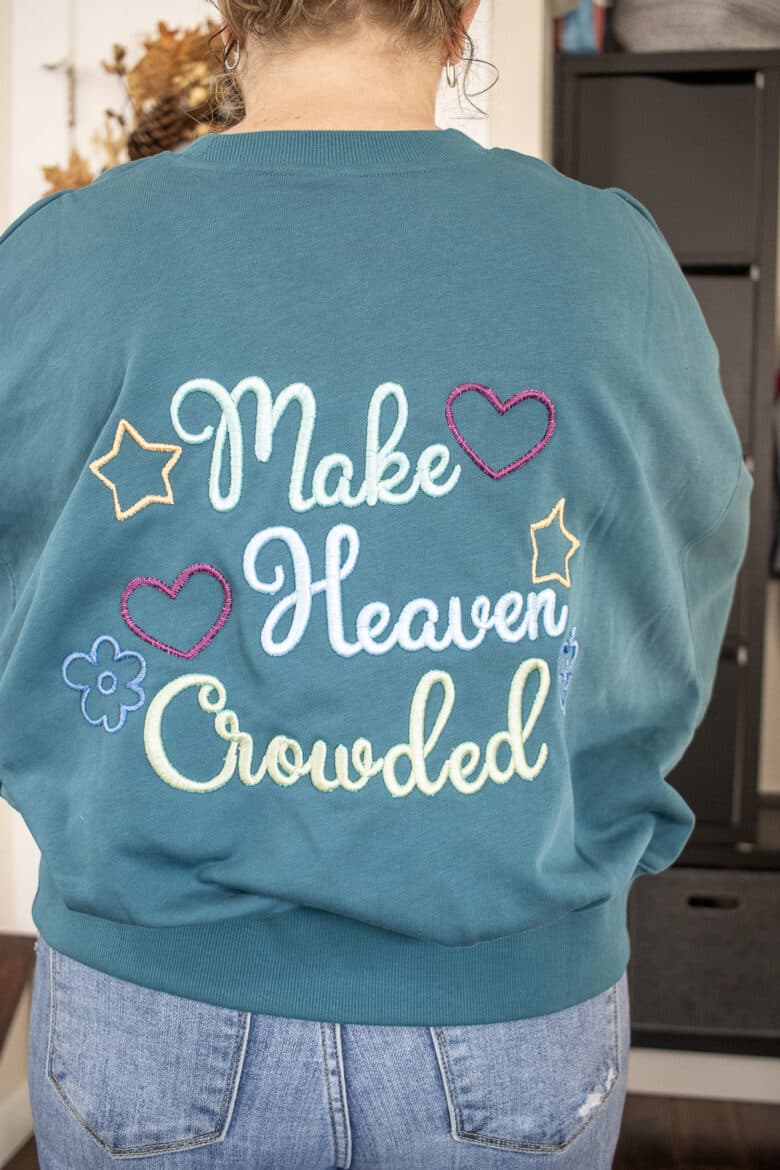
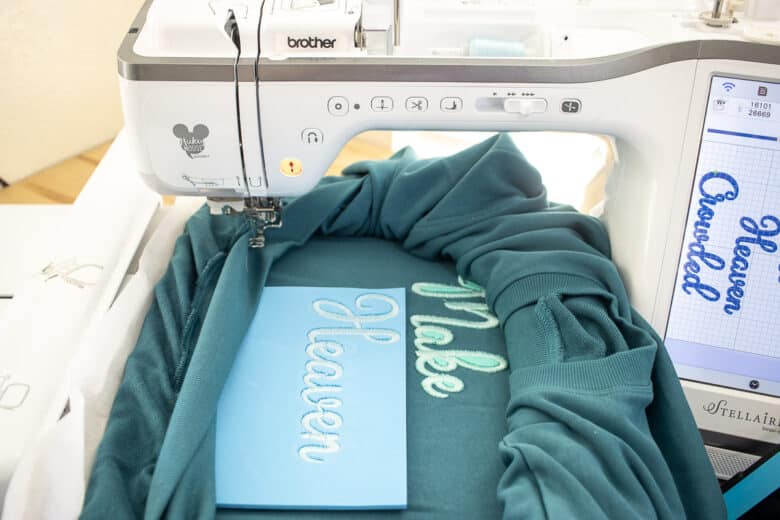
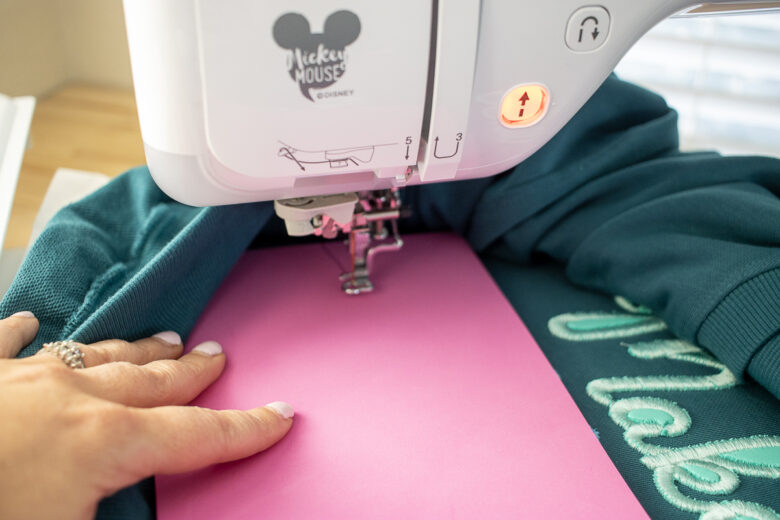
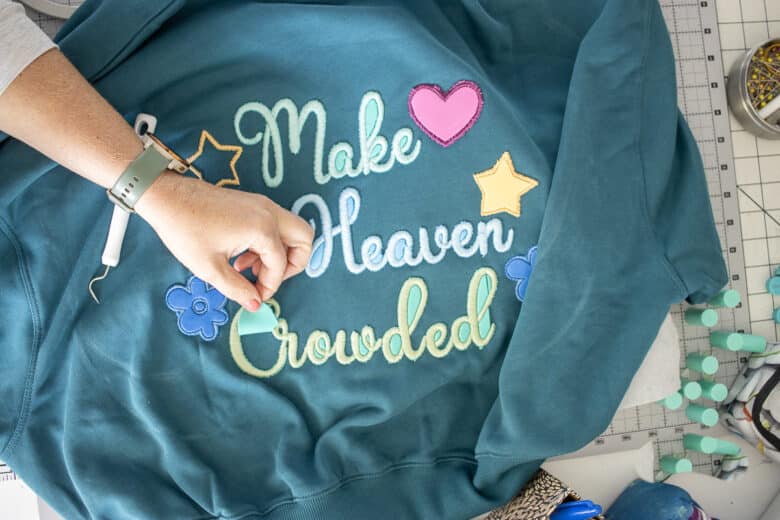
After I finished the words, I shared a few other graphic like designs from the Brother Artspira app. I added them to the word design on the screen so I could see placement and layout. You can add several different files from Artspira to a single design. The reason I did this is because you can’t save the design with the Artspira designs. So I stitched out the words {which I could save after I put it all together} then added the graphics, and stitched those second.
Again, I did the two hearts, then the two stars, then flowers tearing the foam out of the way each time.
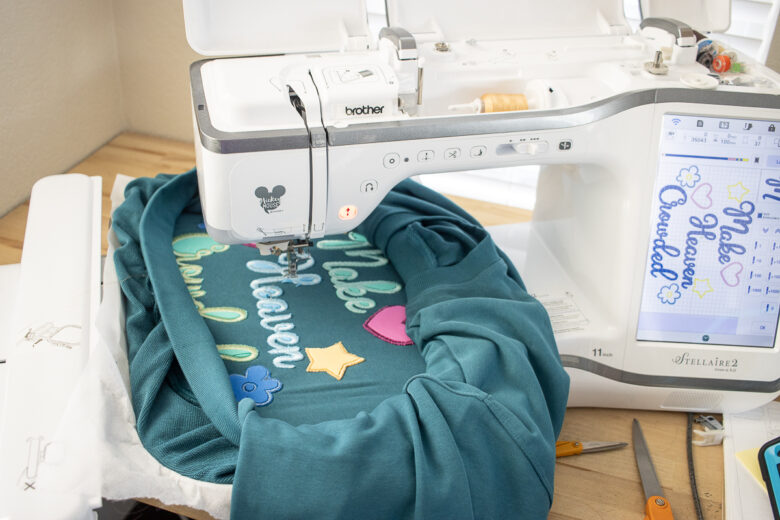
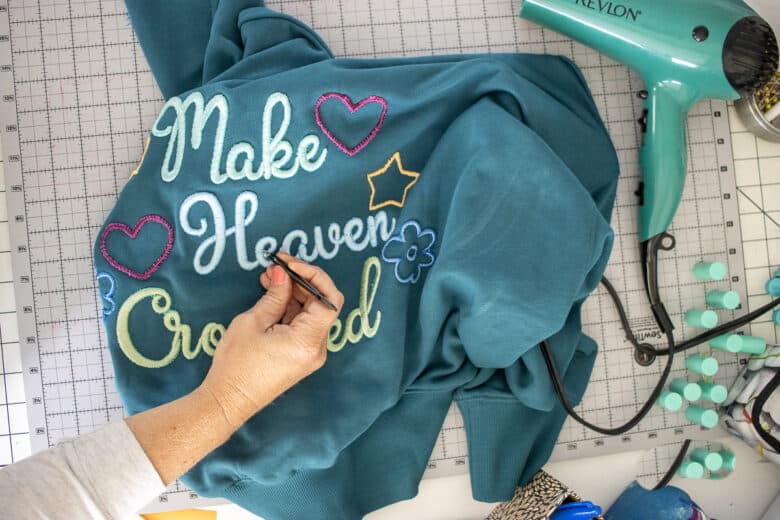
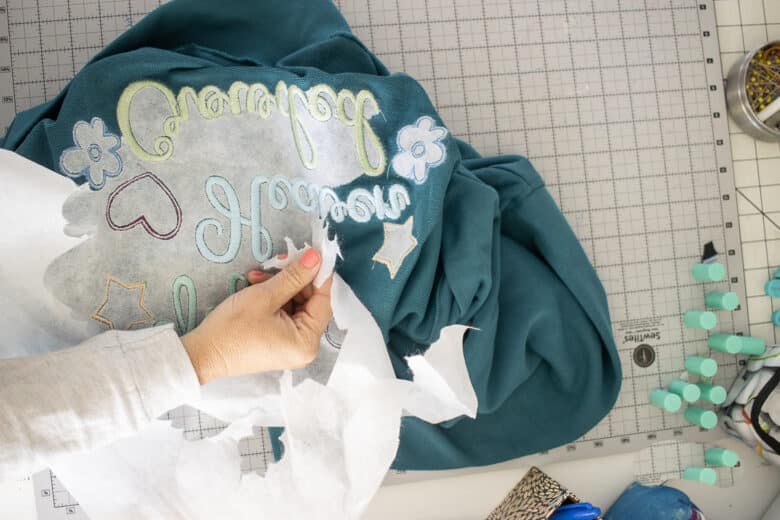
When you finish all the embroidery, remove the hoop from the machine, remove the hoop from the fabric, and then pick out all the small pieces of foam. I used my vinyl pick to get out the middle of letters.
I also used a strong tweezers to get off some small pieces that needed to come off. After the foam was finished, I removed the stabilizer backing.
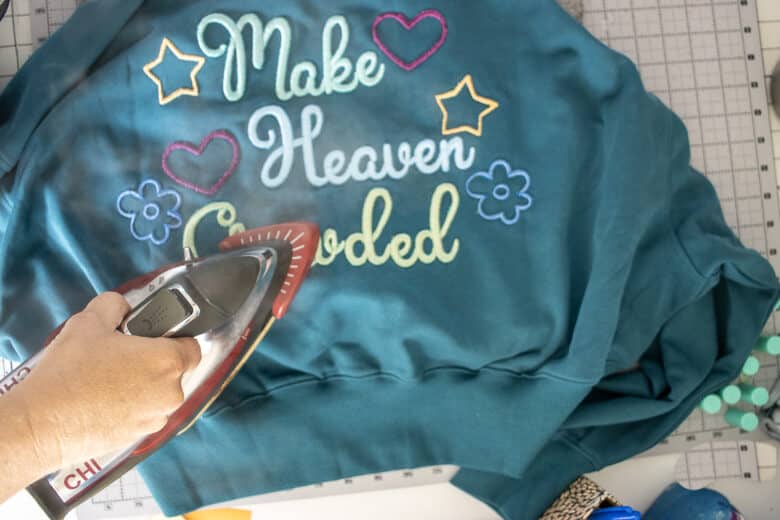
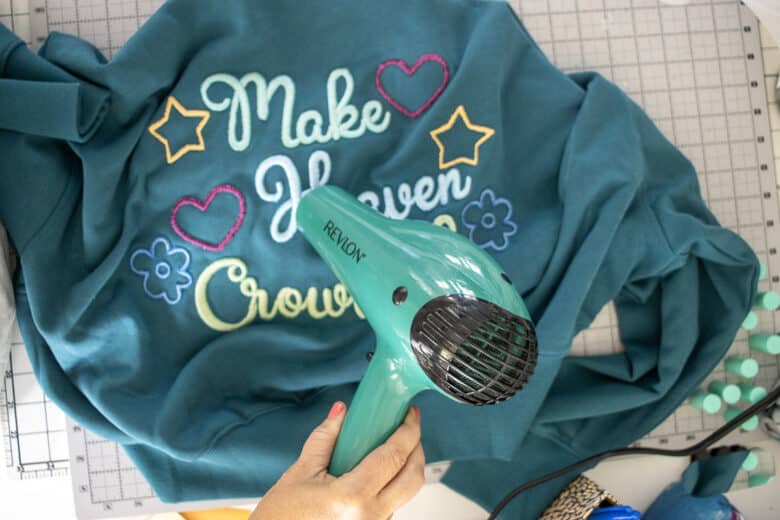
The final step is to heat the foam to help any small pieces still sticking out to shrink a bit back into the stitches. I tried both the hot blow dryer method and the steam iron, both were fine.
And now you get to enjoy a new, fun sweatshirt! I’m excited for a bit cooler weather to wear this one. It’s cozy and oversize and will be perfect for fall!


Leave a Reply