inside: learn how to embroider on paper with your embroidery machine. Create beautiful designs on paper and cardboard with your embroidery machine. Custom cards, notebooks and others are easy to make on your machine.
**Post written in collaboration with Brother International Corp as a paid brand ambassador, but all opinions are my own**
Did you know that February is National Embroidery month? I’m celebrating by tying something new with my embroidery machines. Have you ever tried embroidering paper with your embroidery machine? It’s actually super easy and very fun to make personalized, embroidered cards and notebooks. Paper embroidery is a super fun way to try something new with your embroidery machines.
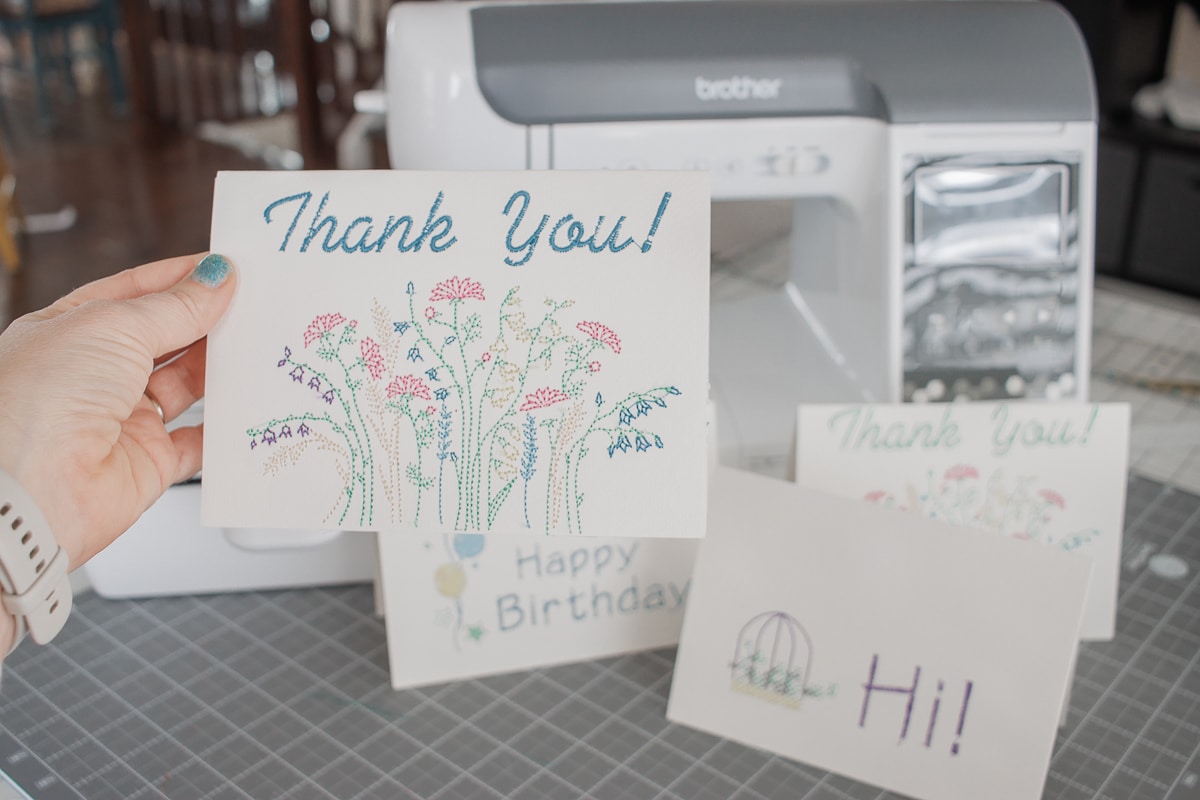
Embroider Cards on your embroidery machine
Make sure you check out my paper embroidery tips below before you start any paper embroidery project, but here is some inspiration to get you excited.
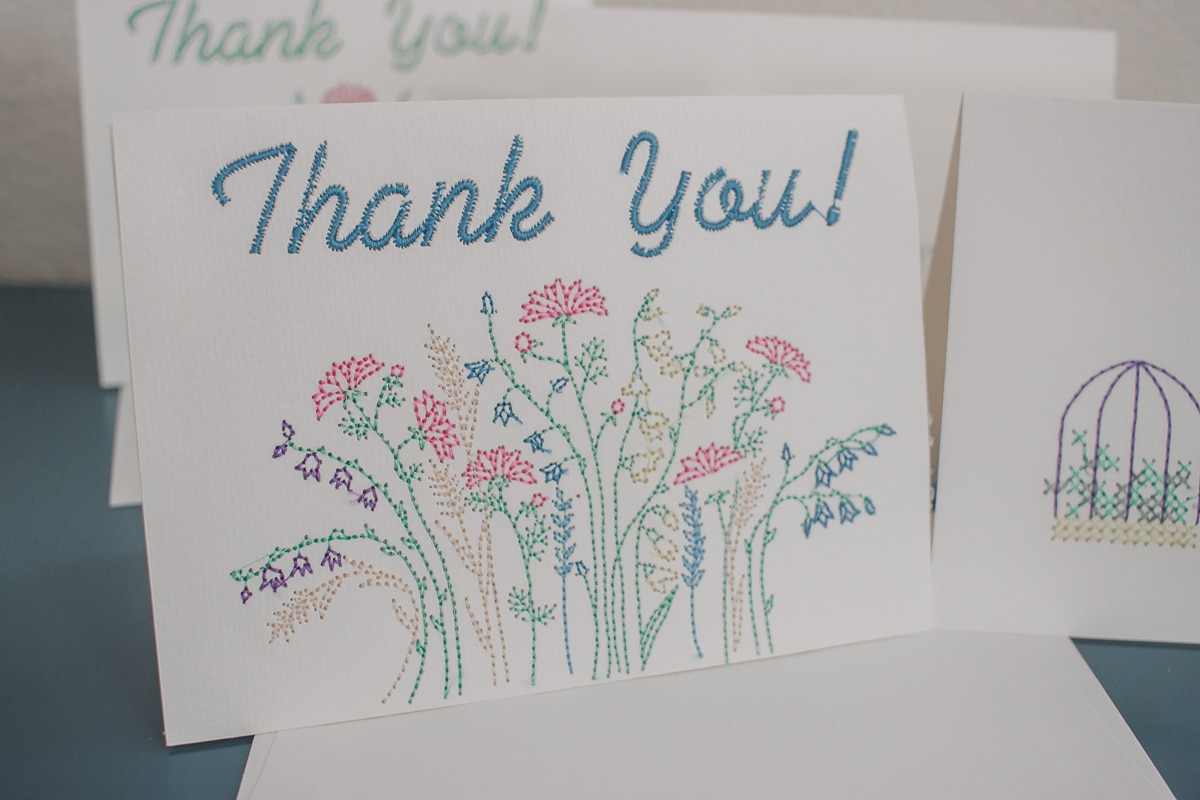
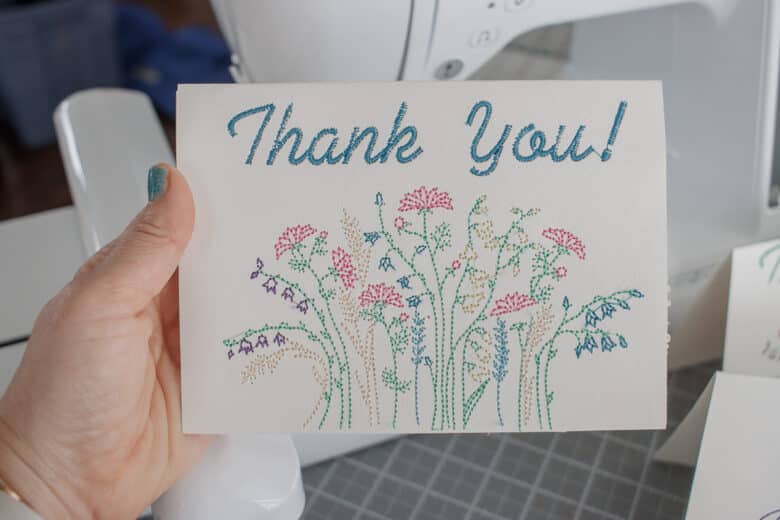
I worked on two projects with paper. One was a regular notebook cover {like a cardstock paper} the other was greeting cards {embroidered on watercolor paper}. All the designs I used were found on the Brother Artspira App and I’ll give my reviews and dos/don’ts in the tips below.
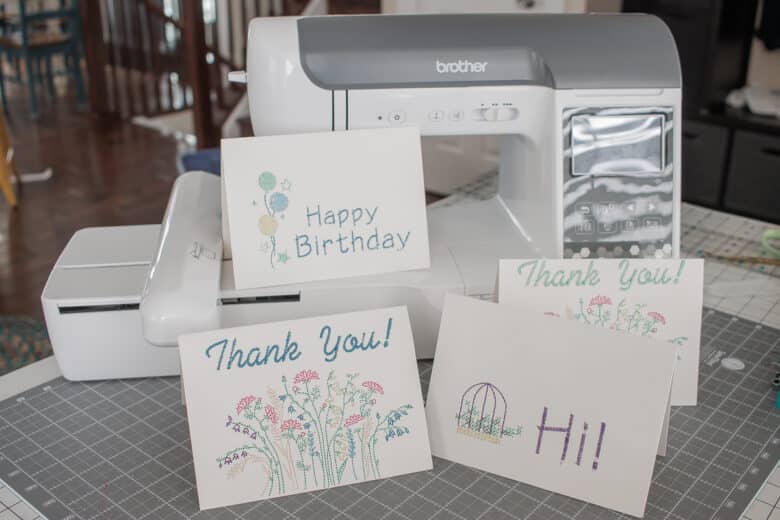
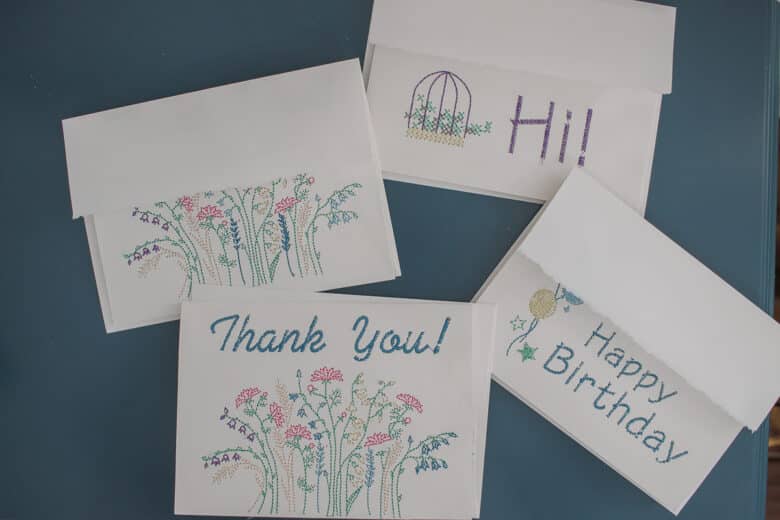
I was super excited to see how these cards turned out, they are super cute. I made a little selection and I have plans for several more. All supplies can be found listed below.
Other amazing embroidery projects to try:
- Using Artpsira for embroidery
- How to mend fabric with embroidery
- Embroidered costume masks
- Embroidered luggage tags
- How to embroider on fleece
Tips for using paper in your embroidery machine
Here are some tips to make sure your embroidery on paper is successful before, during and after your project.
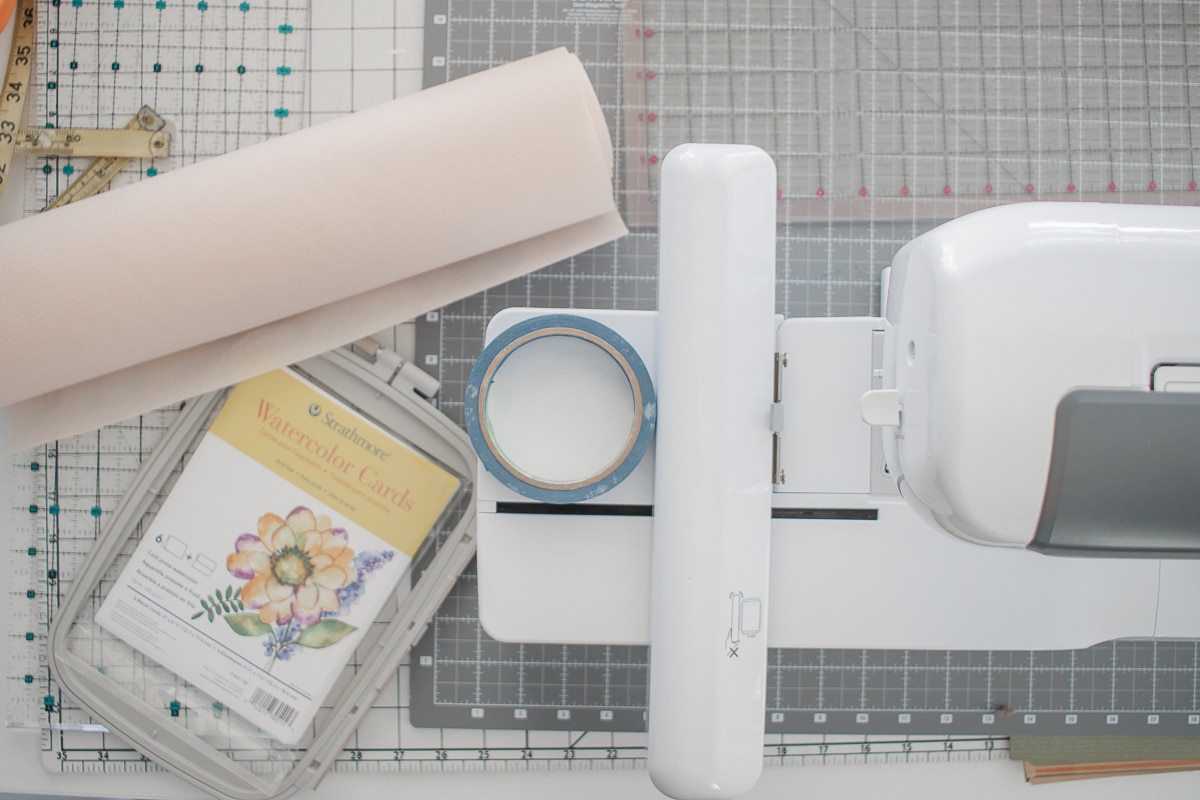
- Use fibrous paper {like watercolor paper} This kind of paper can withstand the punching of the needle without ripping.
- Use a design that is loose {ish} The less repeating punching of the needle the better the paper will hold up.
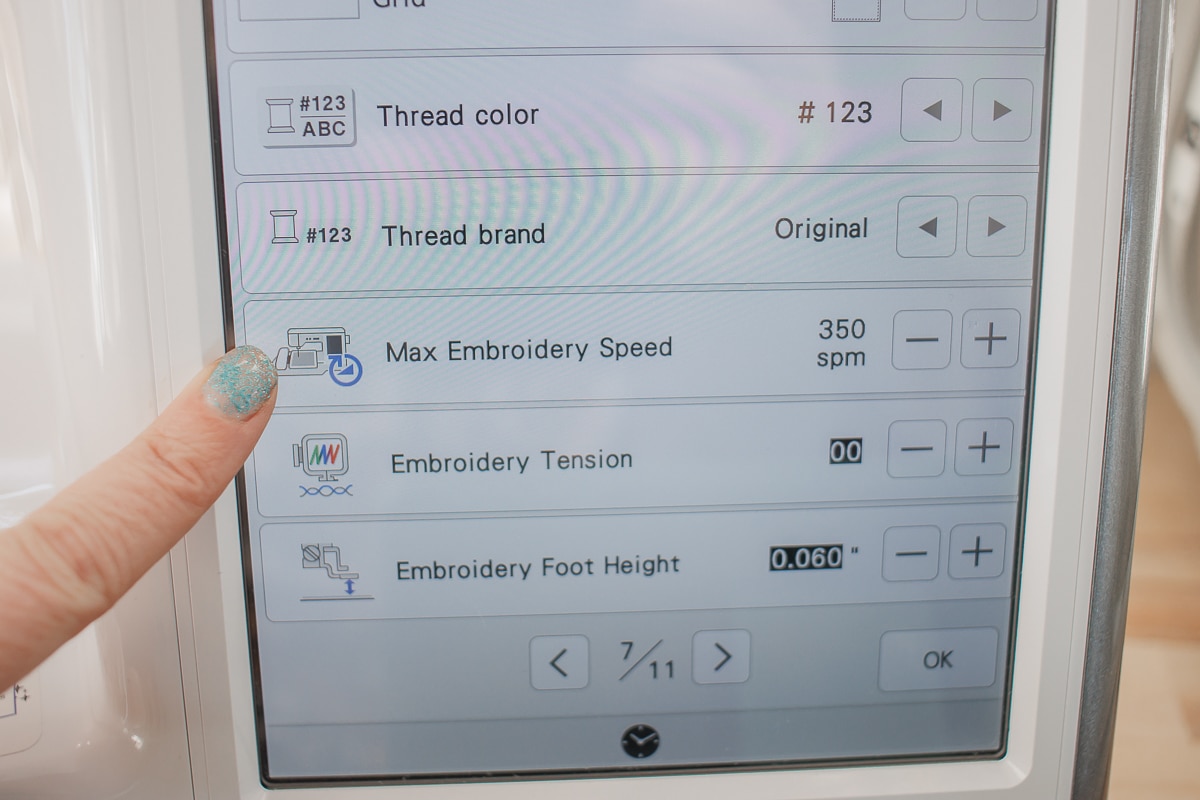
- Slow your embroidery machine down {see photo below}
- Use cut-away stabilizer, not rip-a-away. This is sturdier and will hold the stitches more securely.
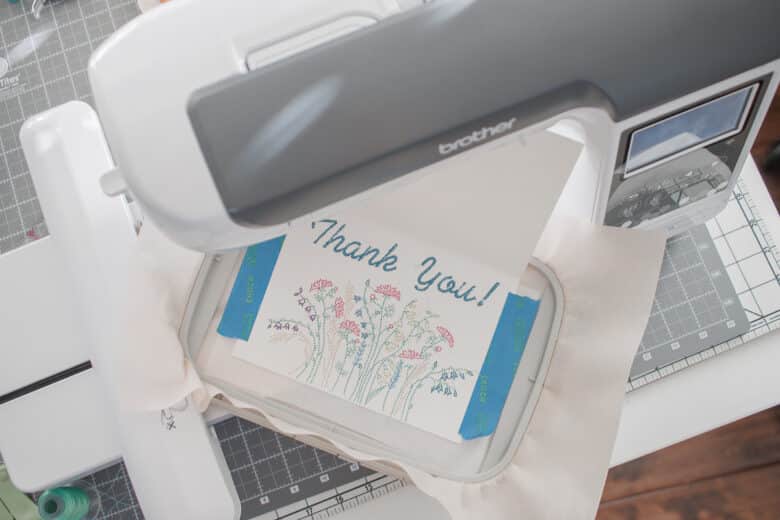
- Use painters tape to secure the paper in the hoop.
- {more important!} Throw away the needle you use when you are finished embroidering on paper. You don’t want to accidentally use it for fabric at a later time.
How to embroider on paper with your machine
You may have guessed it, but embroidery on paper is much like embroidery on fabric. You just have to prep the paper a bit and be wise about your paper selection. Place tear away stabilizer in your hoop and then use painters tape to hold the paper in place. If the tape doesn’t stick to your stabilizer you can add a layer of another stabilizer {rip-away or adhesive} that the tape sticks better to.
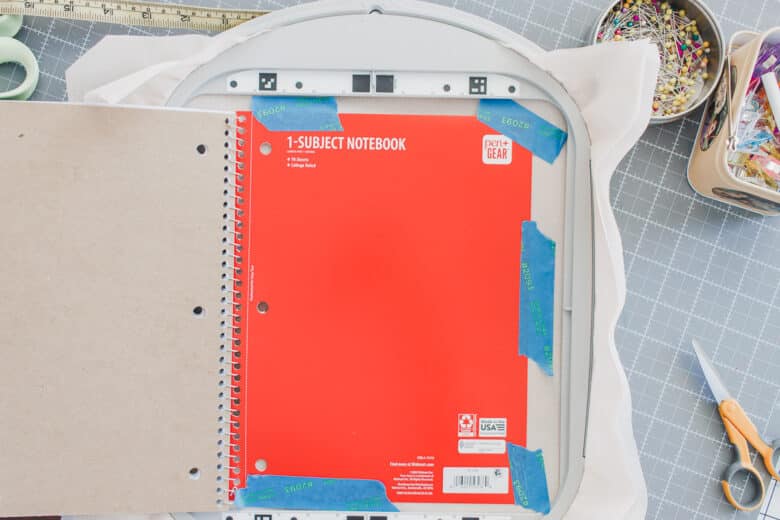
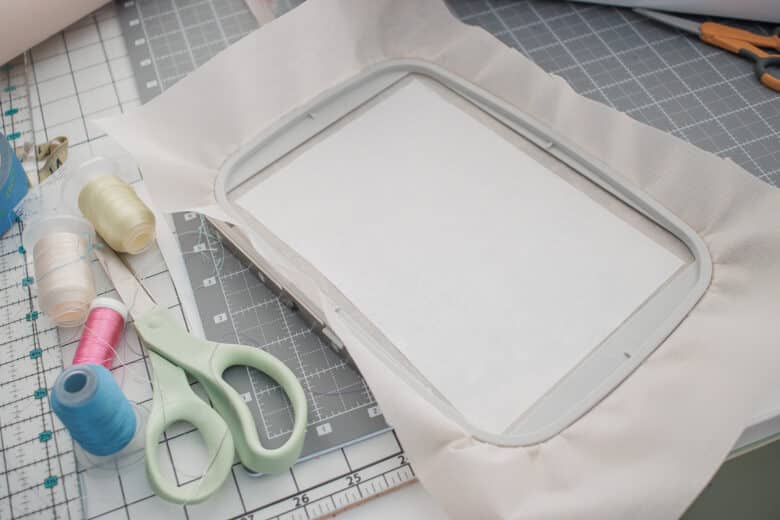
I used my 5 x 7” hoop for the cards and my 9 x 9” hoop for the notebook cover. I also used two different machines. For the larger hoop I used my Stellaire 2 and the cards were all embroidered on the SE2000. Make sure the card/paper is secure in the hoop before starting embroidery.
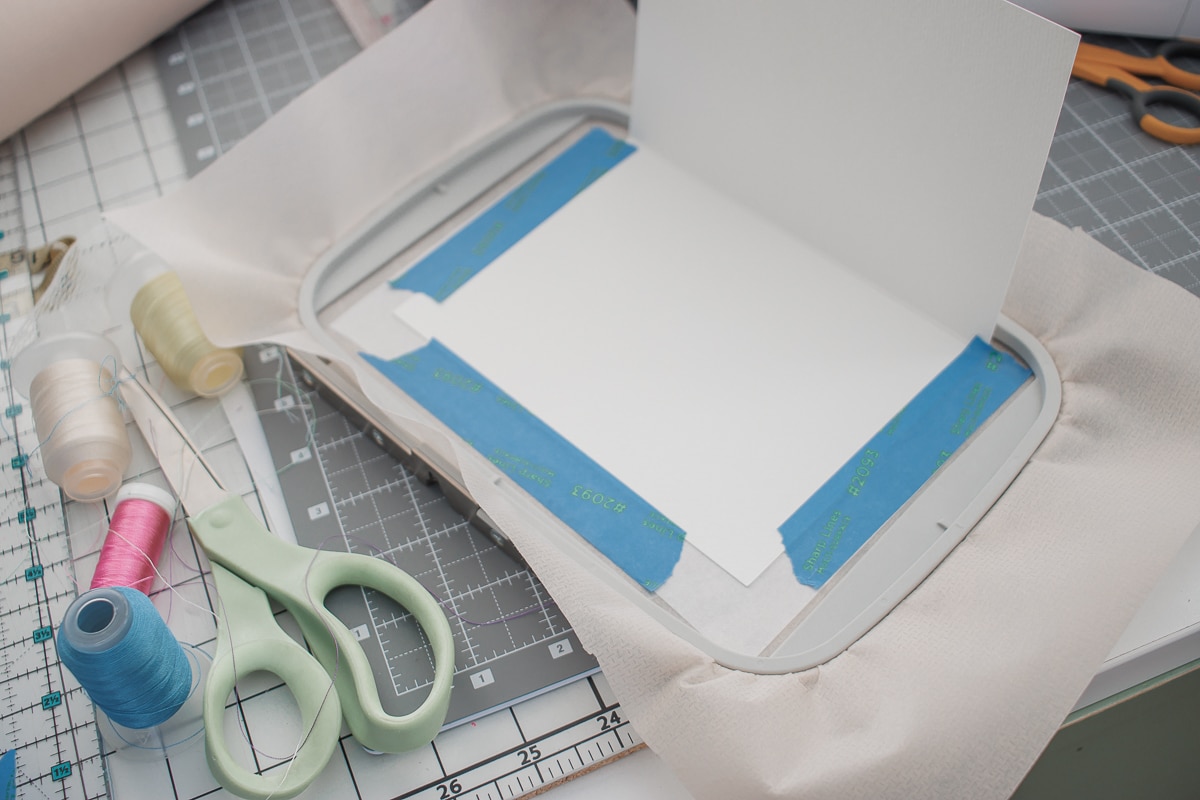
Transfer the design to the machine or use one of the built in ones. All designs seen here in this post were from the Brother Artspira App, so I transferred them via Wifi to my machines.
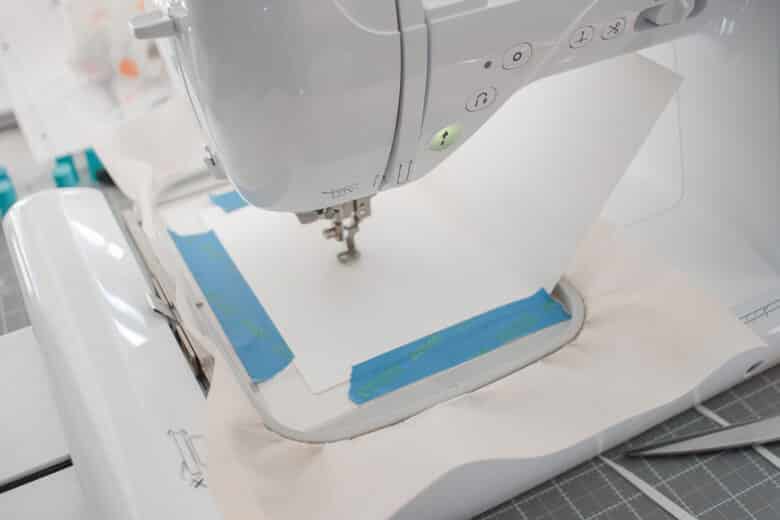
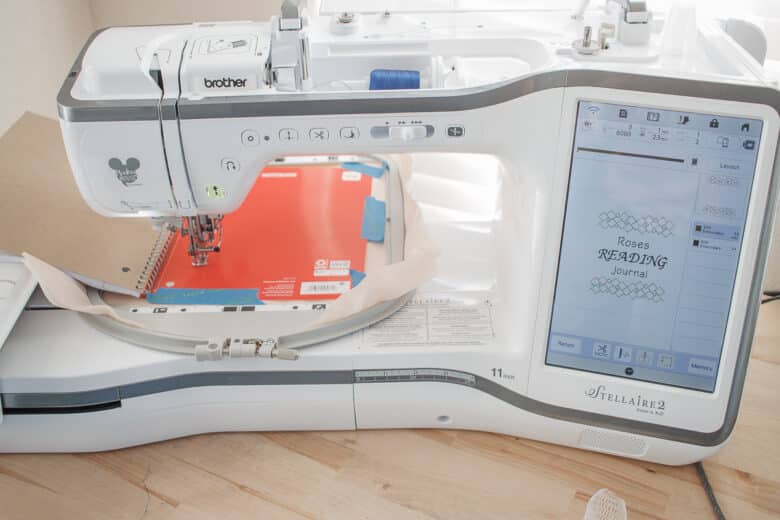
I stayed close by as the embroidery got started to make sure the paper stayed in place. Once it got going I was able to work on other things and just come over to change the color thread.
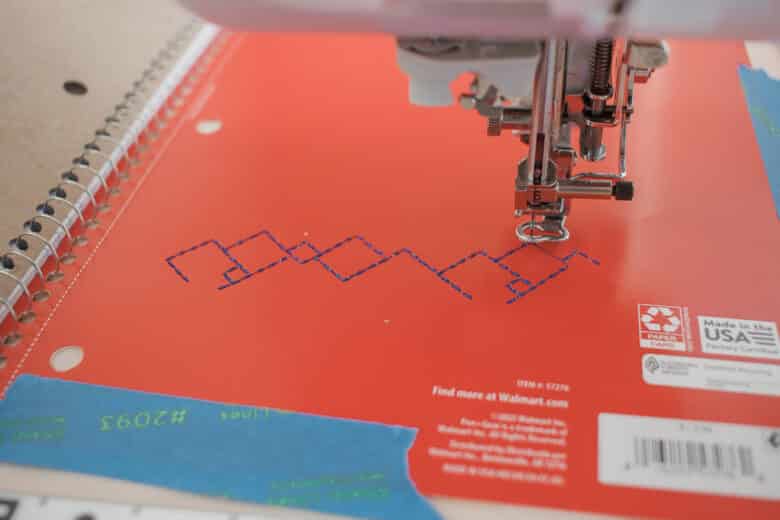
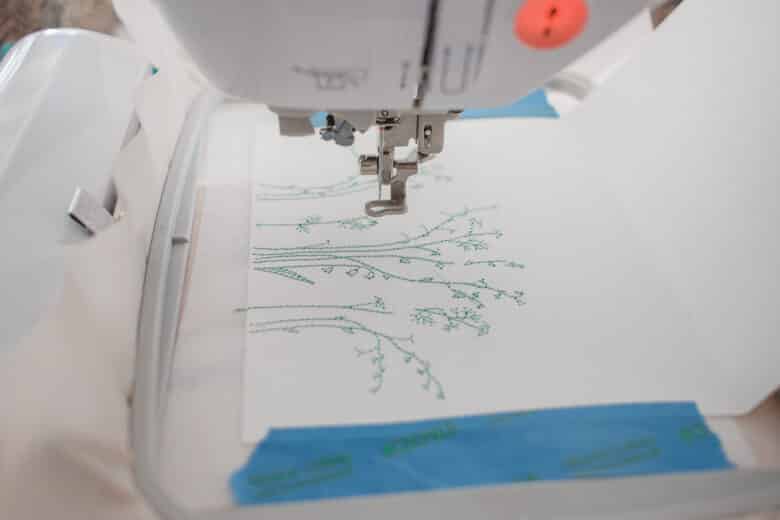
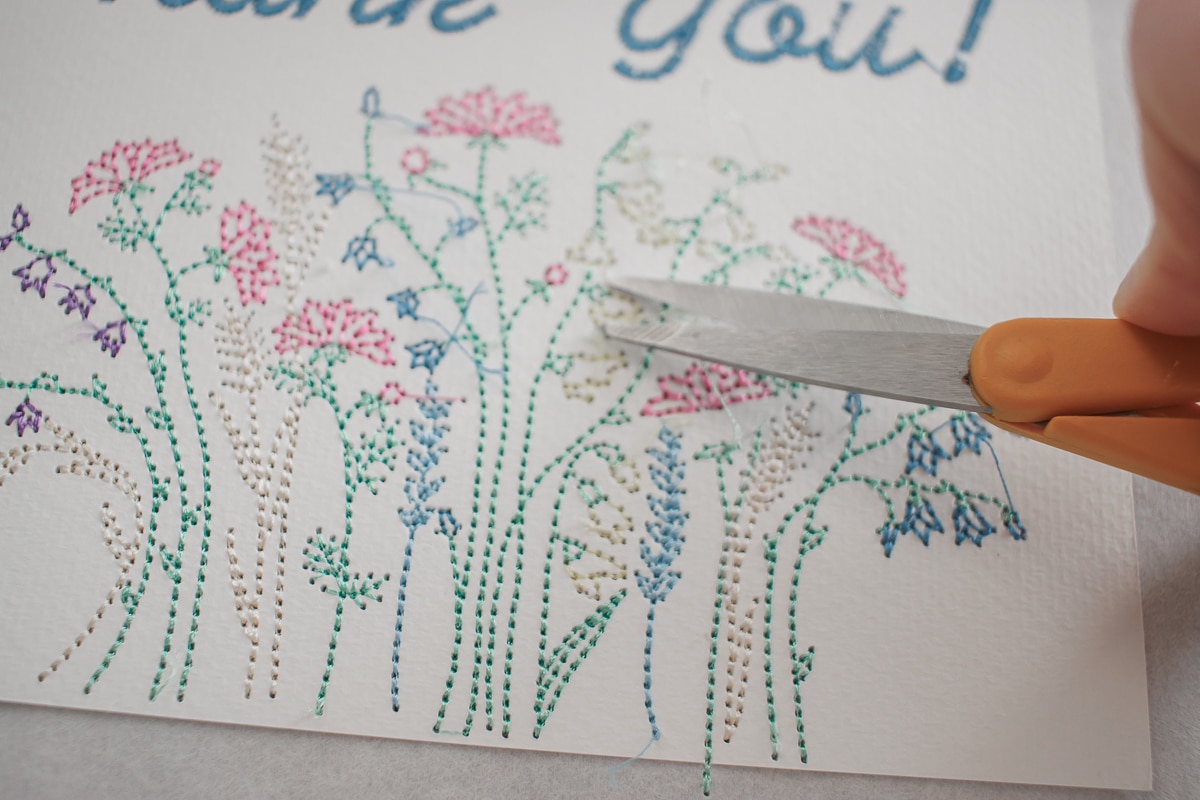
As mentioned above, loose open designs with less needle holes work the best. This floral design stitched out on the water color paper beautifully!! I just love it so much. It was the perfect design for embroidery on paper.
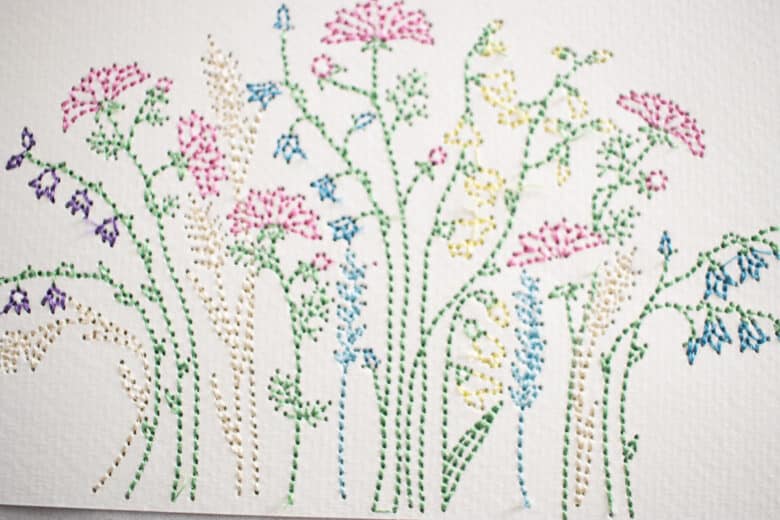
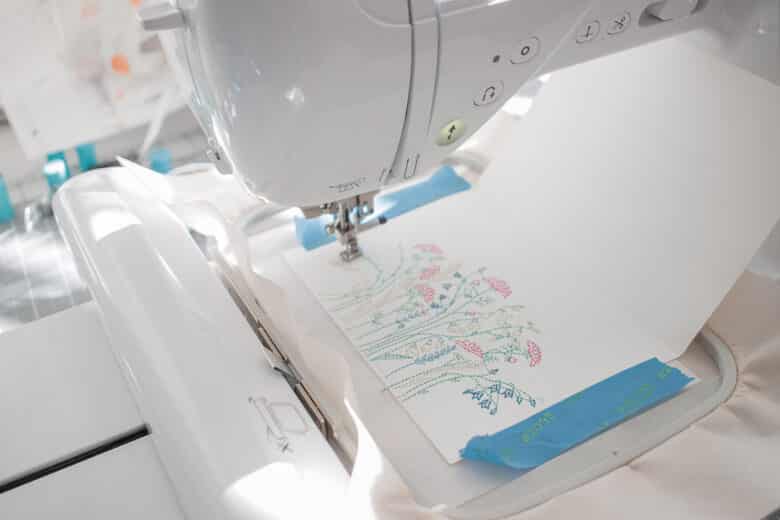
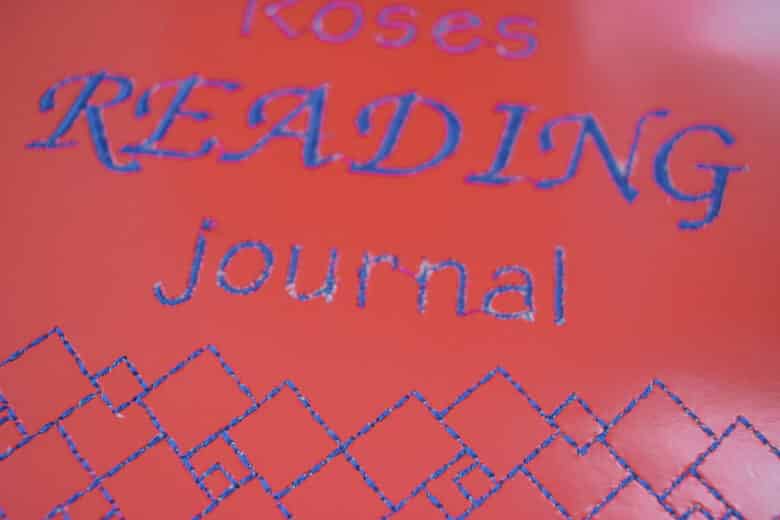
The stitching on the notebook cover turned out ok as well, but some of the paper did come through a bit. The designs stitched out better than the text.
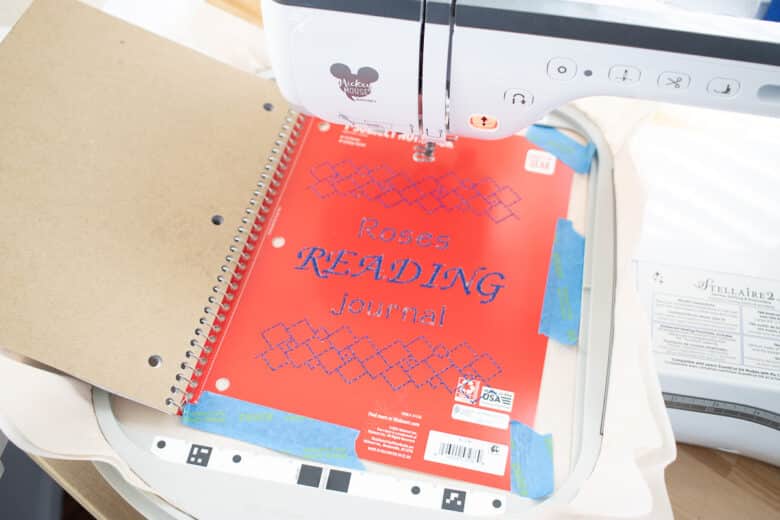
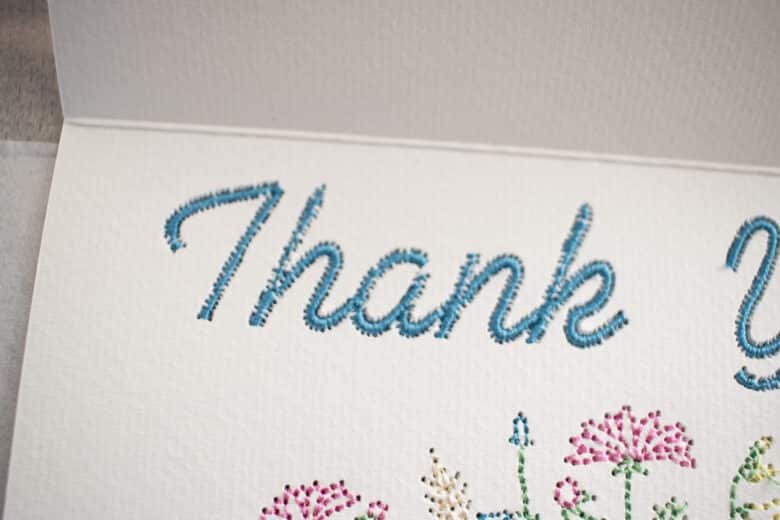
I think that the method of how the letters are stitched causes the paper to break a bit. Here are some close ups of my letters. The water color paper does hold up better, but it’s not perfect.
After you remove the hoop from the machine, trim all the threads.
After trimming the threads, trim the stabilizer on the back of the design. Cut close to the stitching, but leave enough for stability. I did not trim in the small parts, just around the whole thing. Spread some glue over the back of the stabilizer and paper, covering the whole sheet.
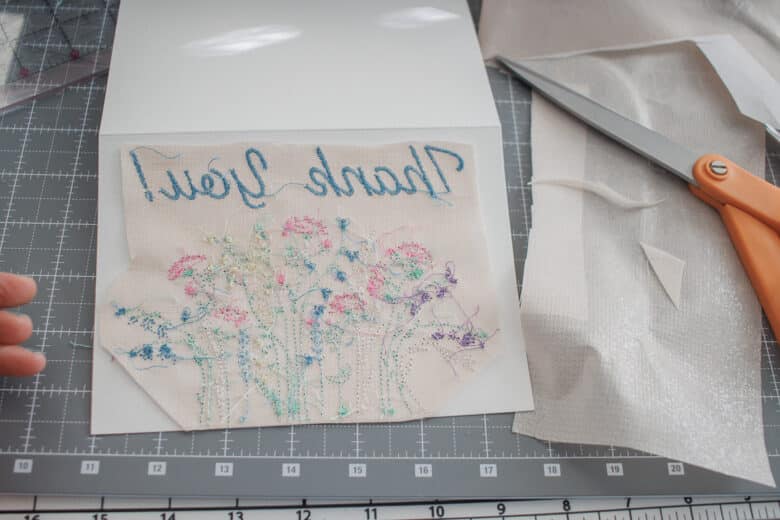
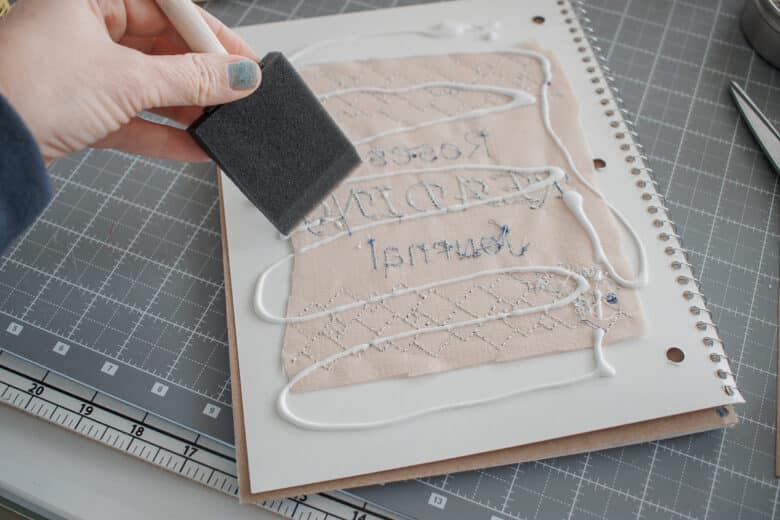
Use ½ a card of the water color paper or other plain paper to cover the back of the embroidery design.
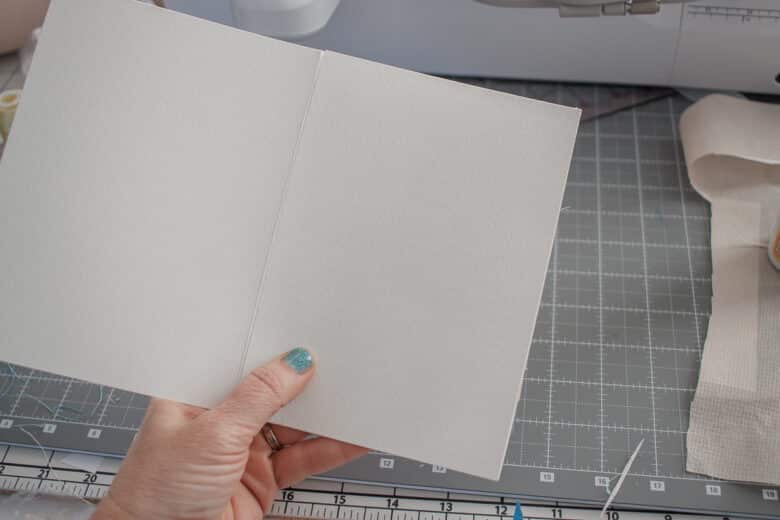
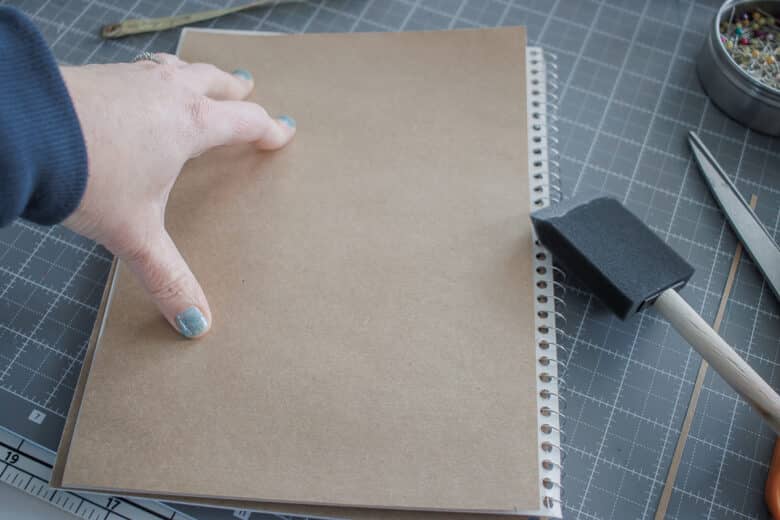
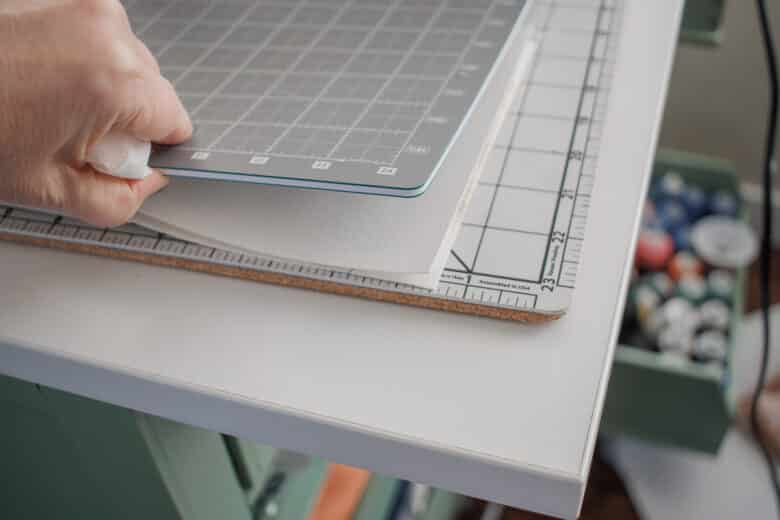
I placed the glued sheet under my cutting mat to apply pressure while it dried. When it’s finished drying you can remove it and enjoy your fun notebook cover or greeting card or whatever you decide to make with the embroidery on paper technique!




Leave a Reply