inside: learn how to flatlock with a serger. Get tips for flat locking with a serger to add decorative stitches or sew a seam. 2 or 3 thread flat locking can be easy.
This post includes instructions for flat locking with three threads on a serger. I soon will be getting the new Brother Airflow 3000 that also has the ability to do two thread flatlock. I will update this post with those details when I have that machine. Until then I love my Brother 3734 and all the amazing features it has!
Why use a flat lock stitch
Today I’ll be just demonstrating the flat locking technique and machine settings. I plan to use this sewing stitch in a project really soon though and I’ll link back here so you can see flat locking in action.
Flat locking can be a great decorative stitch as well as a useful stitch for joining fabric. It’s also a way to add detail to your athletic wear without a coverstitch machine.
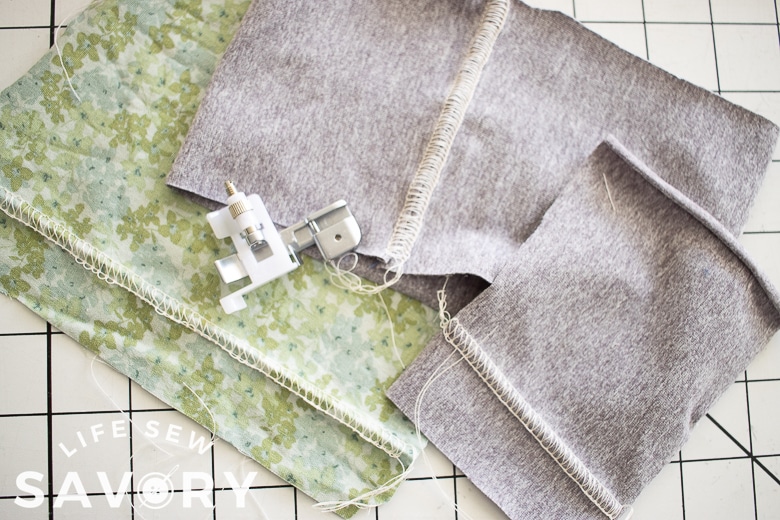
I worked on some sample here with both knit an woven fabric. As this is a great addition to t-shirts, leggings or other athletic wear, I wanted to show it on knit fabric two different ways as you will see below.
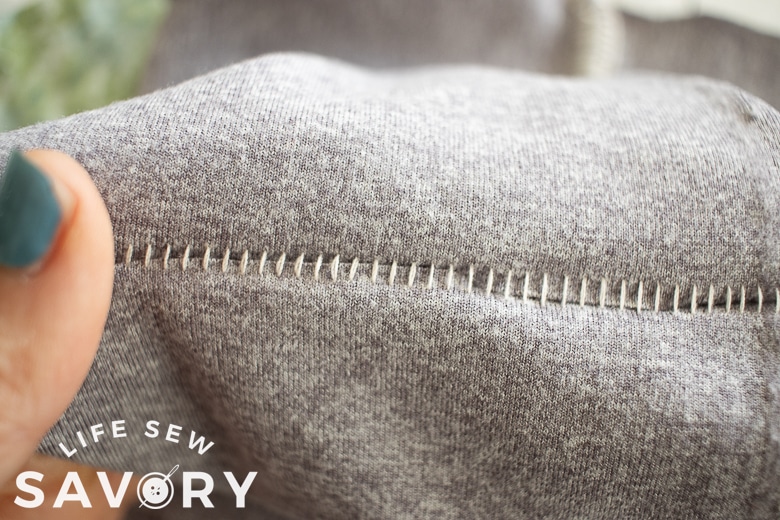
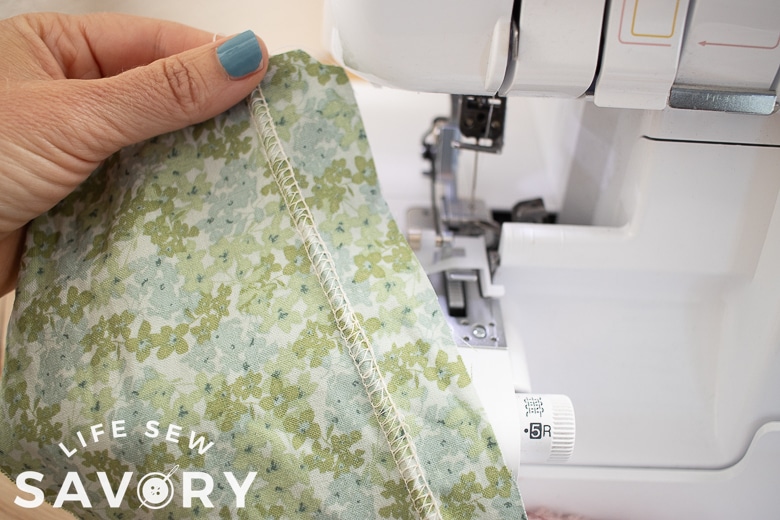
I’ve seen sweatshirts in the store with raglan style sleeves sewn with flatlocking for a fun more unfinished look. I think I will sew a raglan sweatshirt with this stitch soon and show it off to you. You can fold the fabric, sew, then unfold for a decorative stitch OR sew two raw edges together and then unfold for the seam. Both are shown above.
Serger settings for flatlock sewing
Let’s first talk about settings for your serger sewing machine. I’ll describe what the setting range should be and then what I ended up using for these samples.
The serger manual states that you should remove the right needle and put the flat lock/blind hem foot on the machine. Here are the recommended settings:
- Stitch Width: 5mm
- Stitch Length 2-4mm
- Needle Thread Tension: 0-3
- Upper Looper Thread Tension: 2-5
- Lower Looper Thread Tension: 6-9
I started with settings in this range and then adjusted as I needed. I was having trouble with the lower looper breaking so I had to loosen it. The second from the left dial is the un-used needle so ignore it.
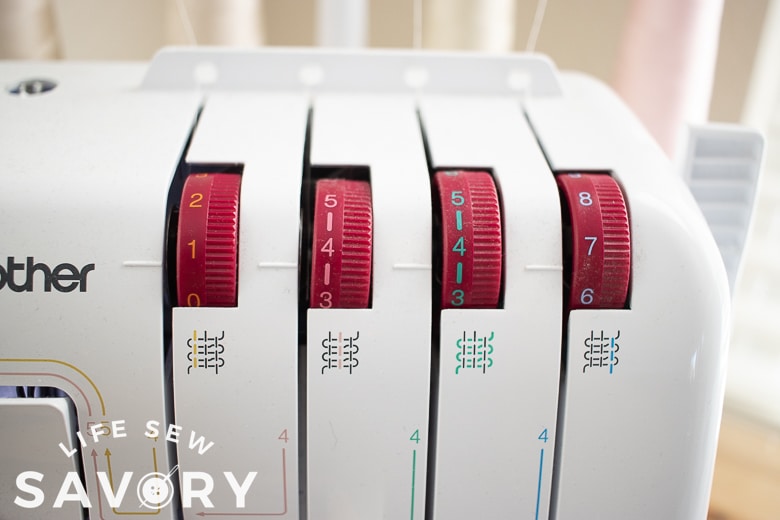
Here are my other settings as well.
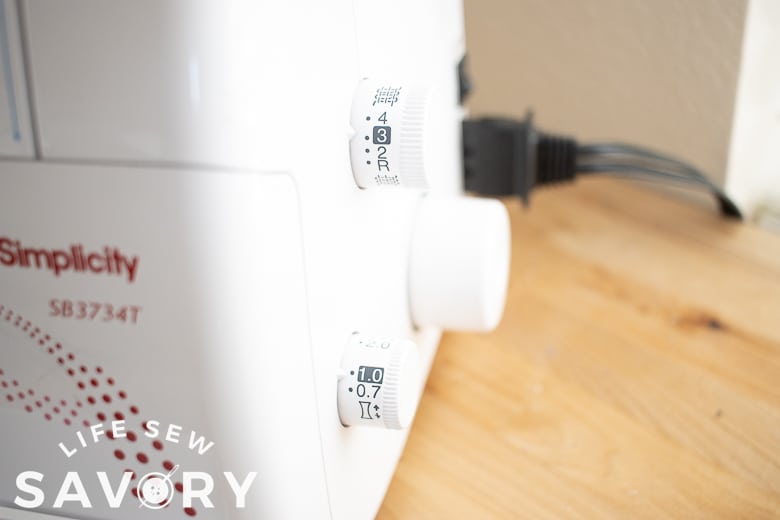
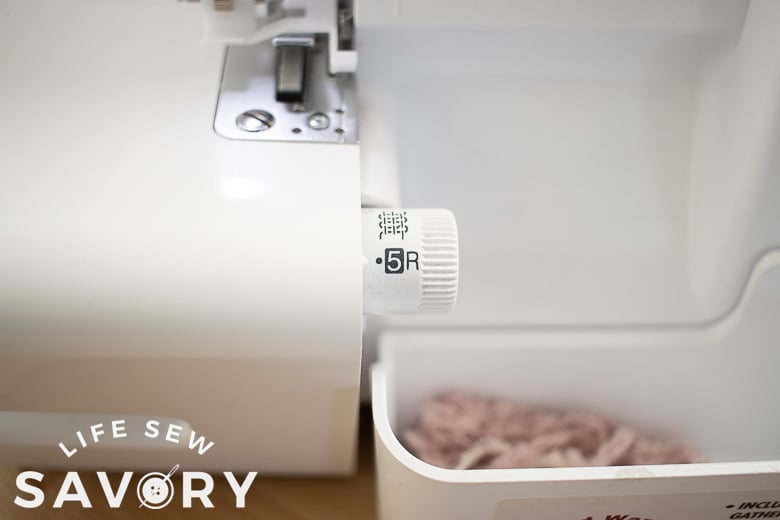
You can also see the blind hem foot and single left needle here. Start with the basic settings and then adjust as needed.
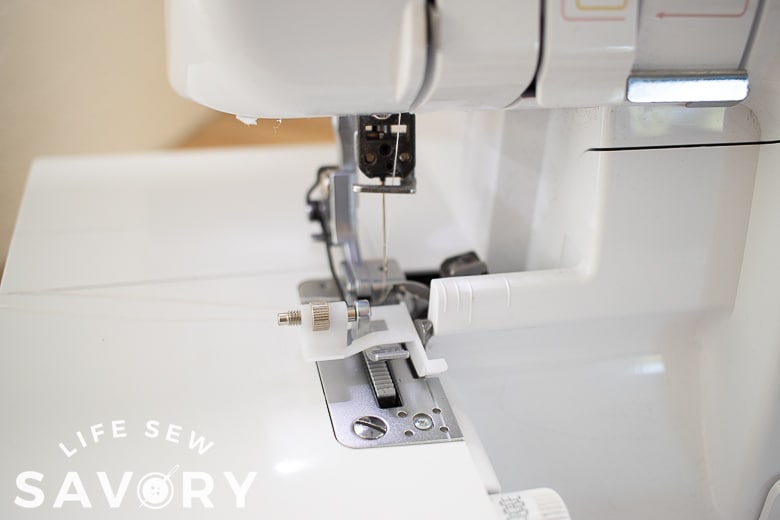
Once you have the machine all set up, it’s time to start sewing. Don’t be frustrated if it takes awhile to get it right.
How to flatlock with a serger
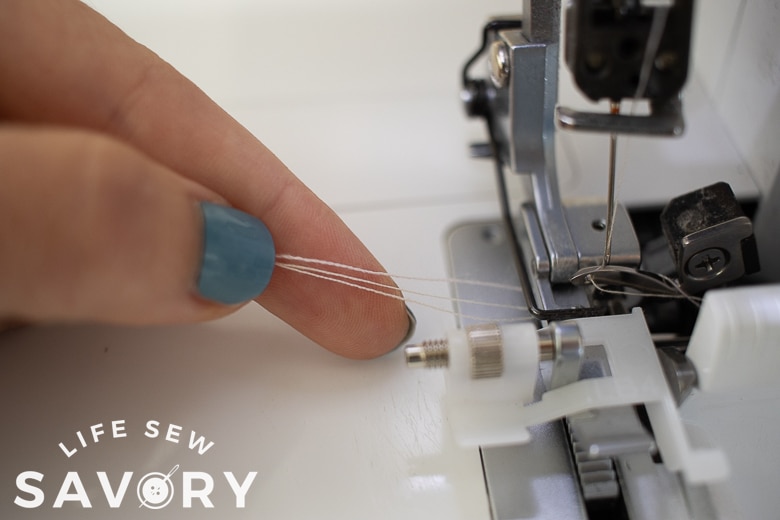
Start by lifting the presser foot and turning the hand dial until the line matches with the mark on the machine. Also make sure you have three threads with long tails sticking out from the back of the machine. The upper looper likes to pull out of the stitching since the tension is so tight. I liked to hold it while I started sewing to keep it where it needs to be.
Let’s start with the decorative flatlock. Fold the fabric, right side out, where you want the stitching to be and slide the folded fabric under the foot.
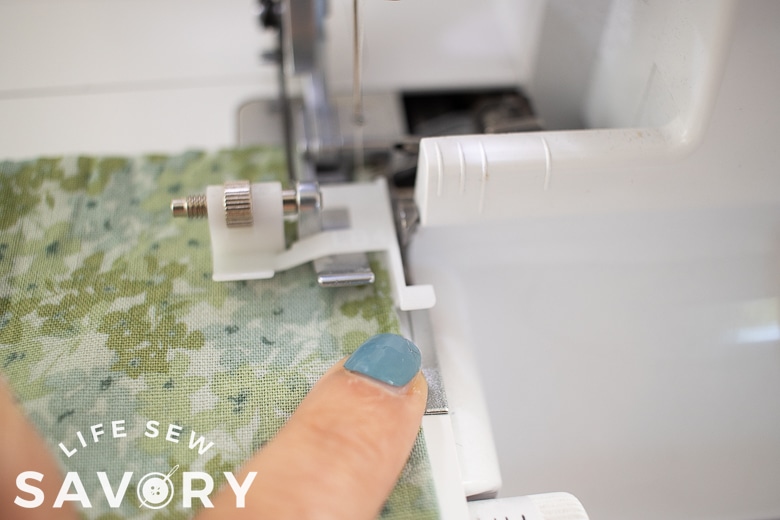
Now it’s time to adjust width of the stitch. The needle should pierce the fabric about 1/8″ to the left of the fold. Turn the dial on the machine foot to adjust the width. the white plastic guard on the right should be flush with the fabric fold. Turn the dial to test where the needle pierces the fabric and adjust the dial as needed.
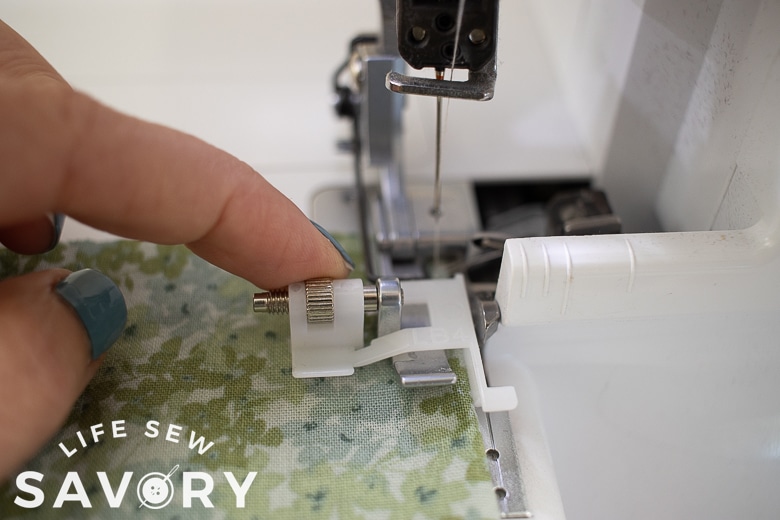
Sew with a steady speed to the end of the fabric. When you get to the end of the fabric, raise the presser foot and turn the dial to release the thread, grab the threads and pull to the side. Now you can cut the threads.
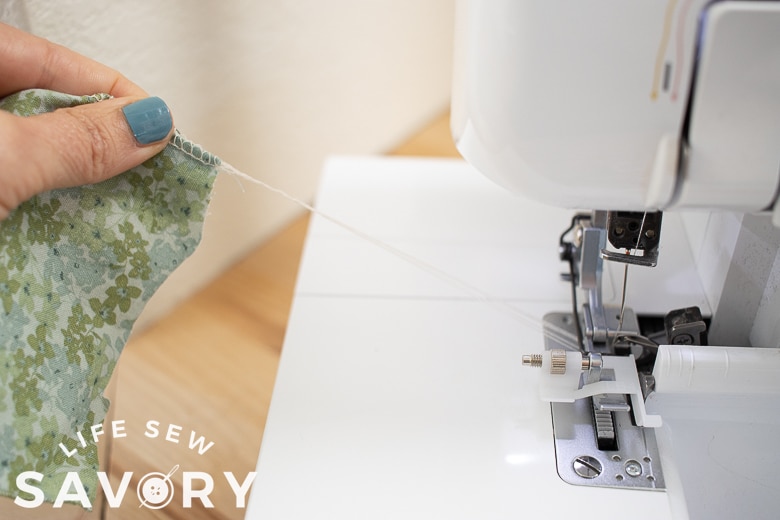
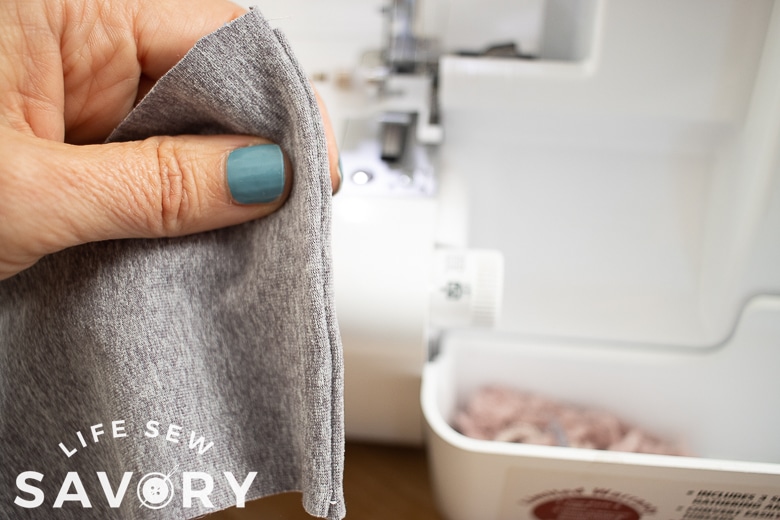
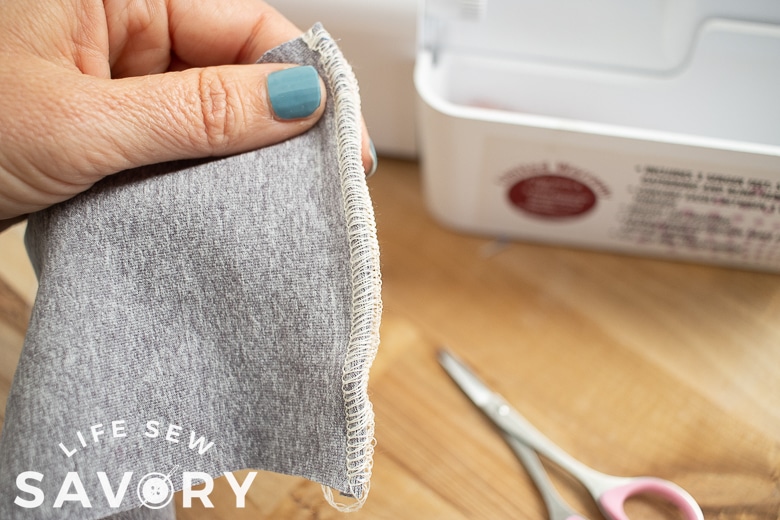
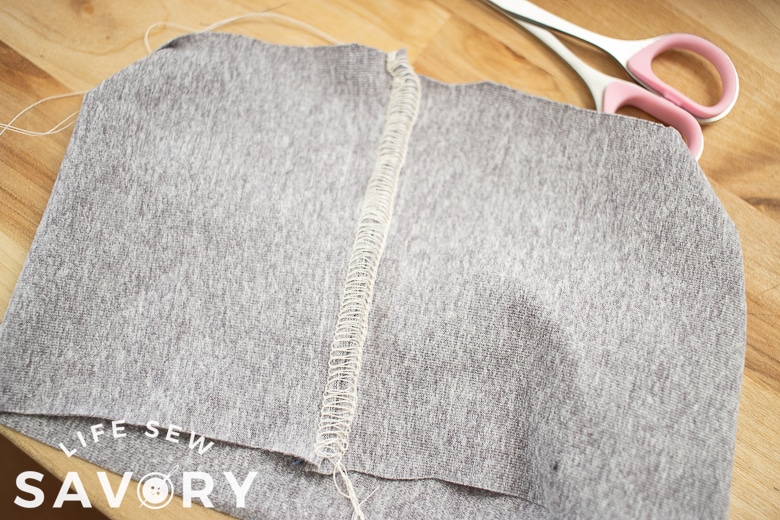
After you cut the threads pull both sides of fabric to open up the stitches. The front should have the stitches go back and forth and the back is like a ladder. If the fabric doesn’t open up all the way, the needle is too tight. You can also adjust the looper if the top threads are too loose or tight.

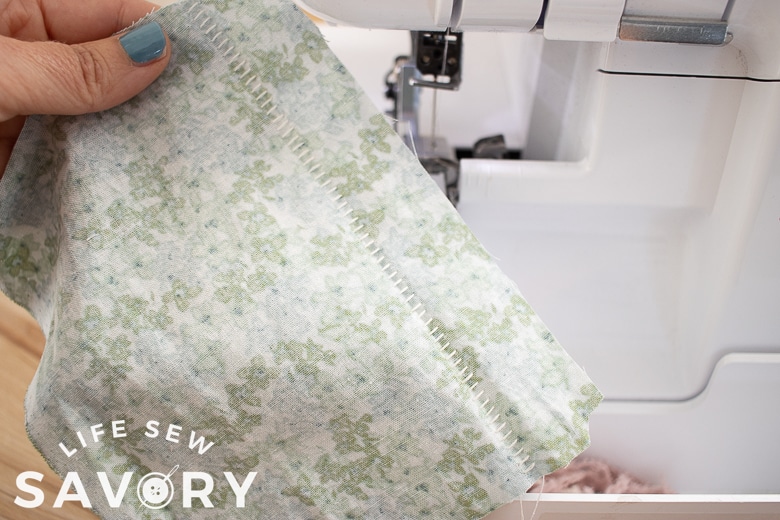
Here’s what it looks like on knit fabric. It’s really beautiful on knit fabric!
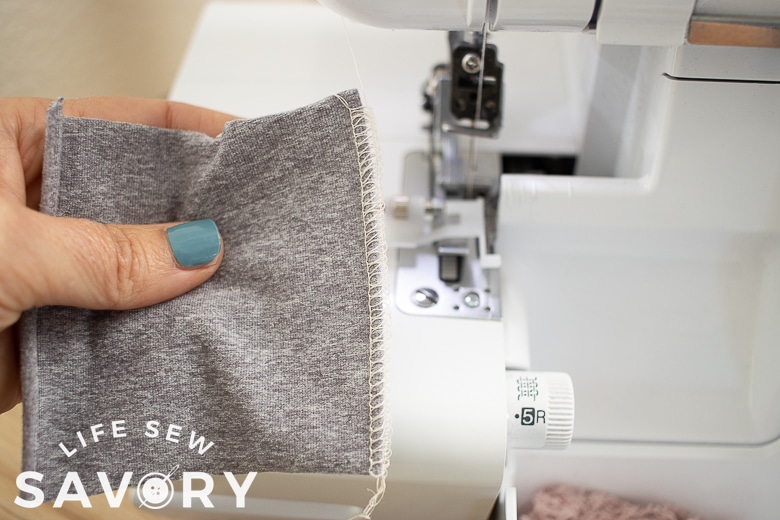
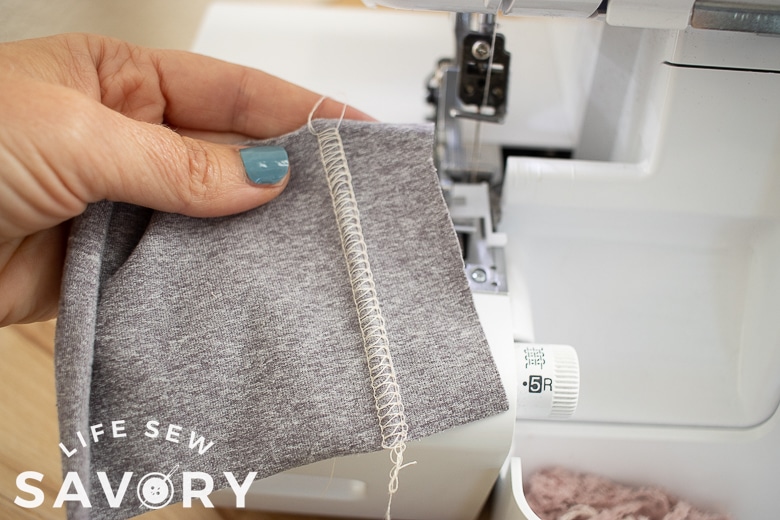
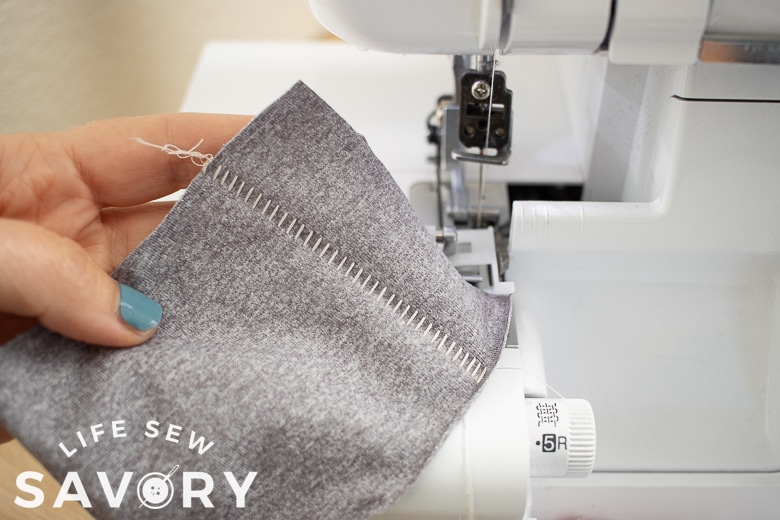
You can also use the flatlock stitch to join two separate pieces of fabric. Here is how to do it as a stitch and a seam.
Start with your fabric pieces right side out and sew the seam as above. Pull the fabric apart until the seam lays flat.
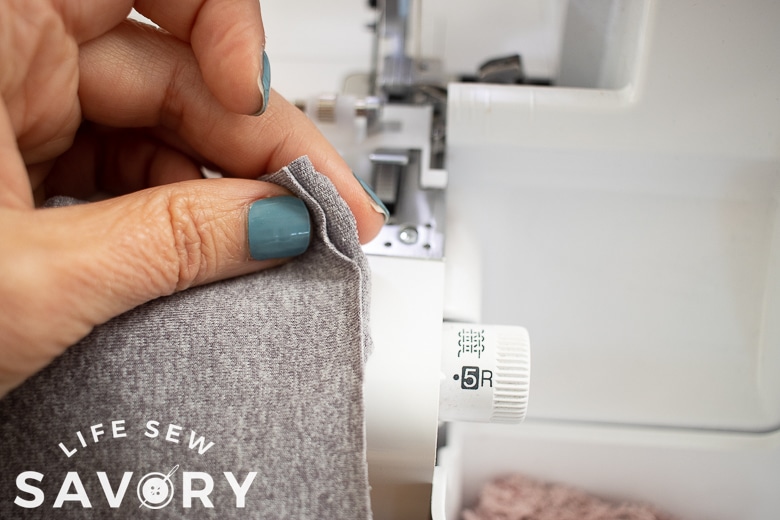
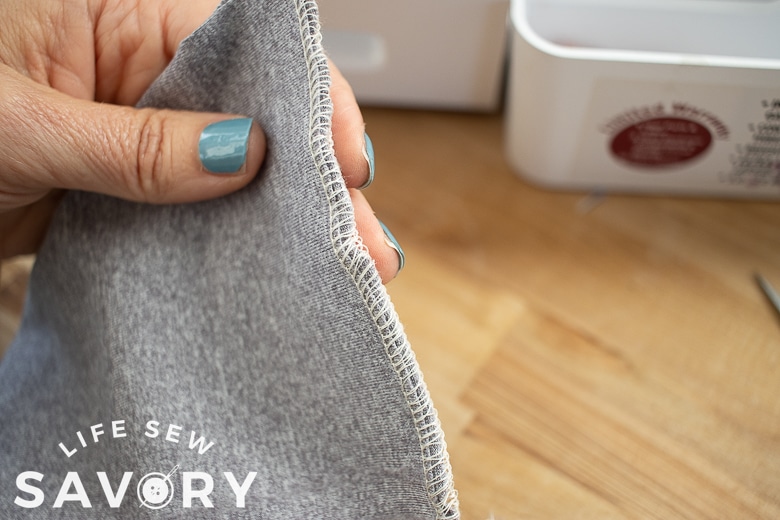
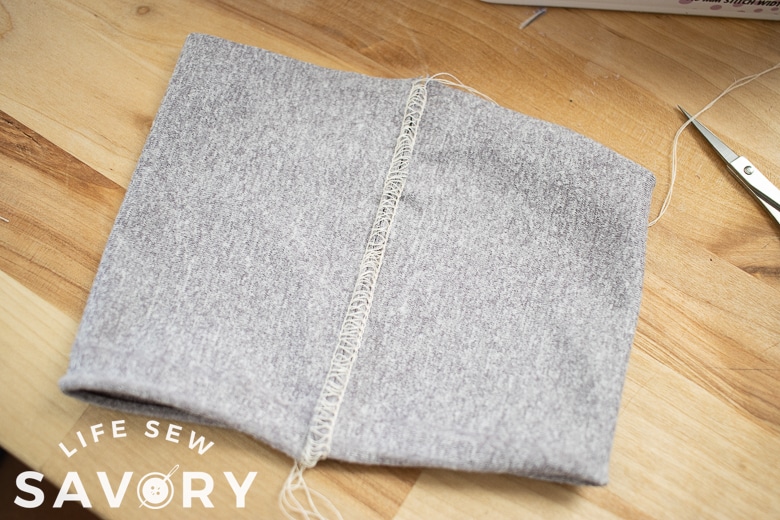
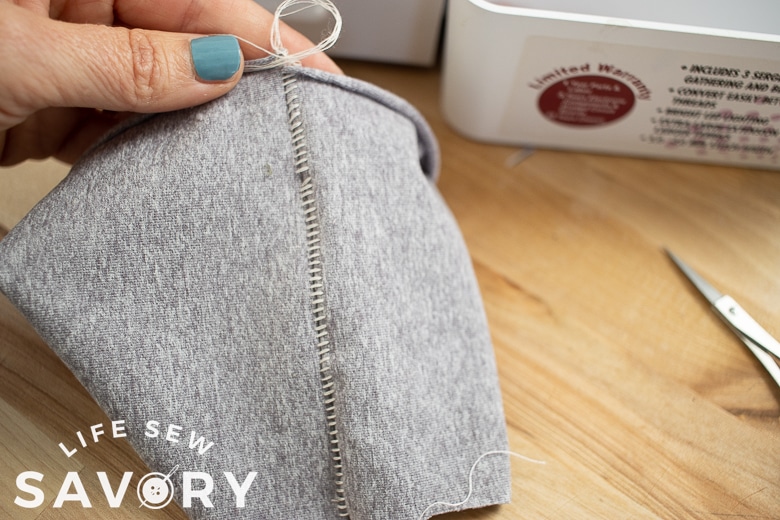
When looking close at the seam the fabric should overlap and hopefully lay flat. You can see how mine needs a bit more work to get the right side to get that fabric to lay flat.

If I were sewing a flatlock seam for something like leggings, I would sew the seam first with a zig-zag close to the edge of the fabric with right sides together.
After you zig zag the stitch {I use this stitch so it’s stretchy}, then fold the fabric over again so the seam is on the inside and the right side of the fabric is out.
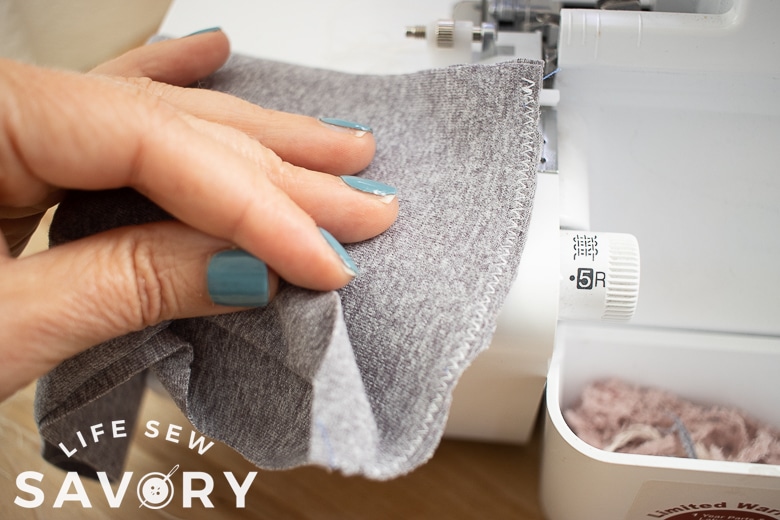
Sew over the other seam with the flatlock stitch. The fabric/seam is a bit thicker, so you will need to help feed it through the machine. Pull the seam open until flat. And that’s my tutorial for now! I’ll share the two thread flatlock option soon. If your machine has that option start practicing!


Leave a Reply