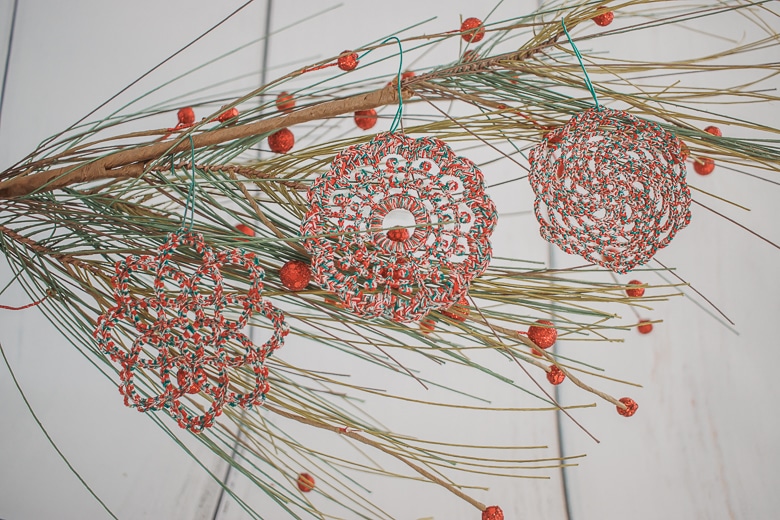
Inside: learn how to make crochet like ornaments on an Embroidery Machine. Beautiful and delicate Christmas ornaments created with an embroidery machine.
**Originally posted 11/23, updated with options for other embroidery machines 11/25**
If you’ve been following my site this fall you know I recently got the new Stellaire XJ2 and shared an unboxing post, along with five features I was super excited about with the new machine. One of those features I was looking forward to trying was the incredible selection of built in embroidery designs. There are some designs on this machine that look like handmade crochet and today I’m going to use those designs to create Christmas ornaments. I’m now updating this post to show how you can make this on any Brother Embroidery machine with the Artspira App!
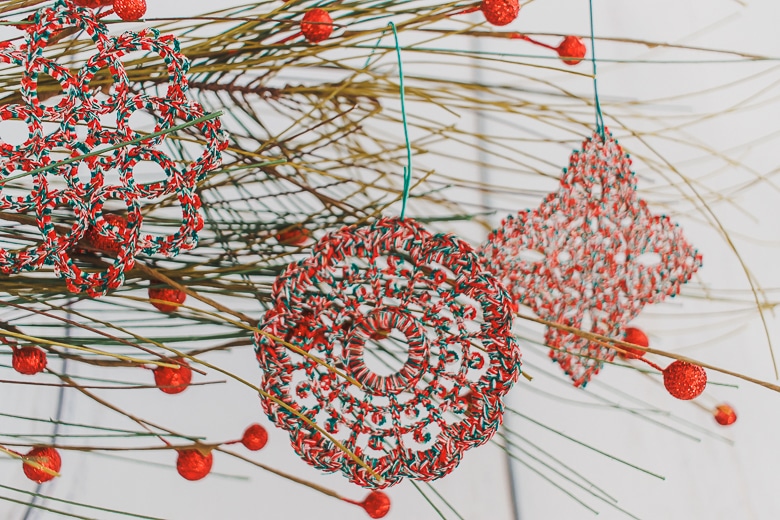
Christmas Crochet Ornaments
UPDATE: The Brother Artspira App now has cute designs that work with any WIFI enabled machine, giving more users the ability to create beautiful crochet like ornaments on your embroidery machine. I’ll give you the tips for using the Artspira App before the full Stellaire tutorial below.
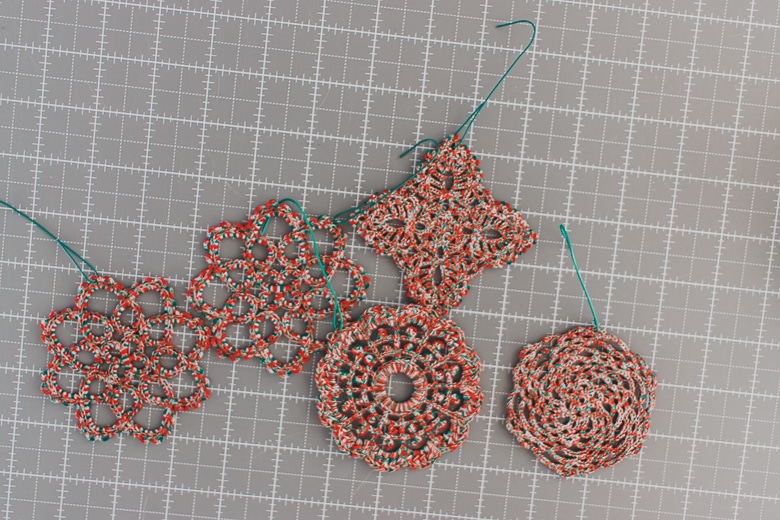
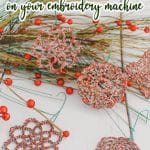
Didn’t these ornaments turn out so cute? I’m just thrilled with the results and think these are going to look just beautiful on our tree.
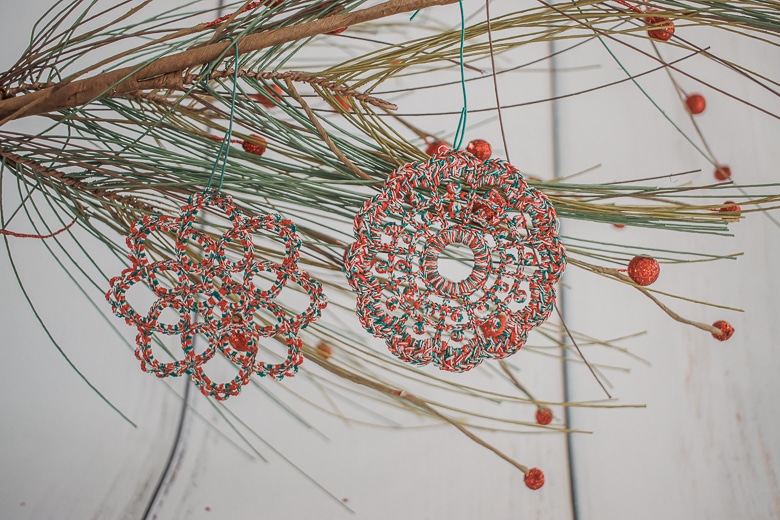
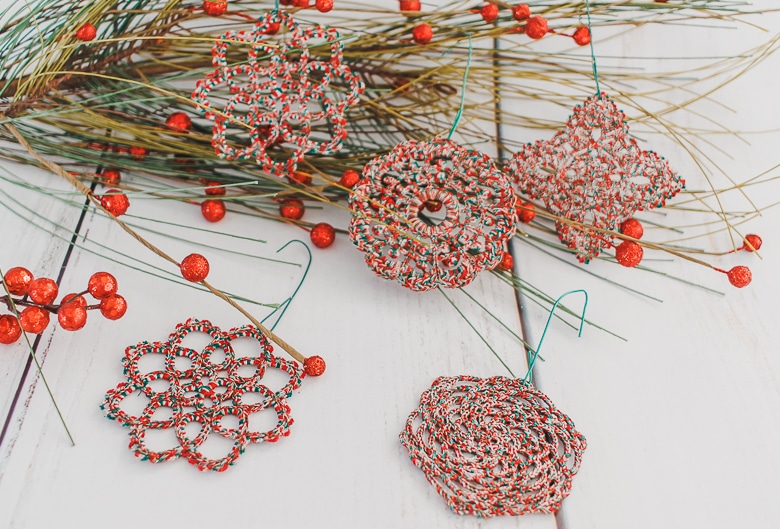
I created these delicate ornaments right in the hoop with my Stellaire XJ2 using designs built into the machine. Don’t have that machine? You can make ornaments like these on ANY Brother embroidery machine and I have tips for you below, regardless of what machine you are using.
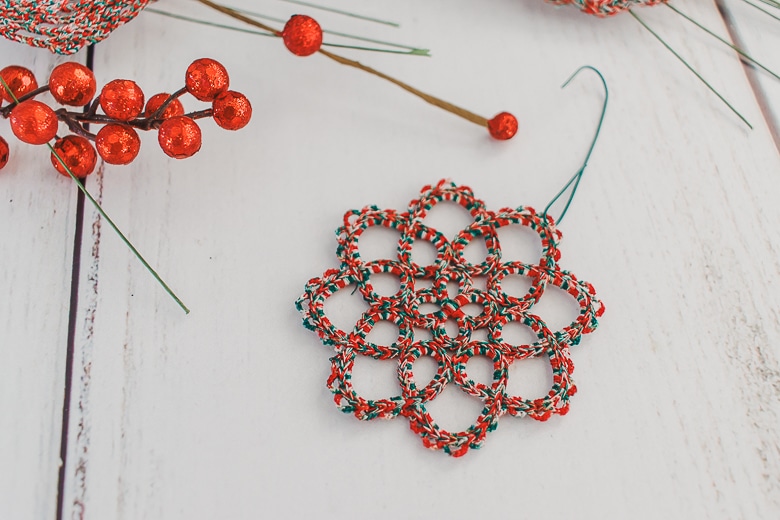
Embroidery Machine Ornaments with the Artspira App
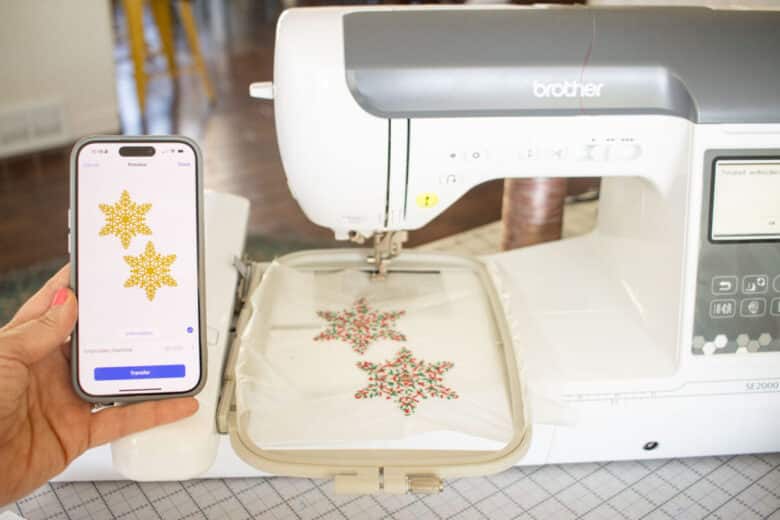
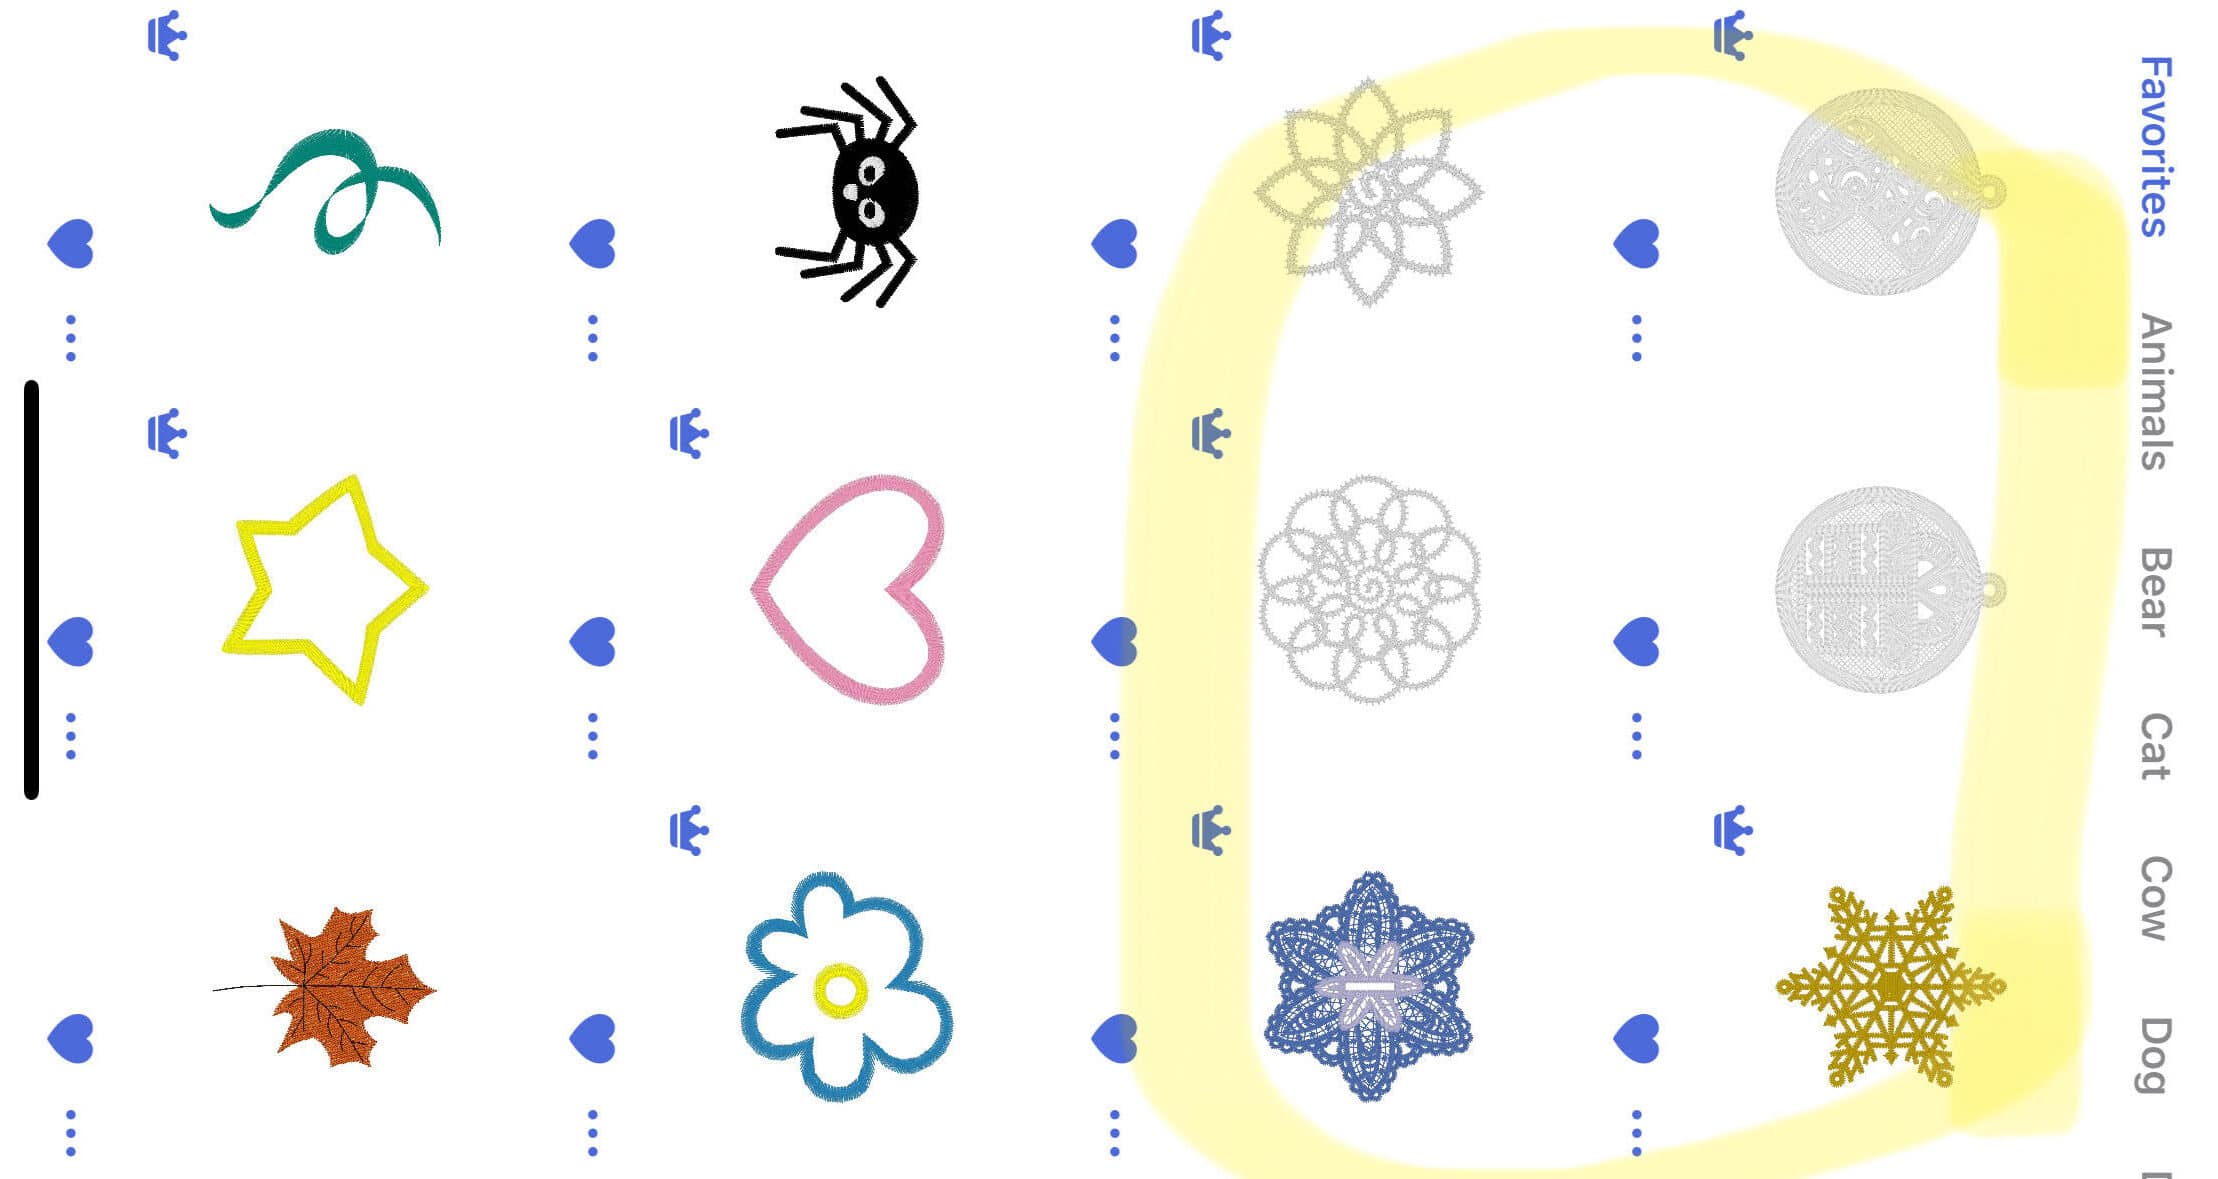
The supplies I used with my new version are exactly the same as listed below. Search Snowflake on the App to find the designs shown here and other snowflakes that work for free standing embroidery. The embroidery machine used here is the SE2000 with a 5 x 7″ hoop.
Load designs on the Artspira App, then transfer to the machine. If you need help using the app, check out my post here for using the Artspira App for embroidery. I used two layers of the water-soluble stabilizer to embroider.
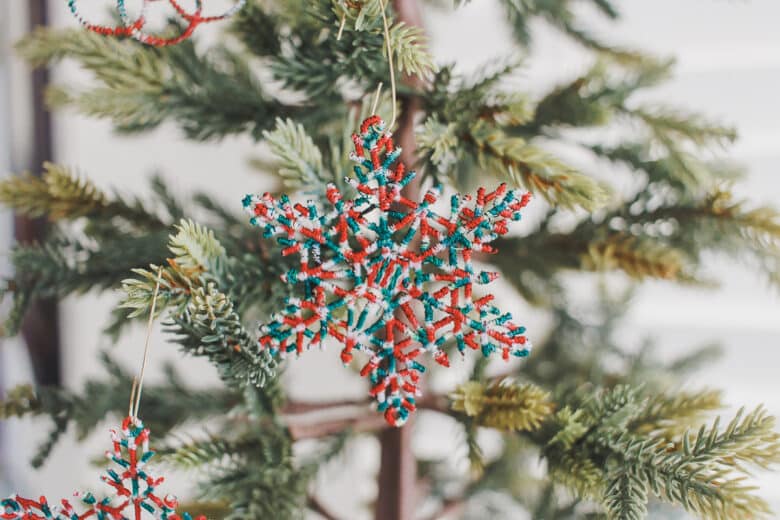
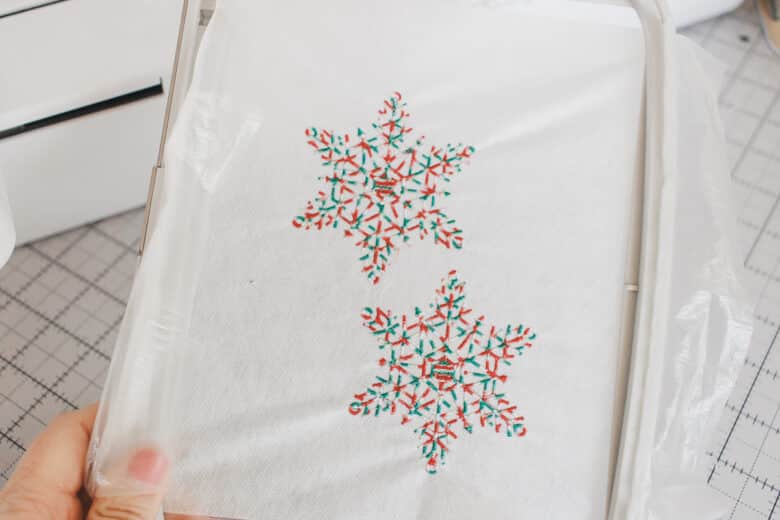
Here are the some designs from Artpsira that I have favorited and used for ornaments like this. Read through the tutorial below for more details. The design will just come from Artspira, not your machine.
Other Christmas ornaments to make
I make at least one homemade ornament per year and have been sharing the DIY tutorials for years. Before you check out this year’s ornament tutorial, enjoy a few other fun ornaments.
- Hot Chocolate Ornaments
- Fabric and glitter ornaments
- Small hoop ornaments
- Fabric wrapped star ornaments
How to make crochet ornaments on an Embroidery Machine
Ready to make some Christmas ornaments? Grab your embroidery machine, some thread, stabilizer and let’s get started.
Crochet Ornament Supplies –
- Variegated color thread or white embroidery thread
- water soluble stabilizer{amazon link} -or https://www.brother-usa.com/products/SA5906
- Embroidery designs under button 22 on the XJ2 {I tried out almost all the designs in this section!}
- Embroidery designs on the Artspira App {the designs I uses are under the premium subscription}
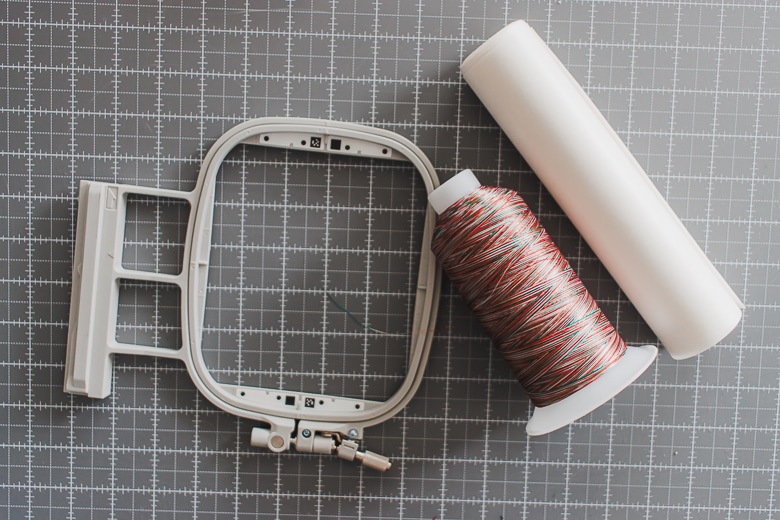
Don’t have the new Stellaire with these built in designs? Find a design similar and stitch it out on any 4 x 4 hoop Brother embroidery machine. Here’s a similar design from ibroidery that would work – https://www.ibroidery.com/DesignDetail.aspx?DownloadID=7301
**note** I tried the clear, plastic like, water soluble stabilizer but it didn’t stitch out well at all. These directions are all for the stabilizer listed in the supplies.
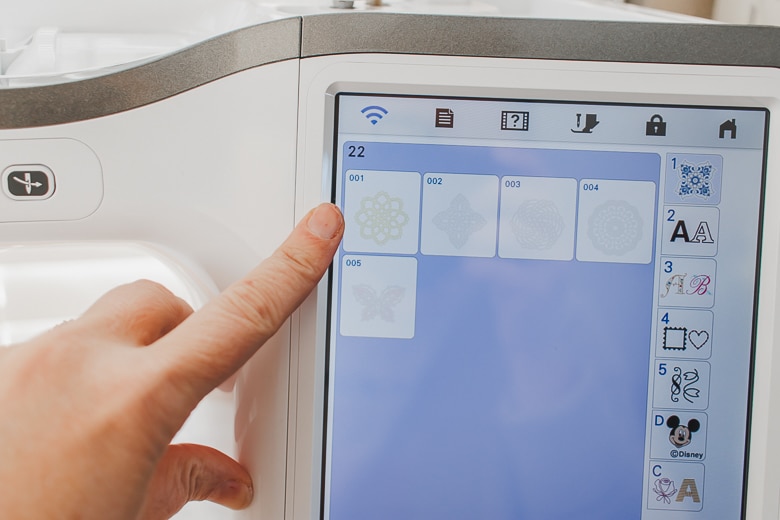
On the Stellaire Embroidery/Sewing machine select number 22 on the embroidery menu.
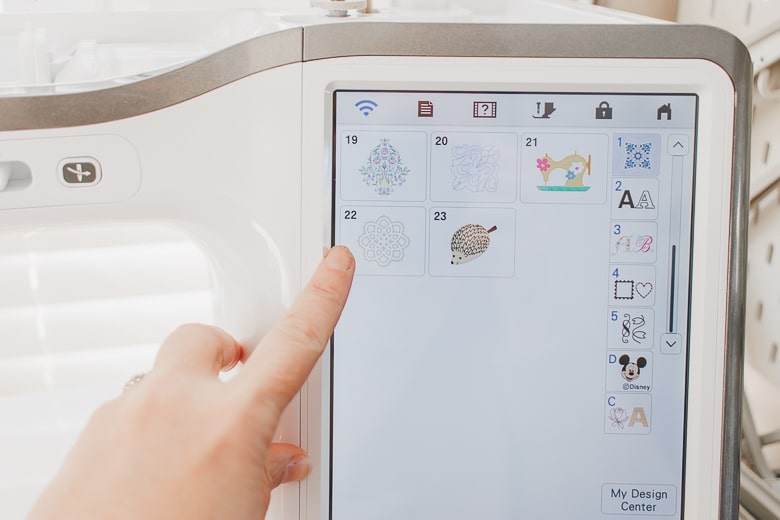
Once you are in to the next menu, you will see five options for the crochet designs. Choose one and then hit set.
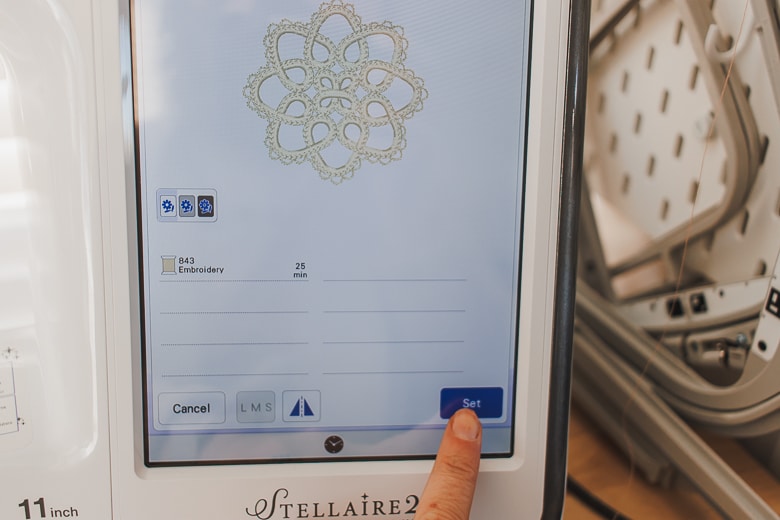
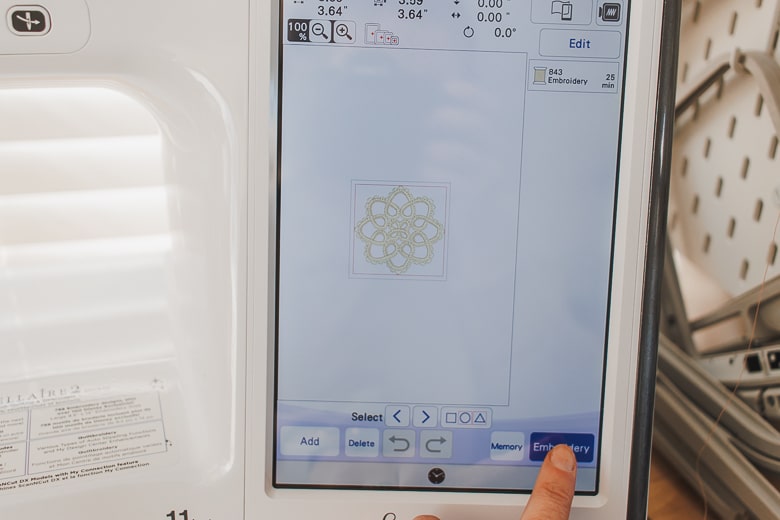
After you choose your design and resize as you want, you can press the embroidery button to continue to embroidery.
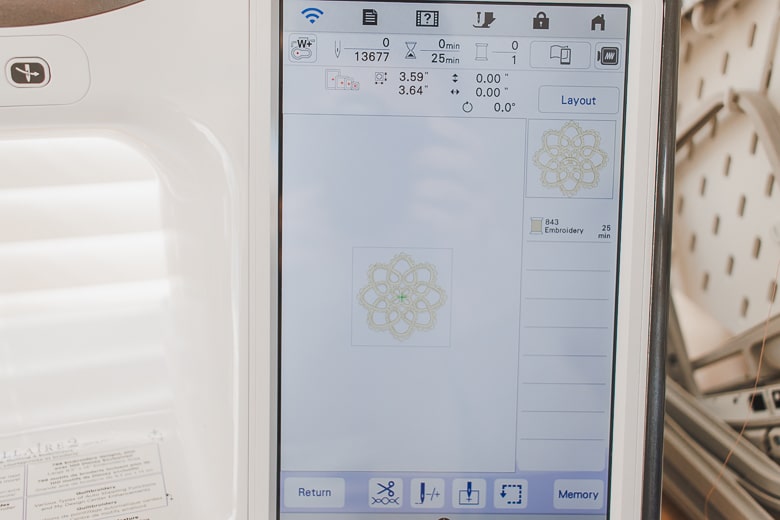
You will need to use the same thread on the top thread and on the bobbin thread. I used a large cone of variegated thread for this project, so I used the thread stand to hold the thread and for winding the bobbin.
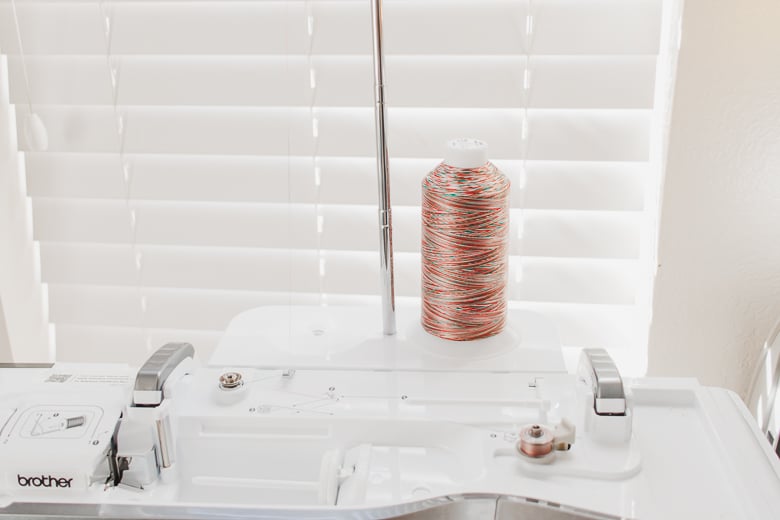
Now that the machine is set up we are ready to prepare the hoop. Because we want the embroidery design to be a stand-alone ornament when finished we will be using a hoop with two layers of water soluble stabilizer for the project.
For this project I’m using the 4 x 4” hoop for my machine. It’s perfect for making these ornaments. Cut 2 pieces of stabilizer 6 x 6”. Peel the paper backing off each sheet and place the sticky sides together to form a nice two-layer stabilizer piece.
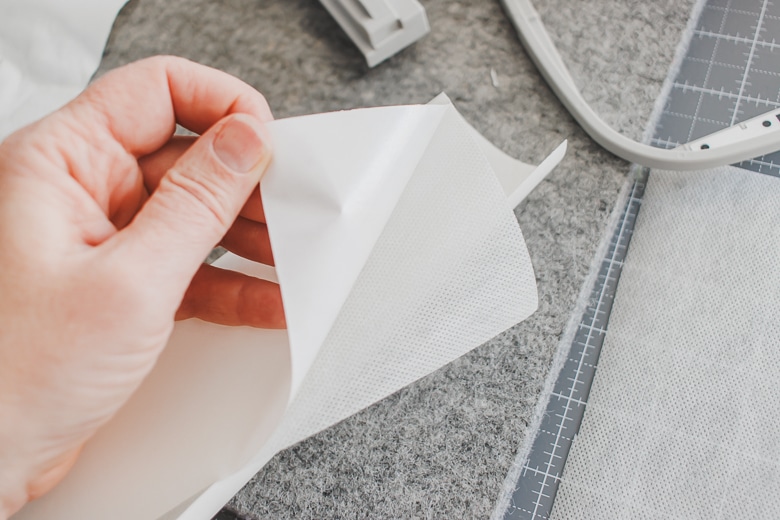
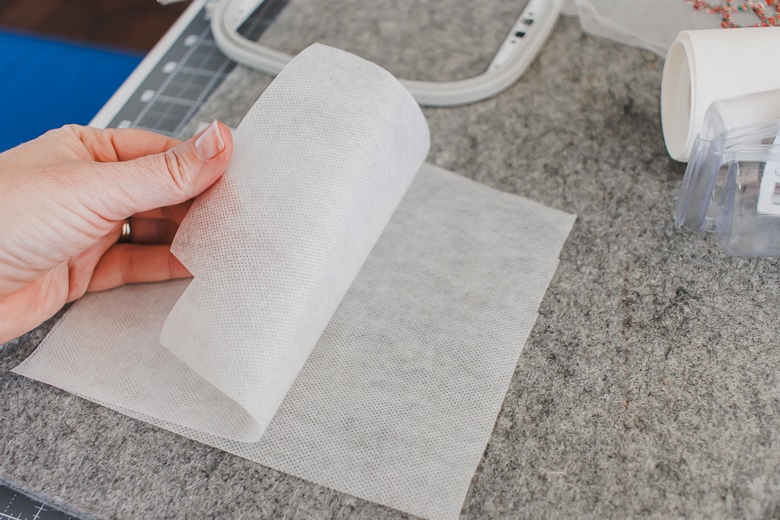
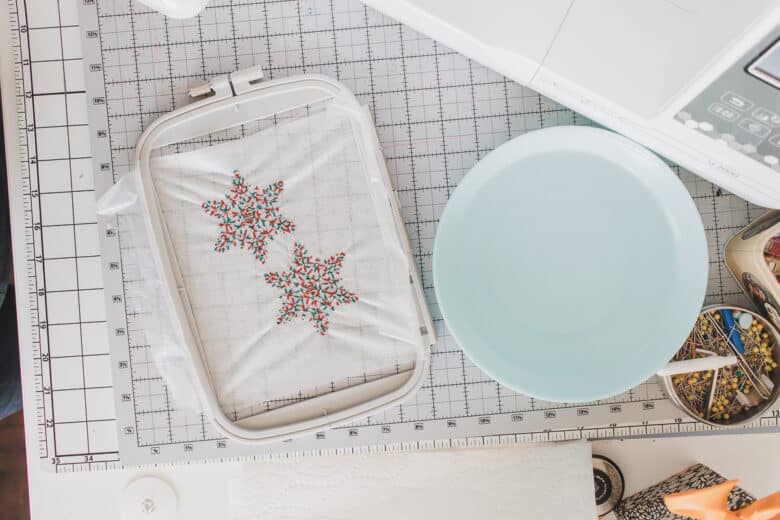
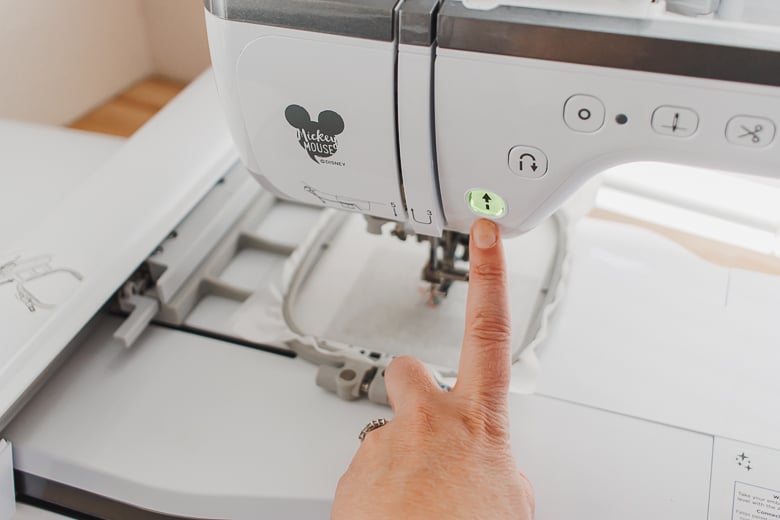
I love the fabric-like texture of this stabilizer. Place the stabilizer in the hoop and make sure it’s pulled nice and tight. Slide the hoop into the embroidery frame on the machine and then lower the presser foot.
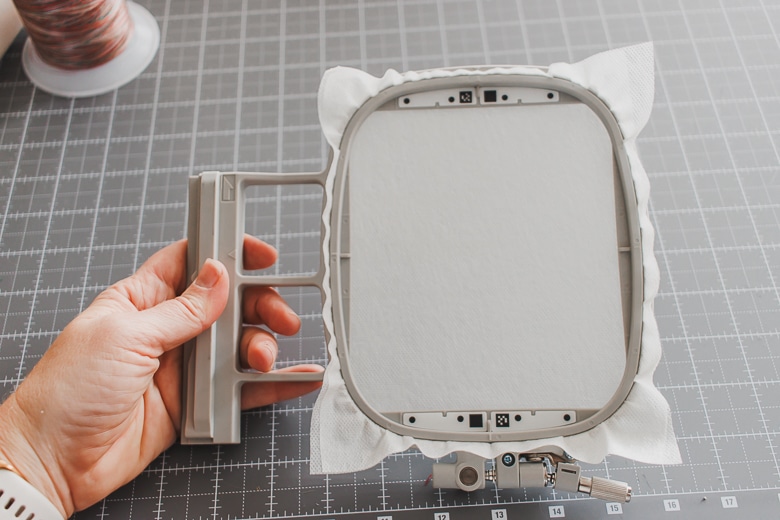
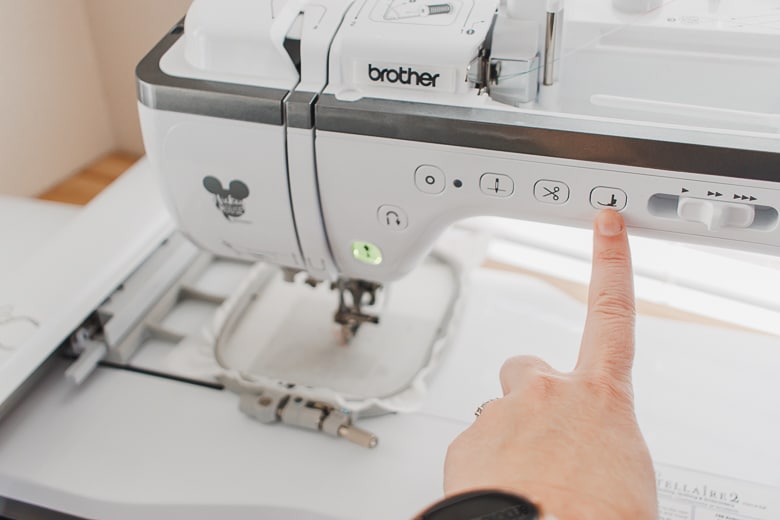
Press start and watch your machine work its magic. I love watching embroidery stitch out. I watched the first one for most of the stitches to make sure it was ok on the stabilizer. After the first one, I just set the machine and let it work.
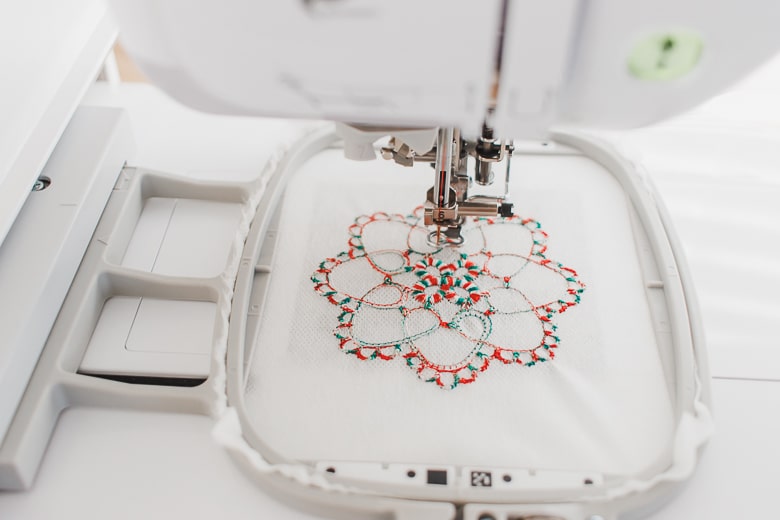
Look at how pretty this stitches. These designs are so beautiful! Each design in this category takes between 20-30 min.
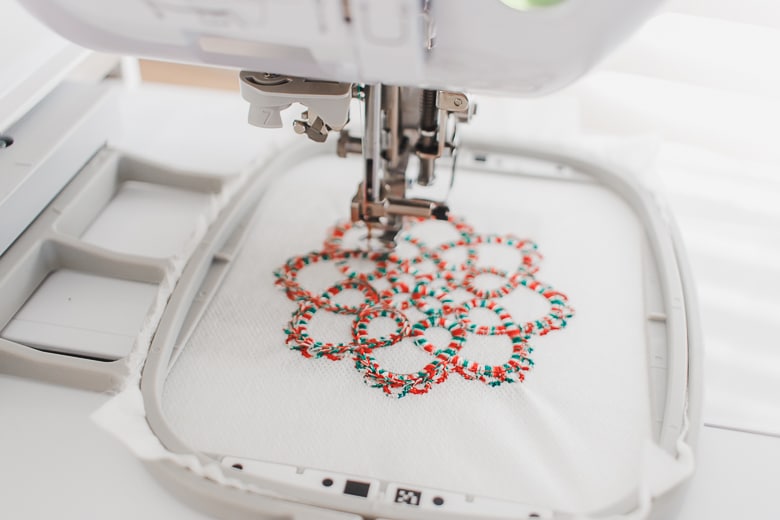
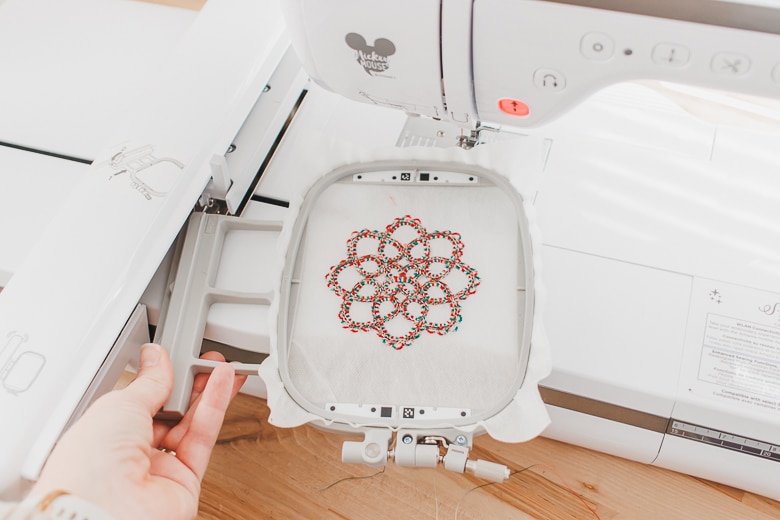
Remove the stabilizer from the hoop and then trim around the design to reduce the stabilizer bulk.
How to create an ornament from the embroidery
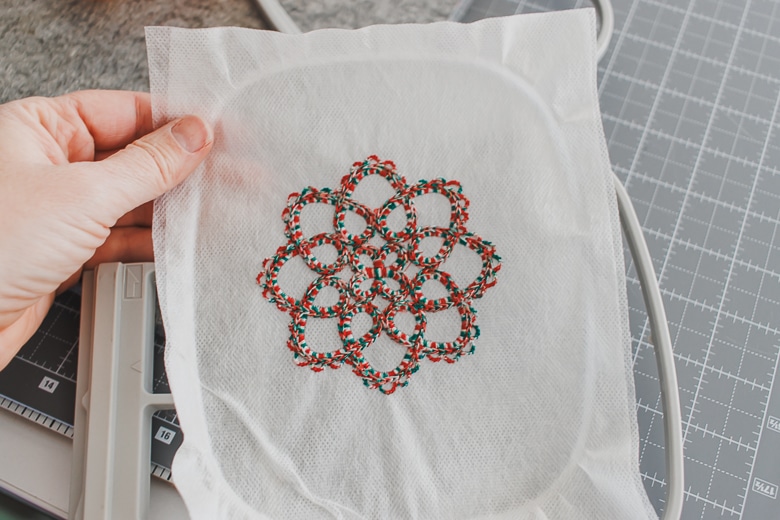
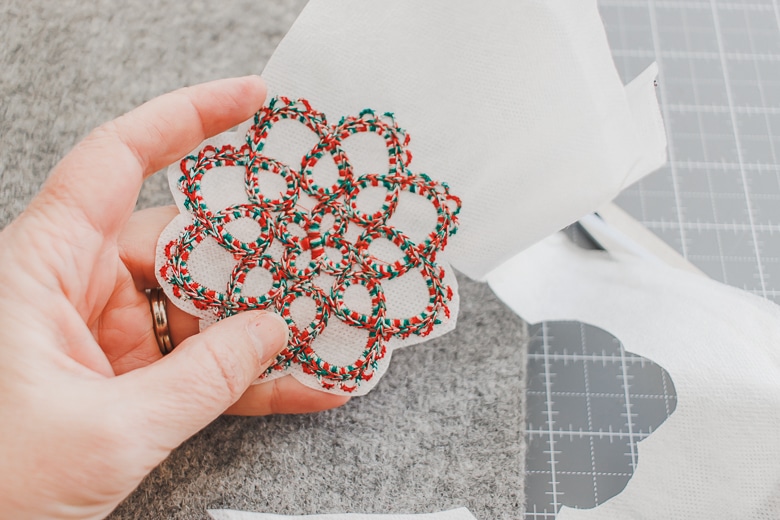
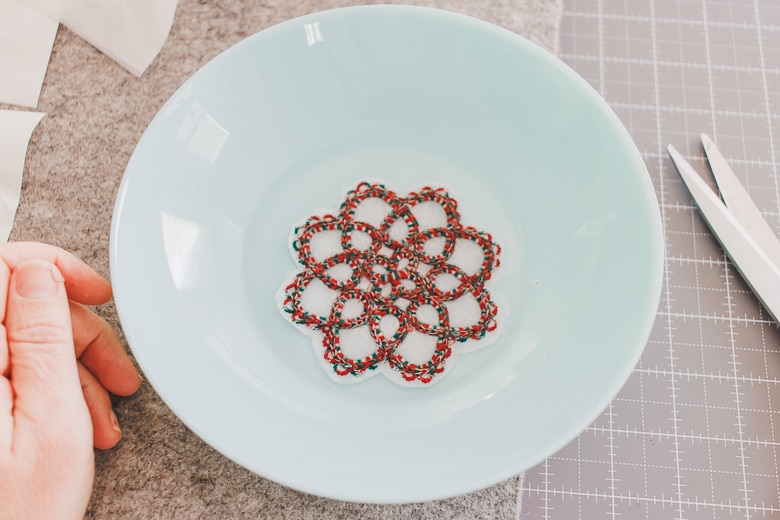
Place the embroidered ornament in a shallow bowl of warm water. I wanted the stabilizer to dissolve, but not completely be washed off of the thread. Keeping some of the stabilizer in the thread will give it structure and stability. Remove the ornament when almost all the stabilizer is dissolved.
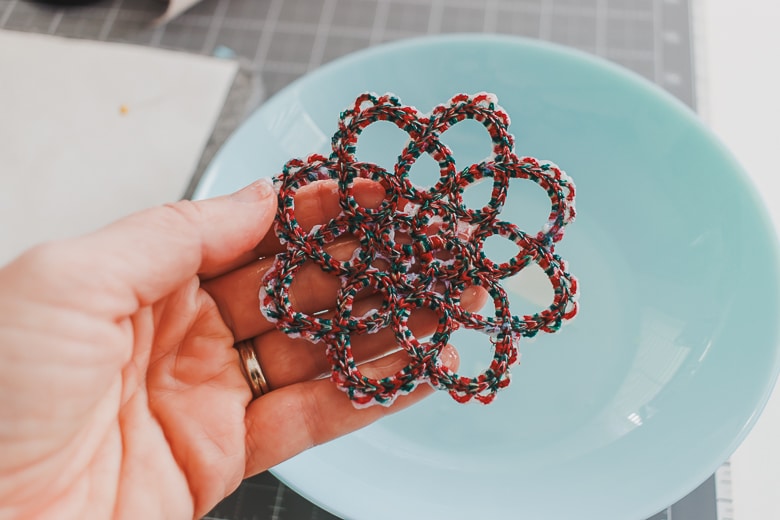
Place the ornament on parchment or wax paper. I actually used the paper I peeled off the sticky stabilizer as the drying sheets for the ornaments.
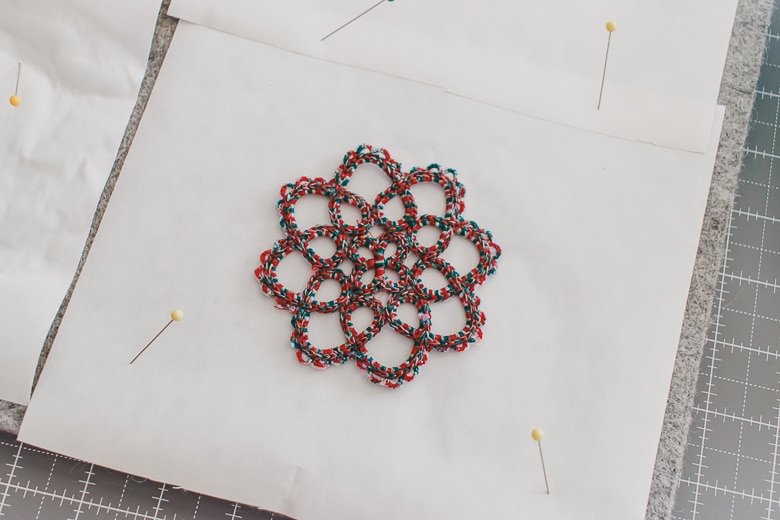
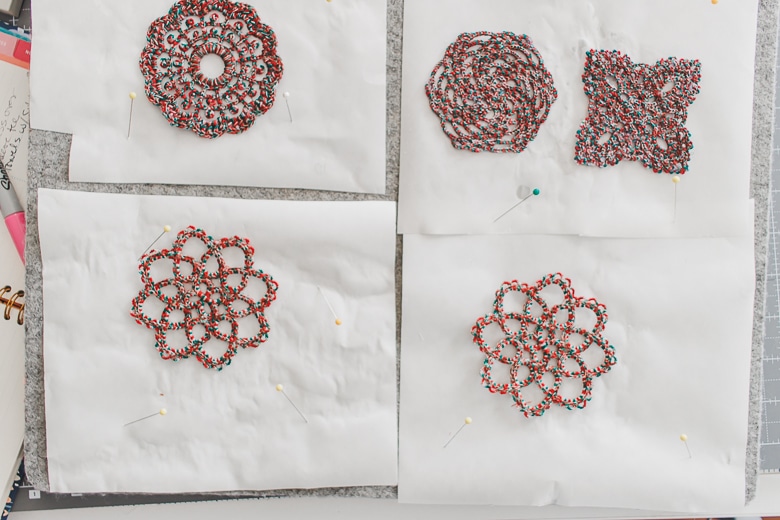
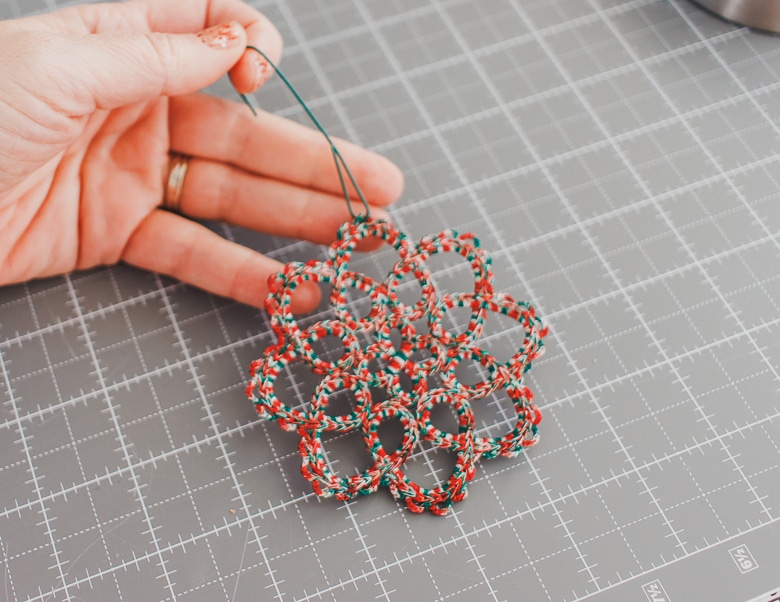
Once the thread is dry, add a Christmas tree hook and hang your fabulous new ornament on your tree. The designs are all so cute and I love them so much. I hope you are inspired to make beautiful crochet ornaments on your embroidery machine.







Kathleen says
I use a couple of layers of Sulky water soluble. I have never had an issue with the results and the clear “plastic ” dissolves completely, leaving clean edges. A few coats of Mod Podge and the design is good to go!
Sandy K says
What brand / weight thread did you use for top and bobbin? Love how this turned out with the variegated thread.
Vicky says
I made “lace” bookmarks using this same concept years ago with my old PC-8500D Brother machine. I could have sworn that I used the “plastic wrap” like stabilizer though; I just used about three sheets of it together in my hoop. (but I could be misremembering! it was a decade+ ago)