inside: learn how to mend a hole in fabric with embroidery. Using machine embroidery to hide a hole/mistake in your sewing project is a simple and useful technique.
This mending tutorial comes out of necessity from a late night sewing session {opps!} A couple of weeks ago my husband was away from the weekend I I thought I would sew one night after the kids went down. It all went great…. until it didn’t!! When sewing the skirt to the top of my project {with my serger!} I ended up with a cut in my top {ahhhhh!} I put down the project and went to bed. When I got back to work the next morning and am showing you the steps I took to fix and hide my mistake.
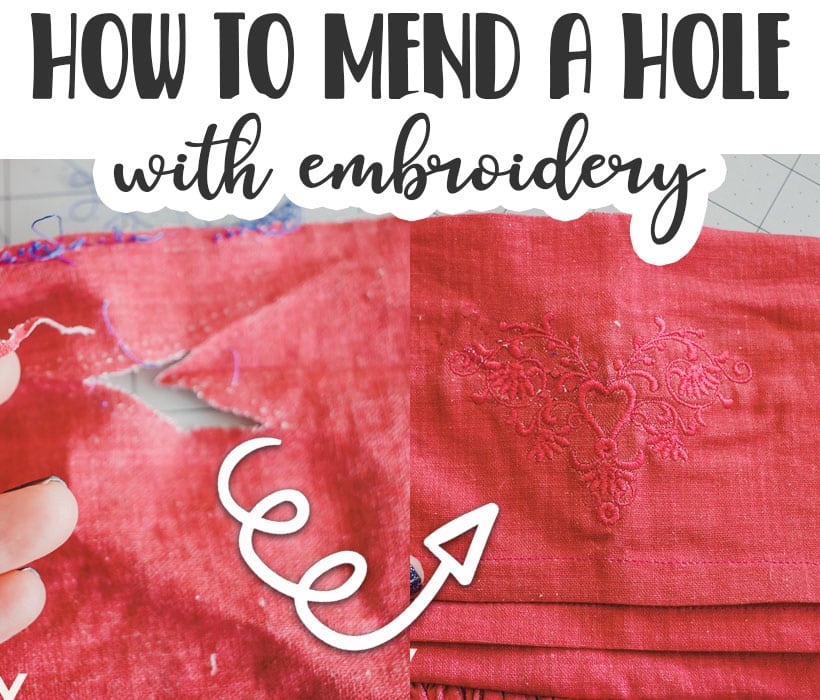
How to patch a hole with embroidery
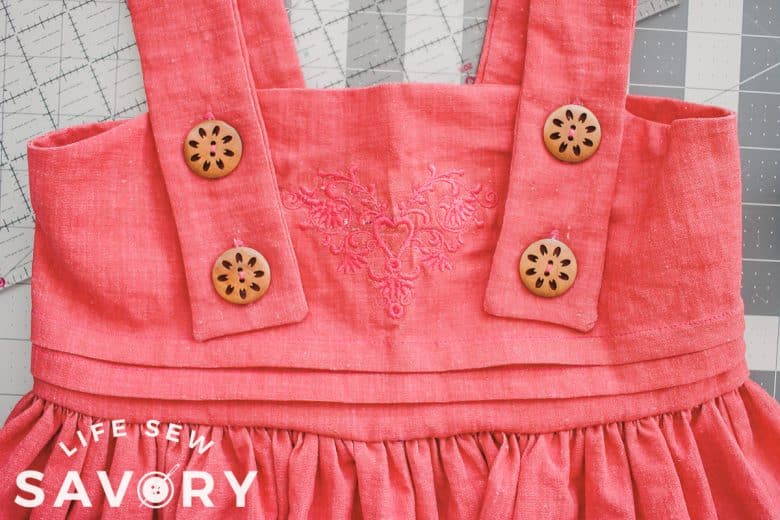
Unfortunately, I had used nearly every last bit of this fabric and needed to do the photoshoot asap. There was no time to order more fabric so my only option was to figure out a way to make it work. I was not planning to add embroidery, but in the end it saved my project and my photos. Here is my final perfect play look that I created from this mistake.
I chose to use machine embroidery to fix my mistake, but you could use hand embroidery to add an embellishment as well. I’ve linked to a few other mending tutorials below. A couple are previous ones that I have written and a few are from some other sites.
- How to patch jeans {tons of ideas} on my blog
- How to patch leggings with directional sewing {on my blog}
- How to mend jeans by hand {post on Swoodson Says}
- How to embroider over holes in your clothes {oxfam blog}
- How to fix a hole in a sweater {Umamade blog}
The tutorial below will detail how to go from OOOWWW to WOW!! Of course there are probably some mistakes that are unfixable, but for this one, or one like this, I think you can fix it with some embroidery.
how to patch a hole in clothes with embroidery
supplies needed:
- embroidery machine
- embroidery thread {color of your choice}
- water soluble stabilizer
- back of fabric stabilizer for embroidery
- Thread the same color as your fabric.
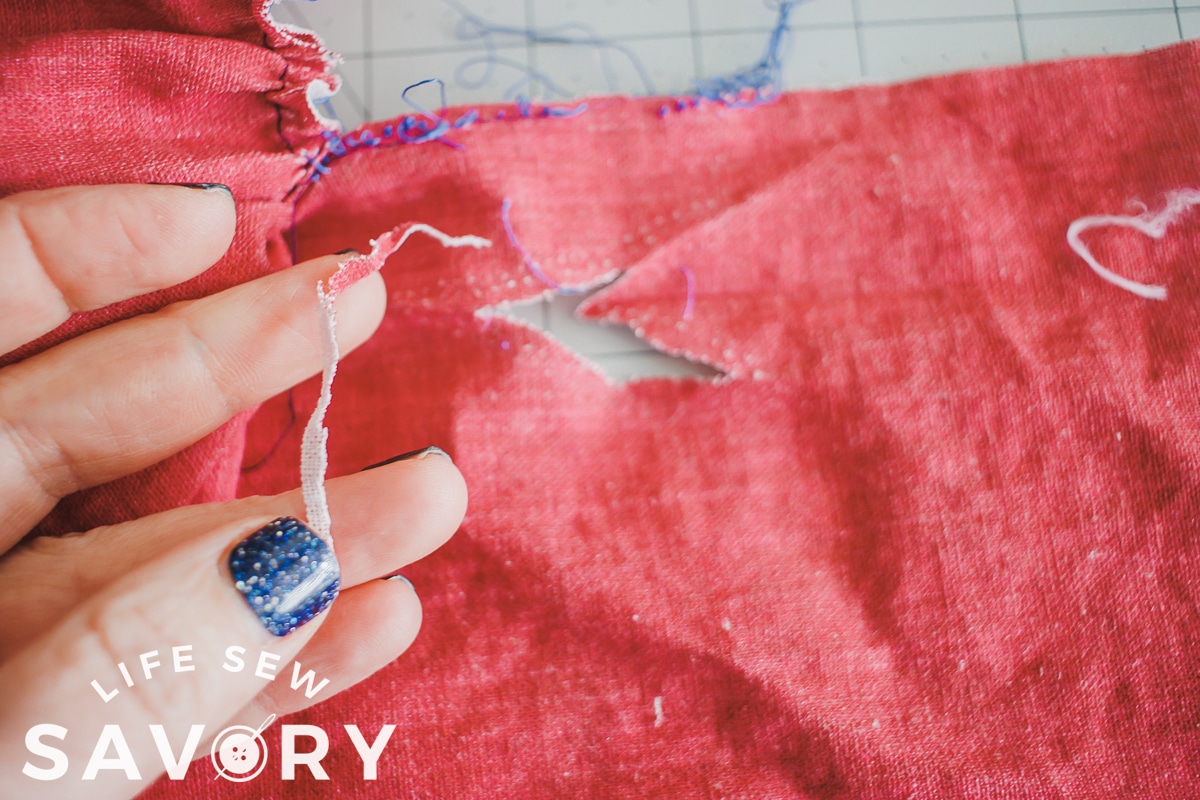
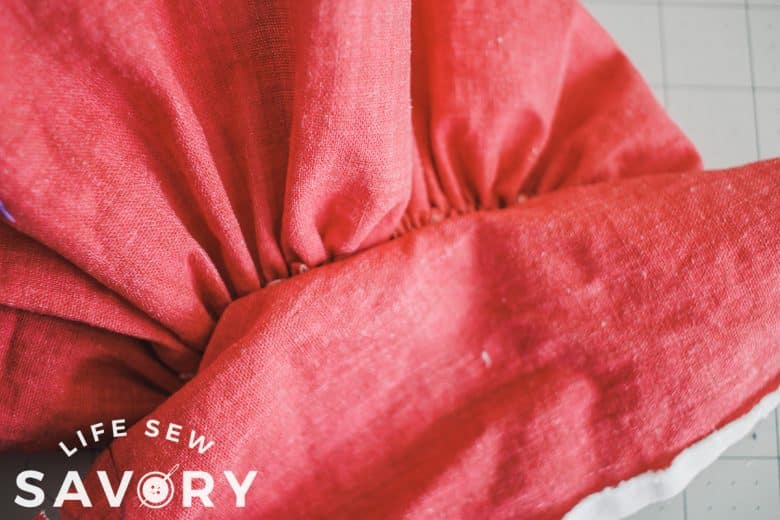
In this example here I was trying to attach a gathered skirt to the top of the jumper. It was really really tight gathers and somehow I caught part of the top in my serger blade. YIKES! By the time I noticed it I had a good slice. The one seen here is just an example and not my actual jumper. But I wanted to show two options.
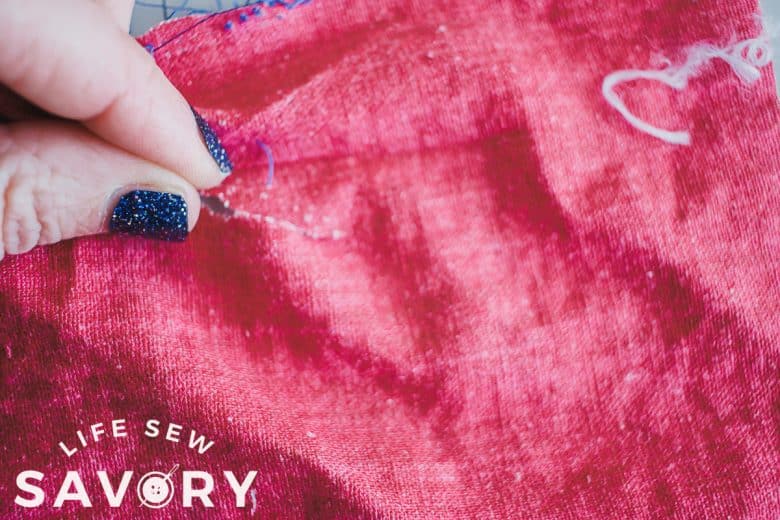
You may have a hole that you cannot close with just a zig zag. In this case I would add another piece of fabric and some fusible interfacing to the back of the hole before adding the embrodiery.
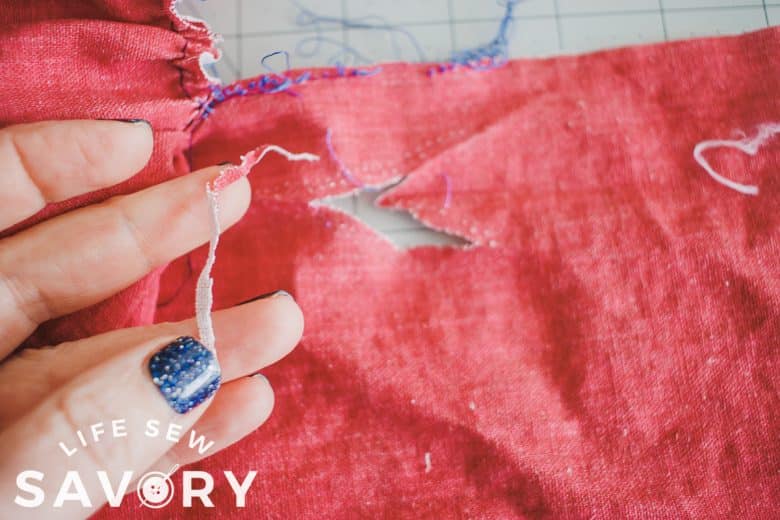
On my project I was able to just zig-zag the V closed. the front looked pretty ok. The back, not as much.
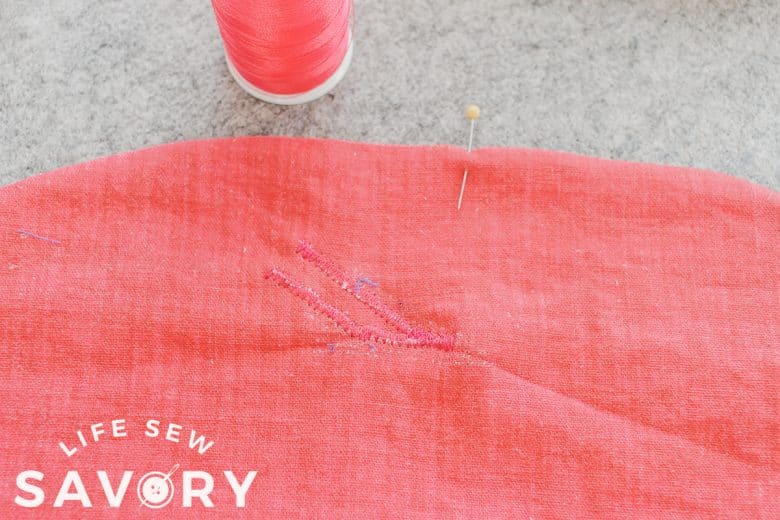
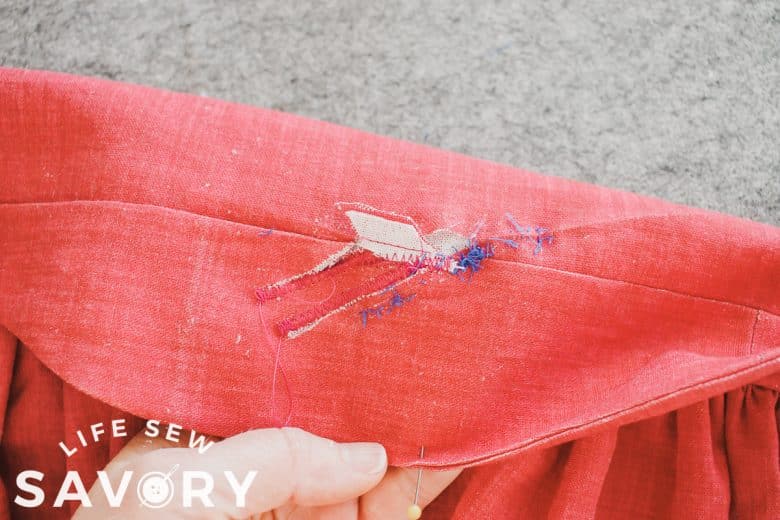
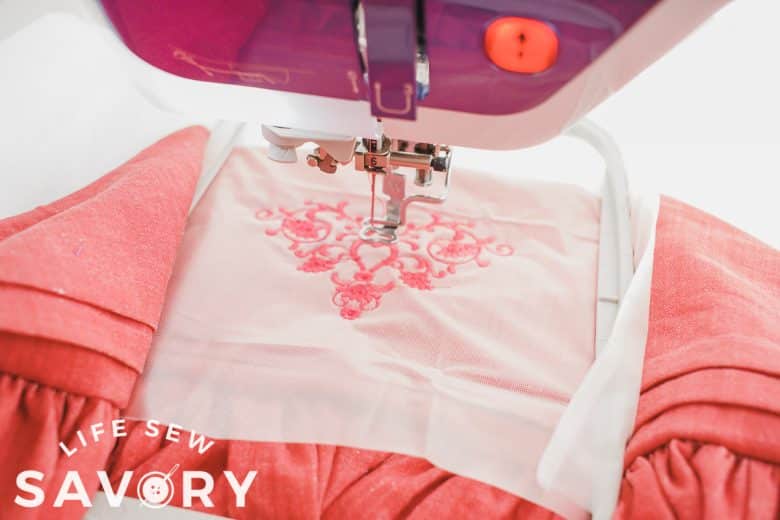
I used stabilizer on both the front at the back to lift the front stitches a bit more. The back was regular tear away and the front is water soluble. I just chose a design built into my machine to keep it simple. I marked the center of of my dress and then measured how big the design needed to be to cover the mistake. In this case I was also centering the design. But depending on the placement, this may not always make sense.
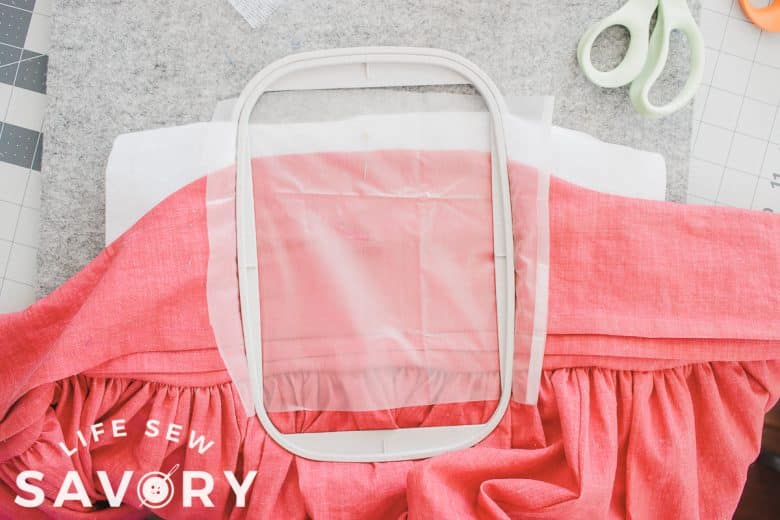
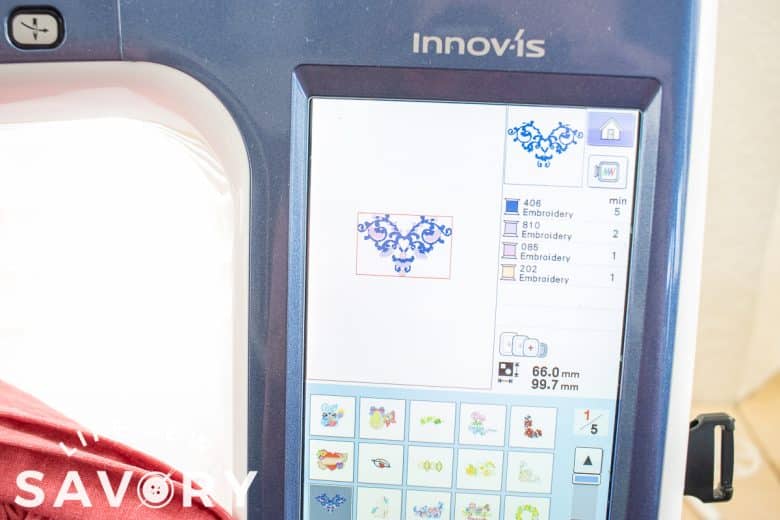
You can test the design placement on your fabric. Place the hoop in the machine, choose your design, then push the button with the red plus sign. From there you can test all the sides of the design and the needle and hoop will move as you try all the sides. This really helped me to visualize where it would be on my fabric.
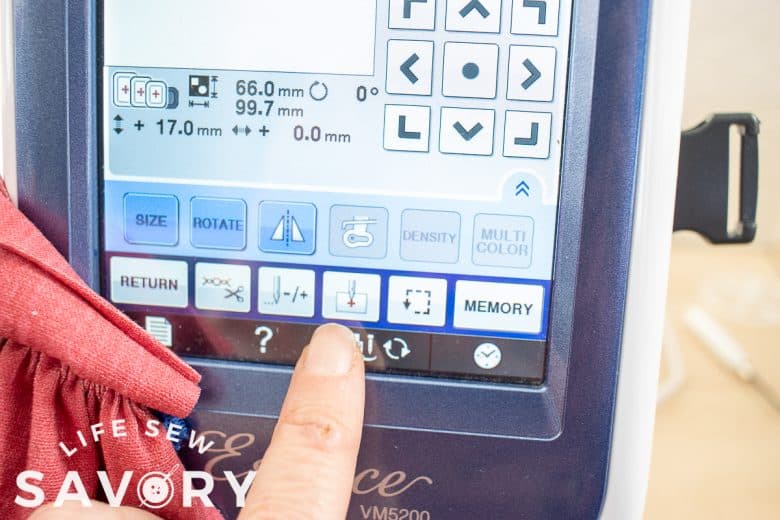
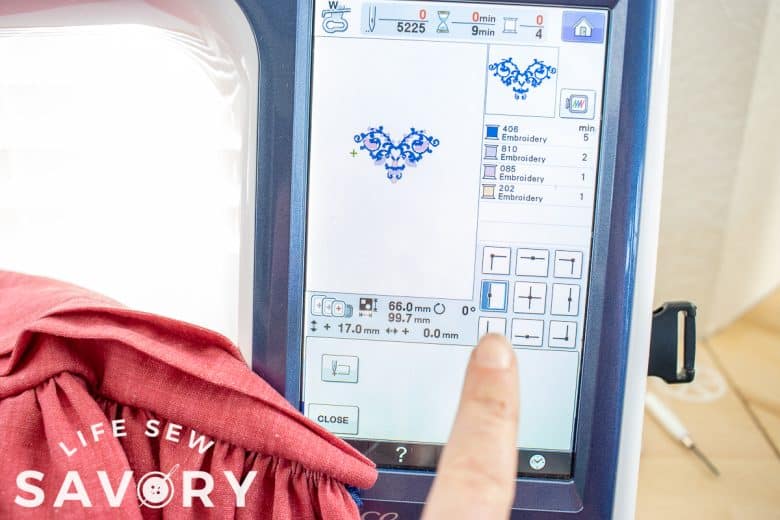
When I got to the embroidery menu, I also pressed the little spool button to change the design to all one color. I was going for a muted look with matching thread so just wanted it all one color.
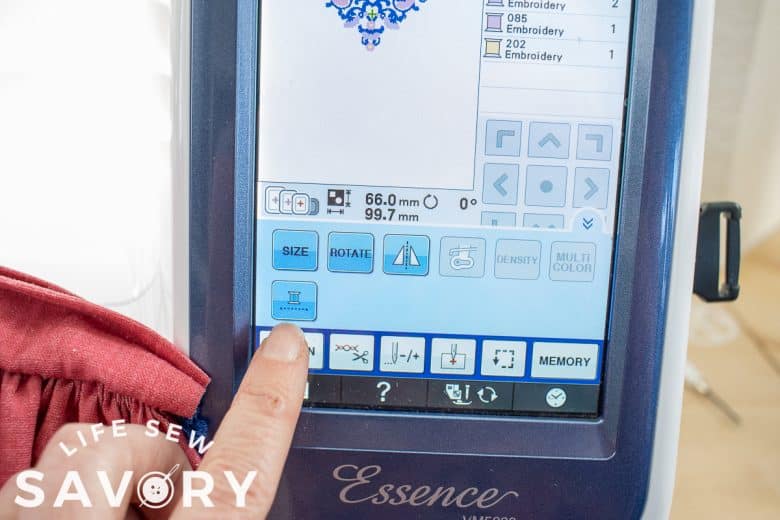
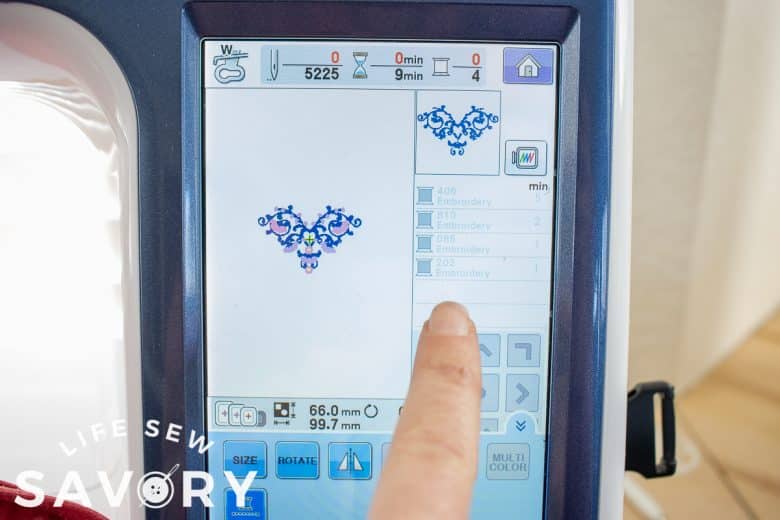
How to mend a hole in fabric
Now you can stitch out the design on the fabric. Again the top stabilizer just gives a little lift to the stitches on the top of the fabric and I think helps to cover my zig-zag a bit better.
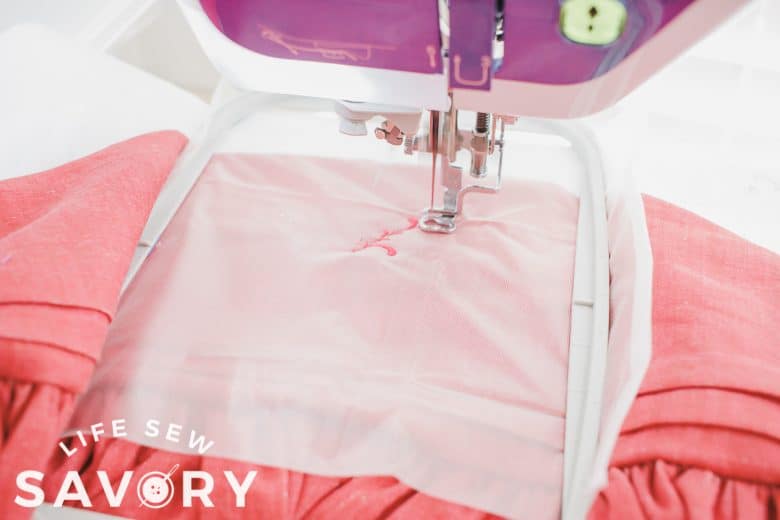
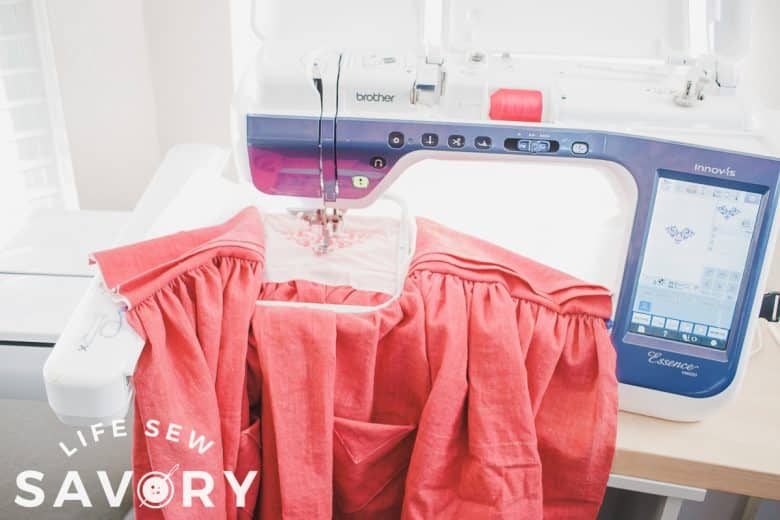
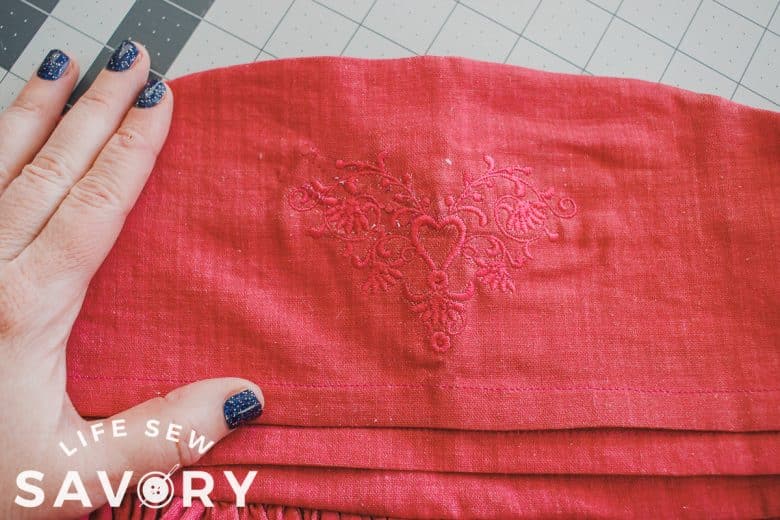
This ended up to be a really pretty design.
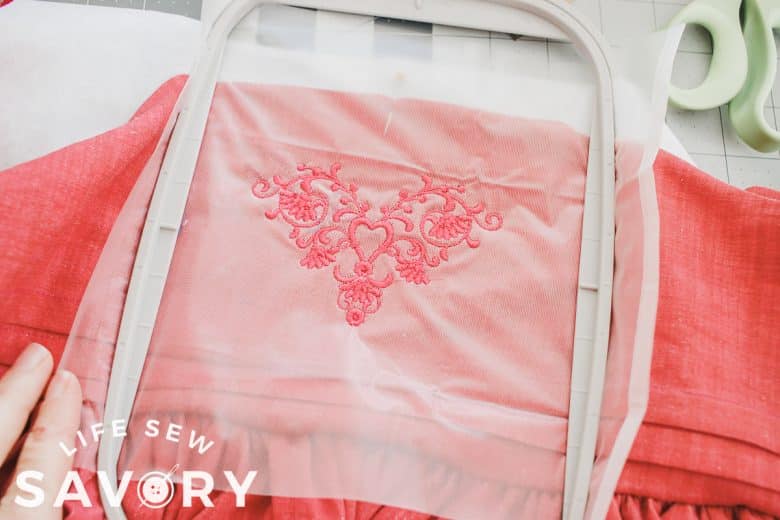
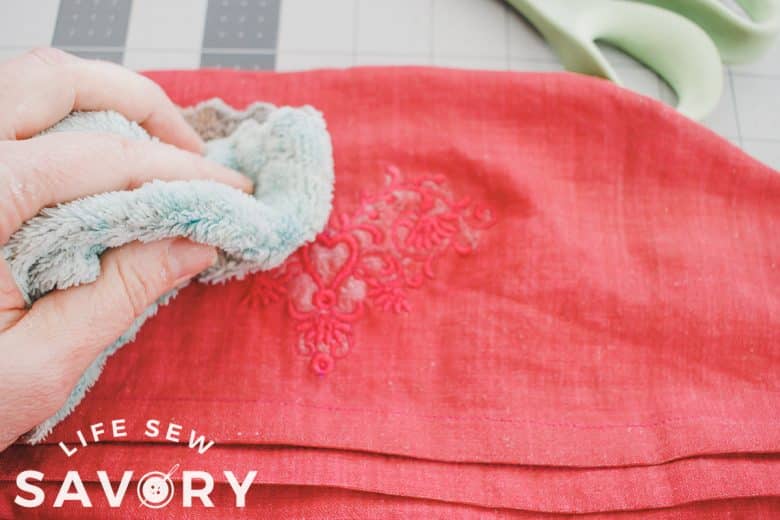
When it finished I removed the hoop. Here is the back with the while tear away. And the front with the water soluble. Again I was on a photoshoot deadline so I just used a washcloth to remove the rest of the stabilizer. It goes away really easy with a bit of water.
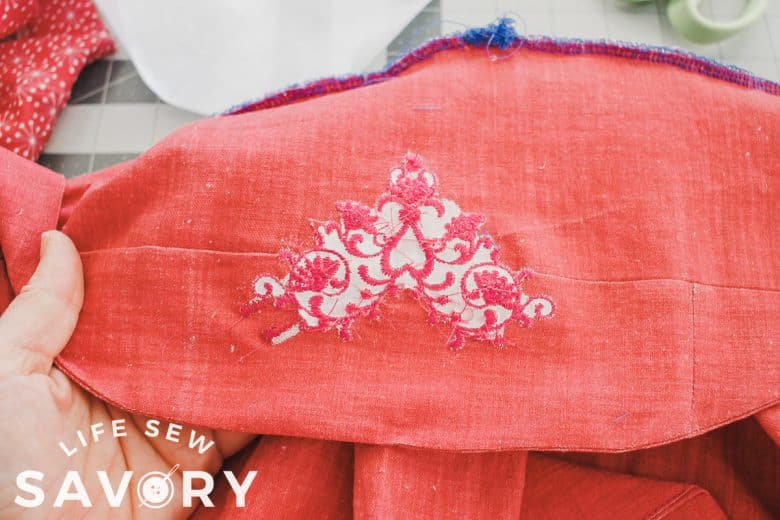
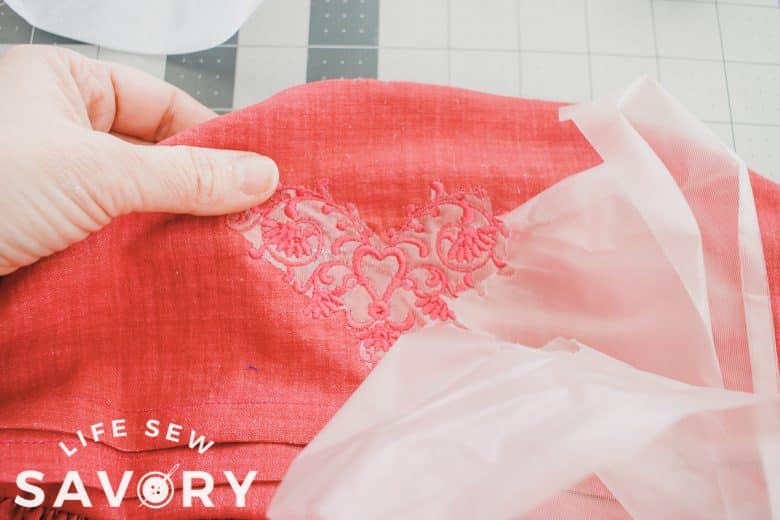
From there I was able to finish sewing the rest of my project and I’m super please with how it turned out. You can come back on Friday to see the final results of this outfit that I was sewing.







Julie Daugherty says
I’ve made the same mistake with both scissors and the serger. I don’t like making these mistakes but enjoy the challenge of finding a creative solution. Sometimes I love the garment more with the solution than I did before making the mistake.
Joanne Banko says
Smart fix Emily! Can’t wait to see your finished dress. It looks super cute!