
inside: How to sew a rope Easter basket. Sew a rope basket for Easter with beautiful, colorful cotton rope in any size for Easter.
I’ve been making my kids Easter baskets since they were small, but the last couple years we have just been using buckets I bought on sale. I was inspired to make cute rope Easter baskets this year and I just love how they turned out. Today I have a tutorial showing you how to sew a Rope Easter basket in both video and photo form.

Rope Easter Basket with Cotton Rope
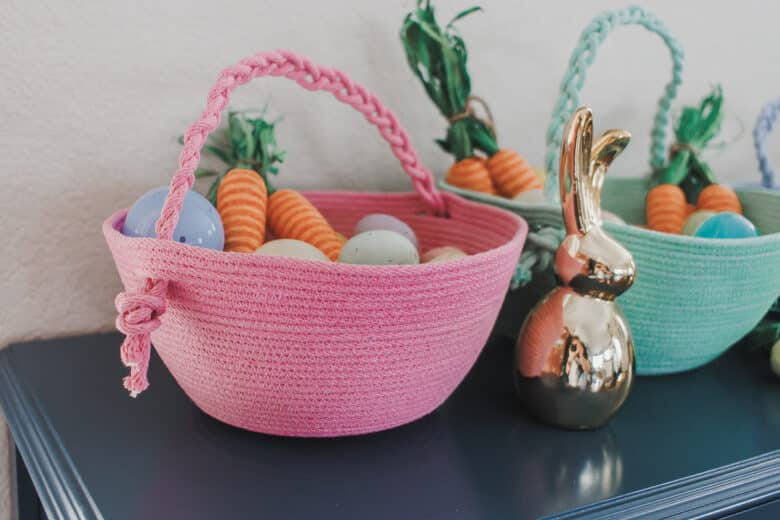
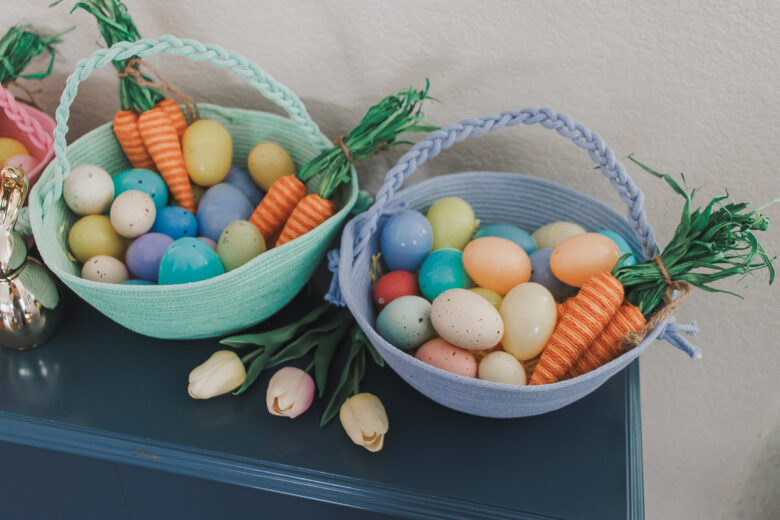
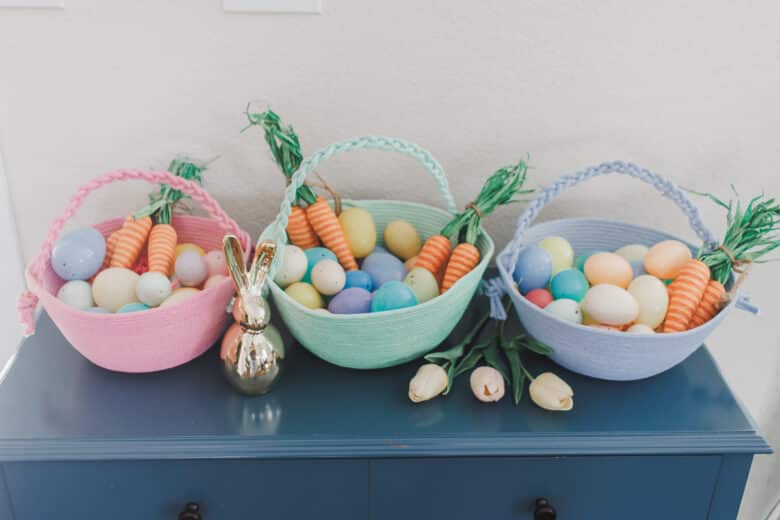
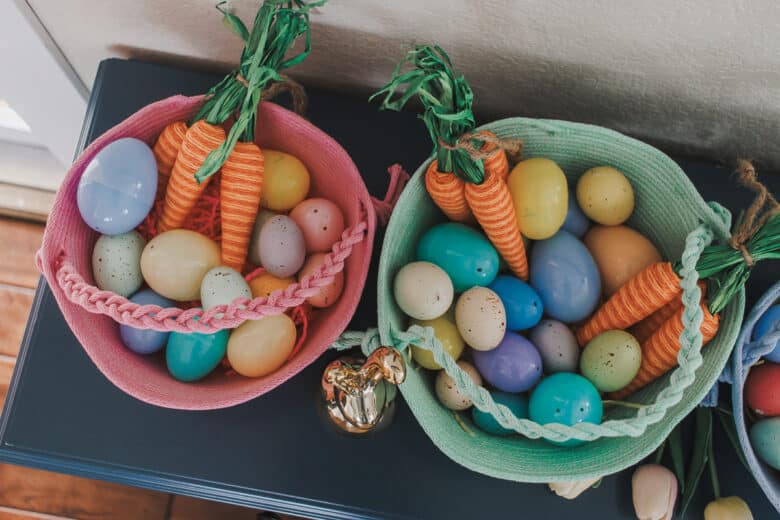
How cute are these rope Easter baskets? I love that you can really make them in any size too! I bought three different colors and sewed a rope Easter basket for each of my kids. They are getting older, but who doesn’t love a basket of candy and gifts for Easter!
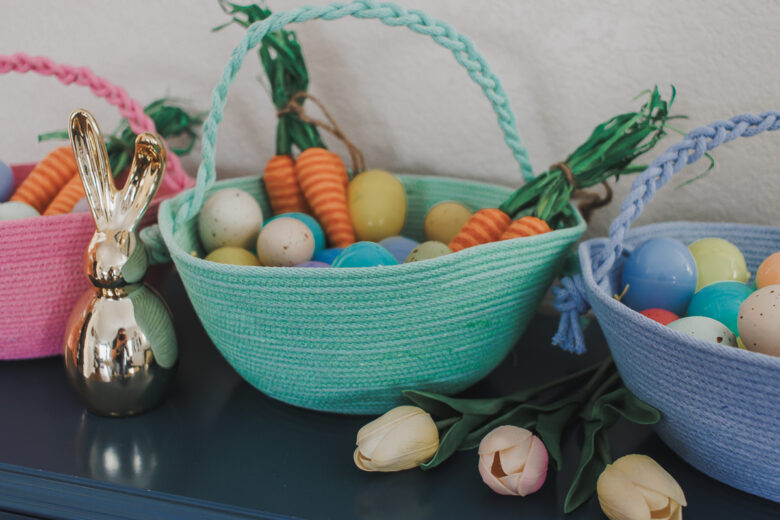
I bought this rope off Amazon, but you may also be able to purchase some in a craft or hardware store. Make sure it’s a bit stiff and 5mm {3/16″} is good size. a 100ft coil was perfect for this project. I’ve linked this exact rope from Amazon below in the tutorial.
The far right basket here looks a bit purple in the photos, but actually its a nice blue color. This rope is a nice cotton feel that sews up perfectly and creates a great basket!
Rope Basket video tutorial
The video tutorial is below. If you are having trouble seeing it, make sure you are not running an ad blocker or try a different web browser.
Fun Easter projects to make
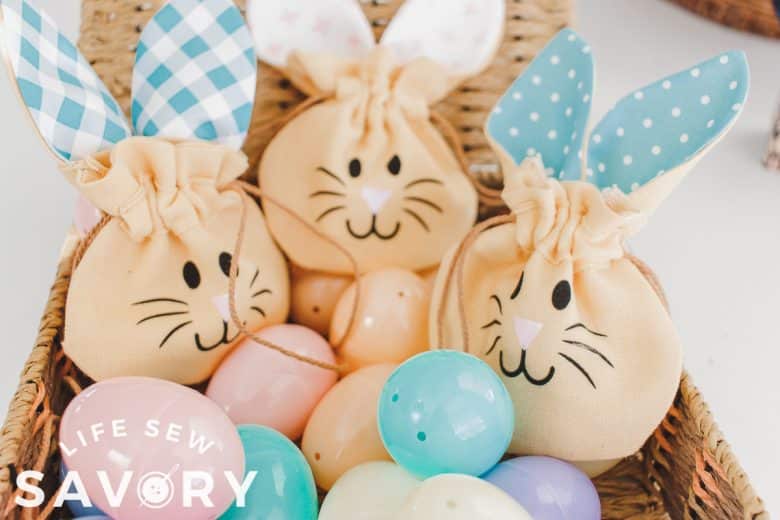
- Easter Treat Bags
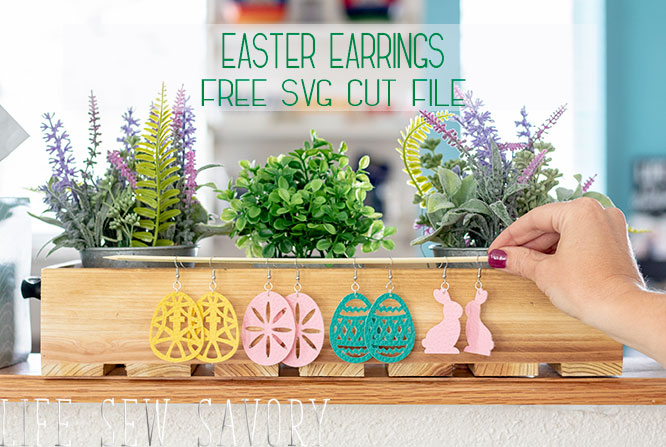
- Easter Earrings
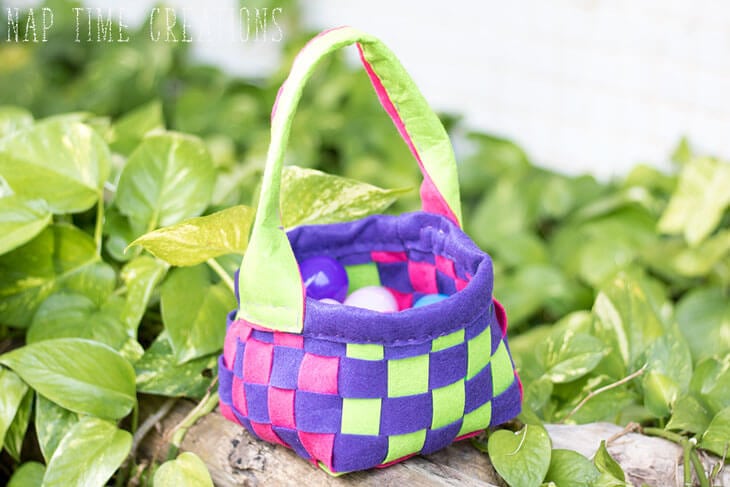
- Felt Easter Basket
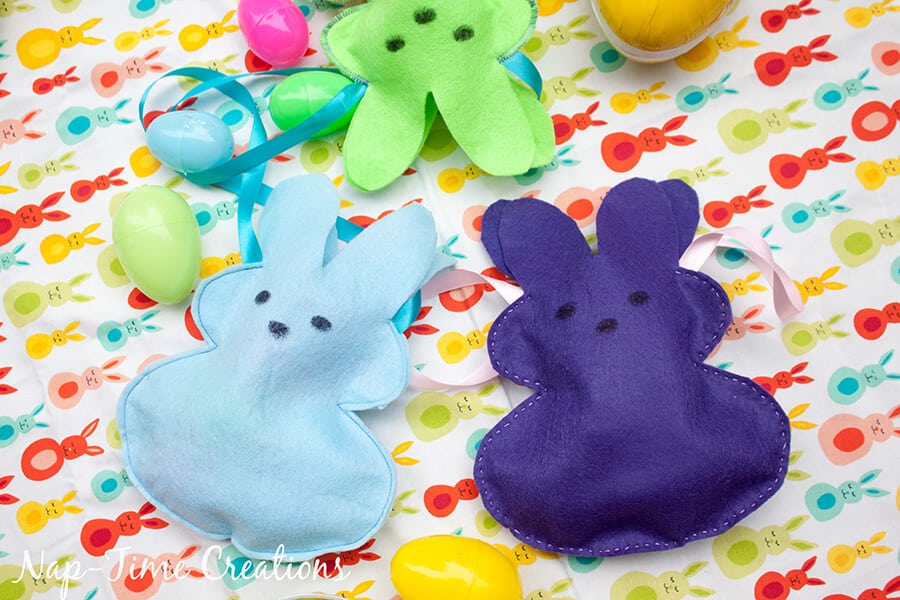
- Bunny Bags
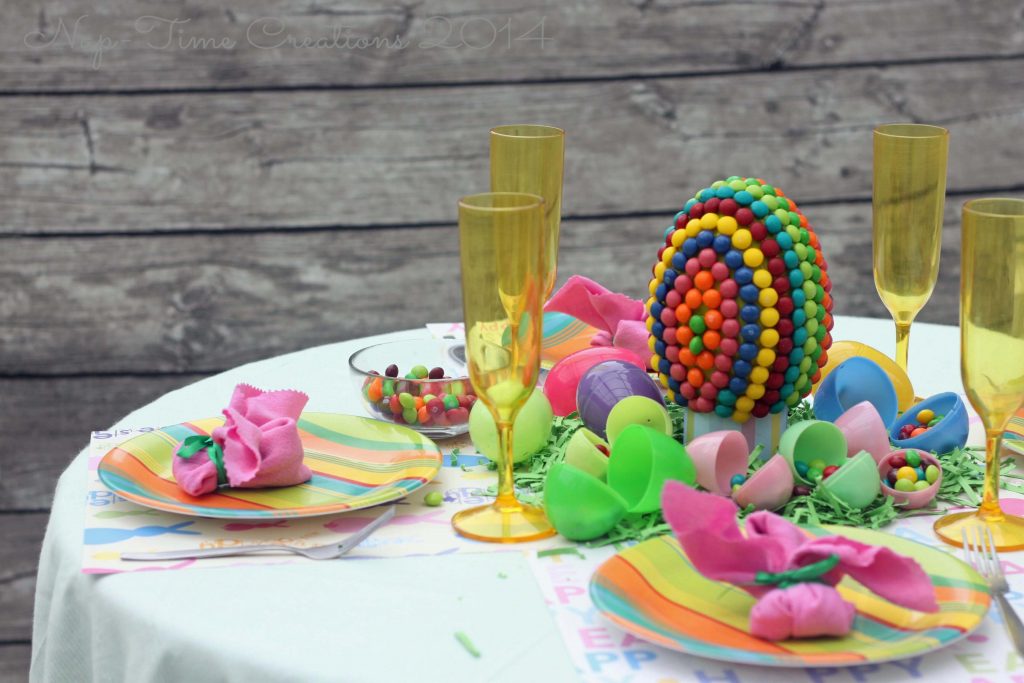
- Candy Table Decor
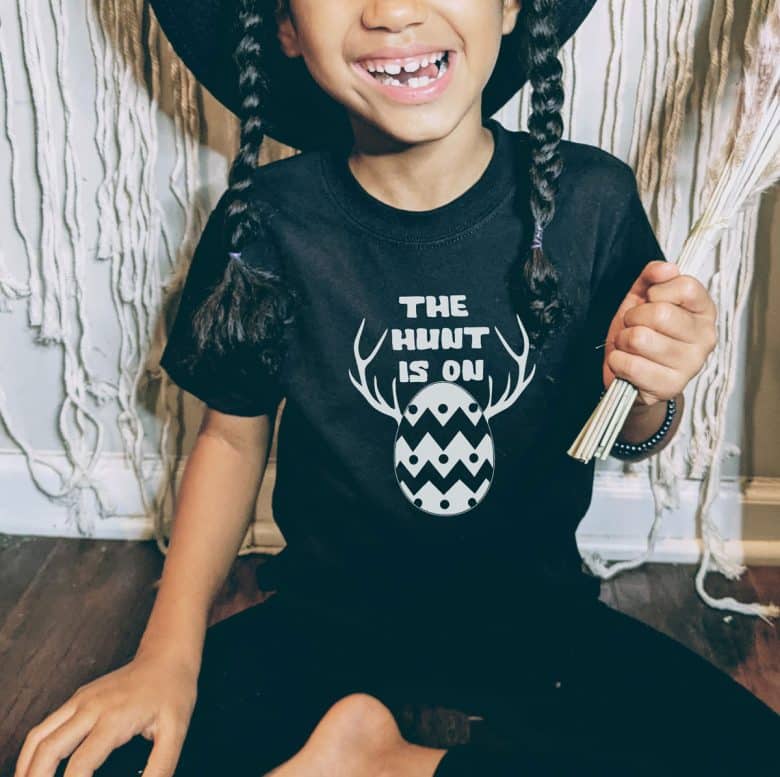
- The Hunt is on Easter SVG – FREE
How to make an Easter basket with rope
Check out the video tutorial above if you need to see this all in action. Here is the photo walk through as well!
First up you need some rope… Here is the rope I used… I love that it comes in several colors and it was just the right amount of thickness and stiffness. HERE is the link on Amazon for the colored cotton rope. I purchased the 100 ft length.
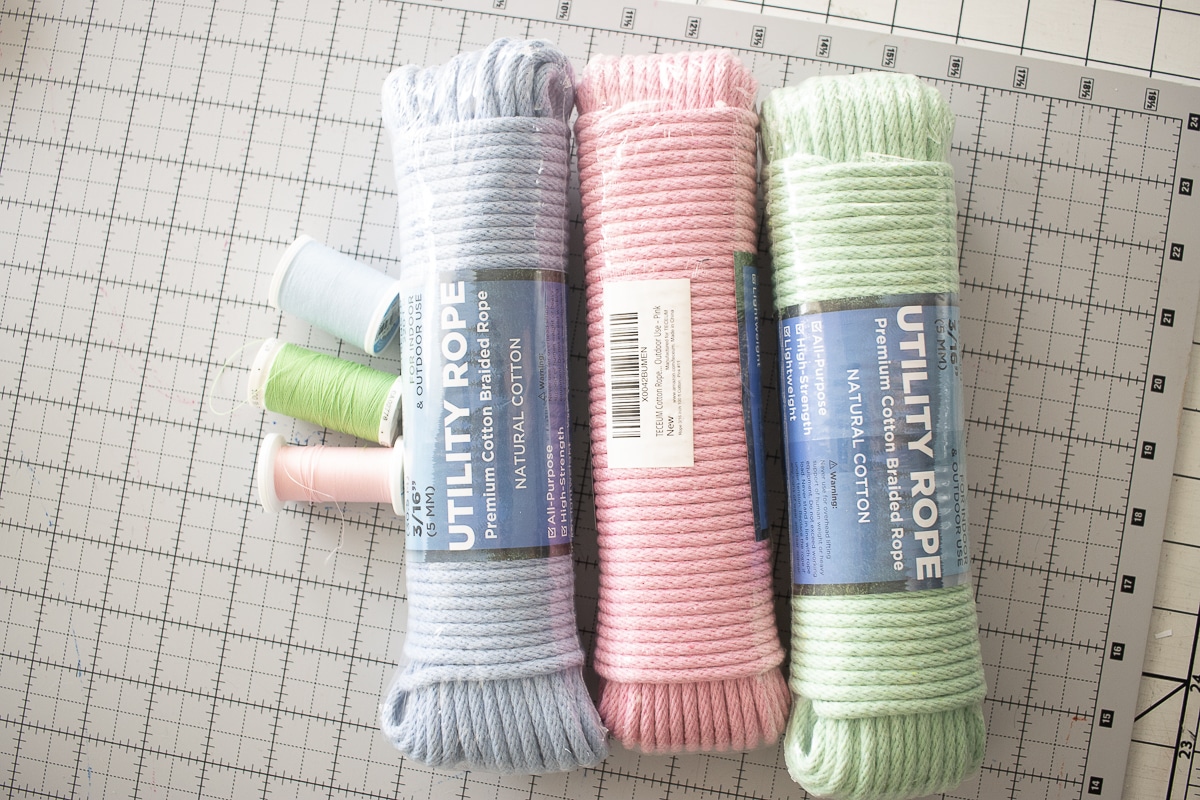
The only other thing you will need for this project is thread that matches your rope. You will be needing a lot of thread and you will SEE the stitching on the rope, so the colors should be close to matching. I was able to find thread the matched in my stash, but if you are shopping, make sure you have thread while you are getting your supplies.
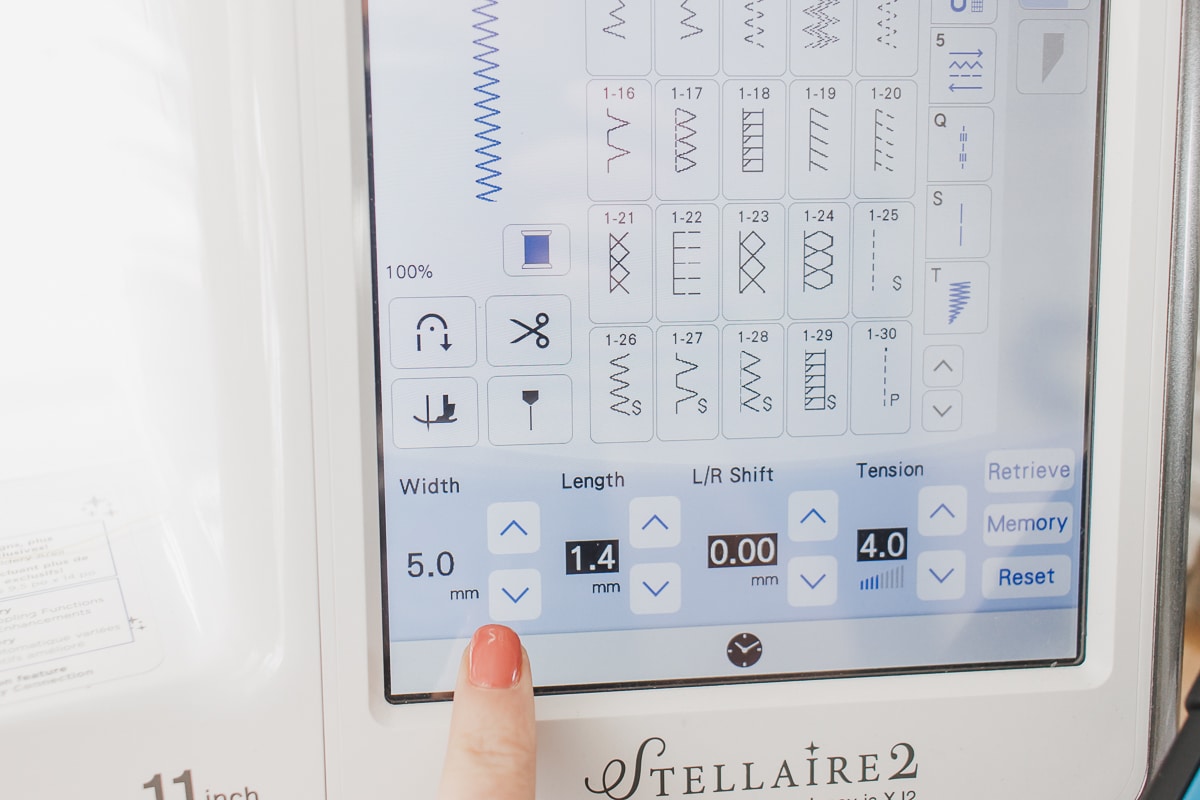
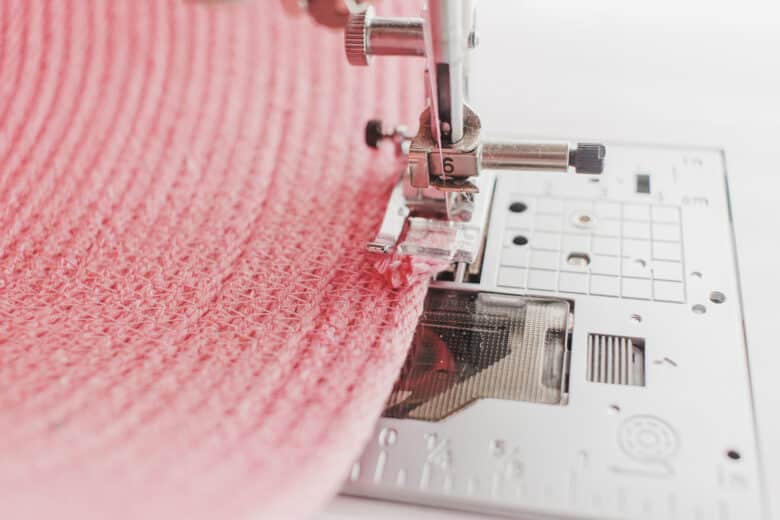
Here are the settings for my zig-zag stitch. You want a long-wide stitch to catch both ropes in every stitch, but you don’t need it too close together.
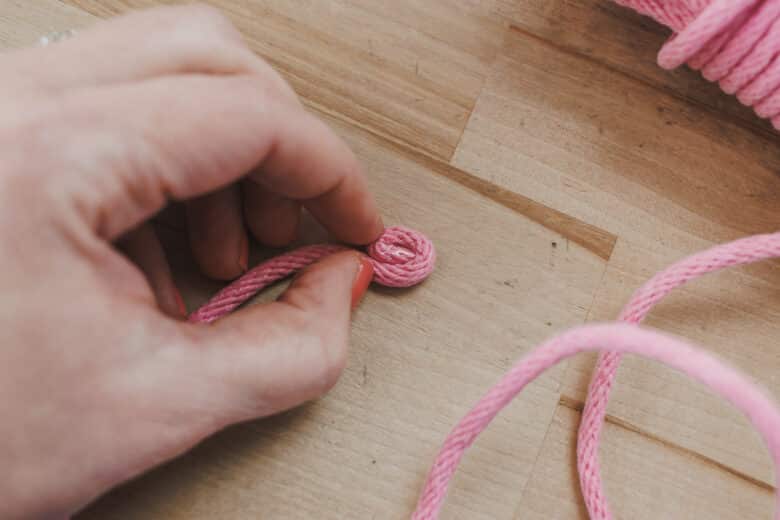
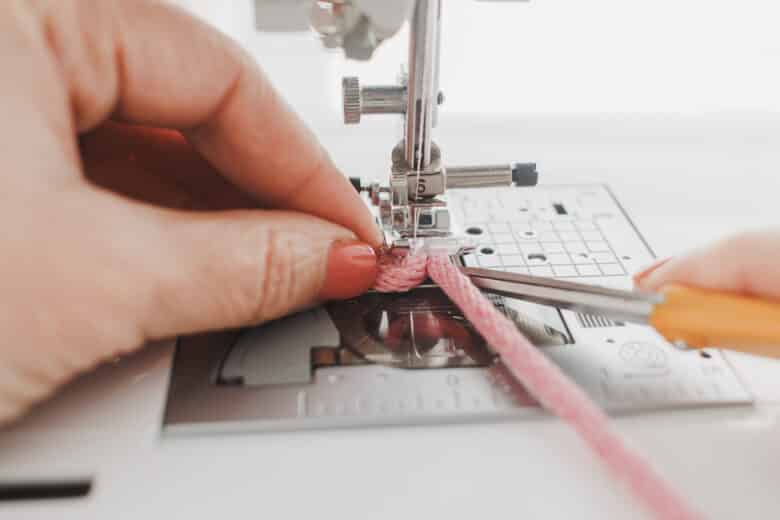
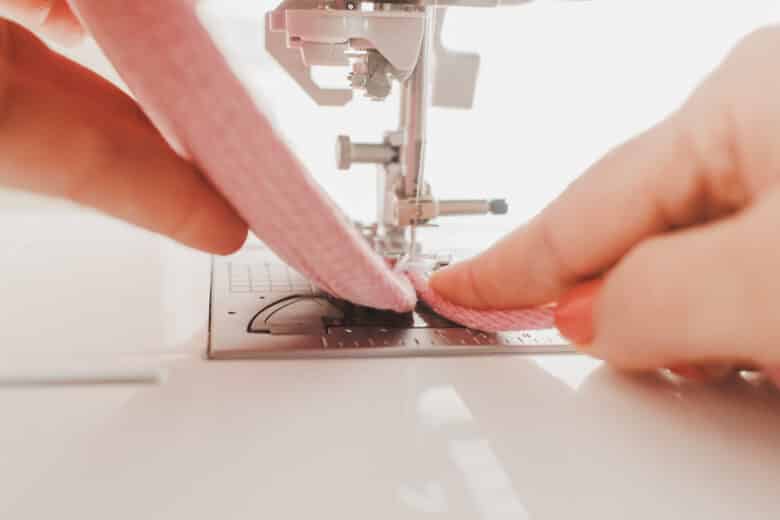
Start the basket by creating a tight coil of rope with your fingers. {this is about the hardest part of the project!} Place this coil under your presser foot and sew over it in all directions {doesn’t matter what direction.
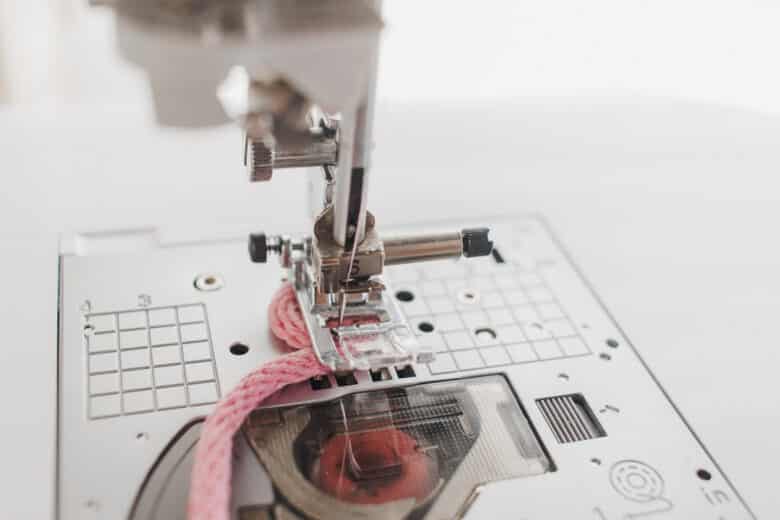
Set the needle and lift the foot, then turn the rope about a half turn and sew that new section of rope. The first several turns of the rope with not be smooth. It’s a lot of lift, turn, sew, lift turn sew, and it’s slow going. You may want to use sharp scissors/stiletto to help turn/guide the rope under the foot.
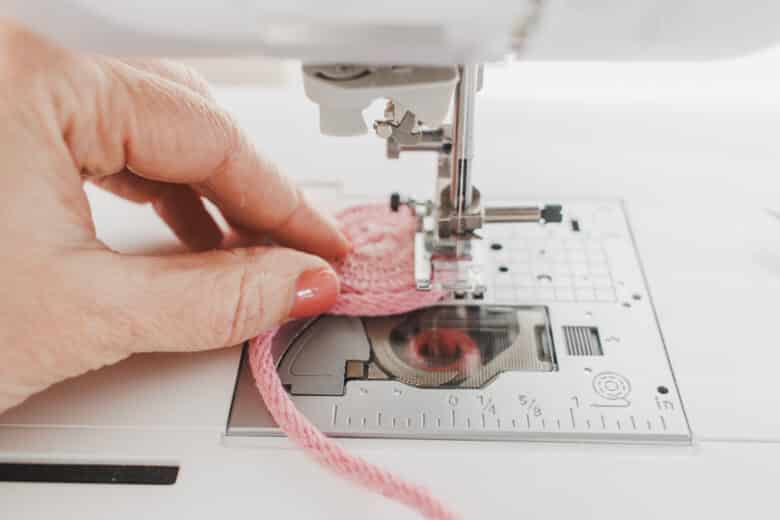
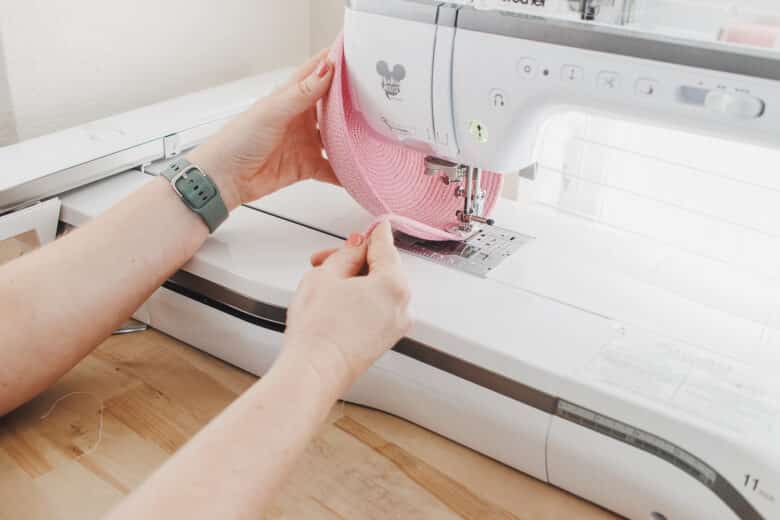
Once you have 4/5 coils of rope you shouldn’t have to lift the presser foot to turn it anymore. You should be able to guide the rope with your right hand and turn the coil with your left. At this point the sewing becomes faster and smoother.
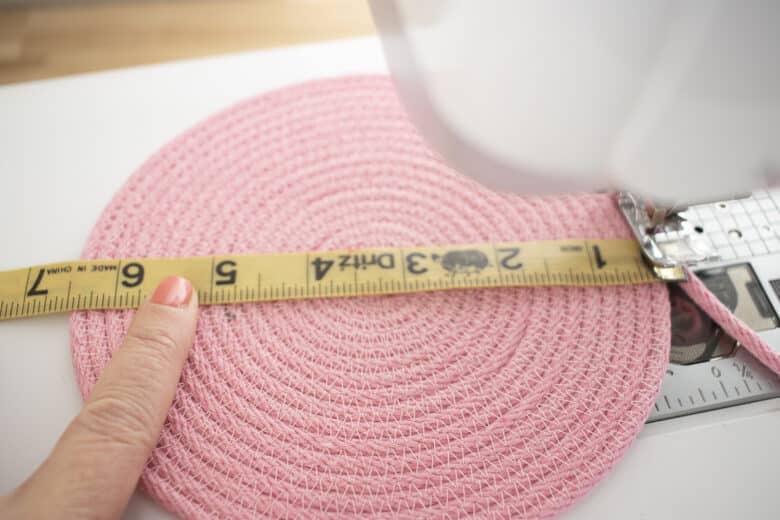
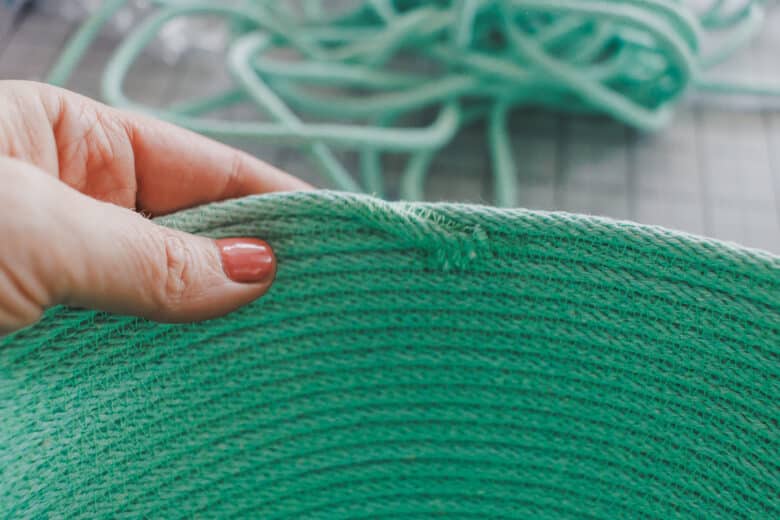
For a medium size basket, sew until the bottom is about 6.5″ across. At this point, use your left hand the lift the basket bottom straight up as much as you can. We had been sewing the rope side by side, but now you want to be stacking the rope on top of itself each layer.
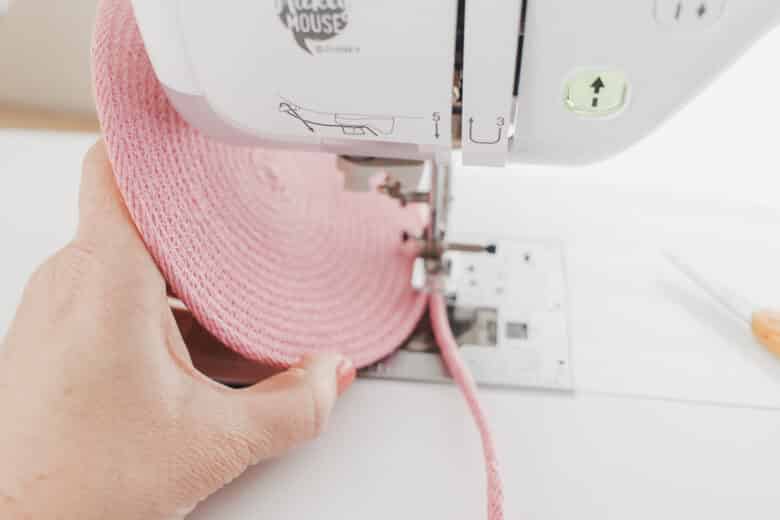
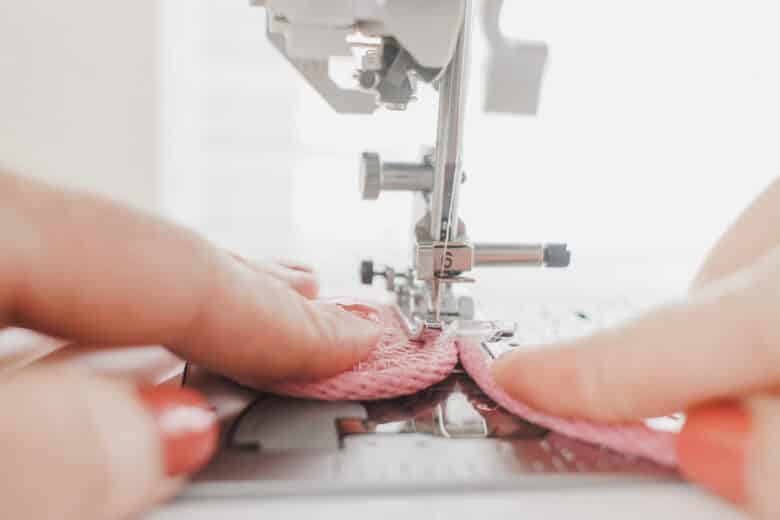
Keep the left hand lifting and turning and the right hand will guide the rope. I also like to make sure the rope is going under the pressure foot flat and not curved, so I press the basket down a bit to flatten the side.
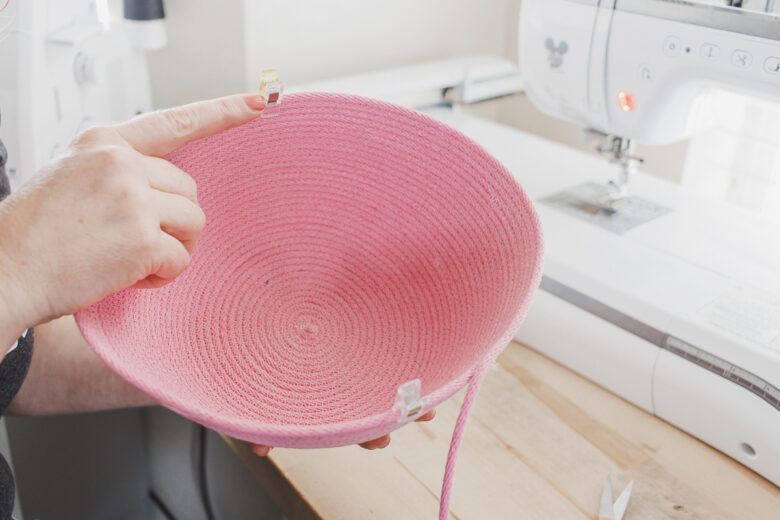
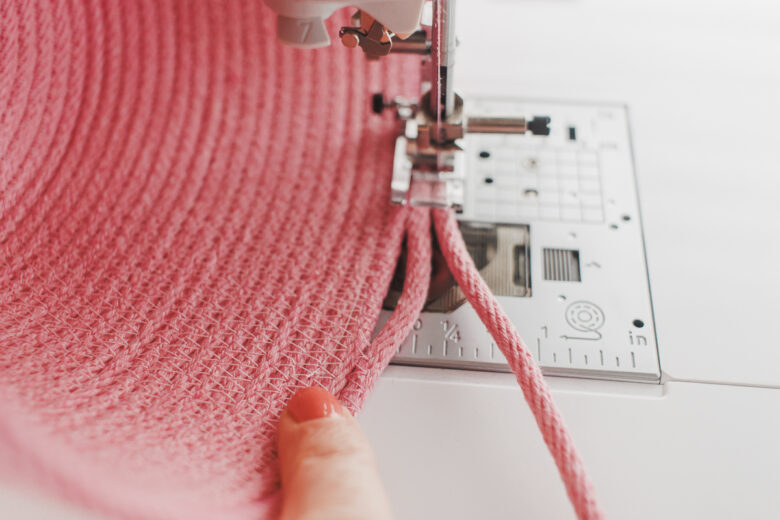
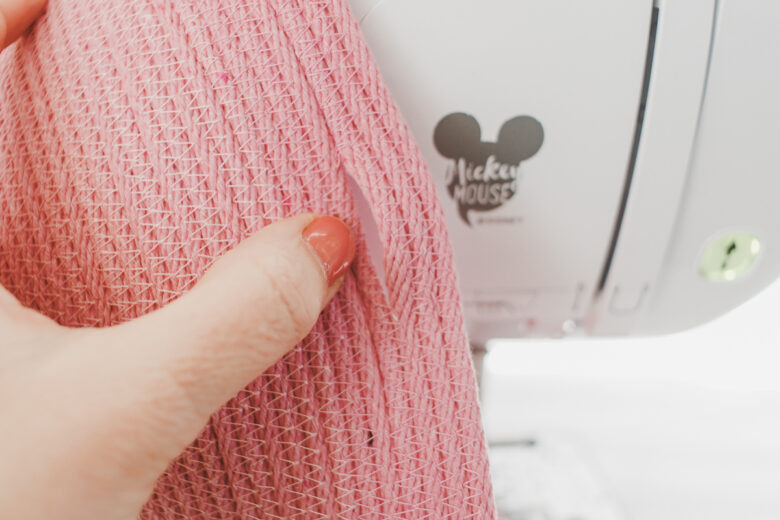
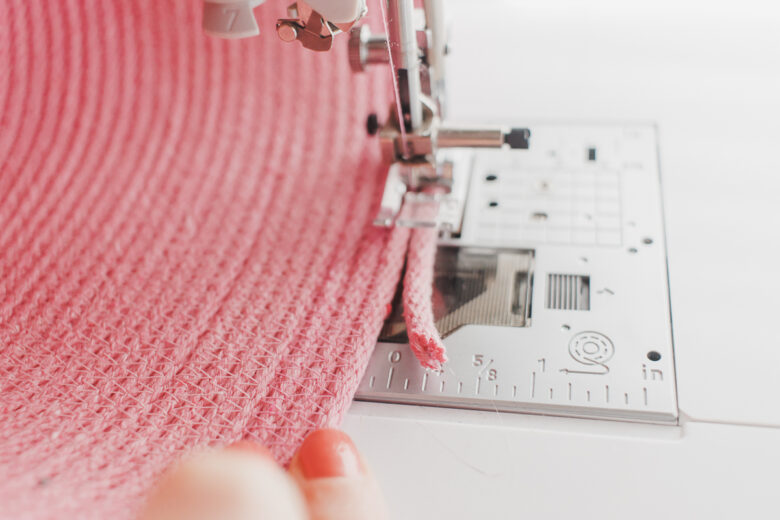
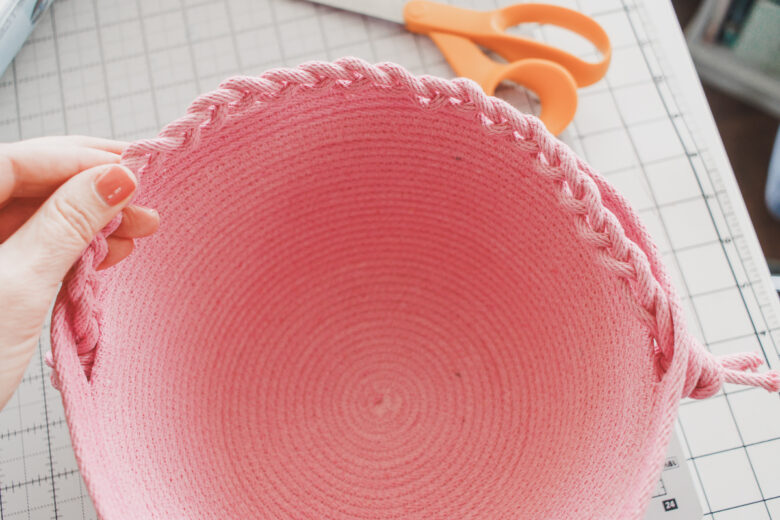
Continue sewing rounds until you are about 1″ from the height you want. At this point take the basket off the sewing machine and mark both sides. The next time you sew around, when you get to the marked spot you will leave a 1″ gap in the rope. Sew only on the left rope leaving the right rope free for 1″, then connect them back together after 1″.
The second time around you will sew the two ropes together as usually, leaving the 1″ opening you created in the previous round. Sew three more rounds after the opening.
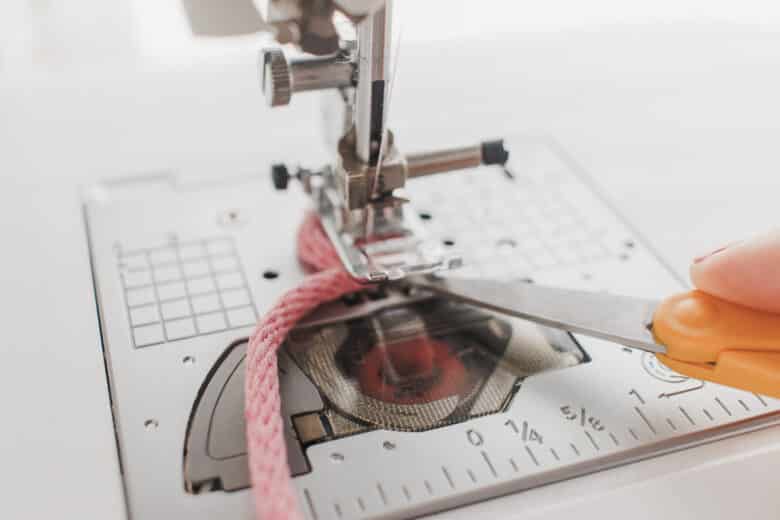
To finish, cut a three inch tail of rope and pull it over onto the basket and zig zag over it to the very end. Then back stitch back and forth to completely finish the raw end of the rope on the inside of the basket.
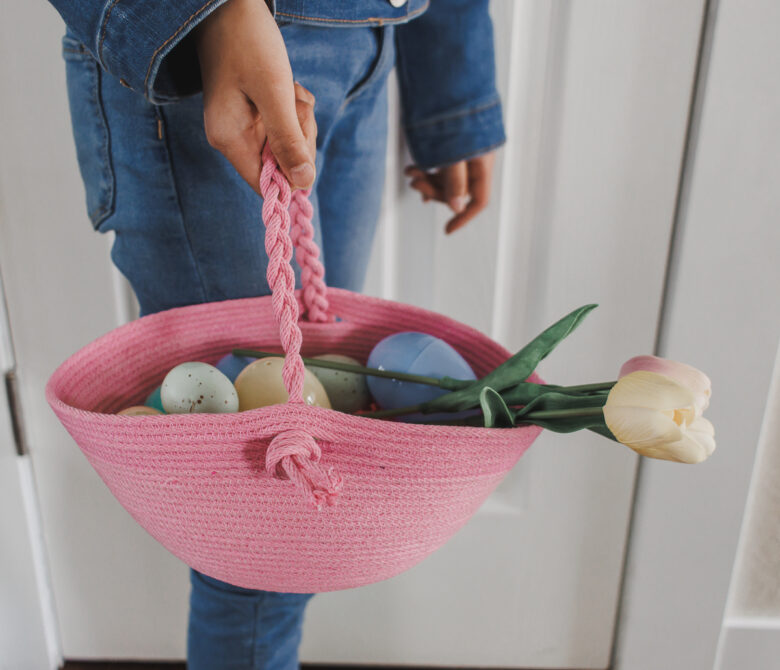
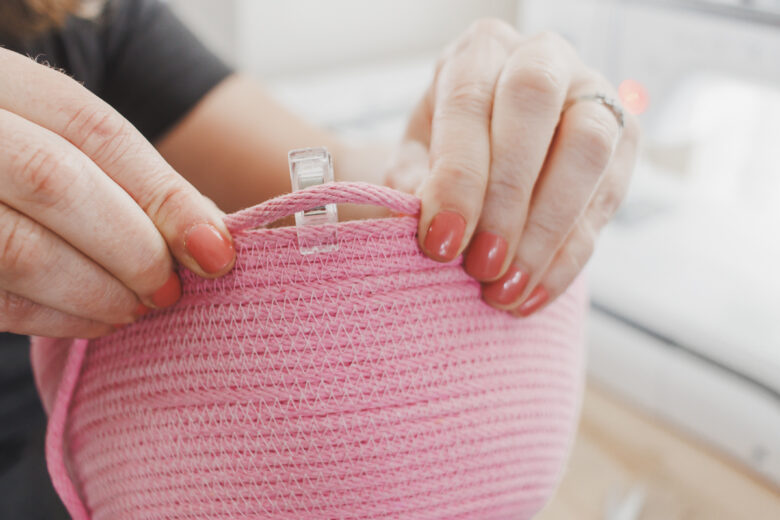
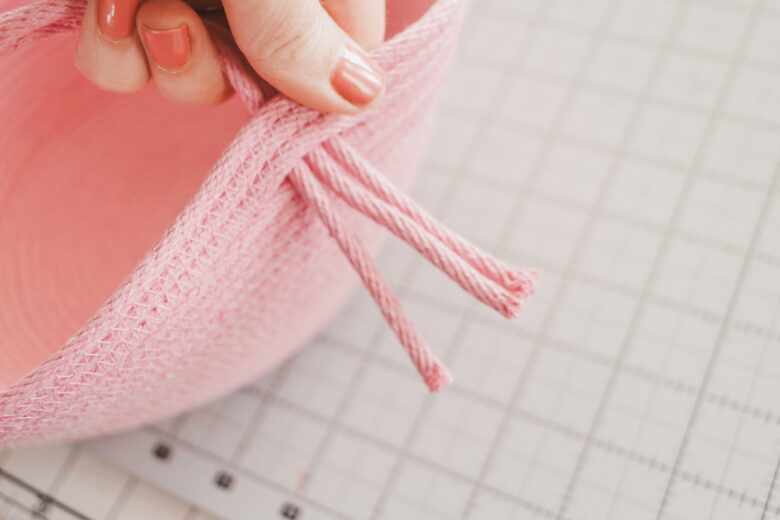
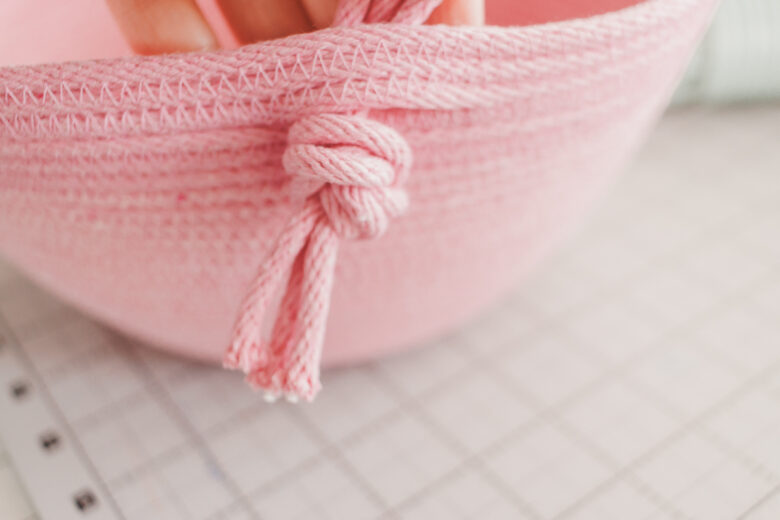
For the handle. Cut three pieces of rope that are each 26-28″ long. Thread them through the opening from the inside of the basket. Tie a knot with all three pieces together.
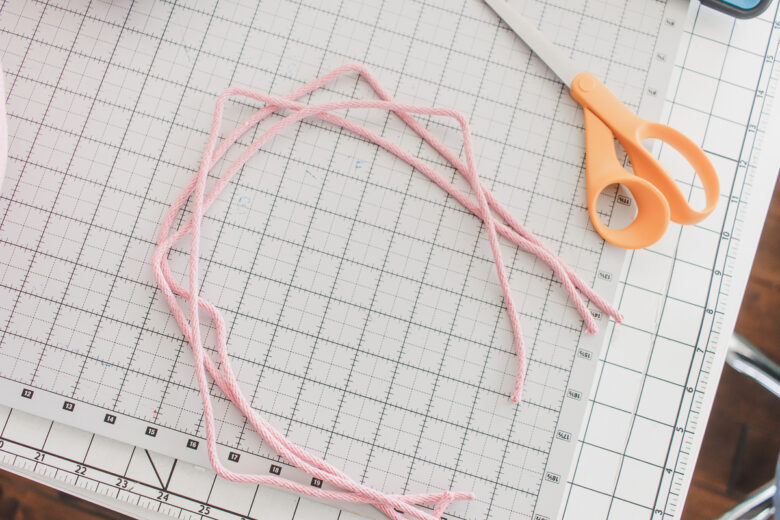
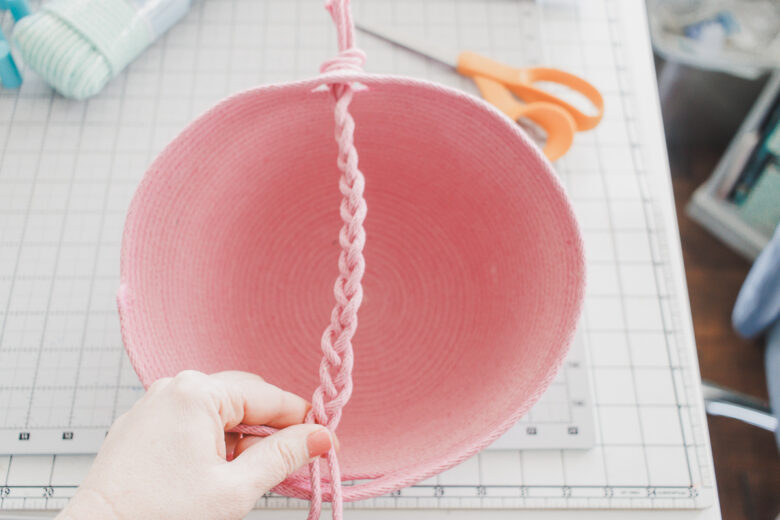
Braid the rope until you are four inches from the end.
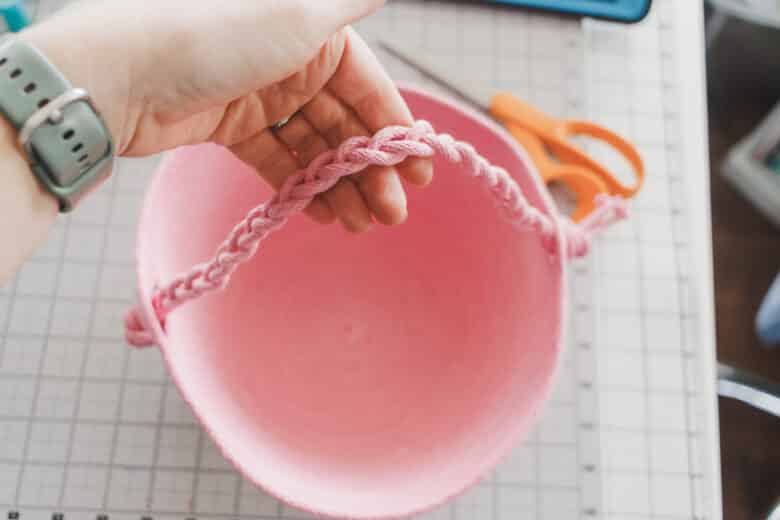
Push the ends through the gap on the other side and tie a second knot. Trim any extra rope. Now you have a cute braided handle for your basket.

Fill your Basket with Easter goodies and enjoy!!


My Quest AI says
These rope Easter baskets are super cute! I love how customizable they are. I remember making some basic Easter baskets as a kid, but this rope version looks way more fun. Did you have any trouble finding the right cotton rope? And how did your kids react when they saw their personalized baskets? I bet they were over the moon! Can’t wait to see more Easter DIYs from you.
Connect 4 says
These rope Easter baskets look amazing! I love how customizable they are. It makes me want to try making some for my nieces and nephews. Do you think it would be easier to use a hot glue gun instead of sewing?
Ipaddress Network says
These rope Easter baskets are seriously adorable! I love how customizable they are. It’s great that you can use different colors for each kid. I remember making Easter baskets with my mom when I was little, but we never used rope. Now I’m thinking of trying this for my nieces. Do you think it would be too tricky for a beginner sewer? And how long did it take you to make each basket?
Flappy Bird says
These rope Easter baskets look amazing! I love how customizable they are. It makes me want to try making some for my nieces and nephews. Do you think it would be easier to use a hot glue gun instead of sewing?
Block Blast says
These rope Easter baskets look amazing! I love how customizable they are. It makes me think of when I tried making a DIY gift basket once. Did you have any trouble with the sewing part? And what’s your favorite candy to put in the baskets?
Happy Wordle says
These rope Easter baskets look amazing! I love how customizable they are. Did you have any trouble choosing the right cotton rope? I’m thinking of making some for my nieces.
Waffle Game says
These rope Easter baskets are so charming! I love how customizable they are. Did you have any trouble choosing the right cotton rope? I’m thinking of making some for my nieces.
Fotolify says
These rope Easter baskets are super cute! I love how customizable they are. I once tried making a DIY basket with cardboard and it was a disaster. Can’t wait to see the video tutorial and give this rope version a go. Any tips for beginners?
Letter Boxed says
These rope Easter baskets are super cute! I love how customizable they are. I once tried making a DIY basket with felt, but this rope version seems way more fun. How did you keep the rope from getting all tangled while sewing?
Fotolify says
These rope Easter baskets are super cute! I love how customizable they are. Did you have any trouble choosing the right cotton rope? I’m thinking of making some for my nieces.
Today Wordle says
These rope Easter baskets look amazing! I love how customizable they are. I once tried making a DIY basket with cardboard and it was a disaster. Can’t wait to see the video tutorial. Do you think it’d be easy to add some Easter-themed buttons for extra flair?
Tiles Game says
These rope Easter baskets are super cute! I love how customizable they are. I once tried making a DIY basket with cardboard and it was a disaster. Can’t wait to see the video tutorial and give this rope version a go. Any tips for a beginner?