Inside: learn how to sew a sweatshirt / sweater without a pattern! This is a super easy top to sew and with just a few measurements you can make one in any size. Sewing tutorial to create your own top, one that fits you perfectly.
Several months ago I saw a shirt like this and realized how boxy it was and that it would be easy to recreate. I’m super excited about my two new tops and I want to show you how simple it is to sew a sweatshirt or sweater like this. Measure yourself in a few places and cut simple pieces to create a top the same and mine.
I will also link to other tutorials and free add-ons that I used to add fun features {neckbands, cuffs, bottom hem, etc} I did sew one of these on my live FB show as well, so you can see the full walk through if you want in the video below.
How to sew a sweatshirt-
I’m going to stick the video right here at the top, for those of you who want the video. This video is a full length sewing tutorial, walking you through the whole process. It also shows how to measure yourself {video at 1:30} if you want to see exactly where I took my measurements.
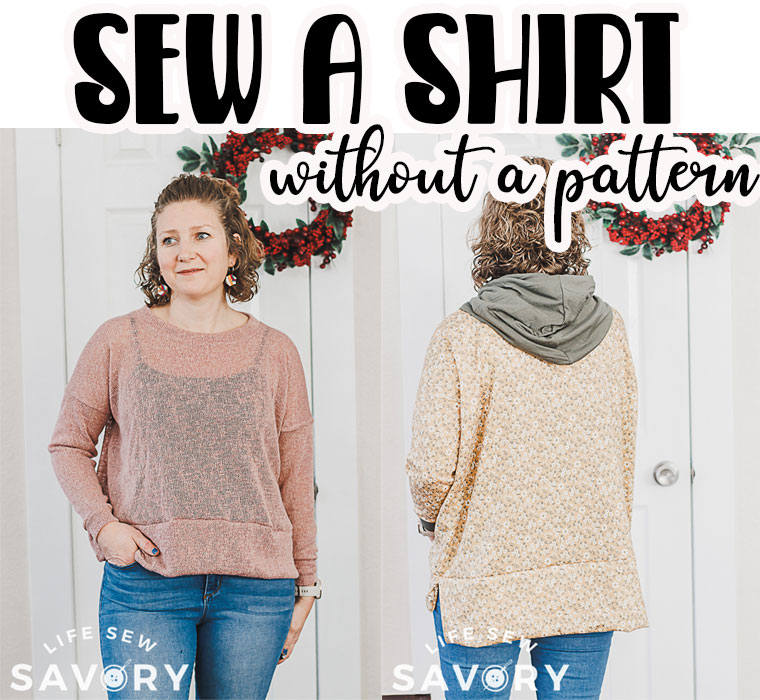
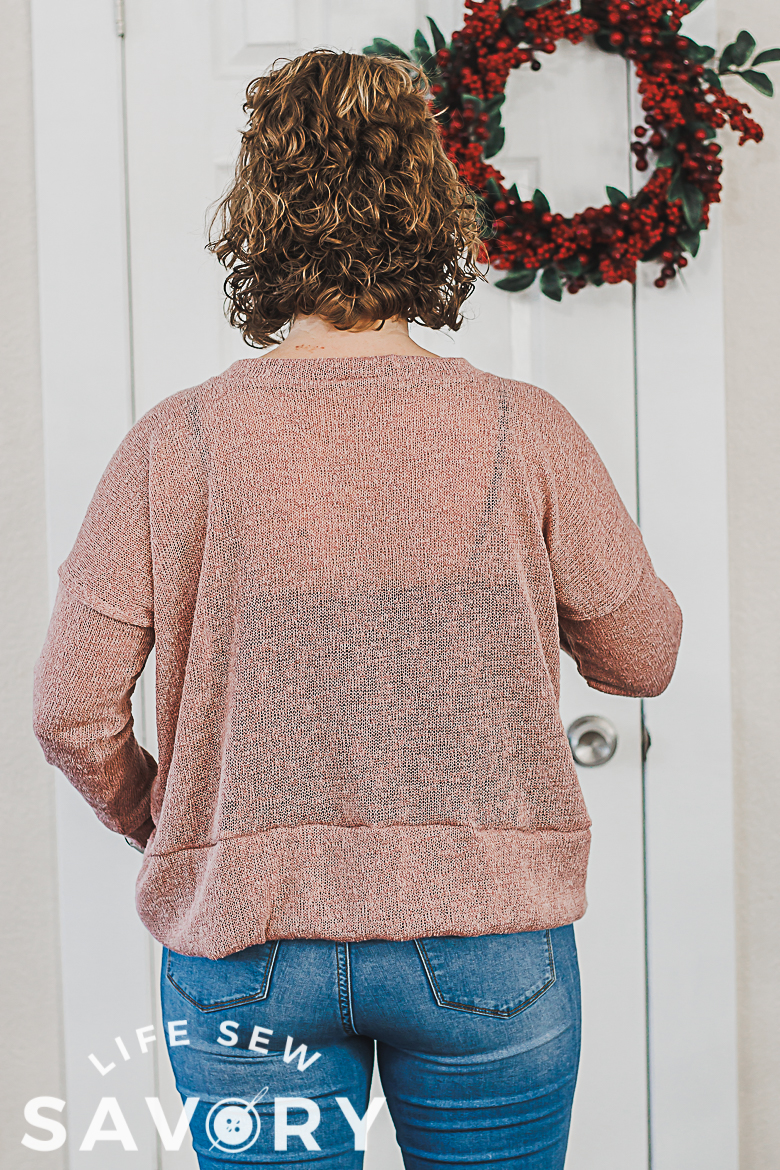
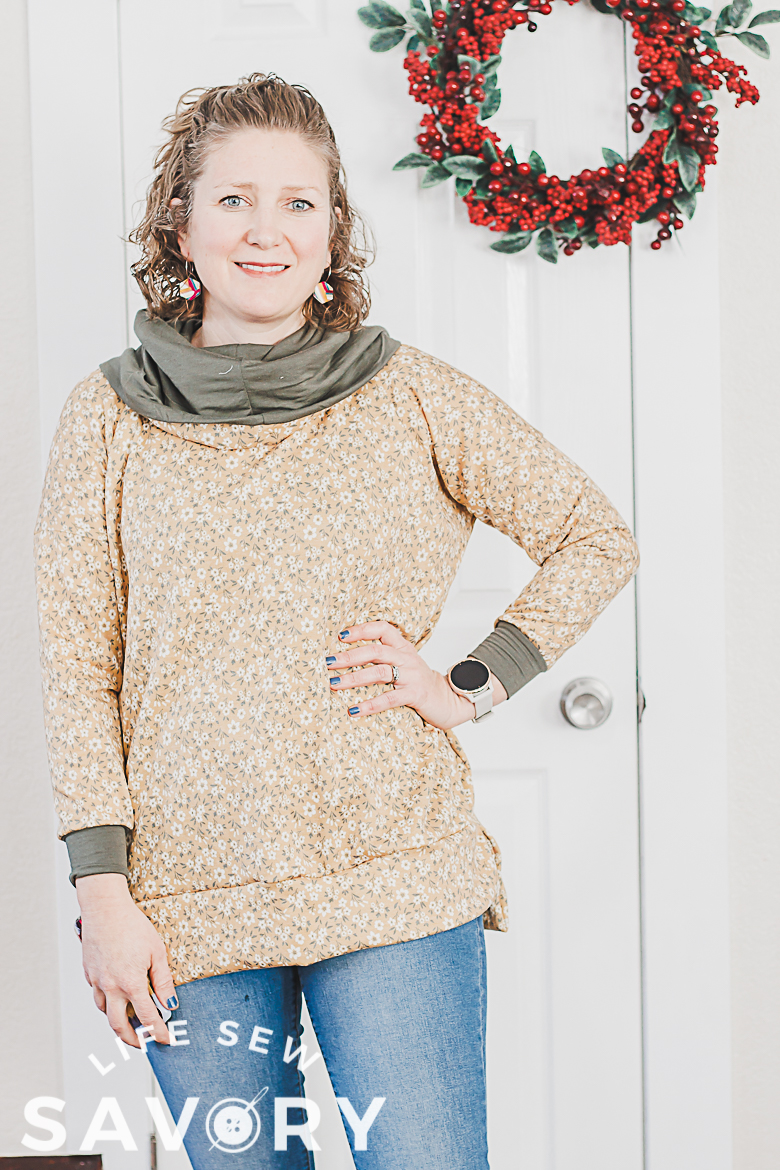
I also want to show you a few more pictures of my new adorable tops to inspire you to create your own. I made one with sweater fabric {pink} and the other with sweatshirt fleece, and I adore them both!
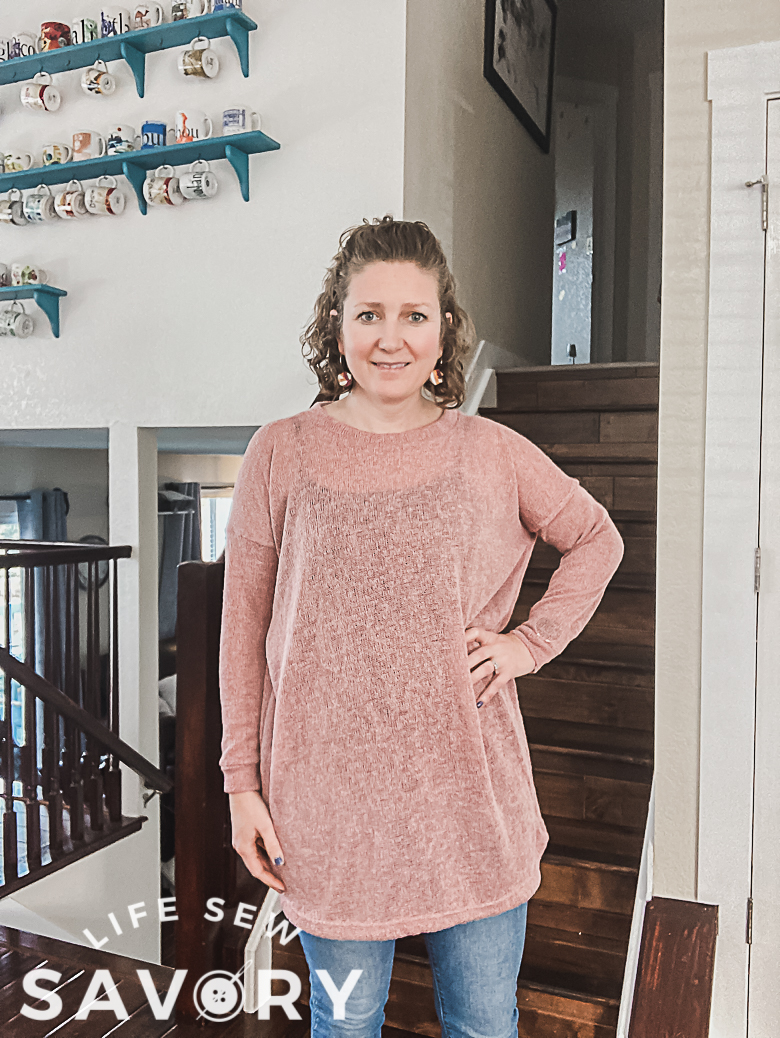
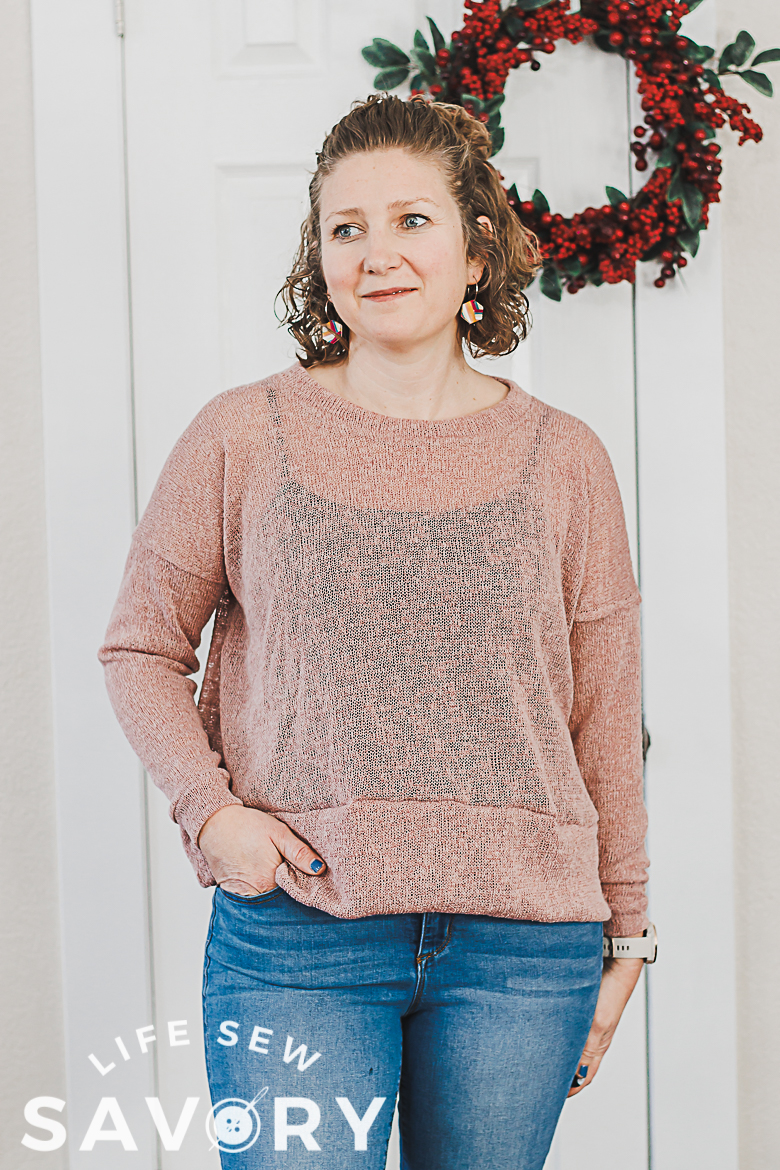
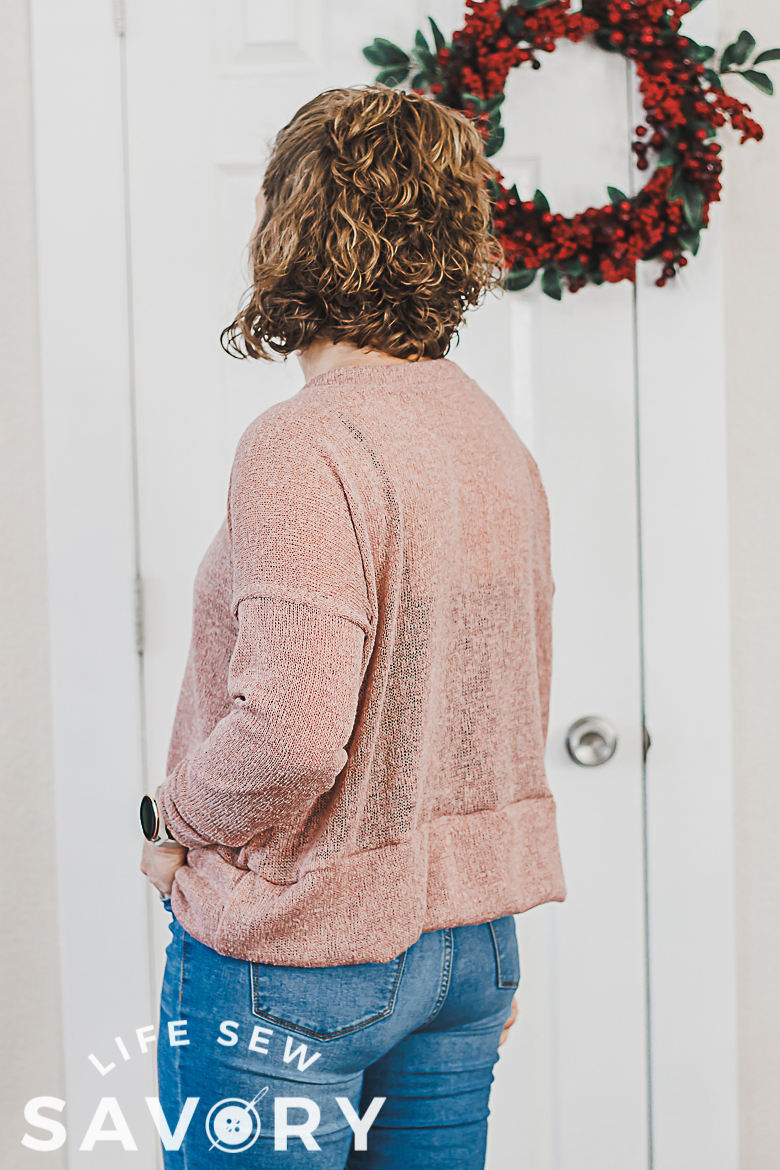
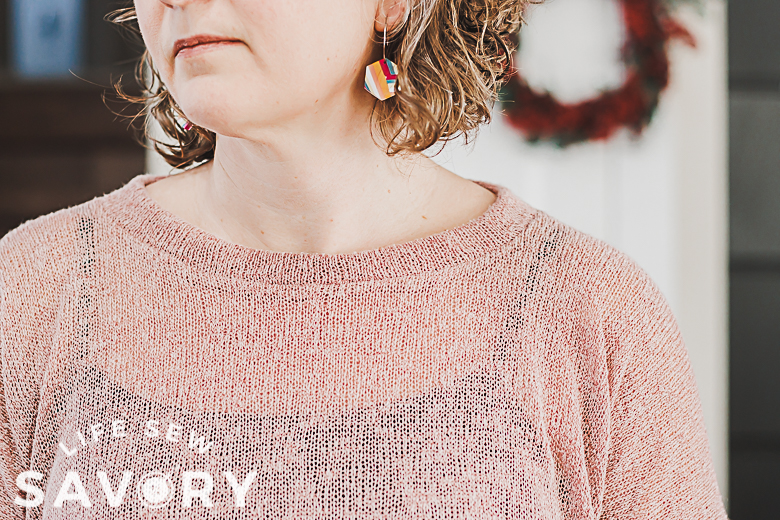
First up! My pink sweater version. This one is made with a neckband and sleeve cuffs. I first made it long, thinking I would like to as a tunic with leggings, but it just looked like a sack. I chopped it off and used the fabric I cut off to create a wide bottom band… LOVE the second version…
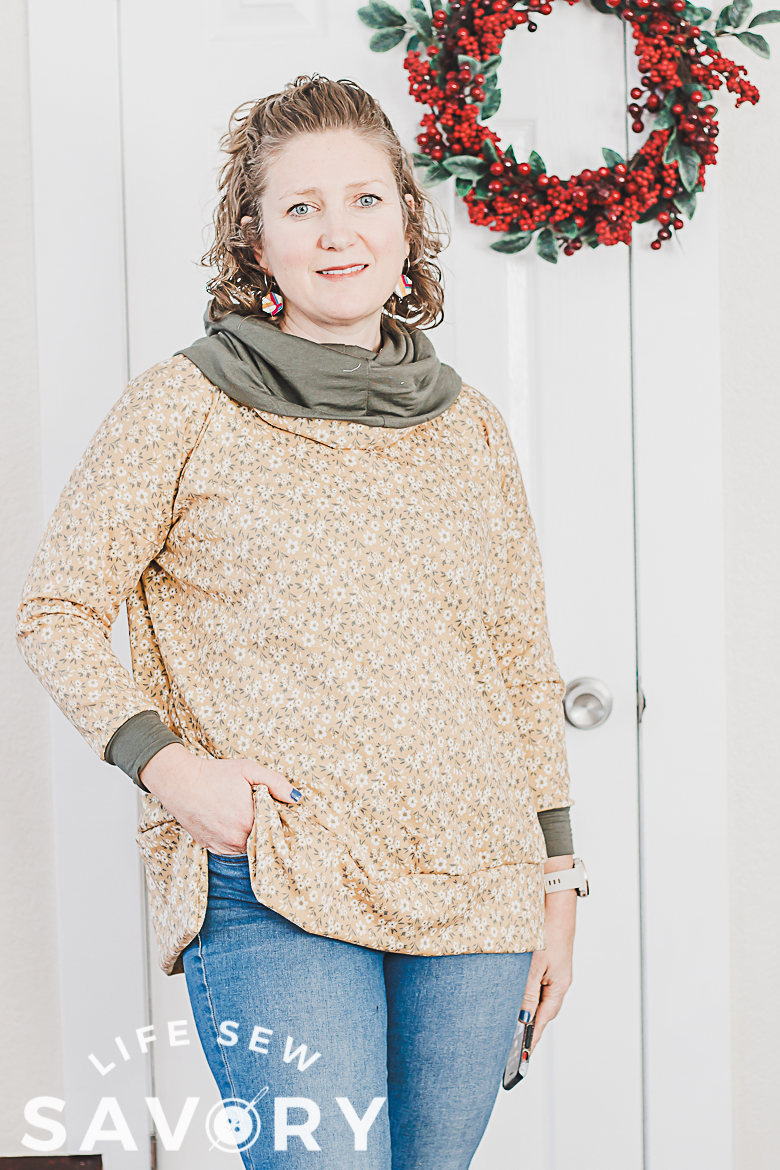
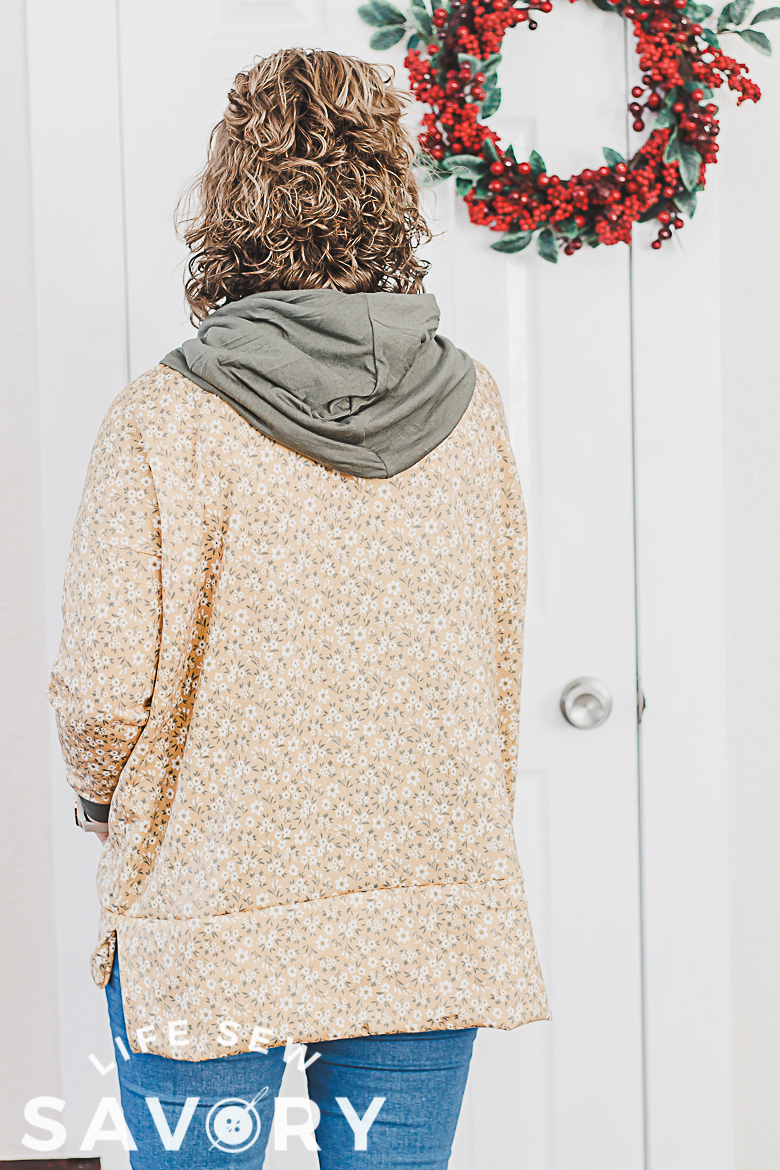
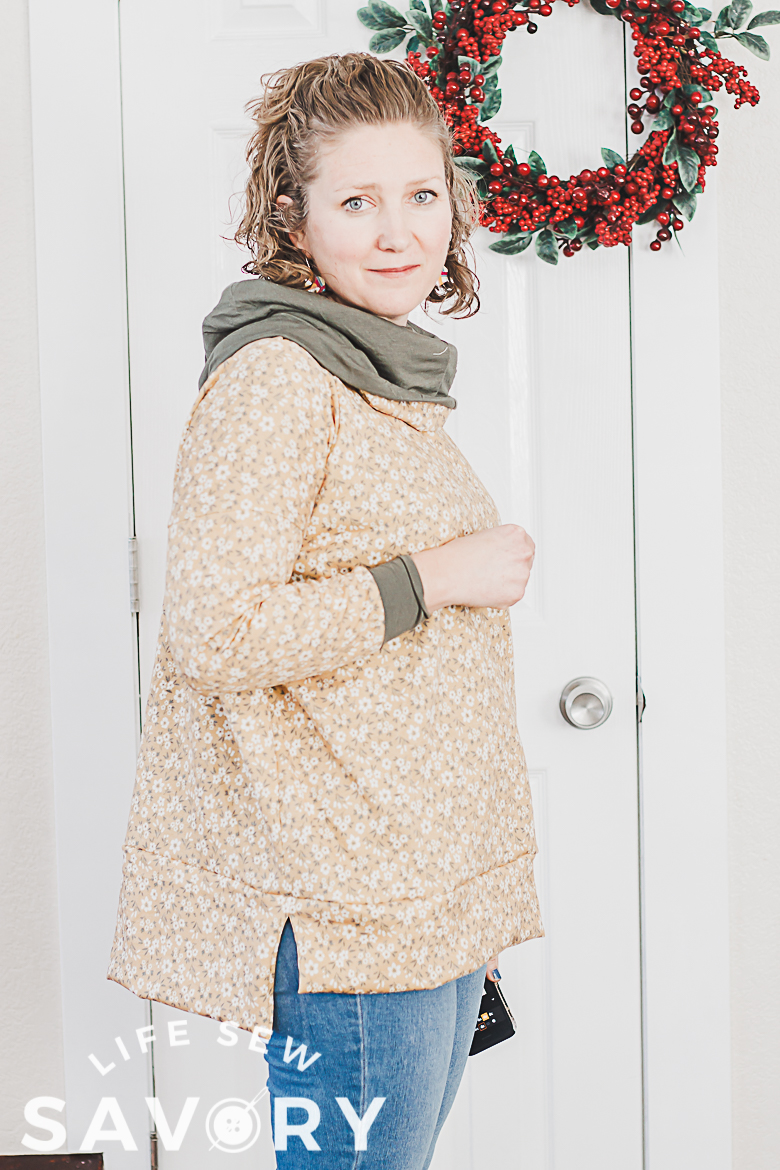
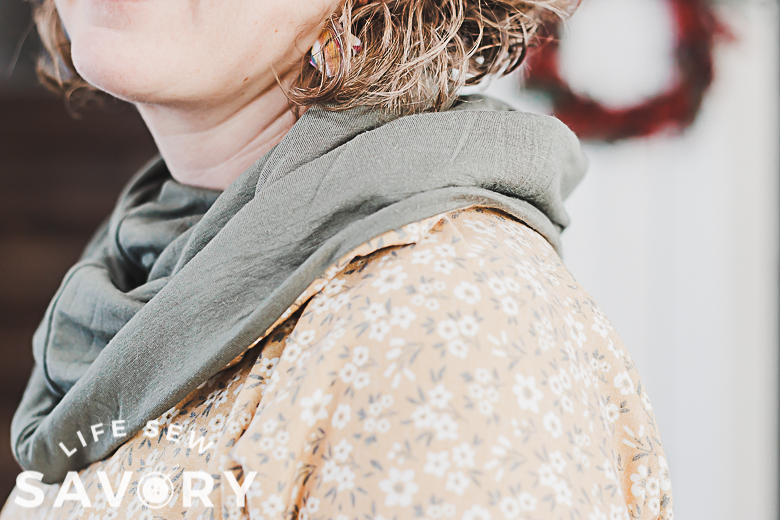
The second shirt I sewed without a pattern was from sweatshirt fleece. It’s so COZY and soft. The kind of fabric doesn’t have much stretch so I would make sure to be generous on your seam allowances. I added the free cowl neck add-on as well as my split hem tutorial.
So cute right? I love them both for different reasons, but I’ve already worn the floral sweatshirt all day and it is so comfy!! Below I’ll give you all the details for creating these looks as well as links to tutorials and supplies.
Create a shirt without a pattern –
Let’s first look at what you will need to create this project. Sweatshirt/sweater supplies:
- Fabric I got mine online. I had two yards of each of these fabrics, but you will need more for larger sizes.
- Tutorials that you might need
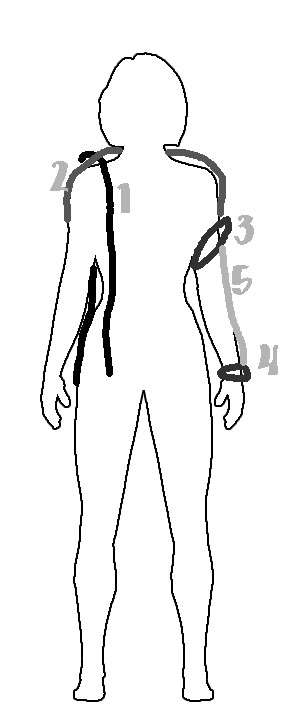
These linked tutorials will be referenced below, but I’m putting all the links in one place to avoid confusion. Here are the measurements you need to take. I’ve marked the photo below with numbers for measurements. {you can also find footage of me measuring myself at 1:30 minutes of the video embedded in this post.
Measurements needed:
- Measure from front, over shoulders and down back, the ends of your measuring tape should be as long as you want your shirt to be. If adding a cuff/bottom band remove that length. Mine was 44″.
- Measure from the bottom of one shoulder muscle across the back of your neck to the bottom of the other shoulder muscle. {the little dip in my arm} Mine was 26″
- Measure around your arm {at the same place where the shoulder measurement ended. Add 1.5-2.5″ of seam allowance {how loose do you want your sleeve?}
- Measure around your wrist and add 1.5-2″ of ease.
- Measure from between the two circle measurements on your arm – this is the sleeve length. If you are adding a cuff you will shorten the sleeve length.
- record these measurements.
Cut the shirt pieces –
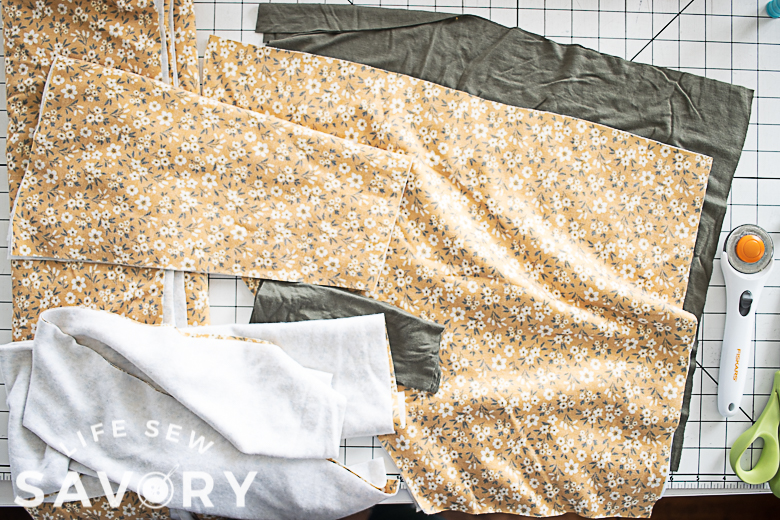
Now it’s time to cut the the pieces for your shirts. Measurements 1 and 2 will create a rectangle. Make sure the greatest stretch goes from side to side. This one is long as I was making the tunic length. The center fold is top and the shoulders.
With sweater knit you need to sew with a serger or zig zag stitch all the seams to sew securely.
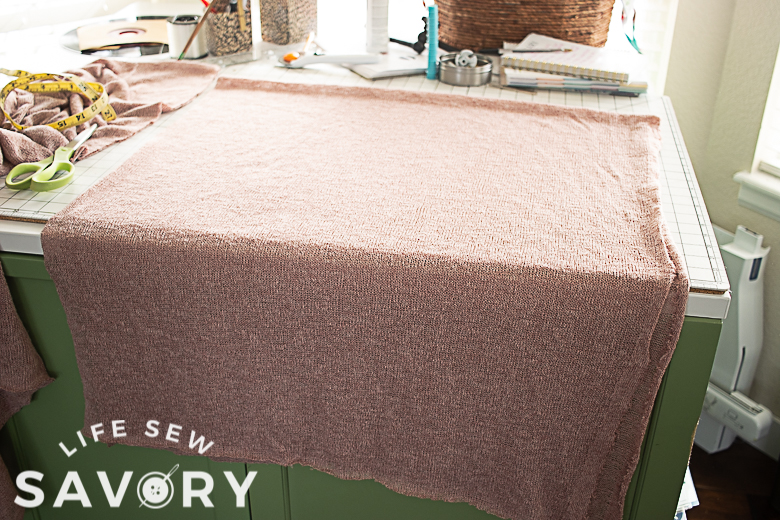
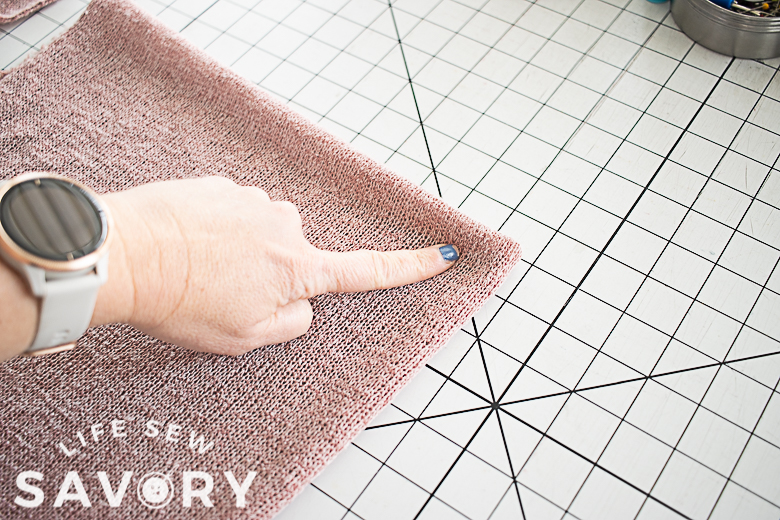
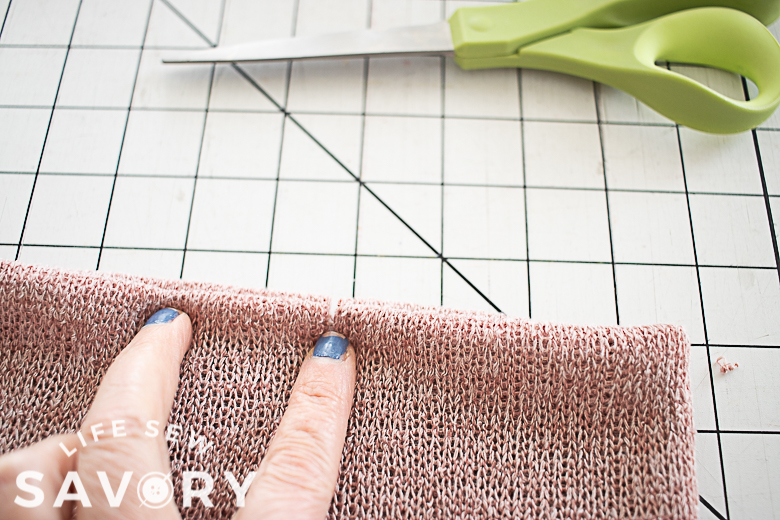
Take the top fold and fold it over again to find the center. I would suggest cutting the neckline about 8″ wide, so mark 4″ from the center. Just make a small clip to mark.
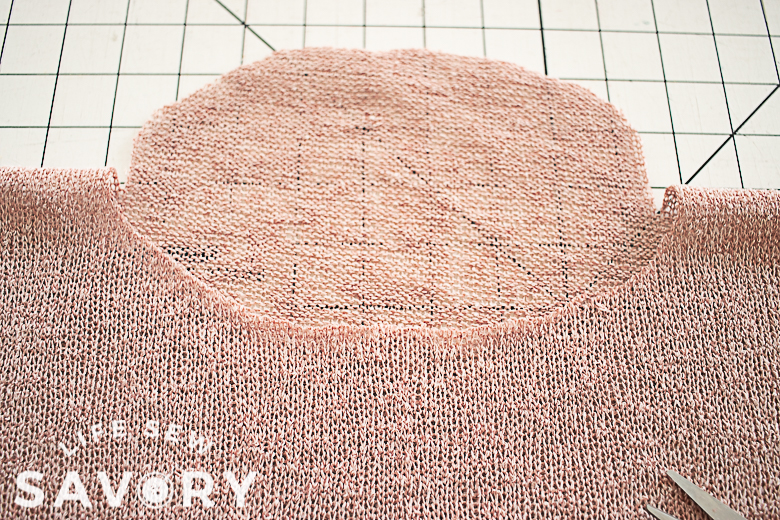
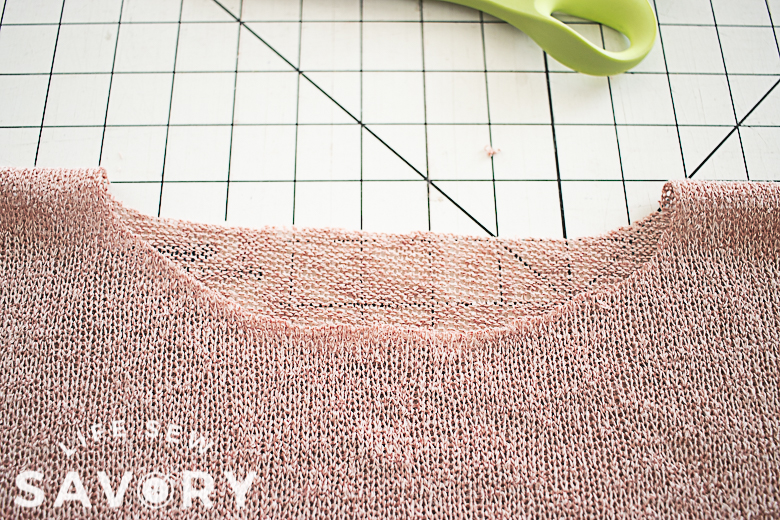
Open up the second fold. Cut the front first, it should scoop more than the back. If you have a t-shirt neckline you love, you can use that as a guide when cutting this neck opening. Smaller is better than large – you can always make it bigger. Try it over your head at this point to make sure it fits.
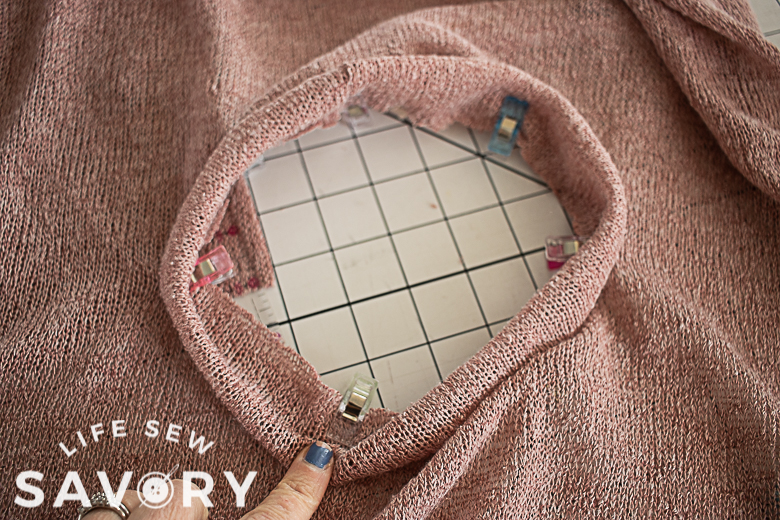
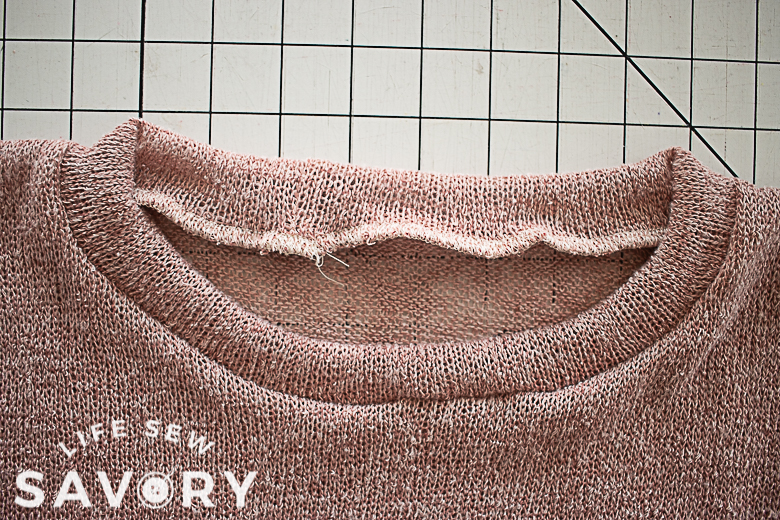
Measure the opening and cut your neckband 80-90% of this length. Need help? Check out my neckline tutorial linked above. If you are using sweater knit like me you will need to make the band WIDE. I’m usually a narrow neckband person, but it needs to be about 3″ wide when using sweater knit… also I cut it longer {closer to the 90%}. It’s hard to stretch this fabric without it stretching too thin. Pin equally and sew.
You can also use the cowl add on to add a cowl to the neck.
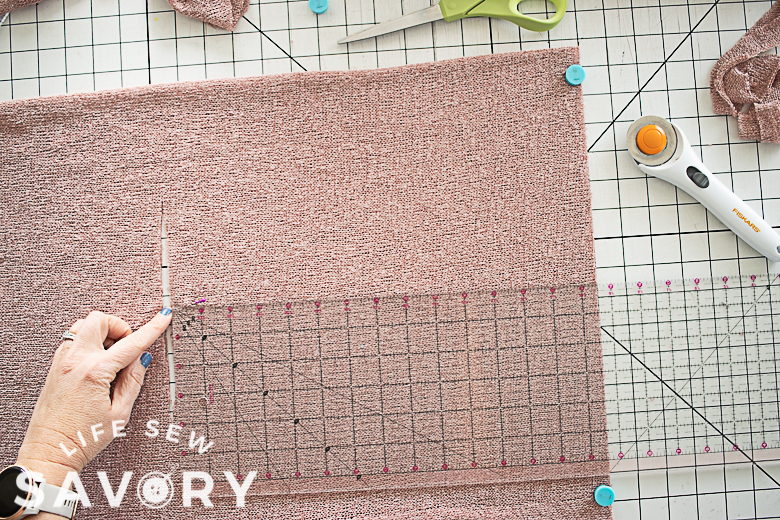
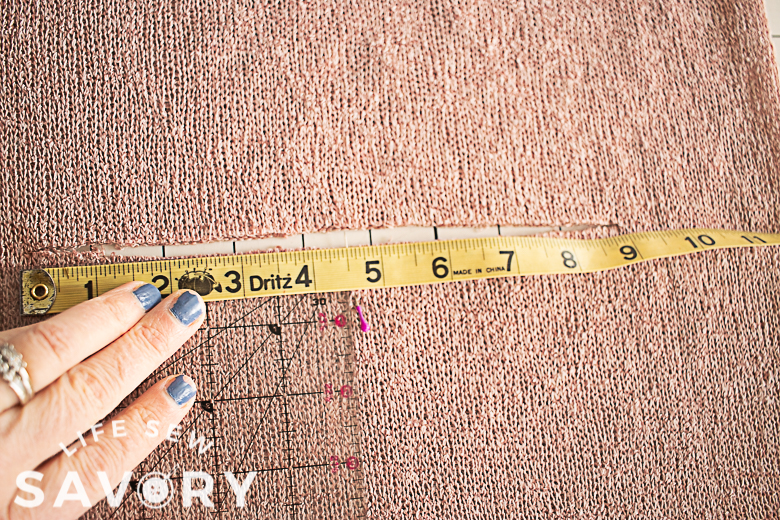
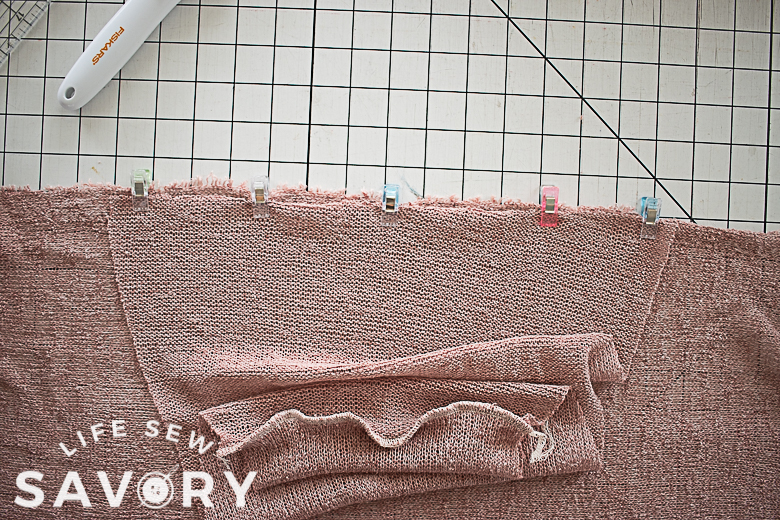
Now its time to create the sleeve. Fold your fabric so you have two layers {I’m cutting two sleeves at once} Cut the top edge of the sleeve a straight line. The blue magnets mark the top of my sleeve. This is also the top of the sleeve measurement {with added seam allowance} Find the center of the sleeve top and measure down the length of the sleeve {as measured} Make a small cut in the fabric at the wrist. From the center, cut your wrist measurement {plus seam allowance}
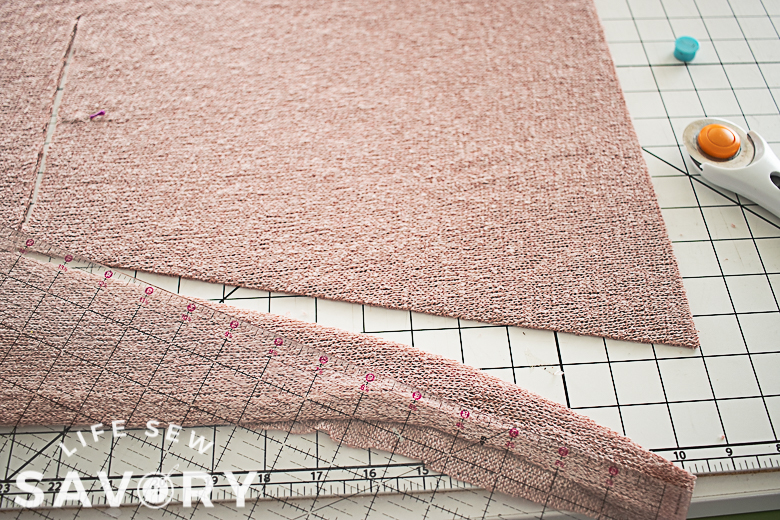
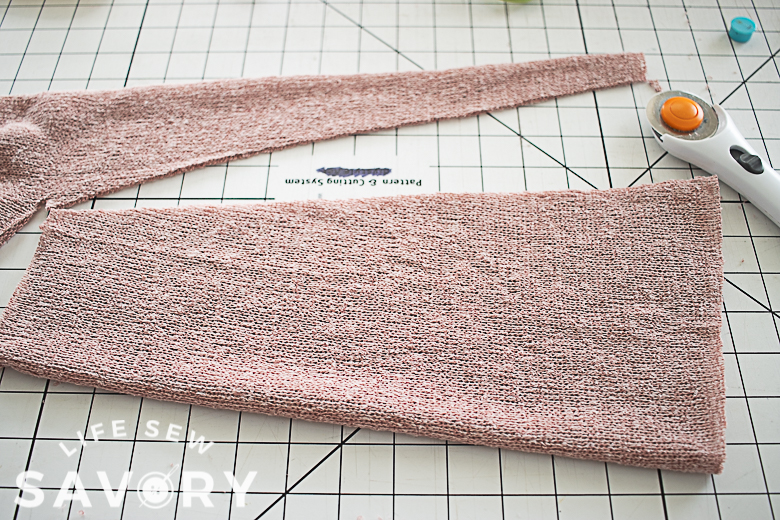
Using a straight edge, cut from the edge of the wrist cut to the top marking of the sleeve. Fold the sleeve and repeat. You now should have have two wedge shaped sleeves.
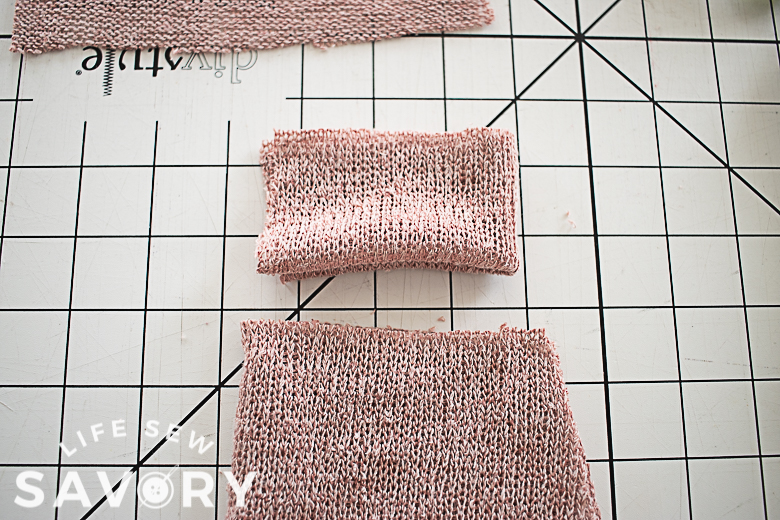
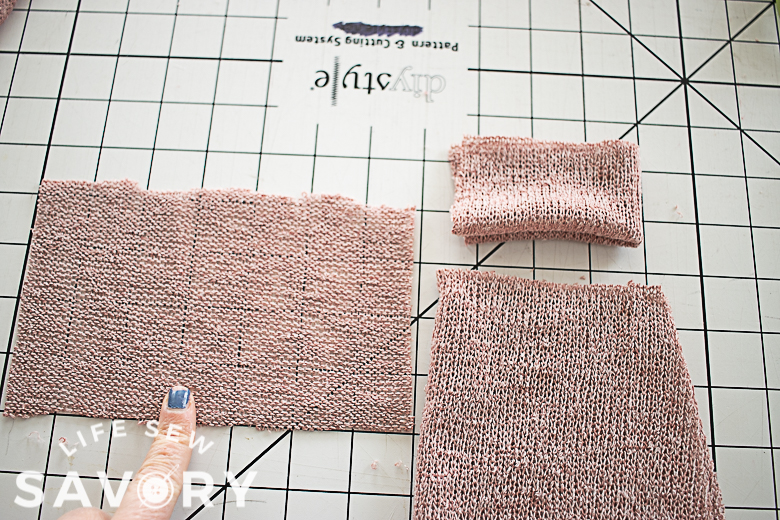
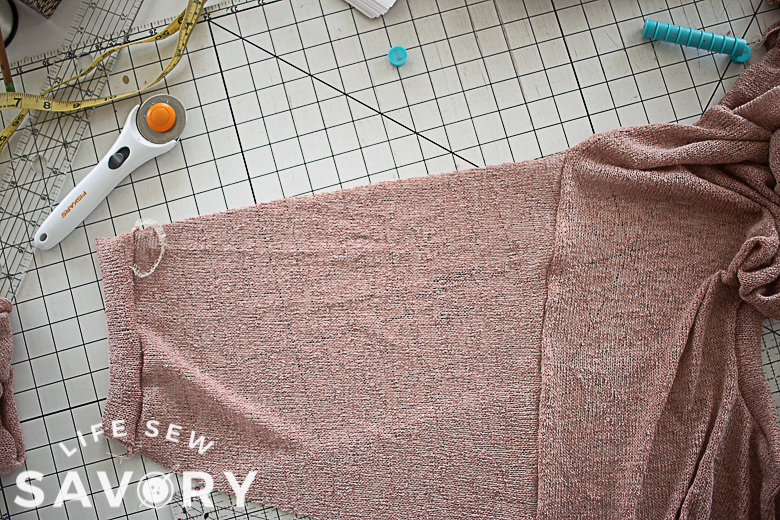
If you are added cuffs, cut the cuffs now. You can also just hem the bottom of the sleeve. Reference the cuff tutorial linked above if needed. Sew the cuffs to the bottom of the sleeves.
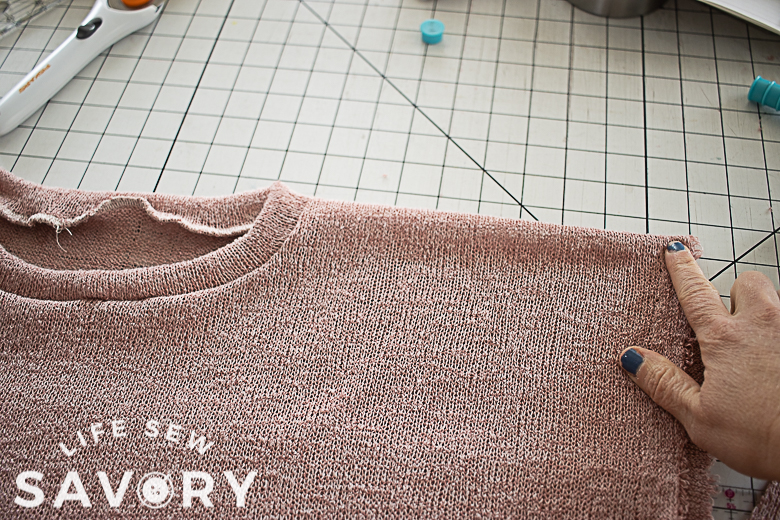
Find the center of top shoulder. Mark on both sides. Open up the sides to the center mark.
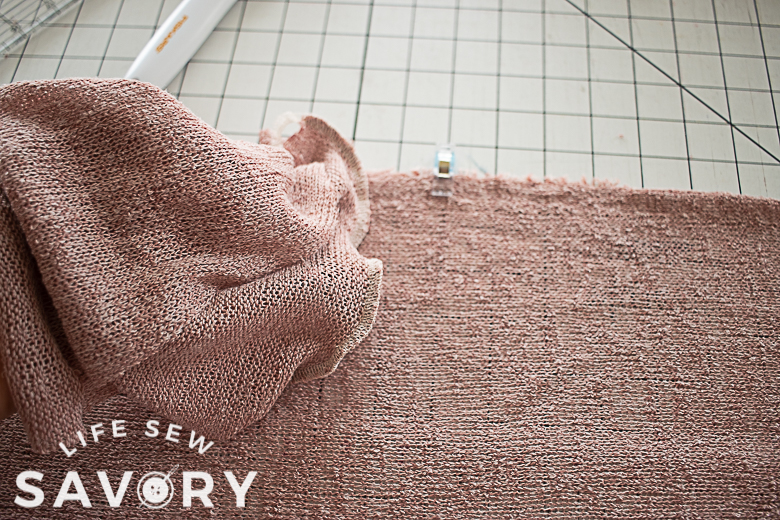
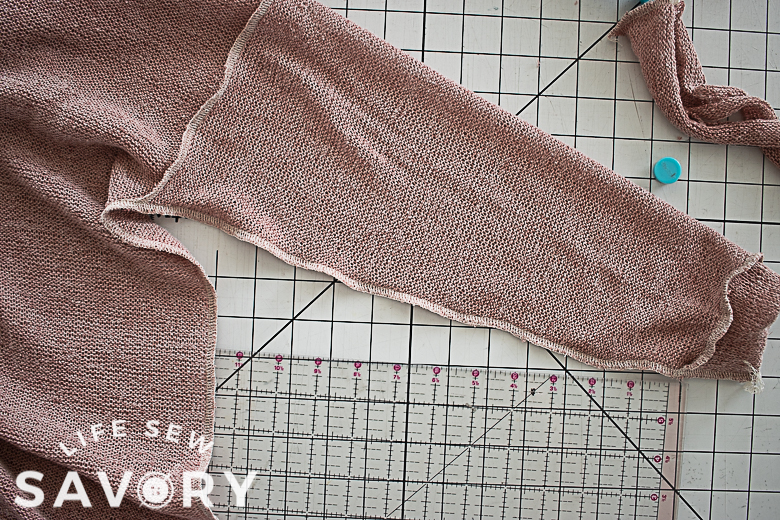
Find the center of the top of the sleeve and match to the center marking. With right sides together clip sleeve to shirt body. Sew, repeat on other side.
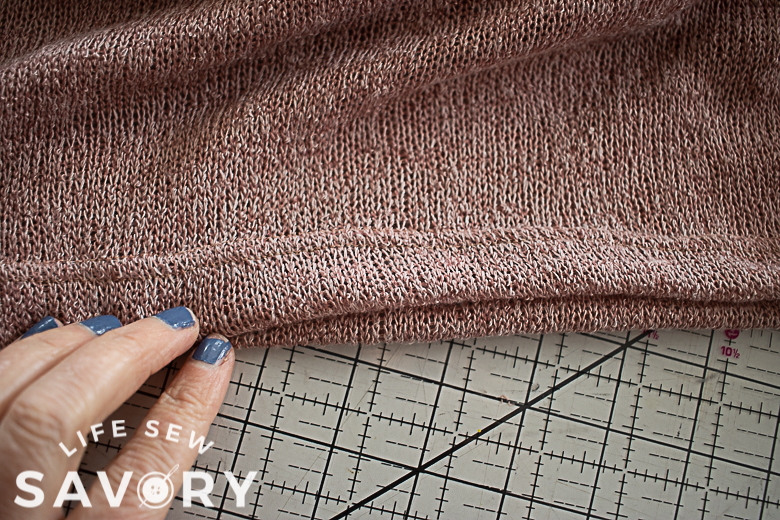
Pin/clip and sew the side seam. Hem the bottom OR add a bottom band OR split hem to finish the top.
Whew!! that’s it!! So lovely right? If any part confuses you, watch the video to see me sew it in action. Be sure to share any makes with photos in our facebook group or email them to me!





Cheryl@SewCanDo says
Thanks for sharing this. I really wanted to wear sweatshirts this winter and finding any cute ones was almost impossible. Bookmarking this and going to have a look through my stash to make some myself now!
Rayne Koch says
I love sweatshirts but can never find any i like. Also i never tried to make my own, but i’m going to try this. Your tutorial makes it look easy and as like i said never did this before and hopefully it comes out not to scary…LOL, I’ve made dresses for my grand daughter but always used a pattern and they always turned out nice. Wish me luck!