inside: get all the details you need to learn now to sew a t-shirt quilt. How many shirts, how to cut them and how to piece together to create an amazing memory quilt with t-shirts.
About ten years ago I convinced my husband to turn a box of old shirts in to a t-shirt quilt. It had some issues and I learned a lot in the process. You can read about my first quilt more here in this t-shirt quilt prep post. how to cut tshirts for a shirt quilt We used that lap size t-shirt quilt for all these years and it was a coveted item for my husband and my kids.
When I found ANOTHER box of t-shirts that aren’t being worn we decided once again to sew them into a quilt. I documented that process here in my how to sew a tshirt quilt tutorial. Enjoy! And get rid of those old boxes of shirts {haha}
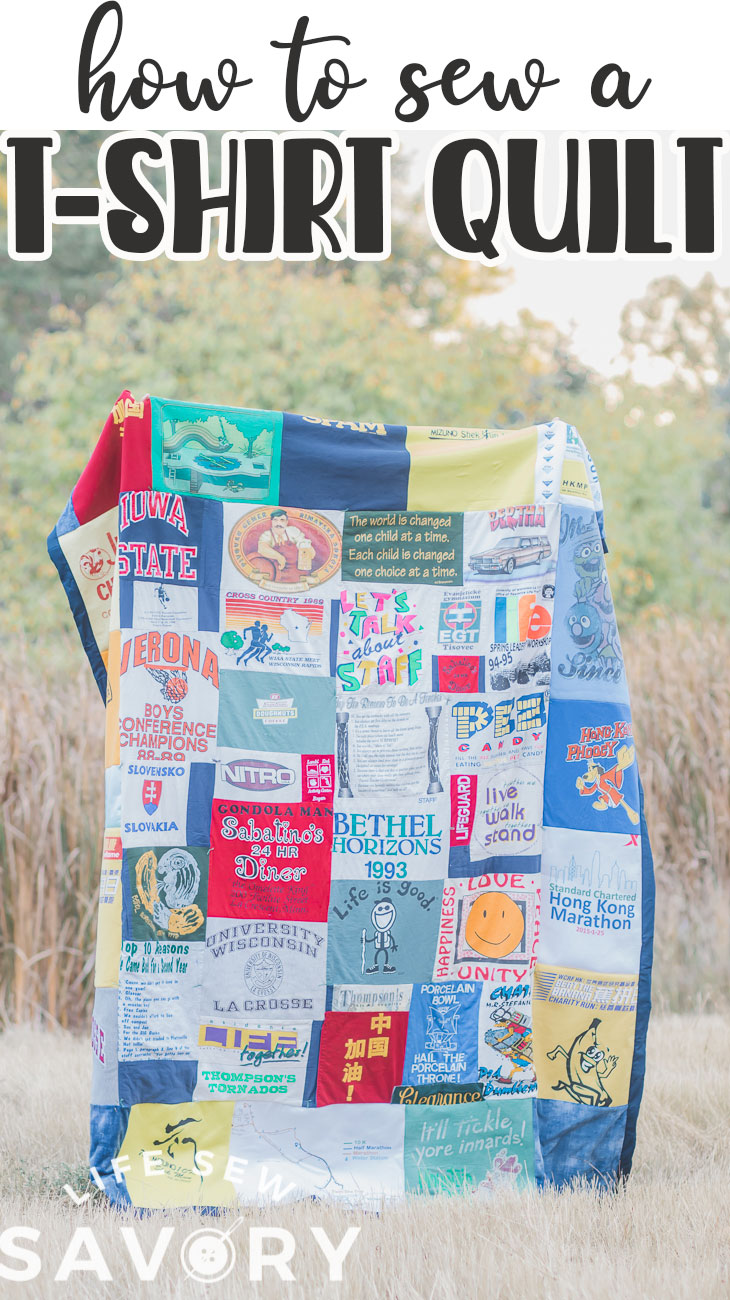
How to make a quilt with shirts
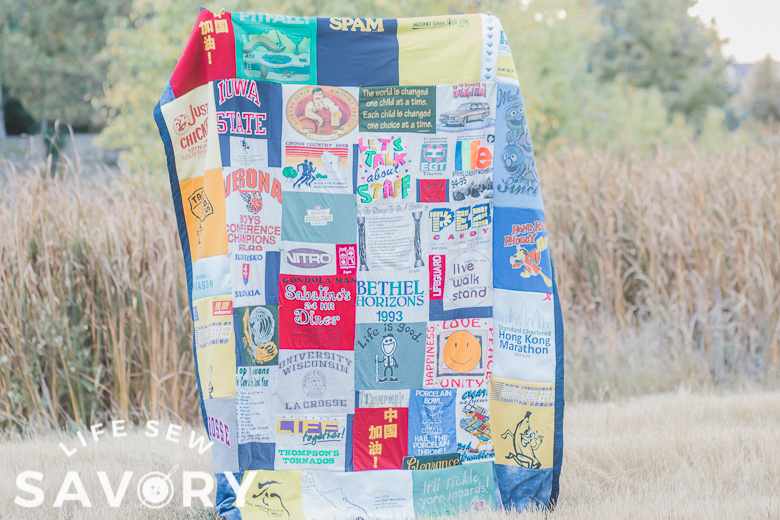
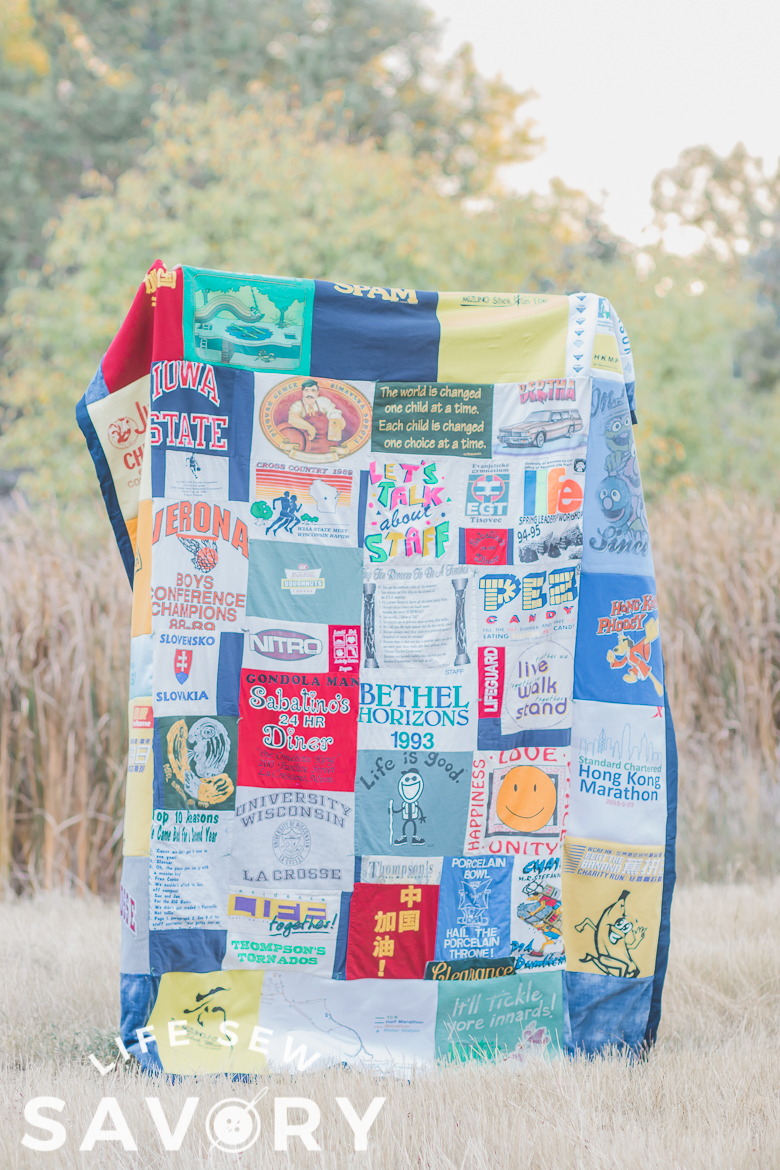
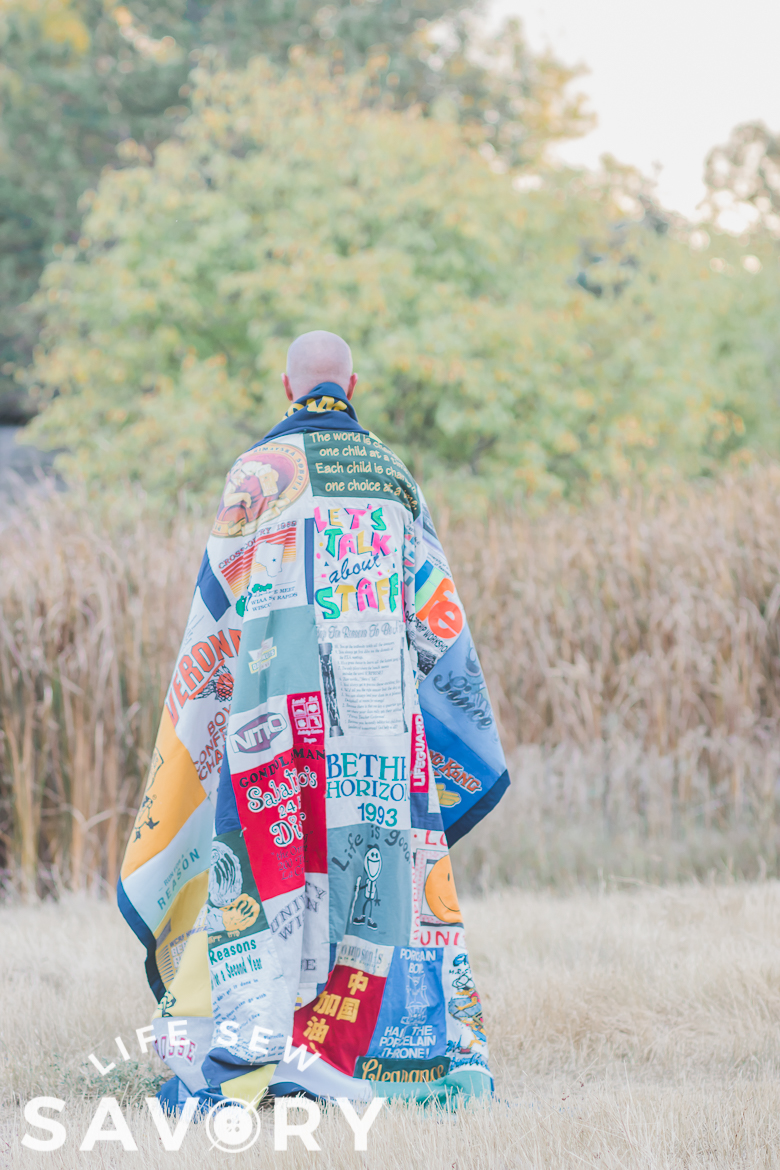
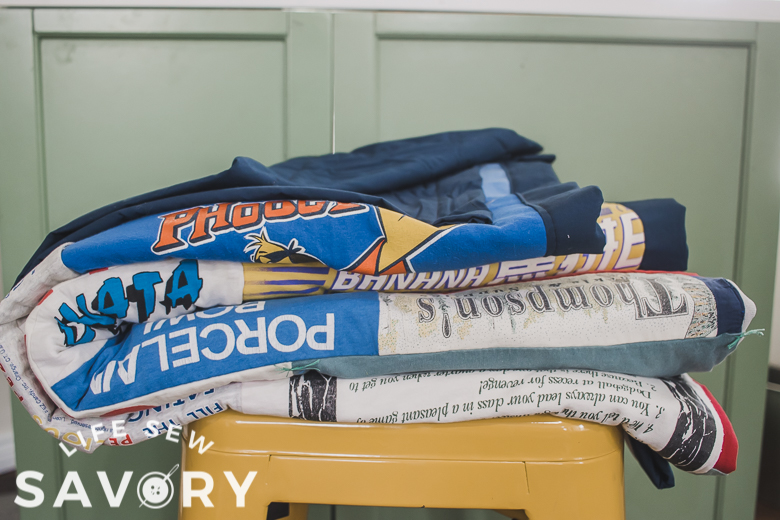
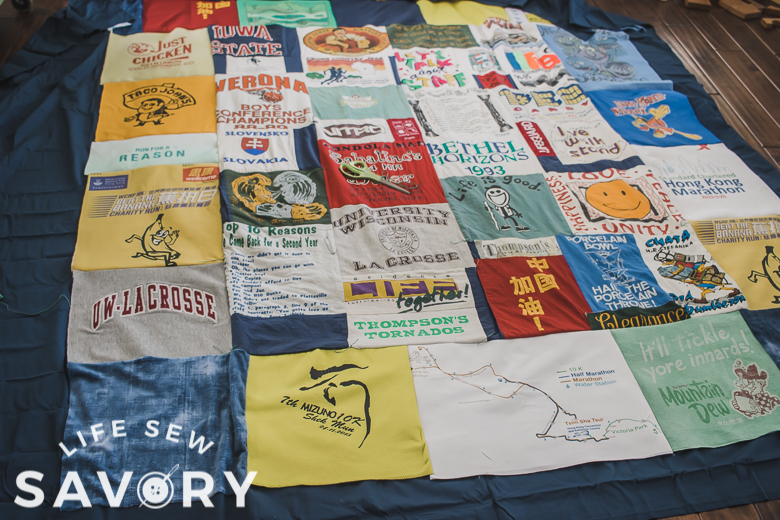
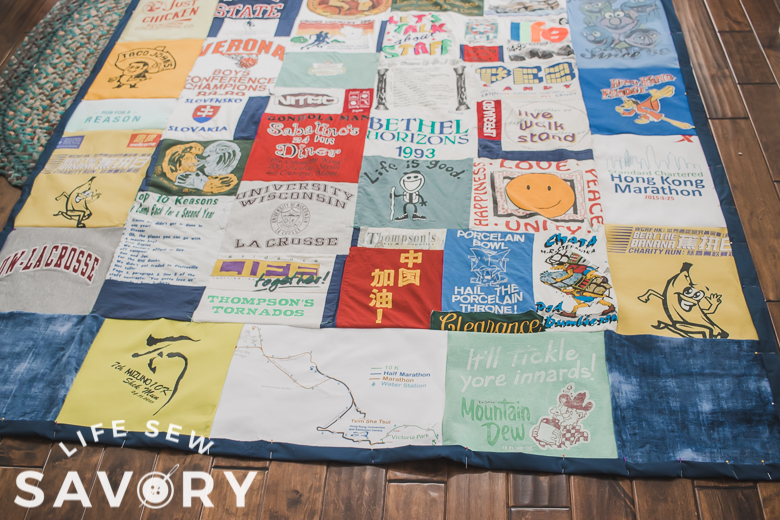
For some reason my husband will part with sentimental shirts if I sew them into a quilt. BUT, he didn’t want a new quilt, he wanted me to add to the original quilt. I picked apart the first t-shirt quilt and then added to it… The new quilt is HUGE! Wow, I was not picturing it like this, but my husband is super pleased with the result.
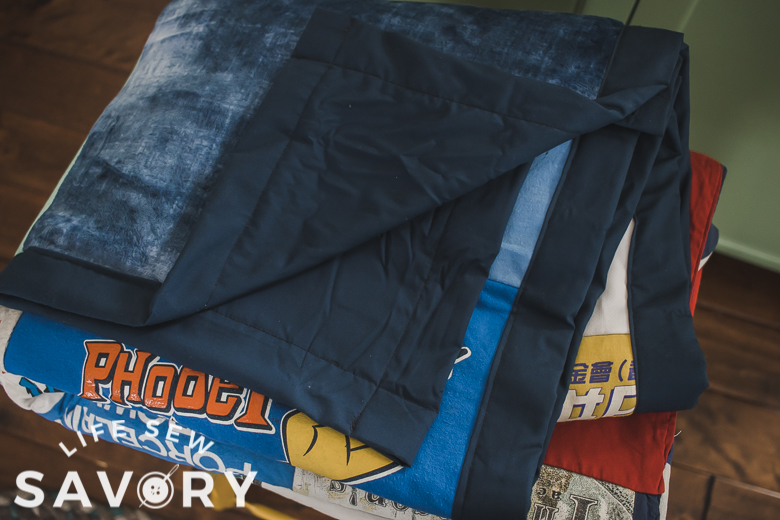
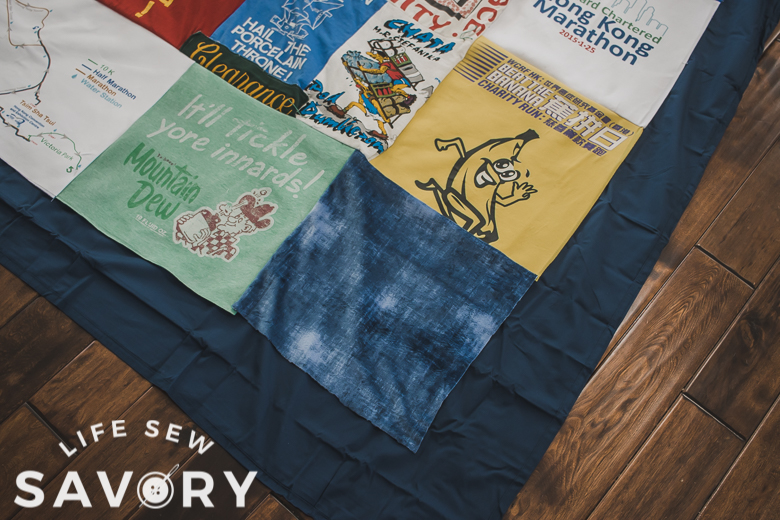
The original quilt is the smaller pieces in the middle and the larger squares are the new shirts. I used a flat sheet to cover the back and I can’t wait show you below how easy it is to bind a quilt this way.
how many t-shirts do you need for a tshirt quilt
For a lap size quilt I would suggest 16-20 shirts cut into at least 12″ x 12″ squares. I would double that number for a twin bed size quilt. If you have kid size shirts or smaller graphics you will need more. You can always add squares of other fabric to fill in any extra space needed. I’ve used extra fabric to fill in weird shaped holes as well as the corners on this new quilt as I was just a couple of t-shirts short to make it this big.
For supplies and more details on the t-shirt quilt prep, make sure to check out the first tutorial in this series.
How to sew a tshirt quilt
Ok! Let’s put it all together. You should have your shirts prepped and backed as directed in the prepping post.
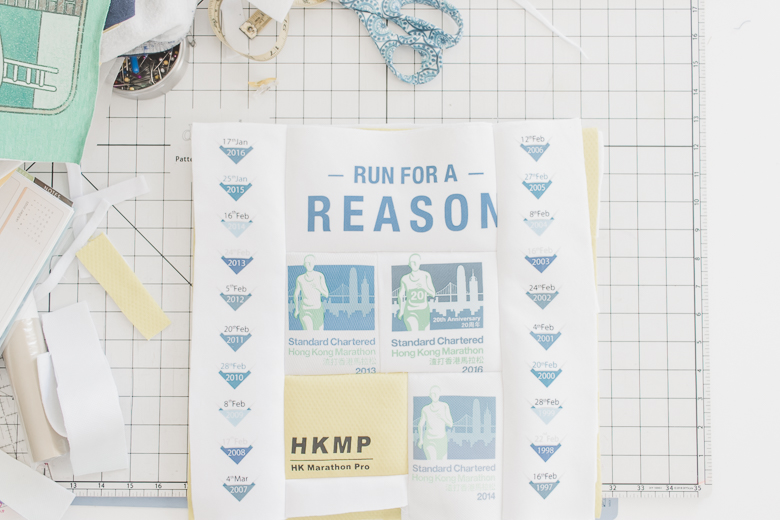
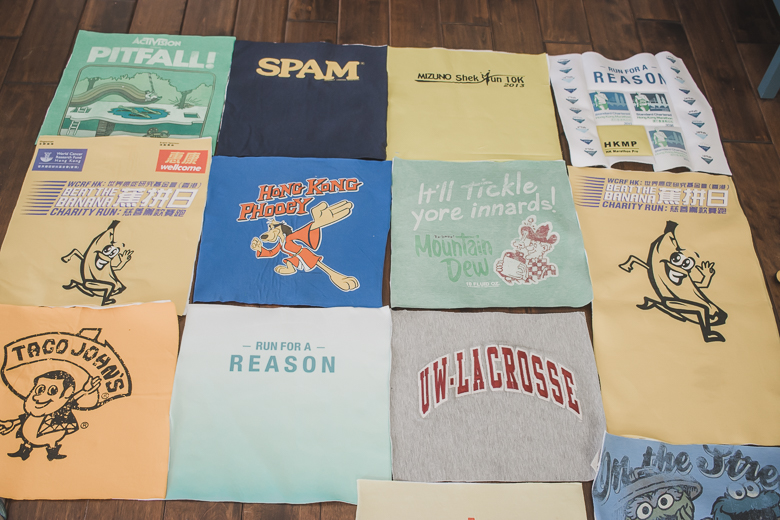
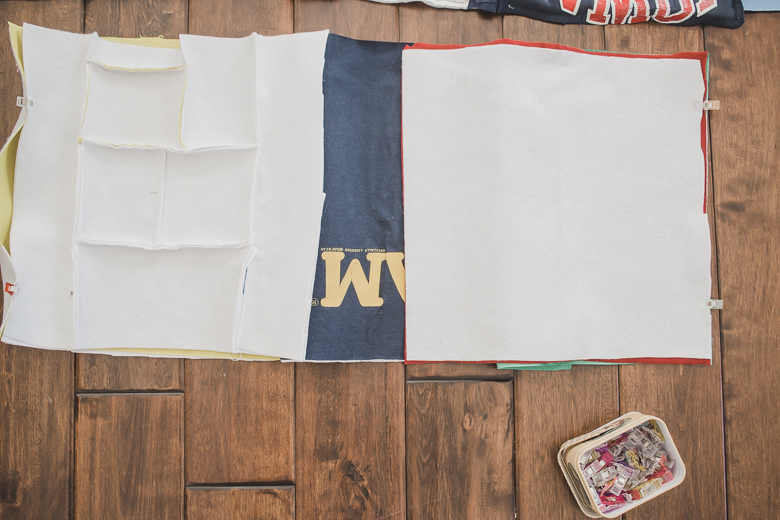
The first photo you can see I pieced together several small graphics to create a larger square the same size as the other. Once you have all the squares ready to go you should lay it out on the floor to see color blocking and final layout.
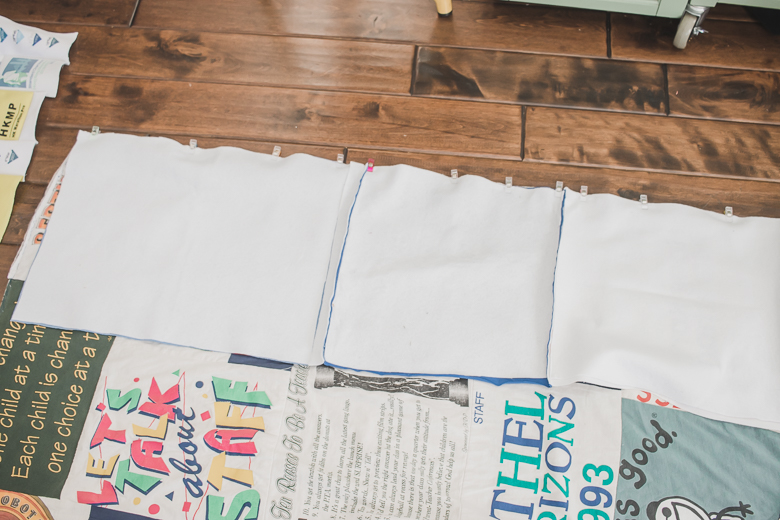
Begin sewing together the quilt one row at a time. I like to pin/clip the rows together and sew it all together to create each row. Once you have the rows done you can sew them together. The photos below show these two steps.
Here’s my finished quilt top.
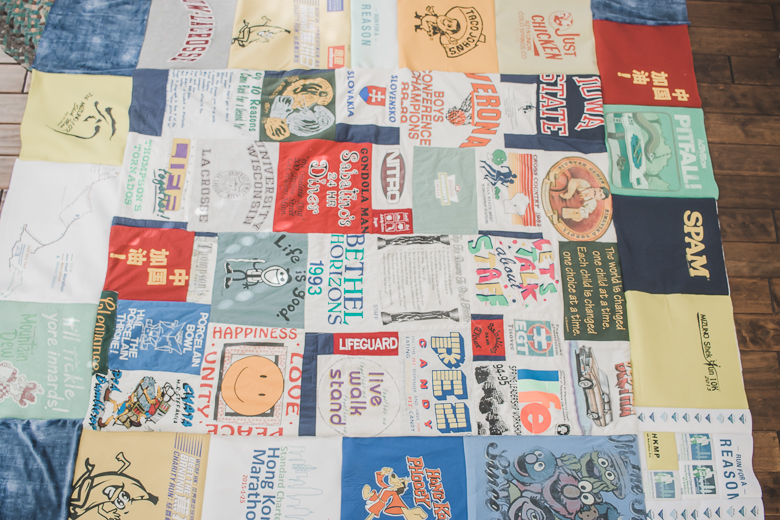
Now that you have your finished quilt top you have to decide what the backing will be on your quilt. I had originally bought a fleecy backing, but the quilt got too huge and too heavy for me to add to that. With this larger size I decided to use a flat sheet. You will need a sheet that is several inches bigger than the quilt top.
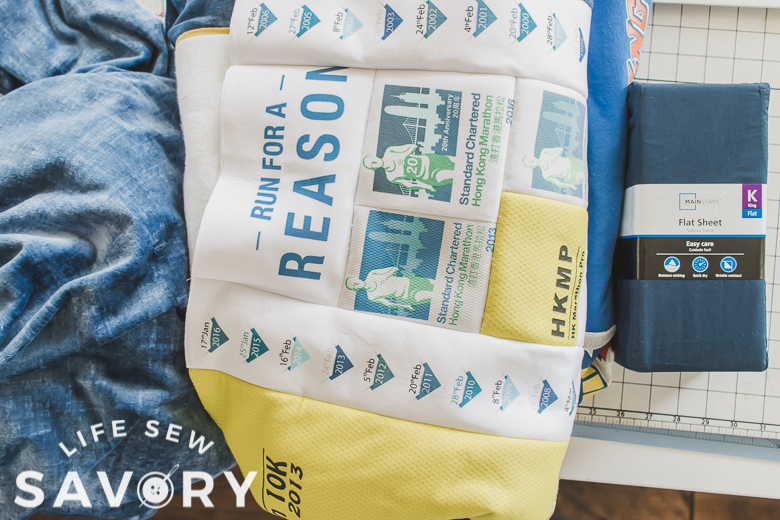
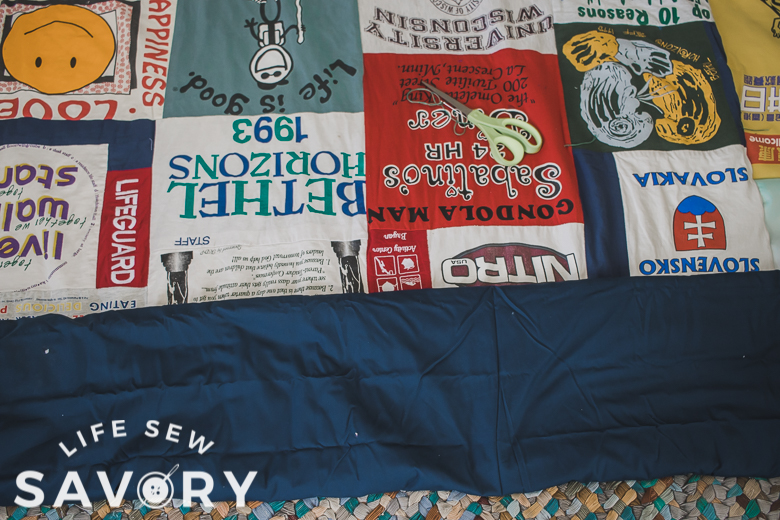
Lay the sheet/fleece with the wrong side up and then lay the shirt quilt top face up on top of it. You should have several inches extra backing fabric on all sides of the quilt. Stretch both pieces to flatten as much as possible.
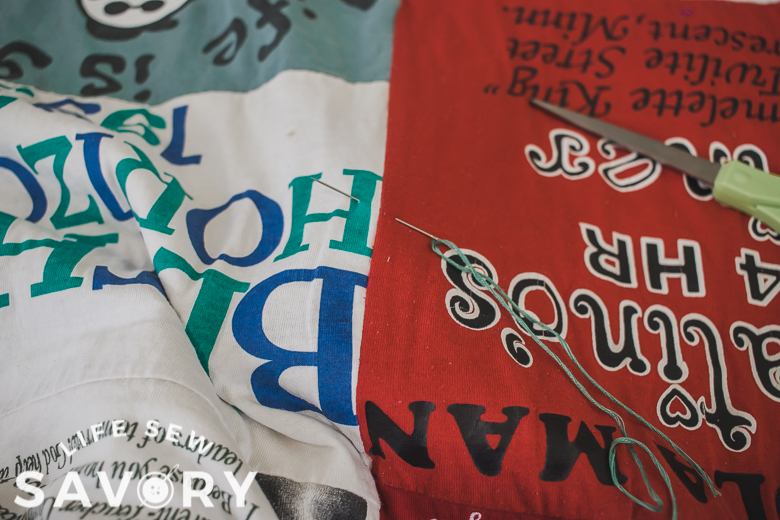
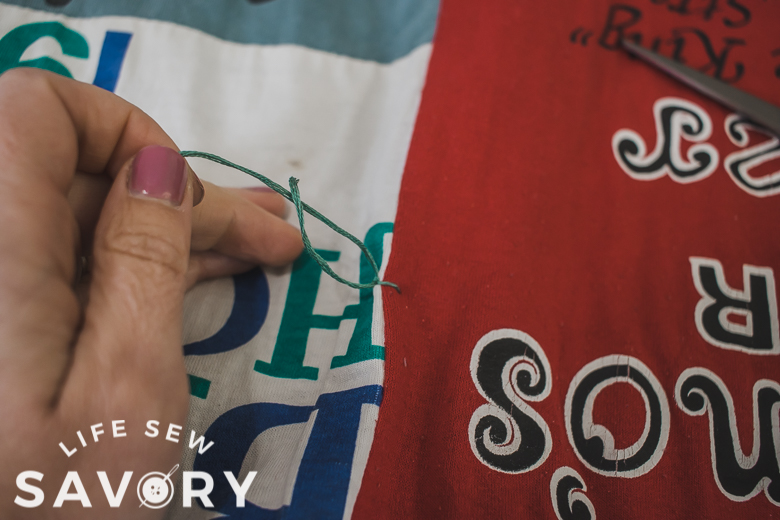
From one end roll the two layers together until you have roll about half the quilt. In the center begin adding a few ties. You can use embroidery floss or thin yarn and a thick needle to create several ties. You can add at each corner or middle of the squares. Unroll as you go to continue add ties. When you finish one half, roll and tie the other side of the quilt.
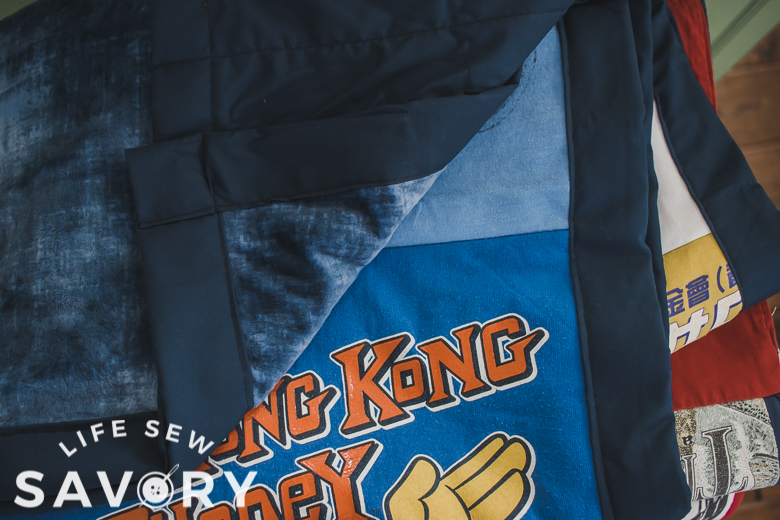
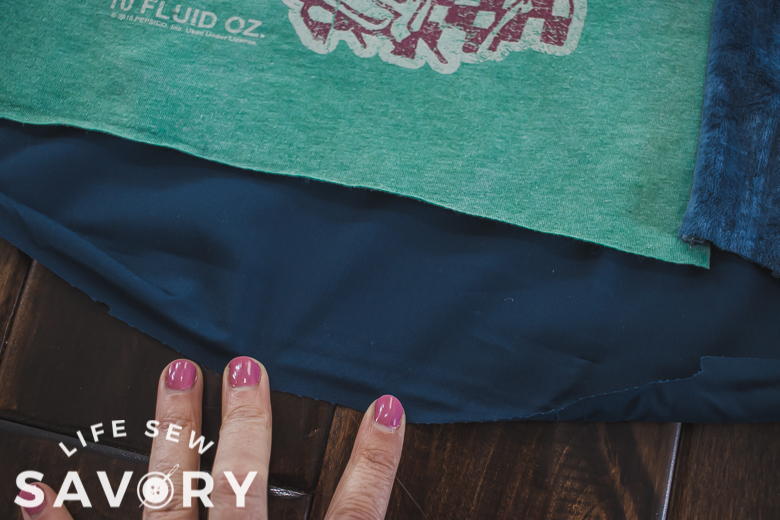
I used the same method of backing and binding all in one like I did on this cozy lap blanket tutorial. Trim the backing to about 3 inches extra on all sides, then we will create a double fold binding.
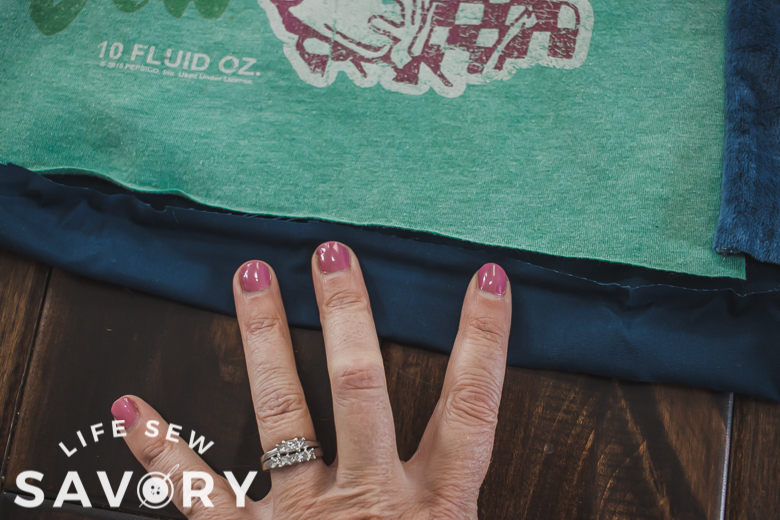
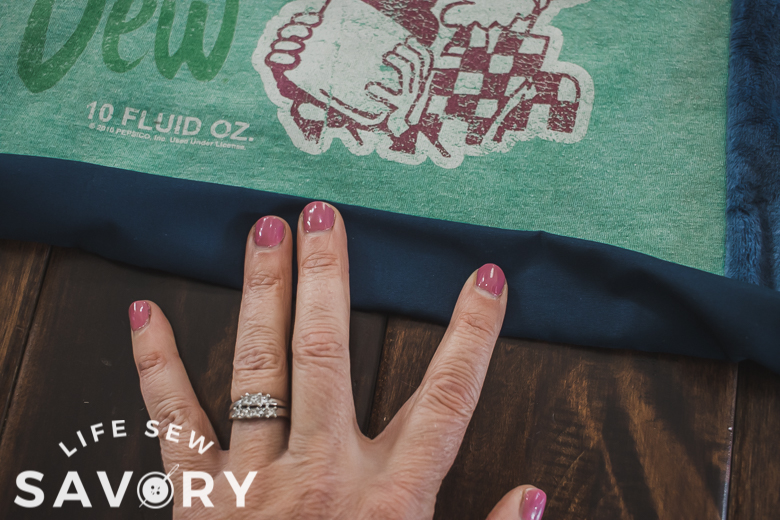
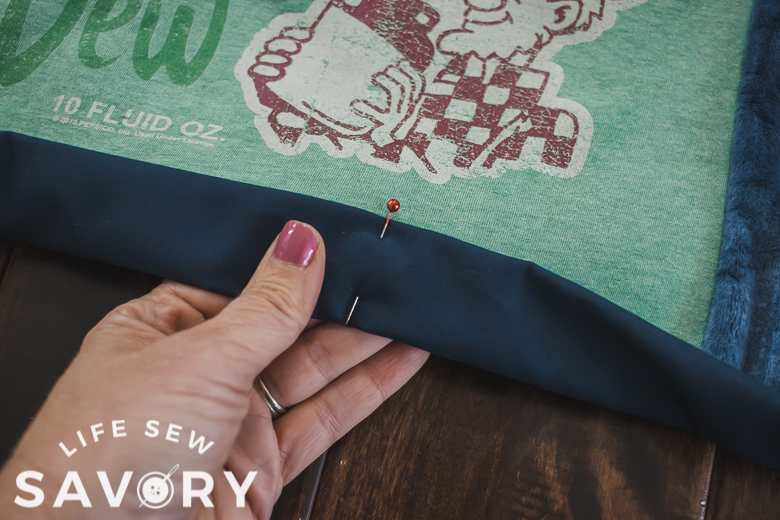
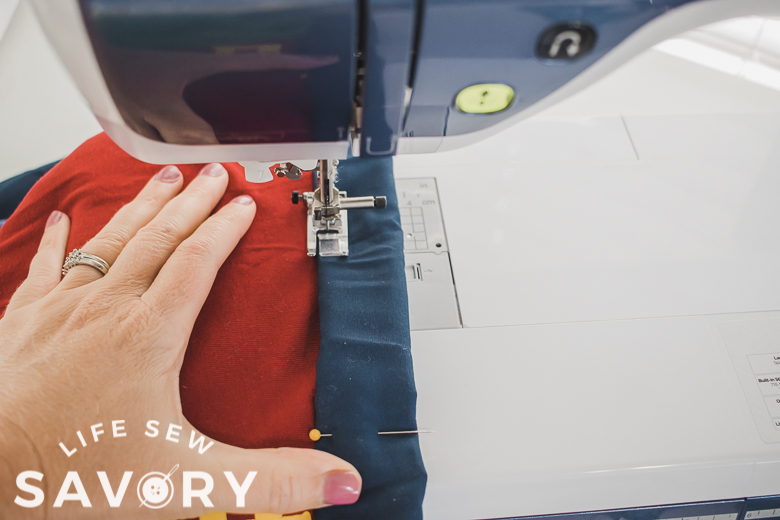
Fold the raw edge over to the quilt, then fold over again. Pin along each edge. At the corners fold all the way over, then fold the corners into a square.
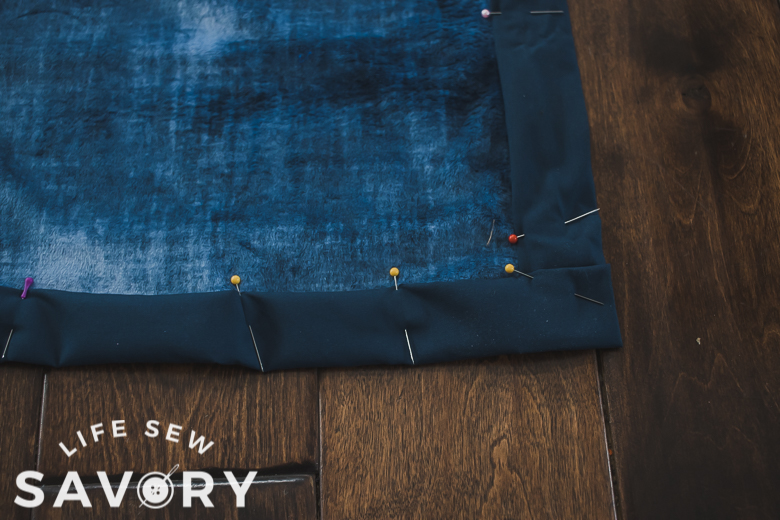
Sew along the folded edge to finish the t-shirt quilt. The bigger your quilt the more you might have to manage all the fabric, but sew slow and keep it straight for a great result. You can create the same edge finish with a fleece back as well.
You did it!! Enjoy your shirts in a more useful form than sitting in a box.






Joanne says
Question – you just add a backing to it, you don’t bother with batting with this? Is that because you are using fusible fleece to stabilize the tshirts? Or just personal preference? Thanks!