inside: learn learn How to Sew Elastic Waistband with or without a casing for your elastic waistband needs. Photo and video tutorial.
One of the first things you learn when sewing basic clothes {pjs} is learn how to sew an elastic waistband. However, over the years I’ve learned some tips that are helpful for sewing a traditional elastic waistband AND a version without a casing. I decided to write this post for those of you who are new to sewing and those of you who may not know some of these time saving tips.

how to sew elastic waistband –
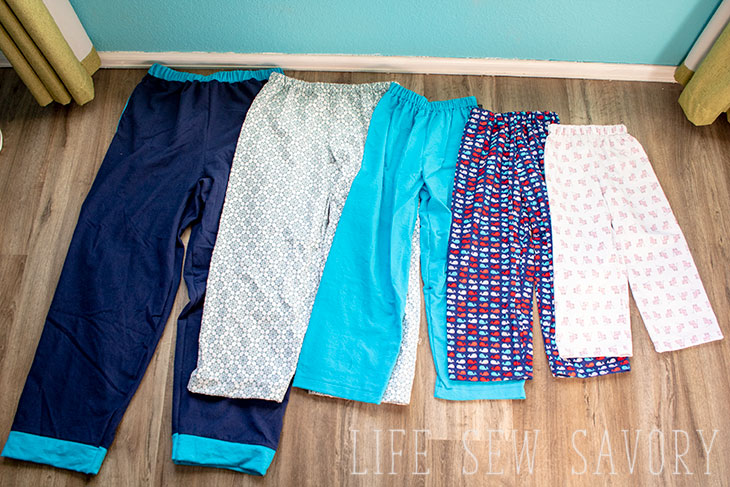
One of the first sewing projects I recommend for beginners is PJ pants and to sew those you need to know how to make an elastic waistband. Elastic waistbands are also used when sewing simple elastic skirts, leggings and other more complicated bottoms patterns.

How to sew elastic – tips
If you have never sewn with elastic you should know that it is so helpful and necessary in many projects. It’s also a basic sewing supply for many basic sewing tutorials/pattern.
Below are some great tips for how to sew elastic, how to use it and keeping it flat in your waistbands. Elastic is also used for gathering, securing and fitting of clothes.
This post will show you how to make a traditional elastic waistband and how to sew an elastic waistband without a casing. Both methods are useful and used for different purposes.
Other basic sewing tutorials/techniques you may enjoy
how to make an elastic waistband
Let’s start first with the traditional way of sewing an elastic waistband.
Uses –
- Pajamas
- basic shorts
- most woven fabric shorts/skirts
- skirts
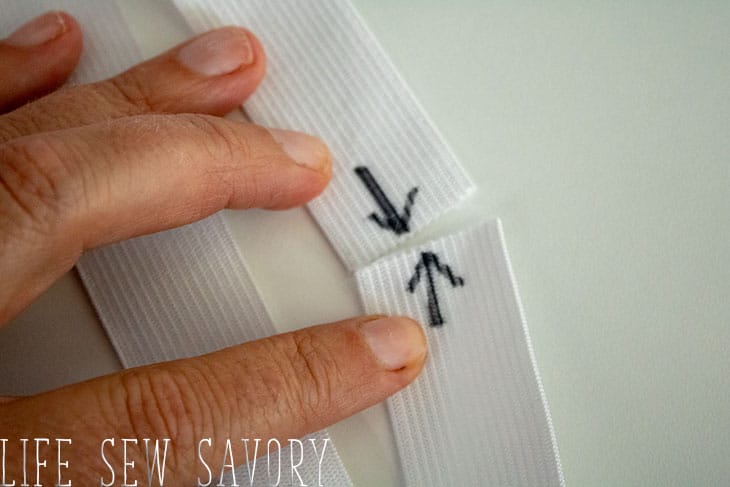
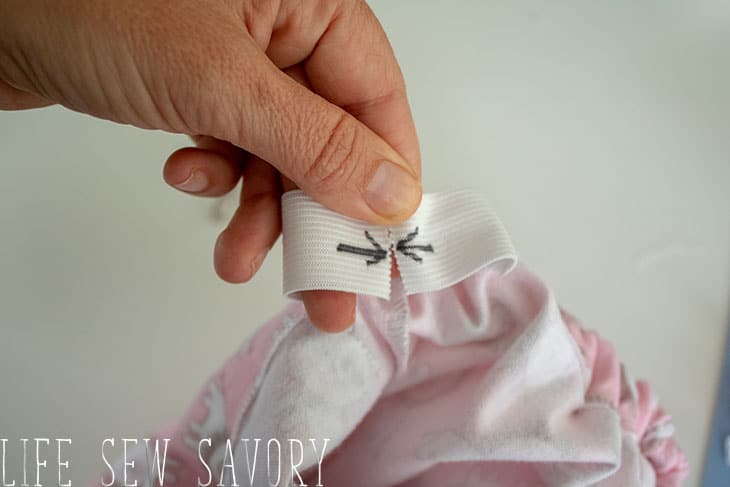
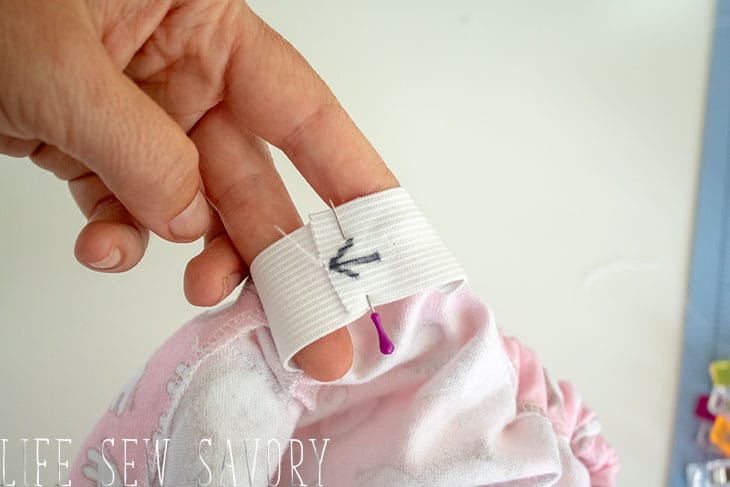
To begin, cut your elastic according the waist size needed or pattern directions. I have been marking the ends of the elastic lately to prevent twisting while threading.
You also need to finish the raw edge of the top of the pants. I like to just serge around the top for pjs or shorts for my kids, but you can fold over 1/4″ and press if you do not have a serger or prefer the folded look.
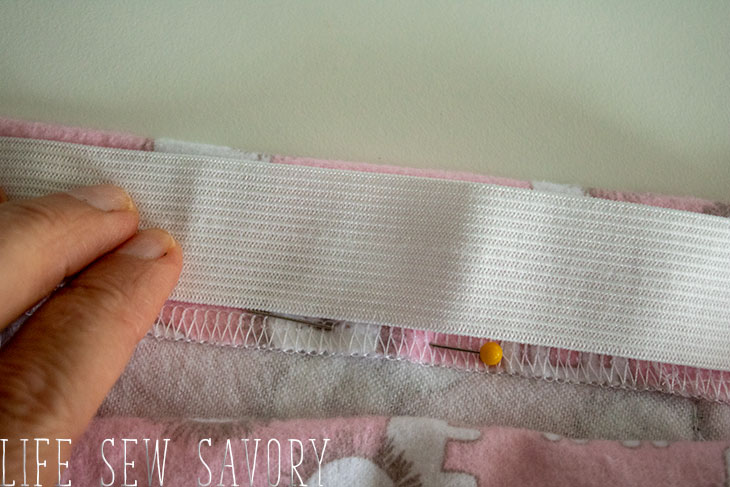
Next you will want to fold over the top of the pants enough to create a casing that the elastic will fit through. I like to measure with the elastic and then pin around the top of the pants. I used the serger finishing method for the raw edge on my pants.
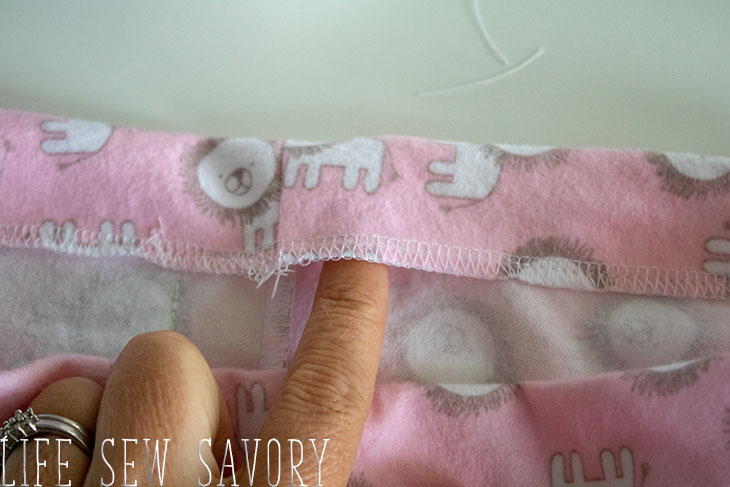
Stitch around on the folded edge of the fabric to create the casing. Leave a 2 inch opening to thread the elastic through. Use a large safety pin or Bodkin to thread the elastic.
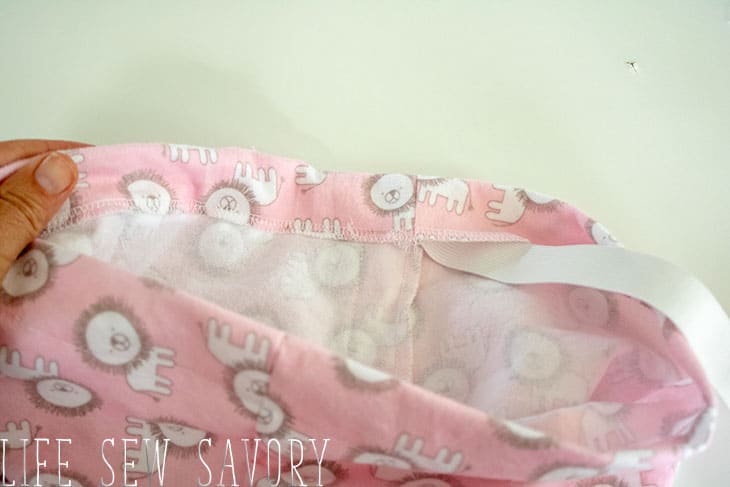
Pull the elastic all the way through the casing, making sure to not pull the end tail into the casing and losing it. I will sometimes pin it to the fabric to prevent losing.
When the elastic is all threaded, match the arrows to check for twisting, and then overlap and sew with a zig-zag to secure. Pin and stitch closed the opening you use to thread the elastic.
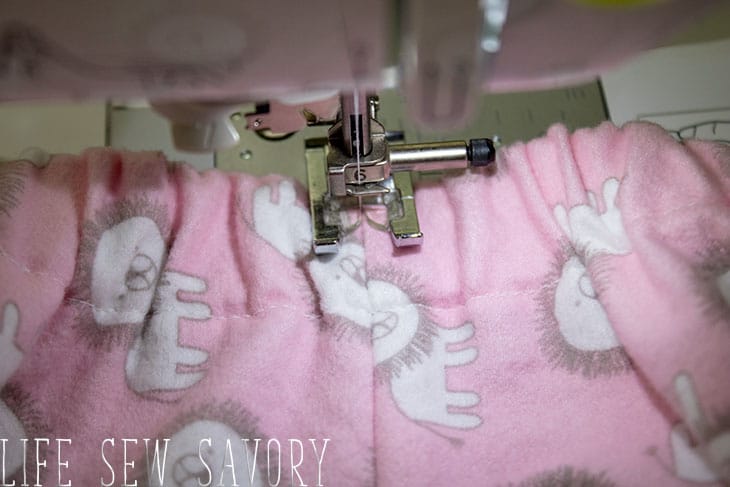
Pull and stretch the elastic to evenly distribute then stitch in the ditch on the side seams. This means you sew right over the side seam on the right side of the fabric to make a {mostly} invisible stitch. This will secure the elastic on the sides and prevent further twisting.
how to sew elastic waistband without a casing
This is a method I started using when I was sewing lots of leggings for my daughter. There are a few things I mass produce at certain seasons and leggings are one of those things. Using the traditional casing method takes more time than the one I am going to show you now and it’s a legging favorite for me.
Uses-
- Knit fabric shorts
- Leggings
- woven or stretch bottoms that have very little gather

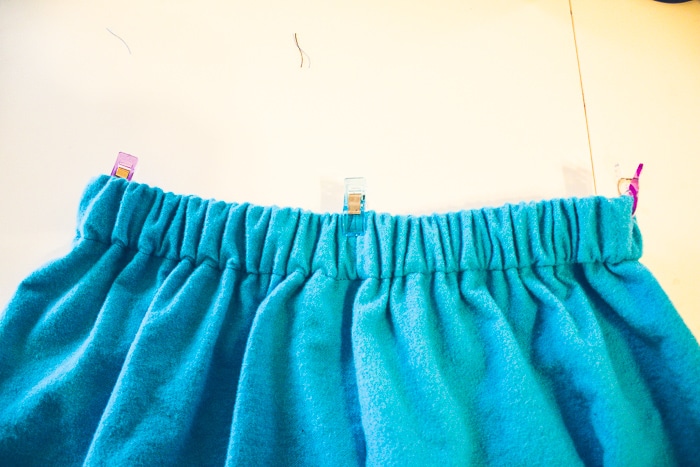
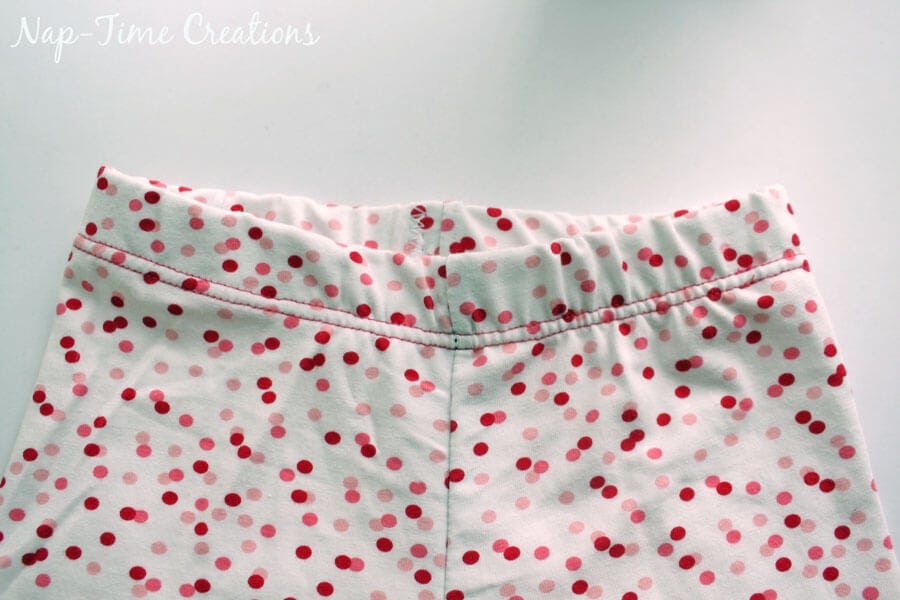
Begin by cutting the elastic to the correct size and sewing it into a circle. Match the seam on the elastic with the back seam on the pants. Quarter the elastic and quarter the pants and match up each of those places. Secure with a pin or clip.
Sew around the top of the pants catching both the pants and the elastic in the stitching. Use a zig-zag or serger so the stitching has stretch. If you use a serger be sure not to catch the elastic in the blade as it will compromise the elastic. The elastic will be sewn on the inside of the pants/skirt.
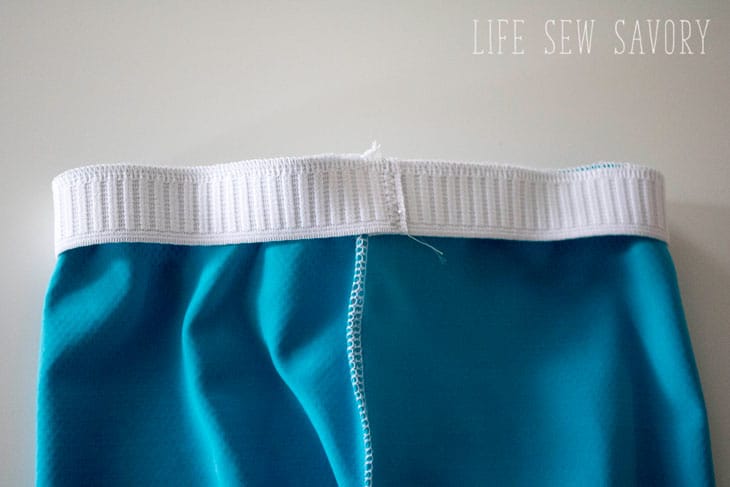
Once the elastic is attached to the fabric, fold it over one more time to create a casing and covering the elastic. Pin or clip all the way around trying to keep the fold straight over. You may need to stretch slightly in a few places.
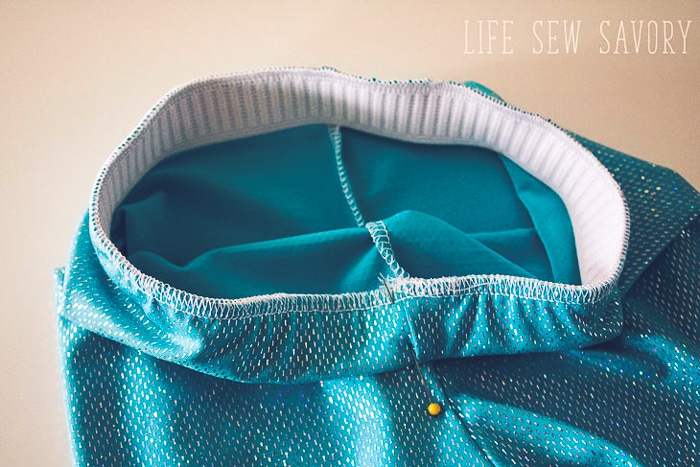
Turn the leggings/bottoms over to the right side of the fabric and sew with a stretch stitch or coverstitch machine. I sew on the right side so I can make it straight and I also use a coordinating color thread. Use your fingers to feel the edge of the elastic to stitch right on the edge.
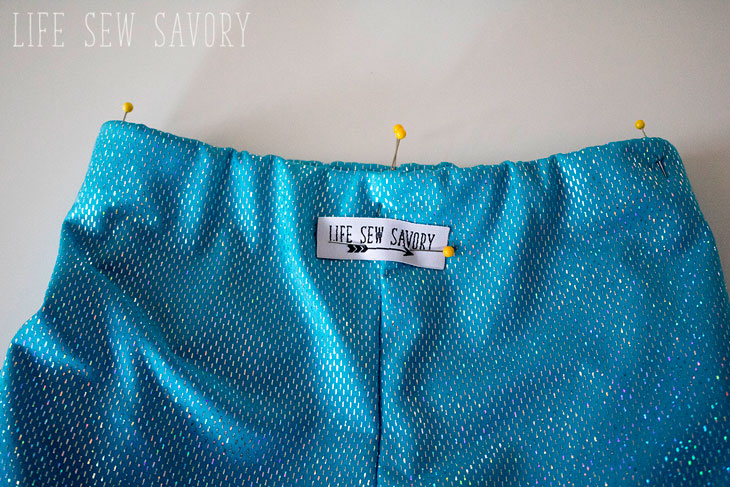
And you did it!! Elastic waistbands are now easy! Just like anything else… practice makes perfect and you will be confidently sewing in no time. You will be making great pjs and leggings in no time!





Jenny says
When sewing elastic to fabric method. After that is done, you fold over fabric at waist so elastic is enclosed. Very last step, how do I know what stretch stitch or cover stitch is on my machine? (Pfaff)
Marina says
you are such a good teacher; I have learned a lot with your video. Muchas gracias!!!
Audrey says
Great instructions. So concise and easy to understand.
Stacy says
I’m learning to sew and need to come up with a final project. After watching your video on how to sew elastic waistbands, I definitely think pajama pants will be a perfect project. Thank you for sharing.
Kathy says
You can also use a casing without ‘inserting’ the elastic. Sew your elastic into a circle (I like to butt the ends and sew to a scrap of bias for no lump join). With project wrong side out, put the circle around the top of the project and fold the top edge over the elastic to the wrong side. Stitch along the hemmed/finished edge (do not stitch into elastic) enclosing elastic. You’ll have to pull the elastic through as you go along, but you will be finished without having to thread the elastic through!
Tiffany says
Do you use a stretchy thread when stitching through the waistband? Or looser tension?
Debbie says
I have sewn for many years but was always too embarrassed to ask how to sew elastic without first making a casing. Thank you so much for showing me how to use the 2nd method! It is so much easier than I thought it would be. Thank you again!