inside: Learn how to sew swimsuit elastic with this sewing tutorial. Sewing bathing suit elastic is a bit tricky, but once you get started you will love the amazing swimwear results.
It’s almost spring break season and almost time for the beach!! I’m busy sewing up swimwear for the kids and Rose needs new swimsuits. She put on an old one last week and said “she couldn’t breathe” haha! Today I’m going to show you the steps for for sewing bathing suit elastic, you are going to love the results.
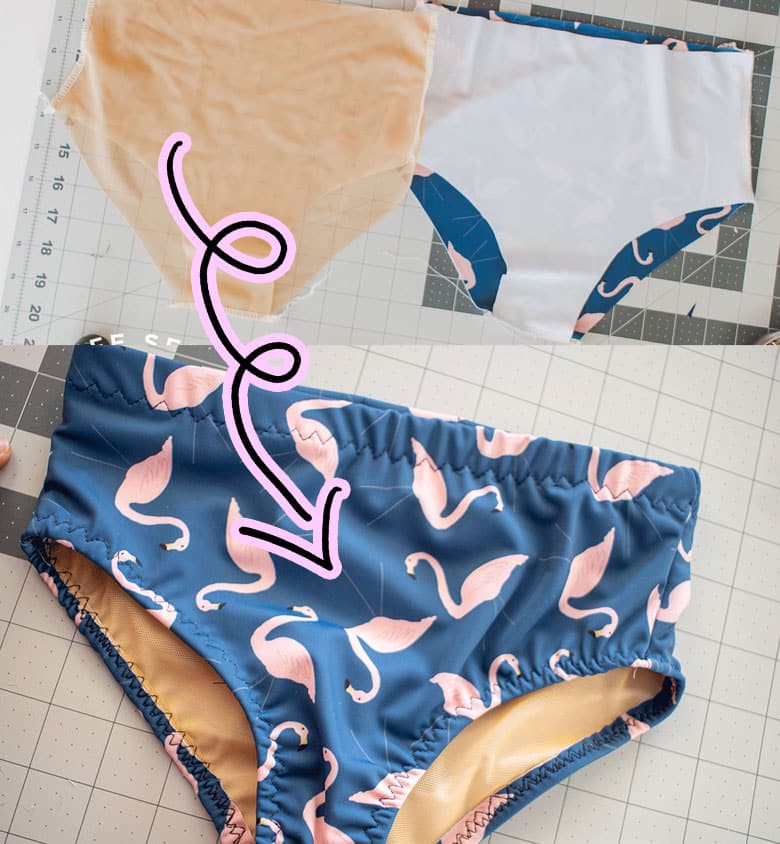
How to sew swimwear elastic
Today we are going to talk about how to sew on elastic on a swimsuit. This is a sewing technique that probably will take some practice, but once you get going, you are going to love the amazing swimsuits you can sew.
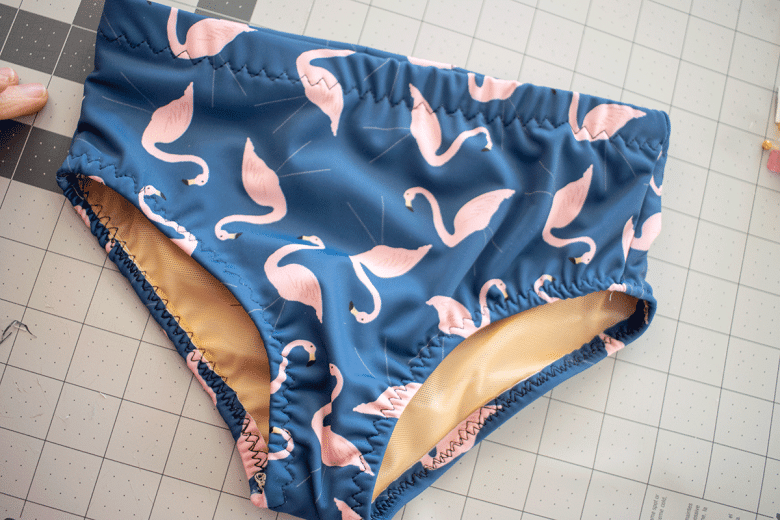
Pretty cute looking pair of swim bottoms right? My daughter tried these on when she got home from school and they fit perfect. The pattern I used here is my Girls Swimsuit pattern. It’s a great basic swimsuit with amazing coverage and you can create so many amazing variations with this basic pattern.
Other swimwear sewing tutorials and patterns
- Girls Basic Swimsuit {used here}
- Boardshorts
- Rashguard tops from a free sewing pattern
- Color Blocked Swim Suit
- Swimsuit patterns for kids
Sewing bathing suit elastic
Here you can see a video of all this in action. If you are having trouble playing the video, disable any ad blockers and try a different browser.
How to sew on elastic
Ok! Now it’s time to check out how to actually sew on the elastic. I know a lot of people have questions about what kind of elastic and thread to use with swim, but I haven’t had any trouble just using regular elastic and thread. Using high quality swim fabric seems to be more important from what I have noticed.
Elastic sewing supplies:
- Swimsuit pattern of your choice
- Stretch Needles
- all purpose thread
- 1/4 inch elastic – for legs and arms
- 1/2 inch elastic – for waist/chest
The products linked above are ones I have actually used or am currently using. They work great. I love to get my swim fabric from raspberry creek fabrics or knitfabric{dot}com.
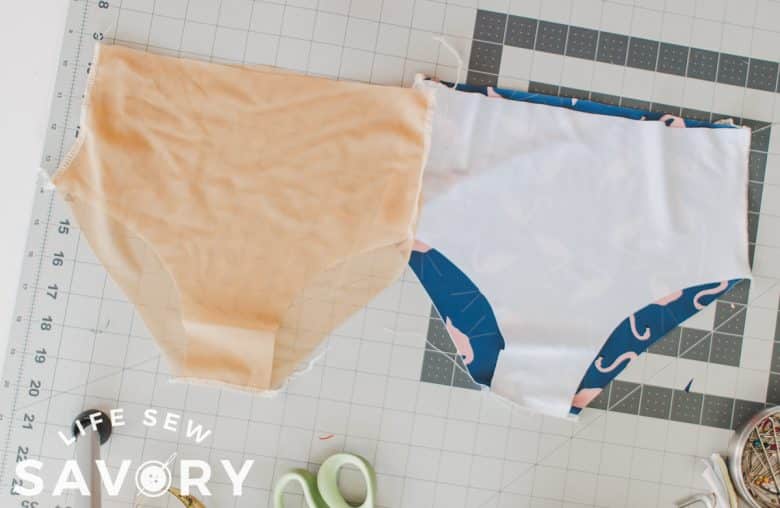
Here I’m going to show you how to sew elastic onto a swim bottom. This is the same technique for sewing elastic on a one or two piece swimsuit. Sew the liner and the main fabric at the side seams and bottom crotch seam.
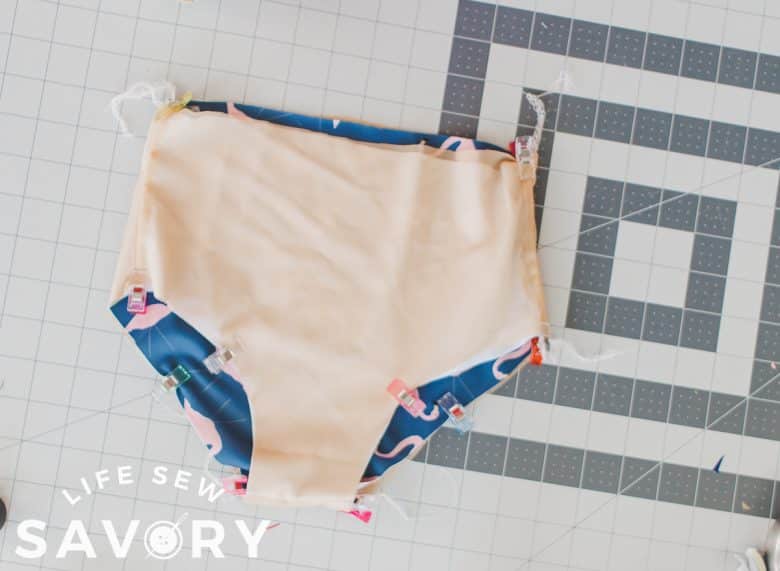
Place the seams together with the wrong side of the swim liner and the wrong side of the swim fabric together. Place a few clips or pins to hold the seams together.
Let’s start with the leg openings. Measure the opening of the fabric and cut the elastic either 80% or 85% of the length. Example: if the leg opening was 10″, you would cut your elastic 8″ or 8.5″. Cut and sew the elastic into a circle, overlapping just a bit at the ends.
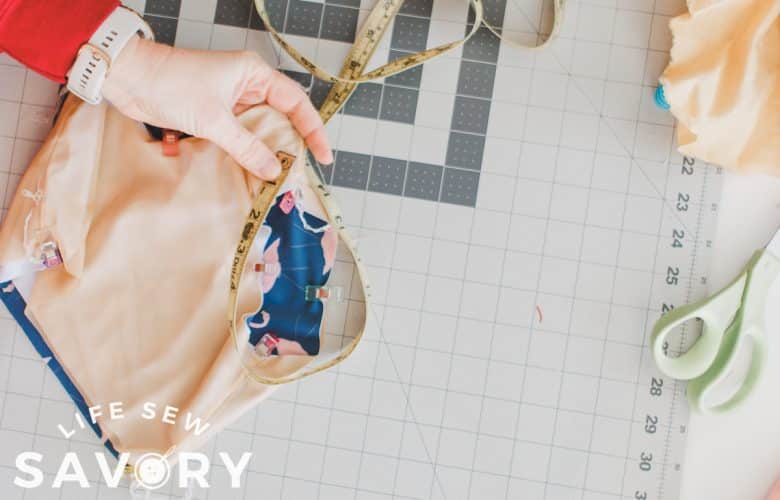
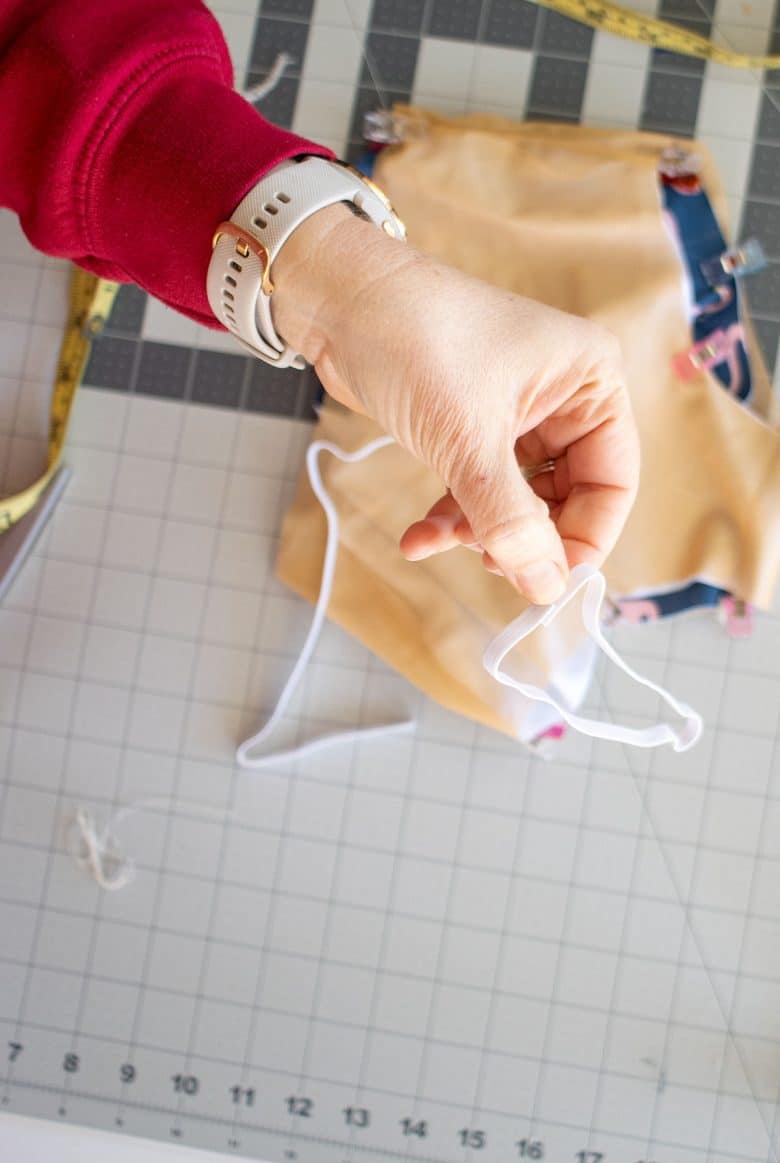
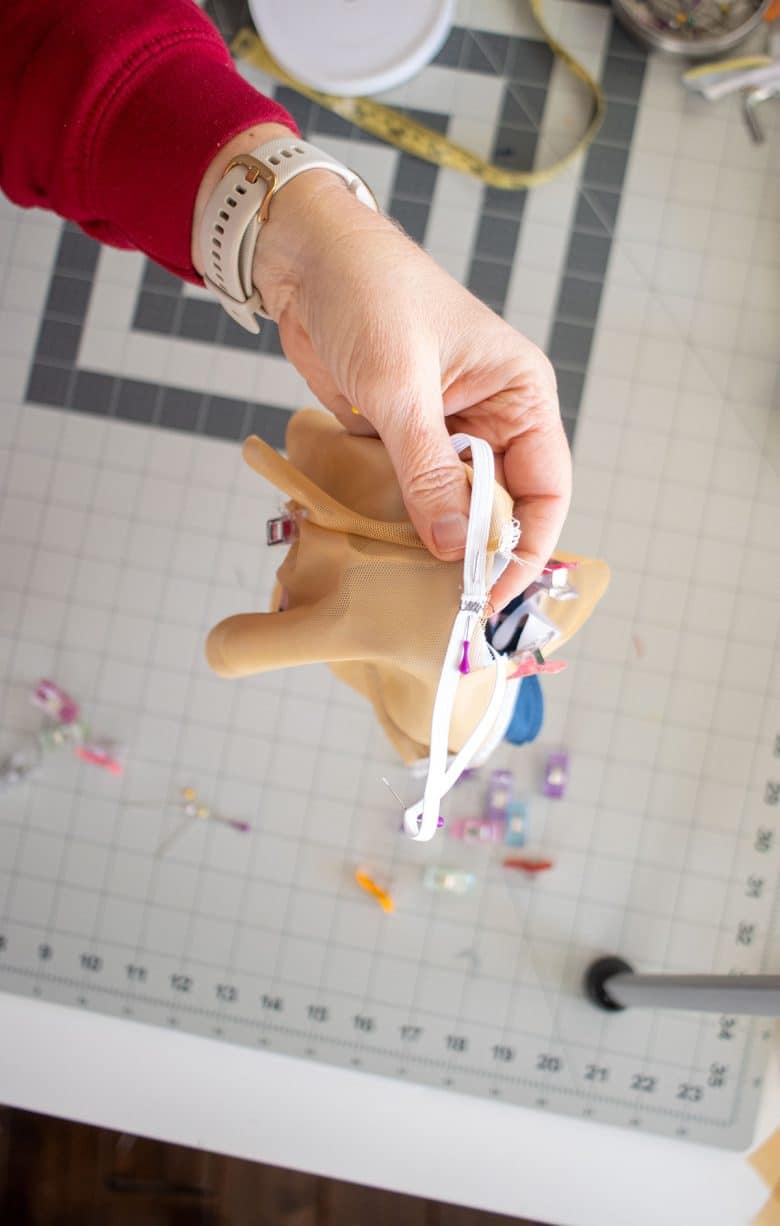
Once you have your elastic circle you will need to quarter the elastic and mark, then quarter the fabric. With the curves of a swimsuit the seams are not at the halves, so flatten out as much as you can to find the quarters. Match the quarters of the elastic to the quarters on the fabric and pin. I’m a clip girl, but they let the elastic slip, so pins are a must here.
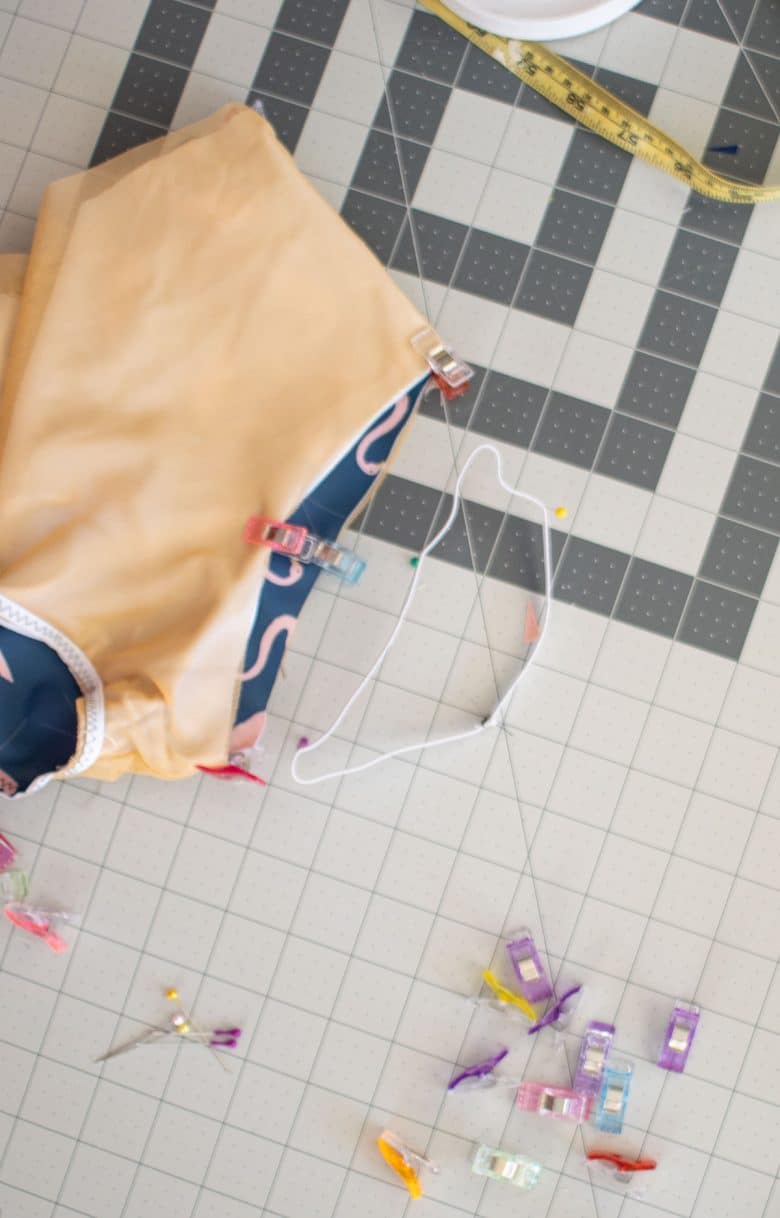
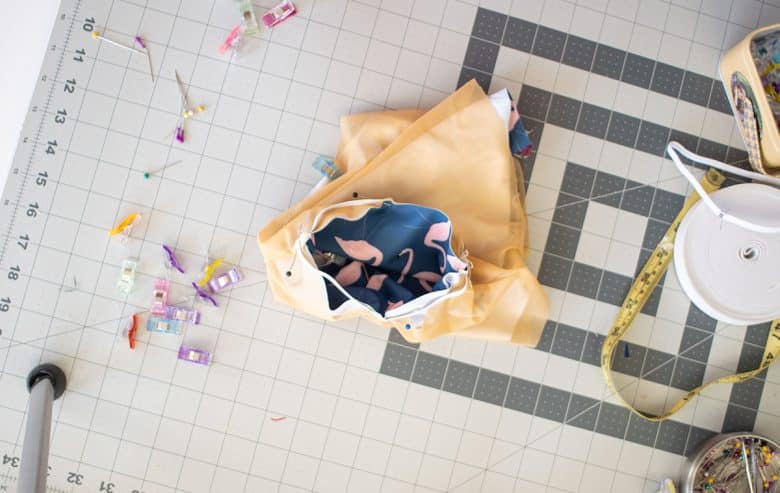
Here you can see the elastic pinned along the edge of the fabric. {see video for this in action}. Pin both the lining AND the main fabric together under the elastic. Stretch and sew the elastic with a zig zag stitch right on the edge of the fabric.
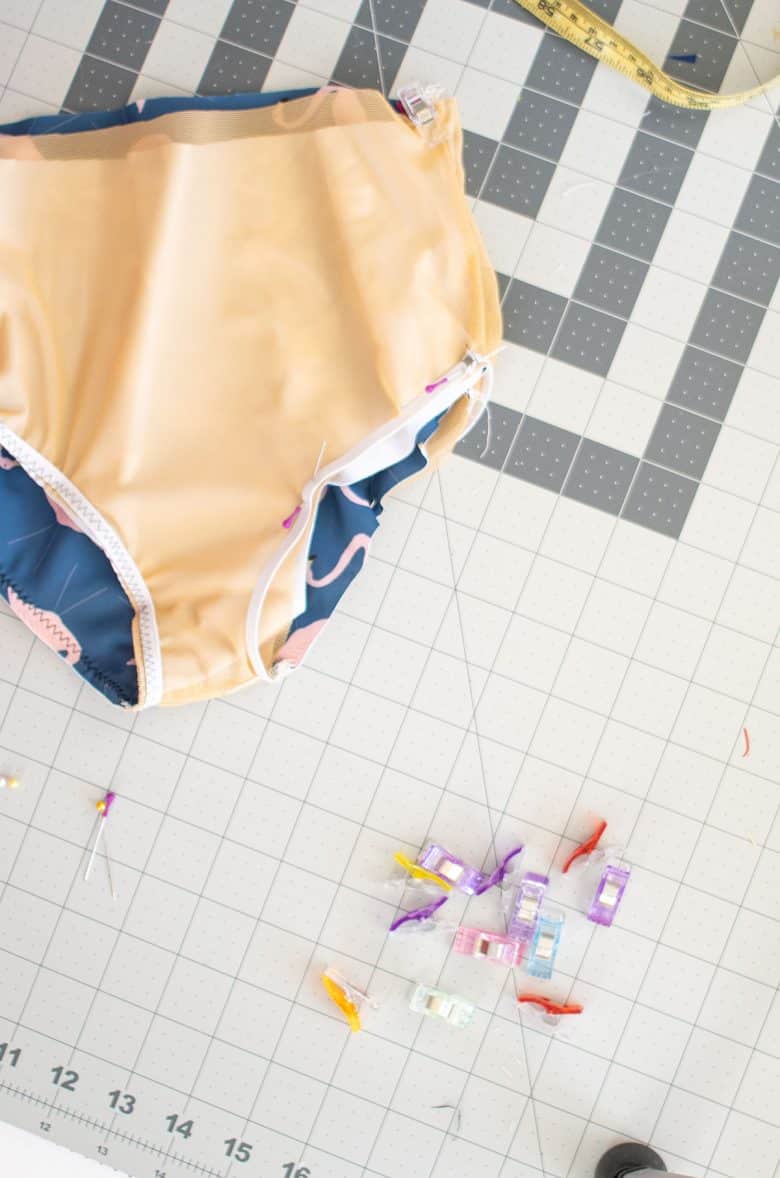
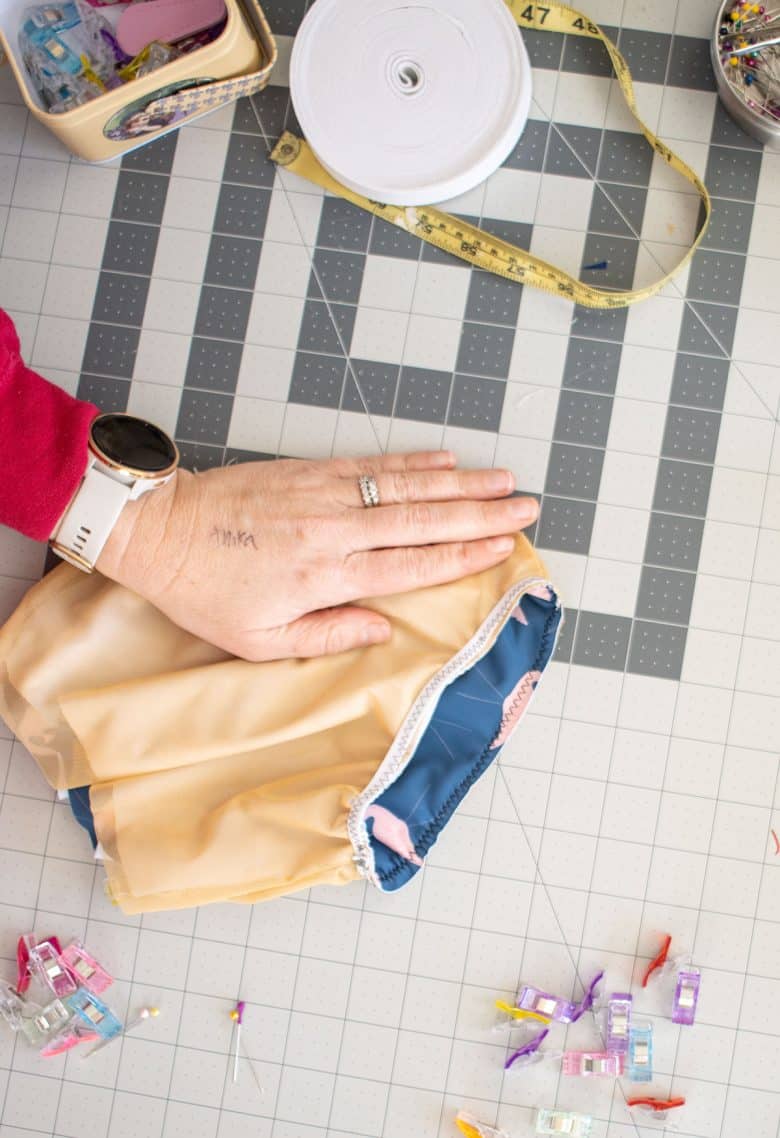
The next step is to fold the elastic over one more time to enclose the elastic. Pin or clip in a few places, then stretch and sew again. This time I always sew on the right side of the fabric and use matching thread. I like to use the triple zig zag for this top stitching.
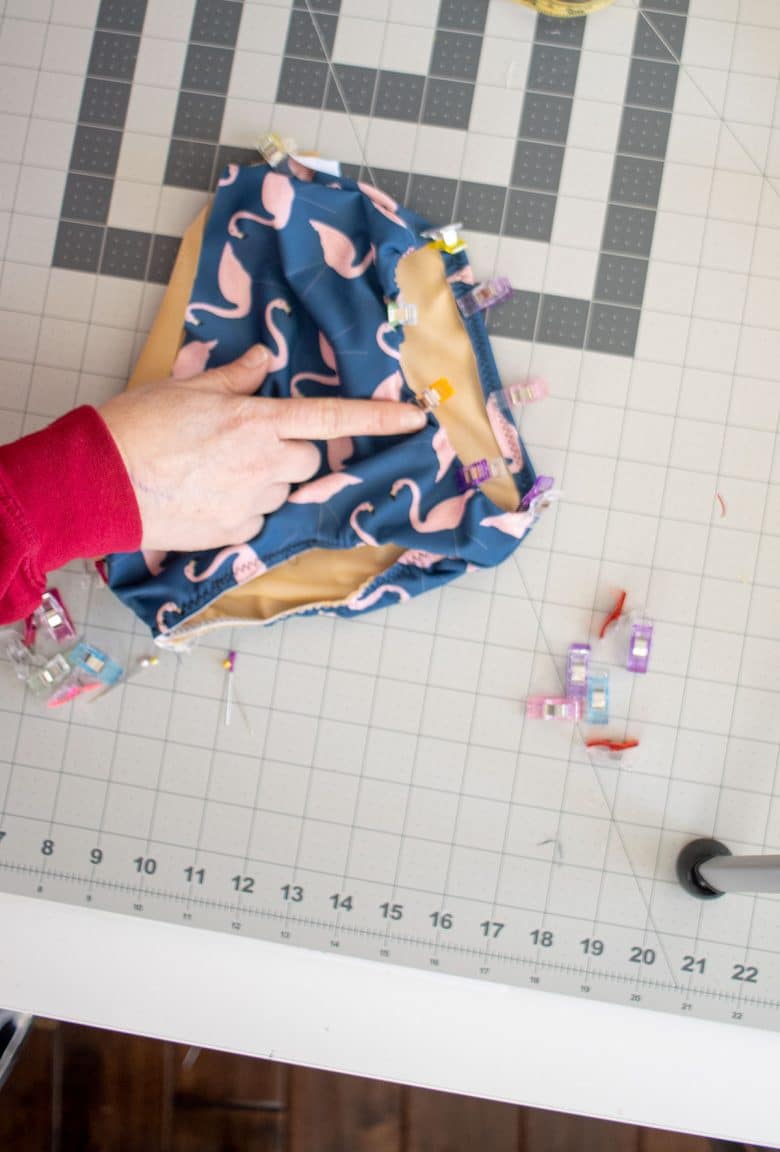
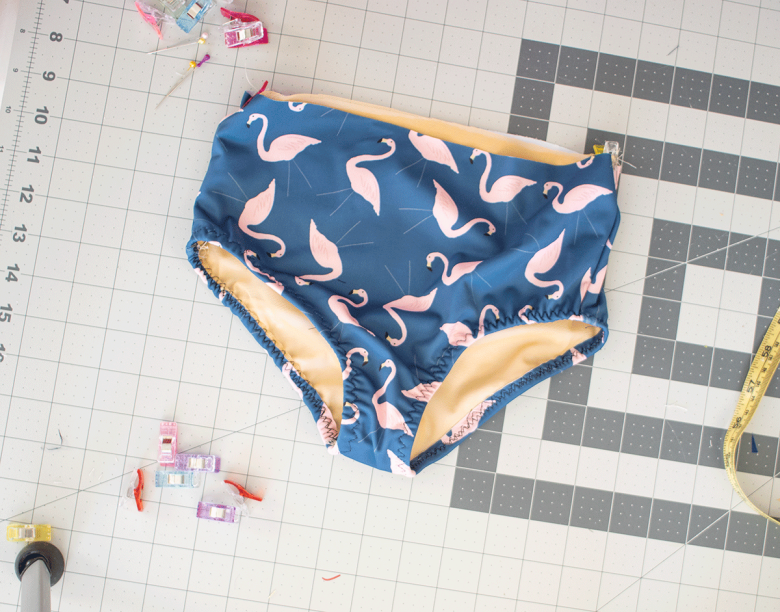
TIP: when top stitching the elastic over sew on the far side of the elastic, not the side closest to the fold. This keeps the elastic flat and not flipping over. Try to keep the fabric and the stitches as even as possible.
Repeat with the other let and the waistband {I used 1/2″ elastic for the waist”}
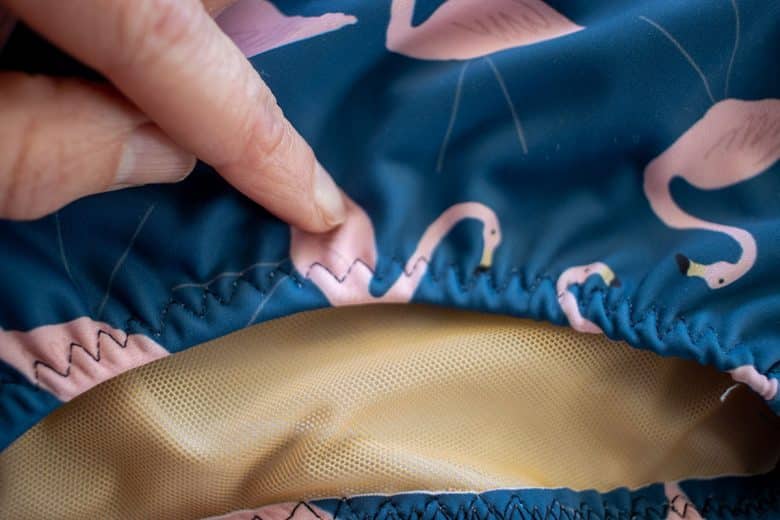
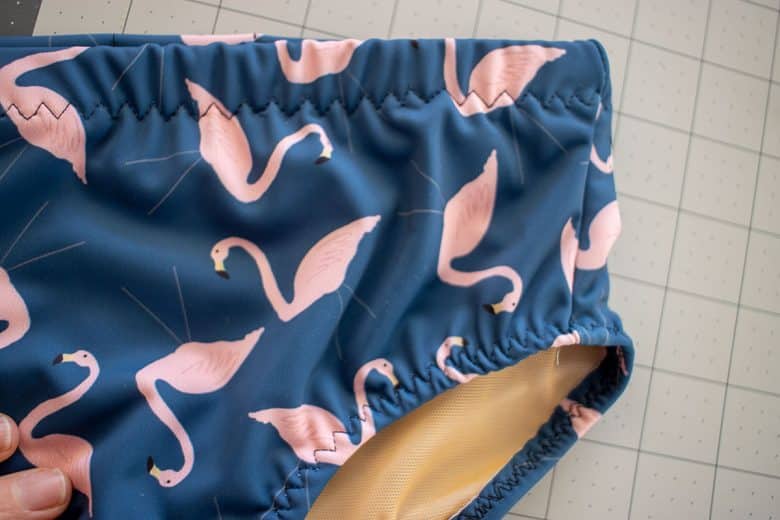
And that’s it! Practice, practice, practice and soon your swim elastic will look and feel amazing! Can’t wait for Rose to get a chance to wear this new suit.





Kelly says
Thanks for this great tutorial. It’s nice to see how to use a standard sewing machine with stretchy elastic and fabric. In fact, I really like the gathered effect your zig zag stitch creates.