inside: learn how to use the couching attachment on the Stellaire 2. All the details for creating beautiful couching designs are included in both photo and video here.
I’ve been super excited for start sharing more about the Stellaire 2. I shared my unboxing video last week and it’s time to dive in start looking at some of the great features of this machine. We are going to start with how to use the couching attachment on the Stellaire. It’s one of the things I was really looking forward to with this machine and it’s as amazing as I thought it would be.
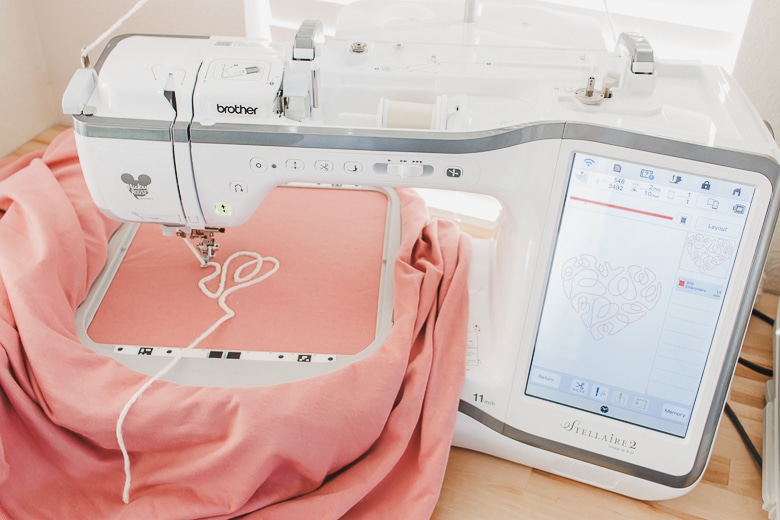
Couching on the Stellaire 2
The new version of the Stellaire 2 {and the upgrade for the 1} includes everything you need to create amazing designs with yarn in your next sewing project. Here’s a beautiful heart that I created for the beginning of a dress I’m sewing.
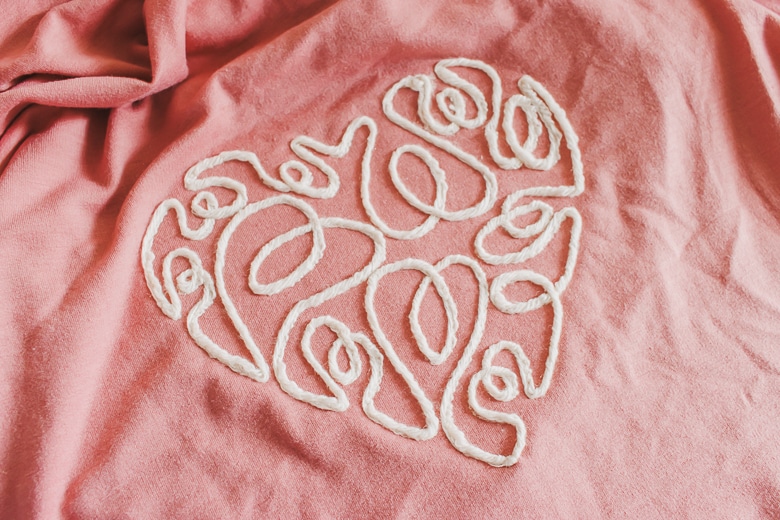
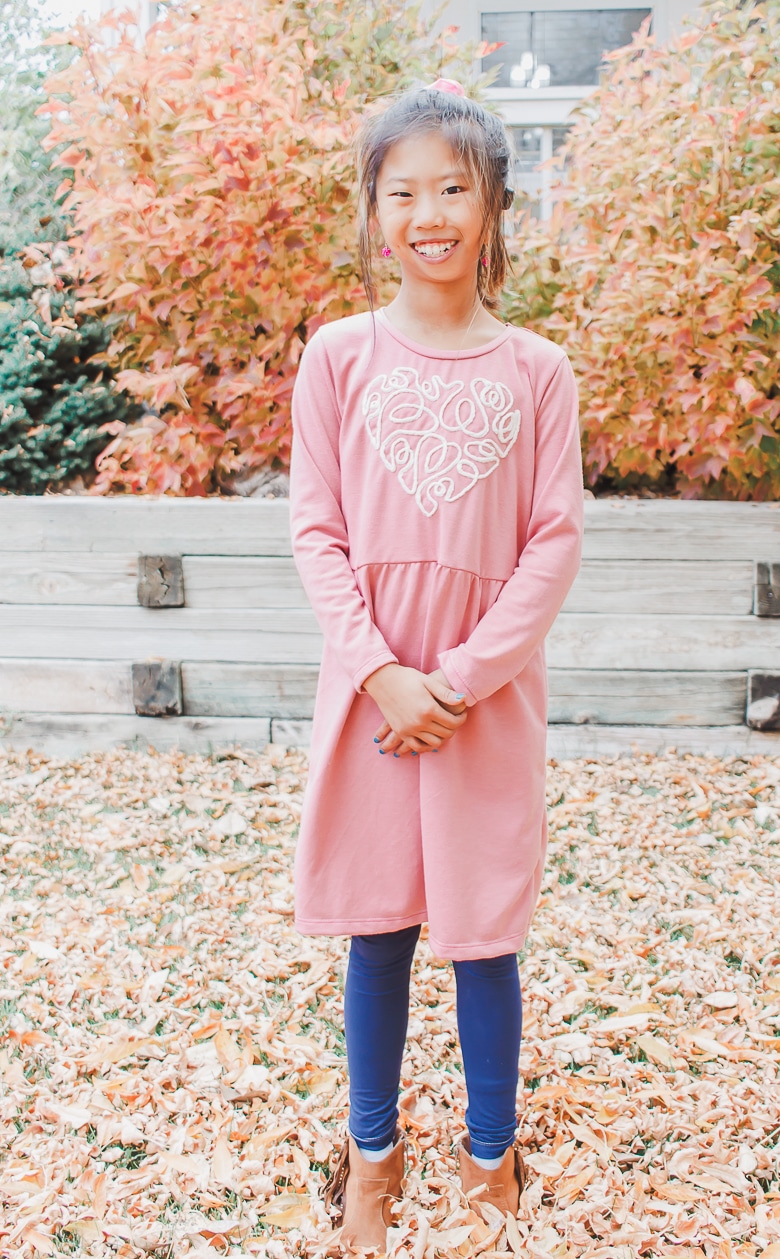
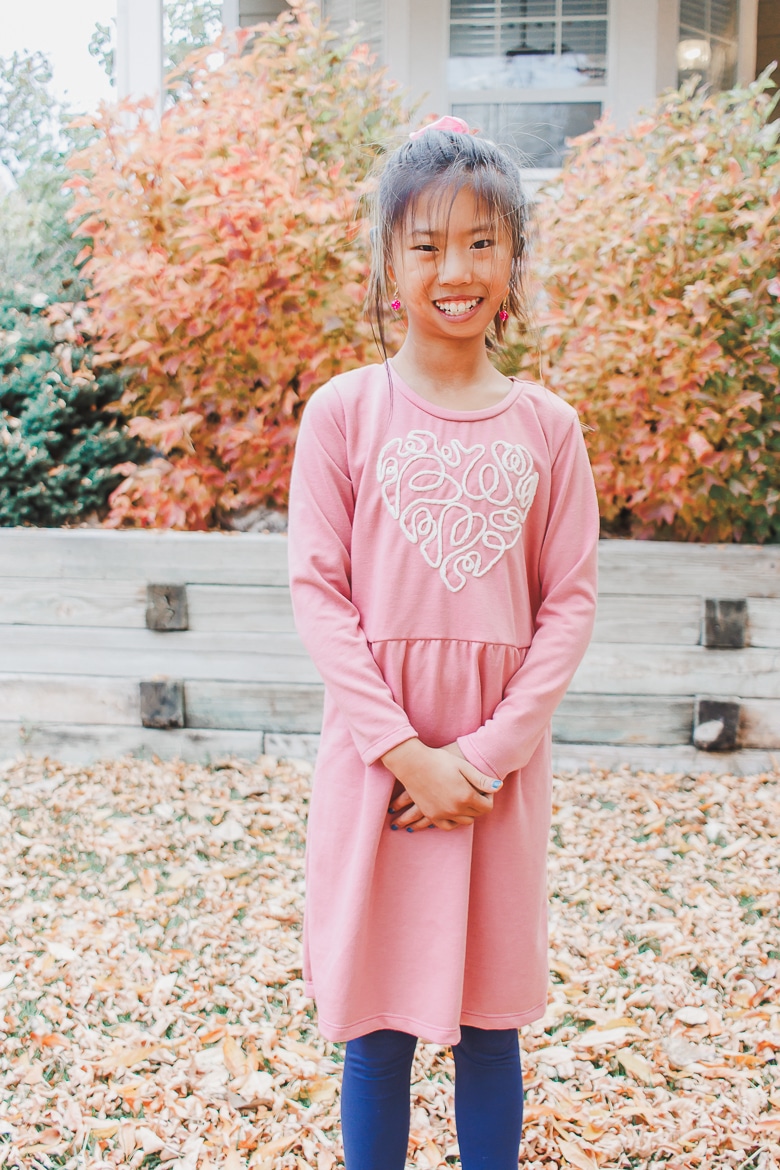
And here’s the result of the design above. I used the free sew simple dress, size 8 width and 10 length. It turned out so cute on this dress and I love the result.

Its sewn with French terry fabric and warm and cozy for fall/winter. Here is a list of some of my favorite fall/winter fabric sources.
How to use the couching attachment on the Stellaire
Looking for a full tutorial video walk through? Here’s a link to the live show I did on couching with full video tutorial.
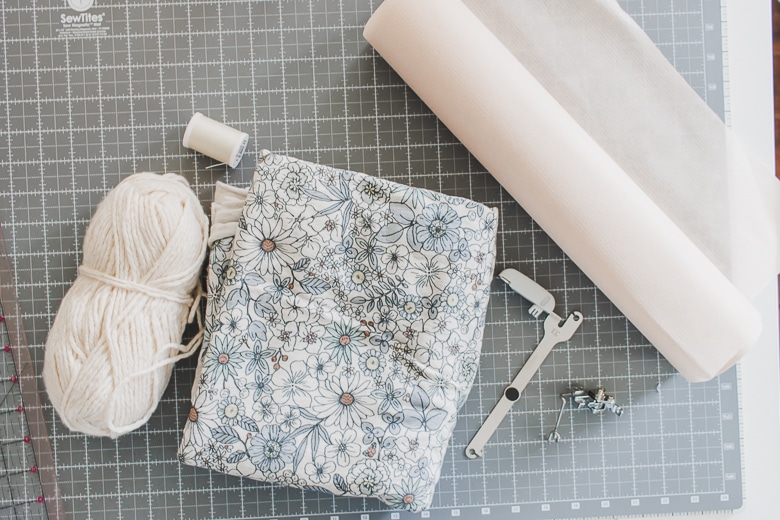
Ready to dive in and start a project? Here are the supplies you will need:
- Fabric
- Stabilizer
- Yarn to Couch
- I found a mid weight works best. Too thin and it doesn’t look as cozy, and too thick it doesn’t feed through the foot very well. I’m still playing around with this, but this fuzzy mid-weight off white was perfect for this technique.
- Thread
- Couching attachments that came with machine or upgrade
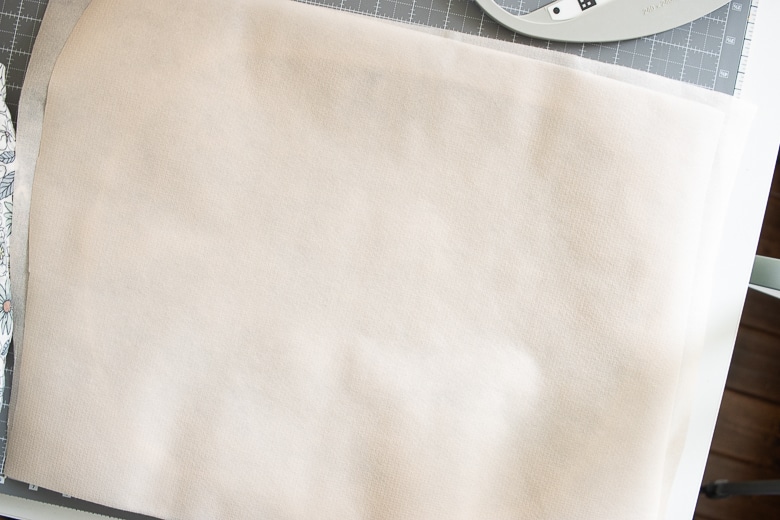
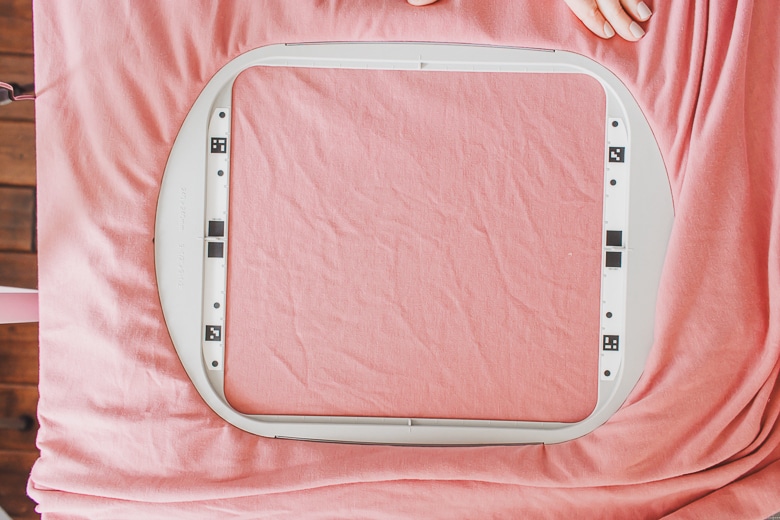
Begin by hooping the fabric and stabilizer. I used two layers of stabilizer since I wasn’t sure how the fabric would react to this technique. Since I haven’t cut out the pattern pieces yet, I made sure I had plenty of fabric around the design to cut out my dress bodice.
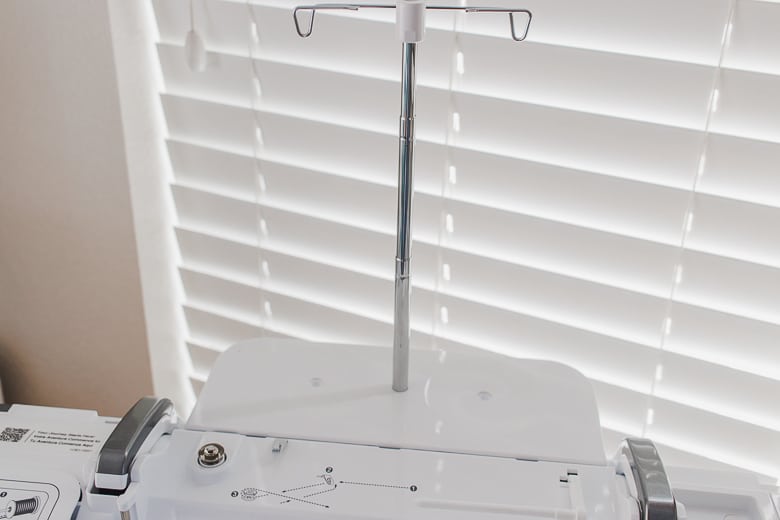
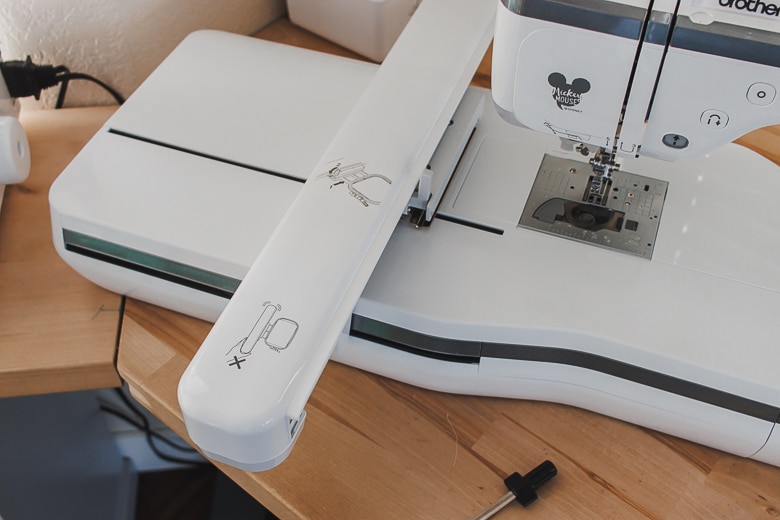
Now it’s time to prep the machine for couching. Remove the top lip and add the thread stand. Put the embroidery unit on the machine if you haven’t already. You will also need to add the thread guide on the side of the machine.
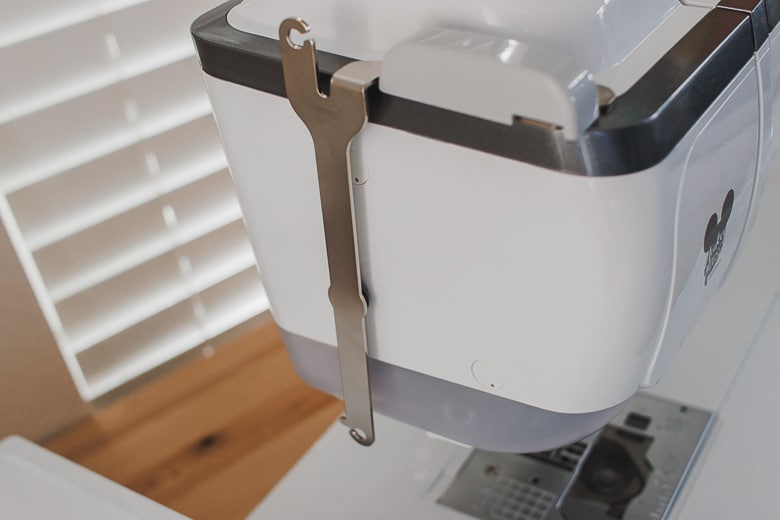
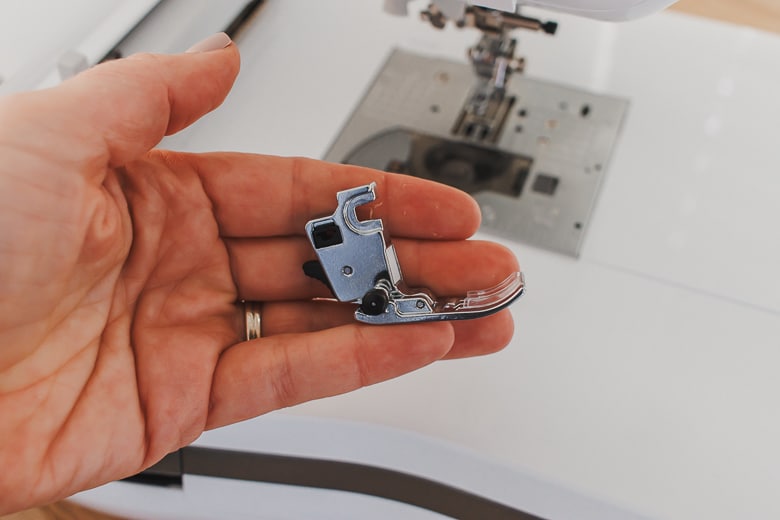
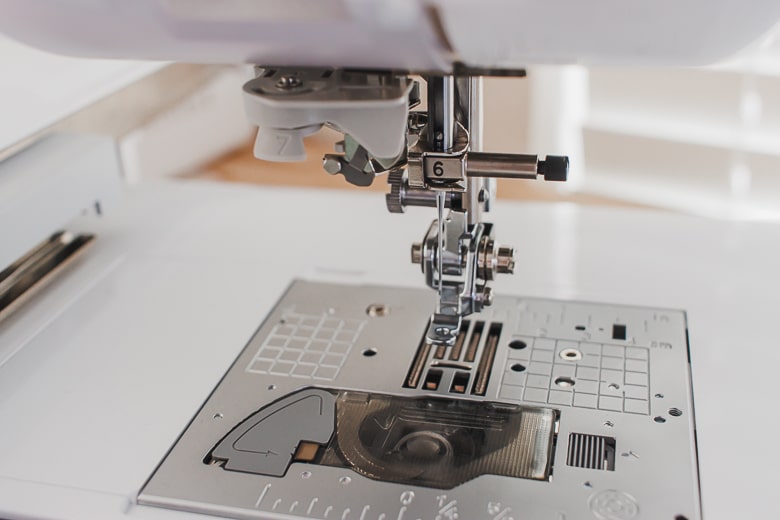
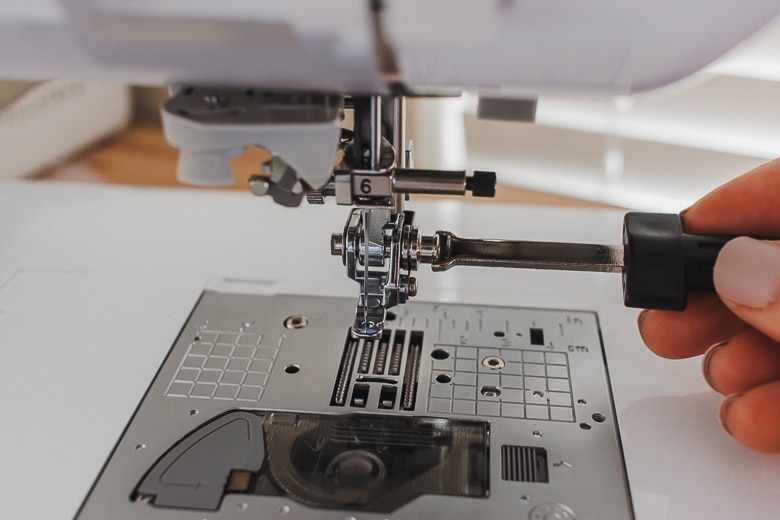
There is a special foot that needs to be added before couching. Remove the regular foot and shaft, then put on the couching foot. Make sure the thread guide is in front of the button hole guide.
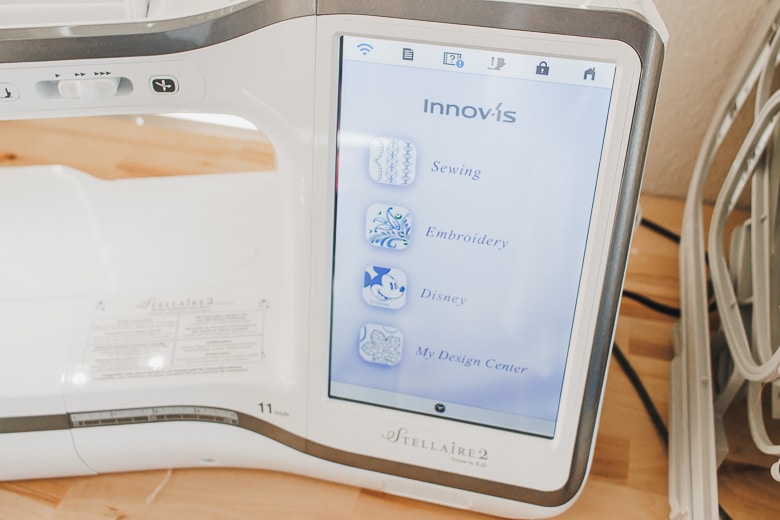
To find the couching designs click embroidery on the home screen. The Couching designs can be found on the side of the screen with the letter C {for couching – haha}
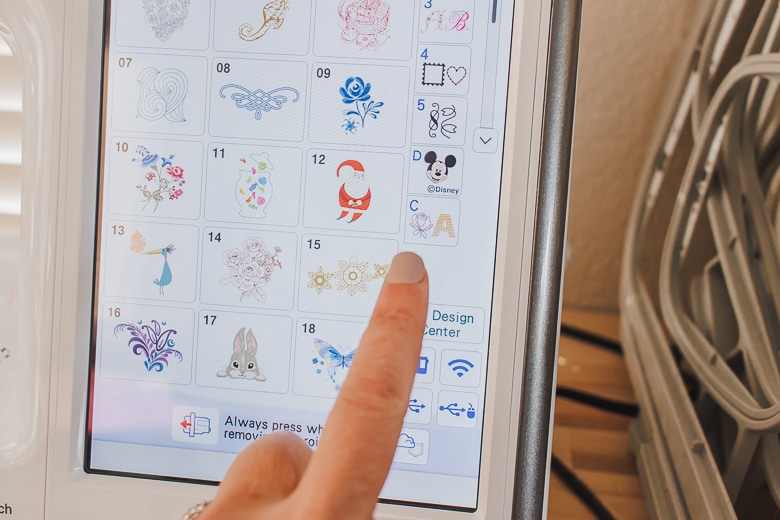
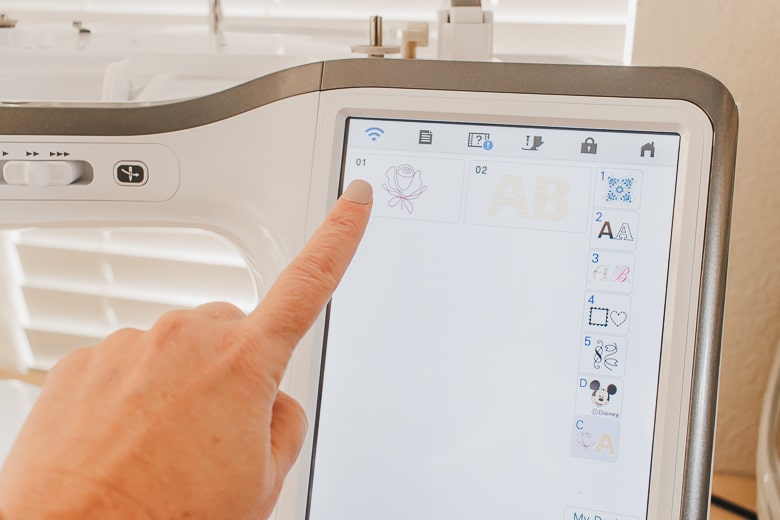
On the next screen you can can choose the designs or lettering. I choose the design 01 button and then scrolled to the second page of the designs and then used design 026 for my project.
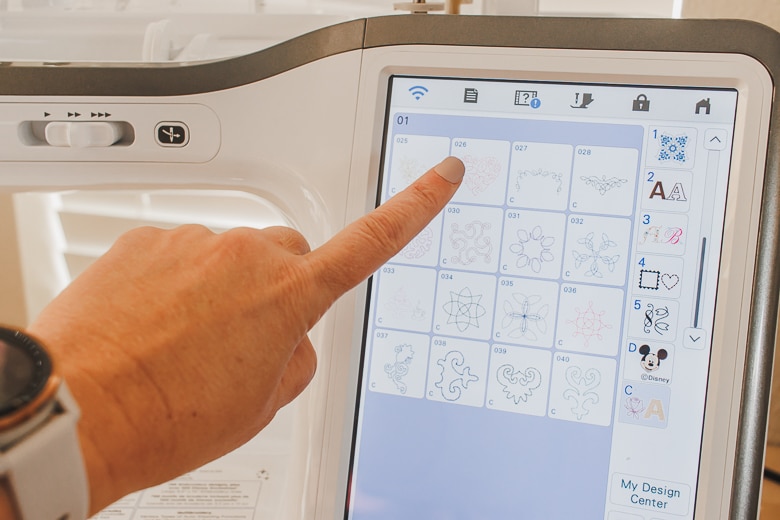
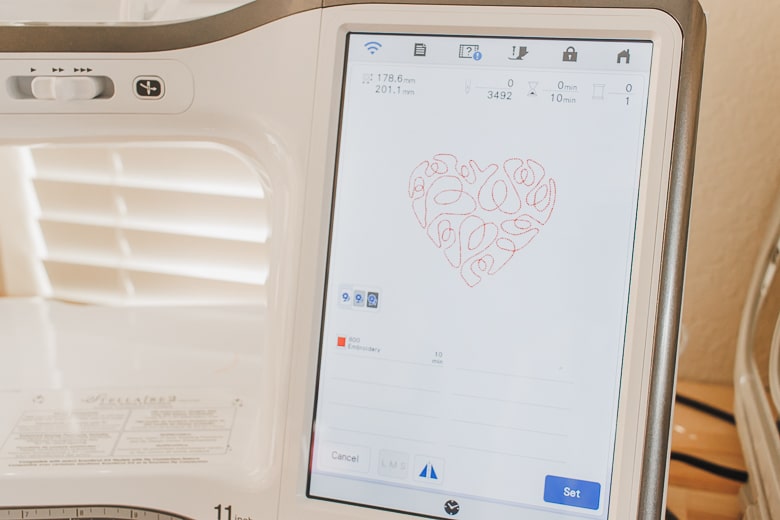
Select your desired design then hit set. The machine manual says to make sure that the needle is in the left half of the hole in the couching foot. There is a screw to turn on the side of the foot which moves the foot position, turn until the needle is in the left half of the circle.
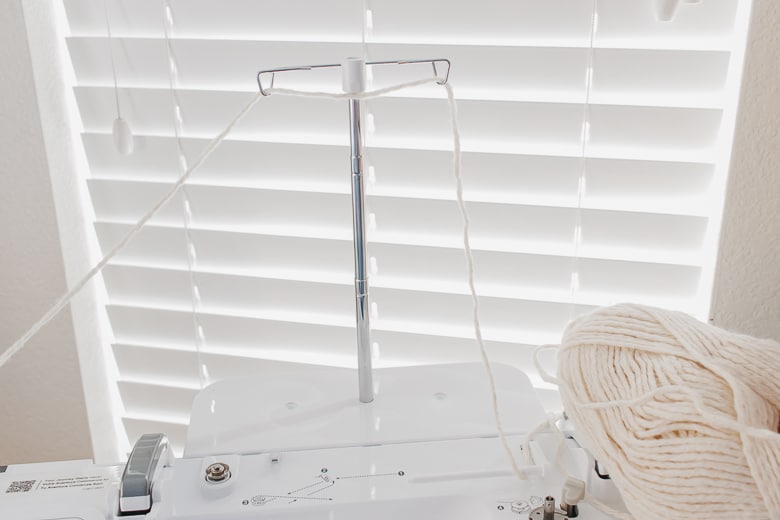
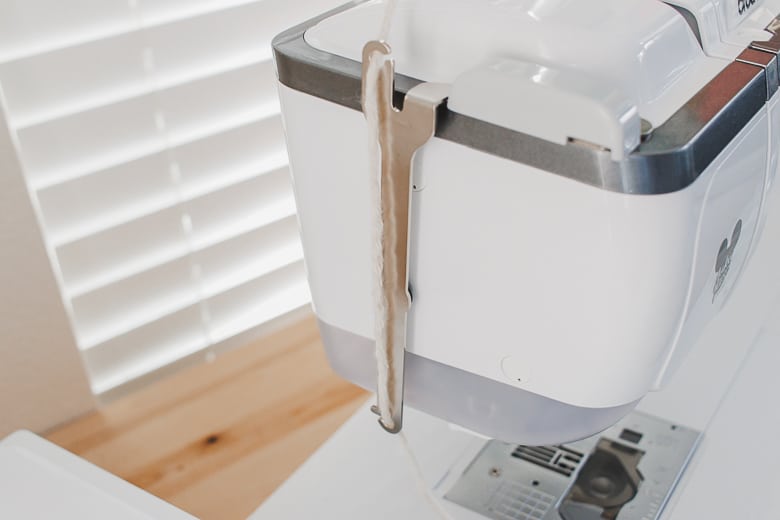
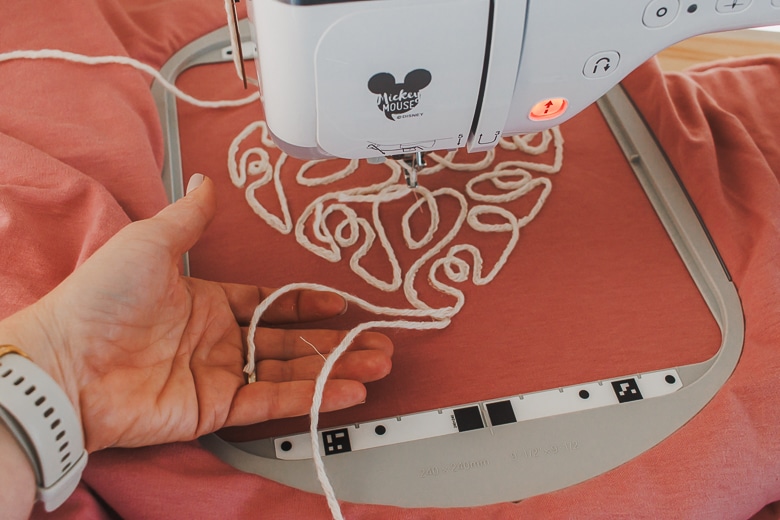
Thread the yarn through the top guide, and down the side of the machine.
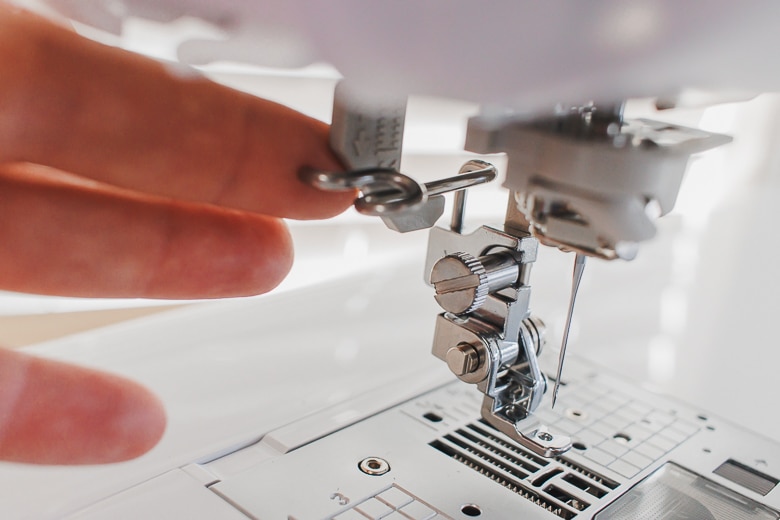
Loop the thread through the guide on the top of the foot and then use the wire to thread the yarn through the foot.
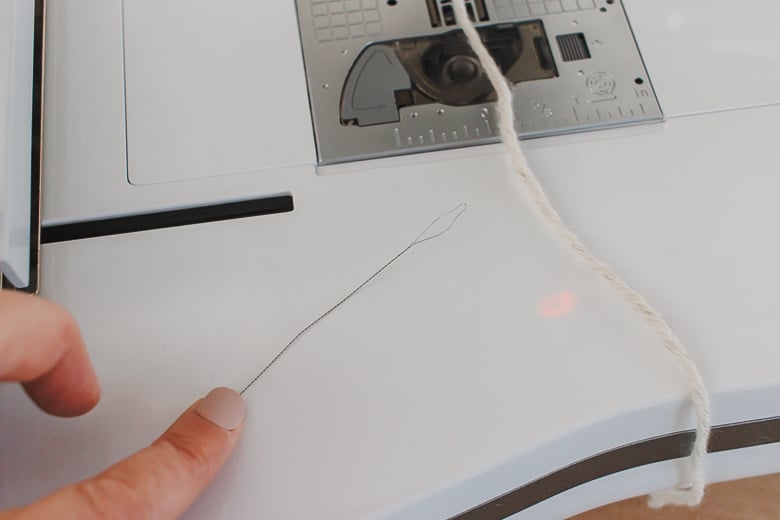
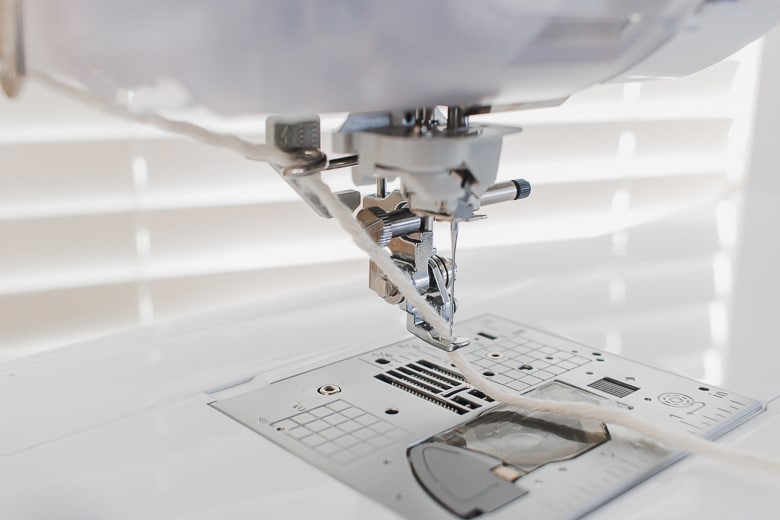
Make sure the thread in your machine is a similar color to the yarn you are using and that the bobbin is full before starting. Place the hoop in the embroidery unit and lower the presser foot so the arrow button turns yellow.
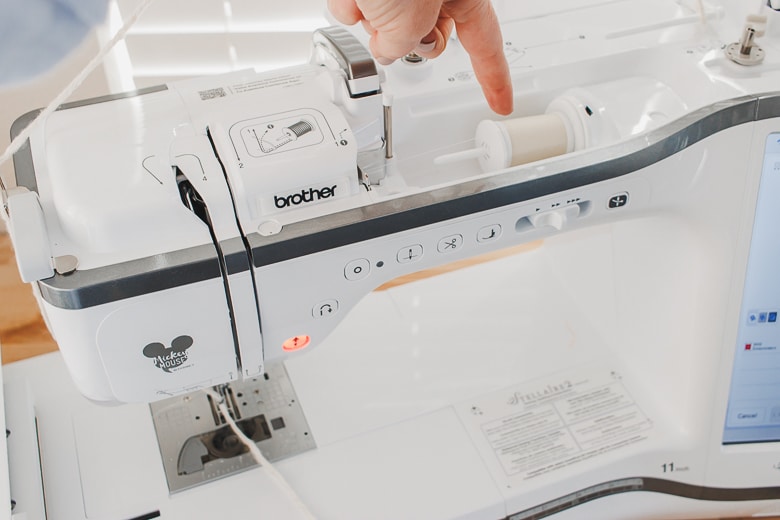
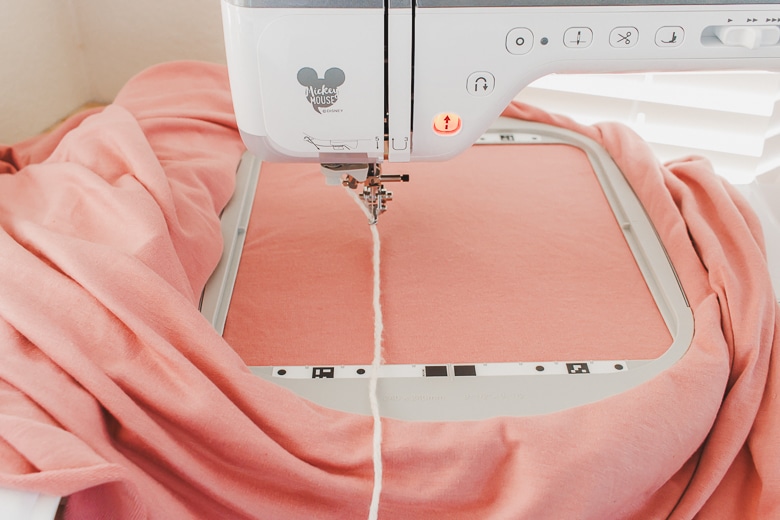
Press the start button and watch your machine do its magic.
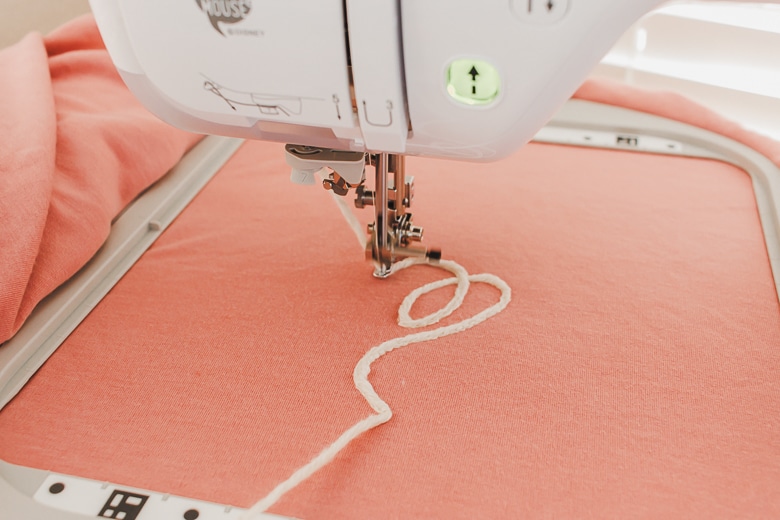
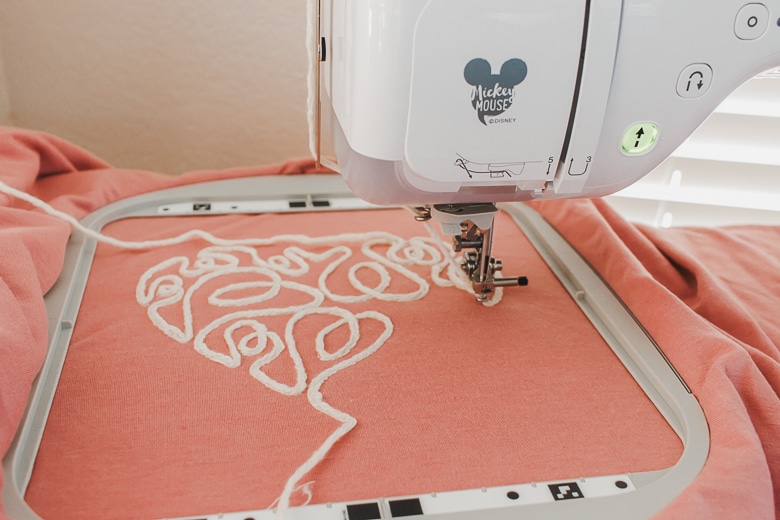
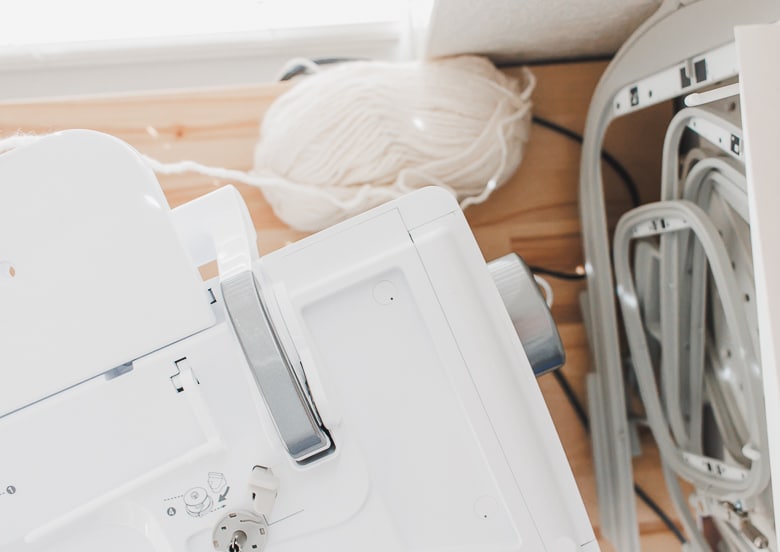
Make sure the yarn is loose at the back of the machine and is flowing smoothly. Watch the stitches to make sure the needle and thread and continuing to catch the yarn with the thread. before cutting the yarn pull out several inches before cutting.
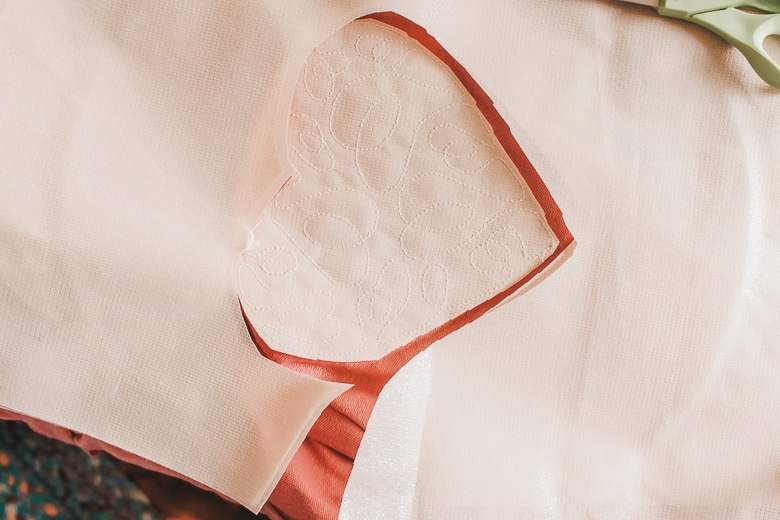
Remove the embroidery hoop from the machine and then take the hoop off the fabric. Cut, tear or soak away the stabilizer to remove it. I cut around the heart here, but later trimmed out the middle as well. To finish the yarn, use a large eye needle to pull the yarn from the front of the fabric to the back side.
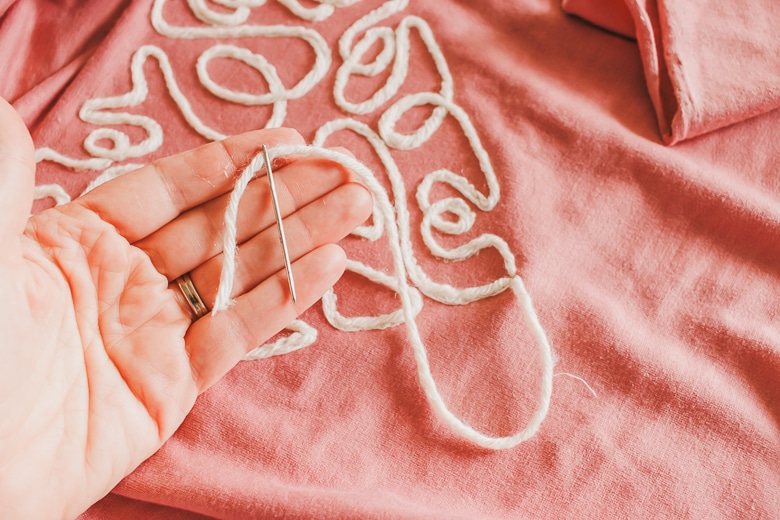
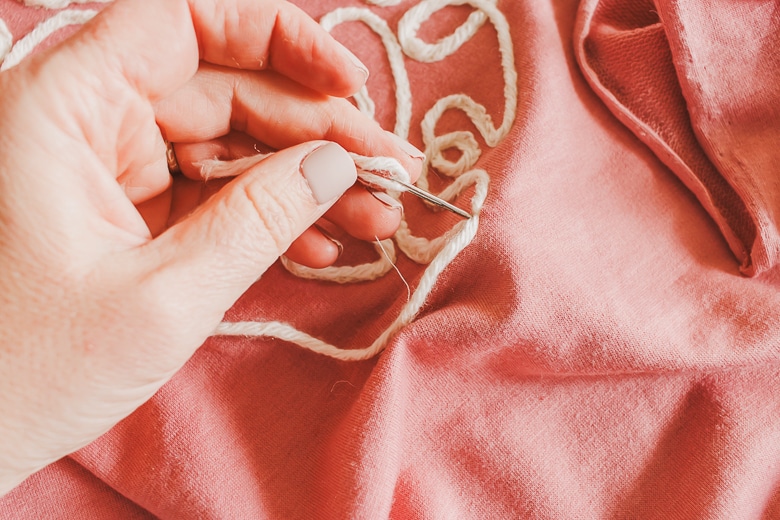
When you have both strands of yarn on the back, tie off the two ends.
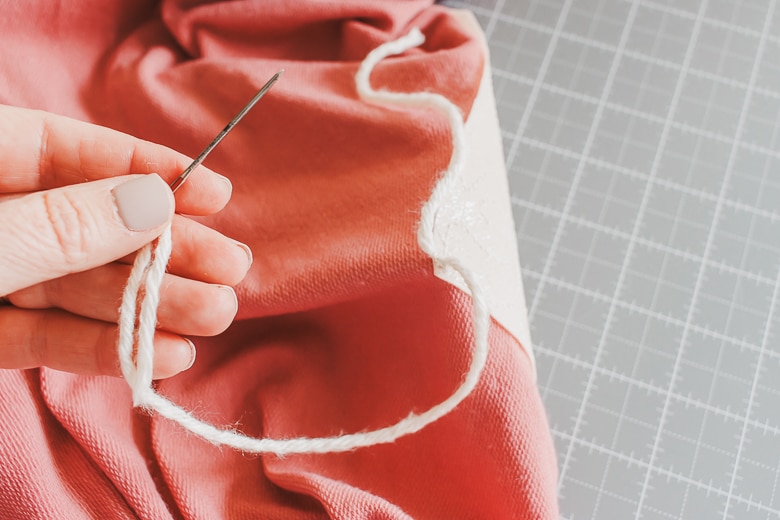
Now your couching project is complete and so so adorable!! I can’t wait to make more like this!






Leave a Reply