inside: Learn how to make a Christmas tree skirt from a blanket. Sew a tree skirt from a cozy blanket for a perfect Christmas tree skirt. Easy sewing for Christmas.
I’ve sewn several Christmas tree skirts over the years. Most recently we’ve had this quilted version under our tree. It matched the stockings I sewed for our family a few years ago as well. I liked it ok… but in the end I just was looking for something simple. This week I sewed up a quick tree skirt from a blanket and I love it.
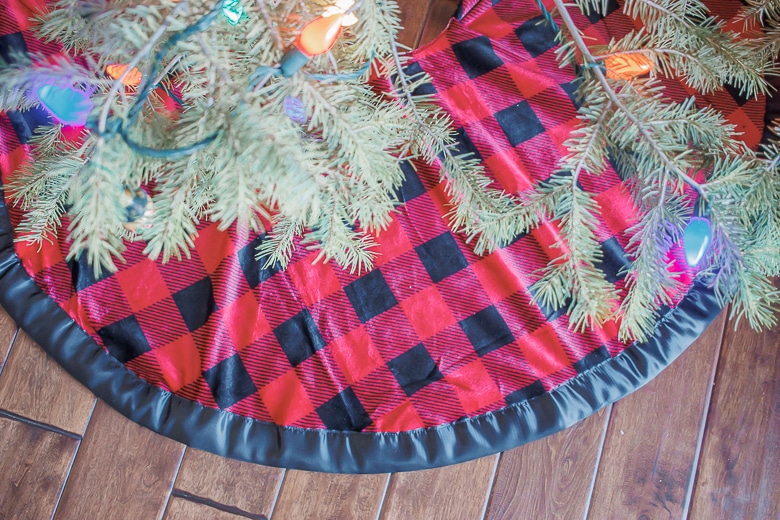
Christmas tree skirt sewn from a blanket
Here is my newest tree skirt! I’m loving it… .for today at least. I’m still not convinced it’s exactly what I want. We always go cut a real tree up in a National Forest here in CO so it’s a rustic feel for sure. Some years we have gotten a tall tree {12ft ish} and put it up in the kitchen area, but this year we found a cute small tree, so it’s down in the family room.
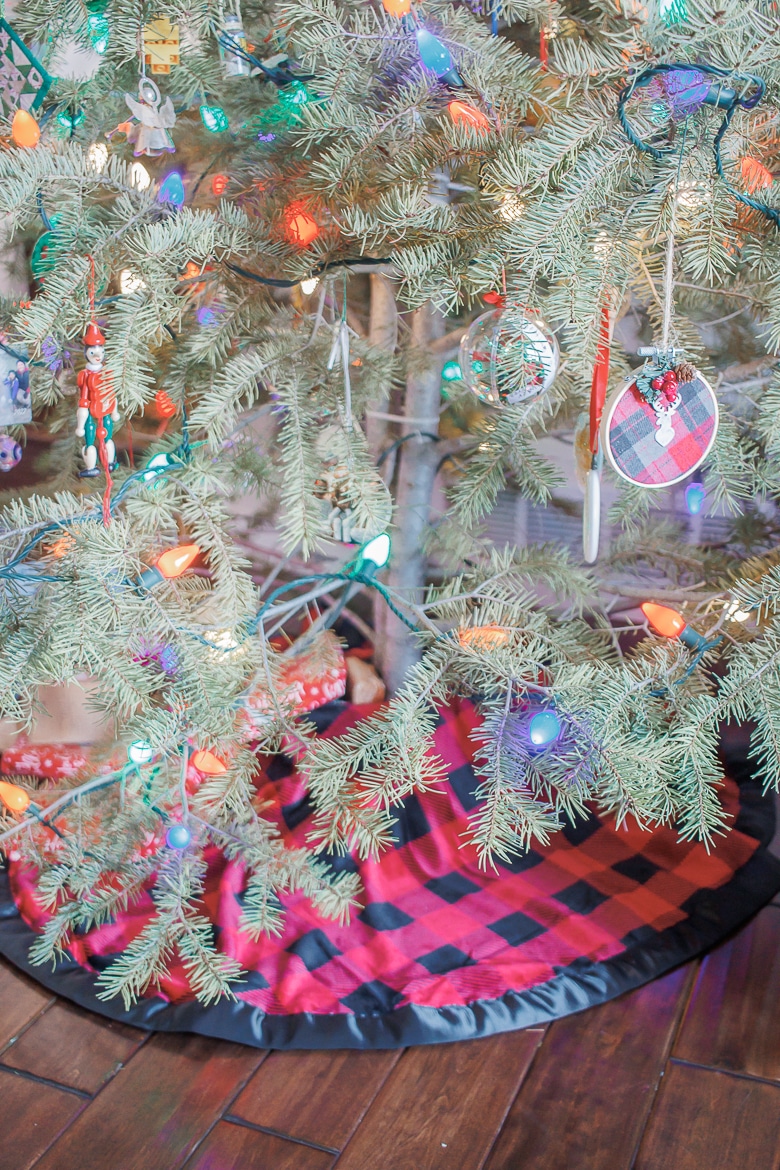
I’m also considering a cozy sweater tree skirt, but for this year, so we are going to go with the buffalo check I sewed using a fun blanket I found. When I was at Hobby Lobby recently I noticed that blankets were about 1/2 the price of a pre-made tree skirt so I thought it would be fun to make a tree skirt from a blanket and see what I could come up with.
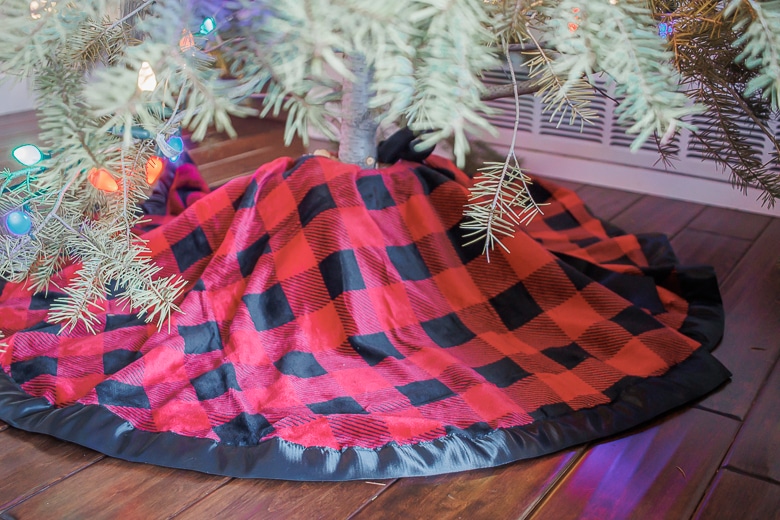
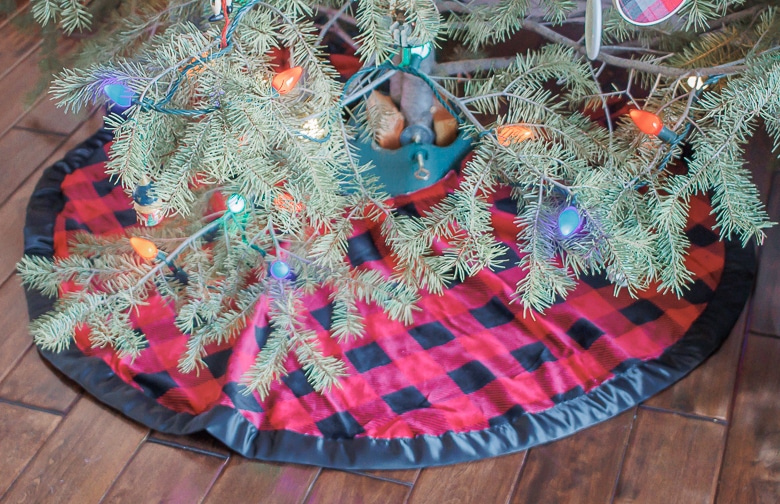
Some year I think I want to make a really big skirt… with our tree stand to hold water for the tree, it takes more fabric to cover the stand and leaves less for the floor. Maybe that will be my project… giant tree skirt {haha} Next year… This was as large as I could go with the blanket I bought and it’s 50″ from side to side.
Other Christmas Sewing Projects
I’ve been sewing for Christmas for years. I love Christmas sewing project so so much and I sew something new nearly every year. Here are some of the amazing Christmas projects I’ve sewn over the years and I hope you can find something you would like to sew from this list.
- Quilted Christmas Stockings
- Scrappy Christmas Potholders
- Paper pieced Christmas tree skirt
- Christmas throw pillow tutorials
- Simple Stocking tutorial and free pattern
How to make a tree skirt from a blanket
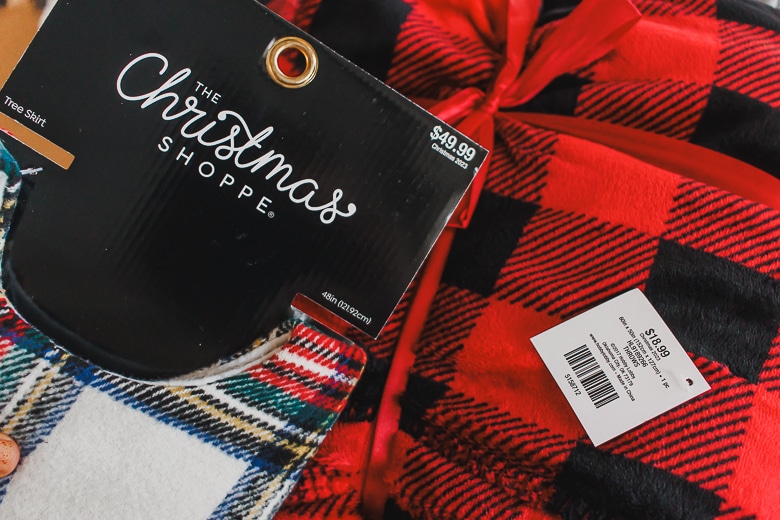
Ready to create a beautiful tree skirt of your own? Grab a blanket… you can often find sales on blankets… I saw blankets on sale at Walmart this week as well as this one that I bought at Hobby Lobby. For reference, here is the difference in price between a pre-made skirt and the blanket. Both were on sale at 50% off as well.
For this project you just need two things… a Blanket, and some satin blanket binding. I bought two packs of the binding and it was perfect for this project. One to go around the outside and one for the middle and ties. The bindings were also on sale at Hobby Lobby, so if you are blanket shopping there, make sure to check if the binding is on sale.
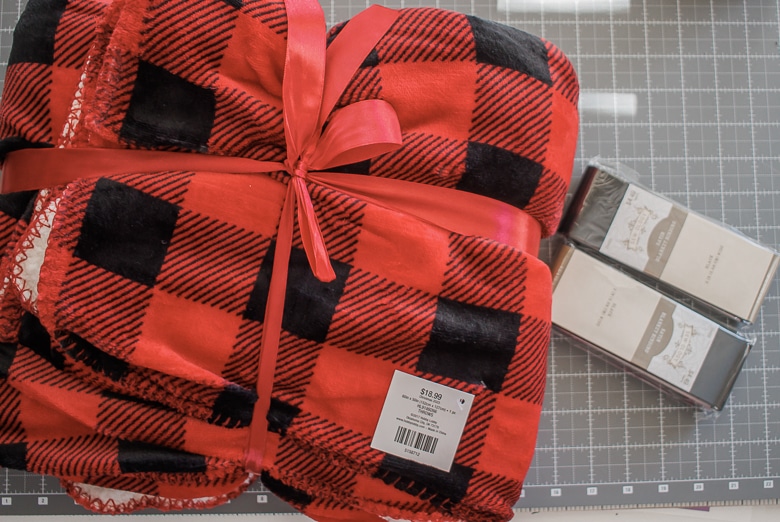
This process is really very similar to sewing a fleece blanket, we are just going to make it a different shape. If the blanket is not square you can only make the skirt as wide as the shorter side. Fold the blanket in half, then fold it again so you can mark out a circle.
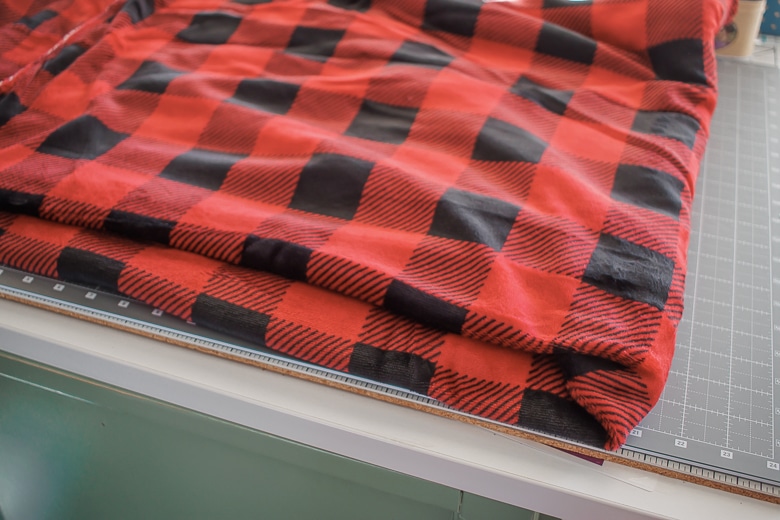
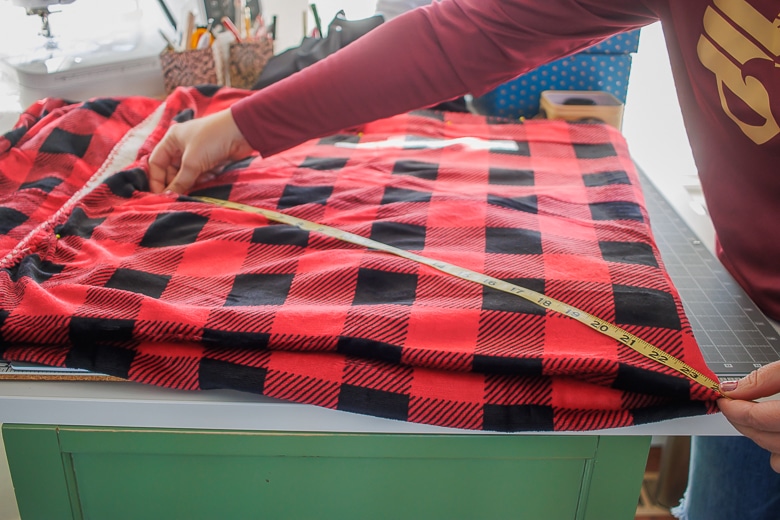
This is just like making a circle skirt! Once you have the fabric double folded, measure how far you can go from the center to the edge. Whatever that distance is {mine was 24″}, measure and mark that distance from the center all the way around the quarter circle.
Cut around the marks to create the circle. I had to cut the top two layers with my scissors, then the bottom two layers with the rotary cutter. Depending on how thick your blanket is, you may be able to cut all in one pass, or you may need two like I did.
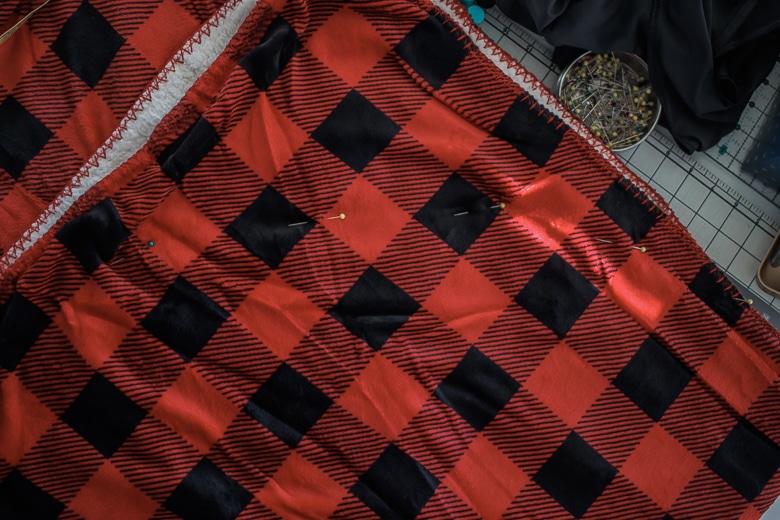
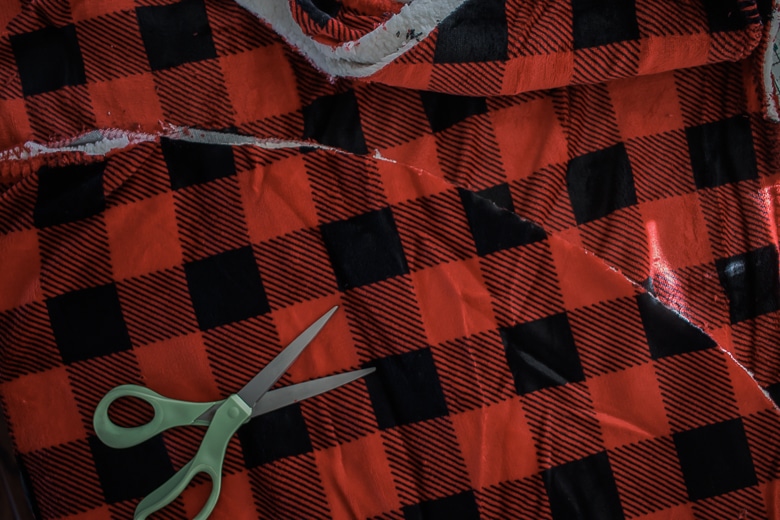
Leaving the blanket double fold, cut a small semi-circle from the corner for the inside of the skirt. This is the part that will go around the tree. Start really small, you can always cut a bigger circle, but you can’t make it smaller.
I also cut a slit up the back as an opening to put the skirt around the tree.
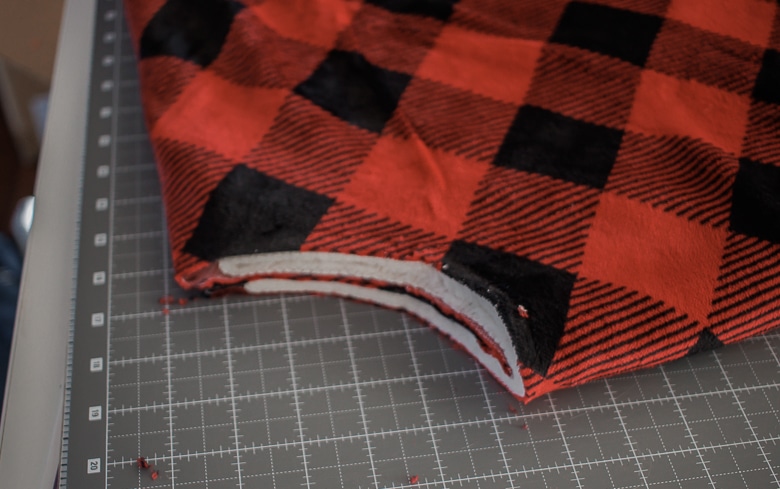
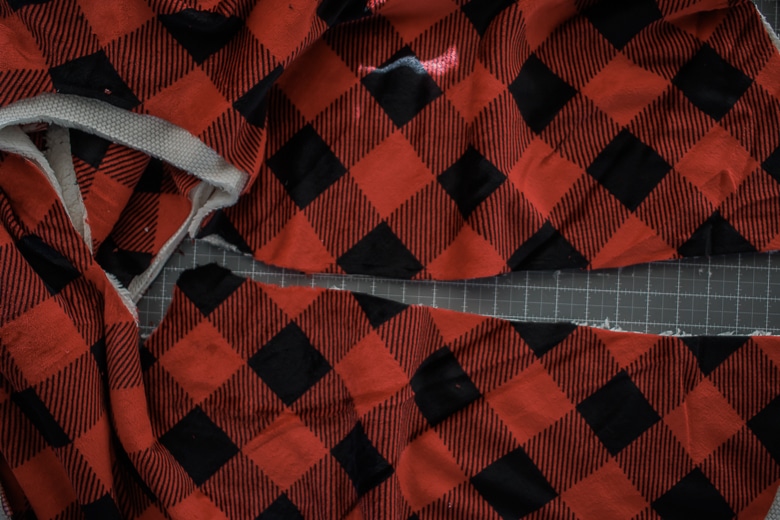
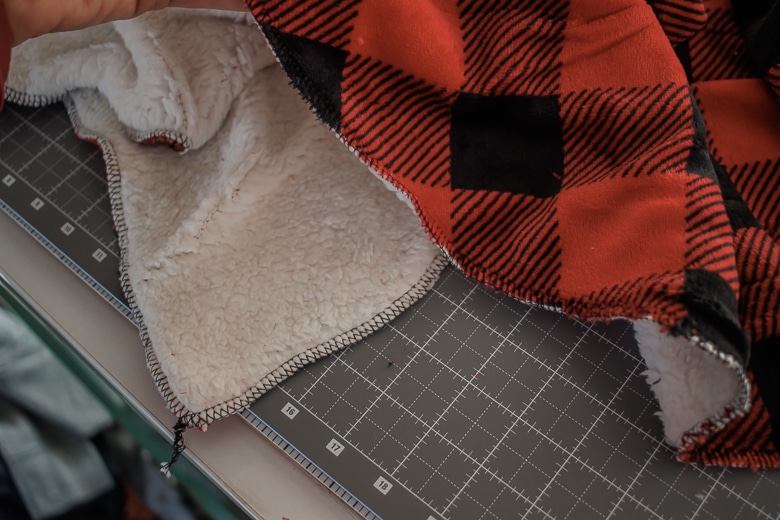
My blanket had two layers. The fuzzy sherpa back layer and the plaid top layer. After I cut the circle the two layers weren’t lining up. I decided to baste/secure the two layers together. I serged all the around around all the raw edges to keep the layers together and finish the edge.

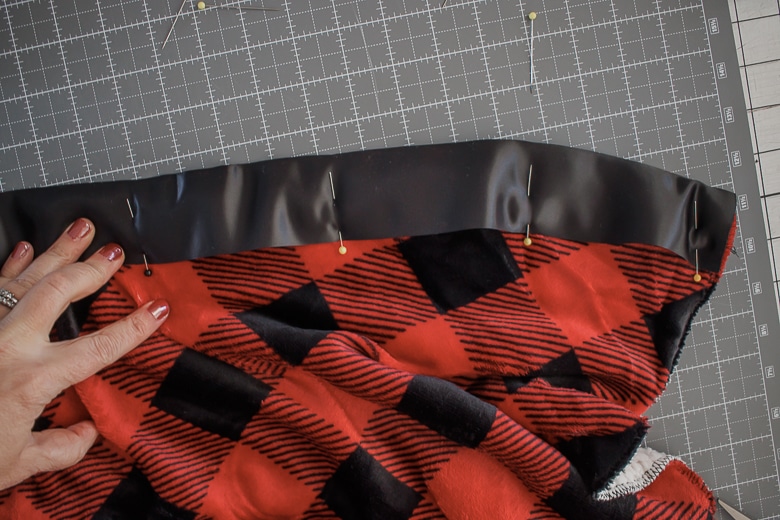
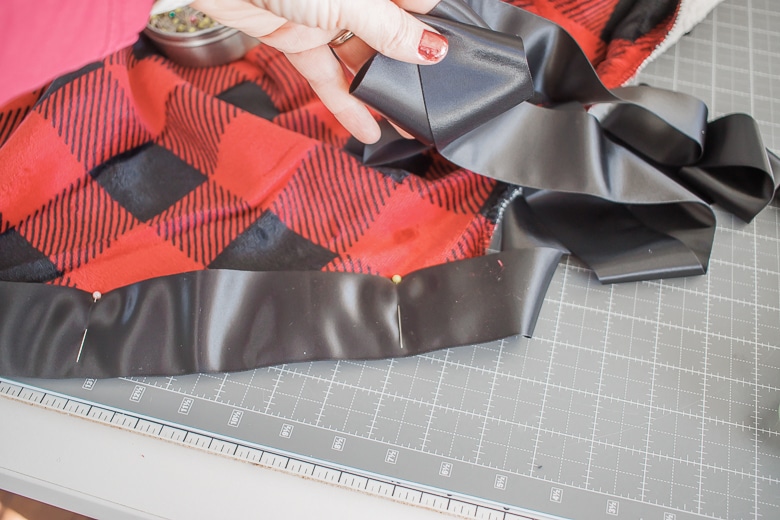
Now it’s time to add the satin binding around the outer circle and up the back. Open up the binding and place the fabric inside the binding.
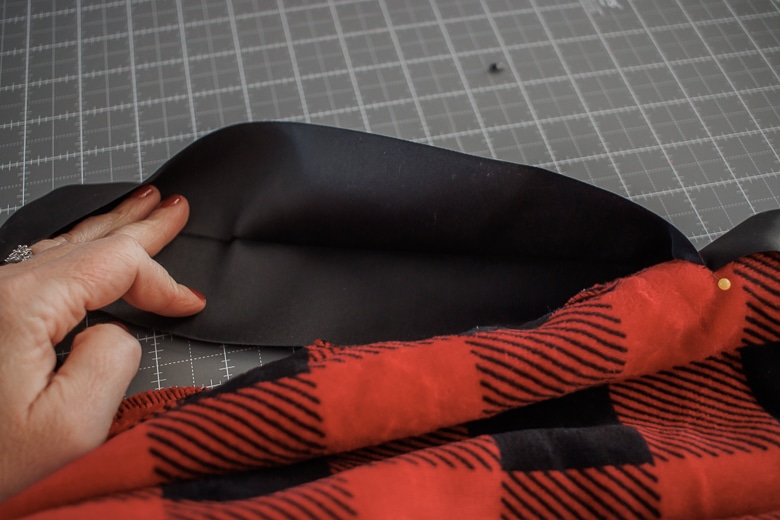
The fabric should come almost all the way to the fold line of the binding, then fold over the top and pin in place through all the layers.
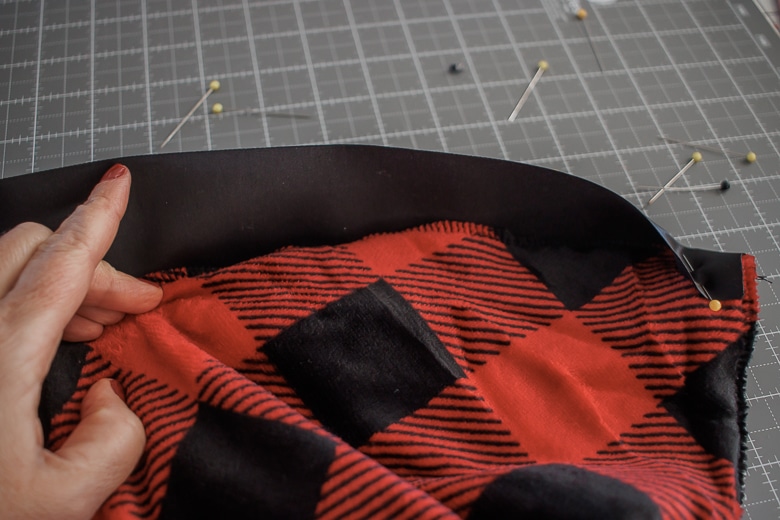
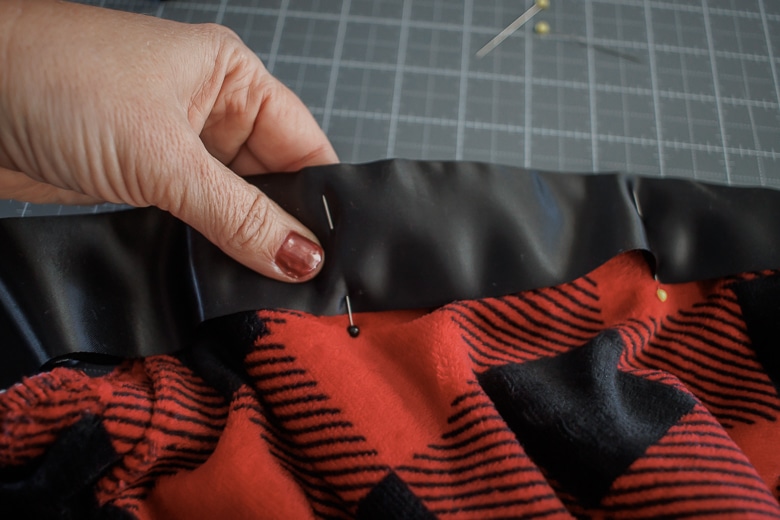
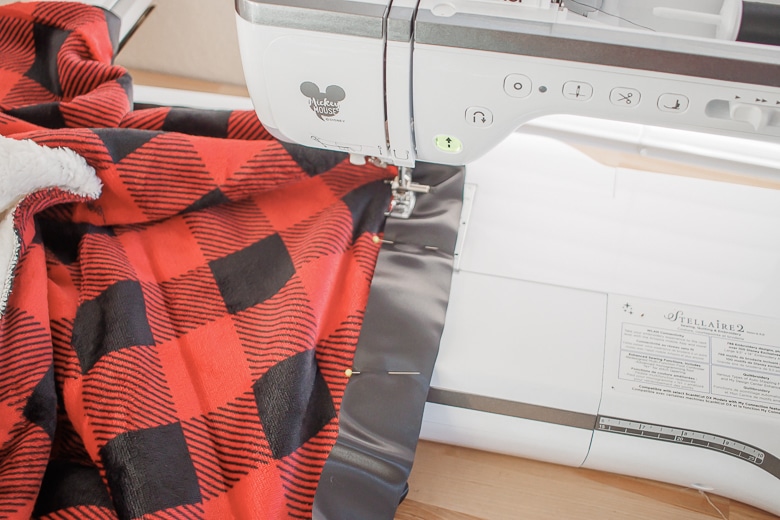
Continue around the whole outside circle. There may be some wrinkles in the binding as you pin around. These can be stretched out as you sew. The blanket had a bit of stretch so I just was able to flatten out the binding and sew it straight as I put it on.
After you sew the top, flip over and make sure that you also caught the back of the binding in the stitches. I had a few places that got missed so I went back and re-stitched that part.
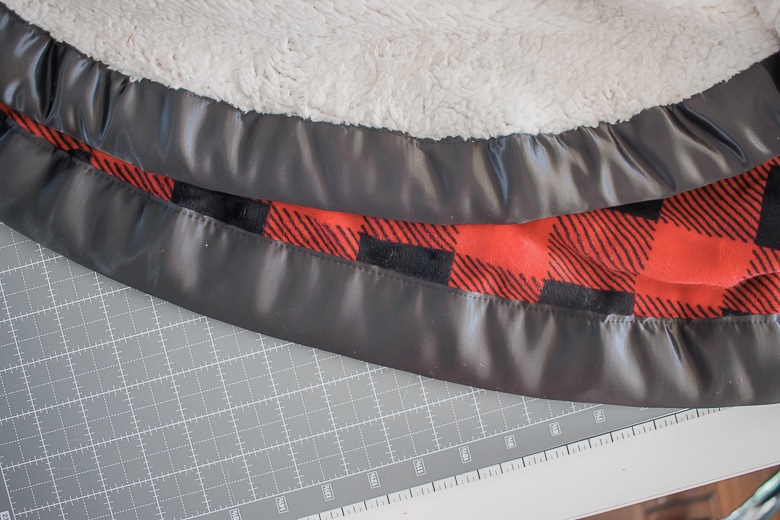
here is the finished binding, top and bottom of the tree skirt.
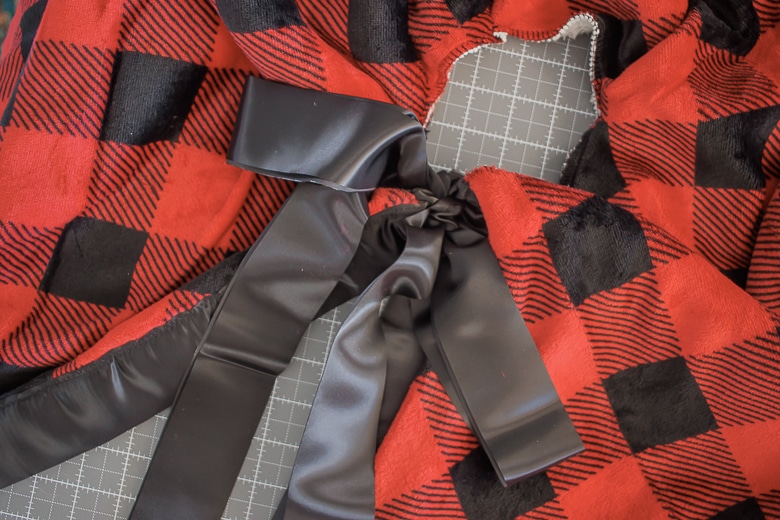
Once you have the outside circle finished, then pin and sew binding up the back slit. this should be easier with the binding as it’s a straight edge. Pin from the outside of the skirt to the inside small circle. When you get to the center, leave about 18″ of binding for the tie. Do this for both sides, leaving ties at the top of both side.
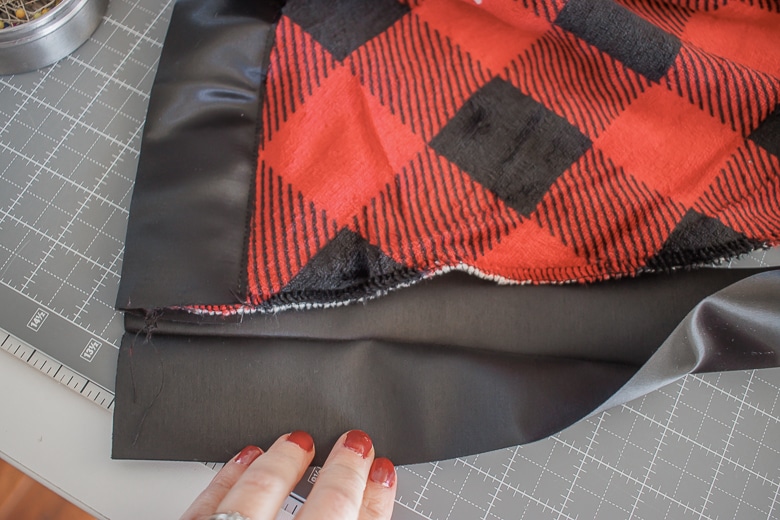
I decided not to put binding around the small inner circle, I just left the serger stitching as the finish for part of the skirt. Once you have the binding sewn on you can tie the long ties in a bow to finish the skirt.
Wrap around your tree, and tie in the back to finish the skirt. I’m so pleased with how this turned out and I hope you will love sewing one like it as well.




Leave a Reply