Inside: Make your own sweater using a shirt you already own as a pattern. Easy sewing tutorial to make your new favorite sweaters.
I’ve been sewing sweaters for myself all fall. I got my hands on some inexpensive sweater knit {more on that later} and so I’ve been sewing up sweaters like there is no tomorrow. I’m going to show you how to make your own sweater, without a pattern! I’ve got a couple of options for making your own patterns and lots of photos for steps along the way to help you sew and design your own super comfy sweater. I seriously have been wearing these all.the.days and I just love them.
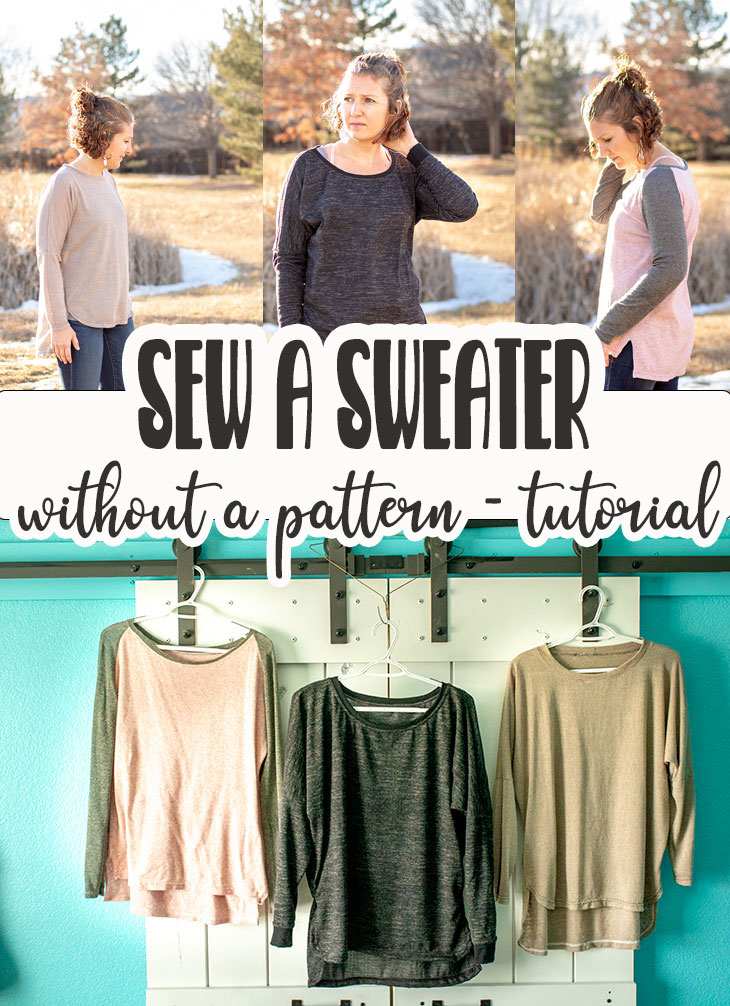
Make your own sweater –
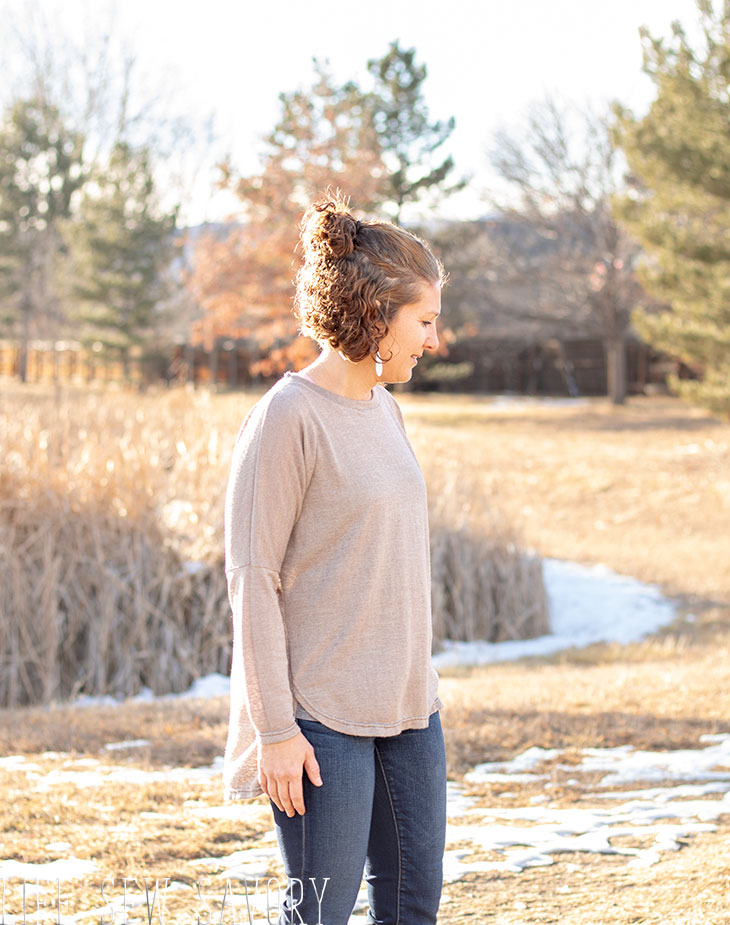
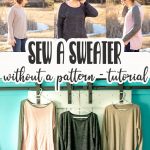
Okay, so before I show you HOW to sew and make your own sweater let’s take a closer look at mine. The brown/tan one and the black one are the same style {dolman sleeve} and the pink one is a raglan sleeve style. I find these two sleeve types pretty easy to “wing it” with pattern creating.
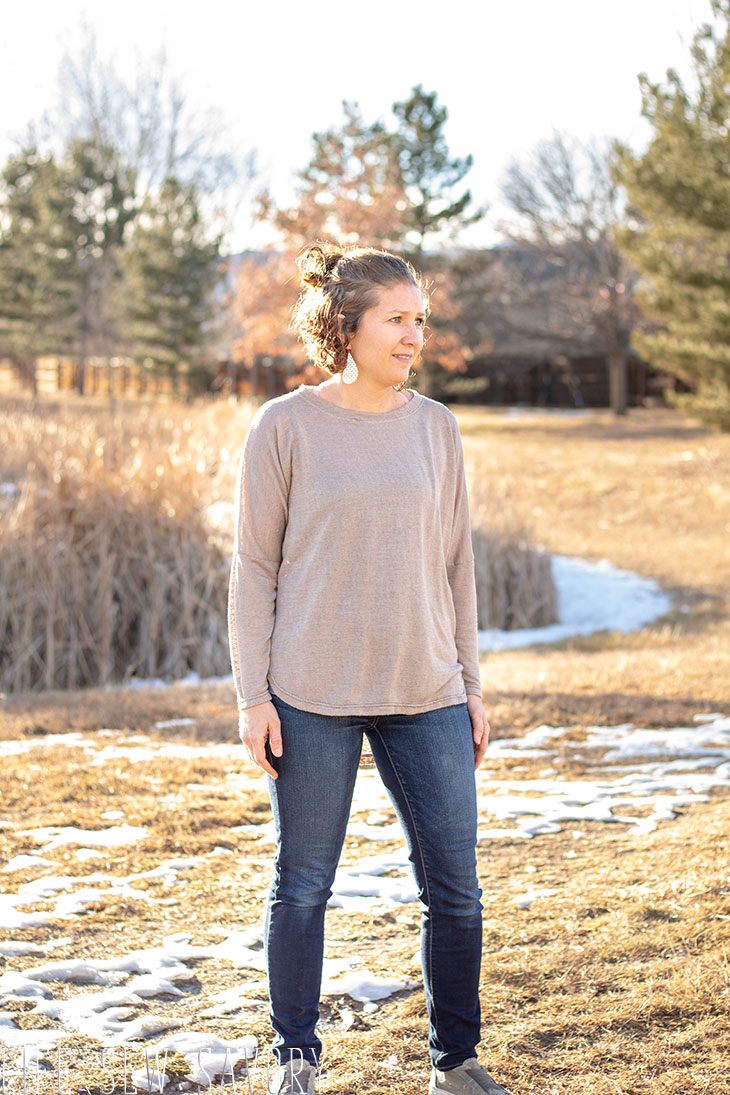
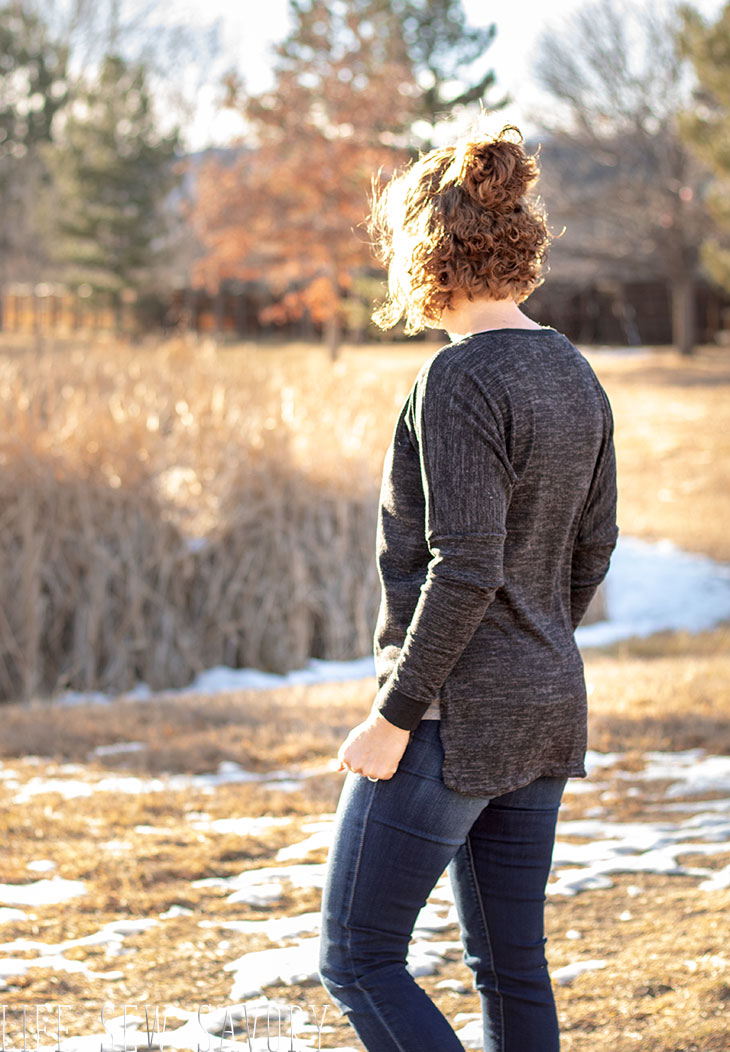
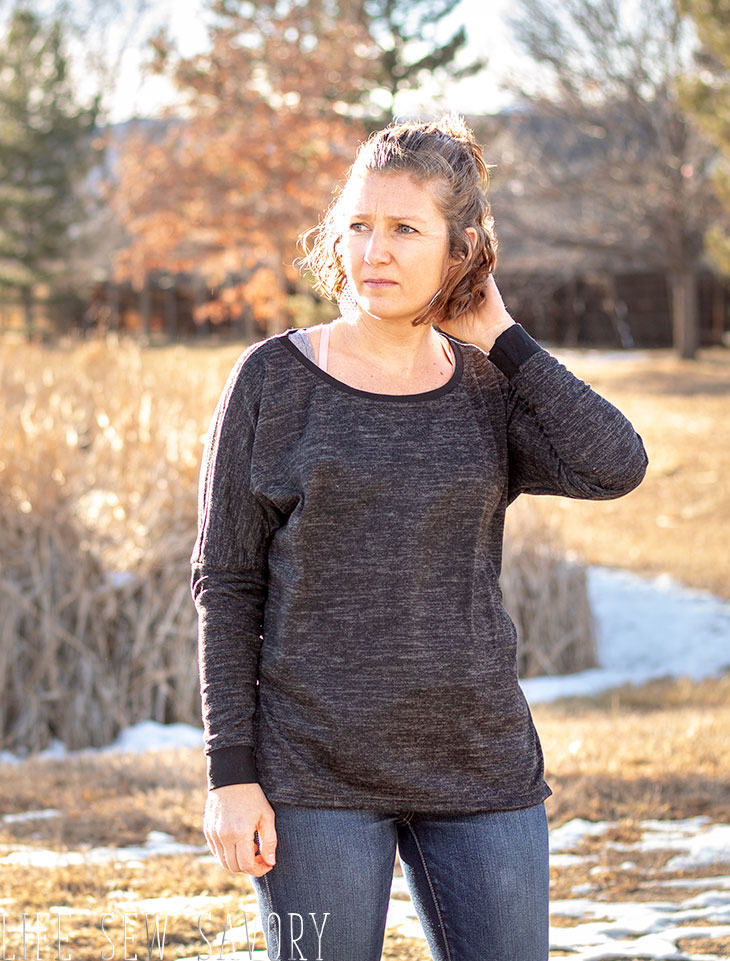
The only difference between these two sweaters is I tried a knit ribbing for the neck and arm cuffs on the black version I found some sweater knit hard to make the neckline with, so I liked adding a matching knit with the sweater fabric.
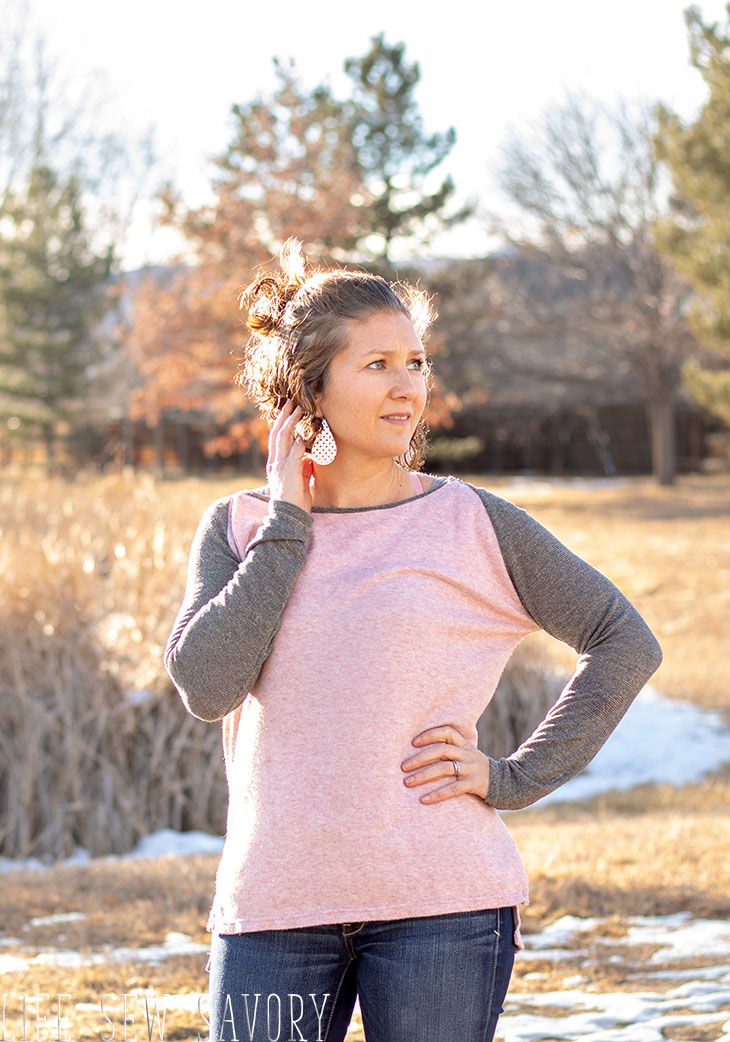
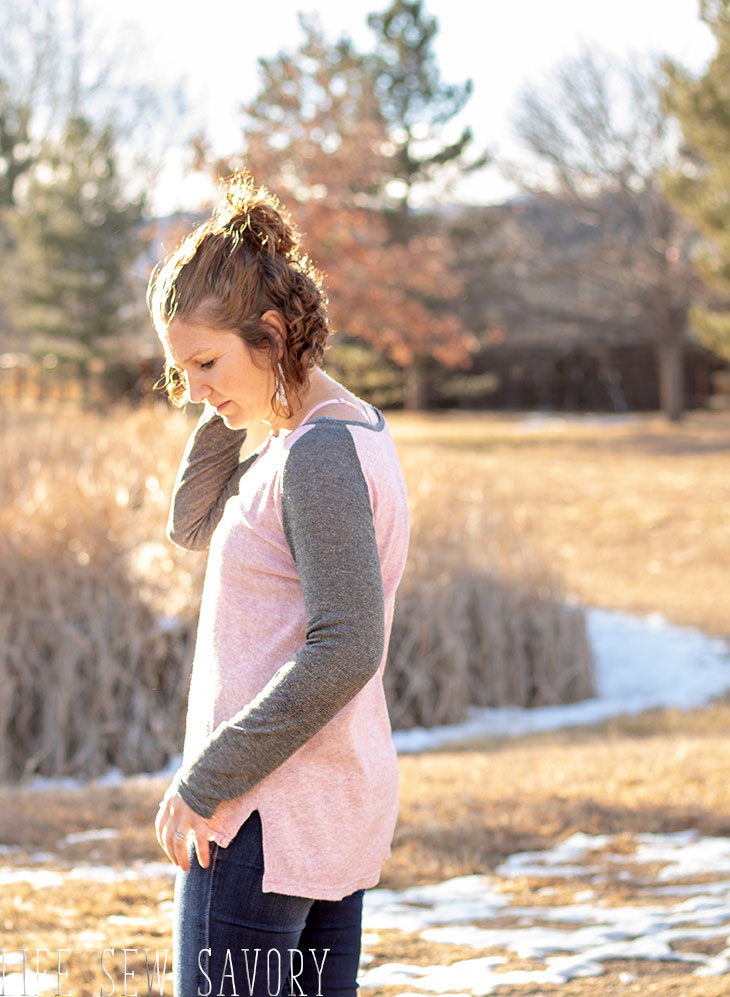
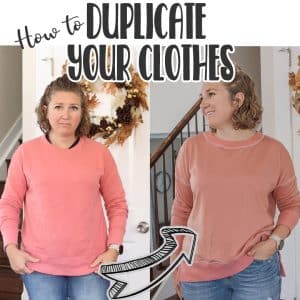
The Raglan sleeves aren’t perfect but they are pretty easy to make and with the slouchy fit of the sweater it all works! I LOVE this pink sweater knit… it’s SOOO soft and cuddly… I was a bit sad I didn’t have enough to make the whole sweater, but then I added on the bronze/glitter sleeves and I really like how it works together.
So…. those are my sweaters!! Are you ready to design your own sweater and sew it up?
Other amazing shirts to sew {free sewing patterns}
Want to sew for yourself but need pattern?? Here are a few free sewing patterns for women…
- Free T-Shirt Pattern
- Free Spring Tee
- Womens Free Hoodie Pattern
- Womens Raglan
- Boyfriend style t-shirt
- Sweatshirt tunic free sewing pattern
- Raglan Sweatshirt free sewing pattern
What fabric to use for sweaters-
Ok! so before we get into the details of how to sew and design your own sweaters I want to share with your where I got the fabric. Sincerely Rylee Fabric {totally not paid to recommend this shop!} is a great place to get a great deal on sweater knit. Last fall I bought two bargain boxes… one of jewel tones and one of blacks/grey… I ended up with about 20 yards of sweater knit for under $4 a yard! Don’t you love my $5 sweaters!!!
You can also buy Hacci Sweater knit at Raspberry Creek here.
Knit Fabric.com also has beautiful sweater knits that I have bought before.
How to sew a sweater from scratch…
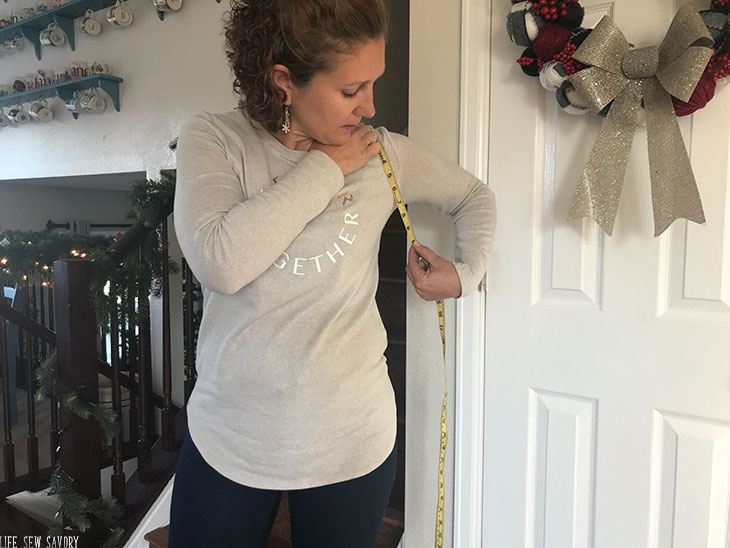
Let’s do this without a pattern! The easiest way to design your own sweater is to start with a shirt that you like the fit… The more you like the original fit, the easier it will be to copy that shirt and make it into a sweater. I would also suggest taking a couple basic measurements of yourself before you start with the sweater creation. I measured from the top of my shoulder {at the edge of my neckline} down to under my arm where I want the loose underarm to fall.
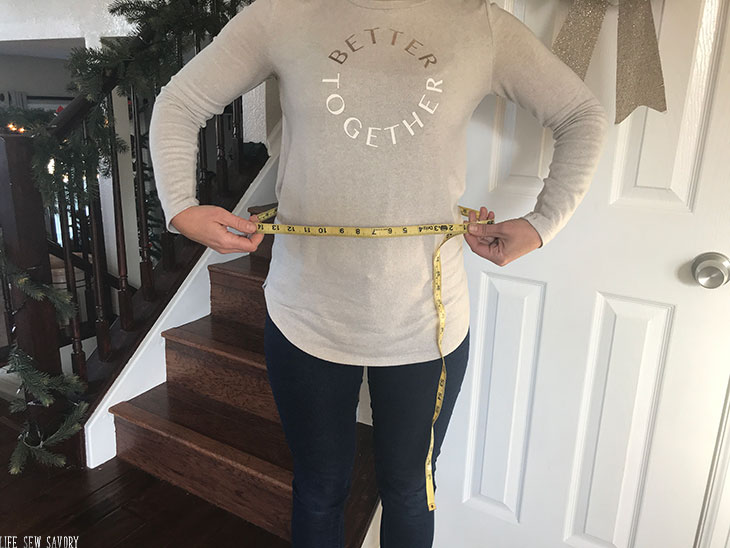
I would also suggest measuring around your low waist to find out how wide you actually want this part of your sweater to be. If you have a really loose shirt that you are starting with this is not so important. Again… the more you like the fit of the shirt you are starting with the less you will have to alter the design.
How to design your own sweater-
I started with a loose fit short sleeve shirt and went from there. You can see how I created the basic dolman outline from the shirt. Fold your fabric in half and lay the shirt half on the fabric and half off. As far as how much fabric you will need… I needed 1.5 yards for each shirt and I made a very loose sizes S shirt. Anything over a M I would suggest 3 yard so you can lay the shirts end to end down the grainline.
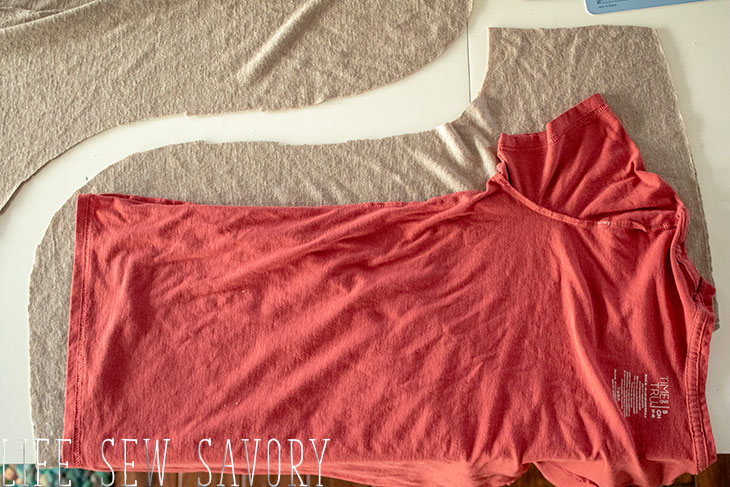
The front and back are the same except for the hem and neckline. I made the back longer at the hem and the front neckline lower. Make sure you do not make the neck too large… I had a failure when I made my first one as the neck was WAY to wide and big…
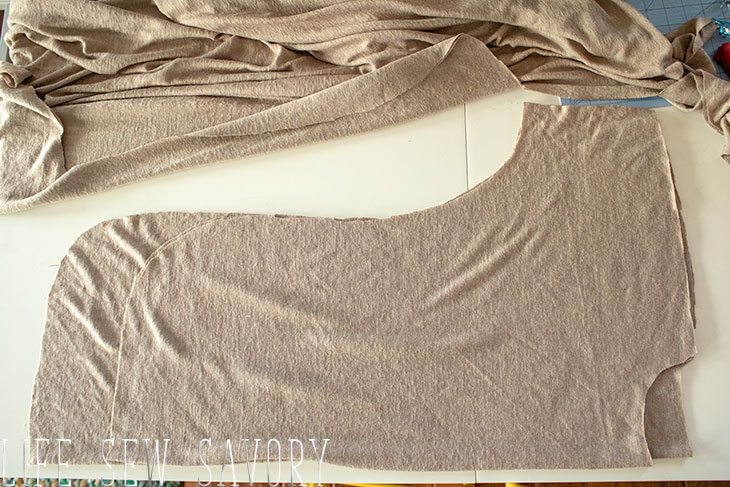
You can also use a t-shirt pattern. . HERE is my free tee for women… this can also give you a base to work from. See how I laid out the pattern. Fold the sleeve pattern in half and match at the shoulder… extend the dolman sleeve end a couple of inches past the end of the t-shirt sleeve.
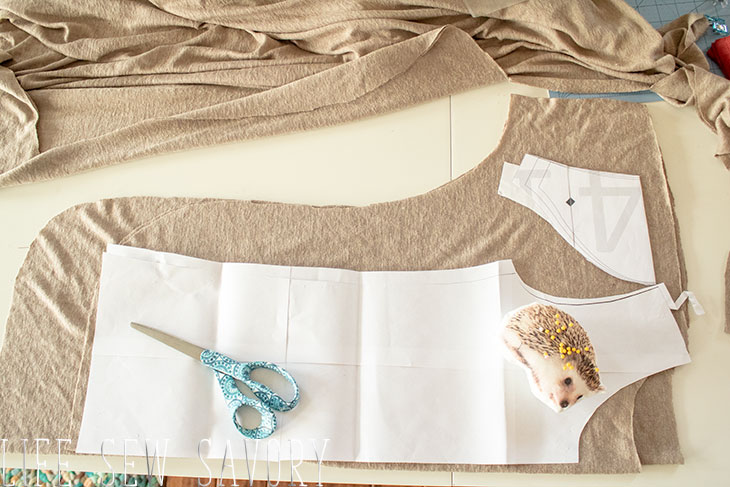
You can add a cuff to the end of the sleeve here for a short sleeve version OR…
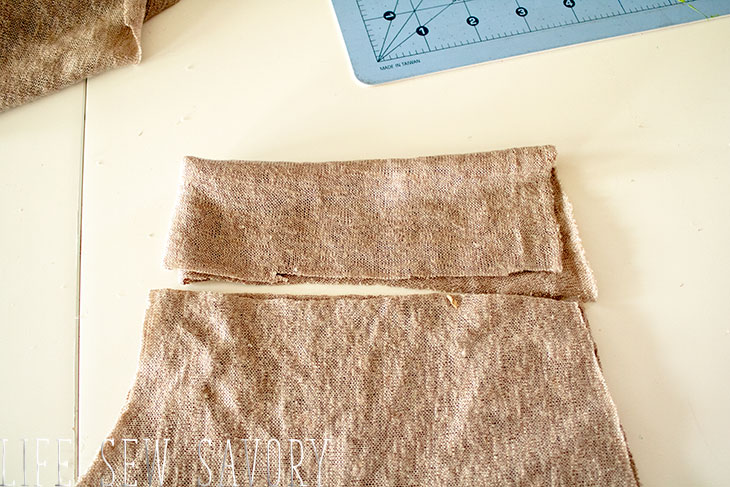
Cut a sleeve on the fold. The wide part should be the same width as the end of the shirt and the narrow end should be just bigger than your wrist… Just angle from one to the other.
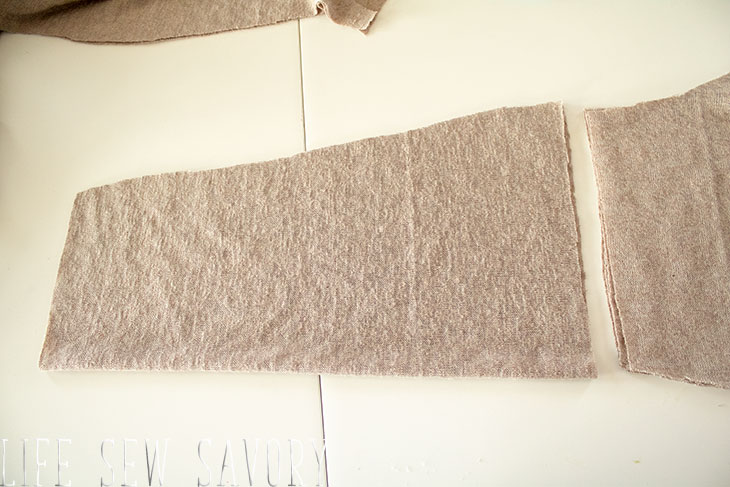
You can also shorten your sleeve and add a cuff… this one was a knit cuff. Cut just smaller then the end of the sleeve in width and double the height you want so you can fold in half.
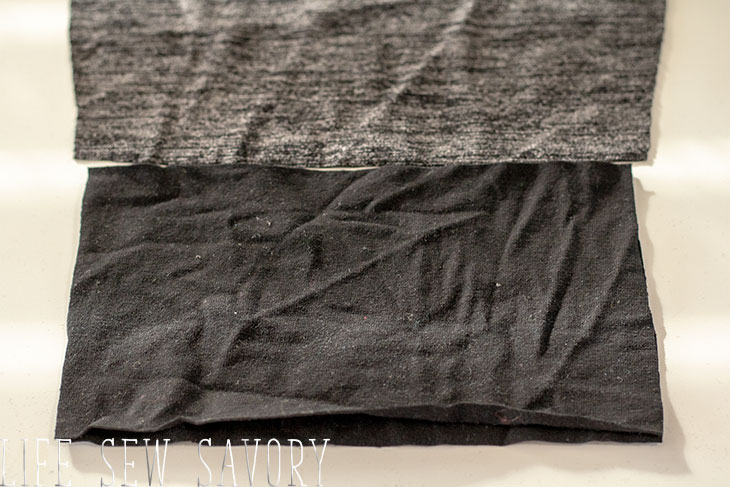
Start putting the sweater together by sewing one shoulder to the sleeve {right sides together} You can sew the other shoulder and then put in the neckband OR you can put in the neckband with only one shoulder sewn. Cut your sweater knit OR knit fabric for the neckband. I cut both fabrics 1.75″/2″ wide and then about 80% of the length of the neckline. Fold long sides together and sew to the neckline of the shirt, stretching slightly so the band fits the neckline. Stitch all three layers of fabric with a stretch stitch {serger or knit stitch on sewing machine}
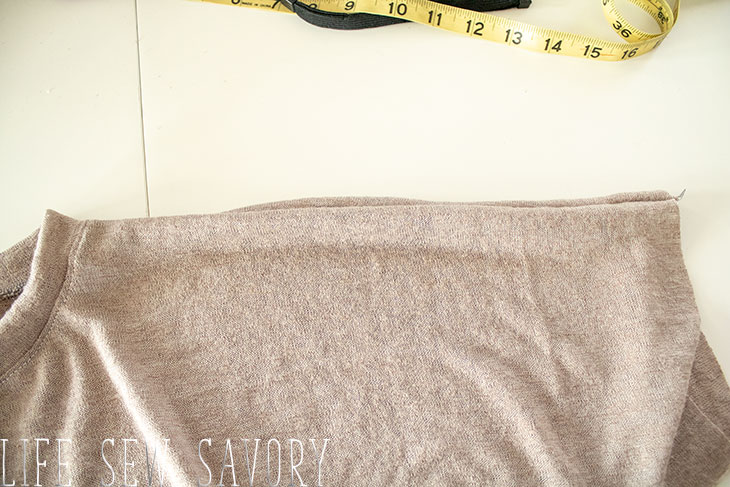
Knit cuffs and neckline… with topstitching.
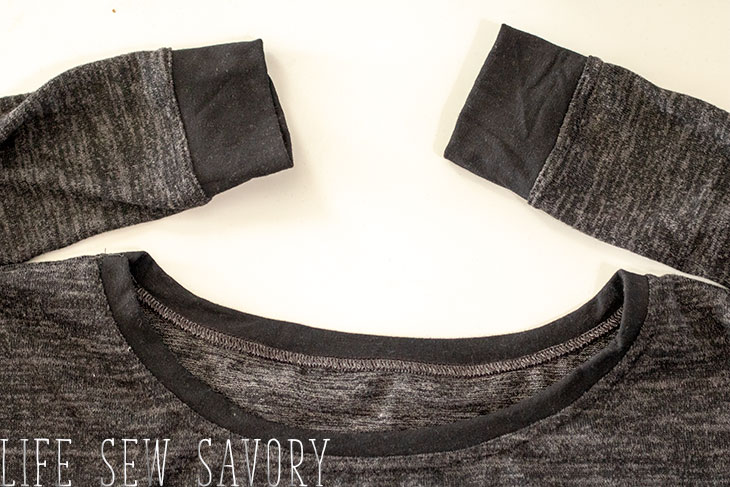
Sweater knit neckline {this was harder than I thought it would be…} after washing it was less bumpy… as seen in the modeled photos…
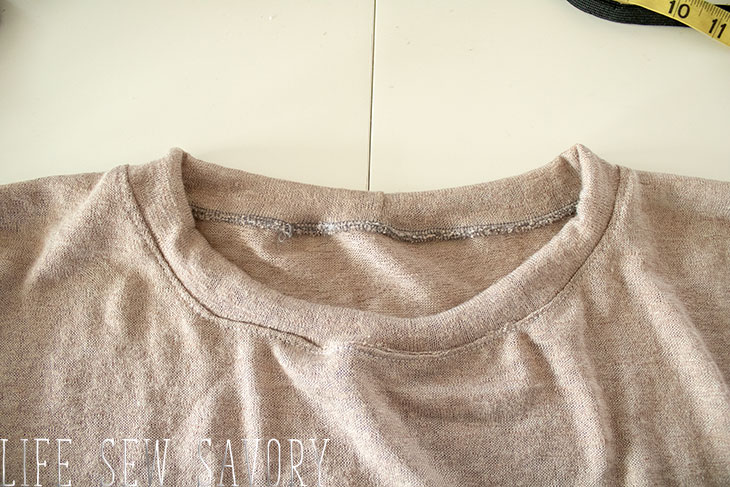
Stitch the second shoulder seam if you haven’t already. Sew the sleeves to the shirt and hem or cuff the sleeves.
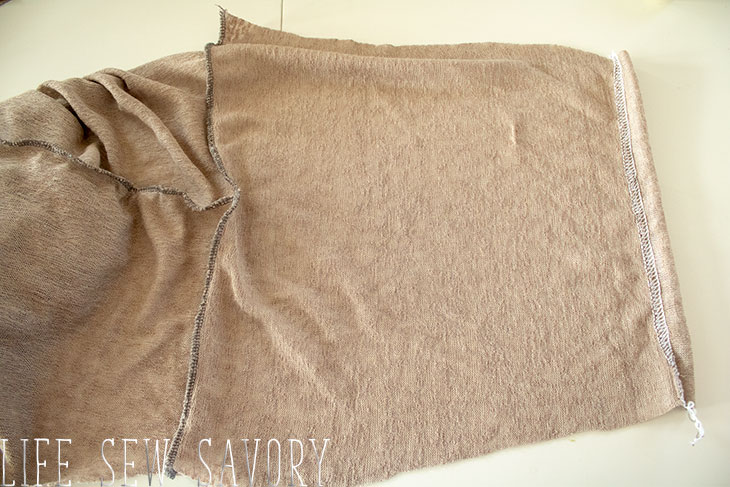
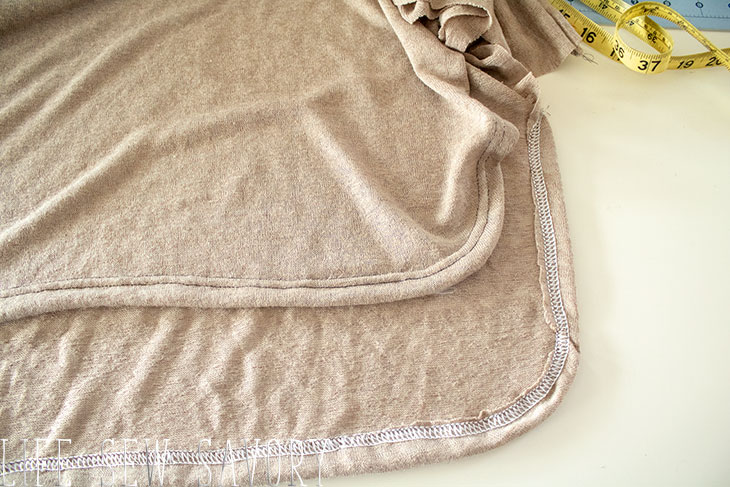
For the curved hemline I sewed up the hem before I sewed the side seams. Sew the bottom and about 6″ up the side of the shirt. Ease the curve. You will have to sew up a bit higher on the back as it is longer. Sew the side seam from the end of the sleeve down to where the front starts to curve. Finish the lose serger threads by sewing or threading back through.
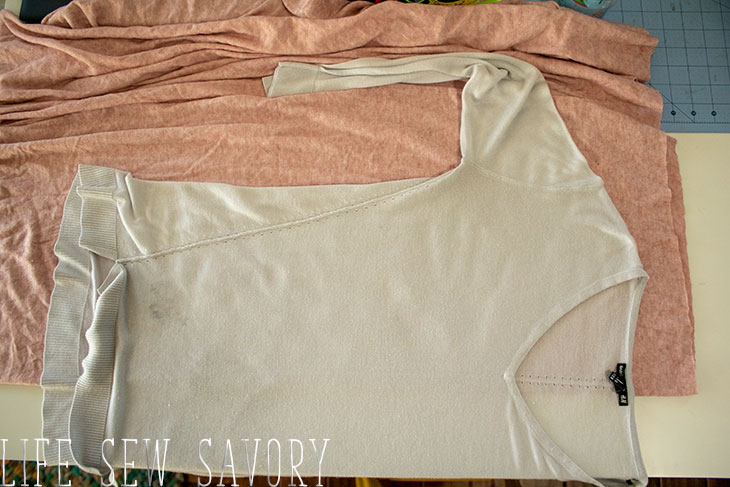
And here how I made the raglan… I used a different shirt for this design. Again, fold the fabric in half and place half the shirt on the fabric and half off. You can also use my free raglan for women as the base and make it a bit looser than the shirt.
Use that measurement that you took at the beginning to find the distance from the shoulder at the neck to the under arm. You do not want this too tight. This sweater is a loose one already, so I’m able to keep the general shape.
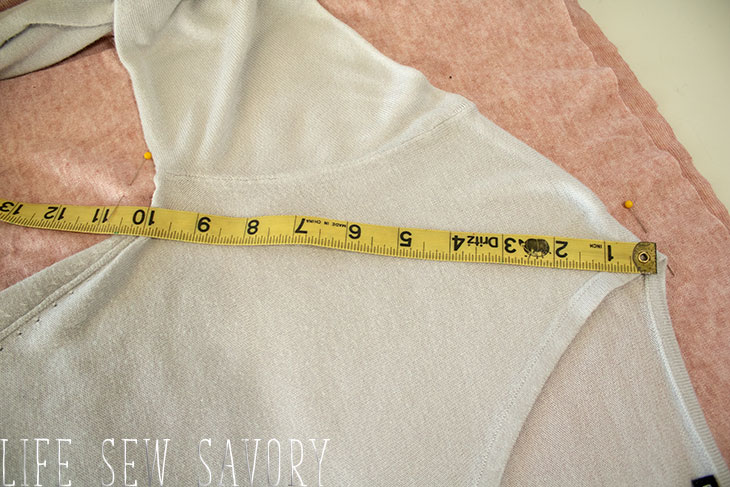
Cut around the shirt you are using as a guide and straight down the arm angle. Cut the front the same only with a lower neckline. Again you can make the back hem longer than the front if you want. Can also be the same if you want.
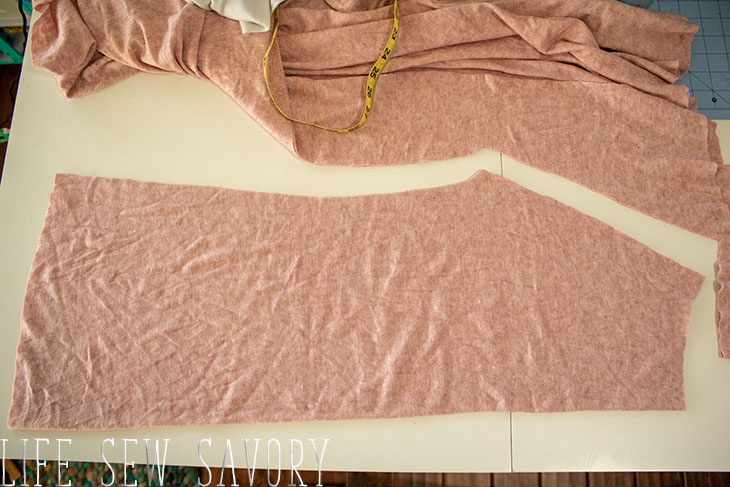
Cut the sleeves using original shirt AND the new sweater together as a guide. Cut the shoulder at the same angle and then use the sleeve as a guide for width and length. Cut on the fold.
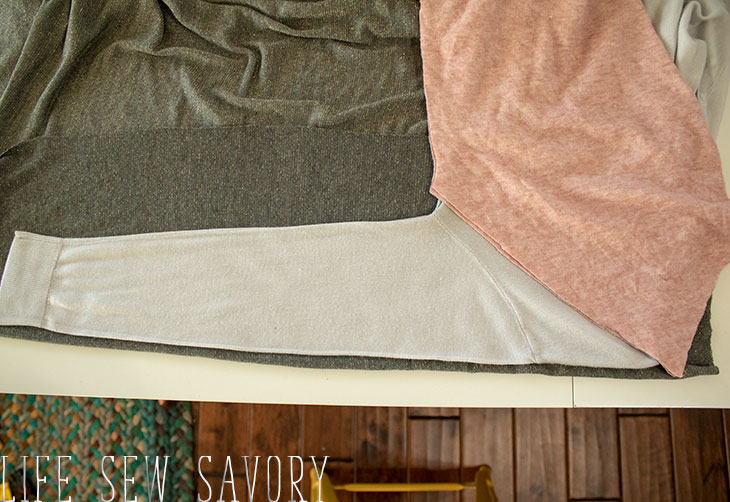
Pin the sleeves to either side of the front of the shirt. I did notice that the sleeve angle was a bit longer than the shirt angle… if this is the case for you line up the under arm and then trim the top.
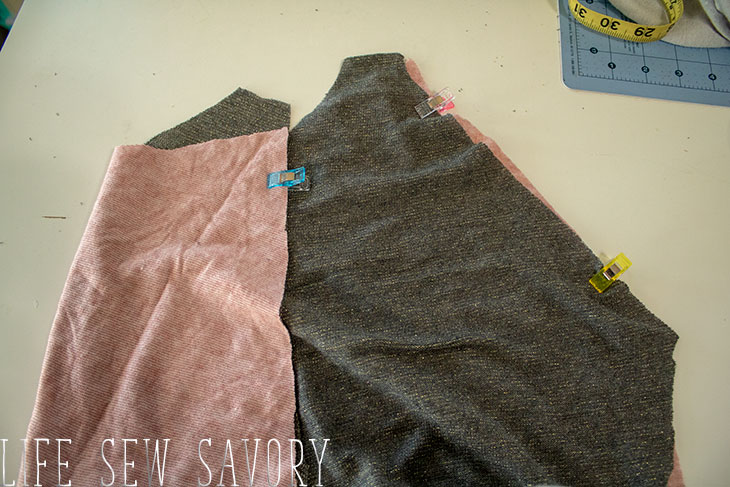
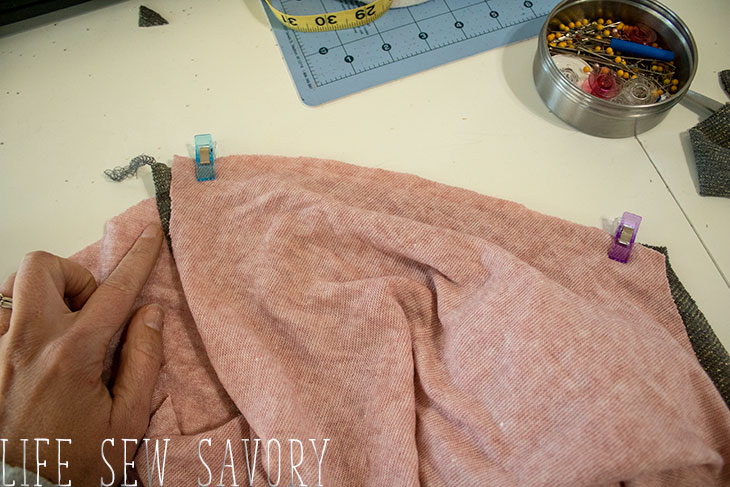
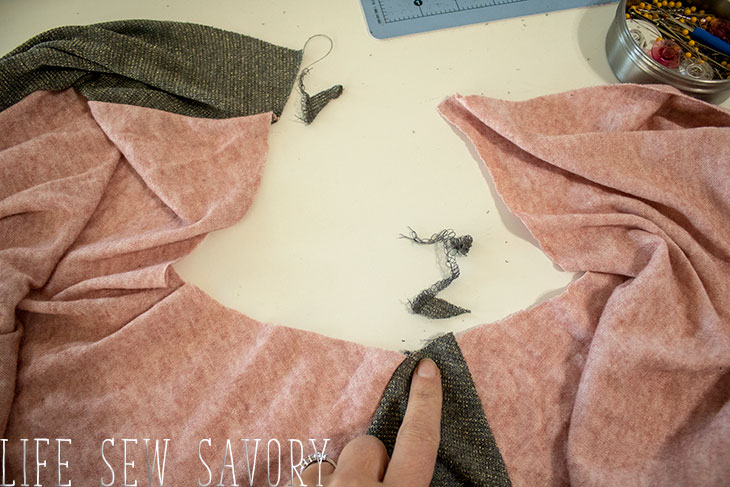
Add the neckline either open {before you sew the last shoulder} or in the round after you sew it all together. I used my coverstitch machine to hem the sleeves and top-stitch the neck.
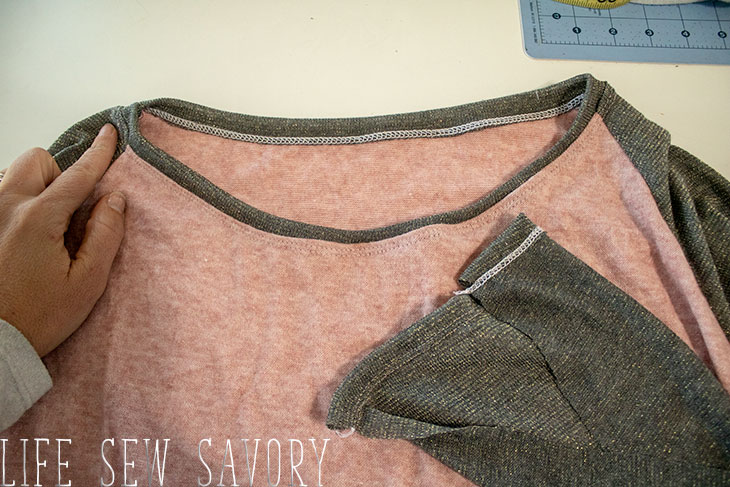
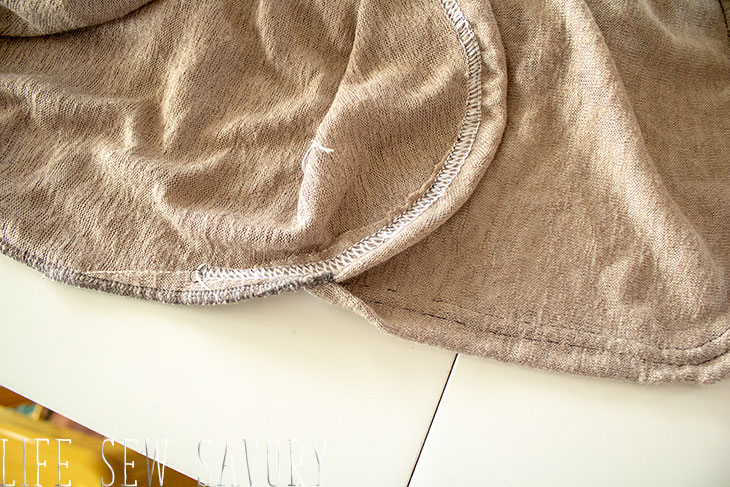
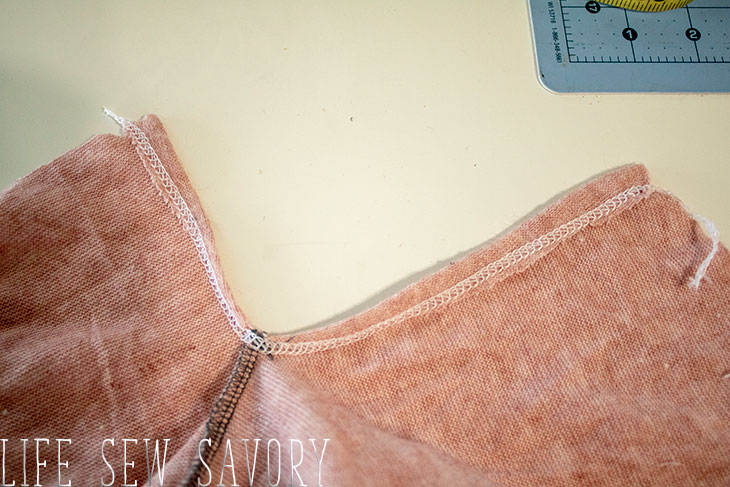
For the square hem I sewed from the ends of the sleeves down to about 3/4″ above the front hem. These sweaters would also be beautiful with my split hem bottom band.
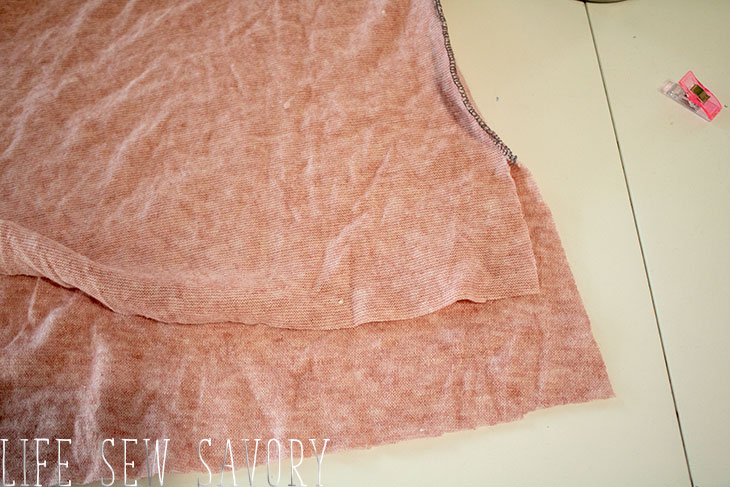
Open up this side slit and turn under to hem. I just sewed it straight across with my coverstitch. You could also used a zig-zag stitch. Then turn under the front and back edge each about 3/4″ inch and sew the hem.
and…. you have created some gorgeous sweaters!! Easy to make in any size that you need!
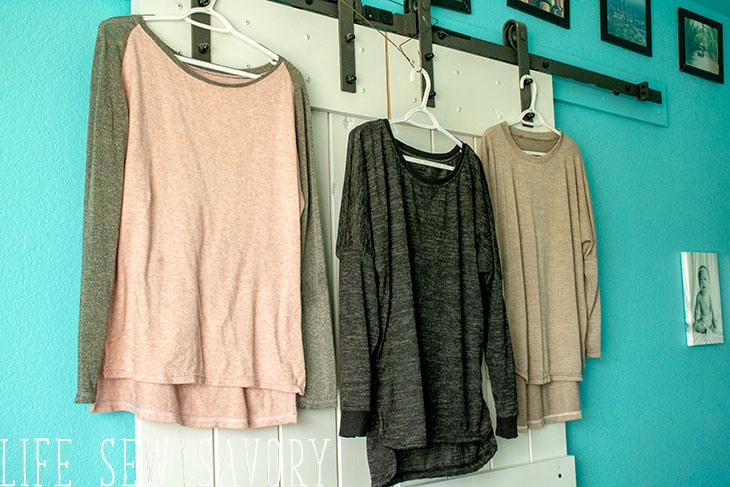
And here is one final look!! I seriously love these so so much and they are the most comfortable sweaters ever!!!





Danielle says
Thank you very much! Love these!
Tammy Foster says
Love the piece and the tutorial, but you’ve spelled my girl Darcey’s shop’s name wrong. It’s Sincerely Rylee, not Riley. It’s named after her sweet little daughter. ❤️
Emily says
fixed it!
Lynn Samuels says
Absolutely brilliant. I have a stash of sweater knits to sew up and this has given me the confidence to have a go. You have made it look less complicated and more achievable. Thank you.