inside: Create amazing diy shirts with this mountain view free svg file and cutting tutorial. Cut and create this fun shirt file. Download the free file in SVG – PNG – PDF format to create a fun shirt or other item.
I saw an ad as I was scrolling through facebook for a sweatshirt that had a fun mountain scene on it. I marked it to create something similar, and today I’ve got it ready for you… So.. if you see a facebook ad for a sweatshirt that may have a similar design – you know where it came from {haha}. I’m not sharing the whole shirt today, just a fun and free cut file to create this amazing mountain view.
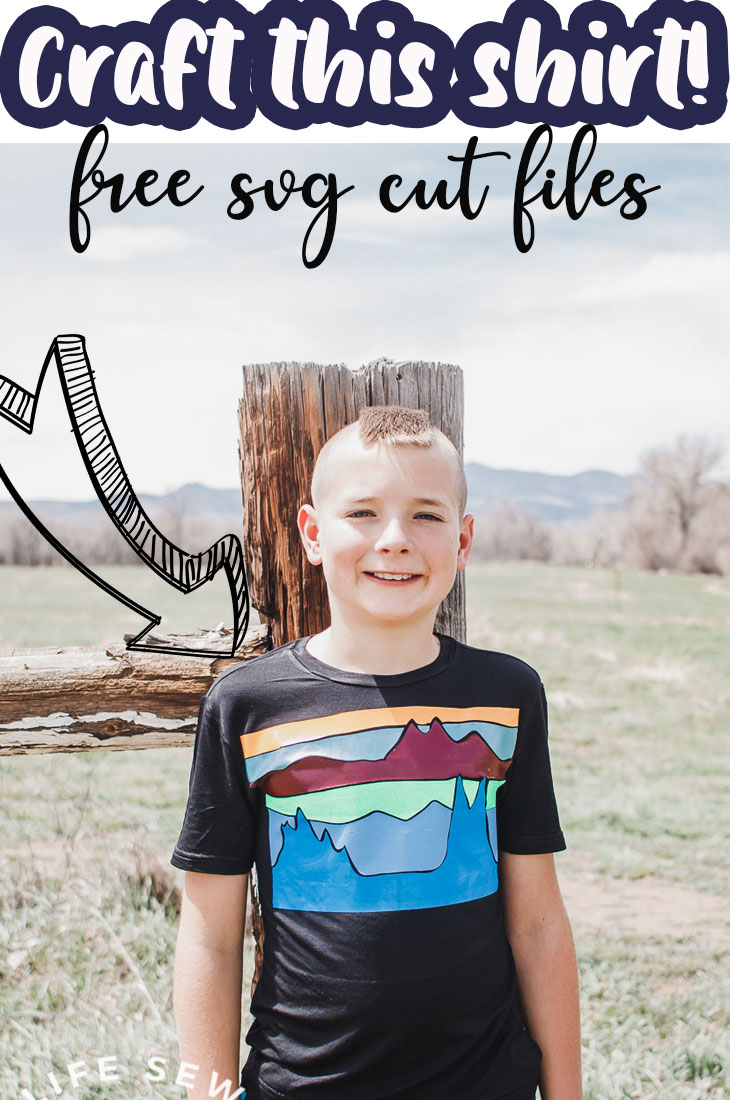
Mountain view free svg file
I’m going to walk you through how I created this fun shirt using a free cut file, but there is also a video in this post that should play a tutorial for you as well. If you don’t see the video try turning off your ad blockers or use a different browser.
We live with mountains in our view daily and I love them every time I see the view. Of course our photos with the mountains in the background are hard to even see, but they are very majestic in real life.
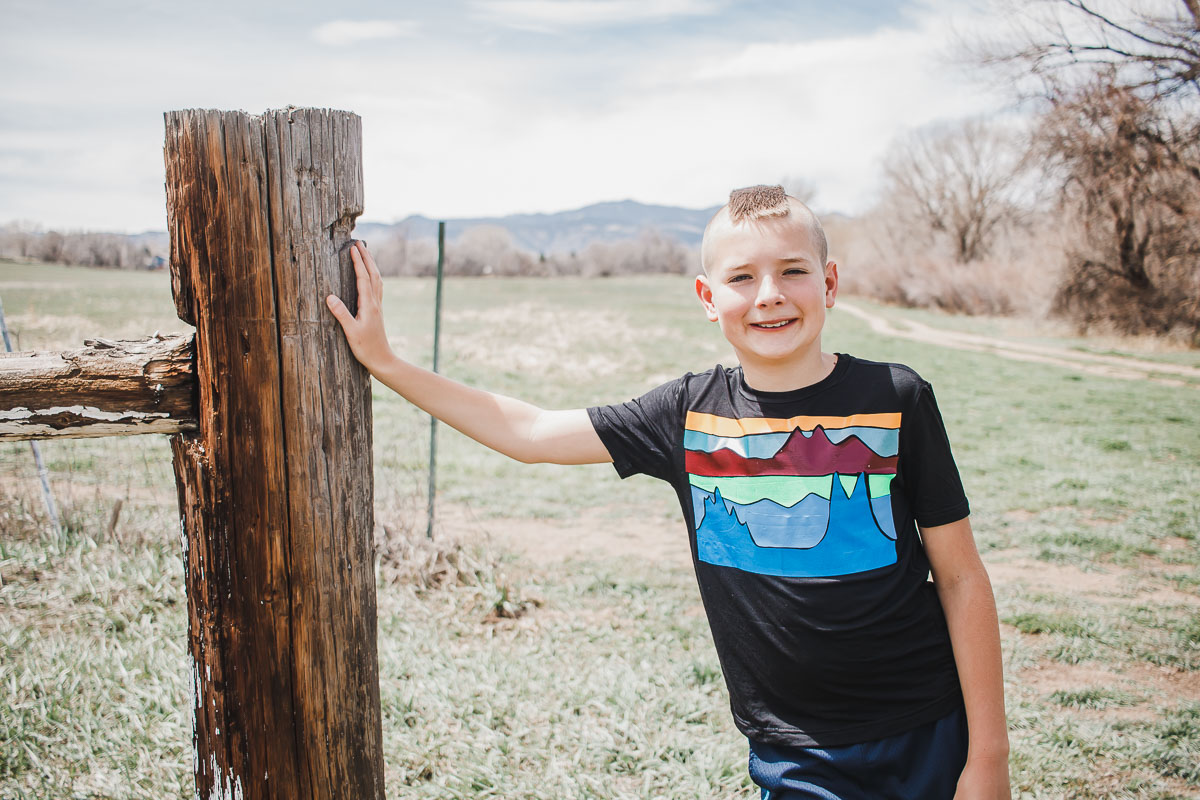
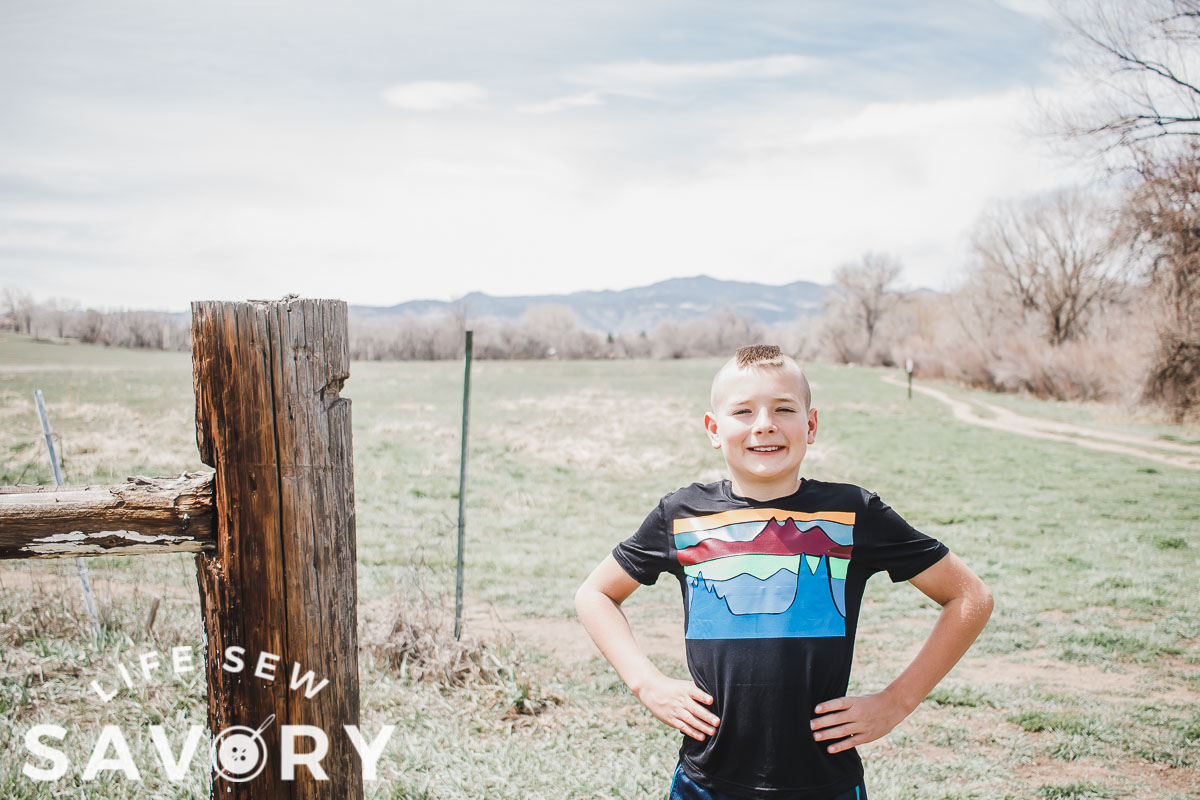
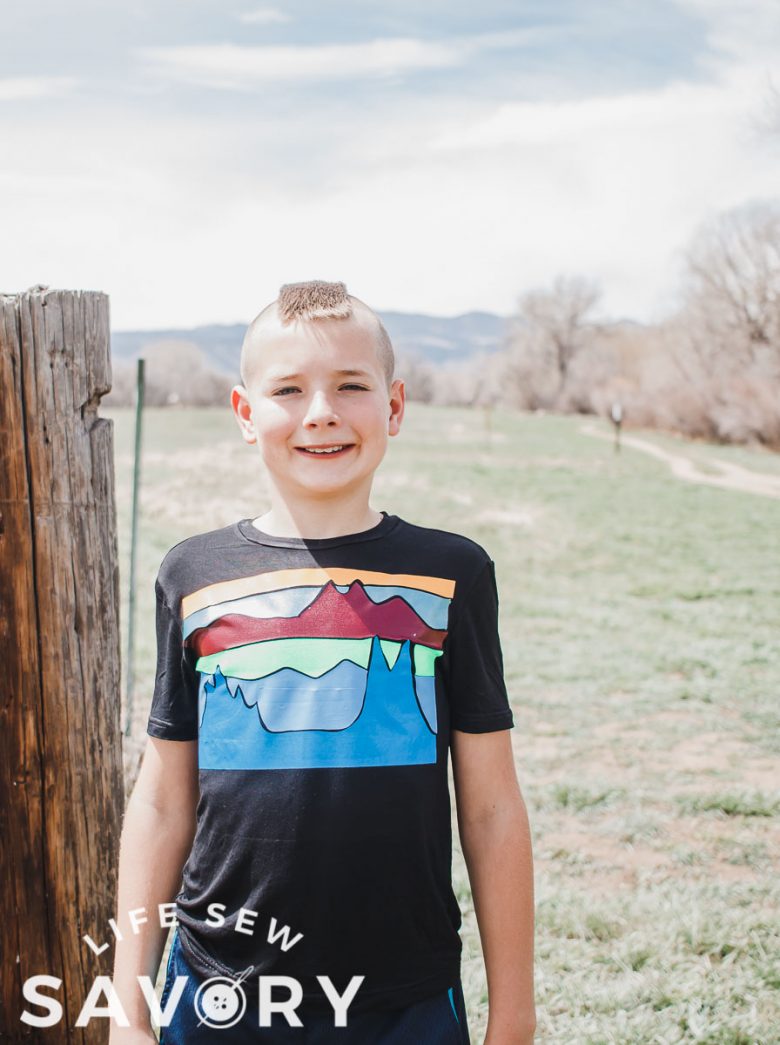
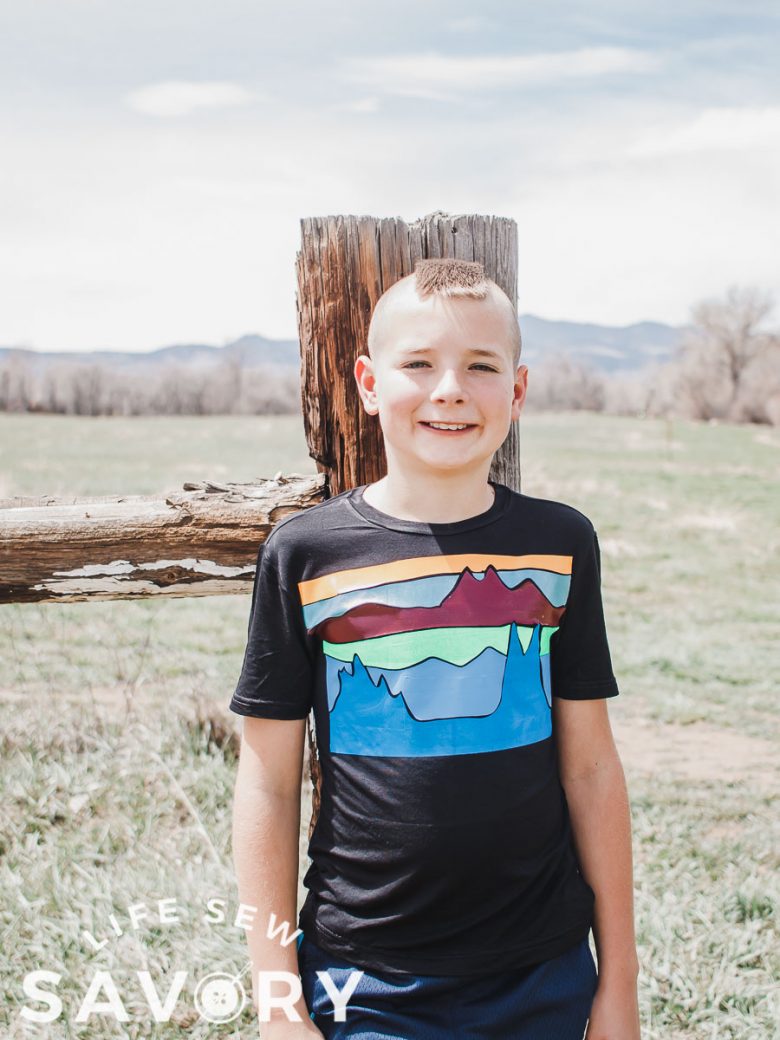
This fun svg file is about 8 x 12″ but you can adjust to any size you need. It looks amazing on a shirt { I think I should have made it just a bit smaller for his size} but I also think it would look great on a bag, or use with sticky vinyl on mugs or notebooks. The crafting possibilities are endless!
Create a shirt with a free cut file
Ok! Let’s take that fun mountain svg file and turn it into a DIY shirt. Here’s what you will need to gather to create this look.
Mountain shirt supplies:
- Shirt {buy one or sew one – the one seen here is the boys classic t-shirt here}
- HTV {heat transfer vinyl}
- Cutting machine
- Free cut file – my download is available by clicking the button below.
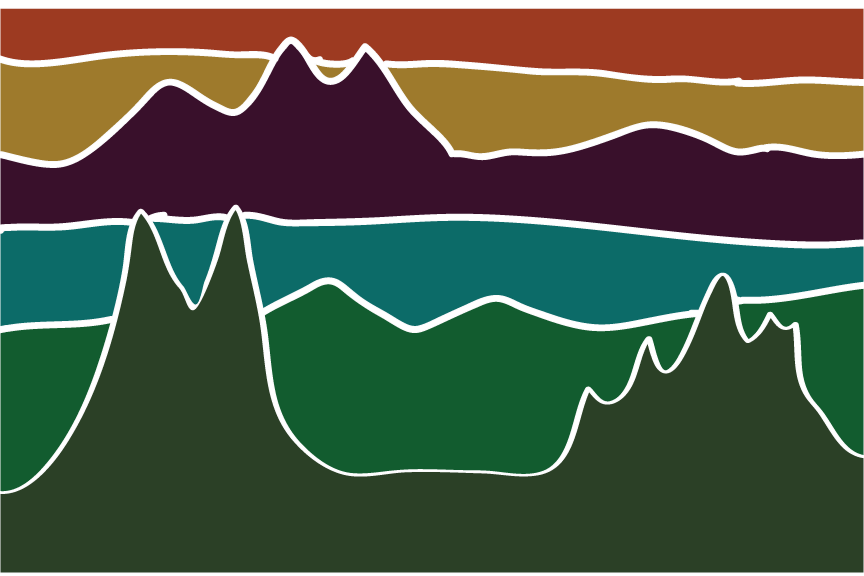
Here is what the file looks like and some color for inspiration. You will see that my vinyl is not exactly the same colors as my picture, but I used what I had on hand. If I was buying vinyl for this project I would buy vinyl these colors. I just love the combo!
Gather all your supplies and I’ll walk you through how to put it all together. This is a bit trickier than some other svg file projects… this is due to the fact it has several layers to cut and combine.
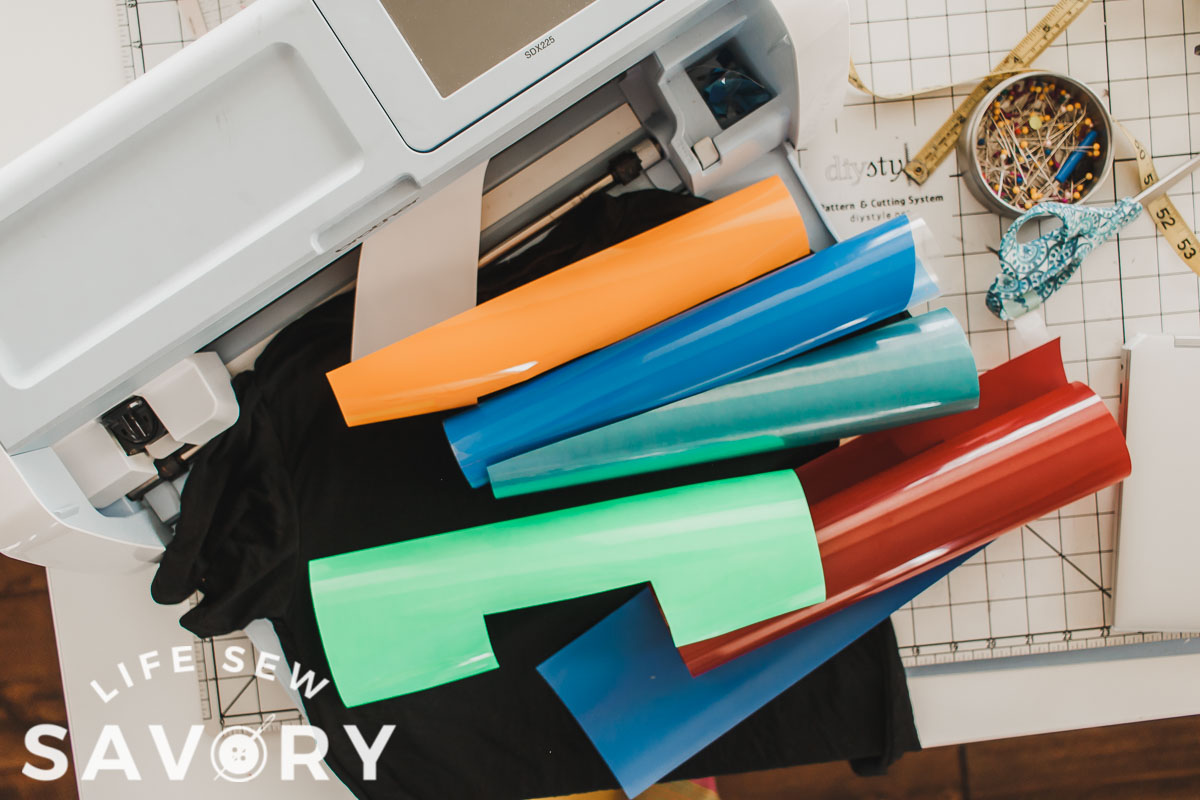
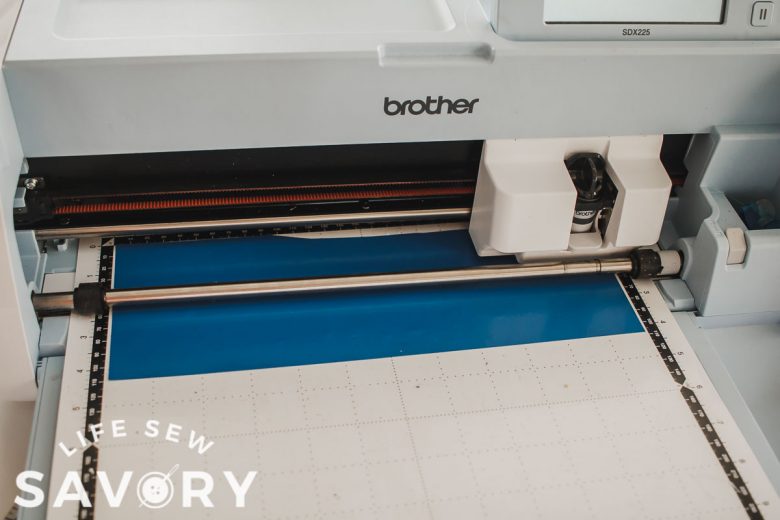
Download the free cut files, then open the format that works best for you on your cutting machine. {see this in the video} Hide all the layers except for the one you want to cut. I cut from bottom to top. Make sure to place the plastic side of the vinyl down to stick to the mat.
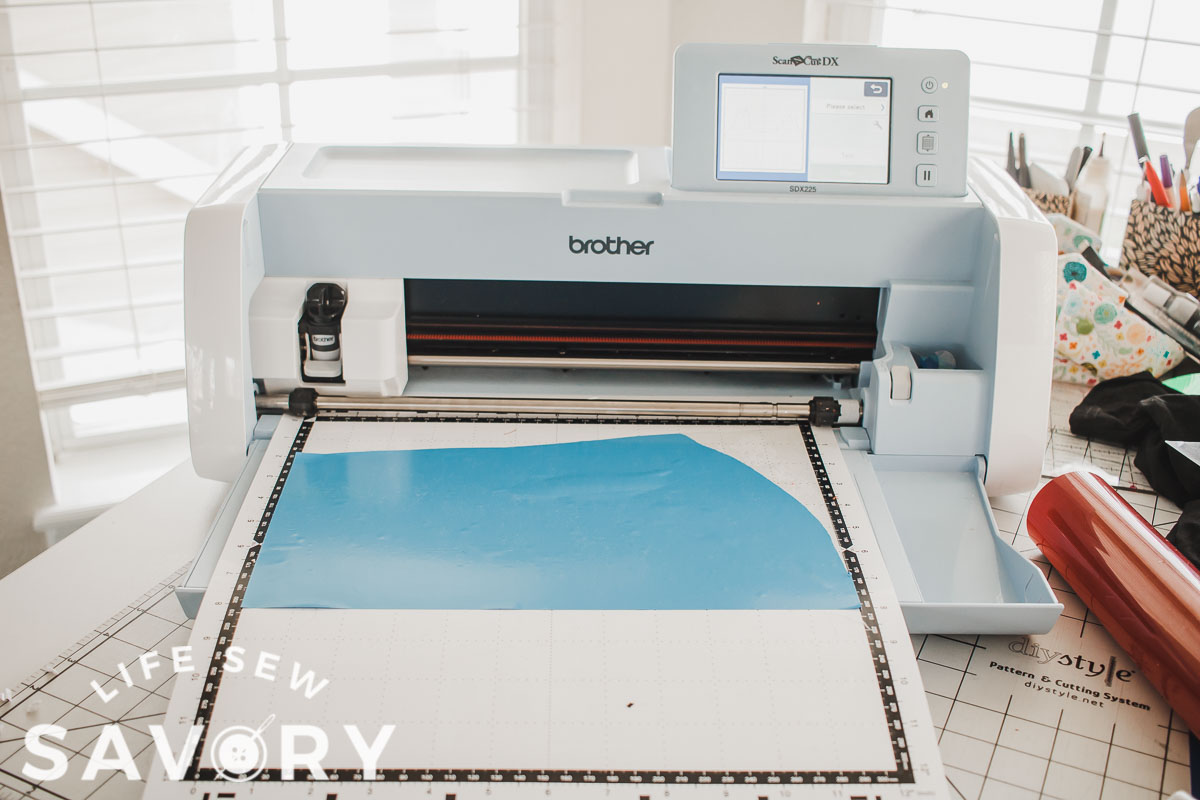
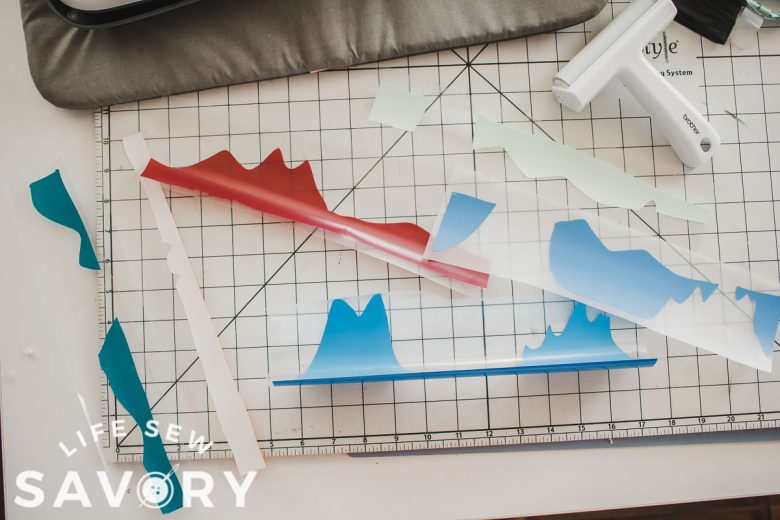
Cut this layer then weed the extra vinyl to reveal your design, set aside.
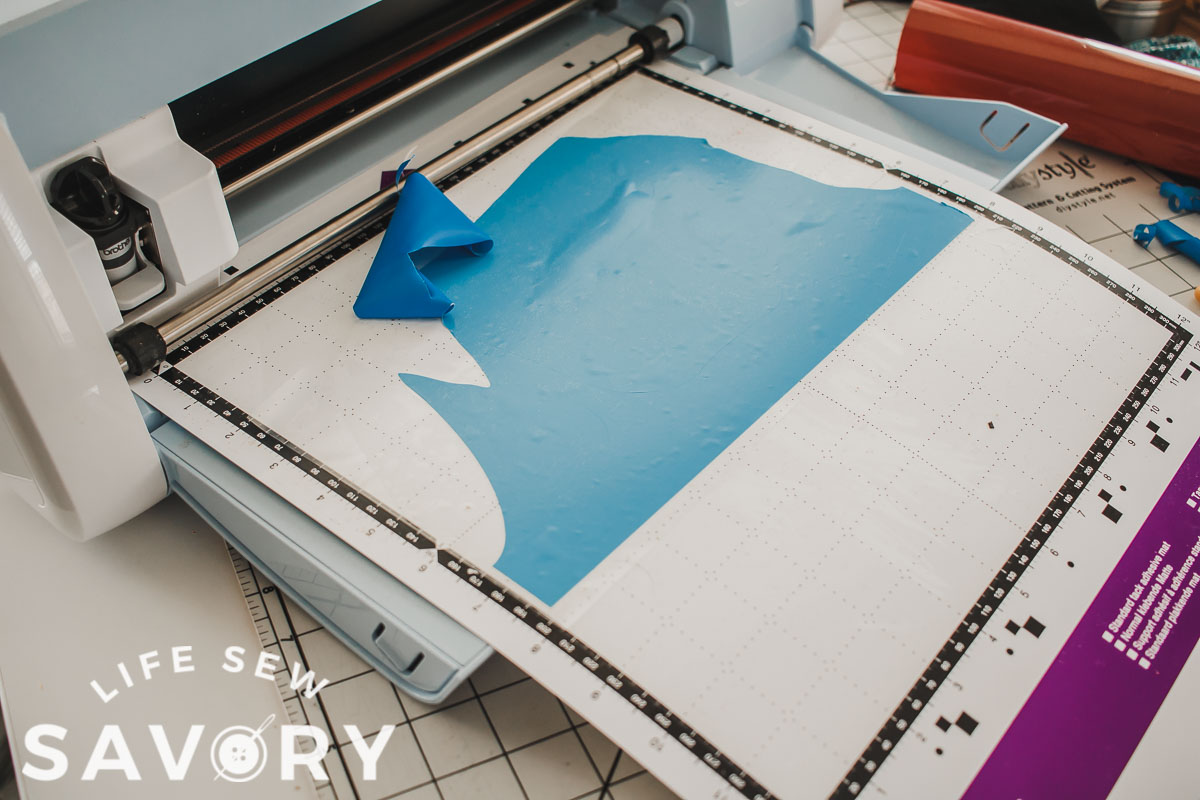
You will repeat with each layer/color of the design. Make sure if you resize one layer you resize them all! Set aside each part of the deisgn.
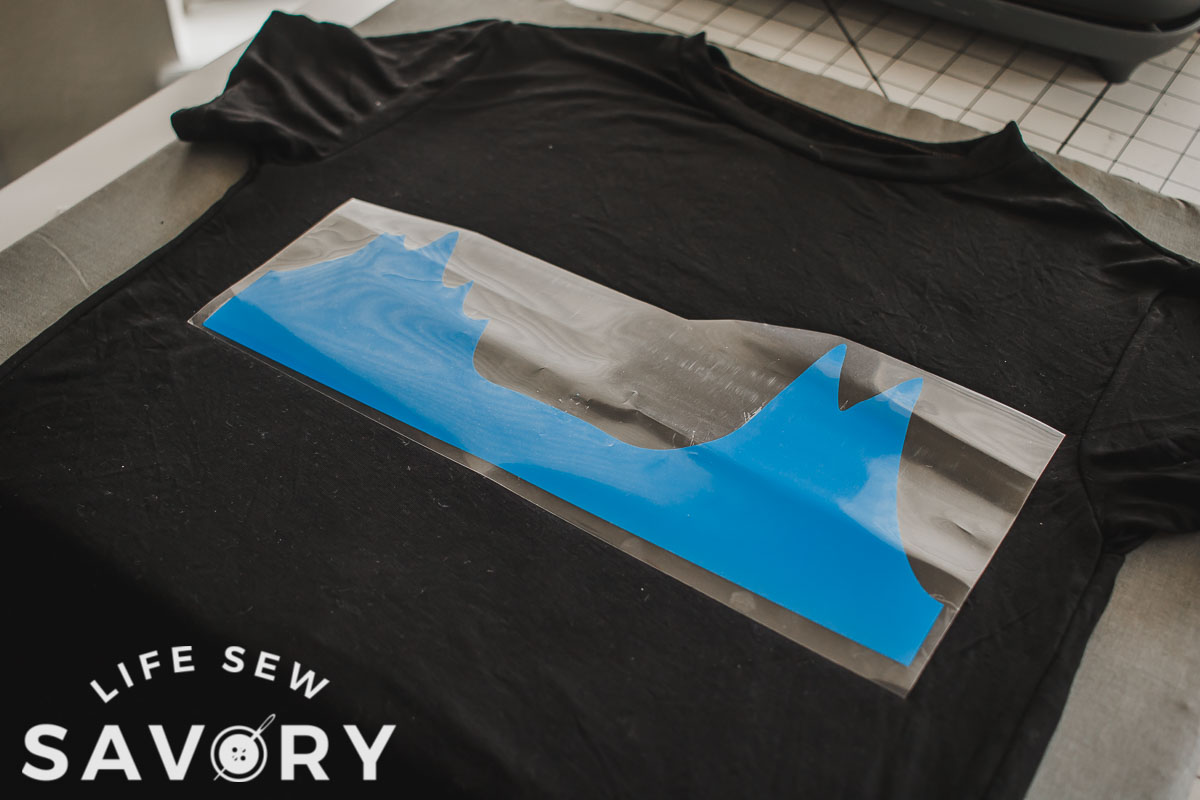
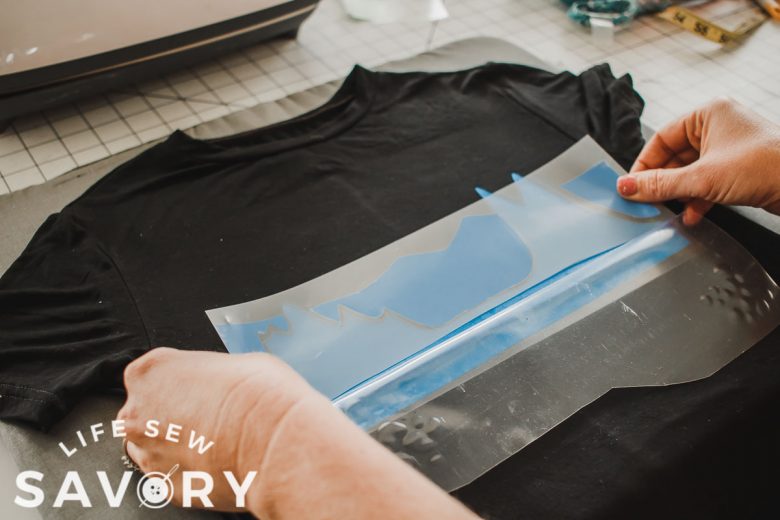
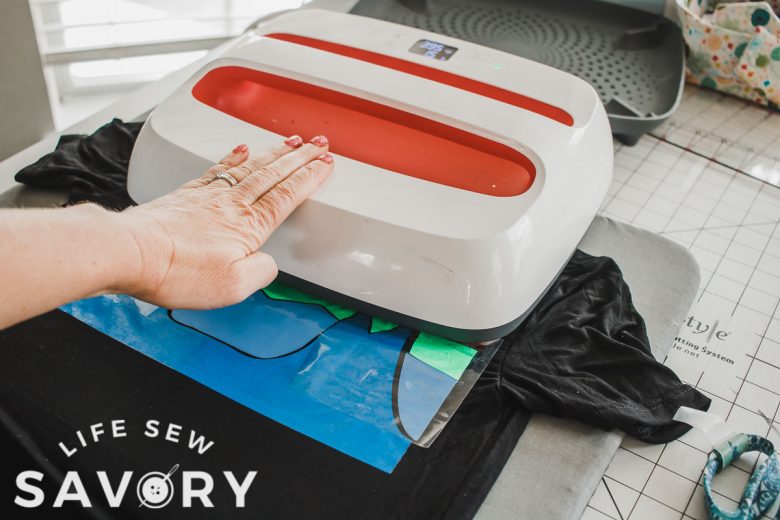
Now grab your shirt and place the first part of the design in place. I started with the bottom mountains. Use an iron or heat press on high heat to fuse vinyl to shirt. Peel back the top part of the plastic cover to expose the top for the next layer.
With the plastic peeled back add the second layer of the design. Make sure all parts of the vinyl are covered with plastic and press again. The vinyl will melt if it touches the iron… make sure to keep covered. Repeat with peeling back, adding another layer and pressing until you get to the top of the design.
Here’s what it looks like when finished.
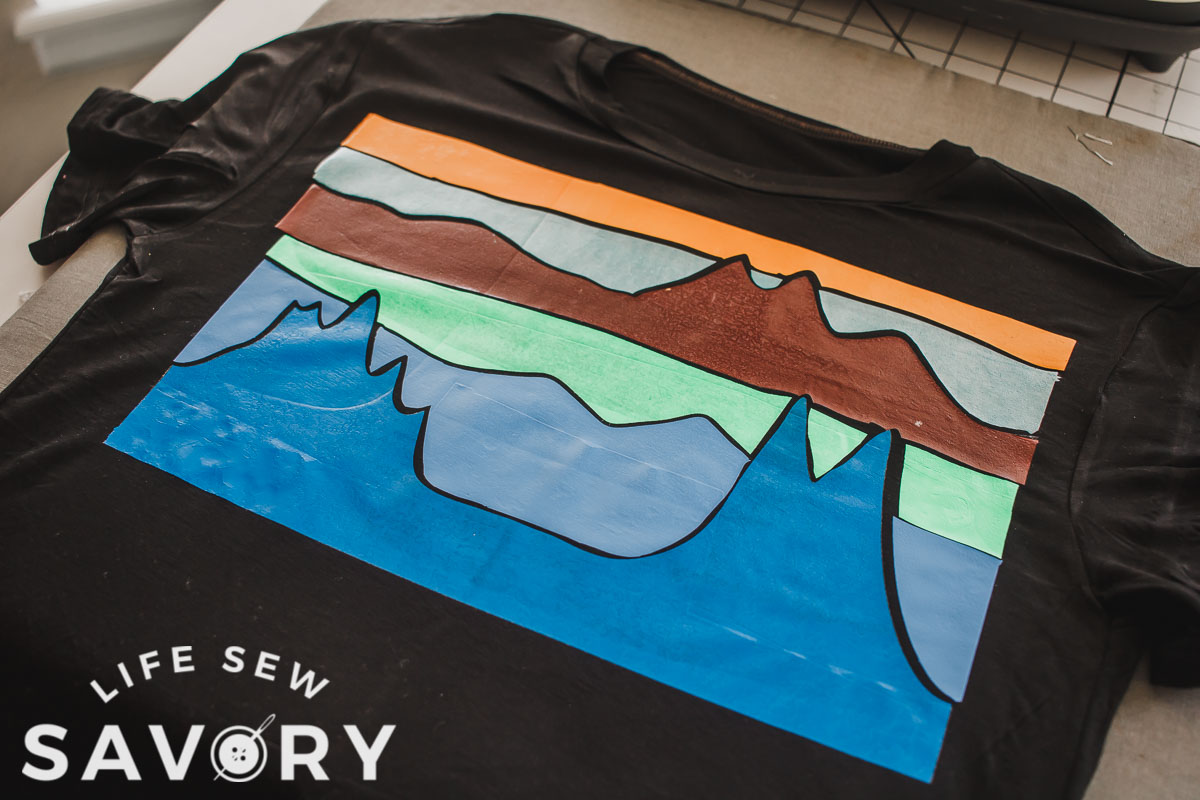
Then you get to wear and enjoy your new awesome shirt. Or you can gift the shirt you just made.






Leave a Reply