Inside: Linen bread bags sewing tutorial for holiday sewing and gifting. . Gifting bread makes everyone happy and these natural linen bread bags make the perfect handmade gift partner.
Fabric provided by Fabric Wholesale Direct for this post.
I’ve been baking sourdough bread since April and each time I bake I try to double up to give away a loaf. It’s a special gift to receive a still-warm loaf of bread and when you add these lovely natural linen bags to the gift, it makes a perfect pairing for gifting any time of year.
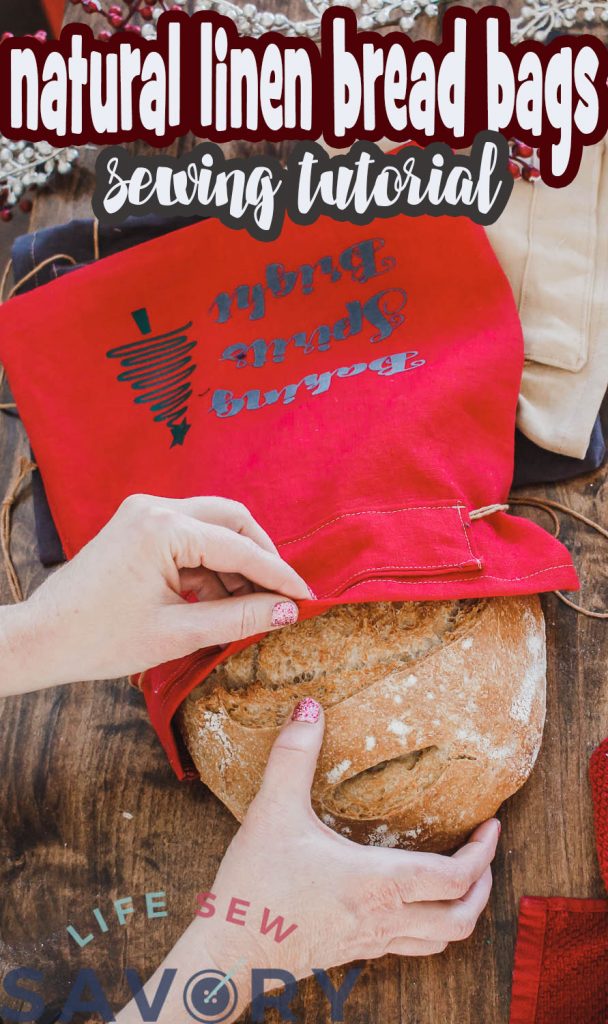
Linen Bread Bags Sewing Tutorial
When FWD asked me to create a project with some of their fabric I knew right away what I wanted to make. Since I’ve been giving away so much bread I’ve been thinking about making bread bags for a few months. The key to this project is finding good fabric and this natural linen is the perfect fit.
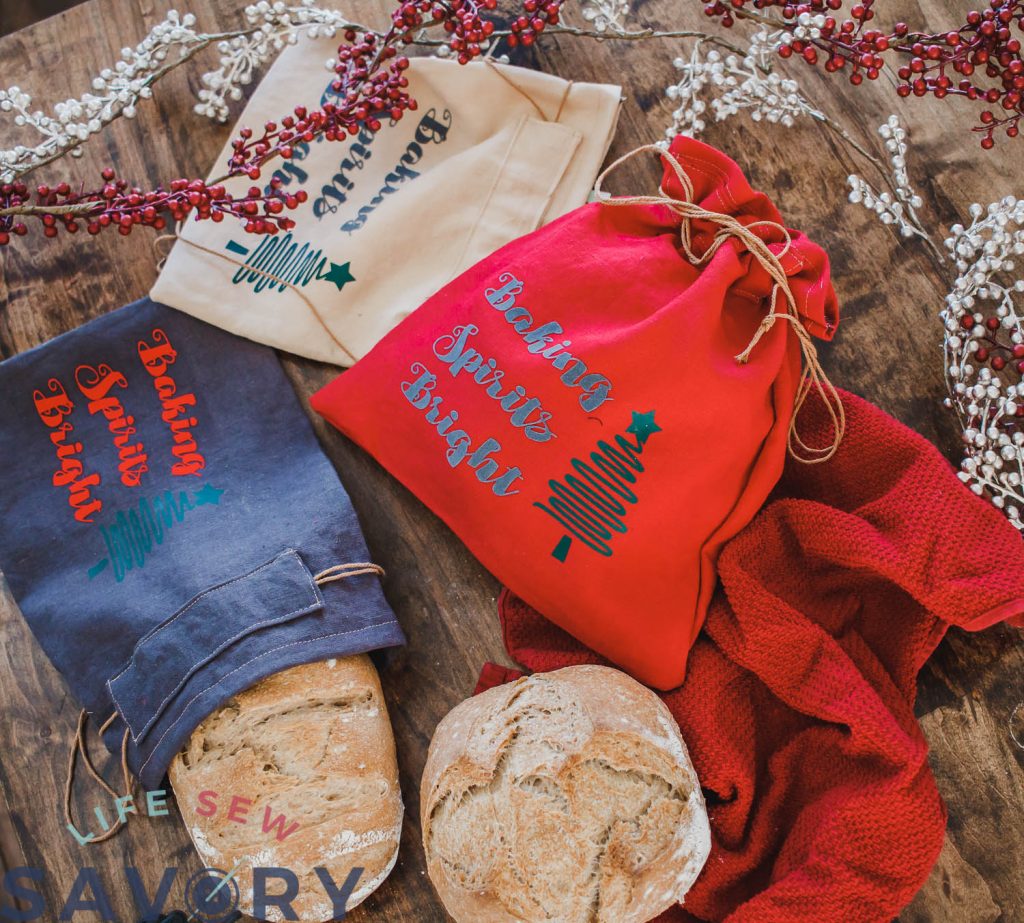
You don’t have to be a sour dough baker to give the gift of bread. These cute bags would also work for banana bread, pumpkin bread or any type of regular bread. Here is a link to my Sour Dough recipe and some other bread recipes you may want to try.
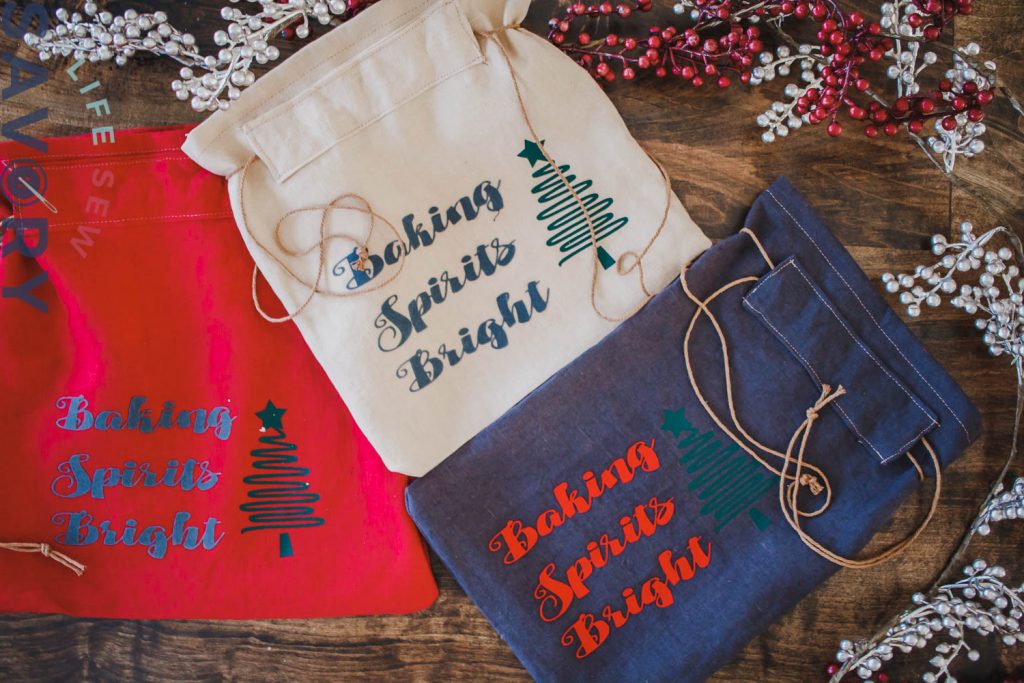
Linen Bread bag Supplies
How to sew a simple bread bag
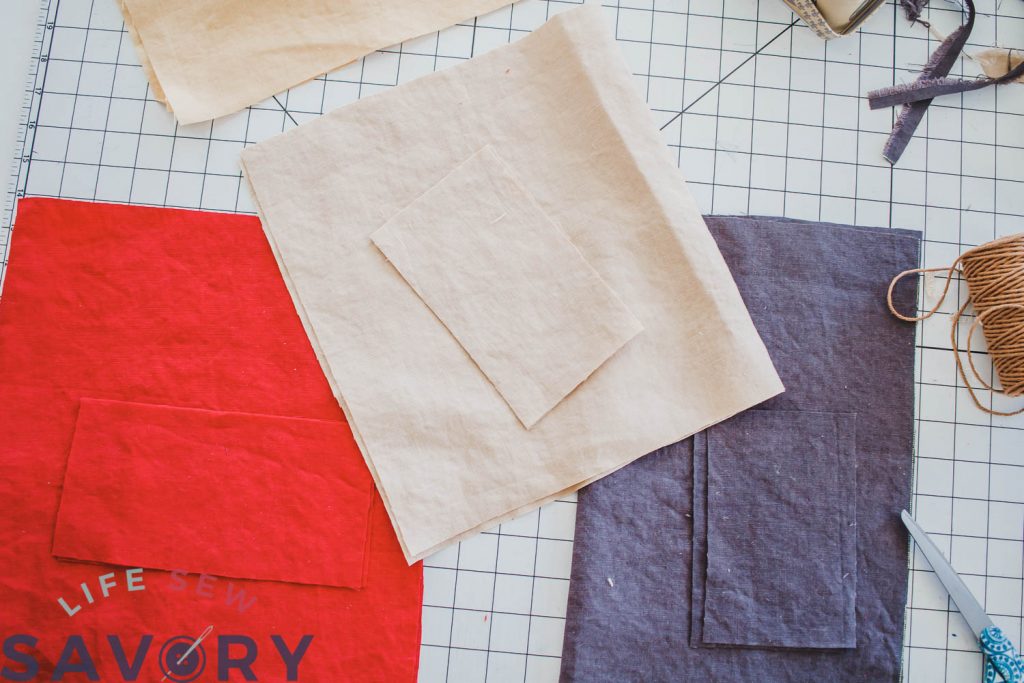
I made these bags in three sizes. The sizes correspond with my sour dough recipe sizes. The large bag fits a full round loaf, the small bag fits a half recipe round load. The rectangle bag fits a half recipe oval loaf. If you are using your own bread recipe you may want to measure your loaf before sewing a bread bag.
Each size bag has a main bag piece and two tie casings. LARGE ROUND- one 14″ x 24″ and two 4″ x 8″. SMALL ROUND – one 12″ x 22″ and two 4″ x 7″. OVAL BAG – one 18″ x 17″ and two 4″ x 6″.
Cut the fabric for the size you need.
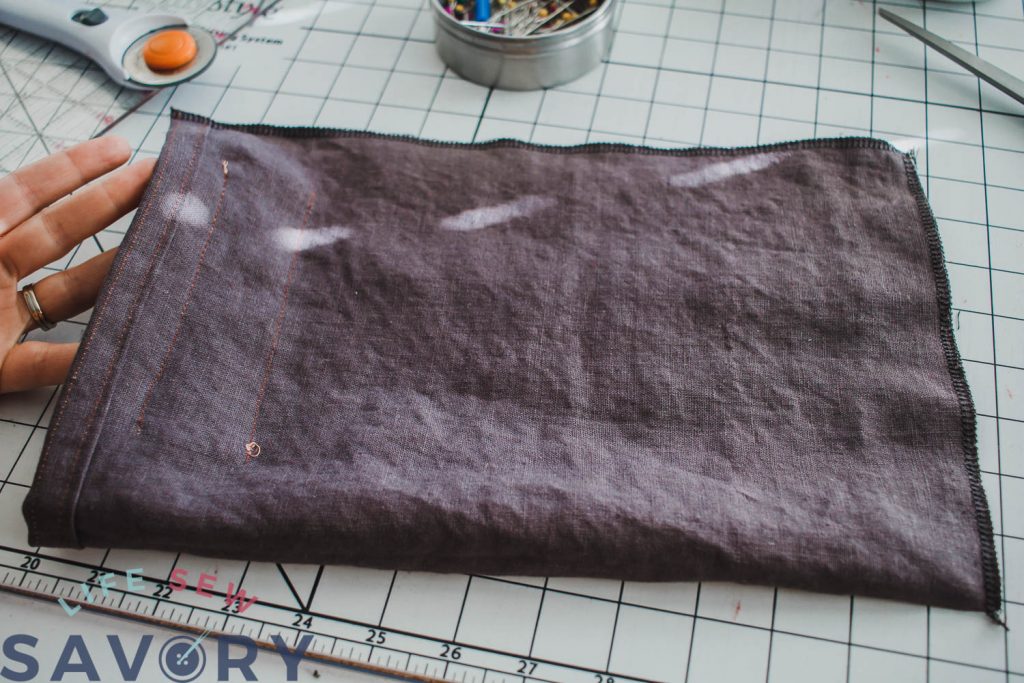
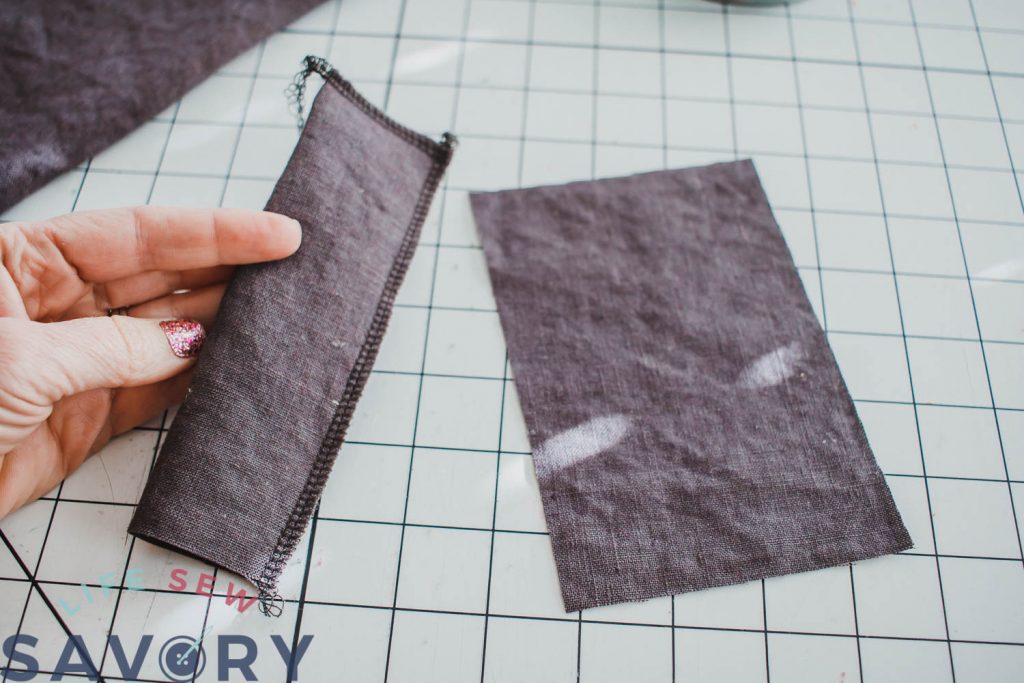
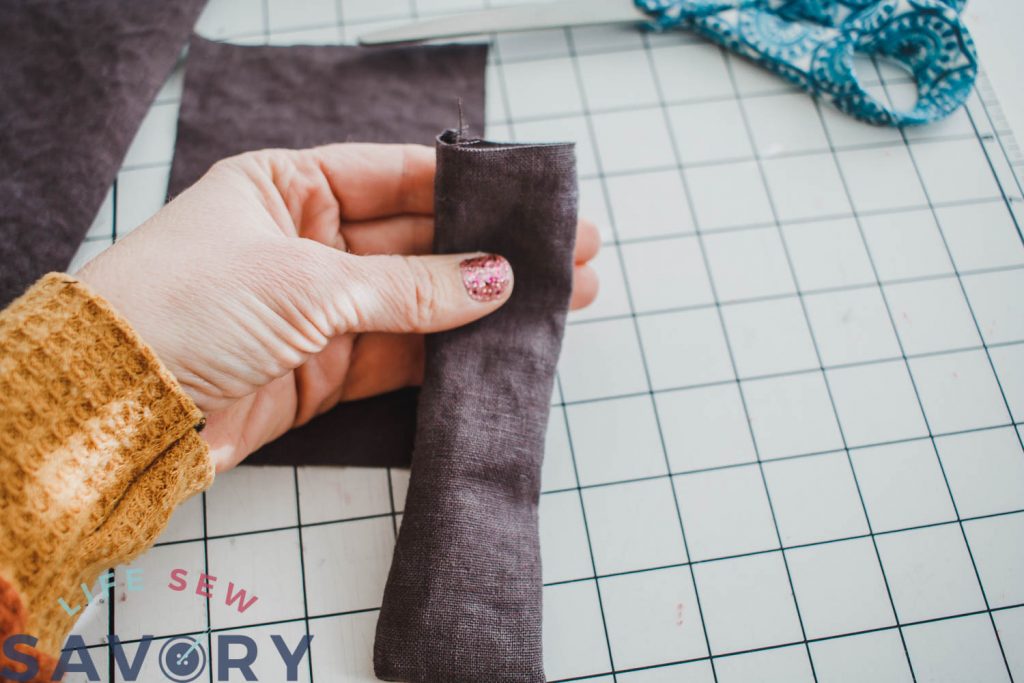
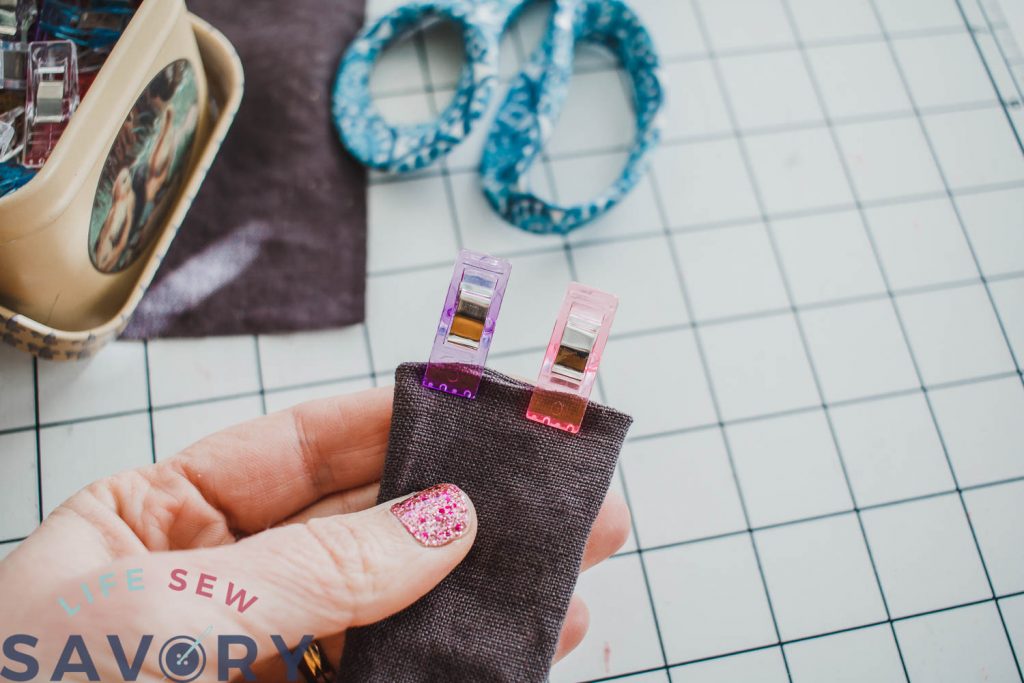
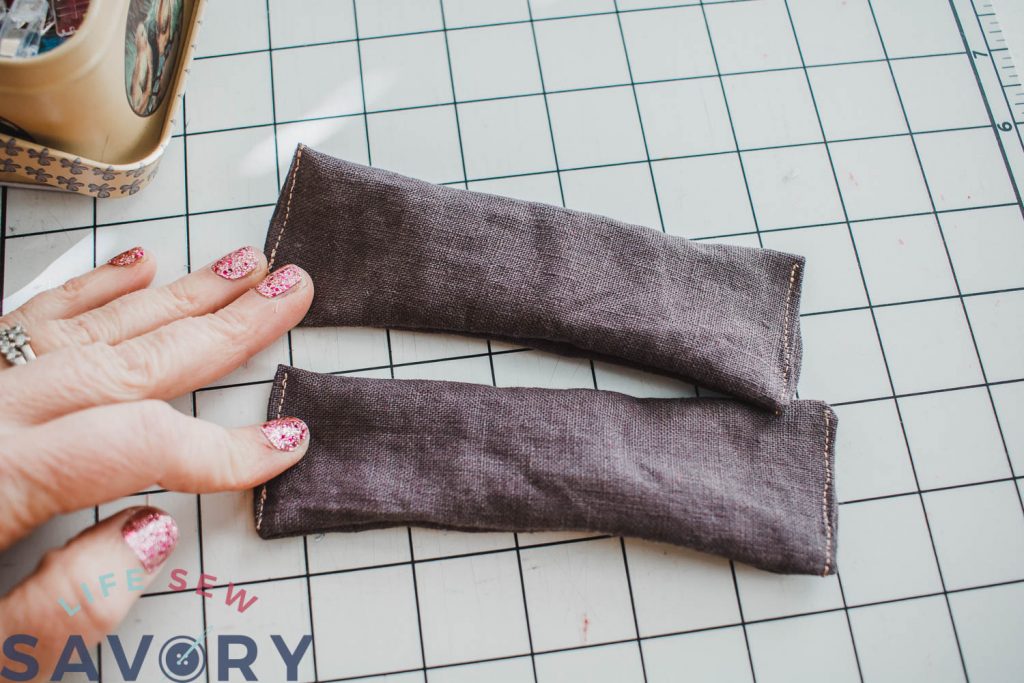
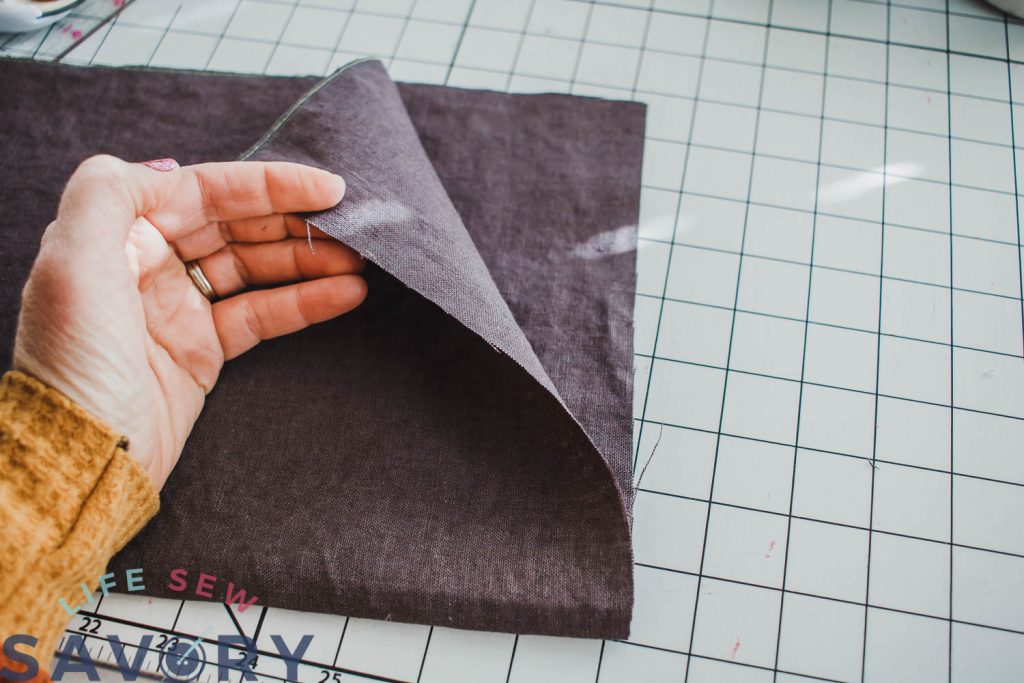
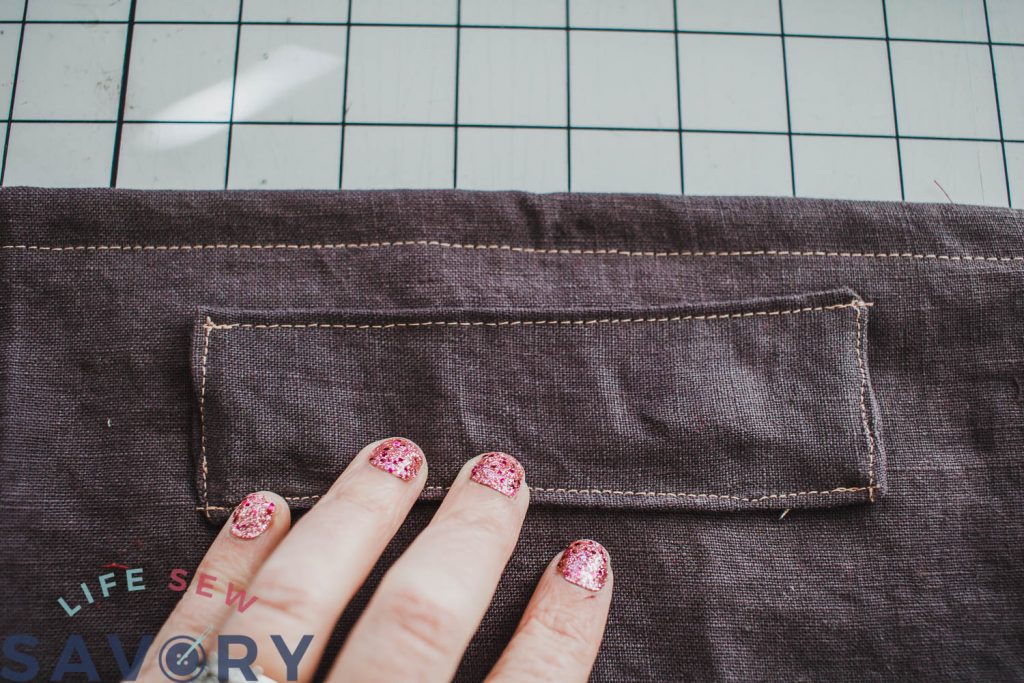
Start by sewing the tie casings. Fold the long sides together and sew one short end and the long side. Turn right side out and fold the raw end in to finish. Top stitch the short ends with coordinating thread.
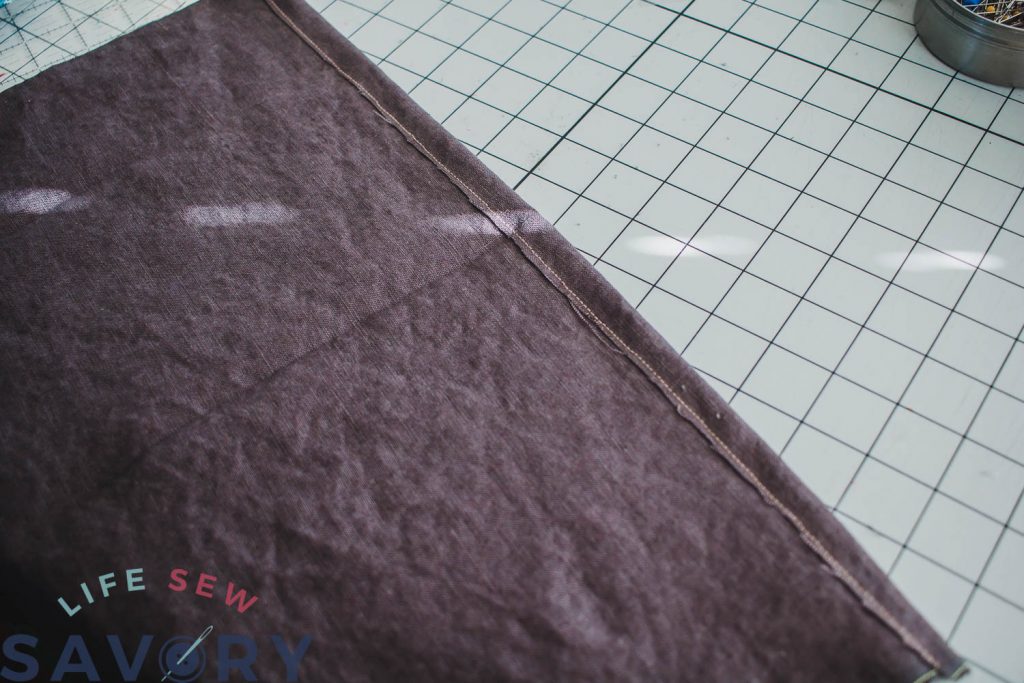
Finish one long edge of the main bag piece. Fold over 1/2″ and sew, fold over another 1/2″ and sew again. This will be the top opening of your bag.
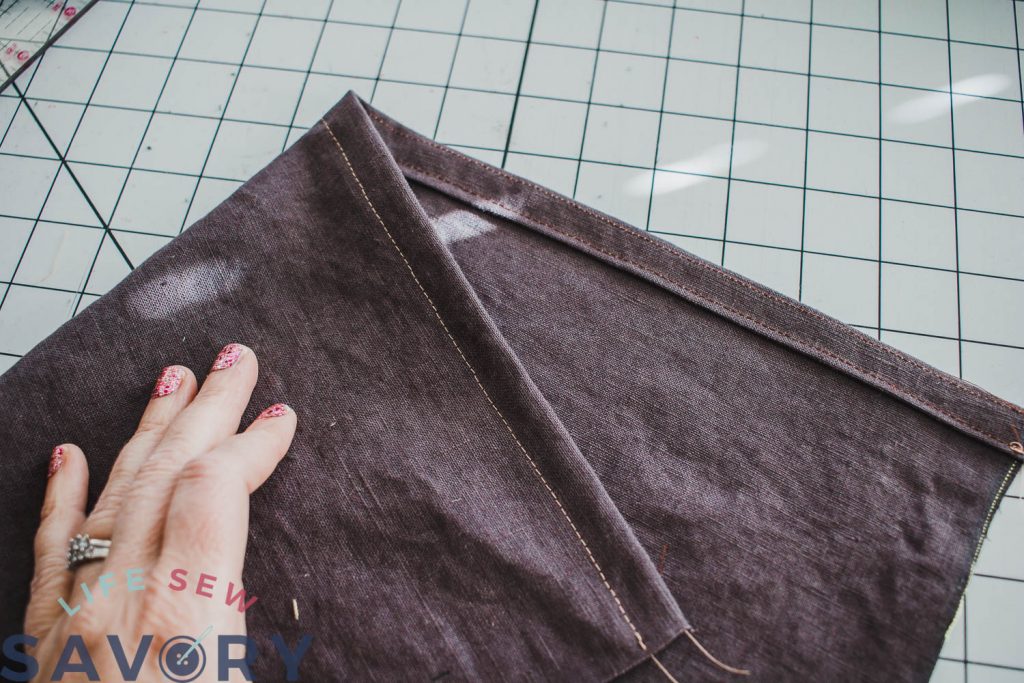
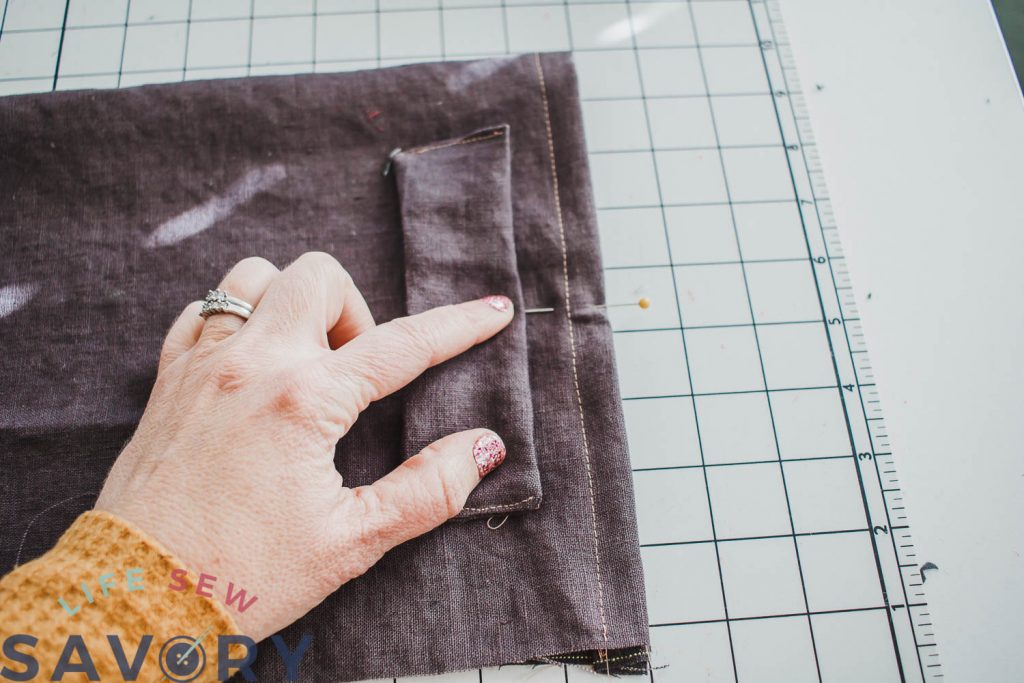
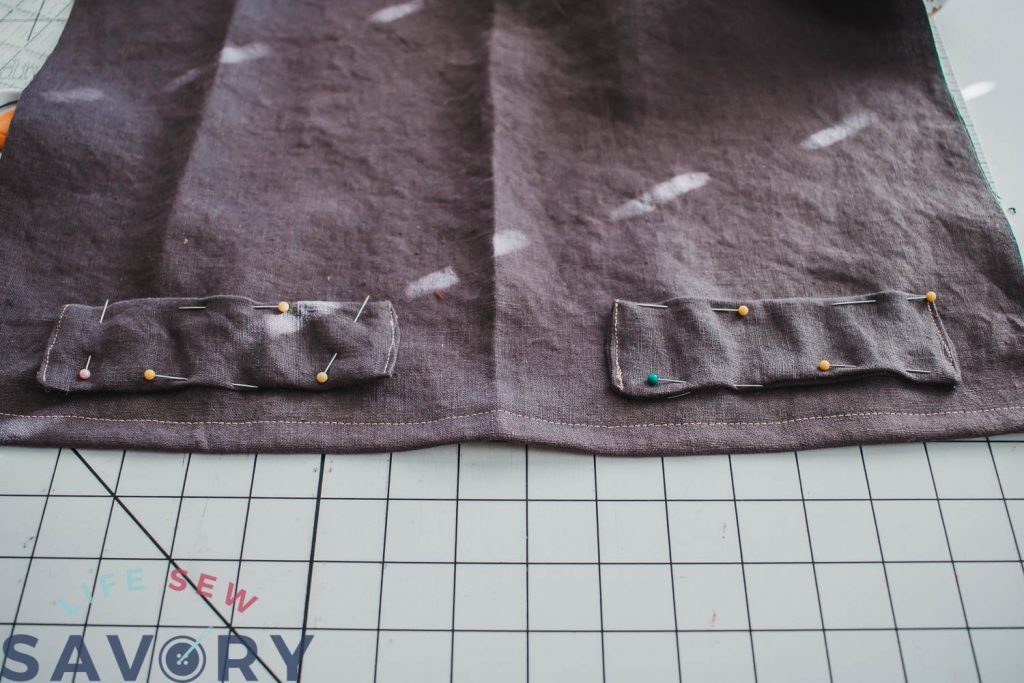
Fold the finished edge in half and then find the center of the front and back. Pin and sew the long edges of the casing pieces to the front and back of the bag. Sew to the outside {right side of fabric} of the bag. I sewed about 1″ from the finished edge.
Fold the bag right side in and sew the bottom and side. Fold the seam allowance over at the top edge and stitch down to secure.
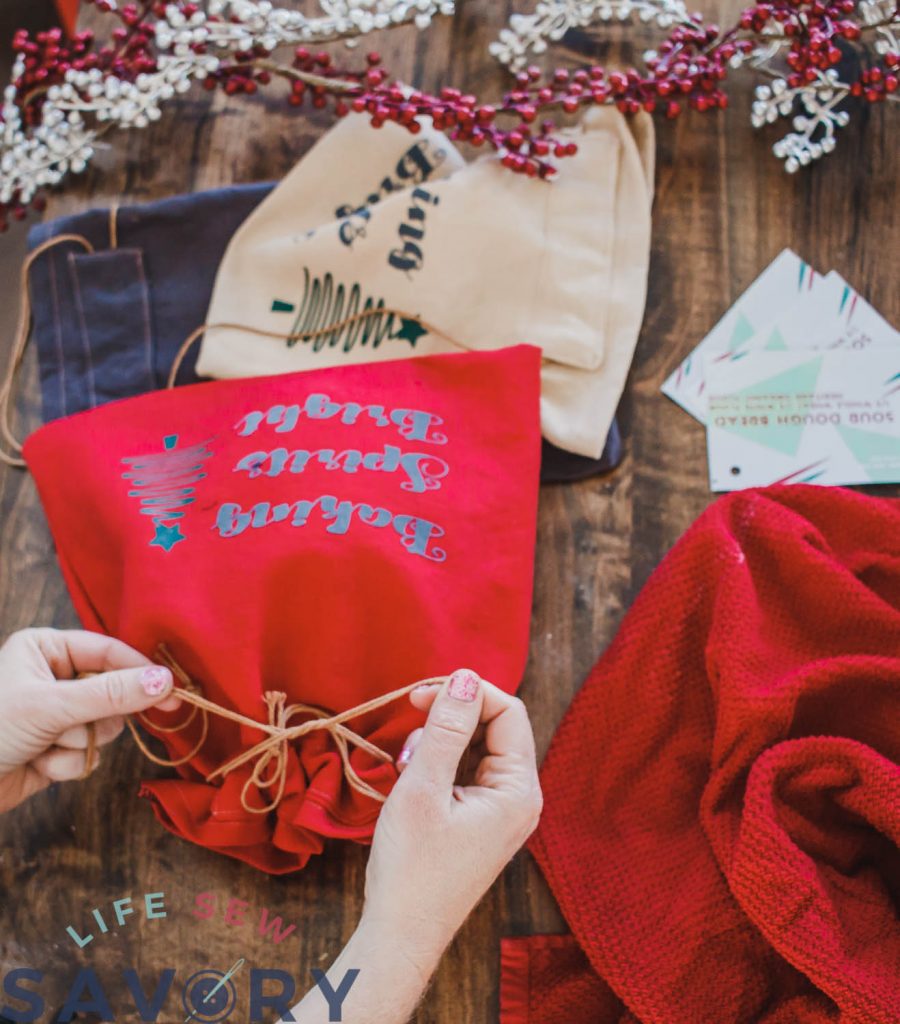
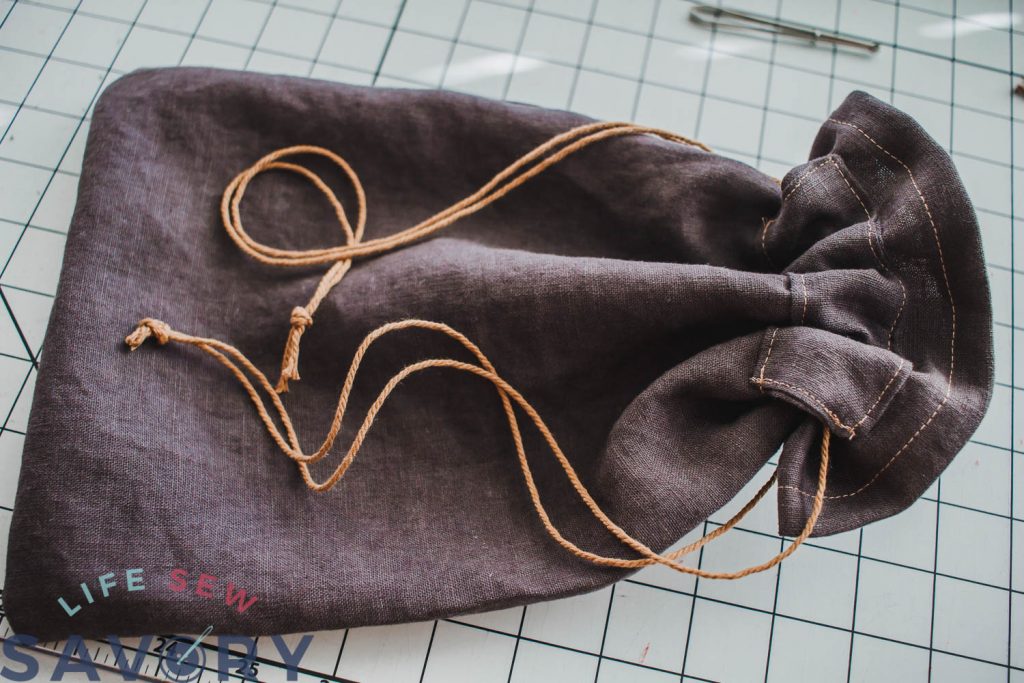
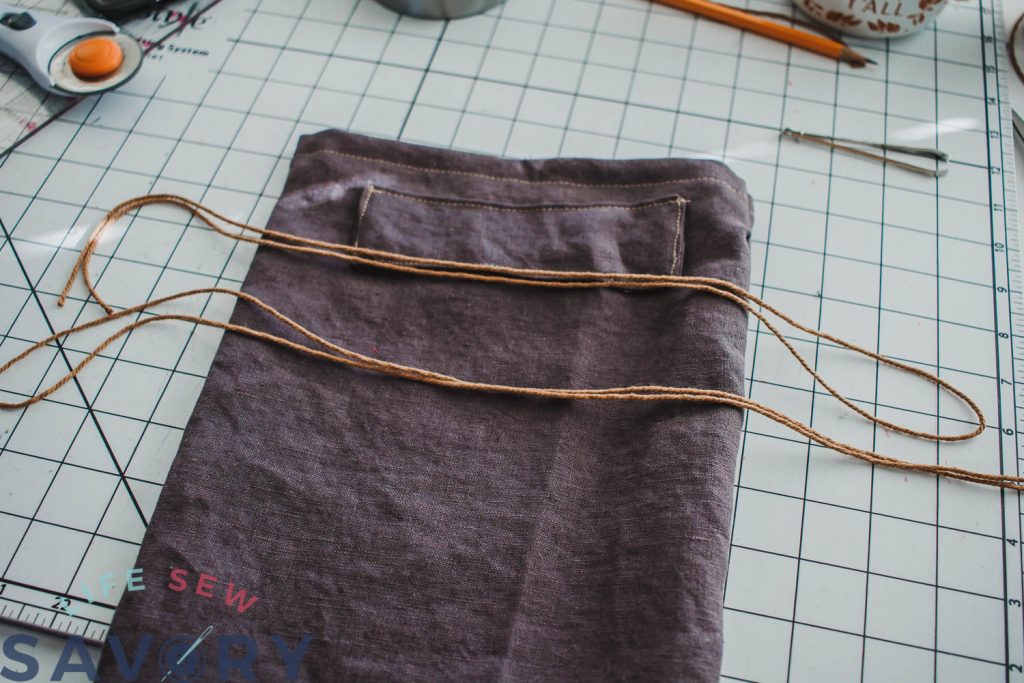
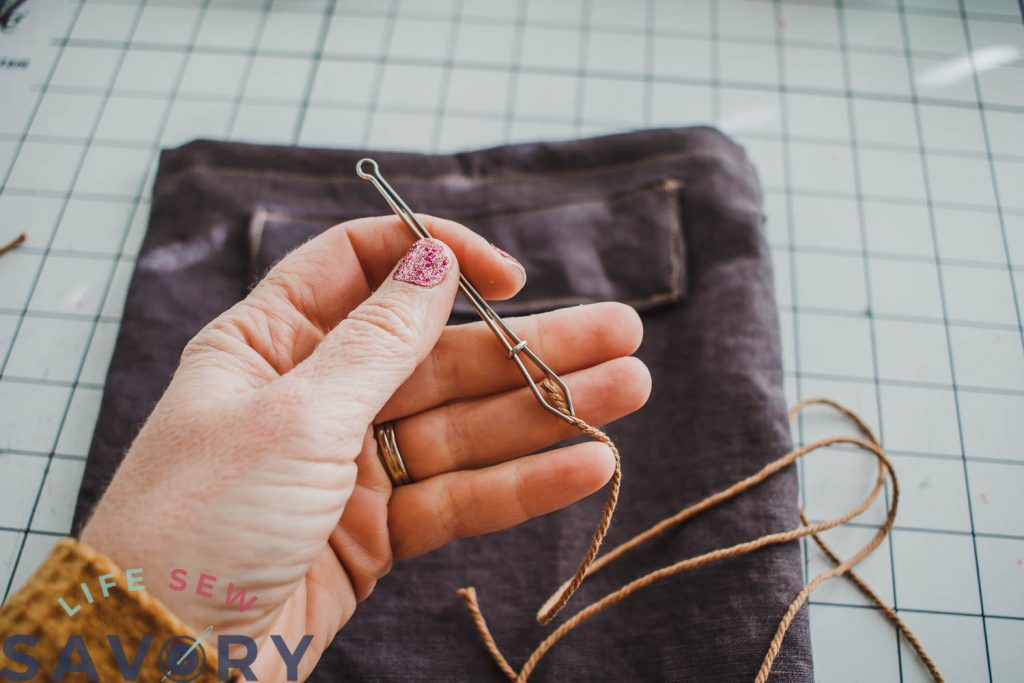
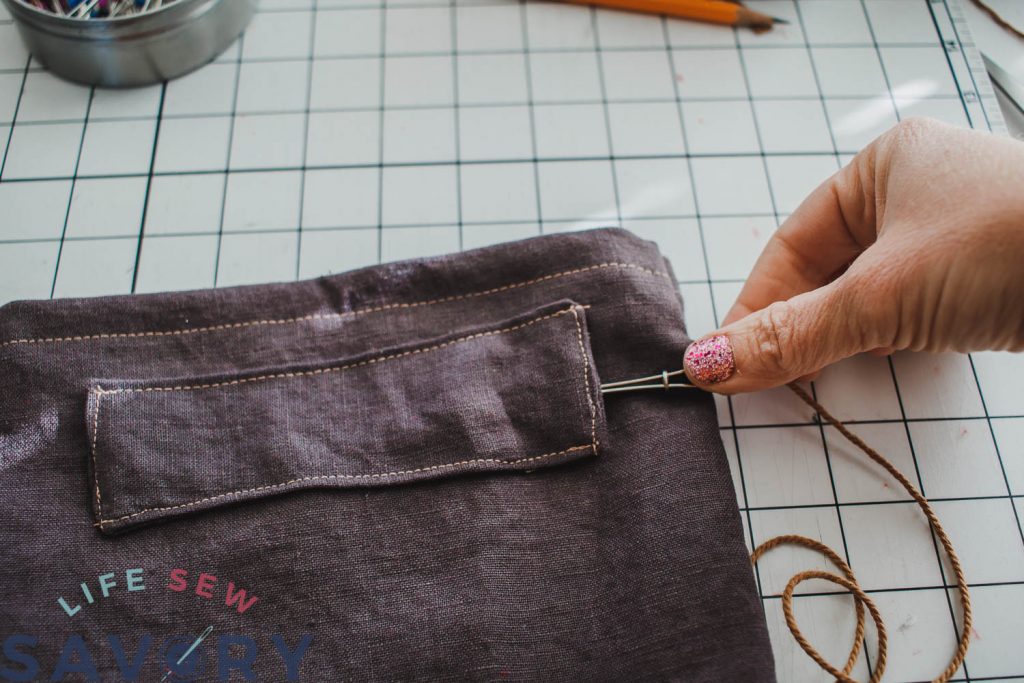
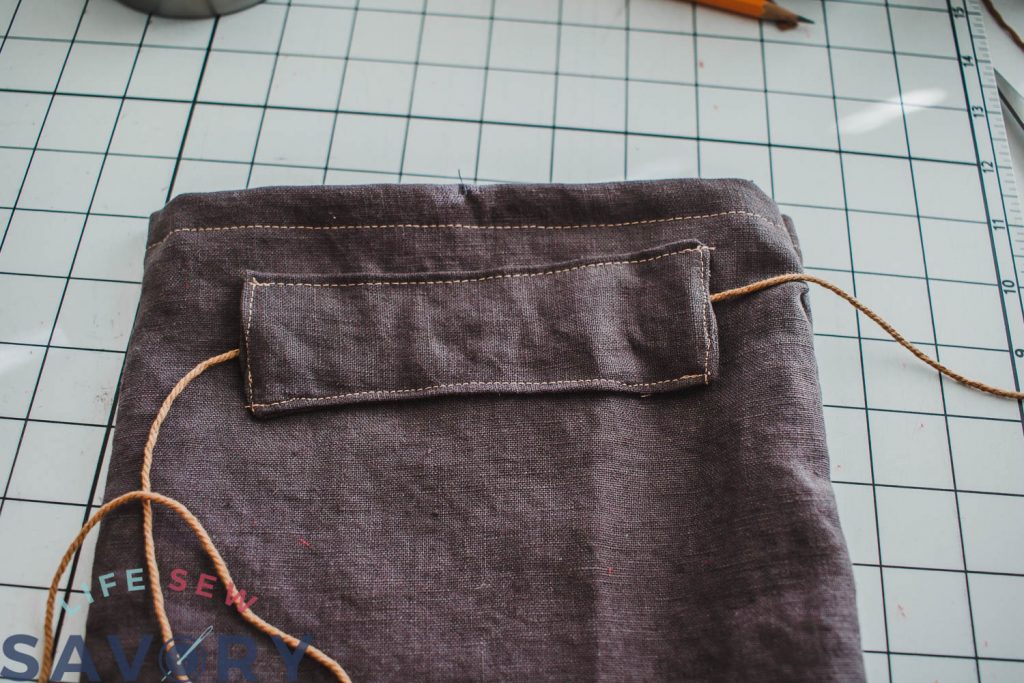
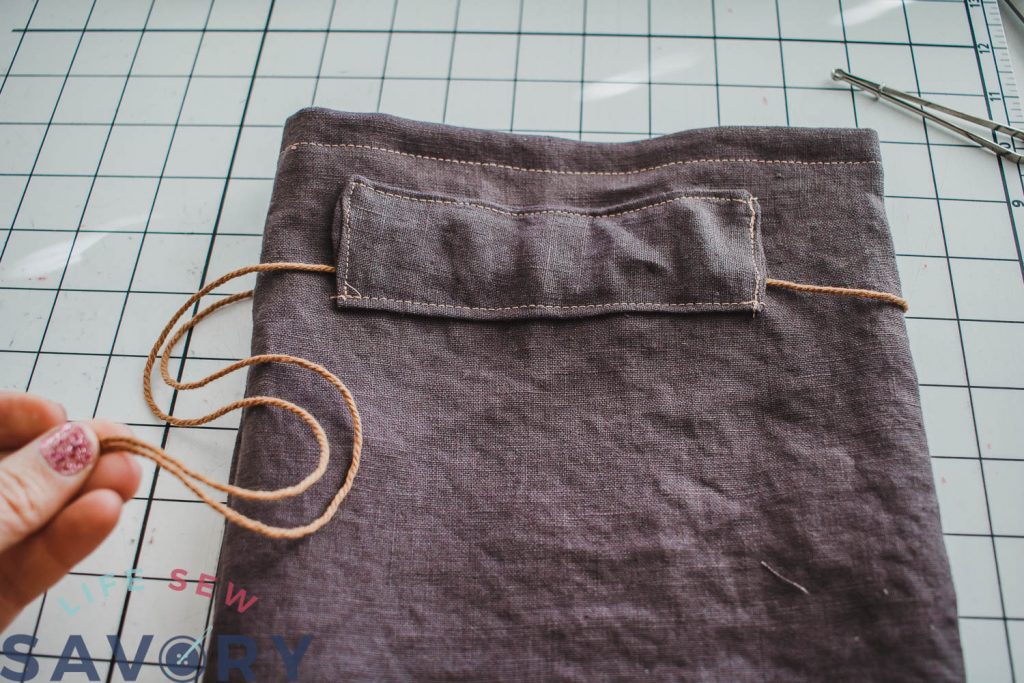
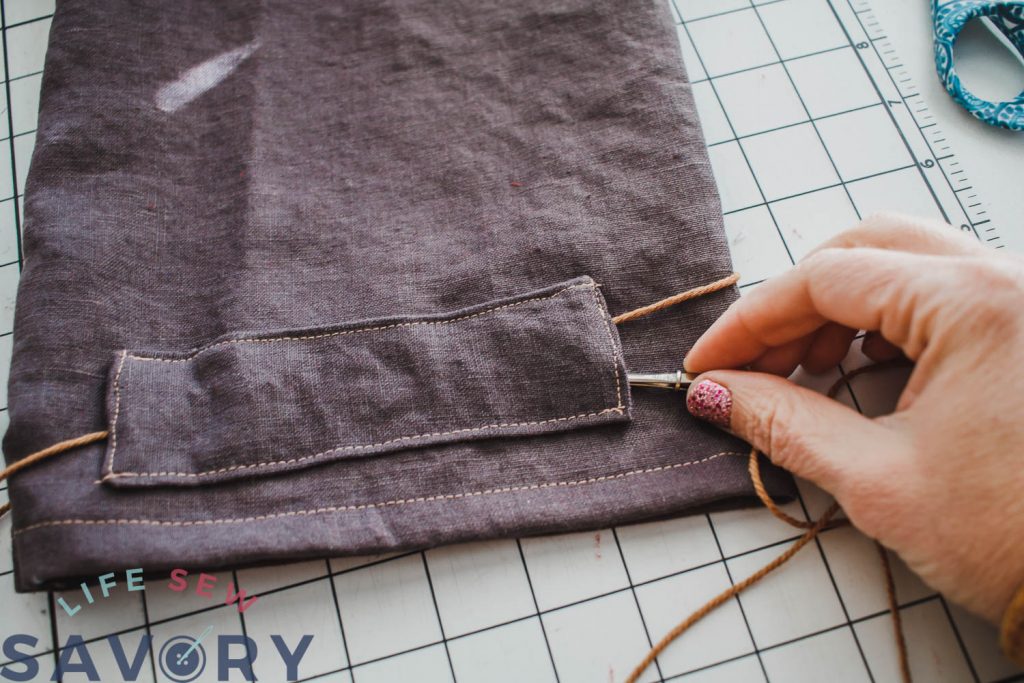
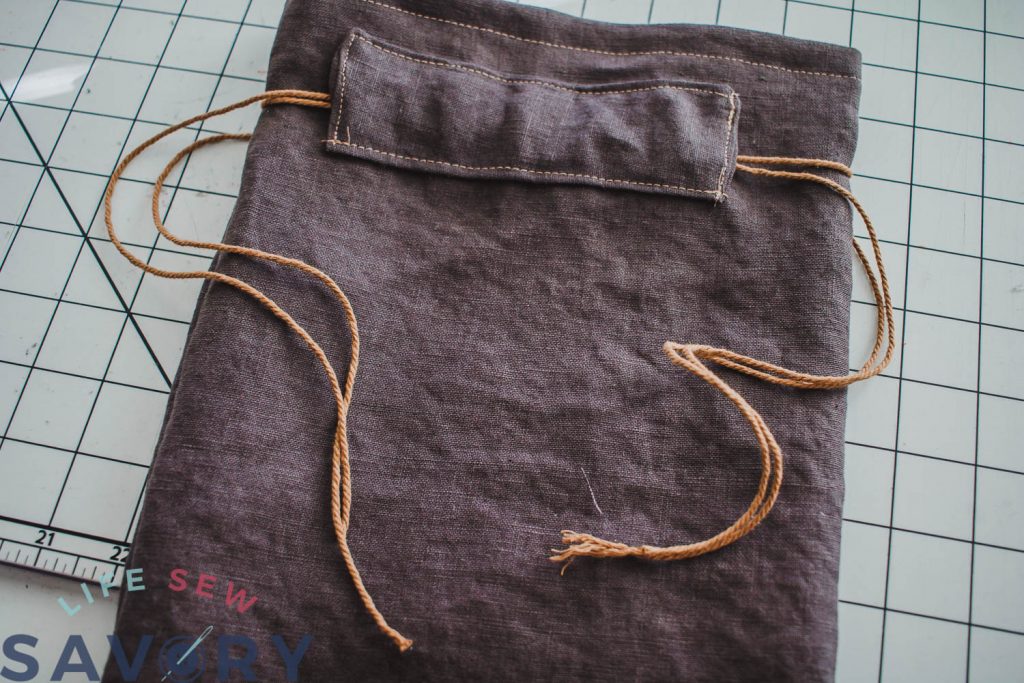
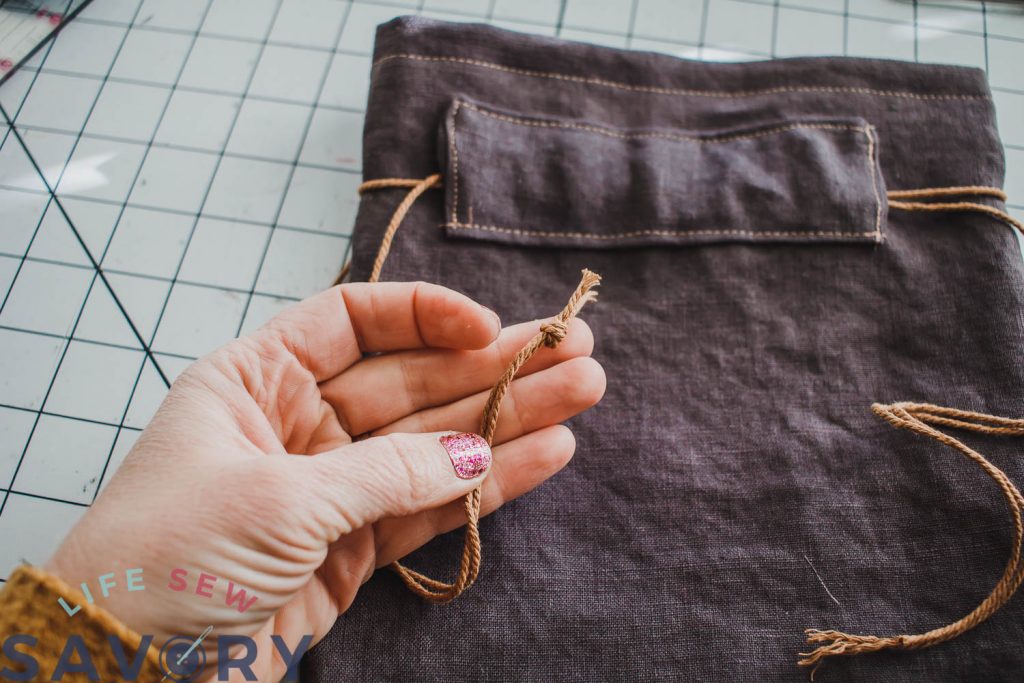
Cut two ties. The ties should be double the width of the bag plus several inches on each side. See photo for reference. Thread one cord through one casing, then flip the bag over and thread through the OTHER casing.
Repeat with the OTHER cord, but this time thread through the casings the opposite way. You should have two ends of the same cord should be out the same side of the bag. Each side of the bag should have two ends. Tie the ends together. When you pull the bag opening closes.
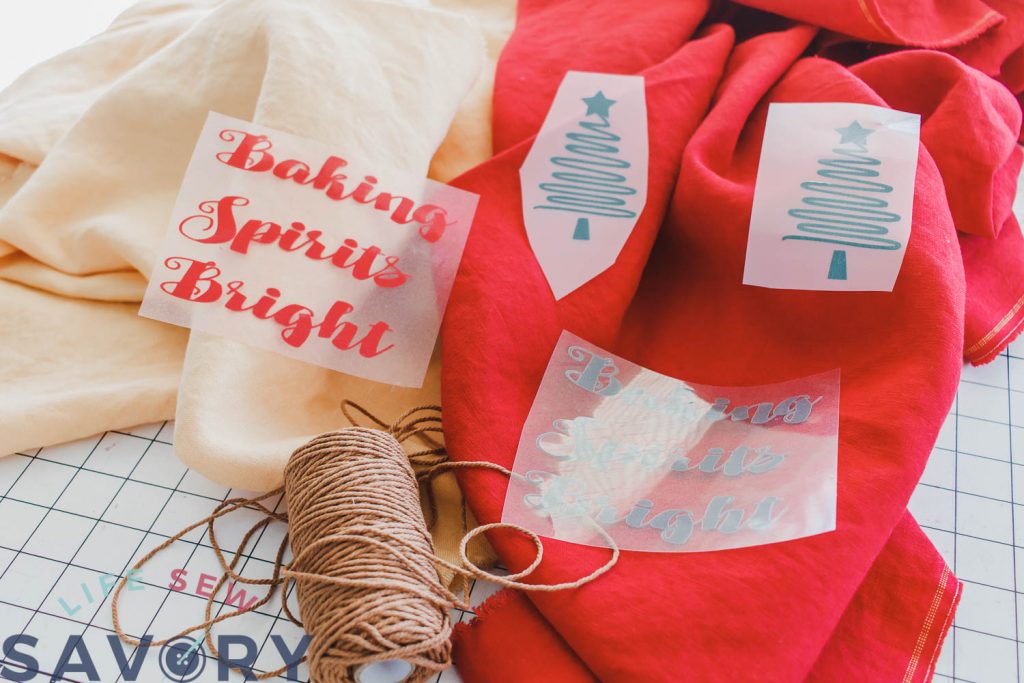
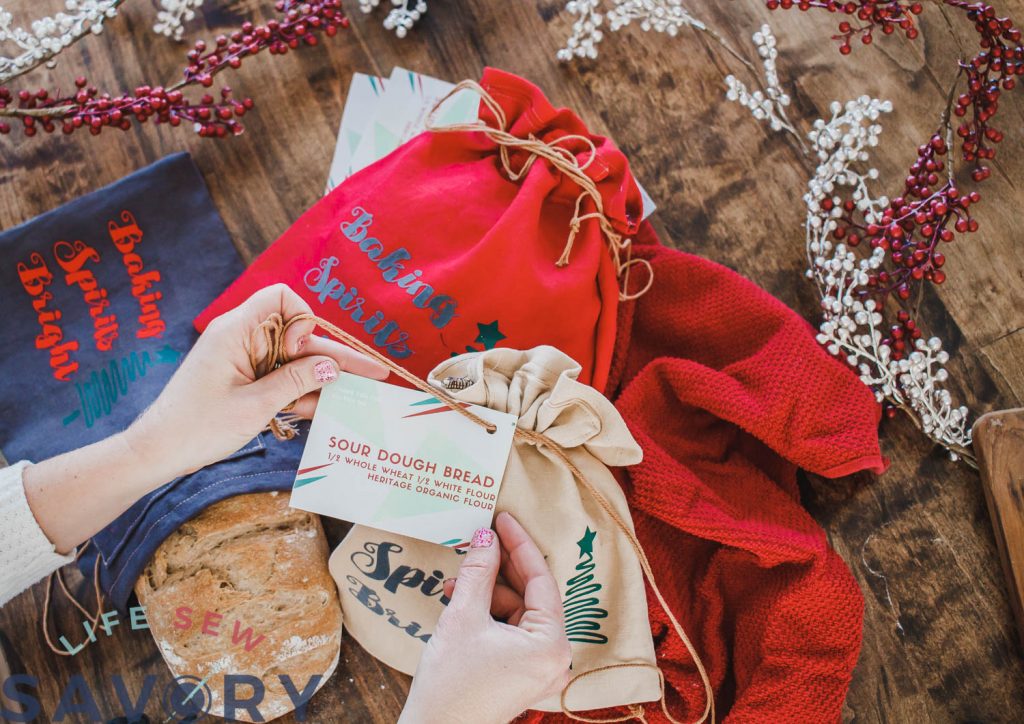
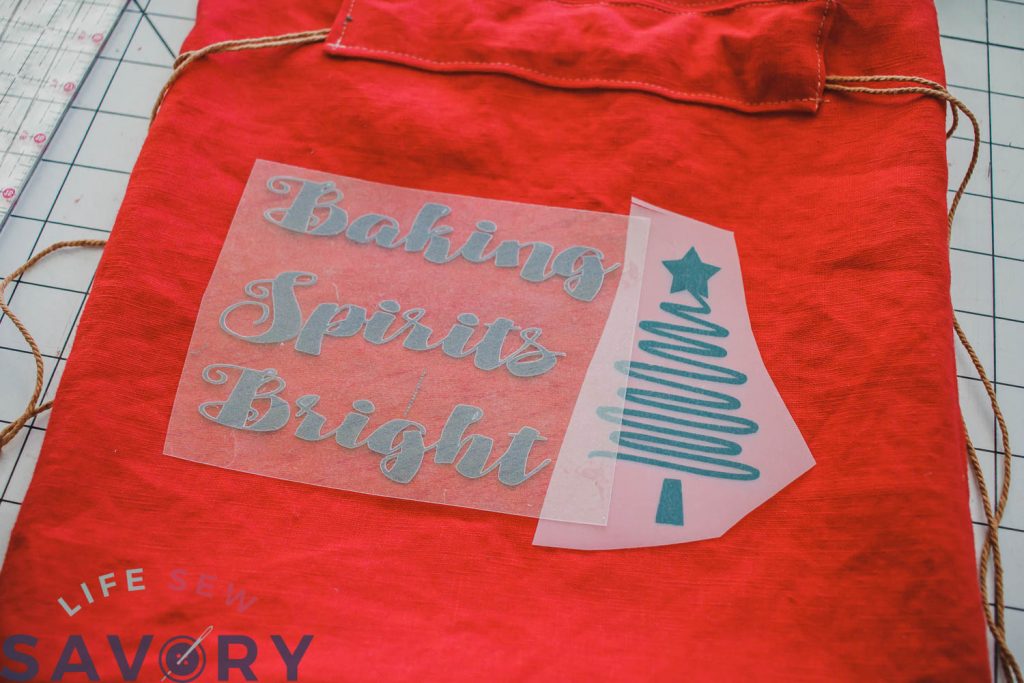
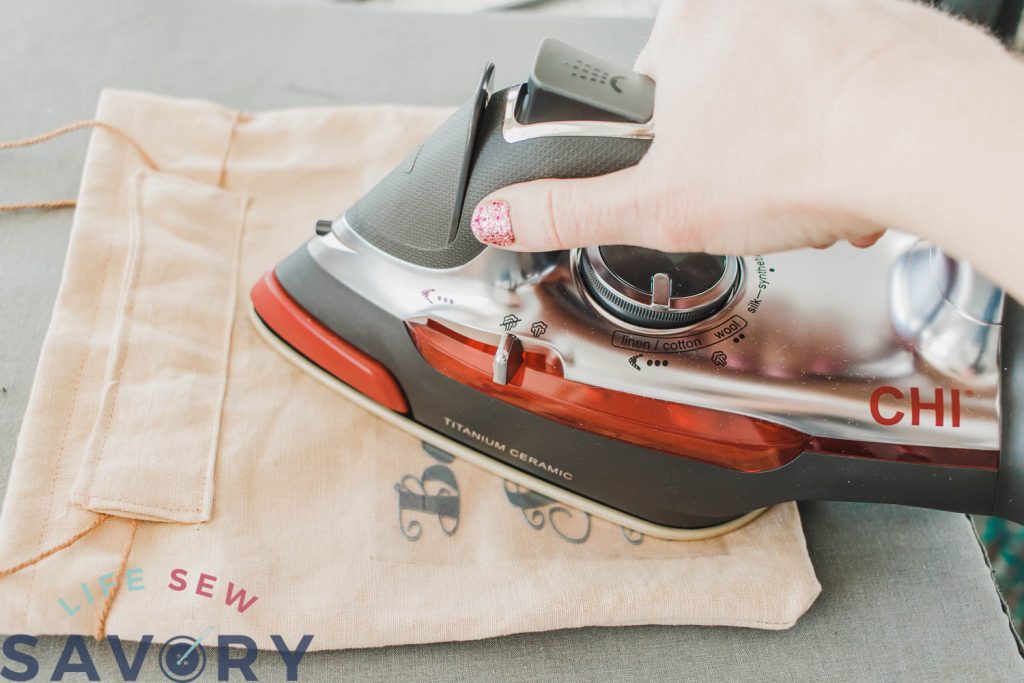
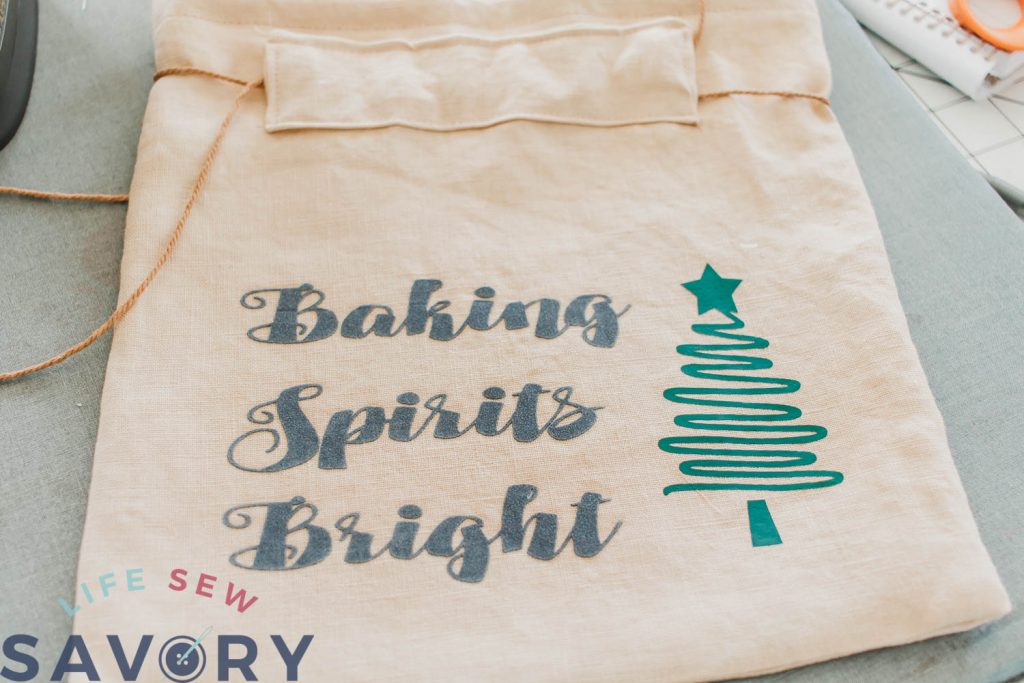
Finished bread bag. You can leave as is or add head transfer vinyl for a fun touch.
Use the free SVG file linked above and your electronic cutting machine to cut the design. Here are some tips for Heat Transfer Vinyl if you need.
Then get backing and gifting!!
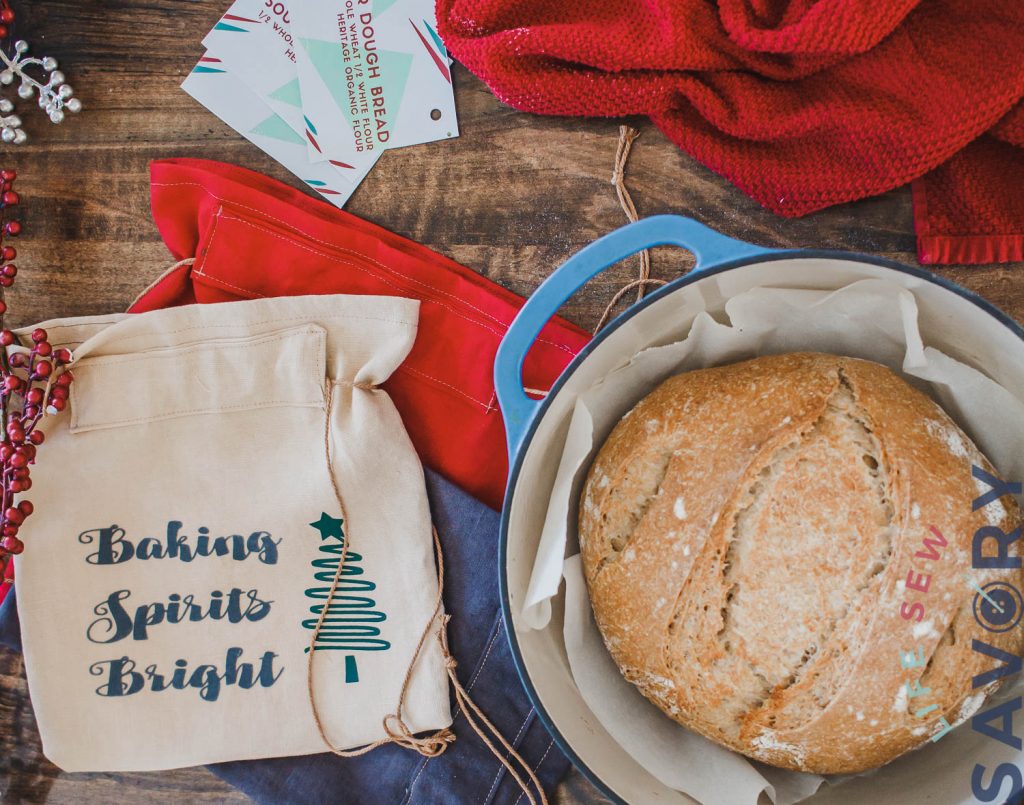
I also add a little tag to my bread so people know what my bread is. I make 1/2 white- 1/2 whole wheat bread with Organic Heritage Flour.







belinda m GUNN says
I would like to sign-up for sewing lessons. Thank-You
DeLois says
I would like to be able to print the instructions on how to make the Linen Bread Bags Please.
Tracy says
I’m a pretty amateur sew-er but I just made this bag as a Christmas gift and it turned out really well! I melted beeswax over it to make it a beeswax bread bag and can’t wait to give it as a gift this Christmas! Thank you.