inside: learn how to take a paper pieced quilt pattern and sew up a gorgeous throw pillow. With a free pattern download and video tutorial.
I LOVE sewing throw pillows! And I love paper piece quilting… today I’m combining those two loves with this paper pieced quilted throw pillows tutorial. Use the paper piecing technique to make a quilted throw pillow that will brighten any space. In this post I will show you how to paper piece quilt, give you a free pattern download and show you how to combine the two to make a beautiful quilted throw pillow.
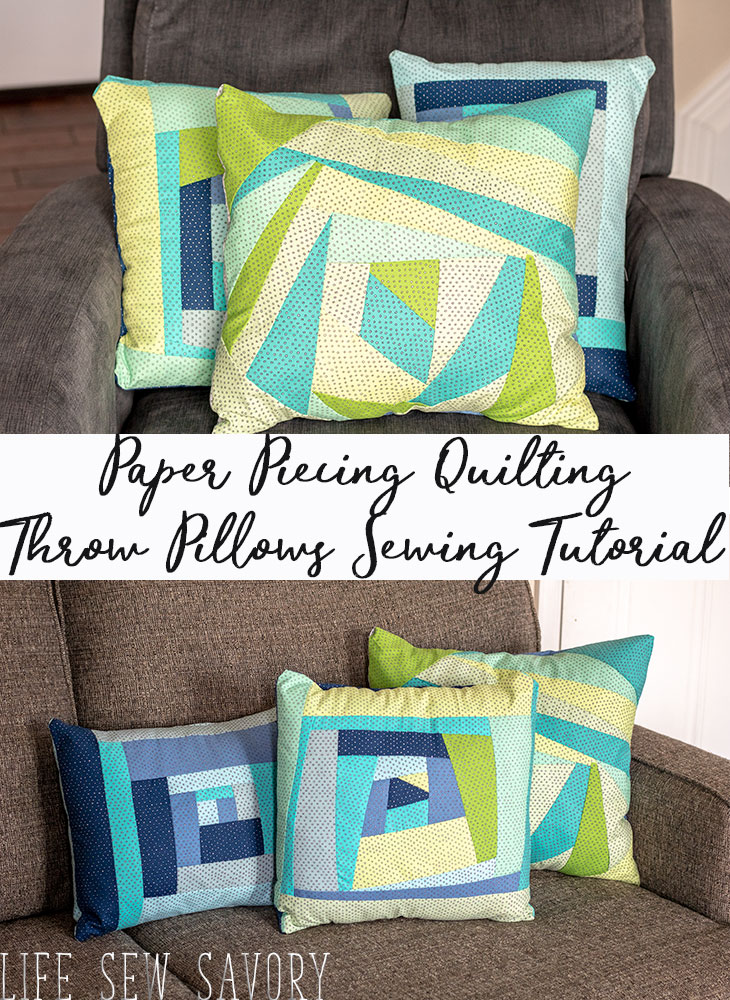
Paper Pieced Quilt Pattern – Throw Pillow –
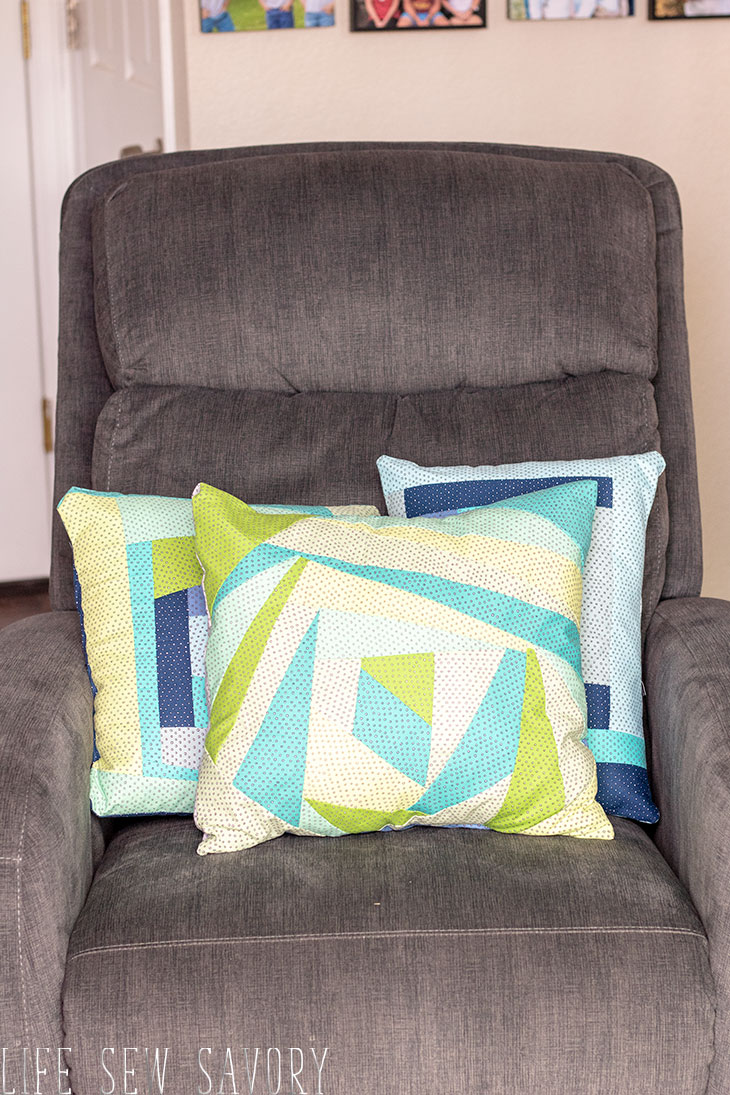
I’ll give you all the details for this pattern and tutorial and then you will be able to download the free pattern near the bottom of this post. Don’t miss out! The free downloadable pattern will show you how to make the front pillow below. I made the other pillows as well, but with slightly different sewing techniques. Also, be sure to check out the video tutorial as it will show you EXACTLY how this all comes together and seeing it in action is the best way to start with paper piecing. I used the Pixie Dot collection from QT Fabrics for my pillows.
Let’s begin with the basis of paper piece quilting…
How to paper piece quilt –
Begin by tracing the pattern onto tissue paper. I like this type of paper as it’s thin for sewing and I can see through it for fabric placement. You can use any type of paper that works for you. You can also trace the pattern onto water soluble stabilizer then you won’t have to pick the tissue off like I did.
Supplies needed:
cardboard or laminated paper
rotary ruler or 1/4′ cutting ruler.
Free Paper Piece Throw Pillow Pattern from Life Sew Savory {print and tape together the four pages.}
Various colors of coordination colors. Fat quarter bundles are really fun for this project and what I used.
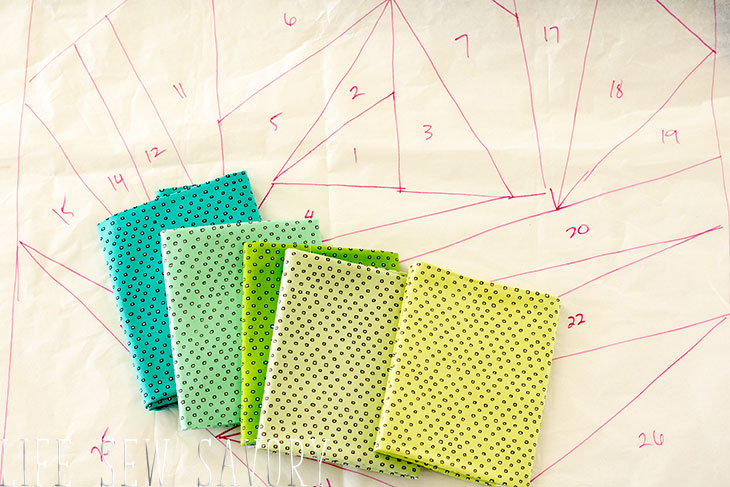
Cut strips of fabric that are various widths. Depending on your pattern you will cut the fabric more narrow or wider. For this pattern I recommend 3 – 4″ strips of fabric and some larger pieces for the four corner triangles. You will cut the fabric length as you go so for now you can leave in long strips.
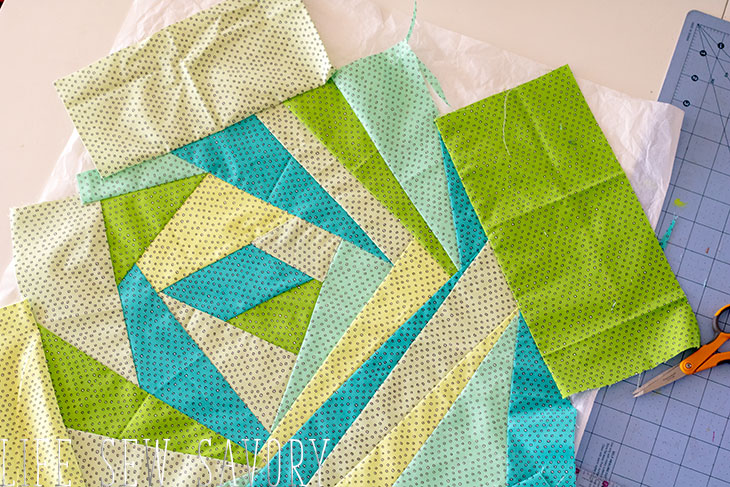
TURN the tissue paper over so you are looking at the back of the numbers. Place a piece of fabric RIGHT side up over number one and trim {make sure there is at least a 1/4″ seam allowance on all sides. My number 1 is green in the photo below. Place a second color of fabric {blue below} over number 1. The fabric should be right sides together and the number 2 should be big enough to completely cover number 2 when opened up. You can test this by flipping the blue fabric open and closed. Pin the two layers of fabric to the tissue paper.
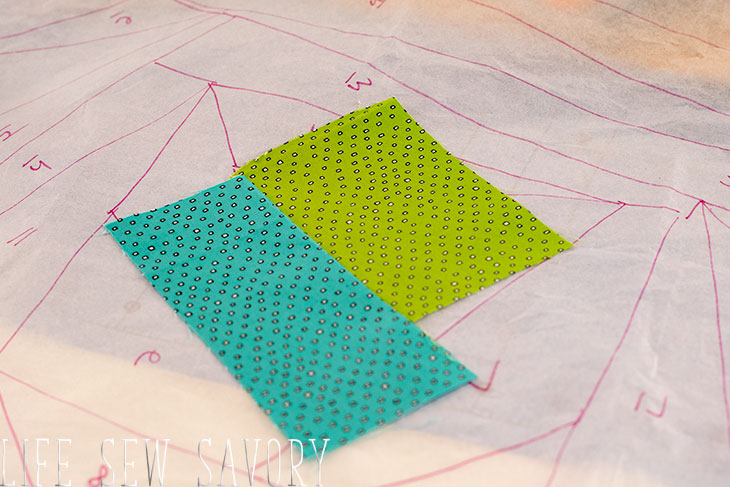
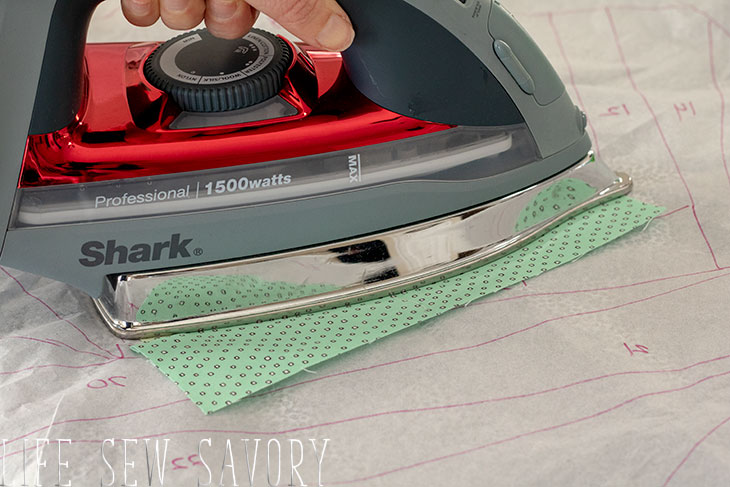
FLIP the paper over to the right side and with your sewing machine sew from one end of line 1 to the other. FLIP back over and press to iron the seam open.
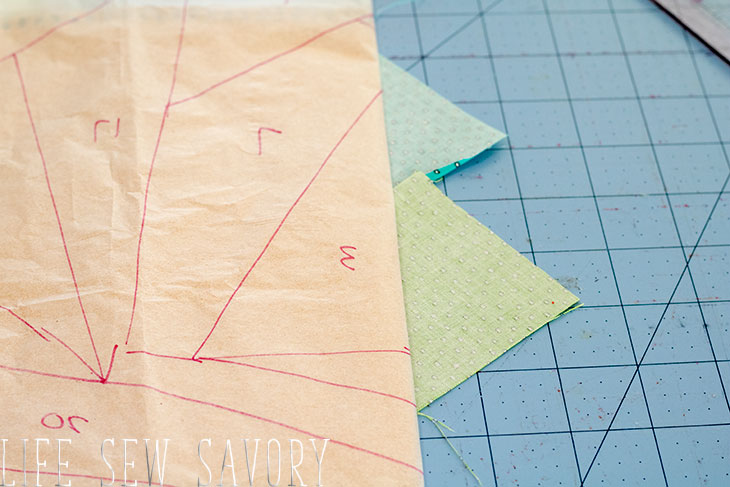
Return to your cutting mat and with the RIGHT side of the tissue facing you place the cardboard or laminated card on the line where 3 meets 1 and 2. FOLD the paper back on this line to reveal the extra fabric below. Use either your regular cutting ruler or a special add 1/4″ ruler to cut off this extra. You will place your ruler on top of the tissue with it extending OVER the fabric 1/4″. When you cut like this you will be left with a perfect 1/4″ seam allowance for the next seam.
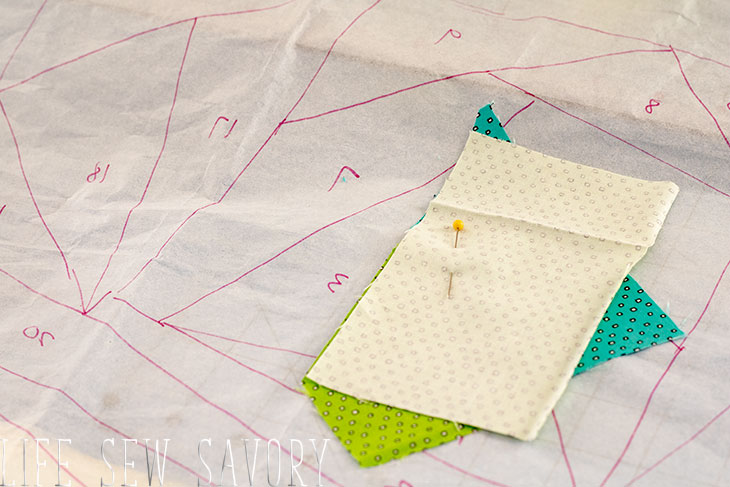
FLIP back over again to the wrong side of the tissue and place a third piece of fabric right sides together on top of 1 and 2, the edge of 3 will line up with that perfect seam allowance you just cut. When this fabric is flipped open it should completely cover area 3. Pin, FLIP and sew with your machine the line between 1,2 and 3. After you sew, press open and then cut the extra fabric same as before.
Repeat this process of pinning fabric to the WRONG side of tissue, sewing, pressing open and then trimming the seam allowance. Work in numerical order until the last piece has been placed.
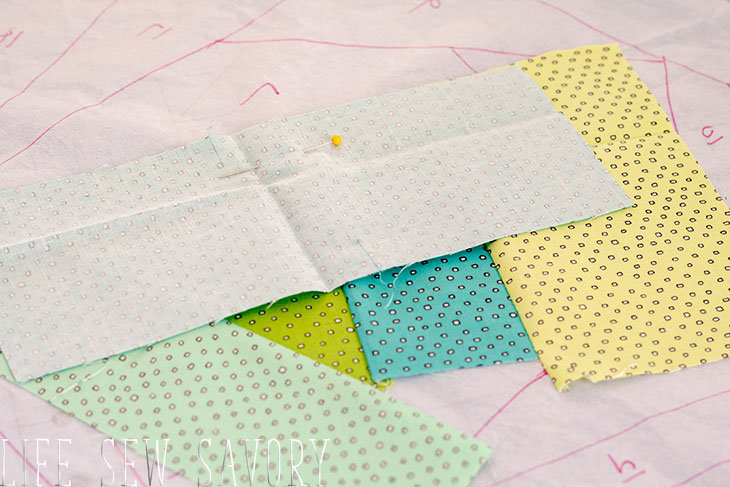
The outer edges of the project will be a mess. And now you can turn over to the back and use your cutting ruler to trim all four sides until square. If you want your pillow a bit smaller than designed for you can cut it down now.
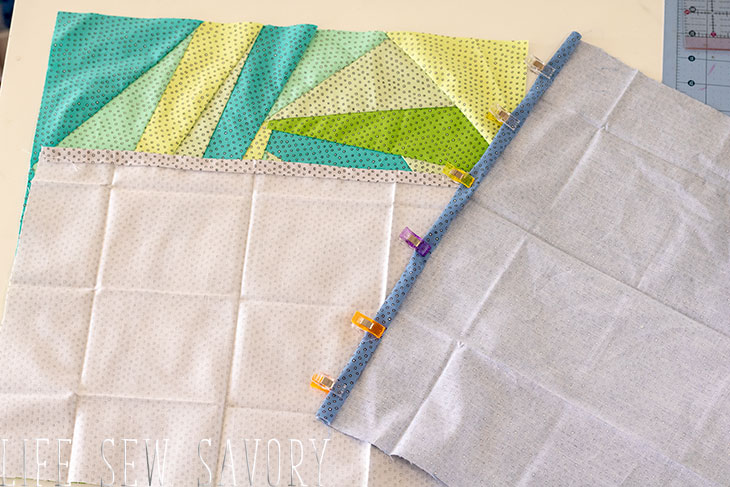
Use additional fat quarters to cut the back pieces. You can make an envelope pillow as I did here, or add a zipper to open and close. Use those links to see the tutorial for each type of pillow.
There you have it!!! Beautiful quilted throw pillows and a free paper pieced quilt pattern to download and tutorial to follow. If you have trouble seeing the video – disable any ad blockers you have running. This usually solves the problem. And one more link to Download the FREE pattern.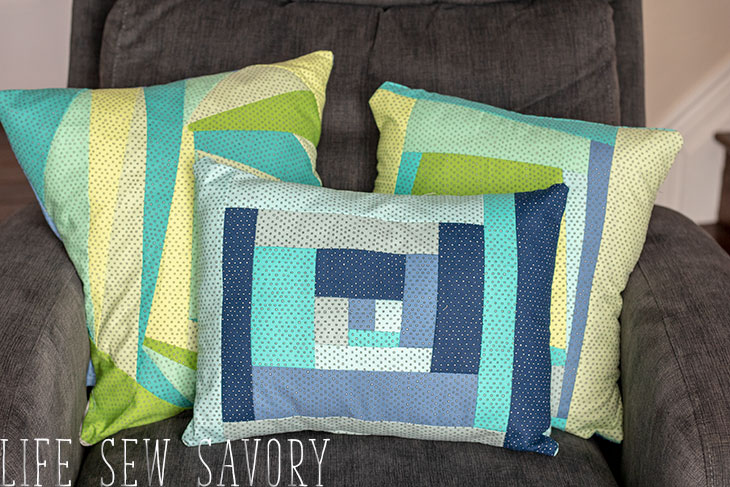
Here are some other fun throw pillow tutorials you may enjoy –






Maryann Barlett says
If you use Water Soluble Stabilizer, instead of tissue paper – Can you still iron each piece, as it’s added?
Emily Thompson says
It should be fine since its not heat melting ;o)
Emily says
yes! water soluble can be ironed… I would just be a bit careful as you get started
Elaine Bankowski says
can’t get printed instructions .