inside: Create fun playwear costumes for Halloween. These everyday fairy tale costumes can also double as pajamas or playwear for your kids. Free sewing patterns and tutorials to create these looks.
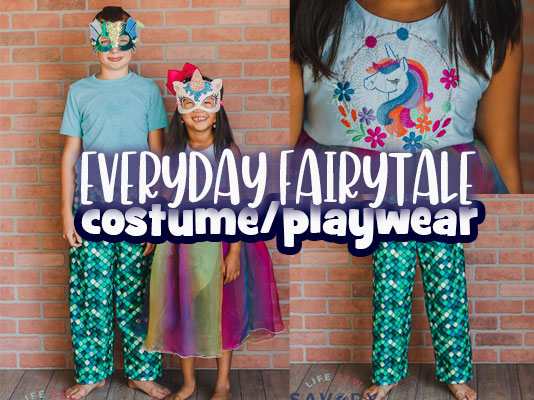
Did you see the fun vinyl costume masks I shared earlier this week? You can see the in the photos below. SO fun right? This post will give you the details to create the rest of the fun playwear costumes seen here. I love these everyday fairytale looks because you can wear them for Halloween or dress up or just as playwear.
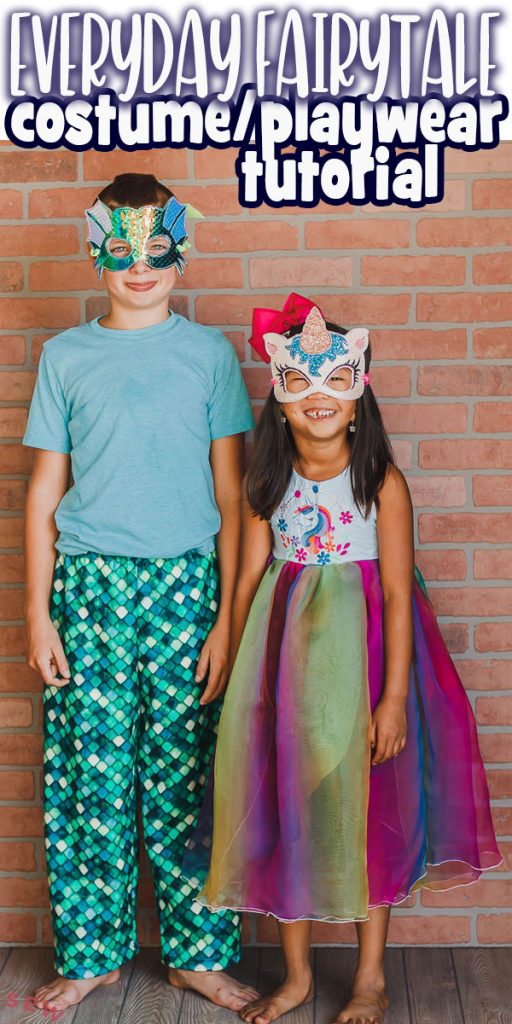
Playwear costumes
Remember when I was on Project Run and Play? The week after I got voted out was everyday fairy tale as the theme so I had the supplies to make these outfits already purchased. I had started a few things, but didn’t finish {because I was voted out!} So now that Halloween season has rolled around it’s time to show off these fun outfits.
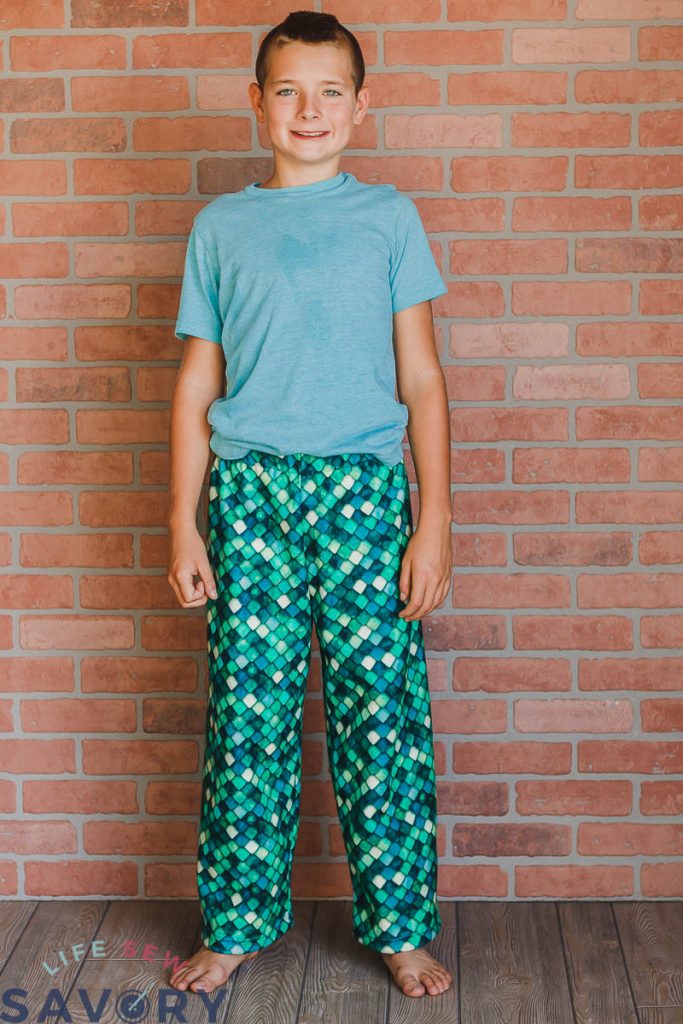
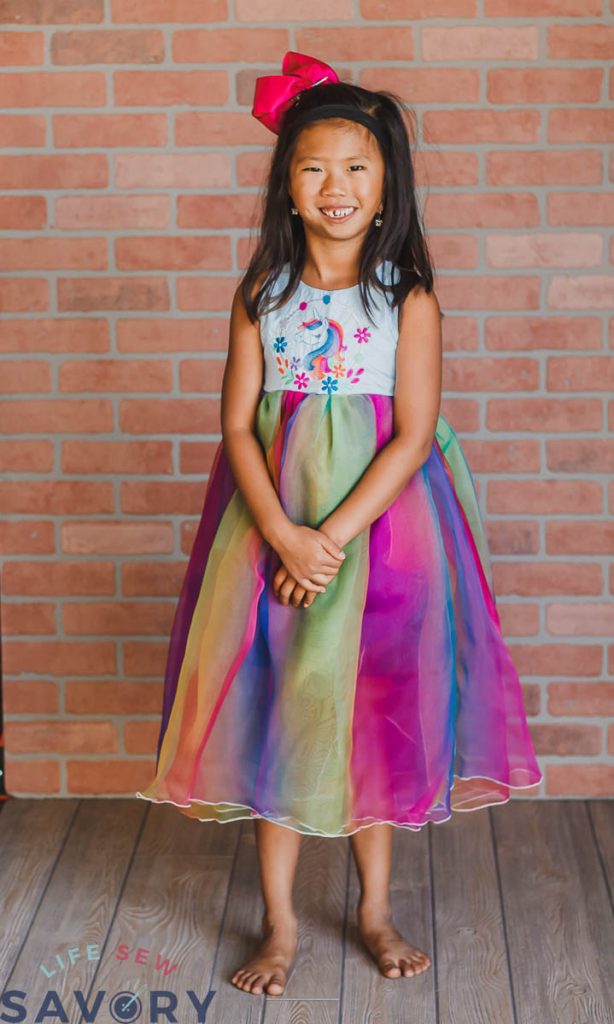
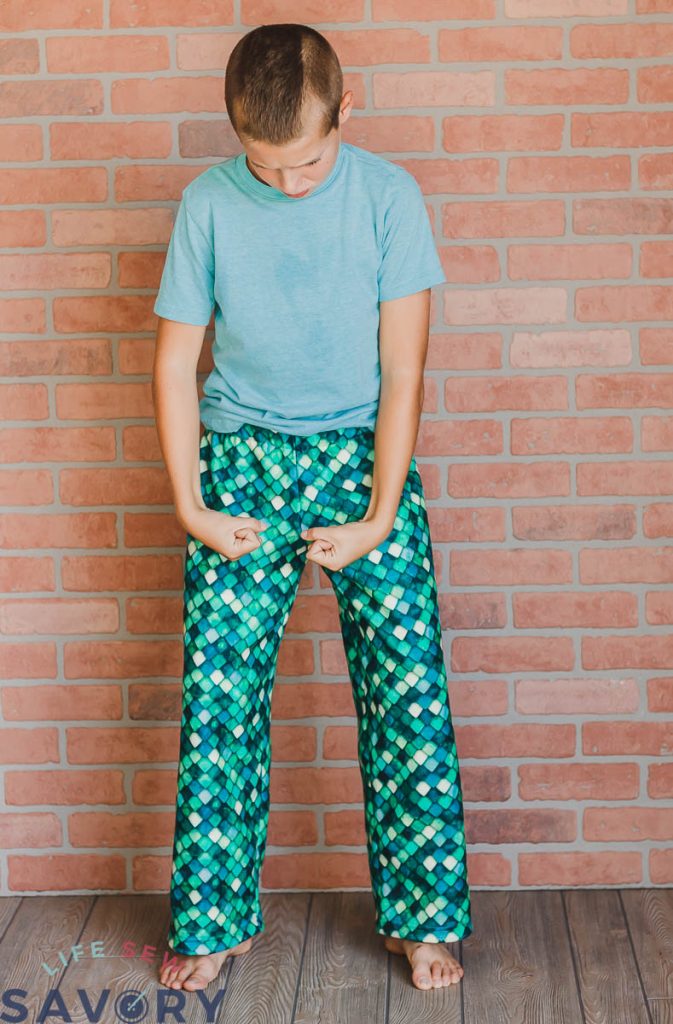
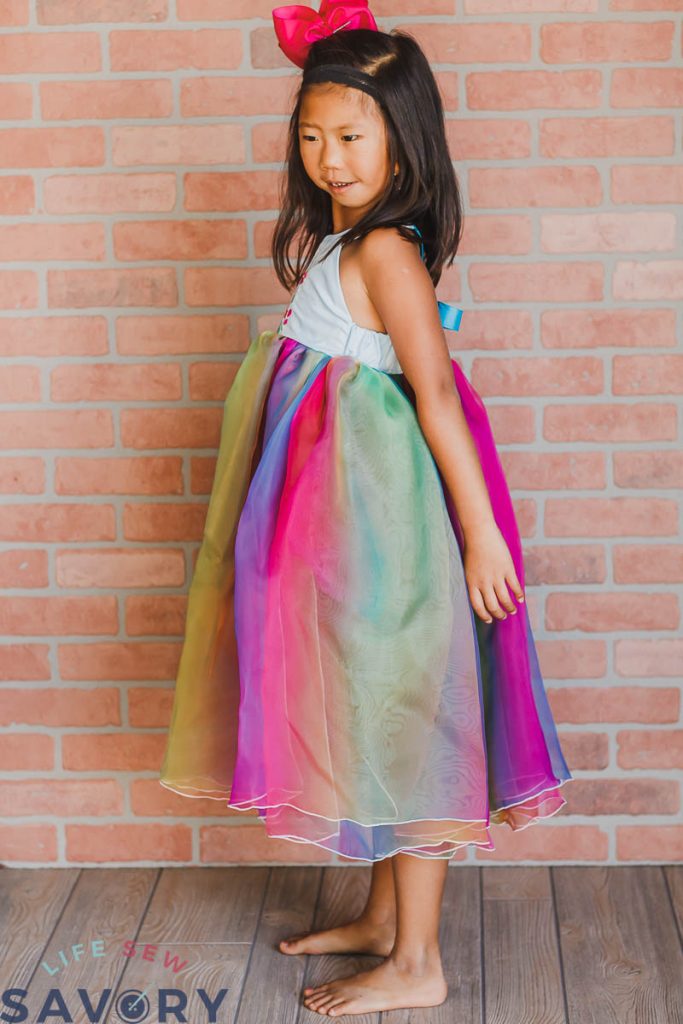
Fun dragon pjs and a unicorn dress can be fun for play OR a costume if you add the mask… I’m going to give you the details to create both of these looks using free sewing patterns and a tutorial here.
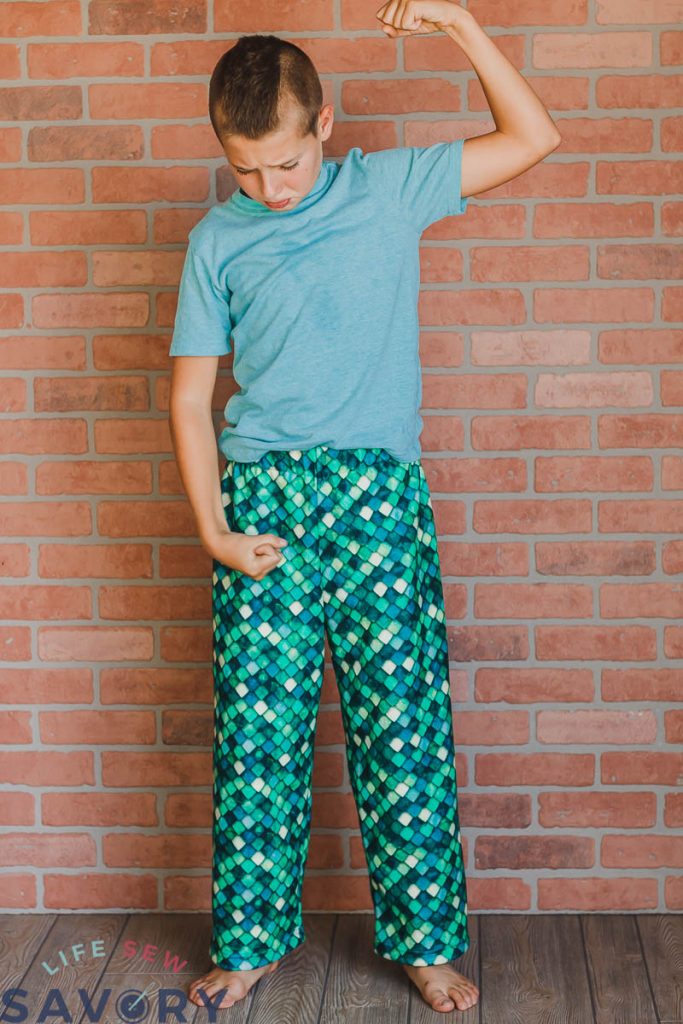
The Pjs are pretty straightforward… I just used fun scale fleece to make them. {details and links below} My son was not loving the photos.
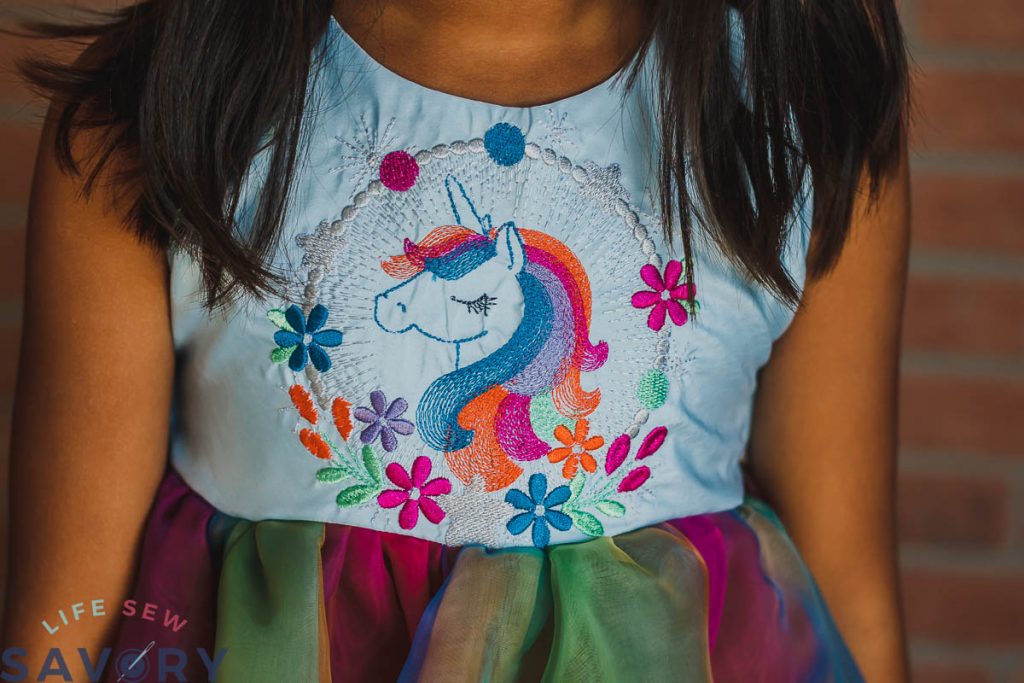
The unicorn dress uses one of my free patterns as a base and has embroidery on the top and a flowing skirt.
Other Halloween Costumes to try
Fairy Tale costume sewing tutorial
Dragon Pajamas –
Unicorn Dress –
- Girls Tank as a Base
- Embroidery Design of Unicorn
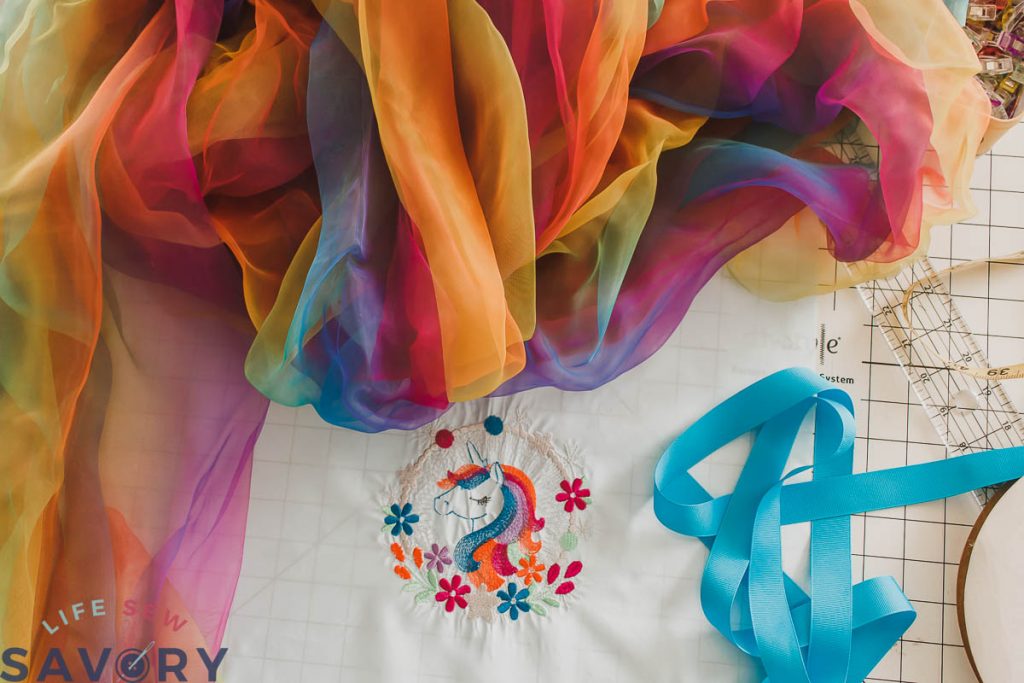
- Organza Fabric {this piece is 16 feet by 54 inches} I used most of it.
- Ribbon 1″ wide
- 1.5″ wide elastic
The Dragon is easy… print the pattern and sew it with the fun dragon fleece and that’s it!
The unicorn dress is a bit more involved, but I love the results…
Ok! Let’s dive into this dress…
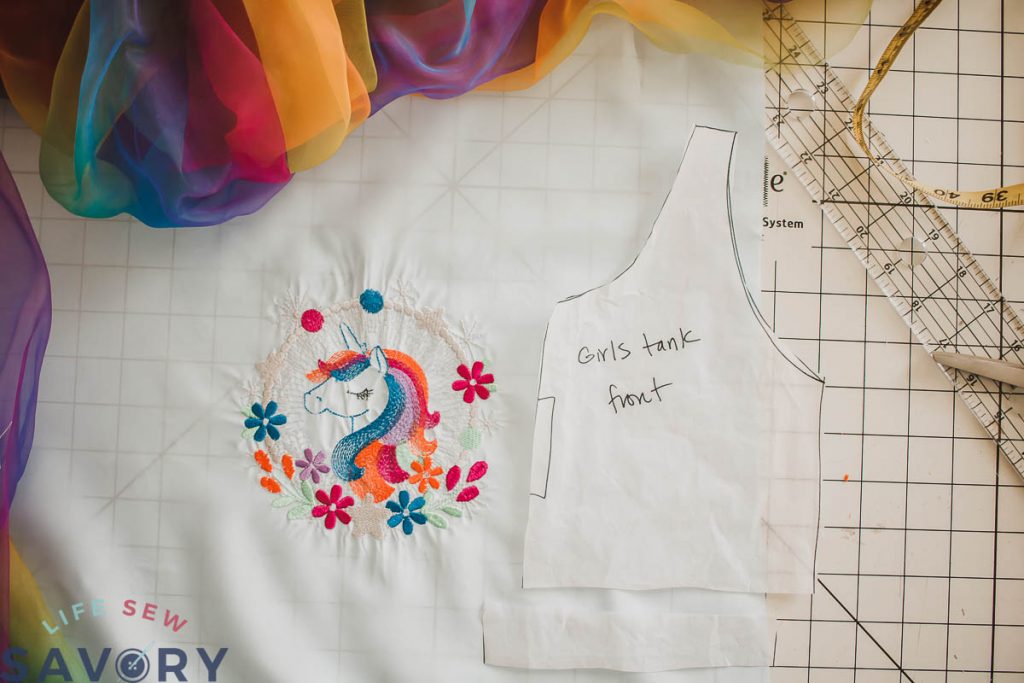
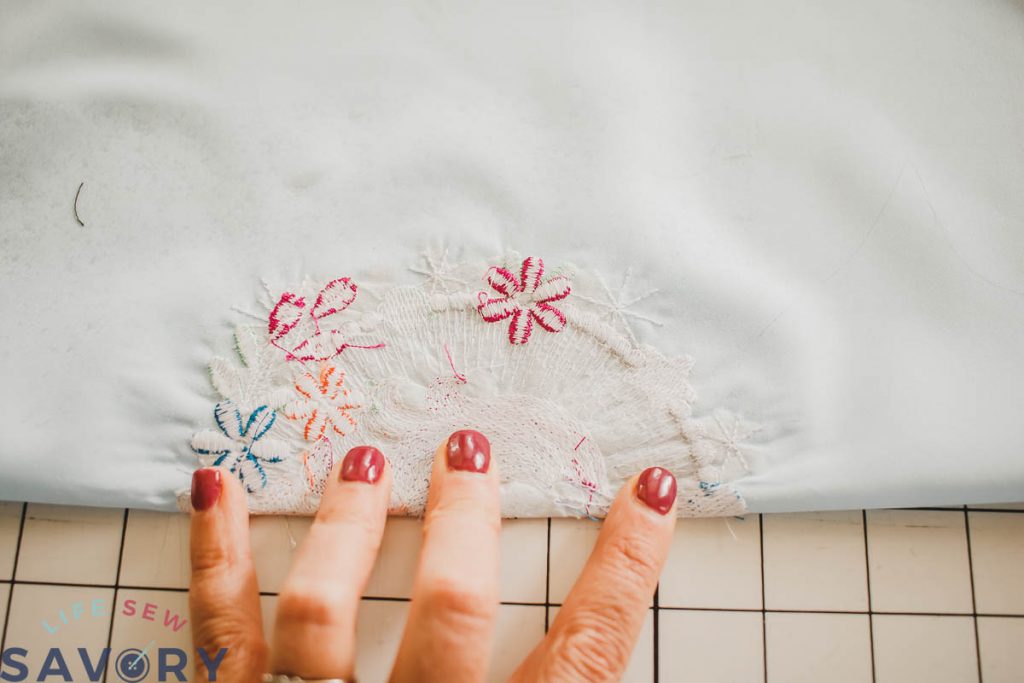
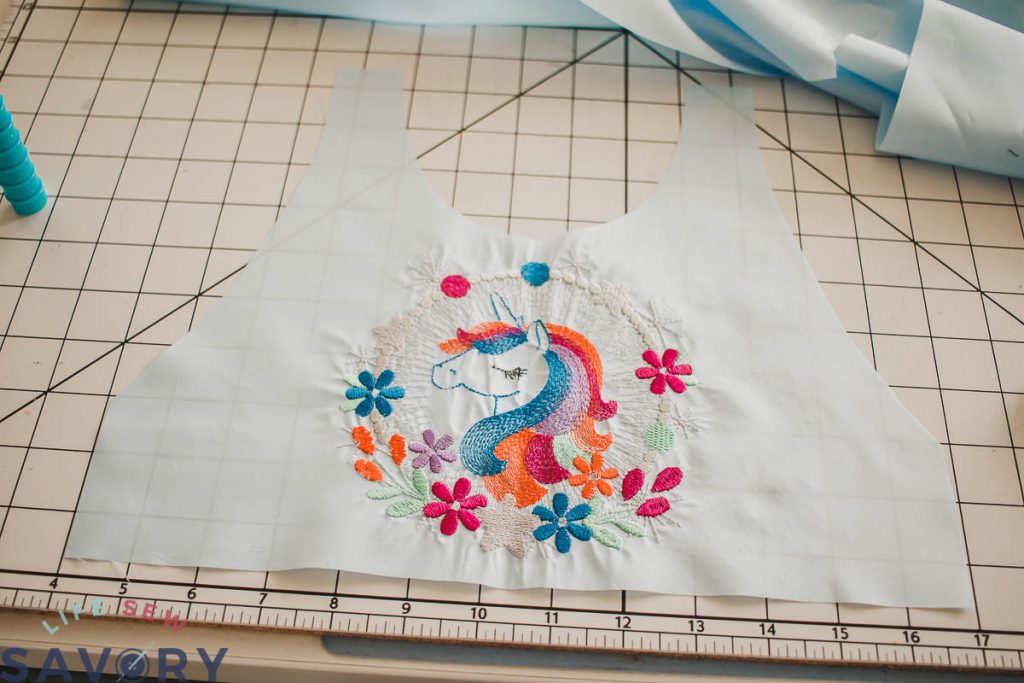
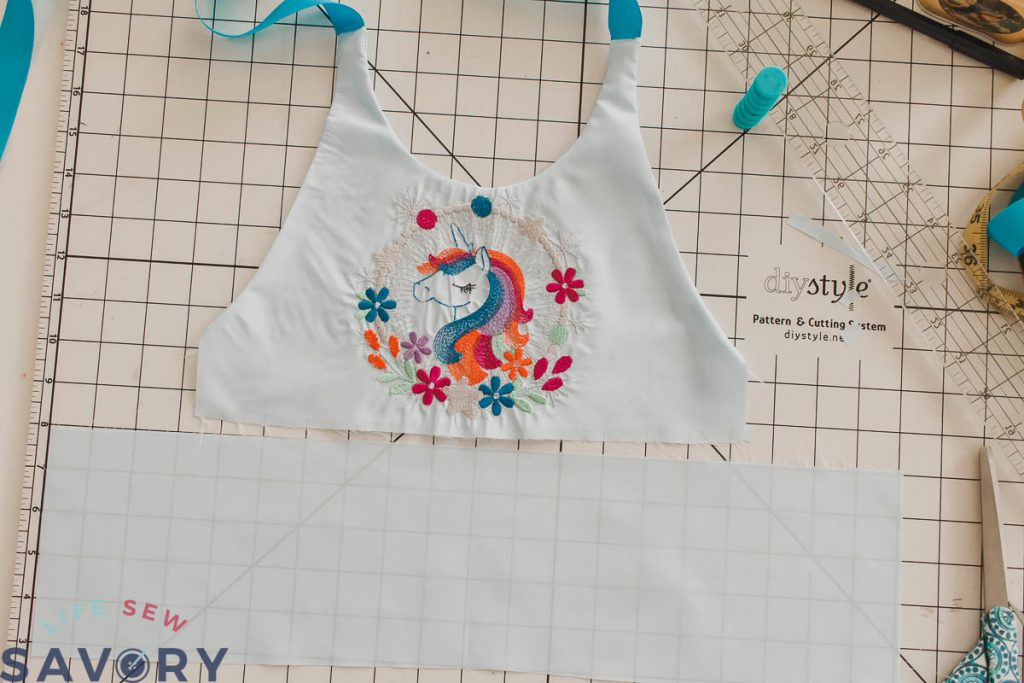
If you want to add embroidery I always suggest doing this before cutting any of the pattern pieces. I did the embroidery first… Then I took the front of the girls tank pattern and cut the bodice with a length long enough to cover my embroidery design.
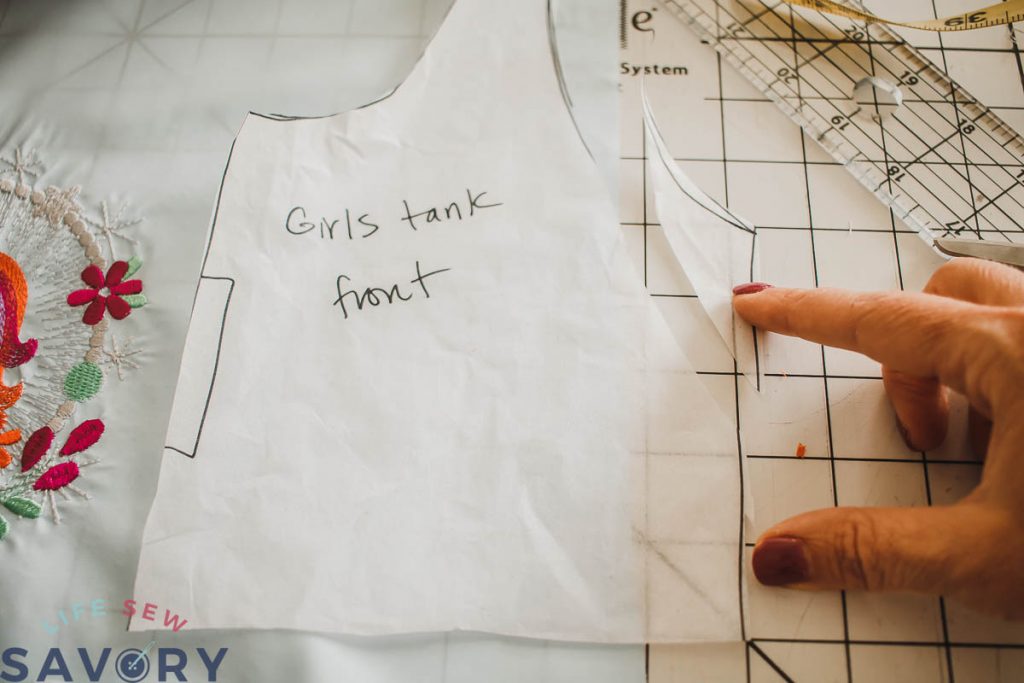
Modify the tank front by angling the arm hole down to the side seam being 2″ tall. This will be sloped to the back piece later.
Fold the design exactly in half and then cut this front part of the dress.
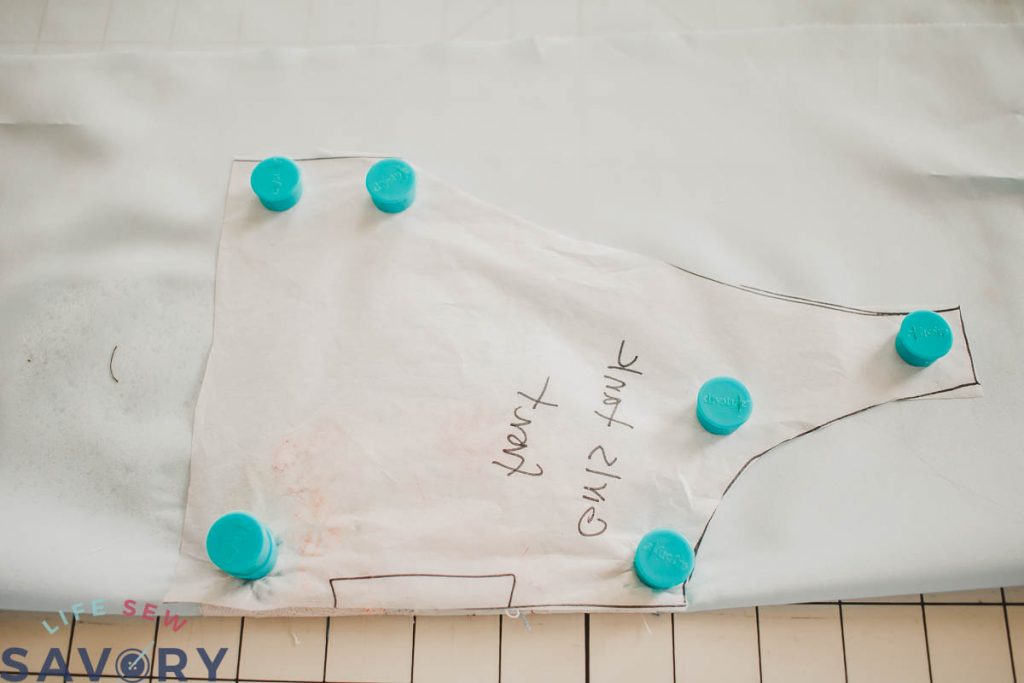
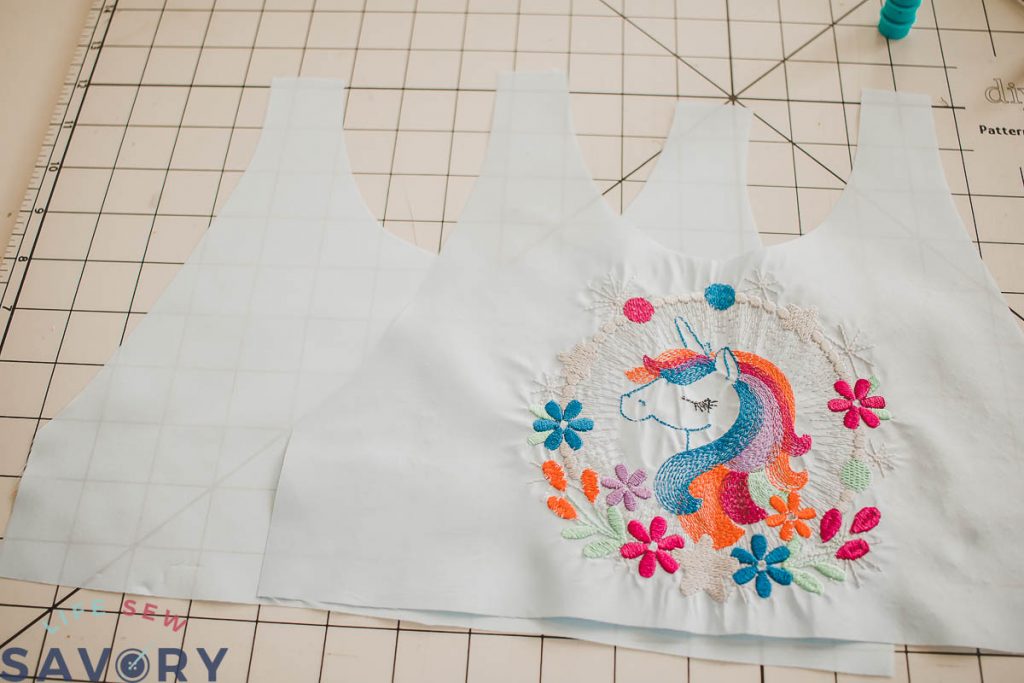
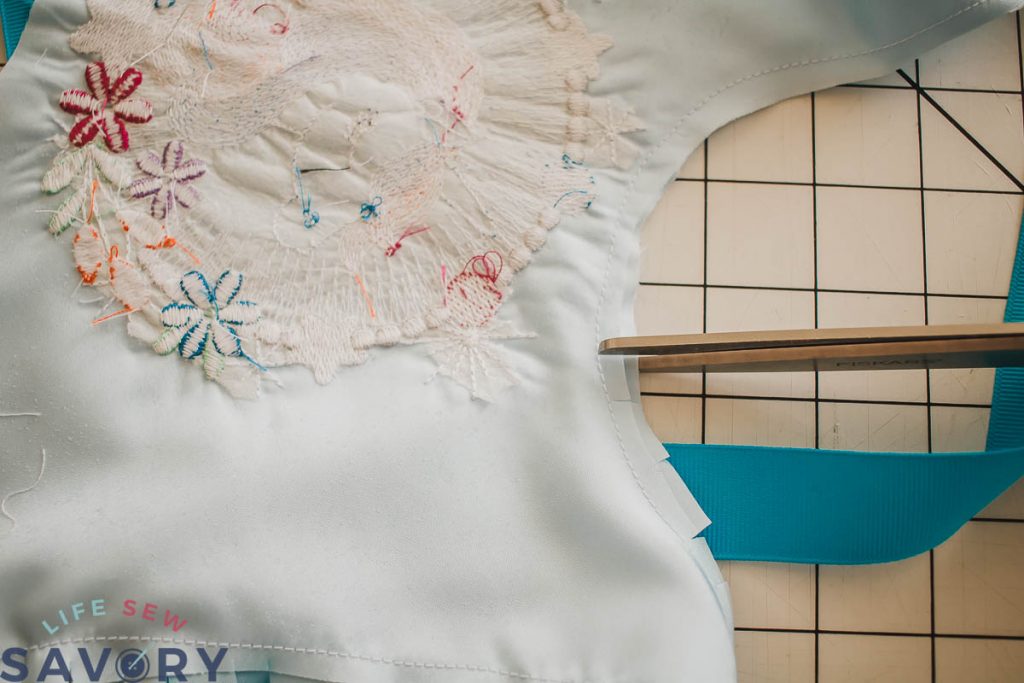
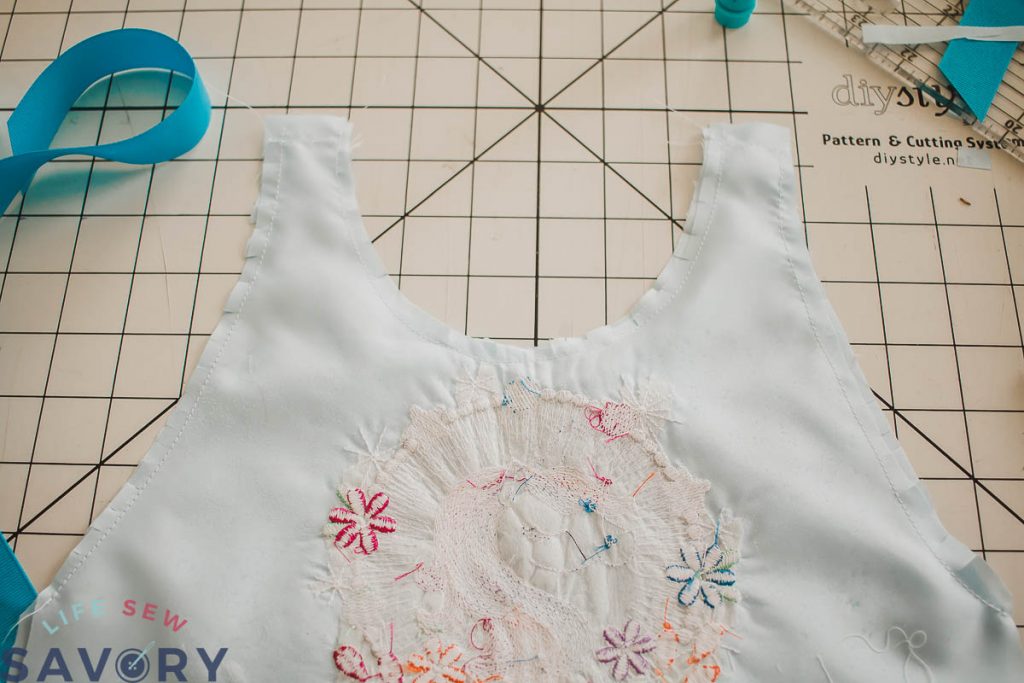
Cut a matching front piece {the lining} this piece will not have embroidery. Sew these two bodice fronts together at the neck opening and arm holes ONLY. Clip the curves.
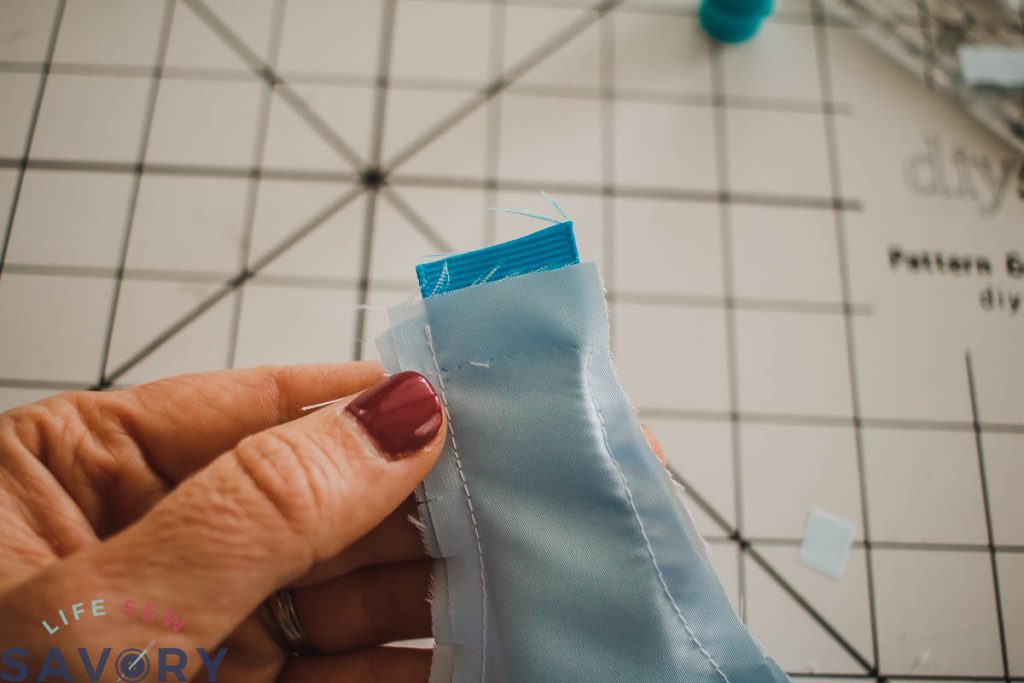
Cut two 20″ pieces of ribbon {I used grosgrain ribbon} Slid the 1″ ribbon up into the shoulder strap opening. The ribbon should be on the inside, which is the right sides of the dress fabric. Sew across the shoulder and turn right side out. Press.
Cut a pieces of fabric for the back that is 5″ tall {all sizes} and DOUBLE the width of your front. This will vary from size to size.
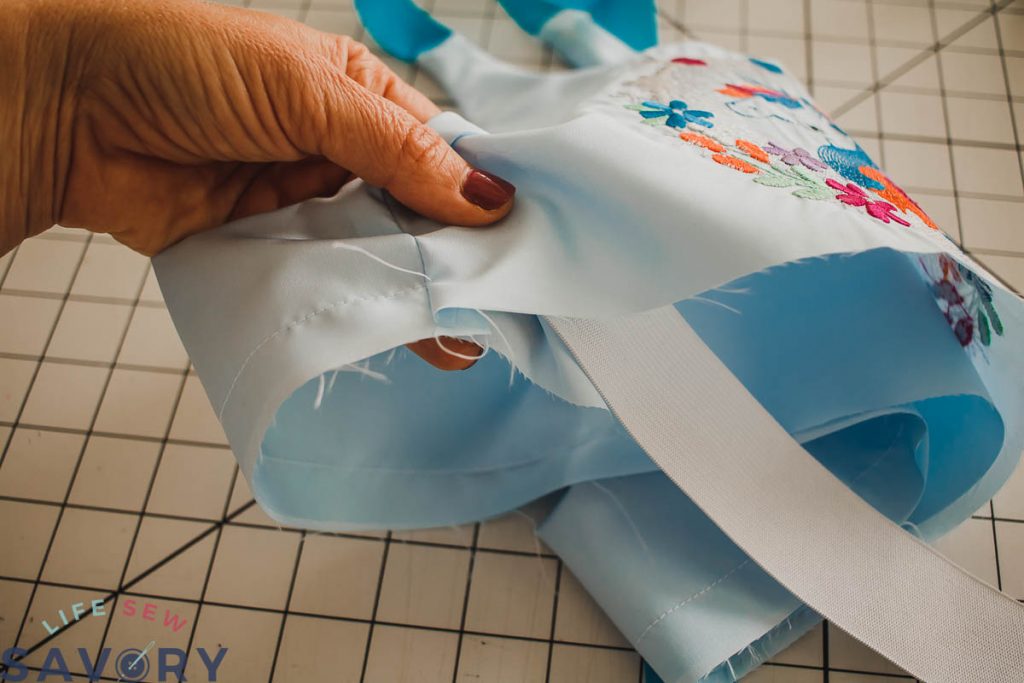
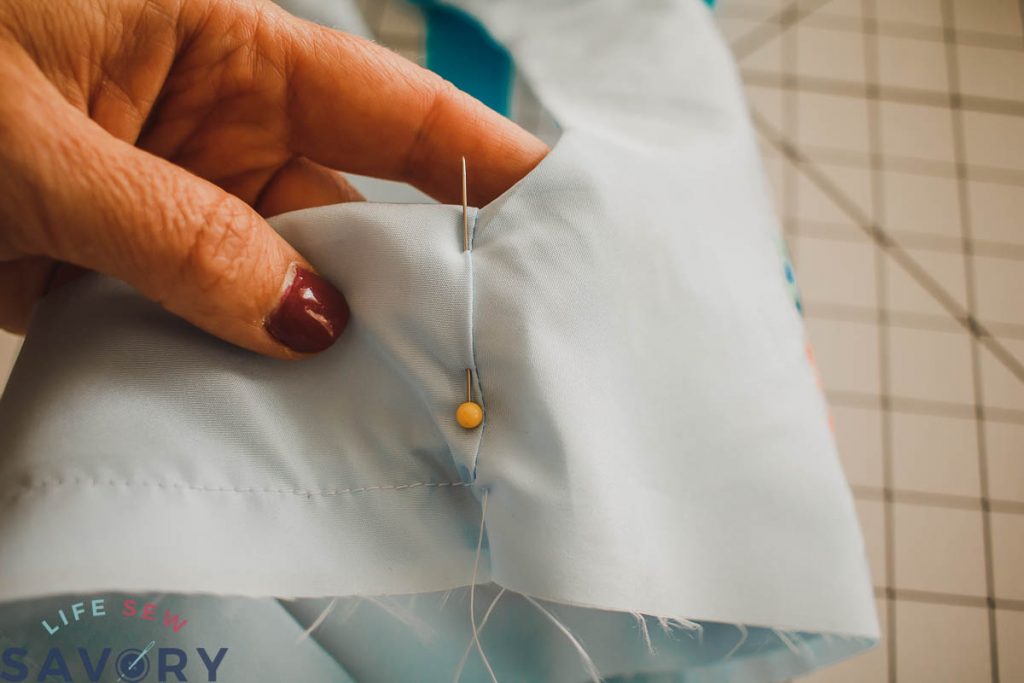
Open up the side seam of the bodice and lining and match the short side of the new rectangle with this open side. The rectangle may be a bit longer than the side seam. This is okay, just center. Sew the short side seams on both sides.
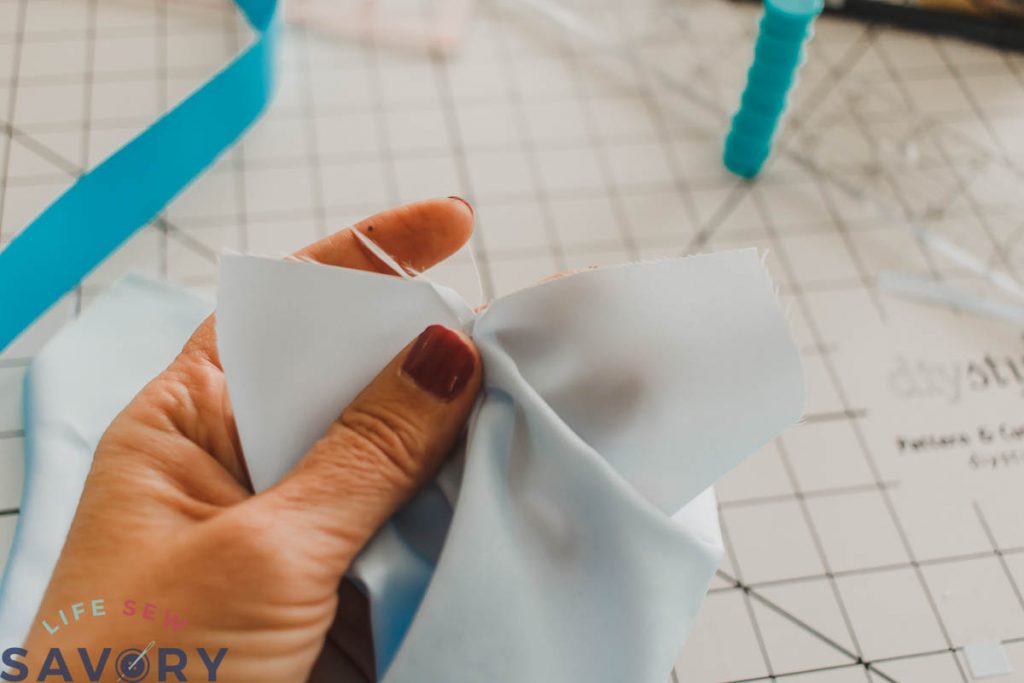
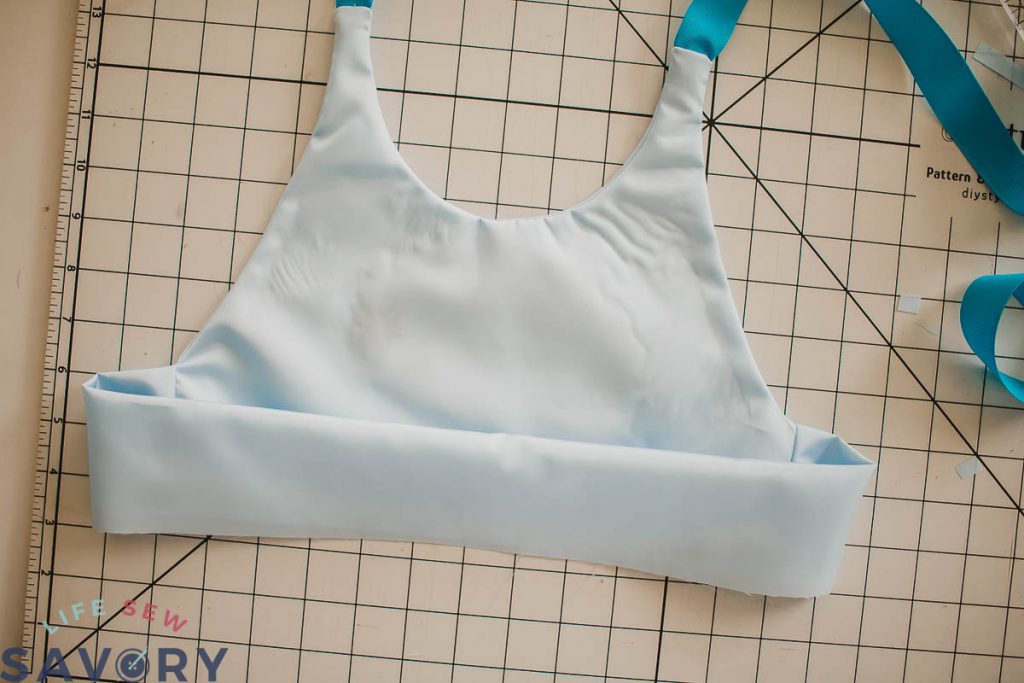
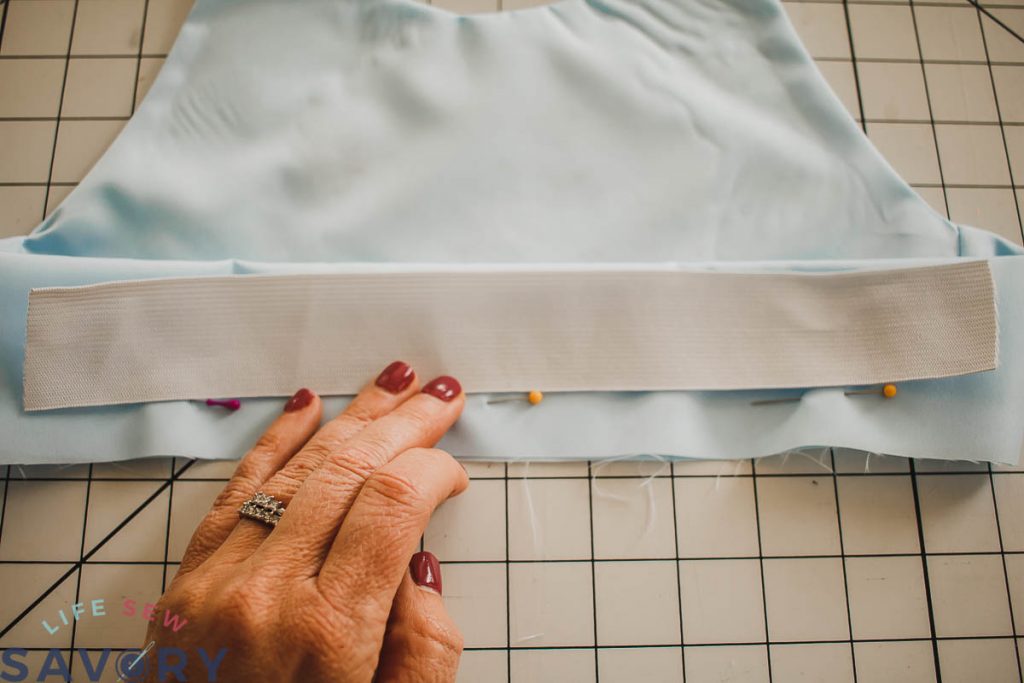
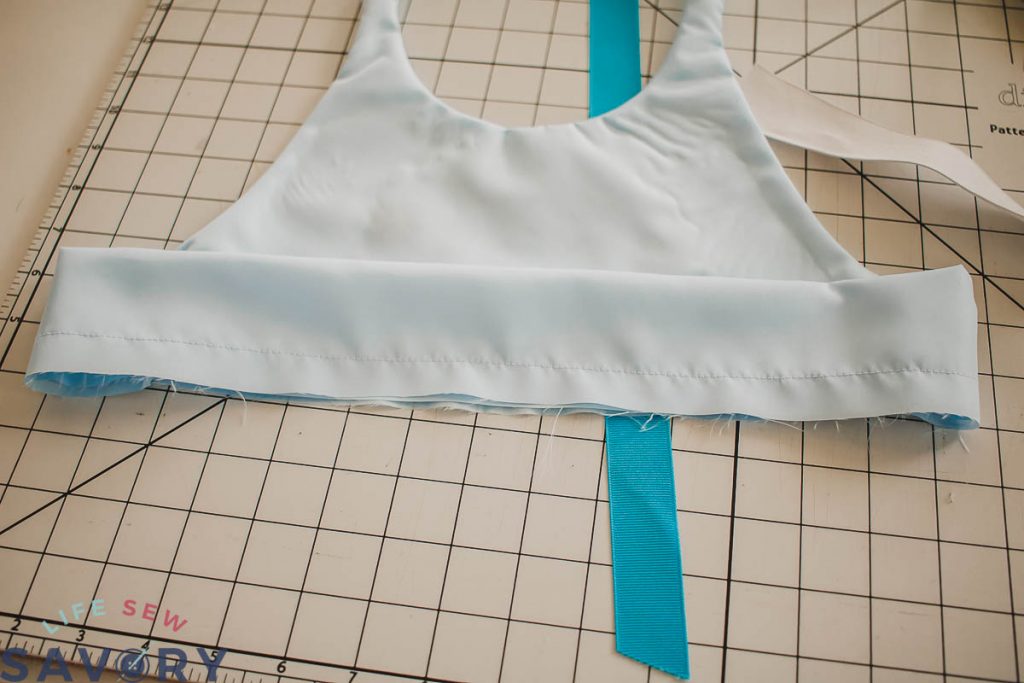
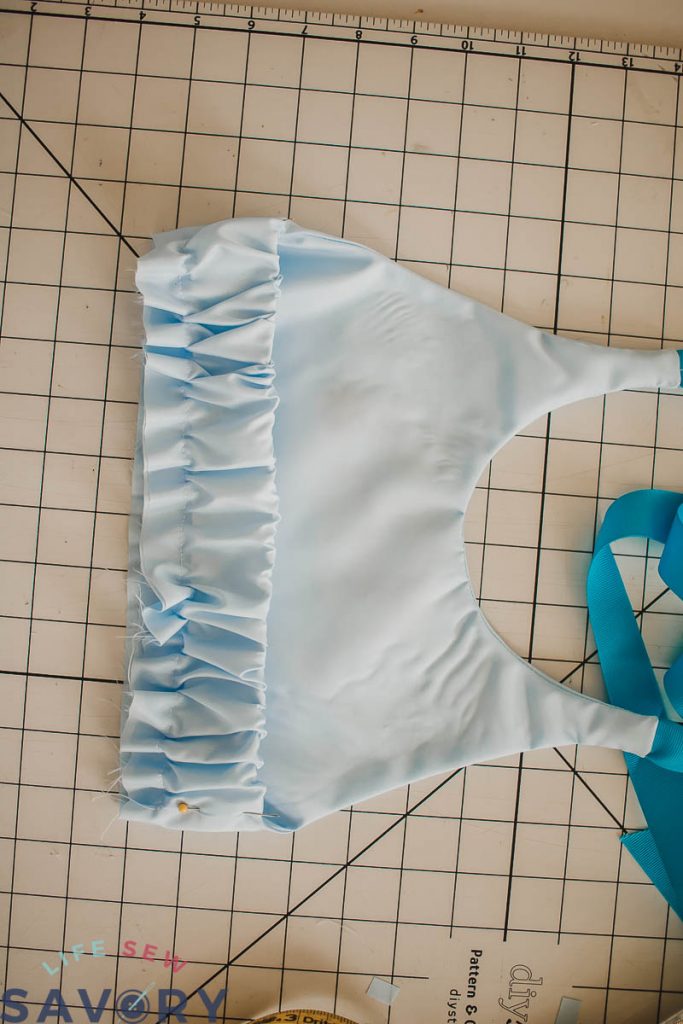
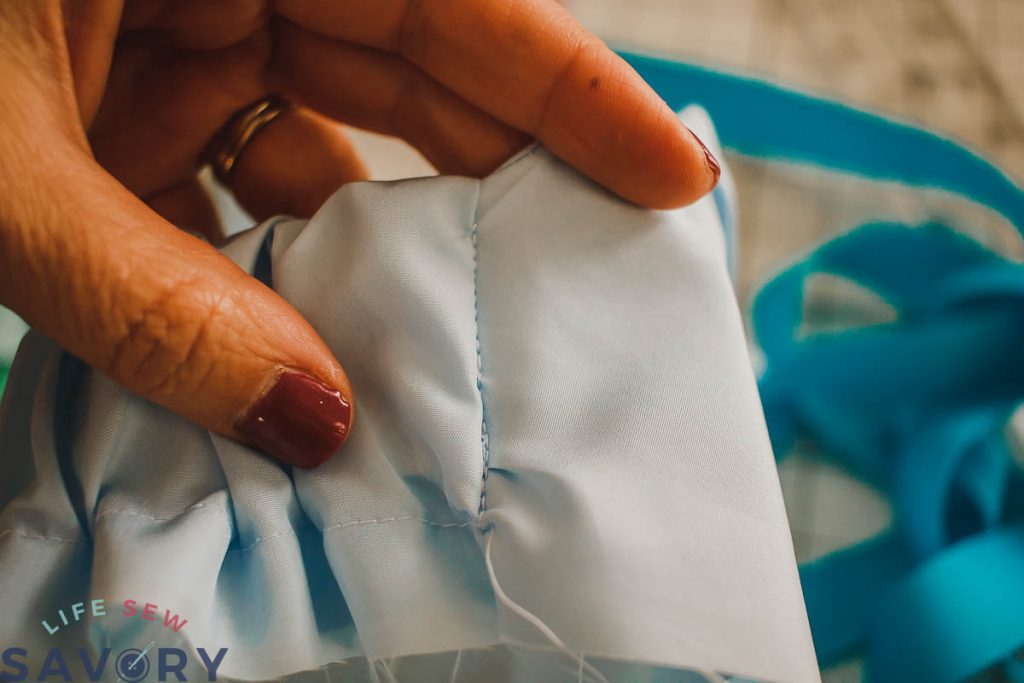
Fold over the back piece as shown below. This will hold the elastic. Cut a pieces of elastic the same width as the front of the dress. Place in on top of the folded back and mark the bottom of the elastic. Leave a small margin of wiggle room as you will need to thread the elastic through this casing. Sew across the back on this line.
Thread the elastic through the open side seam and through the back casing you just created. Secure it on both side of the dress top and at this point try on. You can adjust the fit by tightening the elastic before sewing. Stitch elastic on both side seams to secure.
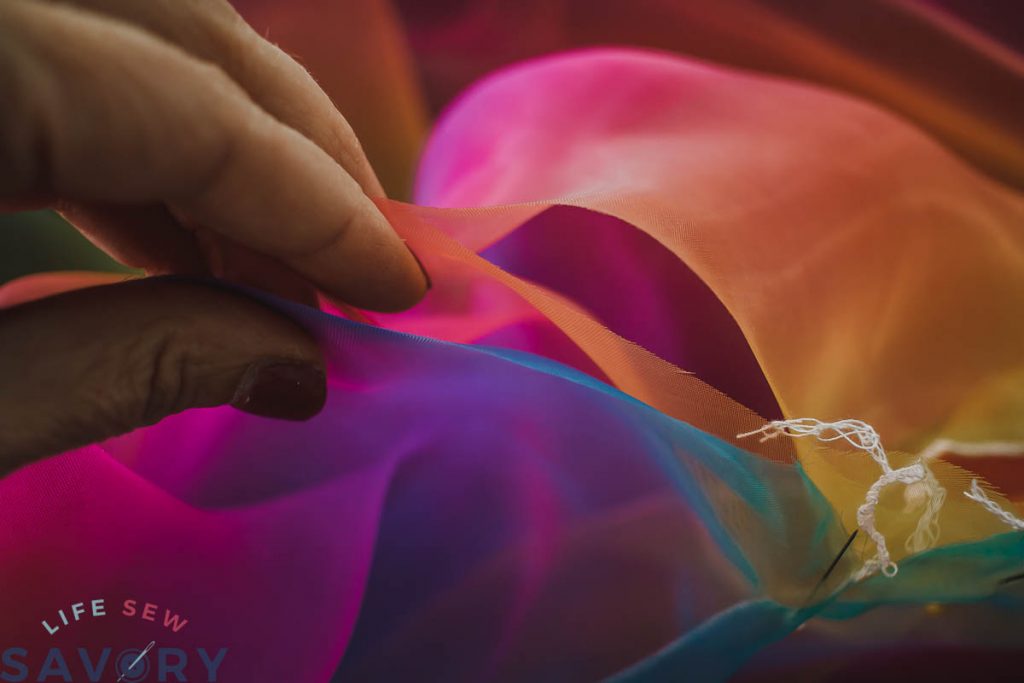
ok! now let’s add the skirt. You can use any fun fabric for this.. I used the organza piece from amazon linked above. NOTE: Is there any way to cut organza so it’s actually straight? I think its great every time and then my pieces are all wonky! AHHH… the only way I deal with this is to make many many layers so you don’t notice the imperfections…
I cut SIX width of fabric pieces. {measure length needed from bottom of bodice to length desired.
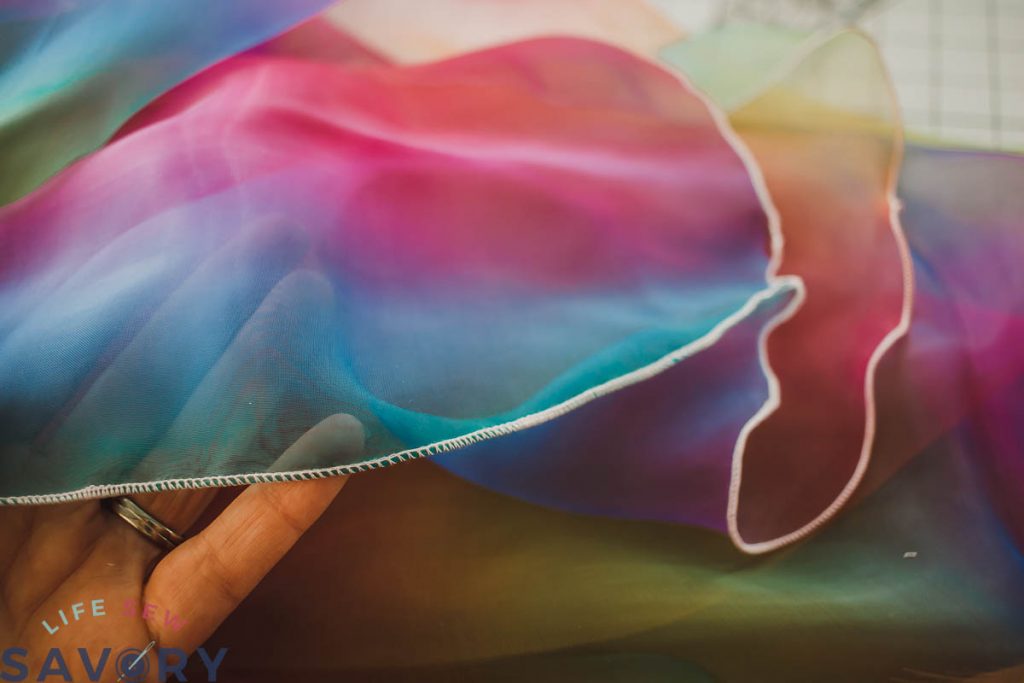
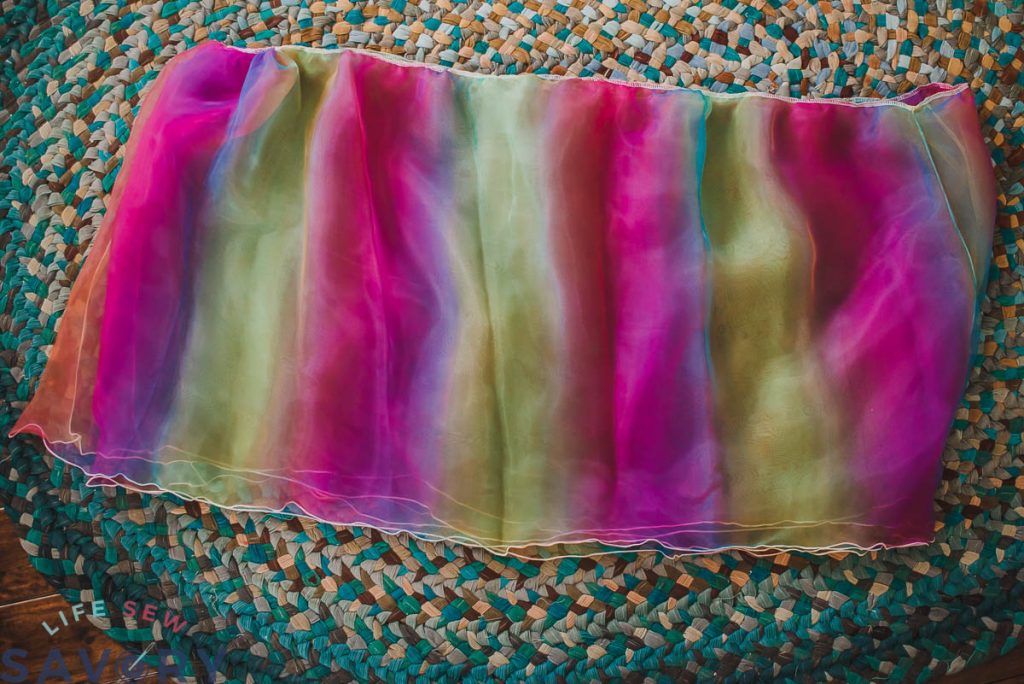
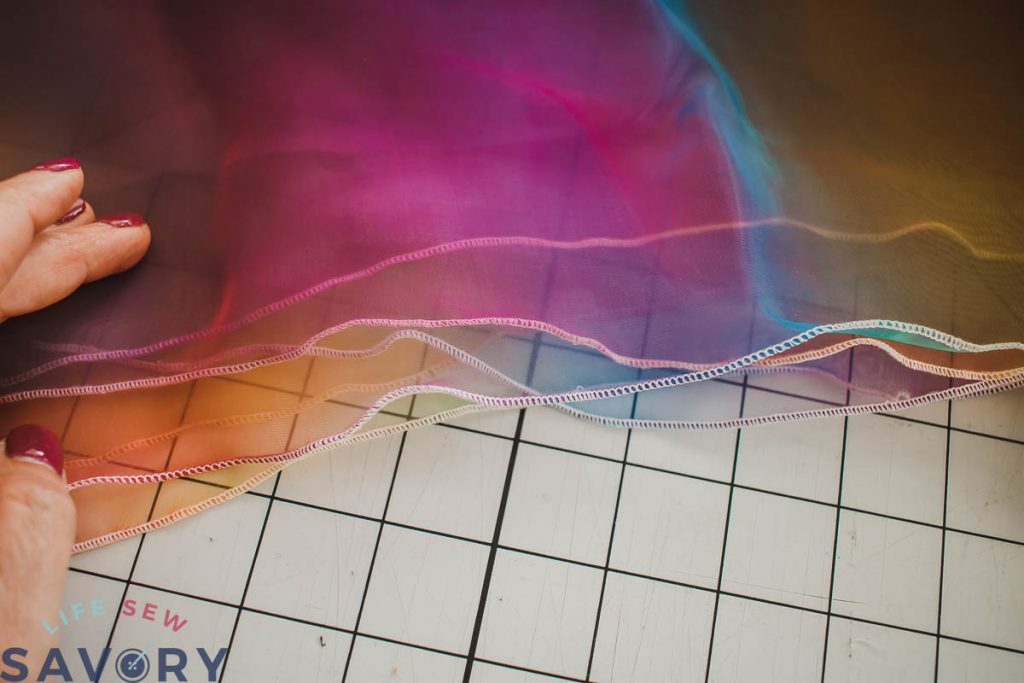
Sew two pieces together at the side seams and repeat for each layer. Six pieces turned into three skirt layers. Hem the bottom edge of each layer with a rolled hem on your serger or a narrow, close zig-zag.
Match the top of all three layers together and baste. Gather the top edge with all layers together to match the top width. {need help gathering? Here’s my gathering tips.}
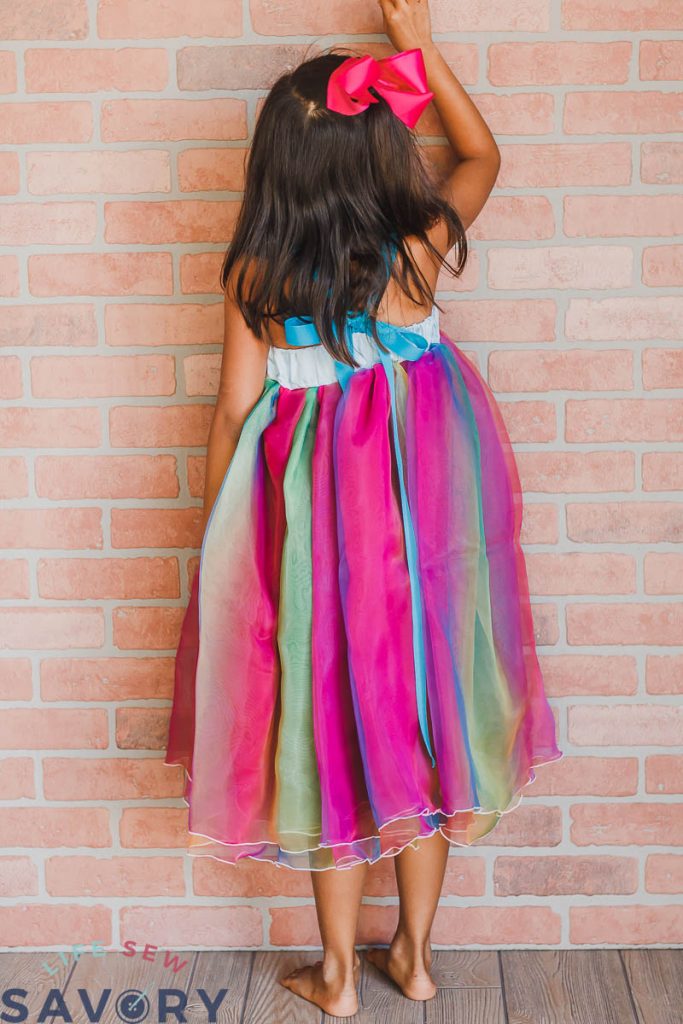
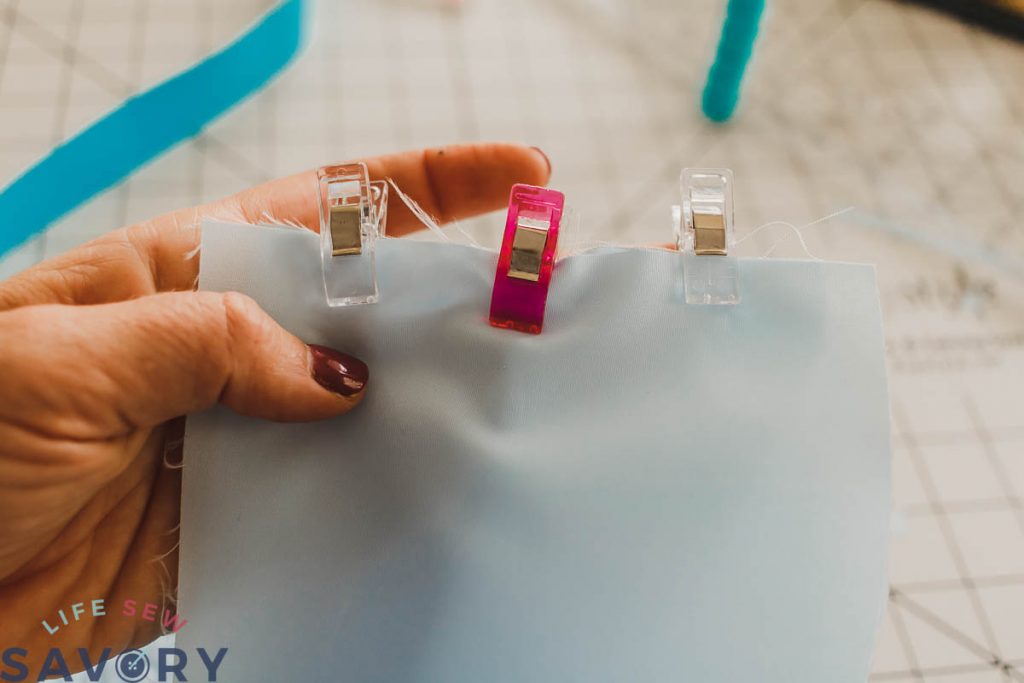
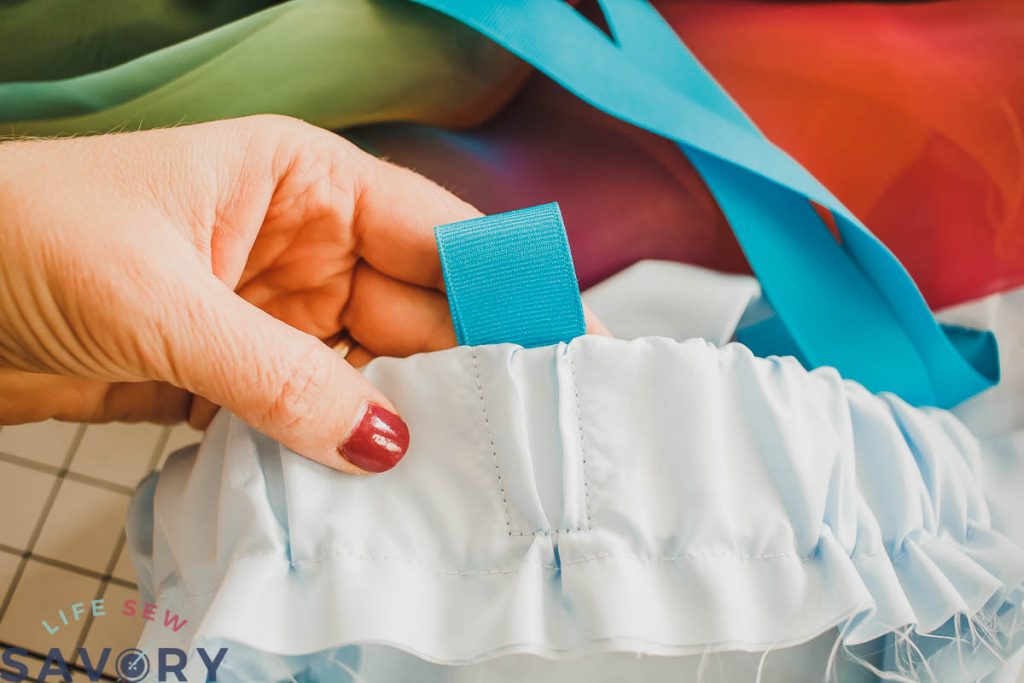
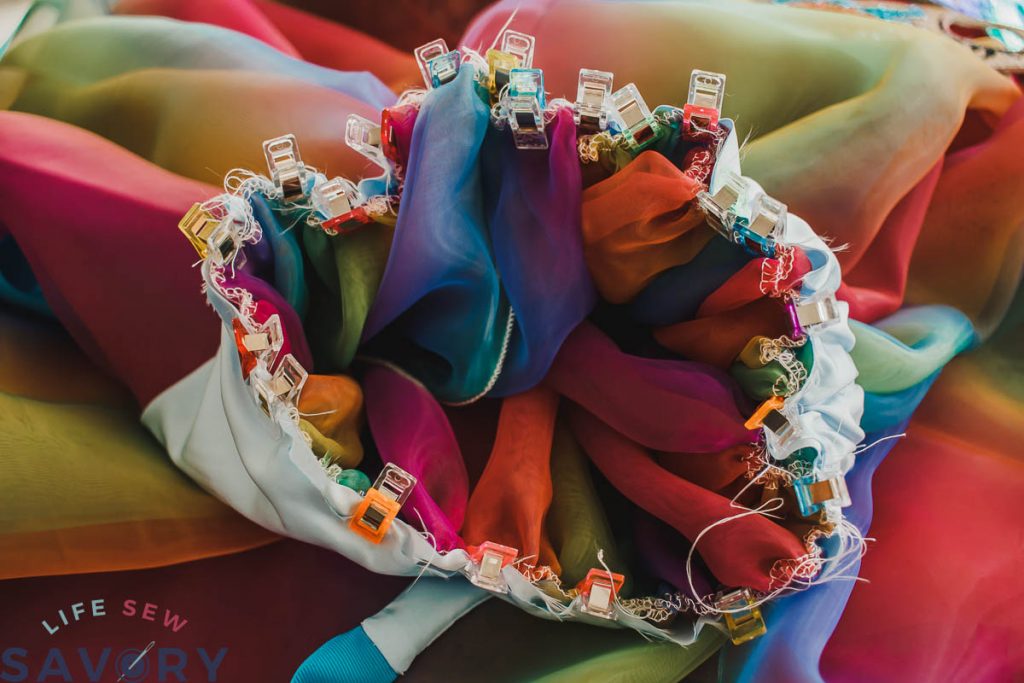
Sew a ribbon loop on back center of the dress back. Pin the right sides together of the skirt and the bodice. You can see I used lots of clips to keep it all together. Sew all the layers together {slowly! it’s a lot of fabric} Turn right side out and enjoy!
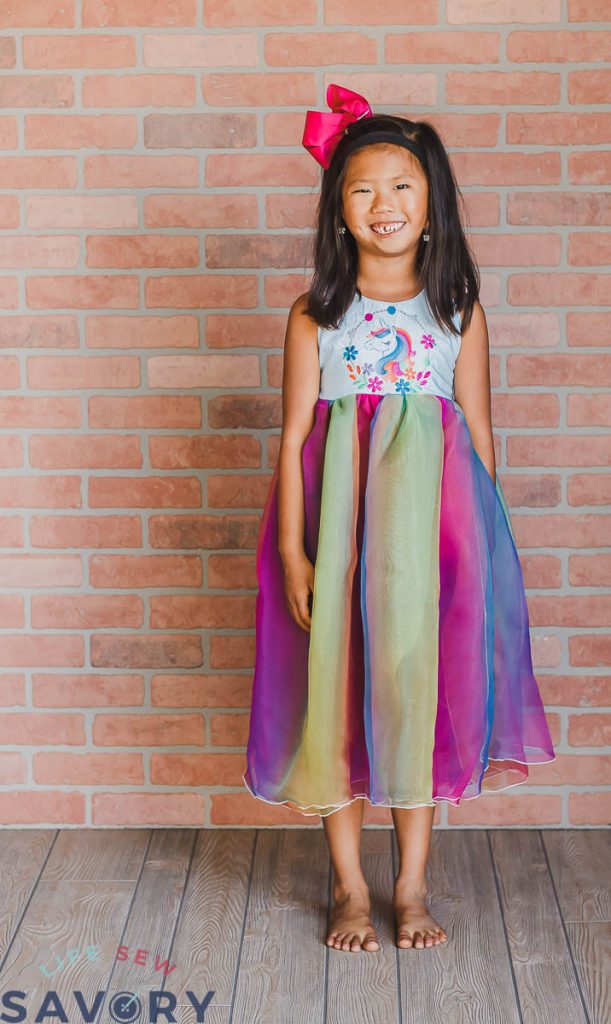
Our finished dress.
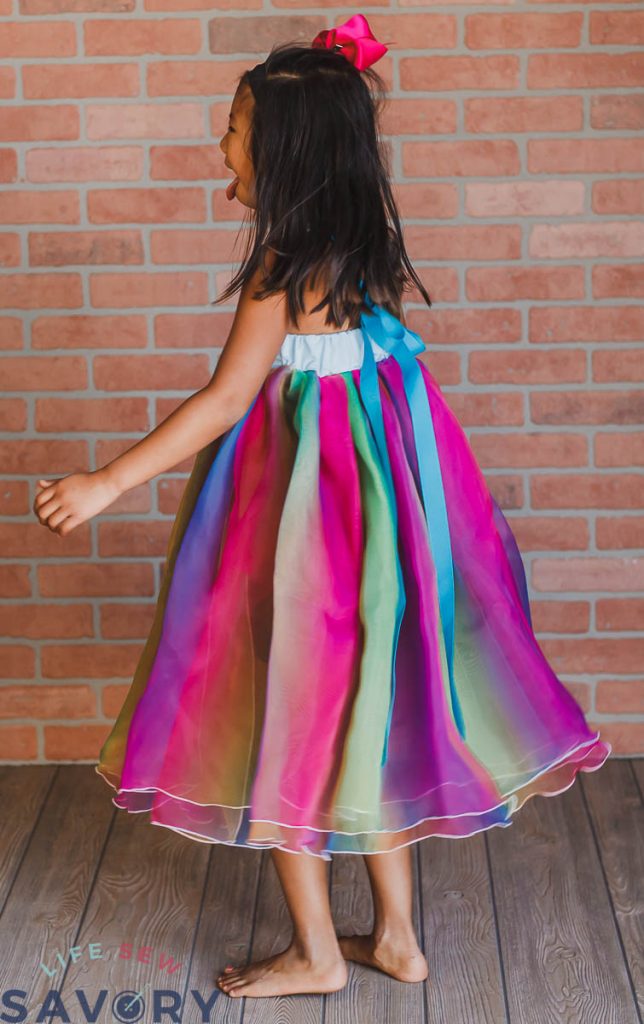
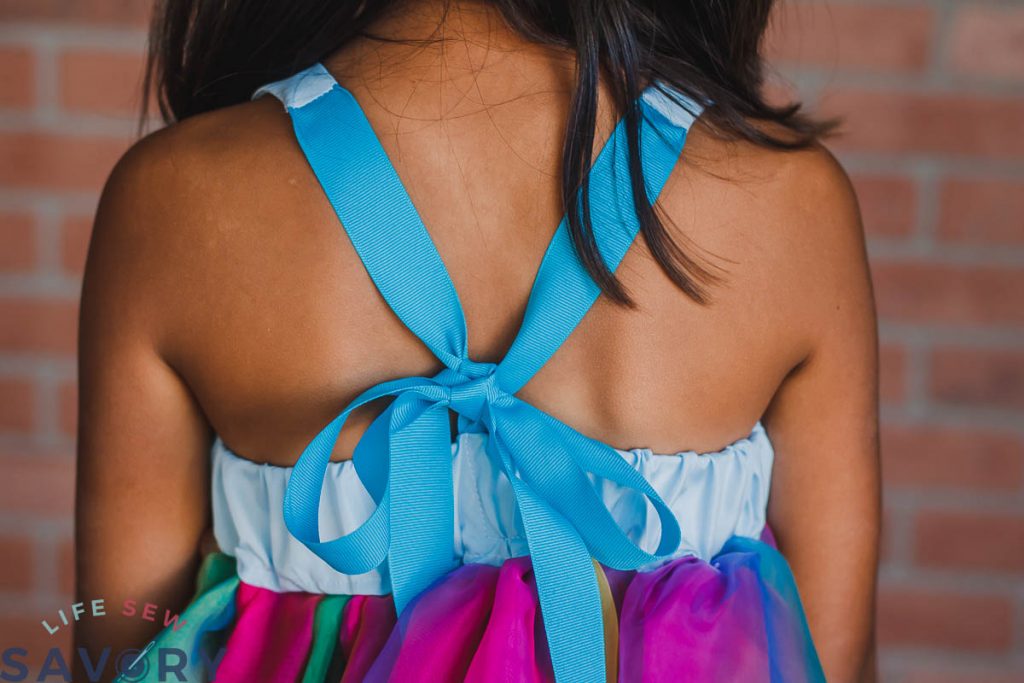
Here’s the back. Take the two ribbons and thread through the loop from opposite sides, then tie a bow.





Leave a Reply