inside: Create a beautiful quilt as you go table runner for fall. Learn how to quilt as you go with this fall table runner sewing tutorial. A runner tutorial you can use for any season.
You all know I’m not a huge quilter, but I do like to dabble with quilting. I’ll share some of my other quilting endeavors below. Have you ever tried the quilt as you go method of quilting? It’s easy to sew and perfect for small quilting projects. This fall runner has fun top-stitching using this method and I love how it looks. If you can sew straight lines you are going to be an expert at the quilt as you go sewing method. You can use this quilting method to create lots of different home projects and today we are going to make a fall runner.
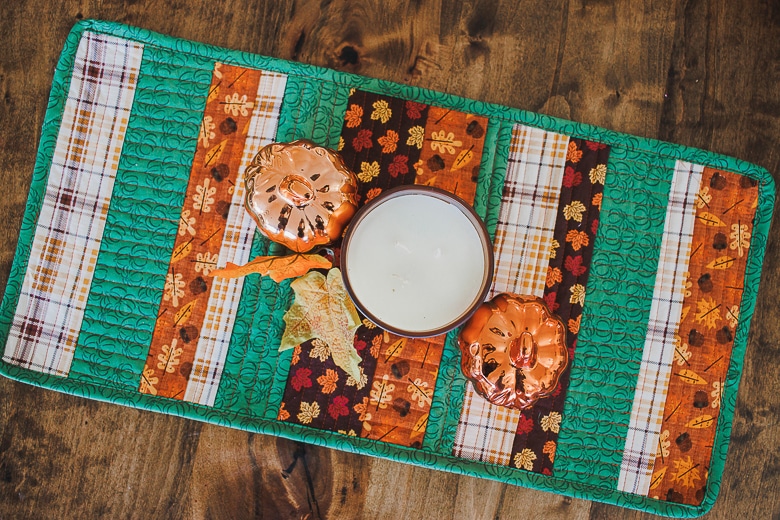
Fall Table Runner
Festive holiday runners are a great way to add a little bit of color to your home for a holiday or season. I love having several options for each season, so I can change frequently. This fall table runner can be made in any size and really in any color for your next table decor needs. Also… is there anything better than a good fall candle? I think not!
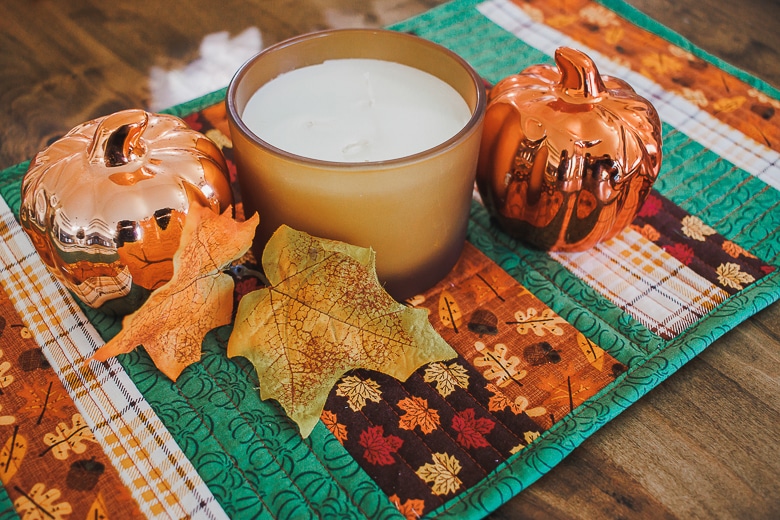
Quilt as you go table runner
I sewed my fall table runner with this fall crate decor in mind. This crate of fall goodies was in my decor box so I wanted something to go under it. I love the mix of colors and textures that comes through in this project. Over the years I had collected a bunch of fall fabrics and I used them all in this project.
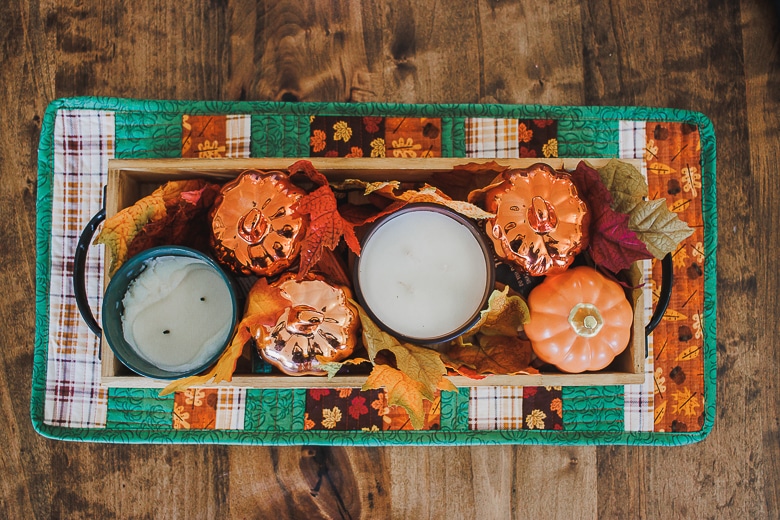
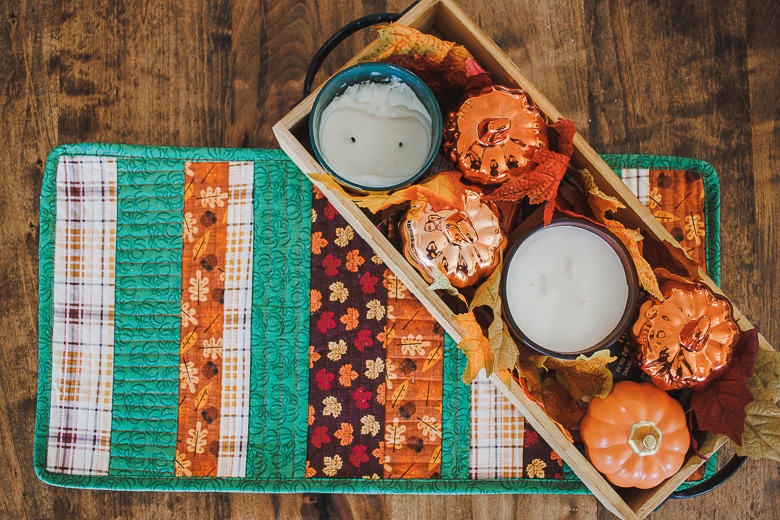
I love how each piece of fabric in this runner can have different stitching. You can use variations of a straight stitch OR decorative stitches from your machine menu. Next time I make a runner like this I want to play around with more decorative stitches. If you have a Brother Stellaire or Luminaire you can use fills for each section as well.
How to quilt as you go
Alright! Let’s just into the tutorial. Ready to make a quilt that looks amazing without any real quilting skills? Grab some fall {or other season} fabric and let’s get started.
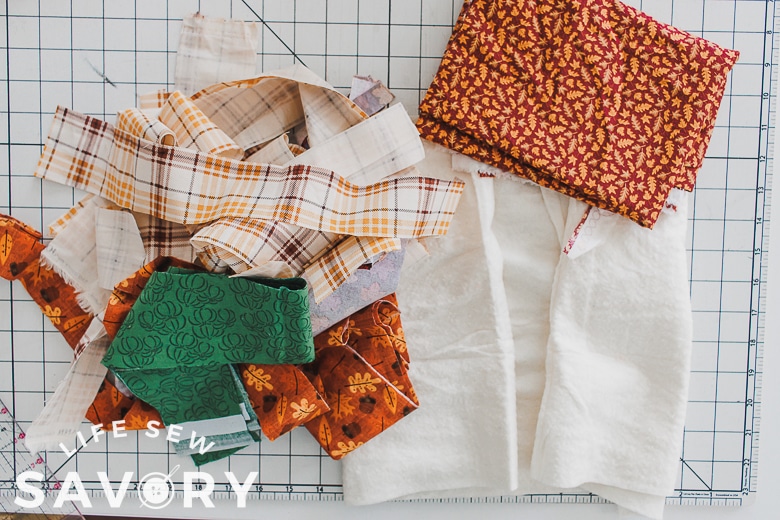
Supplies needed:
Fabric scraps, one piece of fabric as big as you want your finished runner – the rest can be smaller. Quilt batting, a piece big enough for your complete project. Most runners are a rectangle 10-14″ wide and as long as you wish.
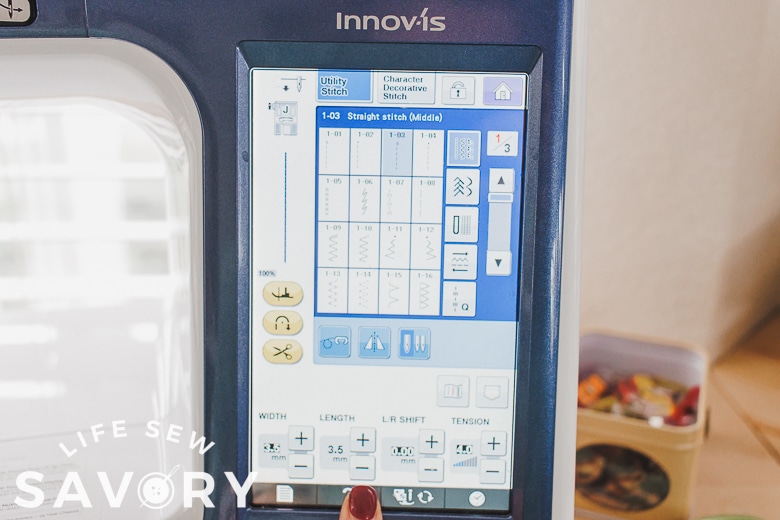
I just used a straight stitch for my sewing, but I did lengthen the stitch to 3.5 to make it a bit more of a finishing stitch.
First, decide the size you want your finished project to be. Cut the quilt batting to this size. Then place a full piece of fabric on the back of the batting and secure with a few pins to hold it all in place. You can see how the right side of the fabric is facing down and will be the back of the finished quilt.
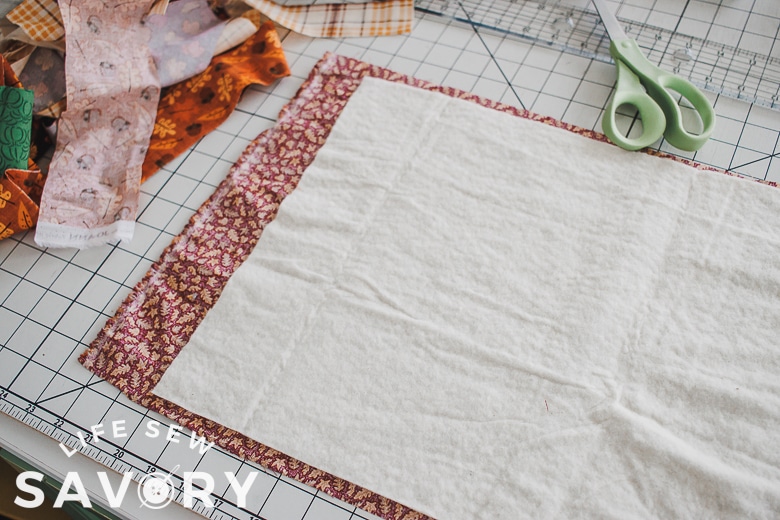
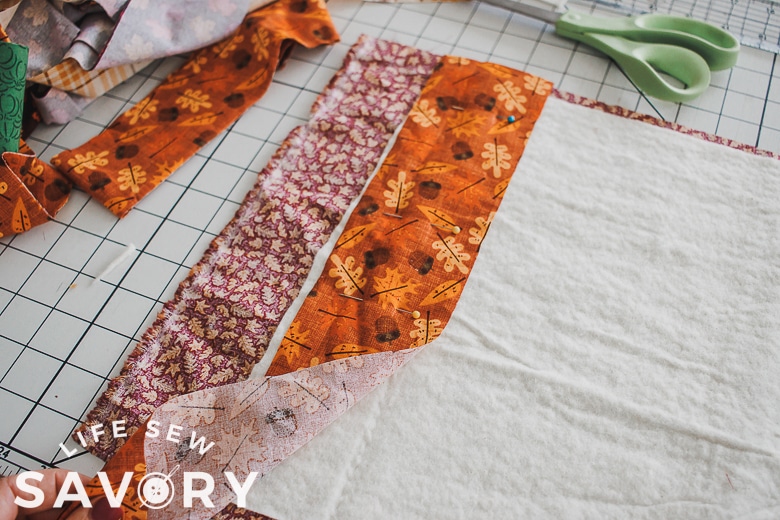
I cut strips of fabric for my quilted top, but you can really create any design you want. My strips of fabric were between 2-4 inches wide and I just cut a random variety. I started on one end with my sewing, but if you are making a more scrappy version you may want to start in the middle and work your way out to all the edges.
Lay the first strip of fabric on one end of your runner with the right side up. Secure with a few pins through both layers of fabric and the batting.
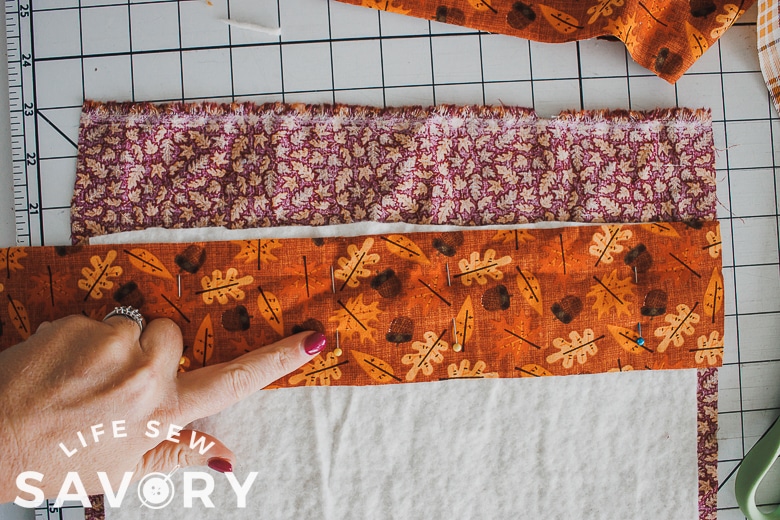
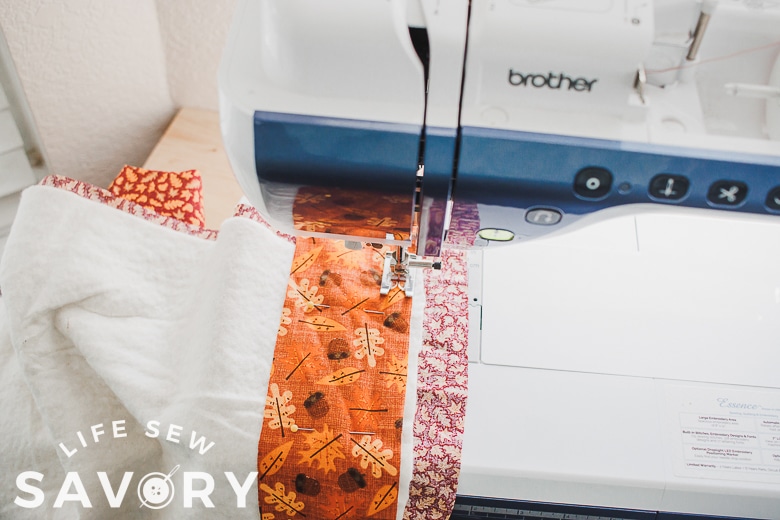
For this first piece you are going to just sewing the quilting lines on top of the fabric. I just sewed straight lines about ½” apart. You can also use decorative stitches or free form quilting stitches if you want.
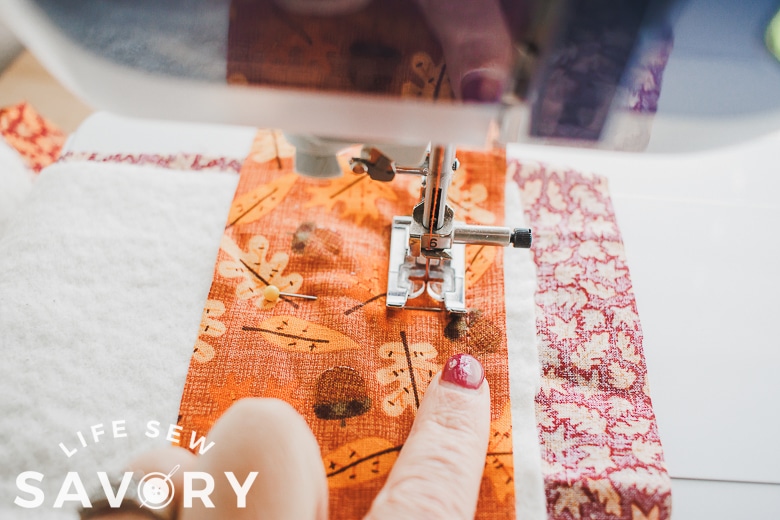
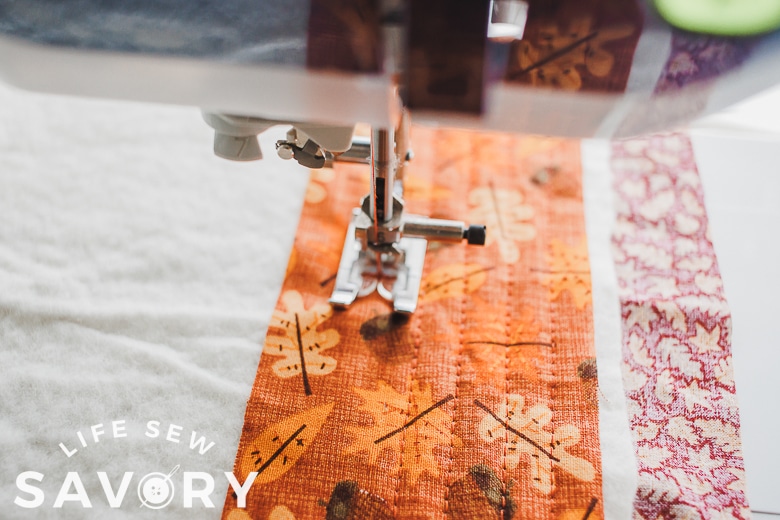
When you finish stitching on the first piece of fabric, you should have stitches on the front and back side that you can see.
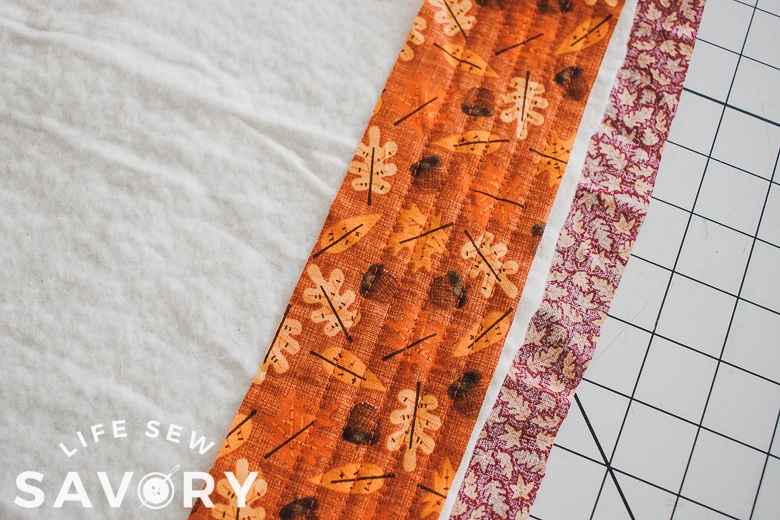
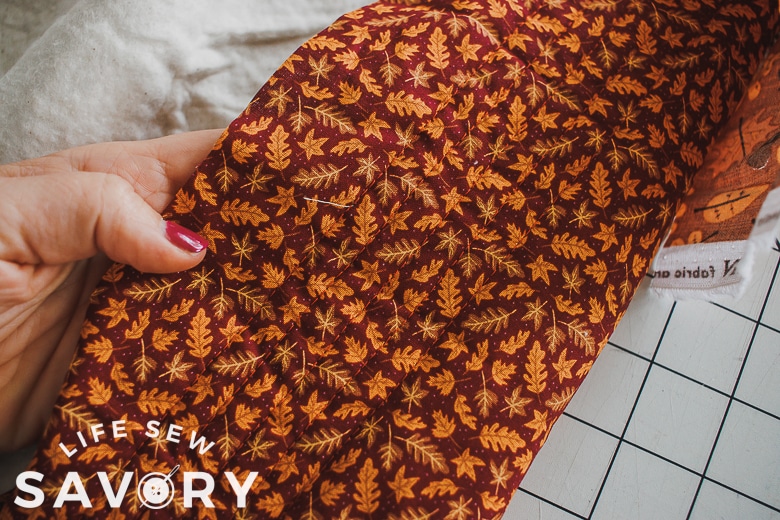
Now its time to add the next piece of fabric. Line up the raw edges of the first and second pieces and pin in place. The fabric should be right sides together. Sew along the lined up edges with a ¼” seam allowance.
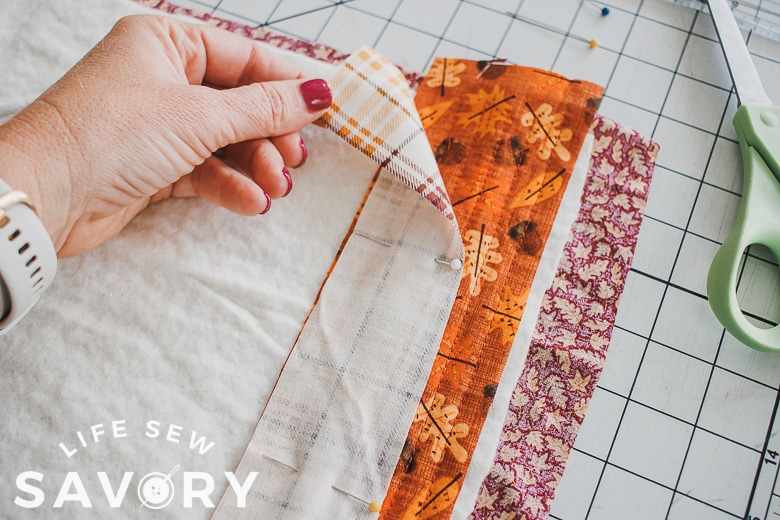
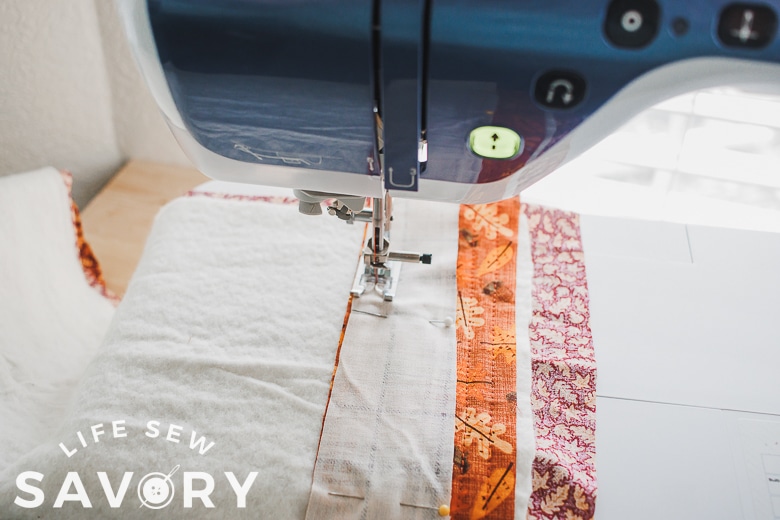
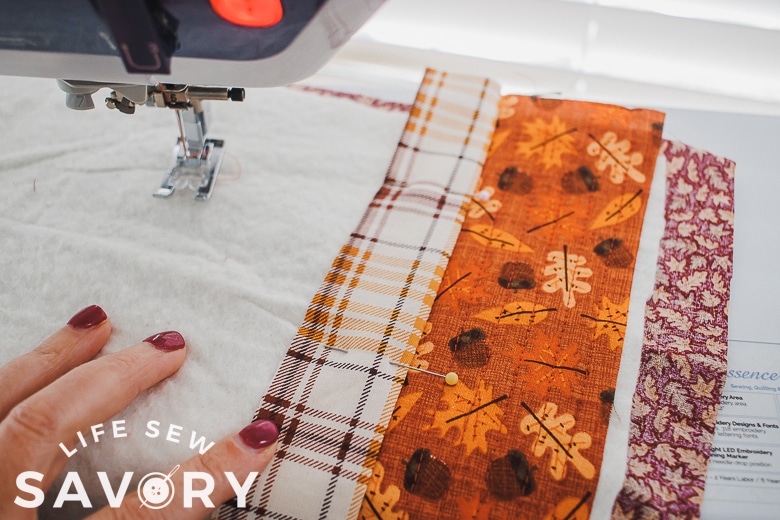
After you sew the second piece in place, open it up and press flat. Pin in place. Sew on the fabric in whatever stitching you choose. Continue in this way until you have the runner/mat the size you want it.
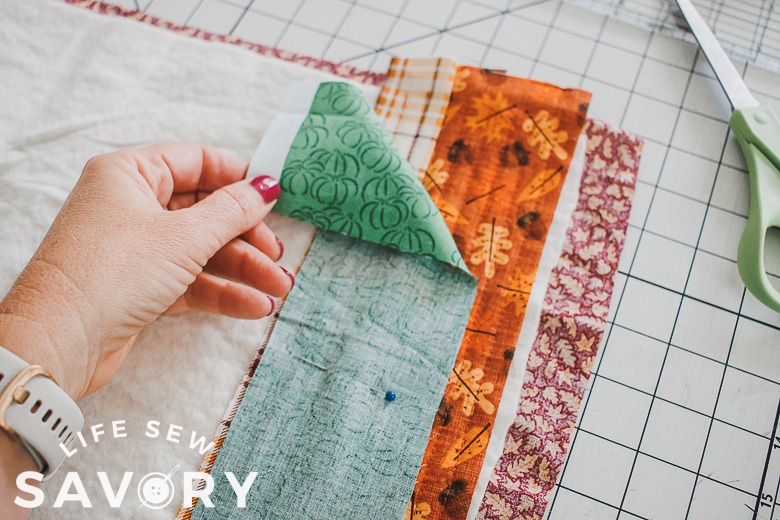
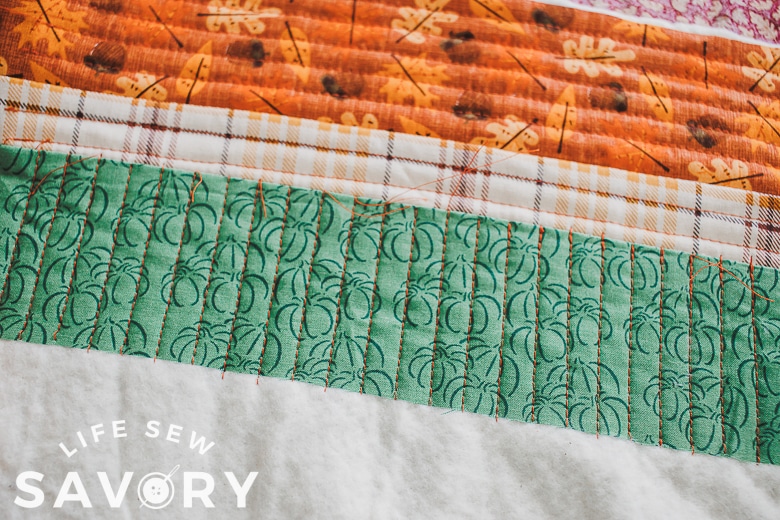
I did some up and down stitching and a couple of pieces I sewed from side to side.
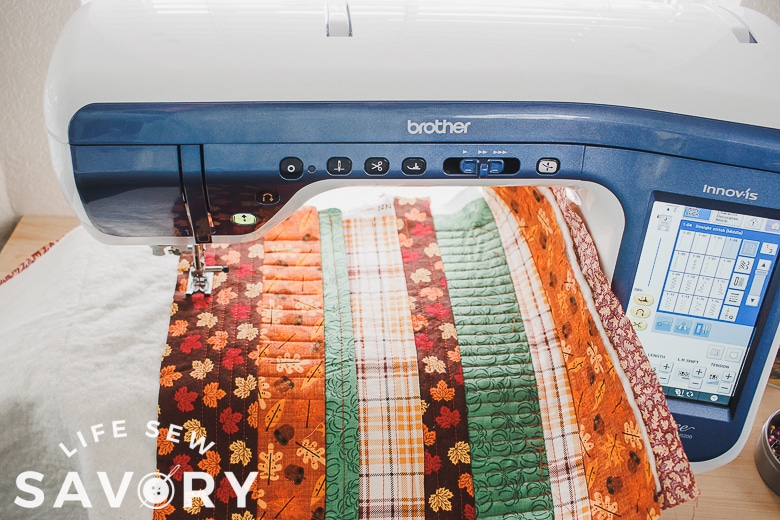
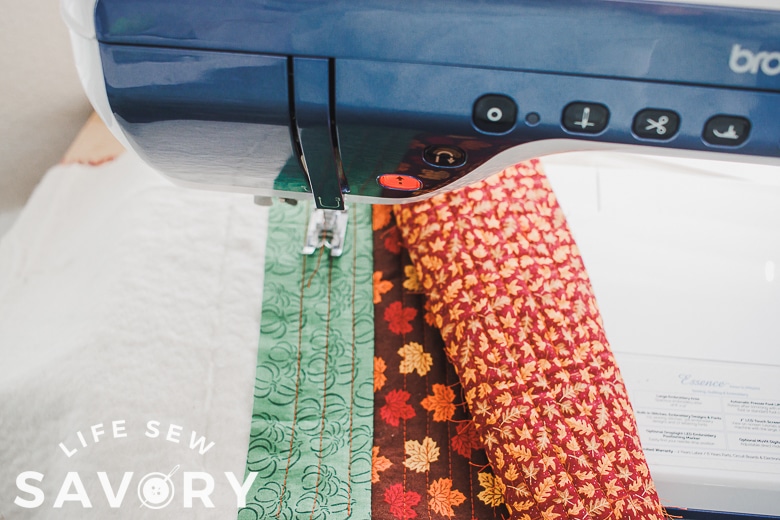
When you sew the side to side like this make sure to use a locking stitch and not a backstitch at the beginning of each line so it doesn’t show the stitching as much. You can see the difference here and this is a great place to use the locking stitch.
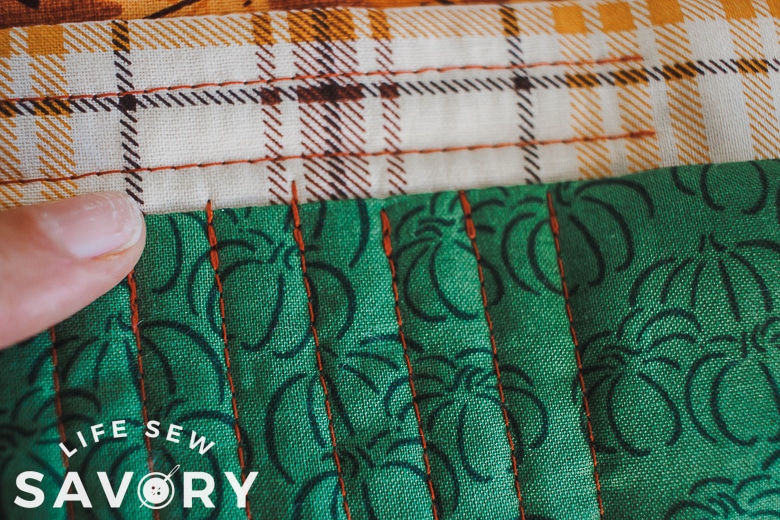
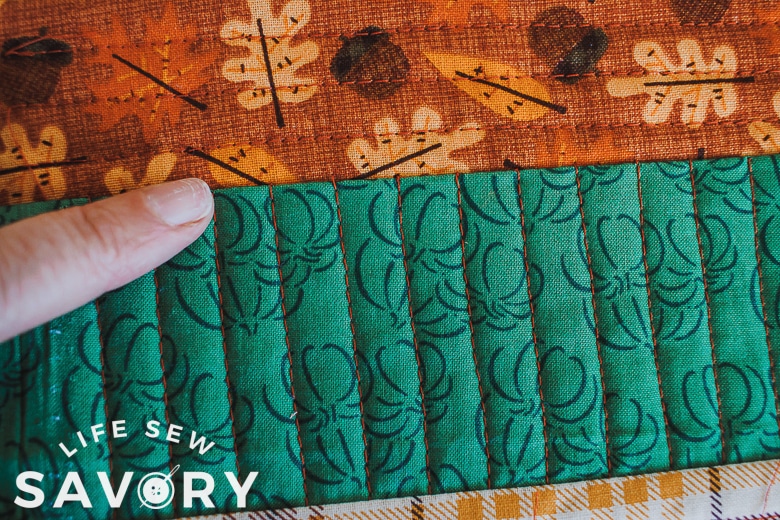
When your piece is the size you want it to be, it’s time to move onto the next step in the process. Clip all the thread tails on both sides of the runner.
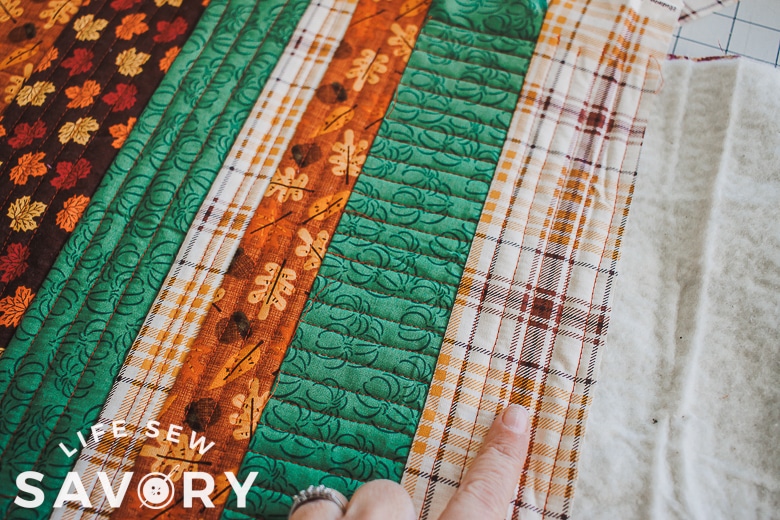
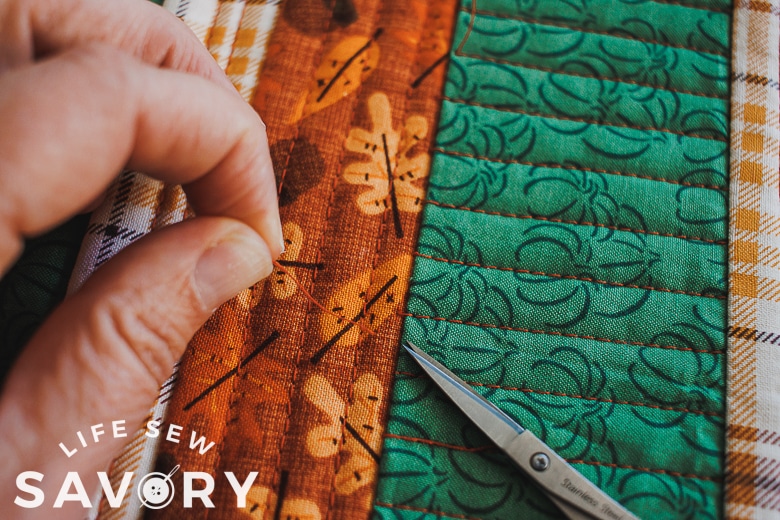
Quilt as you go runner tutorial
Trim the edges of the runner to be the correct size and square up the rectangle so that you are ready to finish the edge.
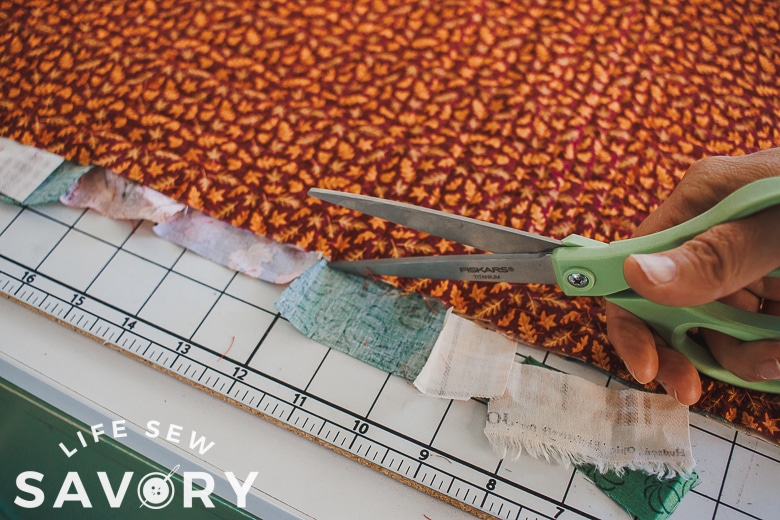
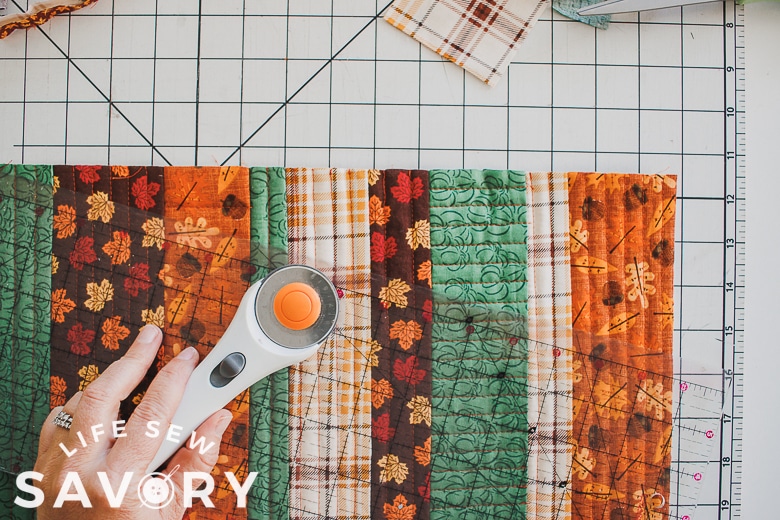
You can edge the runner with bias tape or more of the same fabric you used in the project. I loved the green pumpkins so I’m using that fabric for my edge. Cut the binding fabric 2” wide.
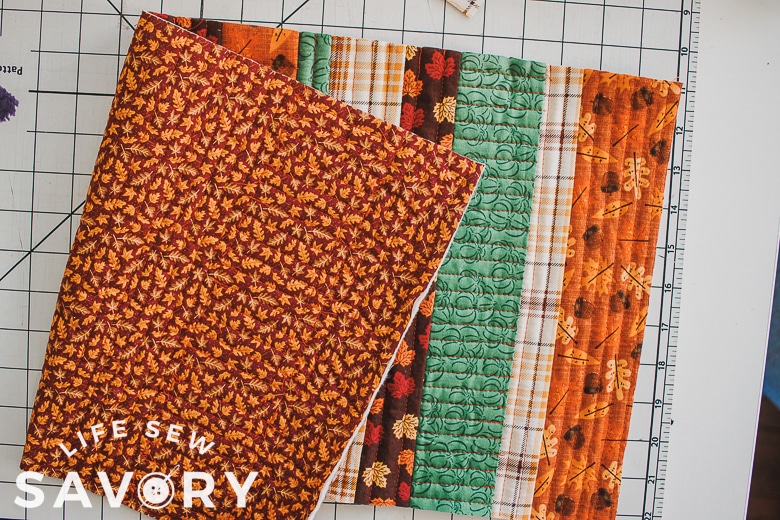
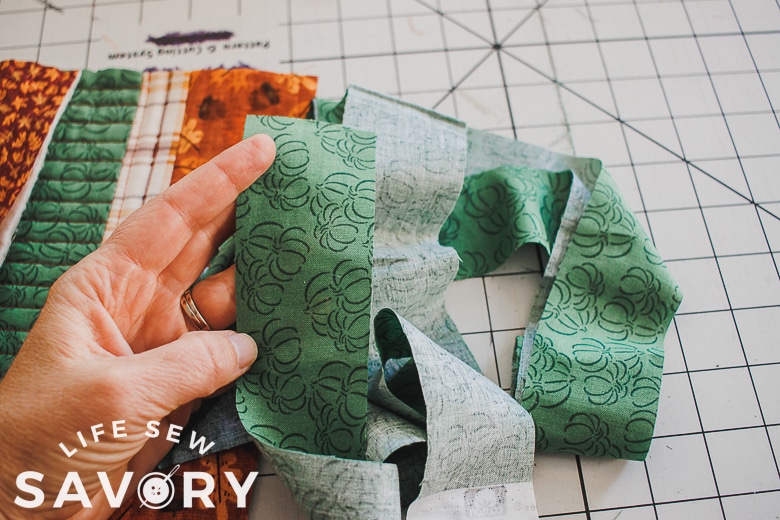
If the binding fabric isn’t long enough for the how perimeter, sew the shorter pieces together at 90 degree angles with the fabric right side together. Trim the seam allowance and you are ready to go.
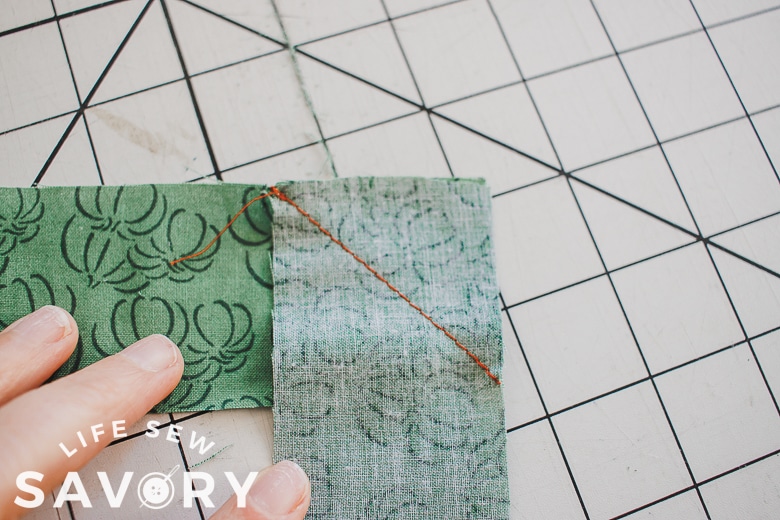
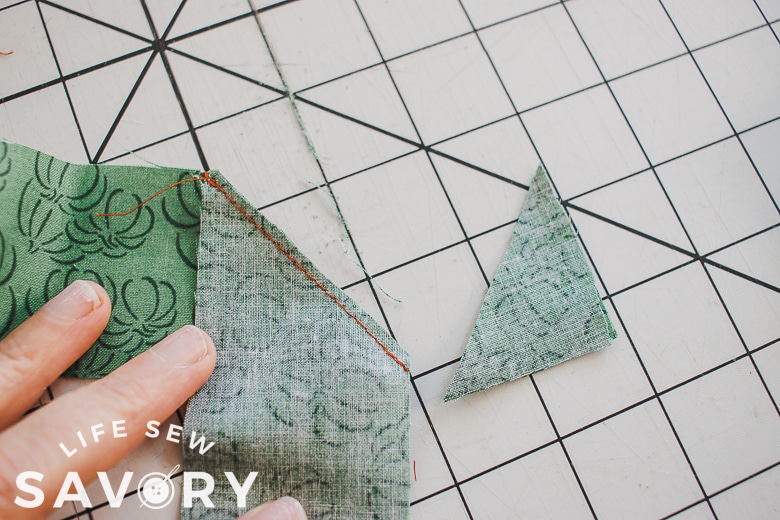
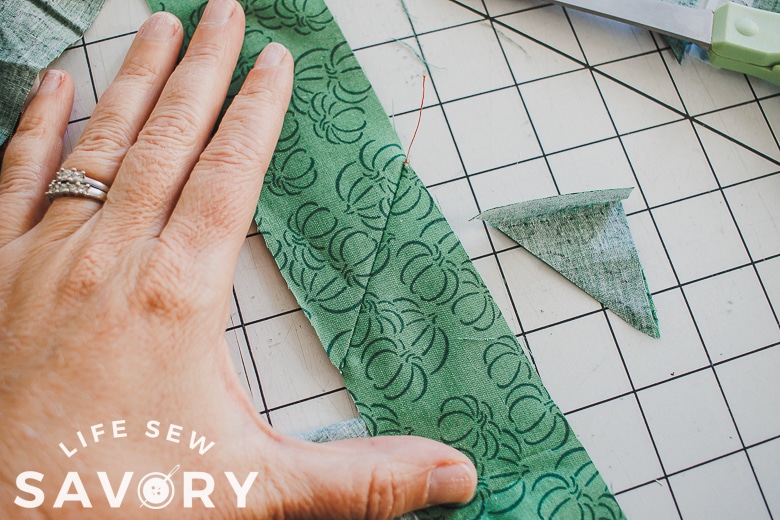
Leave about 6” of binding loose and then lay it on the side of the runner. Line up one side of the binding with the runner’s raw edges. Sew with a ⅜” {approx} seam allowance all the way around the runner. I folded the fabric and pivoted at the corners.
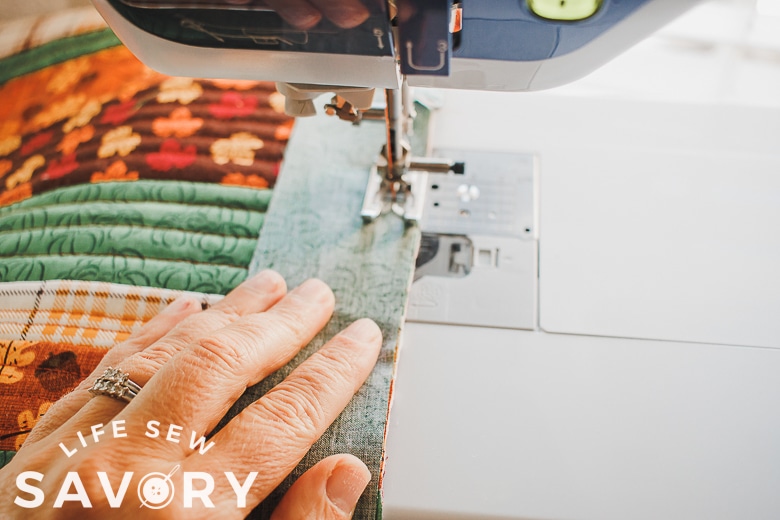
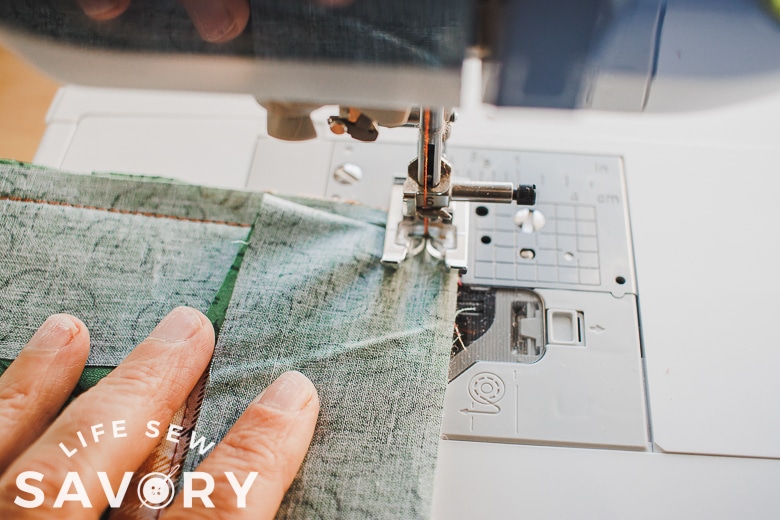
Don’t sew all the way back around where you started. Stop sewing when you have about 6” left to sew of the binding and make sure you have extra binding on this side as well.
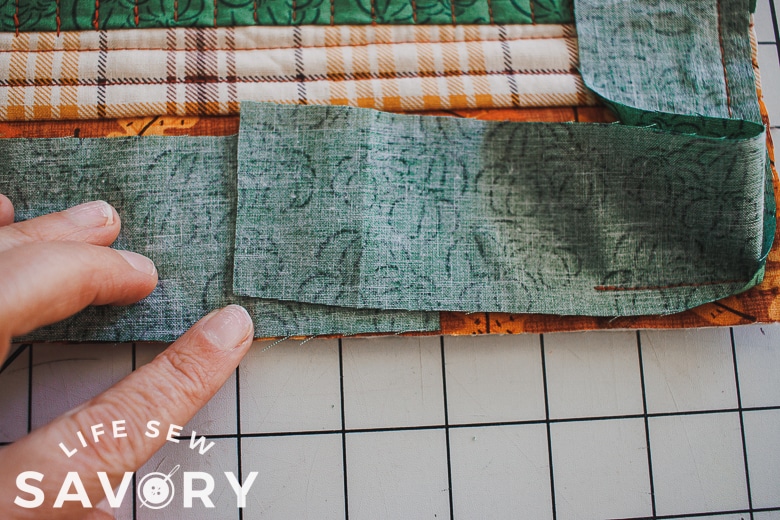
Overlap the binding edges by 2” {the same as the width of the binding} and trim any extra fabric that extends past this point.
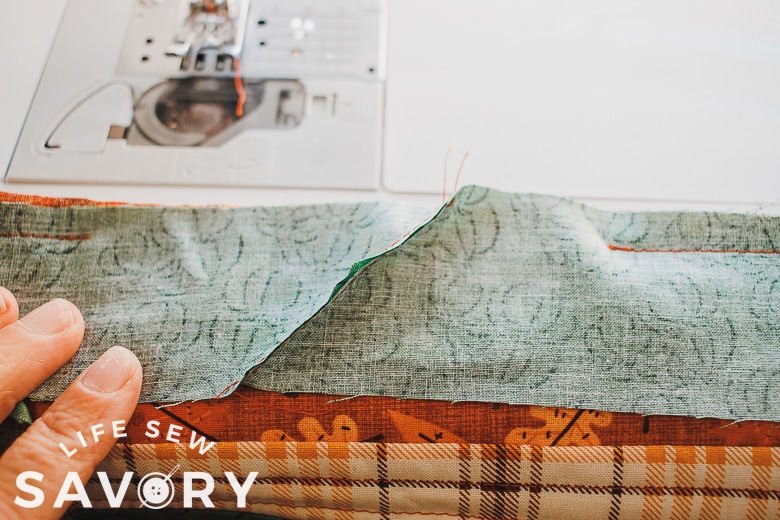
Turn the ends perpendicular and sew at an angle across the corners. Trim the seam allowance.
When you open up the binding it should now have a bulk free connection for the ends. This will allow your fabric to lay nicely all the way around the runner.
Sew the binding opening, attaching the fabric all the way around the mat.
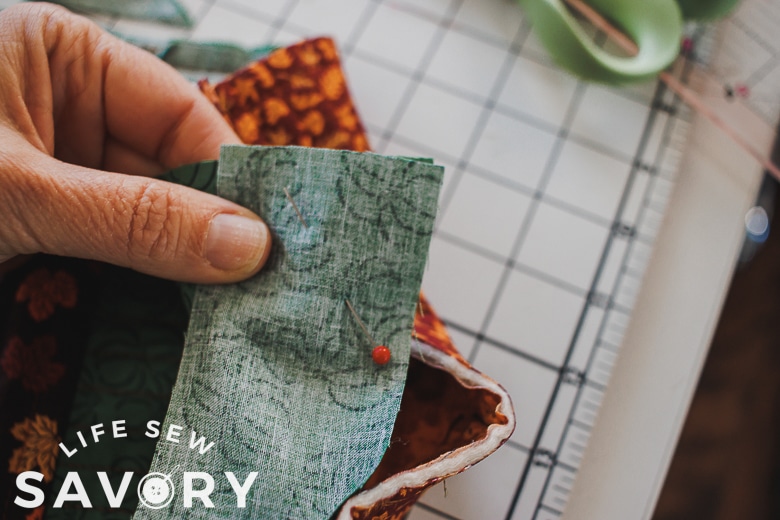
We will use a double fold to finish the binding. Fold the raw edge into the runner edge, then over again to complete the binding. Pin or clip securely in place all the way around the mat.
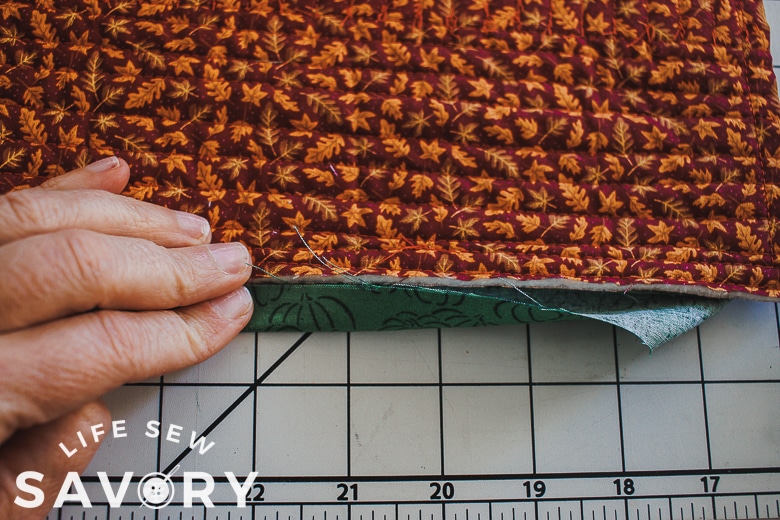
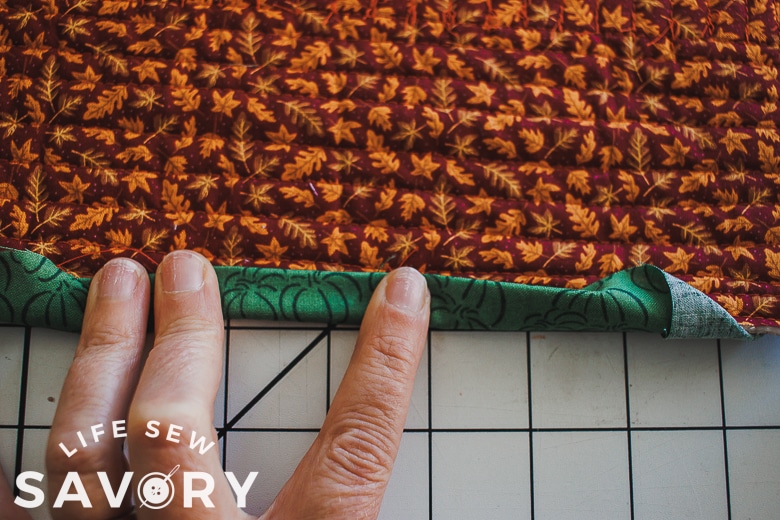
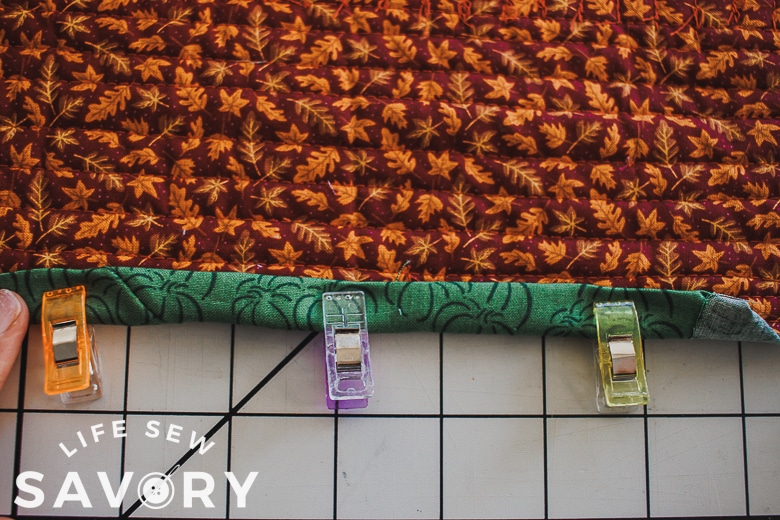
When you have folded and secured all the way around, it’s time to sew. Place the runner right side up on your machine.
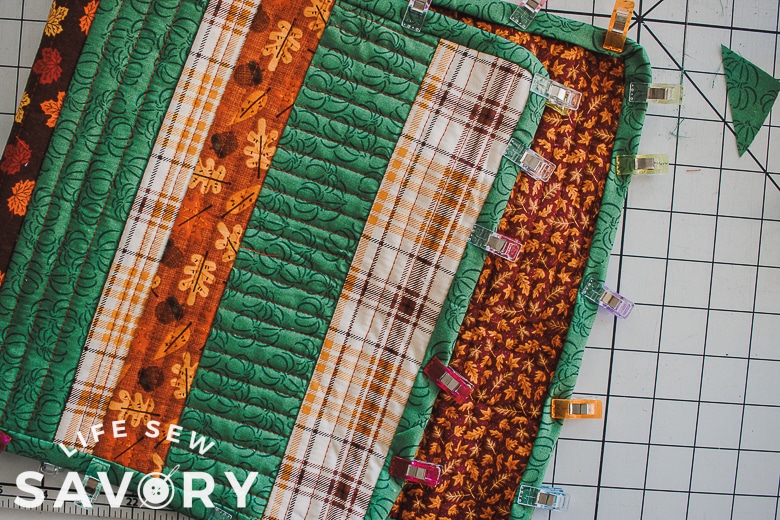
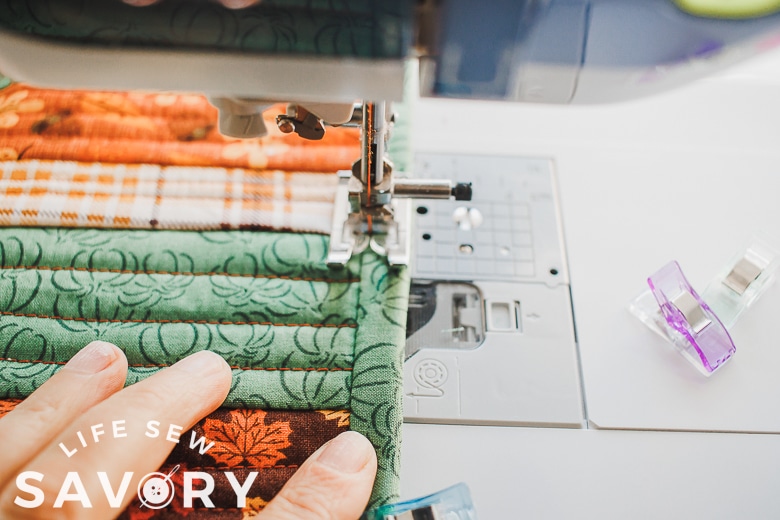
Sew on the binding, very close to the edge and shown here. Check that this stitch location is also catching the back of the binding as well. It was just right on my binding, so yours should be similar. The second photo shows how it looks on the back of the runner.
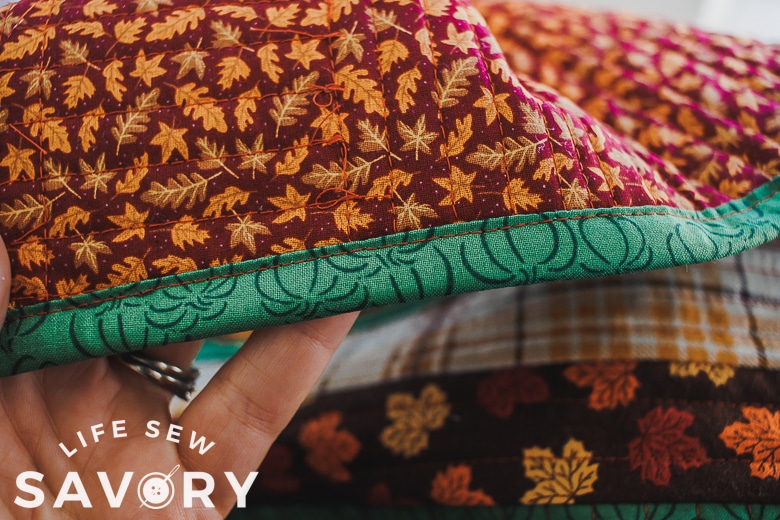
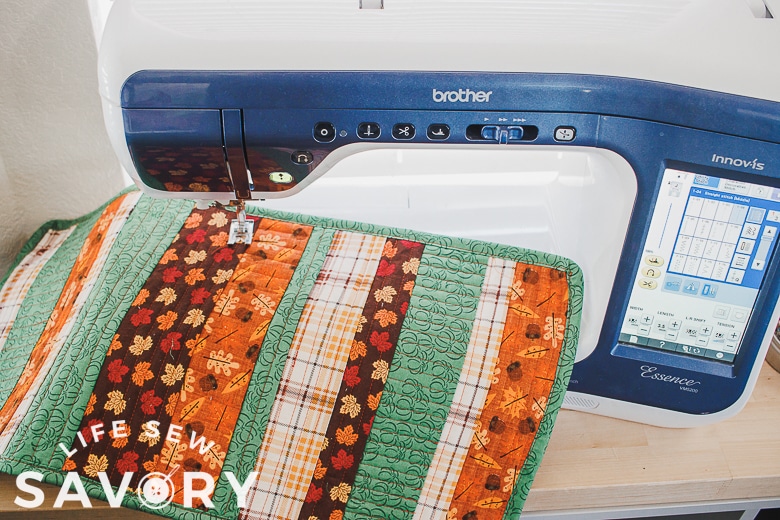
When you finish stitching the binding in place your gorgeous fall runner is complete!! Choose some fun decor to go with it, or make one long enough for your dining table. I just love my new fall mat and I’m adding it to our fall home decor.





Debby Keathley says
I never thought to sew it together like that! Thank you for the easy tutorial. Can’t wait to gather up some fall fabrics and put it all together. 👍🏼