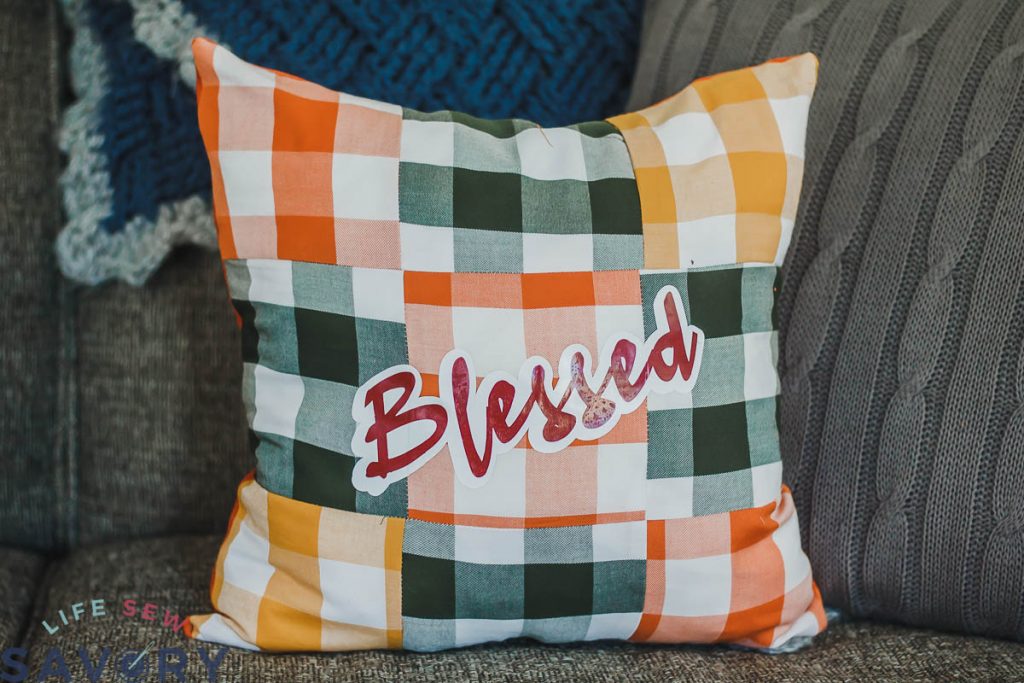
inside: Sew a quilted nine patch fall pillow with this tutorial. Decorative throw pillows are easy to sew with these tips and details. Create home decor with these beautiful fall pillows and easy sewing tutorial.
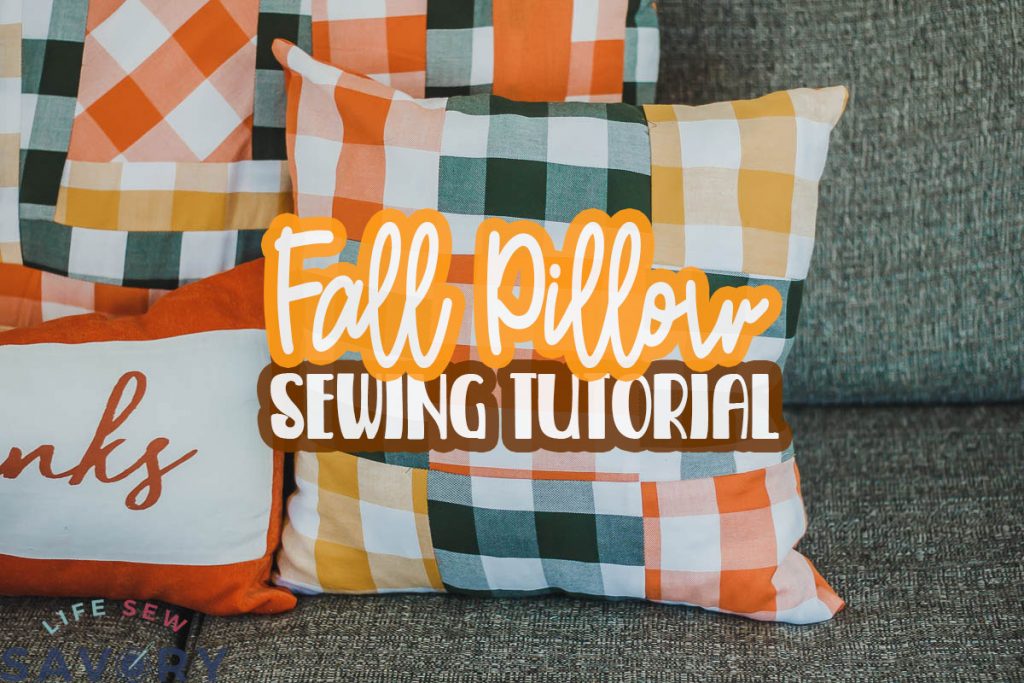
You can never have too many zip pouches OR throw pillows… This is what i tell myself as I’m sewing new pillows once again. {haha} I saw this fabric on sale and couldn’t help myself. I love using the coordinating fabrics in different colors for fall home decor projects. I’m already thinking of what I can use the scraps for for another fall themed project.
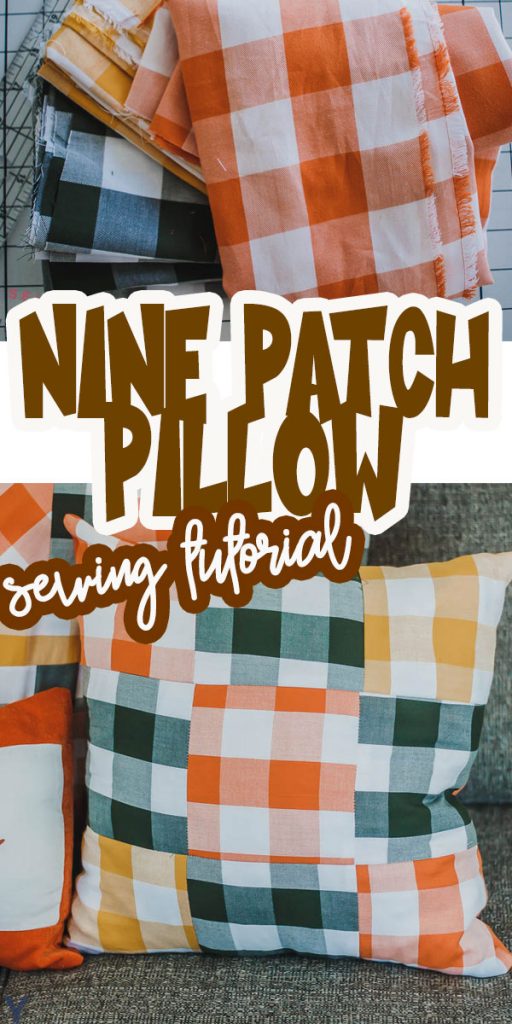
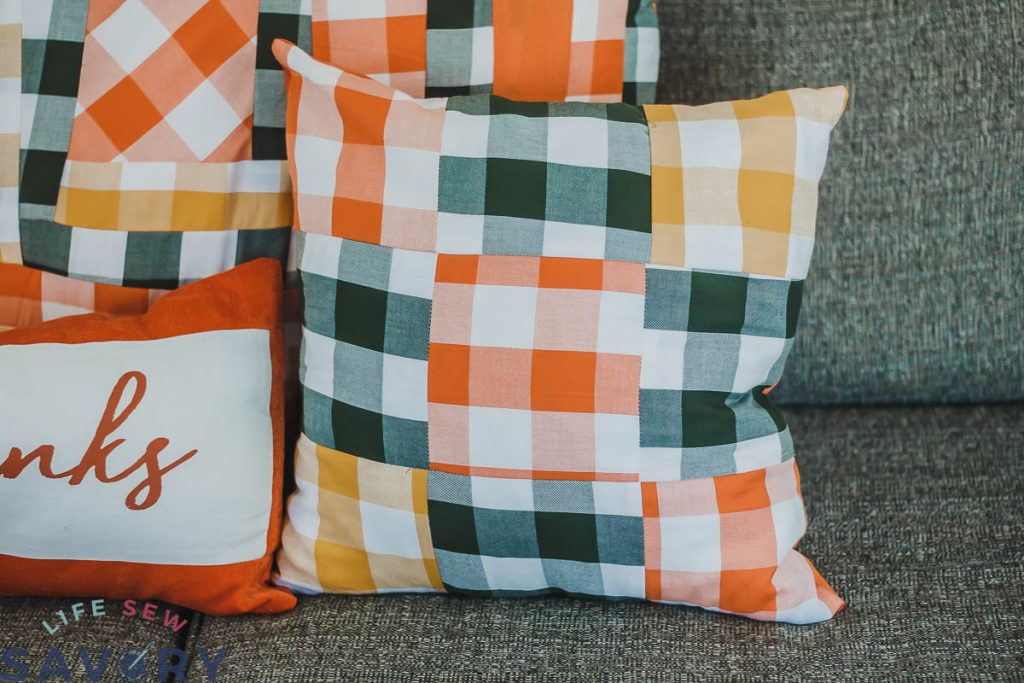
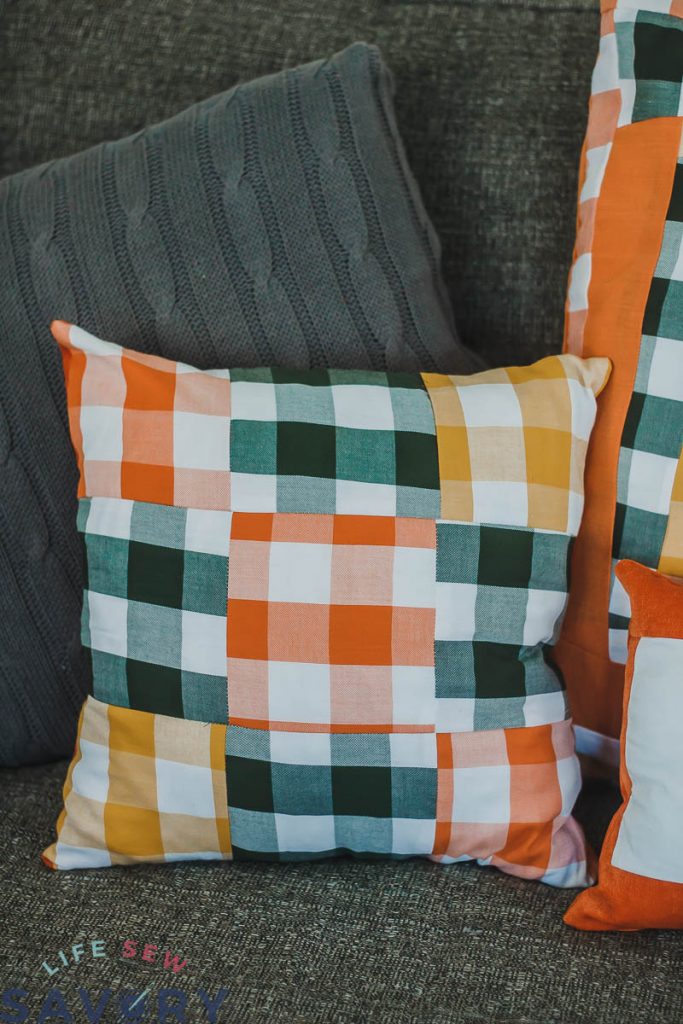
quilted nine patch fall pillow
You can see briefly how I put all this together in the video but I also took a bunch of photos while I was sewing this fun pillow. If you are looking to try a very basic quilting technique, a nine patch pillow {or quilt} is a great place to start.
Other fun throw pillows to sew
- a year of pillows {seasonal decor}
- Embroidered Christmas Pillows
- Best Throw Pillows
- Christmas Pillows
- Paper Pieced Pillow with Free Pattern
How to sew a fall throw pillow –
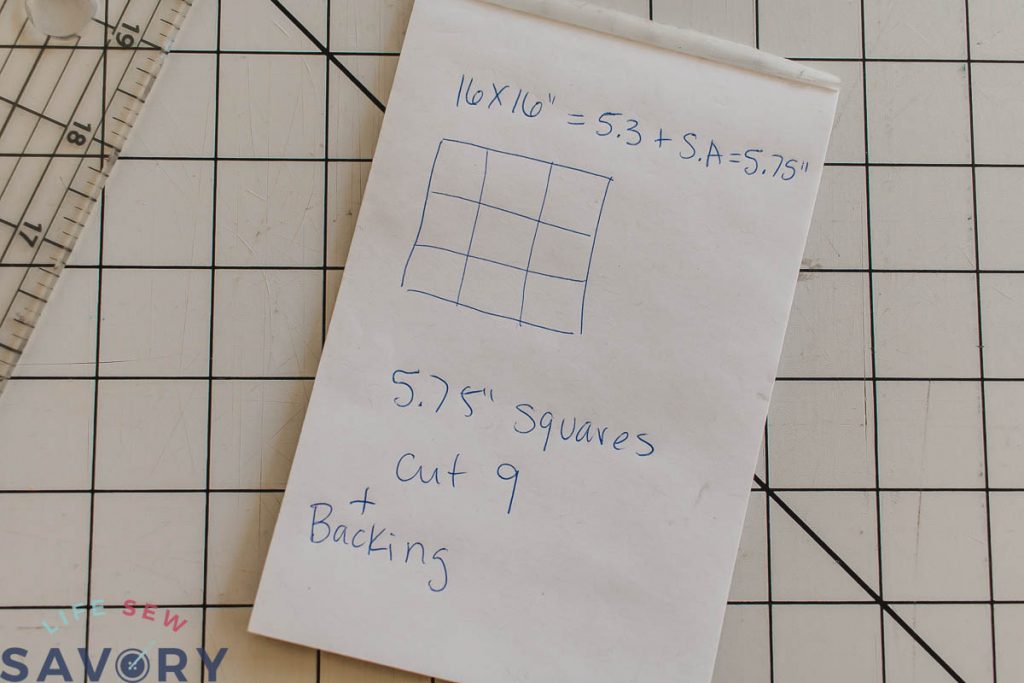
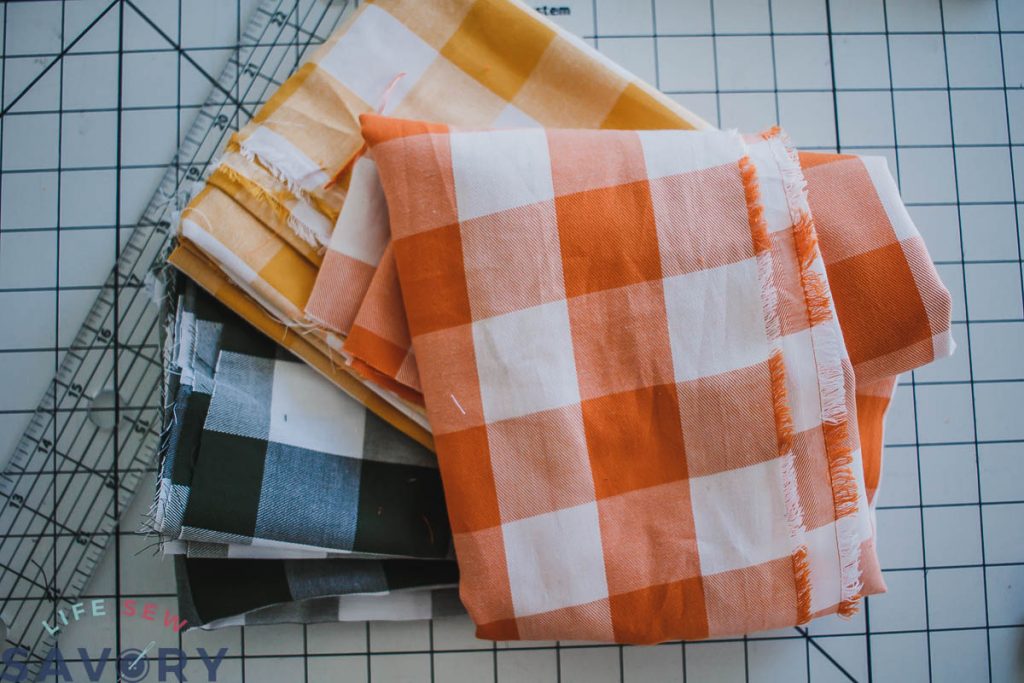
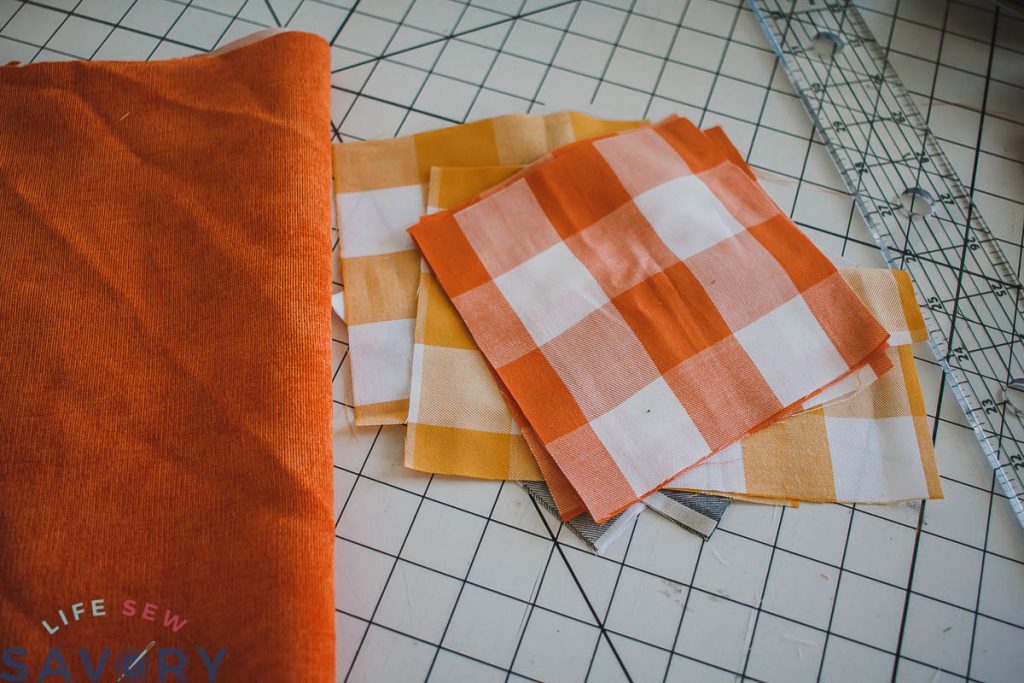
This project is quite simple to sew. You will need fabric in a few colors {1/4 yard cuts will do} and a pillow form… that’s it! Now if you are using a 16″ pillow form like I did and linked here in the supplies you can use my math.
If you have a different size pillow you will have to divide the size by three, then make sure you add seam allowance. For the 16″ pillow you can cut nine squares that are all 5.75″. You will also need fabric for the backing and I will discuss a few back options.
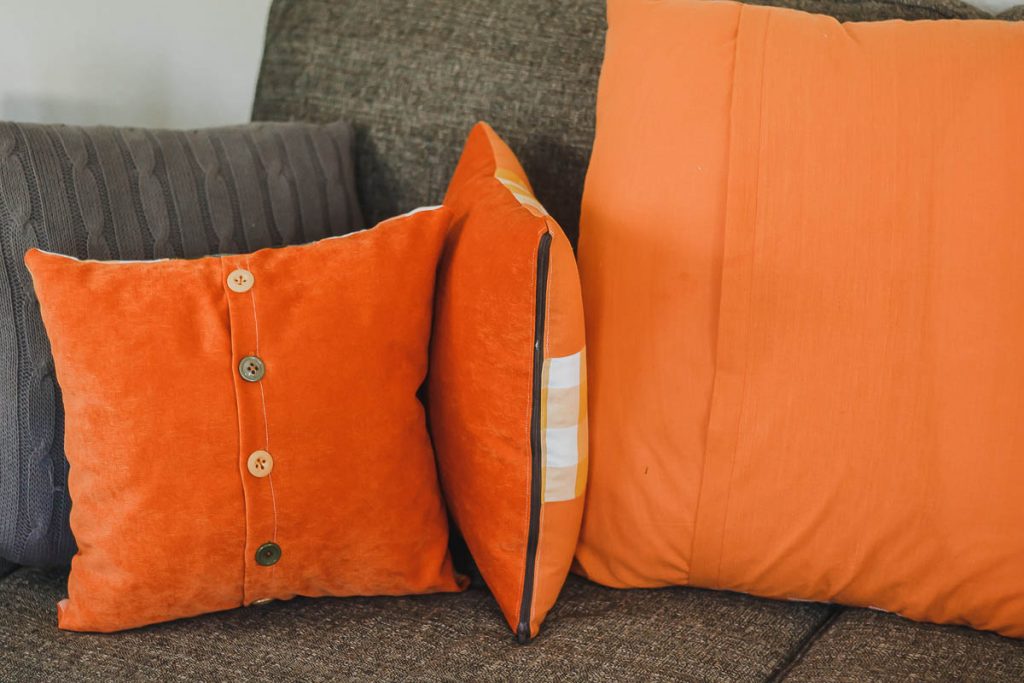
Before we go further, you should decide what kind of back you will sew.
The full tutorials for each of these backs are found by clicking each link. Here are the various styles. The Zipper Style needs a 16″ x 16″ piece of fabric and the other two styles require just a bit more fabric.. Maybe two 16 x 12″ pieces {approx} This tutorial will only cover the front, although the video shows the backing as well.
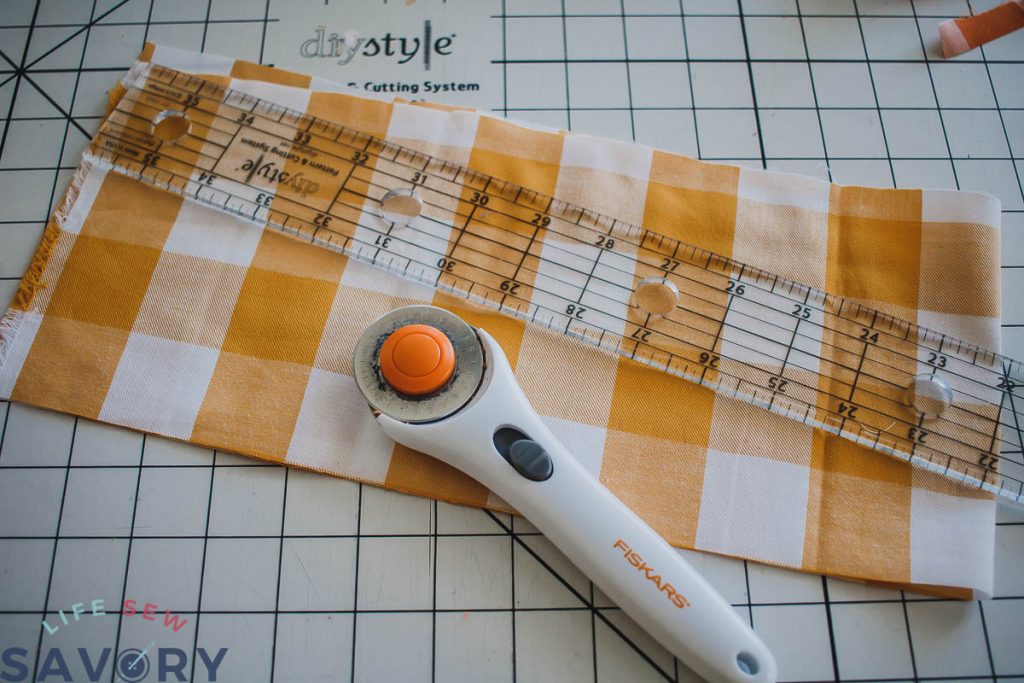
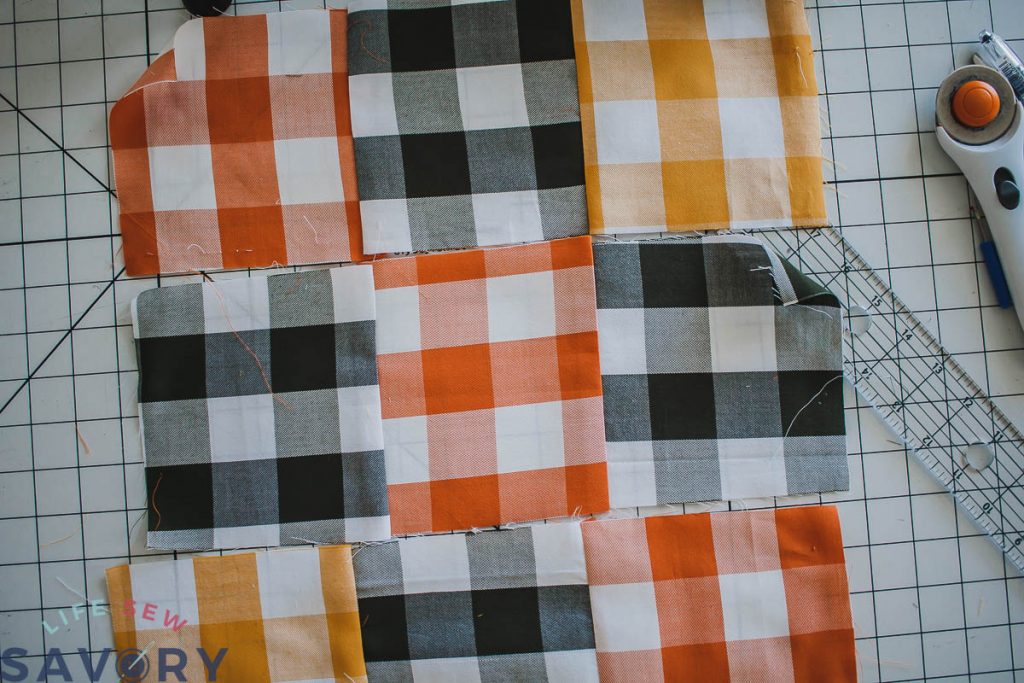
Use a ruler to cut 9 square pieces of fabric for the front. You may want to think through your design before you begin cutting each color.
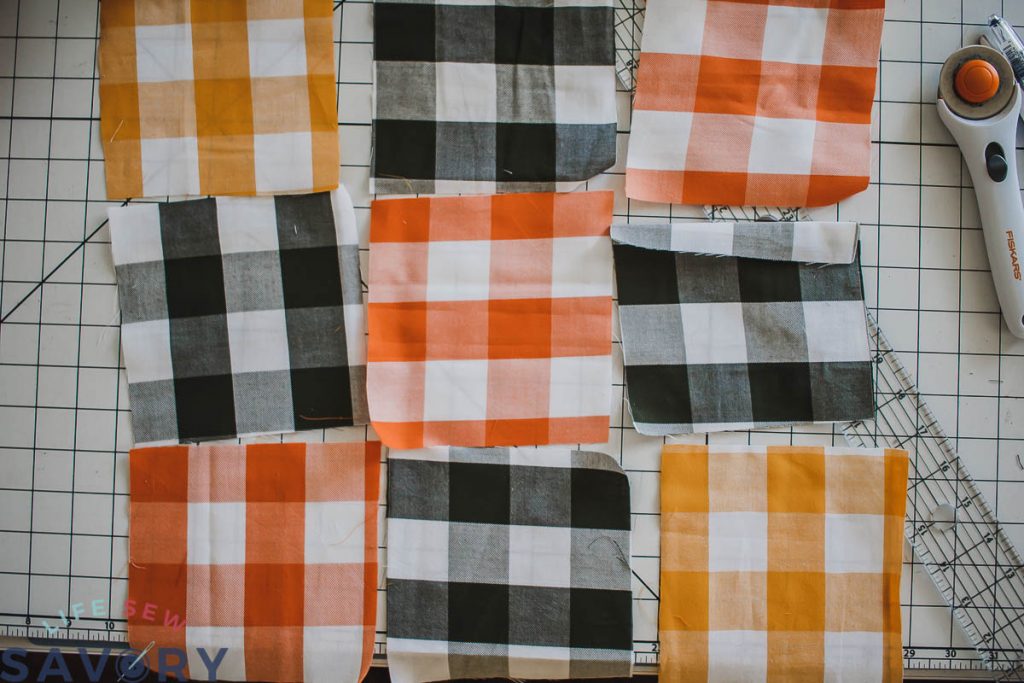
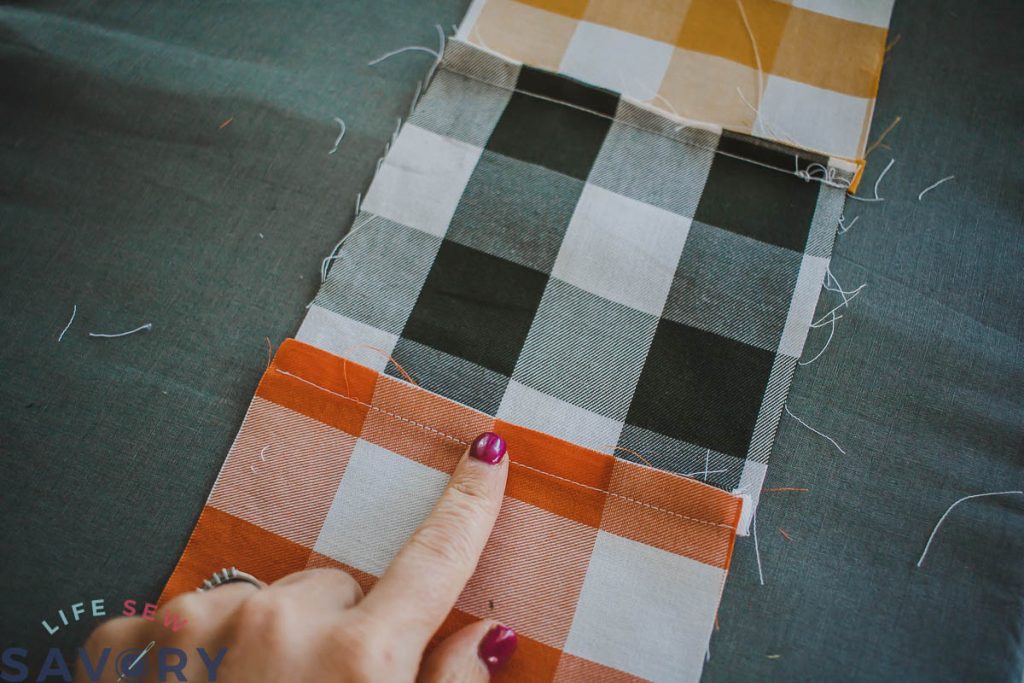
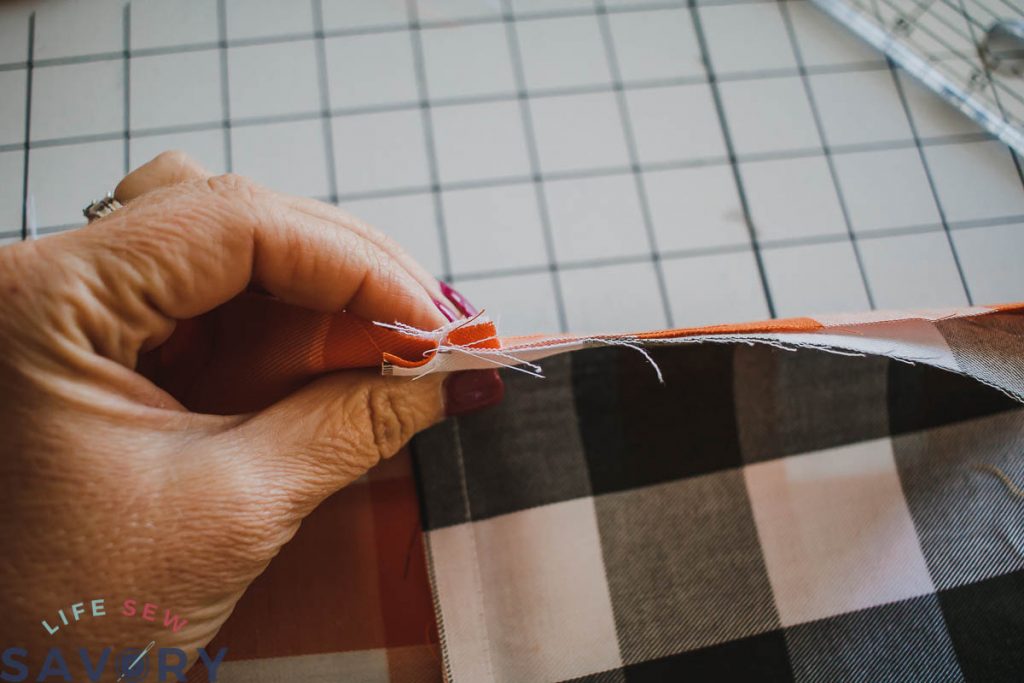
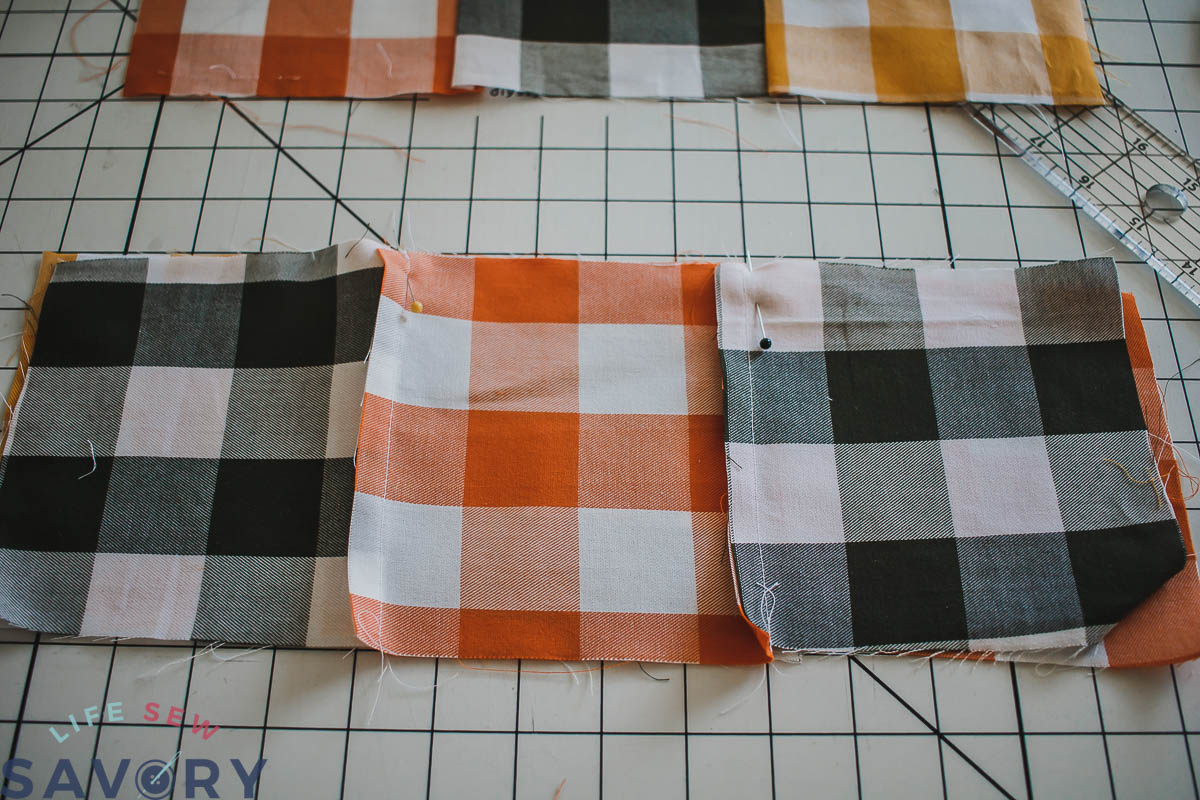
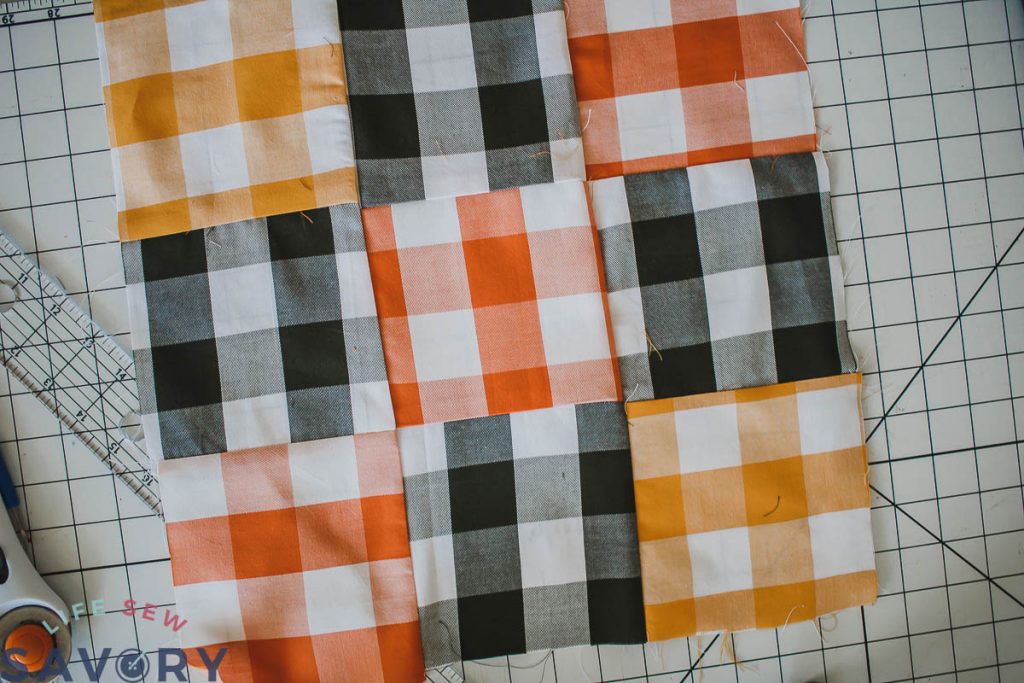
Arrange the nine squares in the pattern you design. Sew each row of three together using a 1/4″ seam allowance. Lay out the rows to check the design.
Sew the rows together making sure you match the the seams as best you can. Those of you who are quilters will have perfectly matched corners.. I was just pleased that I got some matching lines.
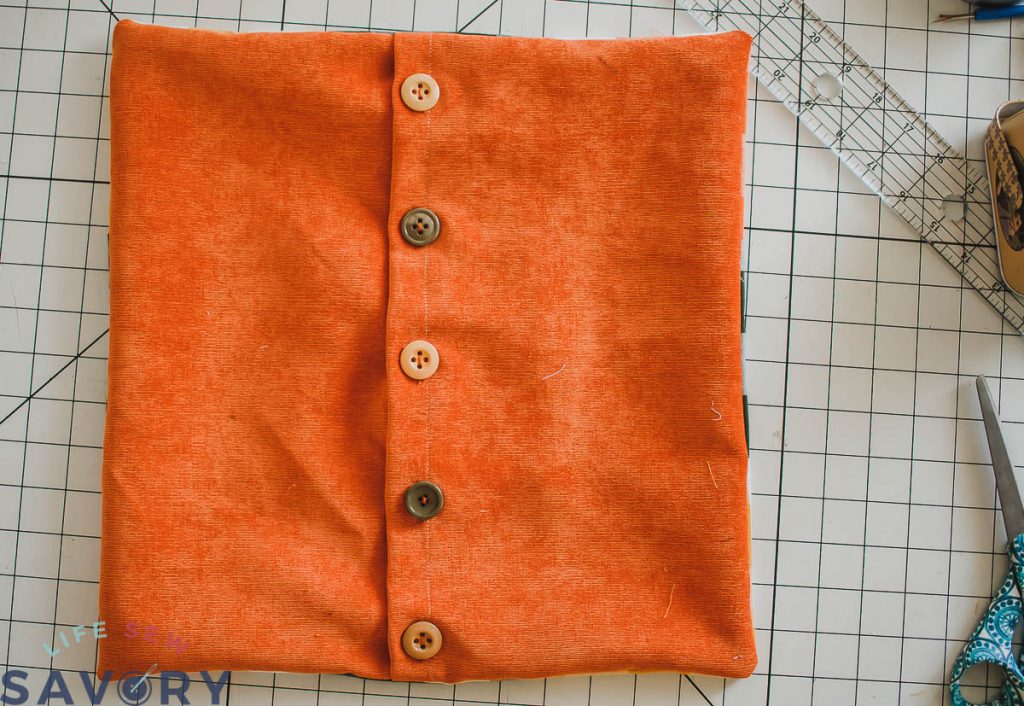
Here is my button back for this fall pillow. I love the colorful fall buttons down the back. You can see a bit more detail about this type of back in the post video and video clips below.
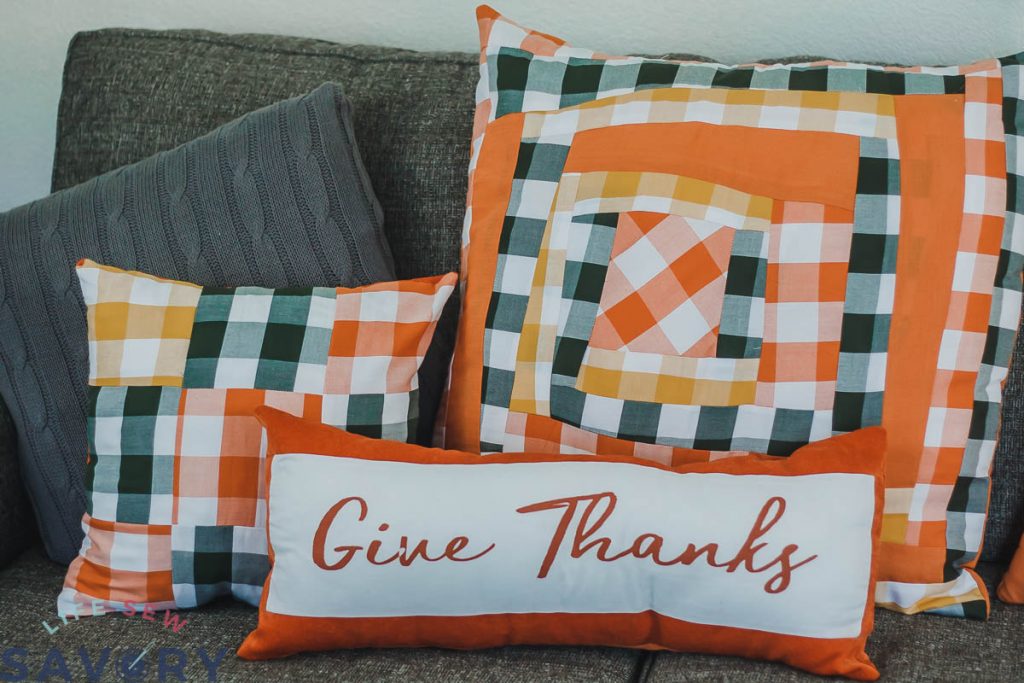
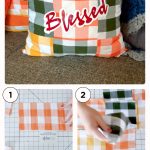
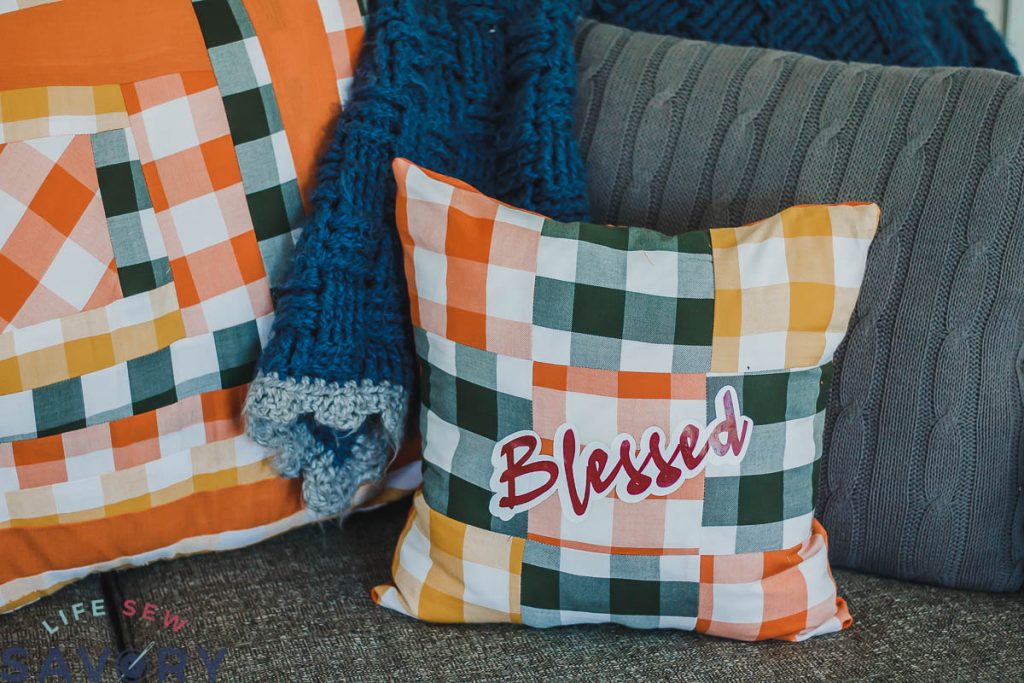
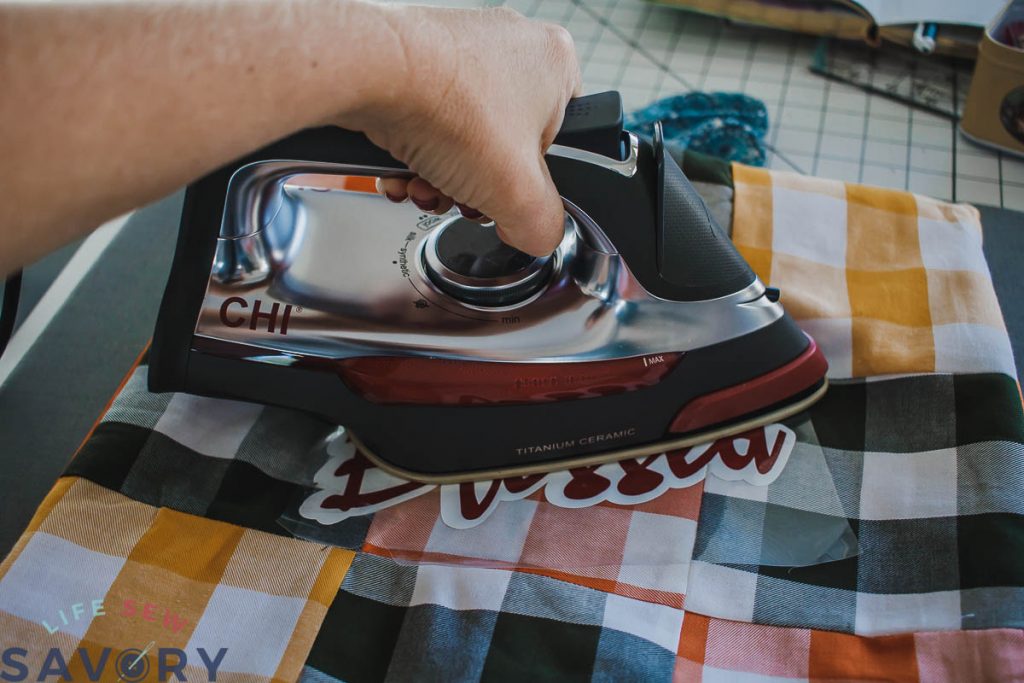
You can also add vinyl letters to your pillow front for another fun design option.





Leave a Reply