inside: Learn how to sew a loose fit raglan sweatshirt with this sewing hack. Use my free raglan shirt pattern to create this cozy raglan sweatshirt with a loose fit.
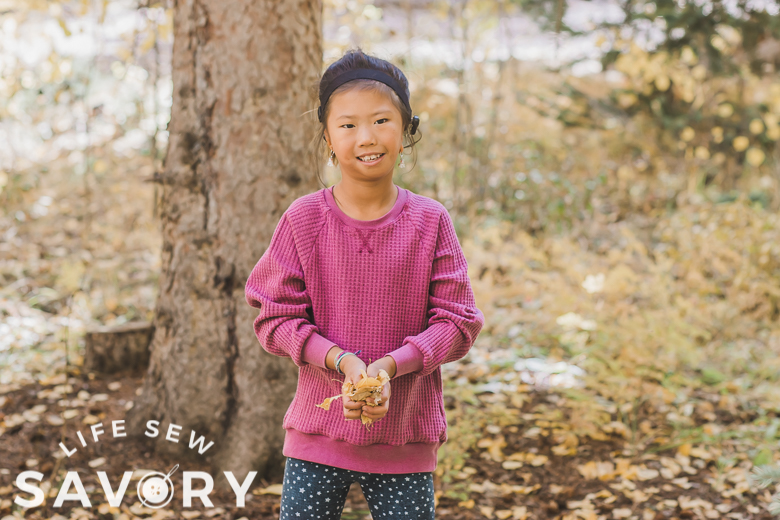
A few weeks ago I shared a Womens Raglan Sweatshirt. I’ve been loving it as the weather gets cooler and and so I decided to try and create the same look for my daughter with the already existing kids raglan shirt free pattern. I was able to use the kids raglan to create this raglan sweatshirt sewing hack and tutorial and today I’m going to show you how to do it!
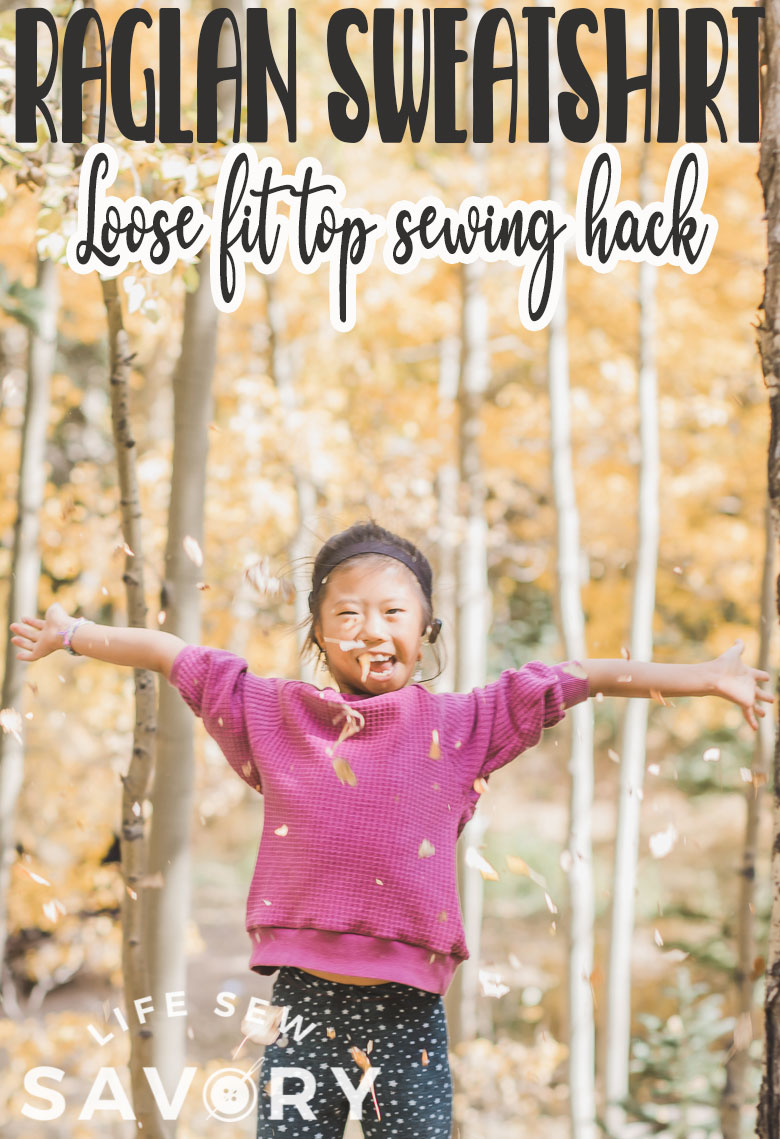
Raglan Sweatshirt Sewing Hack
I’m so excited to share this small hack with you today. It’s a really small change to the pattern, but has a great new look when finished. This sweatshirt sewing hack creates a loose fitting top {more loose than the original} and has dropped under arms to create this looser fit look.
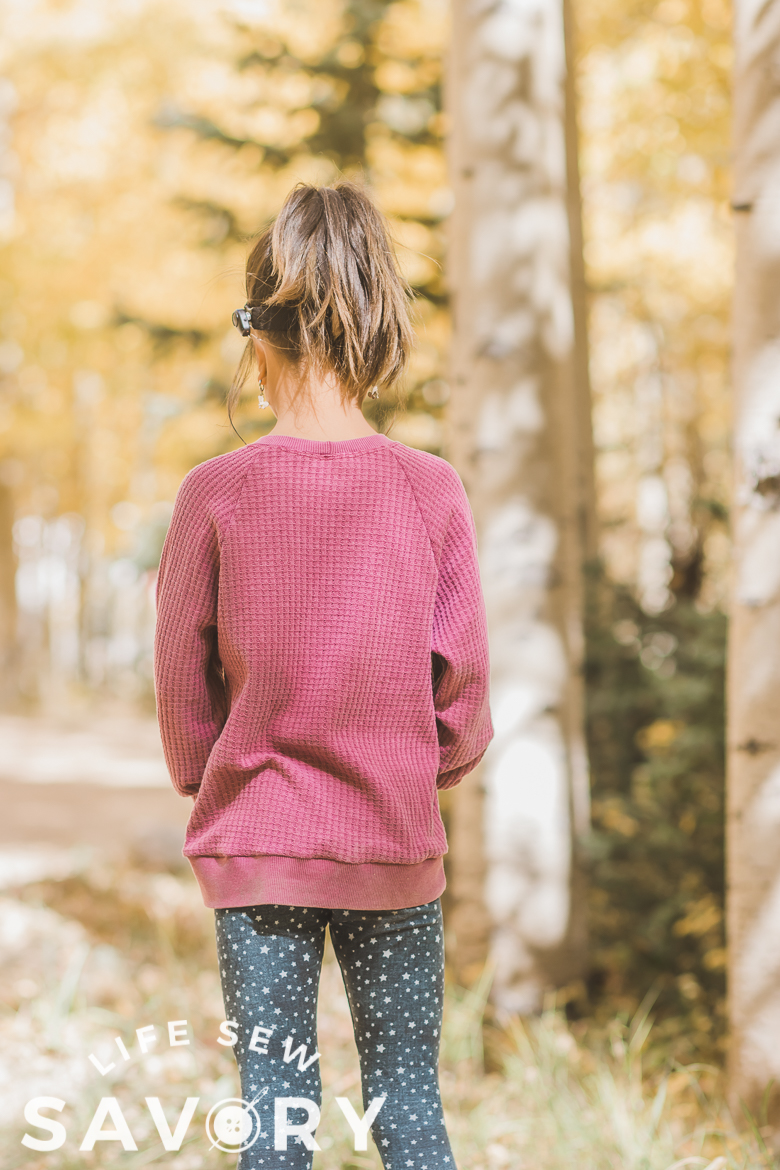
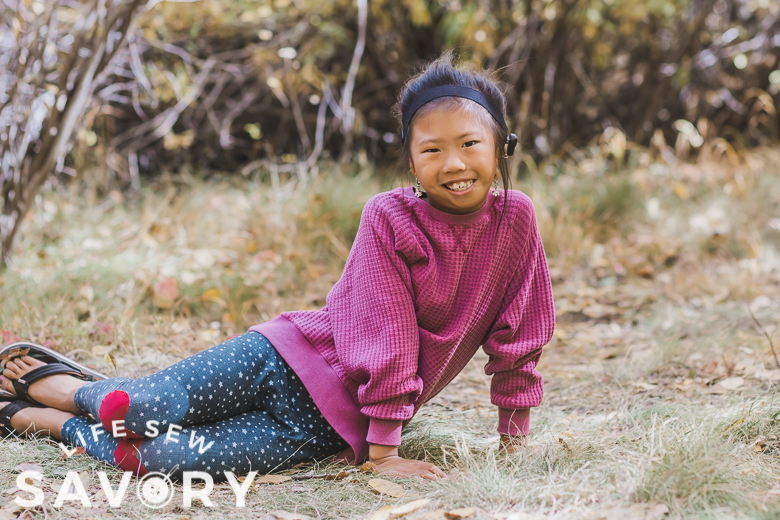
If you head over to the original raglan top post you will see this unisex shirt is much more fitted. It’s not a tight fit to start with, but this hack does create a much looser fit if you compare the photos. I made two versions for Rose and we love both of them.
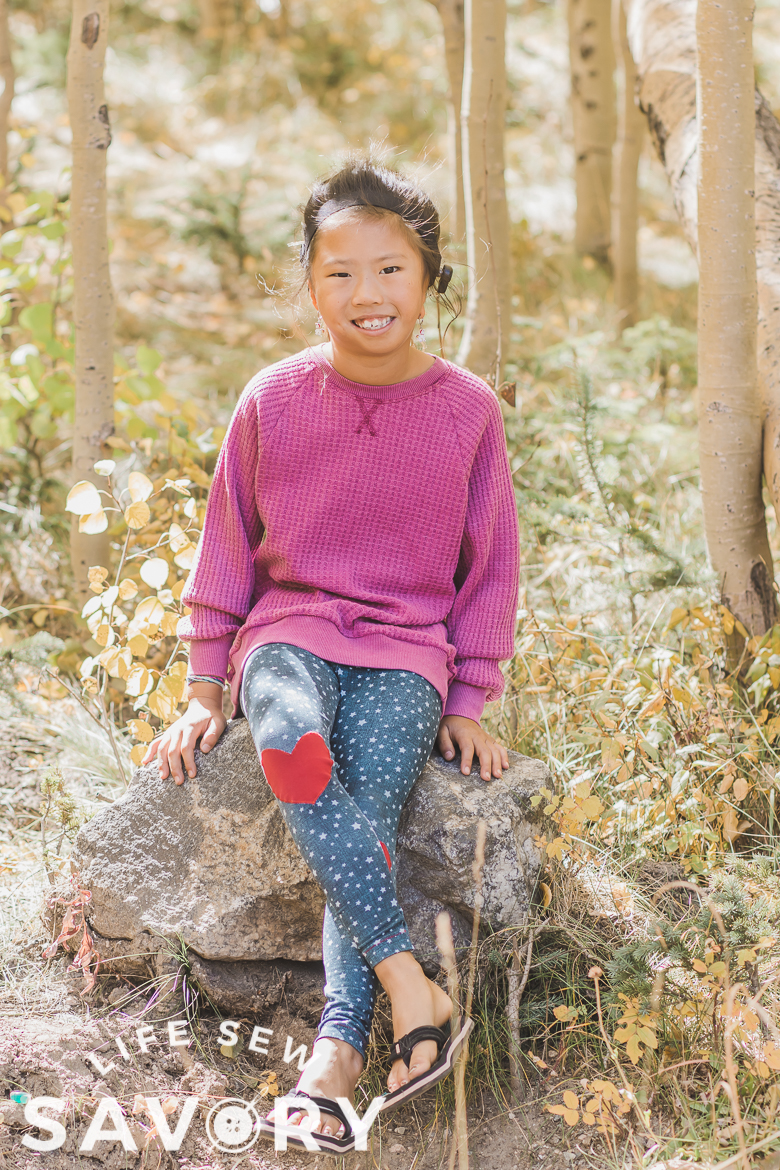
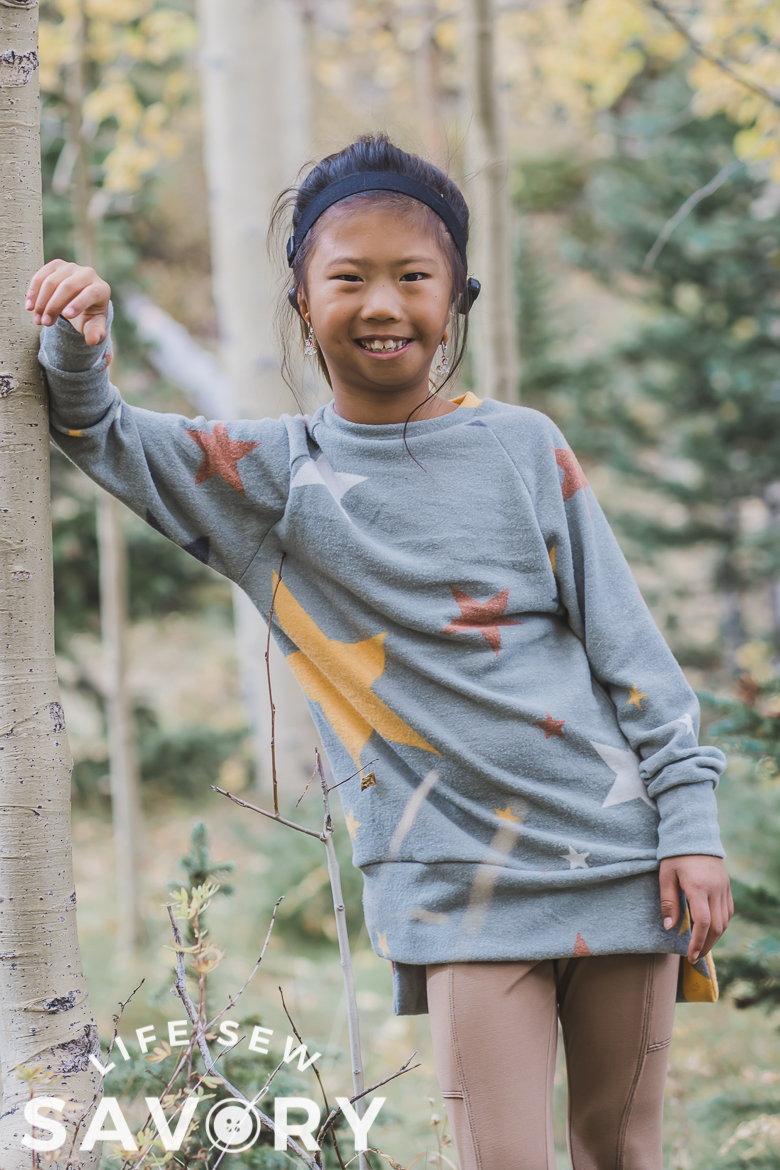
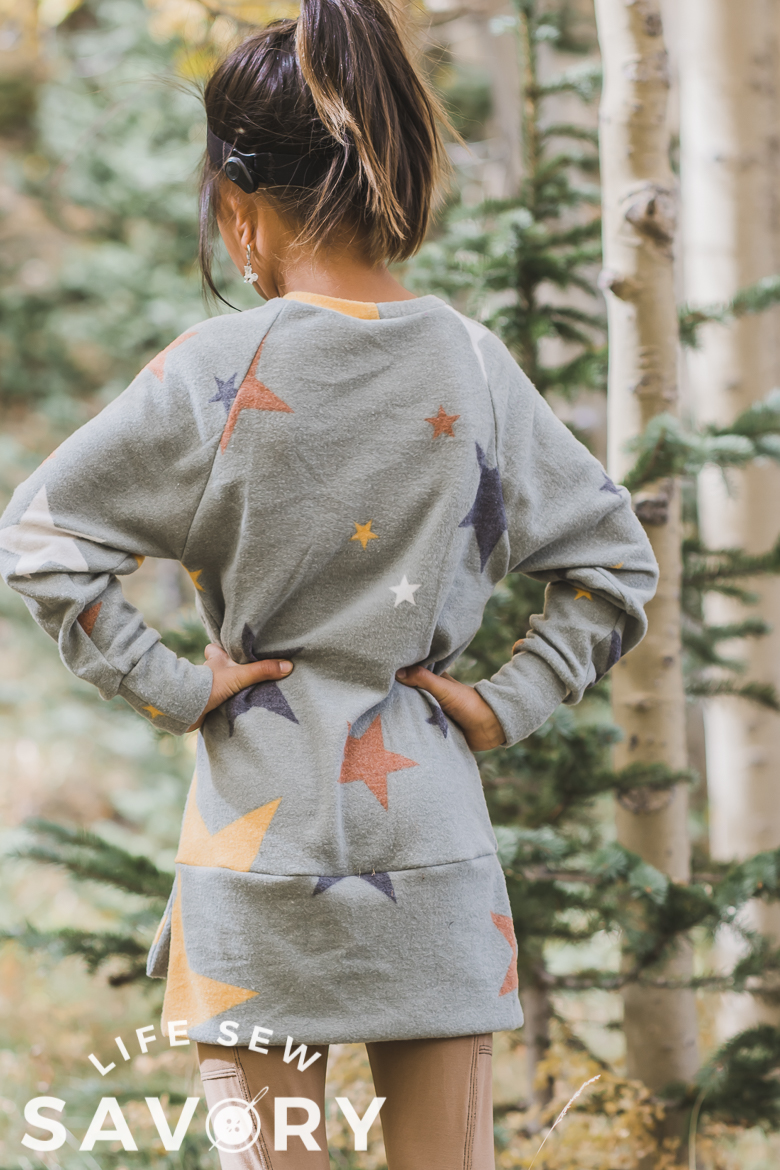
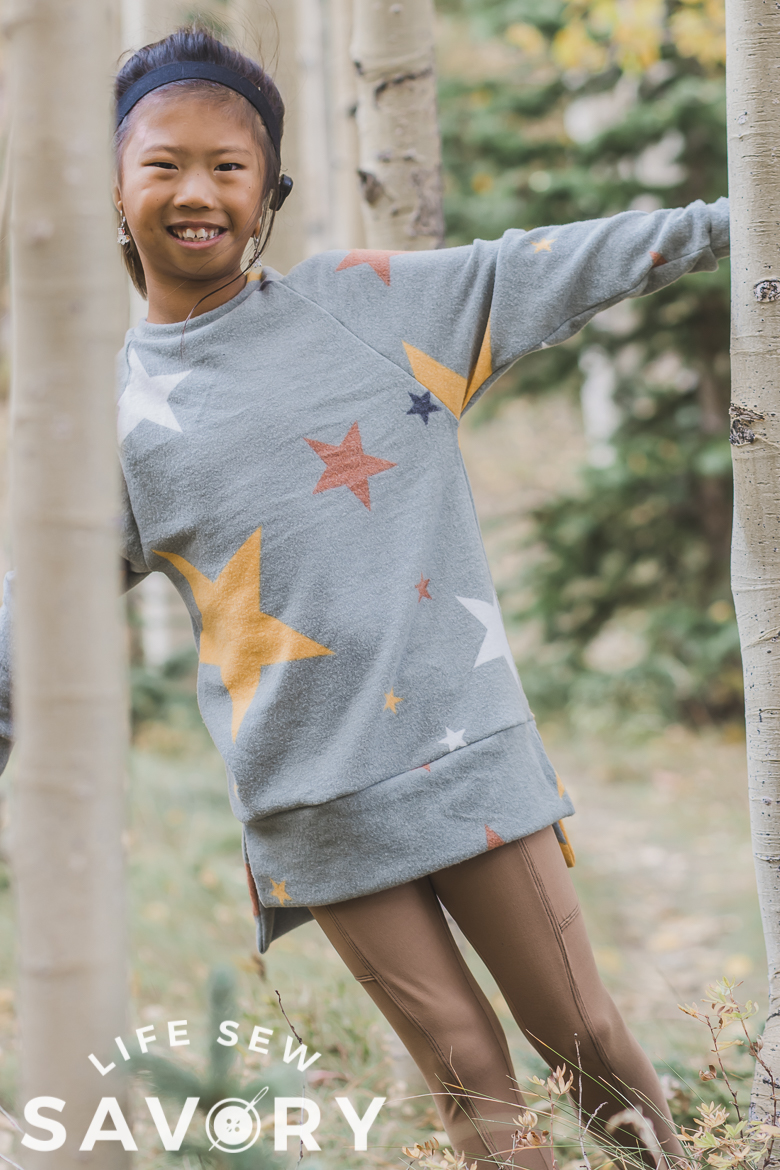
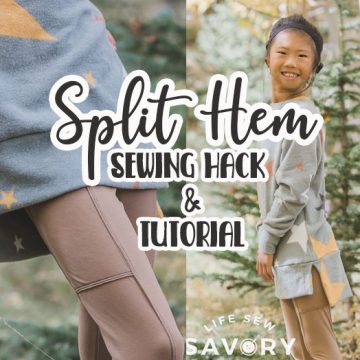
You might recognize the star tunic version of this top as I shared it earlier in the week with the tutorial for sewing the split hem option. It was a perfect finish for this raglan sweatshirt. Love shirt hacks? Check out this post with TONS of basic shirt hacks.
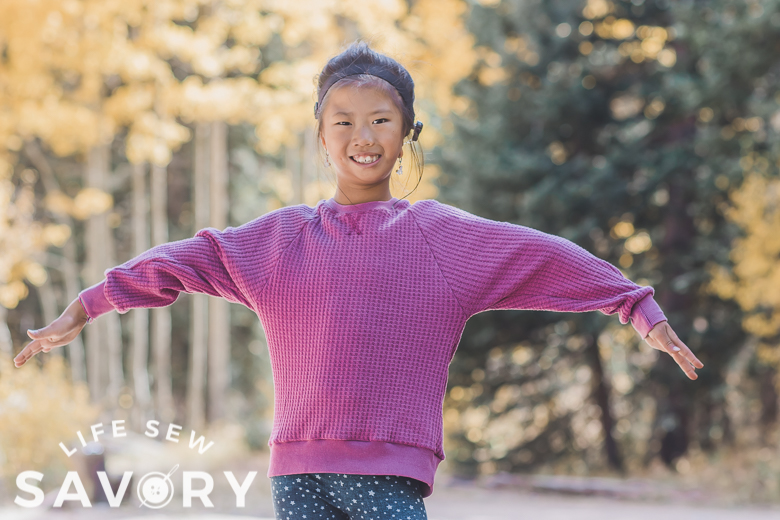
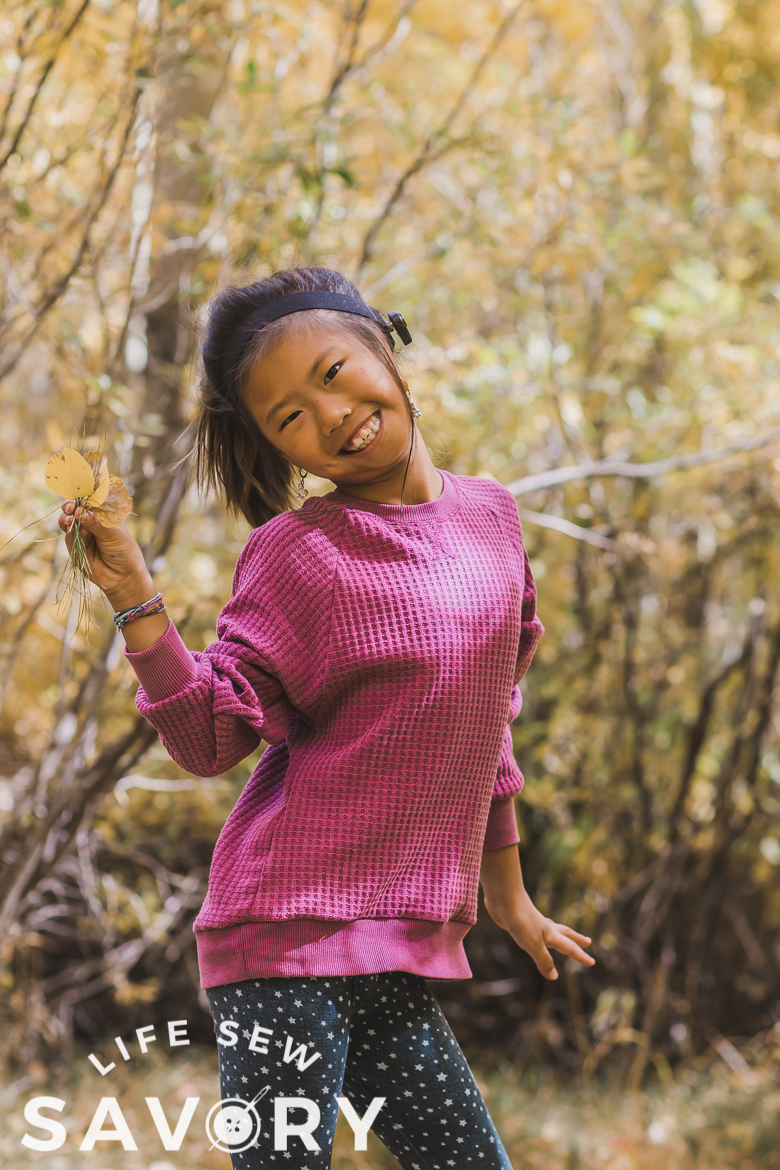
In the image above you can best see how this raglan sweatshirt sewing hack affects the look of this top. The underarms are dropped a couple of inches and the sleeves are wider at the top as well. If you really want the body loose you can size up as well in this area.
These tops go PERFECT with leggings! Rose is wearing two difference versions of my free legging pattern in these photos. The tan version has the added pocket hack and the blue star leggings have the added knee patches.
Ready to sew?
Pattern Hack for Loose Sweatshirt
Here I’m going to show you how to modify the pattern.. that’s really it. If you need more help with sewing the actual shirt you will want to head over to the original raglan tutorial to put it together.
You can find the raglan pattern download for free here and the raglan tutorial here.
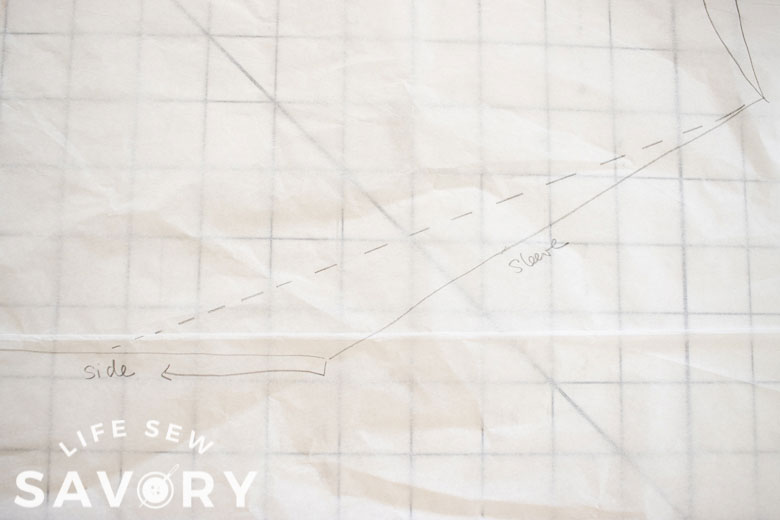
Ok! Let’s take a look at what I did to the pattern before cutting the fabric. The original sleeve line of the pattern front/back can be seen here in the solid line. The dotted line is my new sleeve line.
The front and back of this shirt are the same piece and cut on the fold. This is the sleeve side of the front/back. I dropped the arm down 3″ on the side {see arrow} then used a ruler to draw up to the neck corner. This is my kids free raglan, but you can so this with {most} raglan patterns.
Next, place your sleeve pattern piece on top of the front/back piece with new lines drawn. Line up the sleeve shoulder with the ORIGINAL shoulder on the front/back piece. The black solid line is where the original shoulders lined up. The dotted line is my NEW shoulder on the front back piece.
We now need to move the arm shoulder to meet the new one. From the arrow on the left you will draw a new lower/wider under arm shape from this corner to the wrist and the dotted line becomes the new shoulder line.
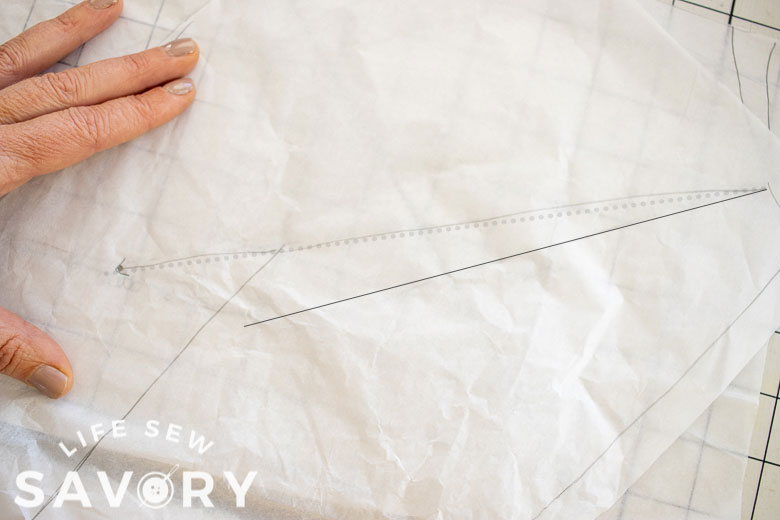
Here is my new sleeve. The dotted line here is my original sleeve underarm and my finger is pointing to my new lower/wider underarm. Again use the ruler to draw from the new underarm point to the wrist.
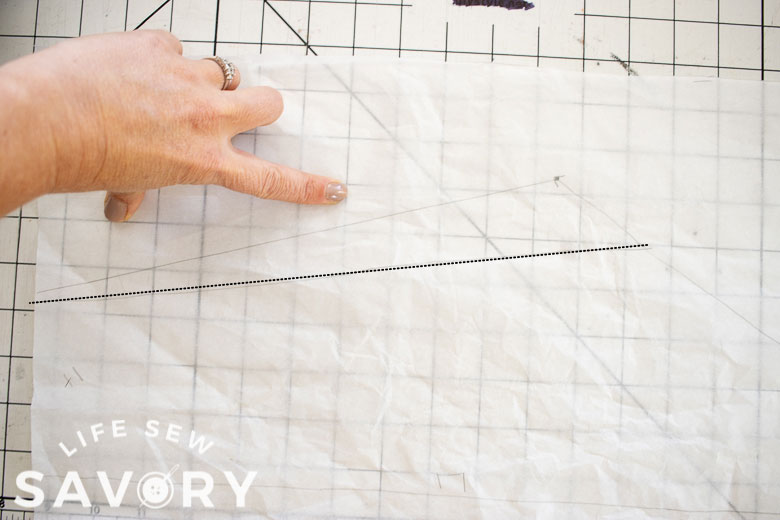
And that’s it!! Cut out the fabric with your new pattern pieces and sew it up. Need one more link to the sewing tutorial? Here’s the Raglan sewing tutorial. Just a few simple changes to the pattern and you can sew a fun look just like this raglan sweatshirt.







Dee Kay says
Hi Emily,
I love all your designs and you are such a great stylist and seamstress. I am new to sewing clothes (more like making mistakes…lol). I got interested in making my own clothes because I am 52, and my chest keeps growing as I age, and most clothes makers make clothes fit like a tent, or only increase the width of a top to accommodate a chest, and don’t add more fabric to account for the distance a woman’s breasts stick out in the length, so the waistband is either pulled up a few inches in the front, or the hem line is badly out of whack, and it seems the armscye of larger chested shirts is pulling in one way, and too large in another. The fit is just really bad.. I am so sick of ill-fitting clothing that are sewn cheaply and in which the proportions fit no one well, except the super skinny model with a flat chest, and they want a lot of money for this junk, that is horrible pilly fabric, unlined, no finishing seams, and does not wear well. I am over it.
I love the feminine lines of the 1950’s clothing (and the way the compliment fuller figures) and want to make more clothes in this style or akin to this style to suit my 44.5″-35″-42″ body with a 5.5″ full bust adjustment. (38″ upper bust and 35.5″ lower bust, 38 DD). Raglan shirts are usually a good choice for me, but often they are more T-shirt like or balloon too much on the bottom, making me look like I am wearing maternity clothes (ohhh, the trauma from being pregnant in the early 1990’s when maternity clothes were just large and tentlike, Ha ha ha).
Is there a way to class up your Raglan shirt to fit this style? More similar to a blouse with Dolman sleeves? What is the difference? Does it have to have a waistband? I am envisioning a short stand-up rolled collar collar, that is somewhat wide, with maybe a button back with small buttons, and 3/4 sleeves with a wide sleeve band? And what fabric would be wear easy, elegant and comfortable? I don’t want really large bat wing sleeves, but just enough width of the sleeve to create a nice drape and have an easy fit. Again, my large chest on my athletic frame, can make me look large overall, so I need the body to be a little more fit to show my silhouette at least somewhat. Any suggestions, ideas, or anything you can add would be really, really helpful. I know I am being really specific, but I guess that is why I want to make my own clothes. They should compliment my aging body, not make me look dumpy. Thanks Dear, I enjoy your website.
Dee Kay says
Oh, I meant to say: the rolled standup collar would be slightly wide “in circumference” (not the roll itself, that would be delicate and feminine.) And I am fairly sure (but not 100% sure) that I will need to dart the bodice of the shirt in the front and back to make it tailored to my crazy body. I do have some experience in altering clothes with darts, and I can do that fairly well. My only problem is getting the darts even on pre-made clothes. I suppose cutting fabric and then darting would be easier for making a shirt symmetrical. Thanks