inside: Tips and trips for refashion projects. It’s easy to turn an adult jacket into a kids size jacket with this upcycle project. Refashion an adult jacket for kids with this sewing tutorial.
Truth…. I didn’t really love this gray jacket. I loved the idea of it and how soft it was, but it just wasn’t ever really great for me. But, I can’t usually justify replacing something when it still works. I decided if I could refashion this adult jacket to a kids size that I could then buy myself a new jacket I really loved… So here is how I upcycled this cute jacket to fit my daughter and she loves it {way more than I every did}
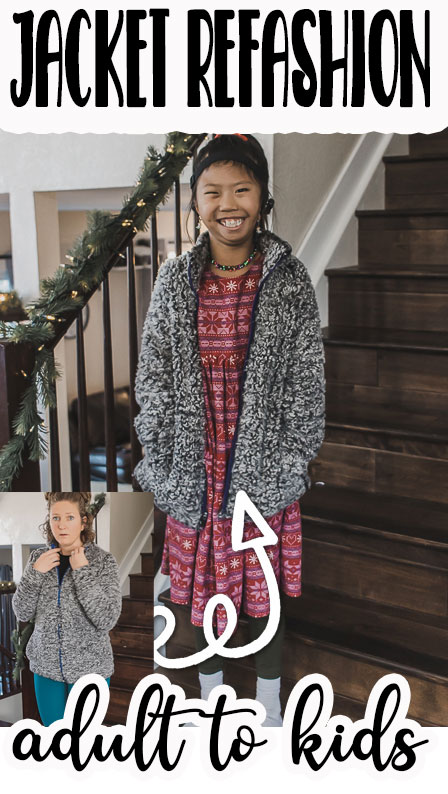
Refashion adult jacket for kids
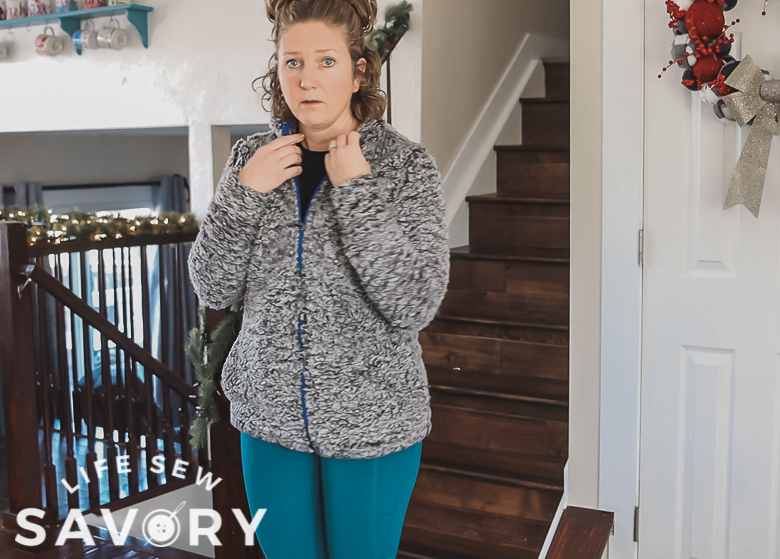
ok… first up I feel like I need to explain this “before” photo of me. I look a little stunned {haha} I got the jacket all cut up and realized I never took a before shot of me in it, to show the transition from adult to kid… So this is a still capture from the video footage I took. Why did I remember to take a video, but not a photo? Who knows…
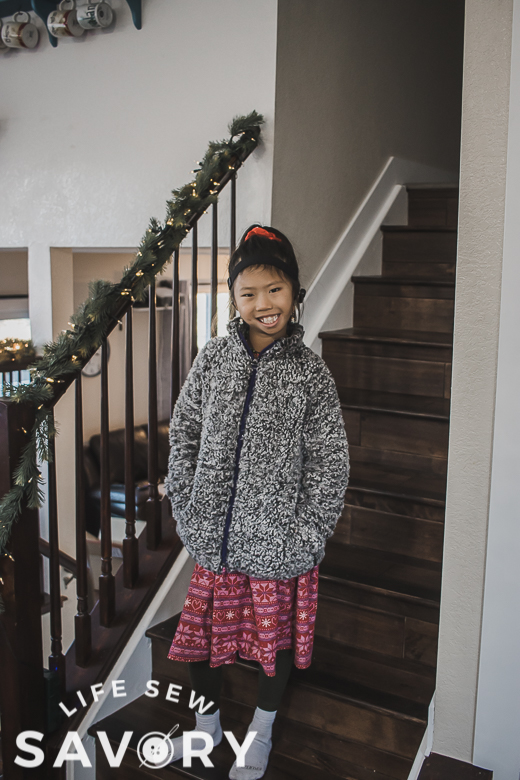
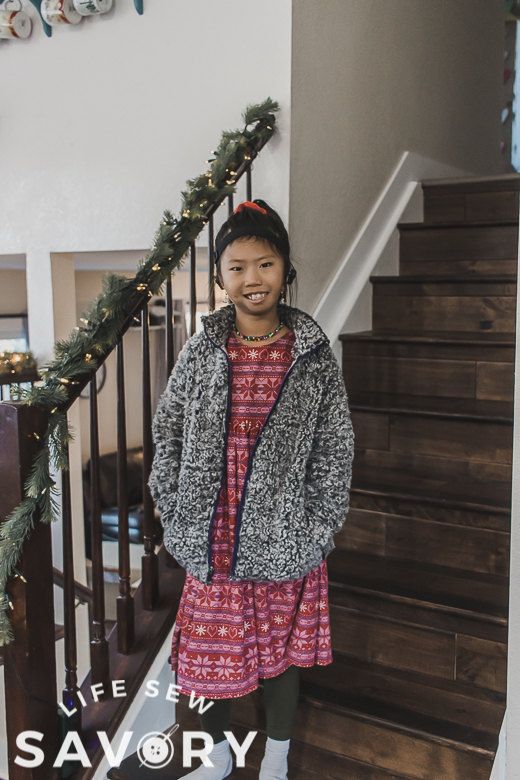
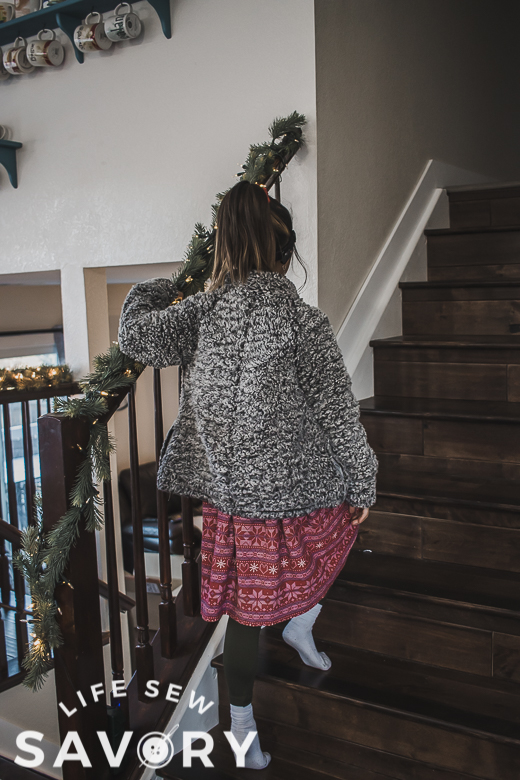
SO.. here is the before and after of this refashion jacket transformation. Rose loves her new cozy coat and I think it should still fit next year, which is always a win for us.
Even though this fabric was super furr sherpa, it really wasn’t too hard to sew, and I think the finished result is pretty great. I used a free shirt pattern with raglan sleeve to cut this down to a child size. I think this could work with any single layer fleece or wind-breaker type coat. This tutorial isn’t really great for a lined jacket refashion, but with this sherpa jacket it worked perfectly.
I’ll show you how to cut the jacket down, keep the original cuffs, collar, pockets and bottom, as well as how to put in a new zipper.
Other jackets to sew –
- List of kid jacket patterns that I love
- Sherpa adult jacket sewing pattern
- Wool cape with hood – so cozy
- Fleece jacket sewing pattern
- Moto Style Jacket pattern
- Raglan Zippy jacket/sweatshirt
Rose hasn’t ever had a cozy sherpa jacket like this so she is pretty excited about it.
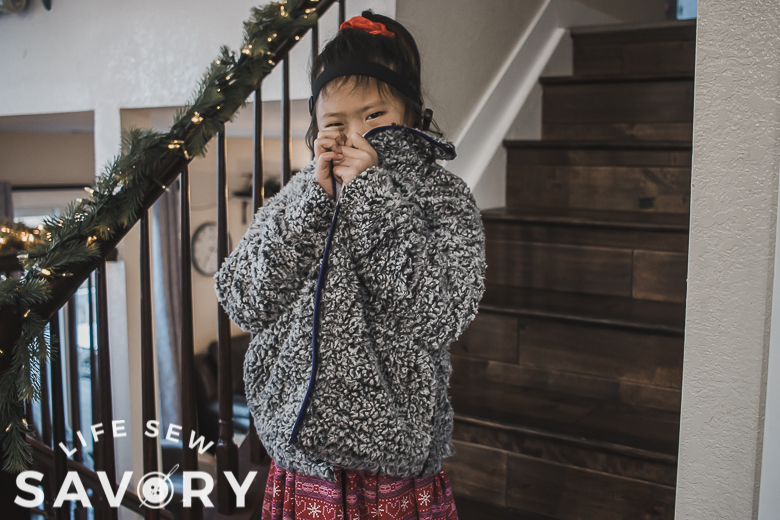
How to cut down adult clothes for kids
The video should auto play showing you how I created this look. If you don’t see a video, try disabling your ad blocker or a different browser. Of course this is the speed version so I will walk you through all the steps in the tutorial below.
First up, gather your supplies.
- Original jacket/coat/sweatshirt {single layer fleece or windbreaker works best.} This is a womens S to kids 9 ish in size. The larger the adult jacket the larger the kids coat you can get out of it.
- Pattern to use for the kids size {I used my Free Raglan shirt pattern}
- New separating zipper
All seams should be sewn with a 3/8″ seam allowance and with a knit stitch or serger. The zipper is the only thing sewn with a straight stitch.
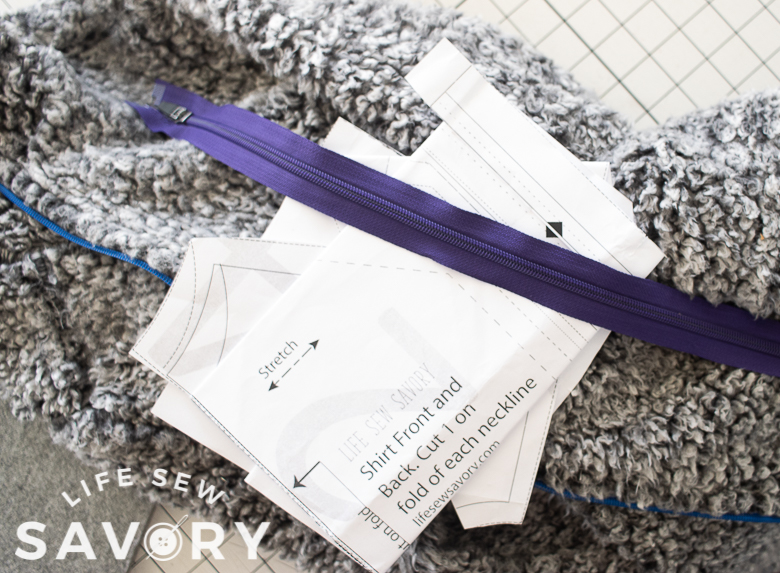
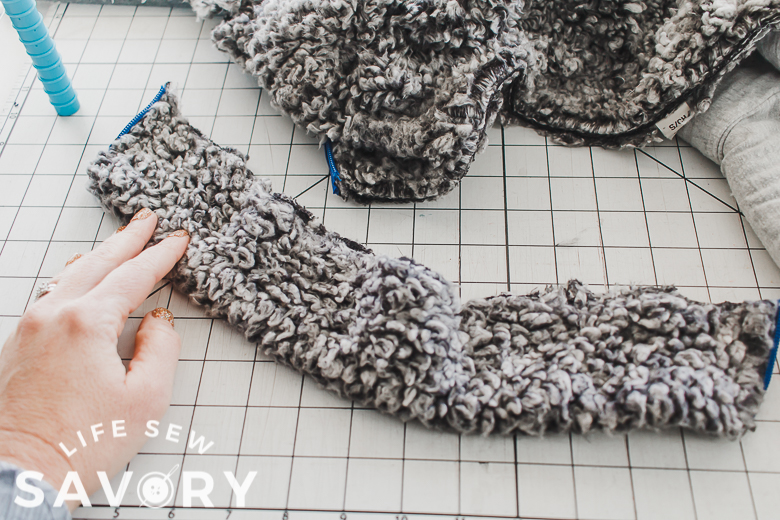
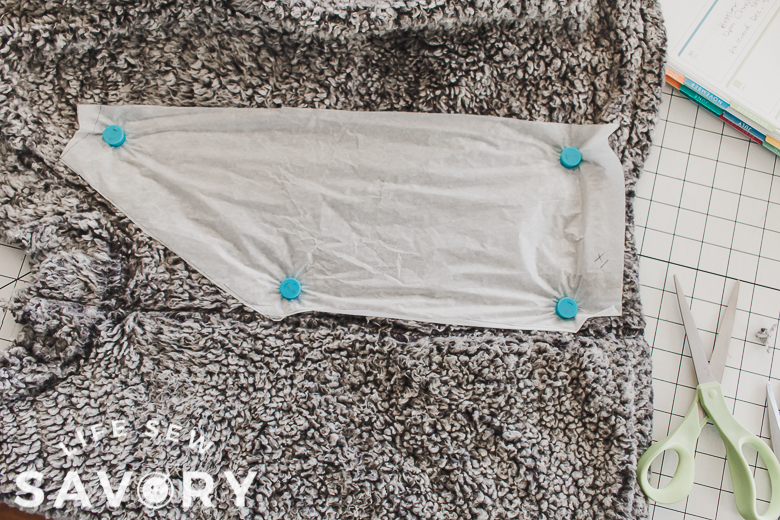
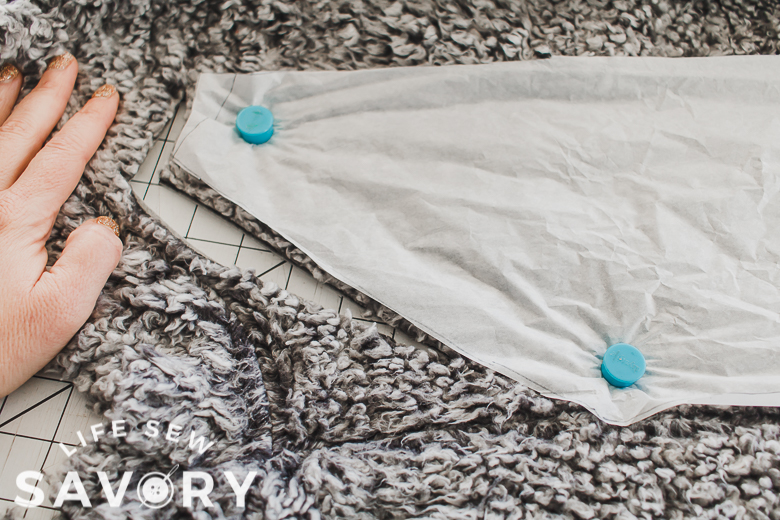
I started with the sleeves. Now remember this is a shirt pattern, not a jacket pattern, so you will want to size up at least 1-2 sizes. {maybe not in the length though} I cut 2 sizes bigger for the shoulder cut on the sleeve, but didn’t really add length to the sleeve.
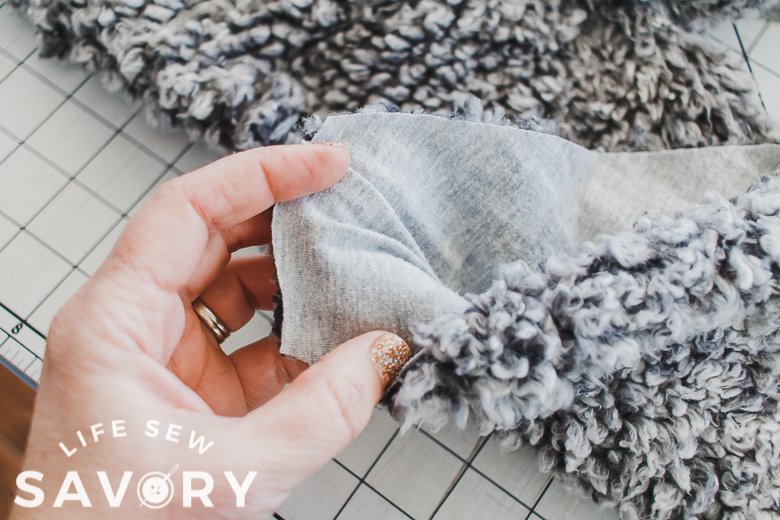
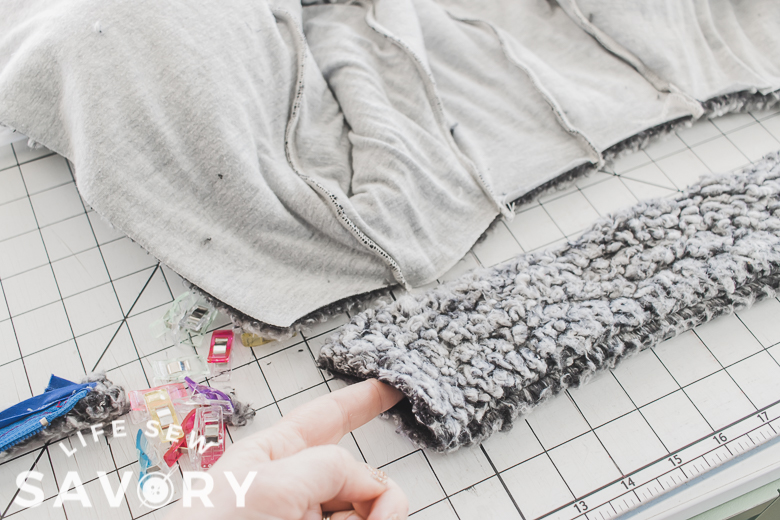
I kept the original cuff on the sleeve and kept it sewn up in a circle. So I ONLY cut here at the shoulder. Repeat with the other side and set aside. You can also see here the backing on the sherpa fabric. It is stuck together, so I just cut and sewed it as one layer.
Cut off the collar and remove any bulky seams. Set aside. Cut open the shoulders so you can open up the remaining part of the jacket.
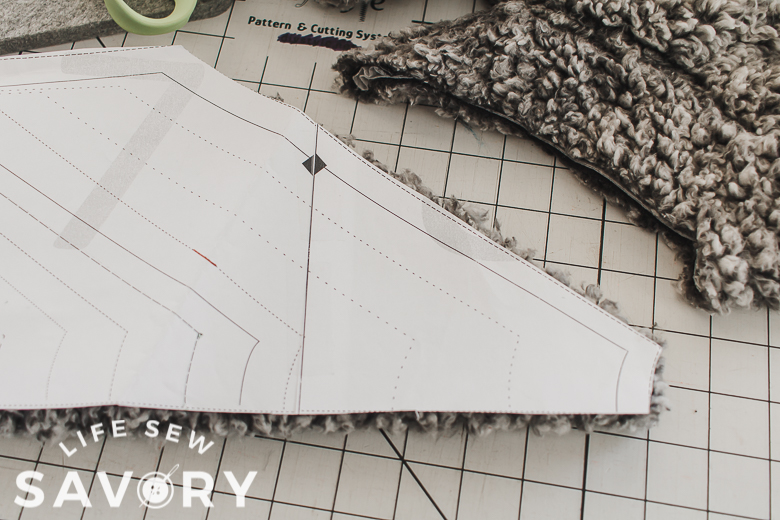
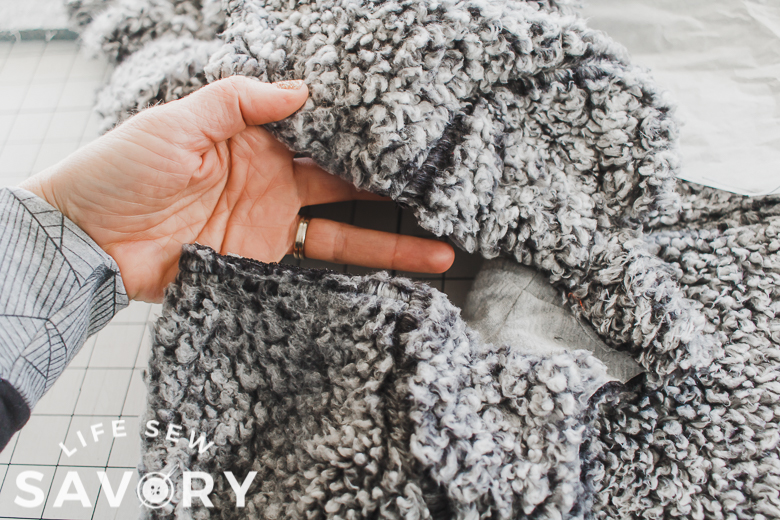
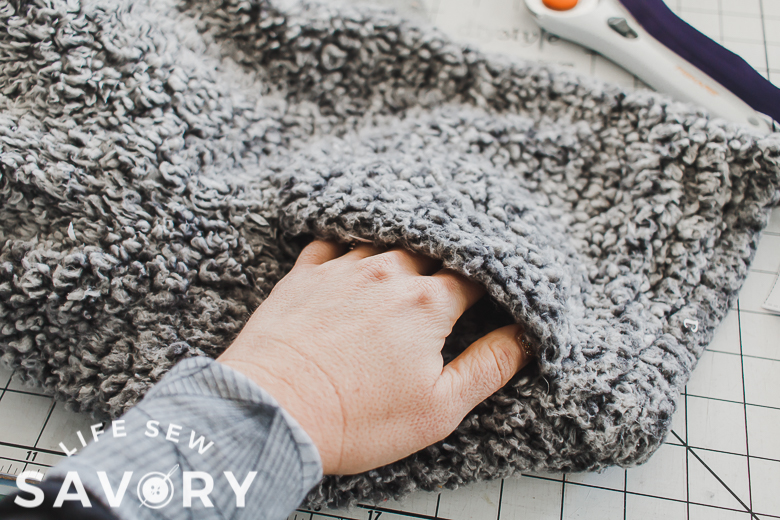
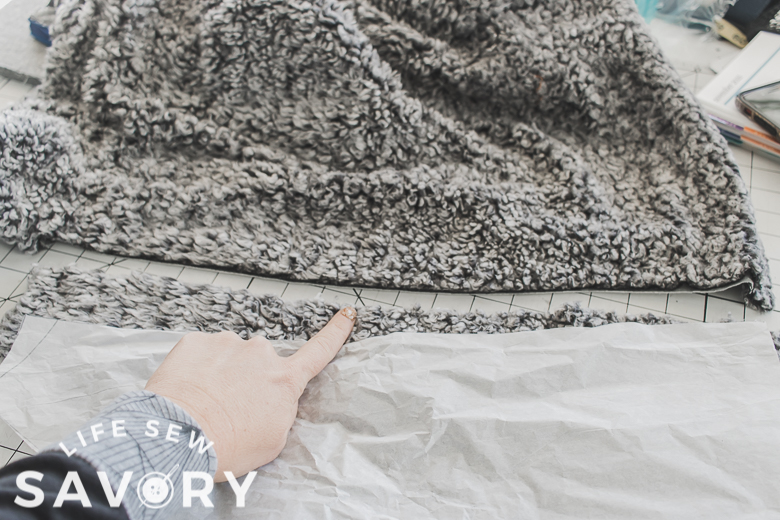
I want to keep the original pocket, so I’m going to keep the side seam sewn, and not cut the side seam. To do this, place the pattern on the side seam. You can also see that I’m keeping the original bottom here as well.
Cut out the back at the neck and shoulder, then flip over the pattern and cut the front {the only different to front and back on this pattern is the neck – front is cut lower}. Here I have kept the pocket, but cut off the old zipper.
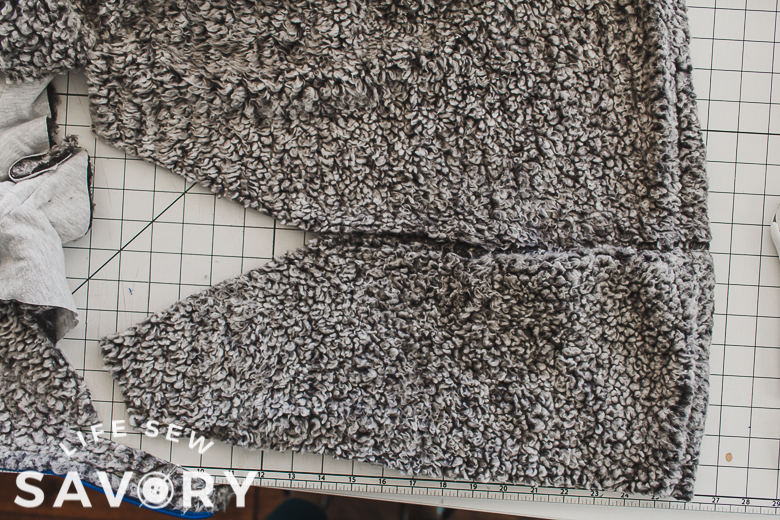
Now, since our jacket will not be as wide as the full back, you also need to cut the back that is usually a fold. We will sew it right back up, but we need two jacket pieces that have the side pockets first. Repeat the cutting with the other side, keeping the pocket and cutting the back and front. Place your two pieces on top of each other, aligning the back seam {that was a fold on the original pattern} and sew up the back.
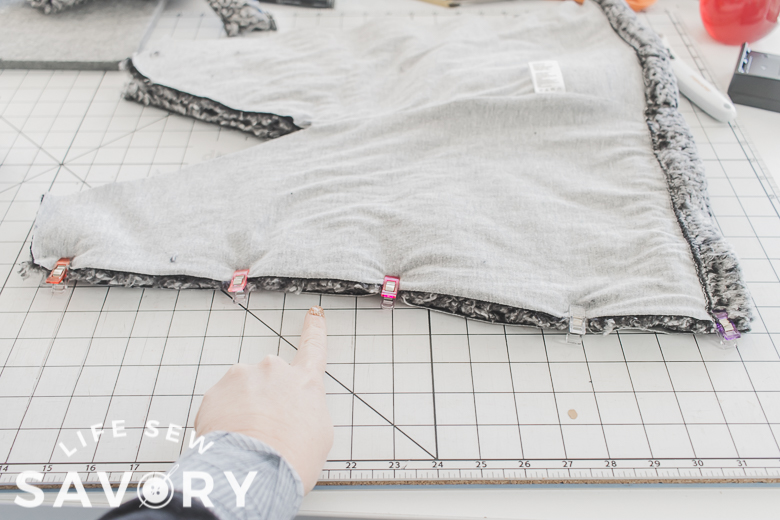
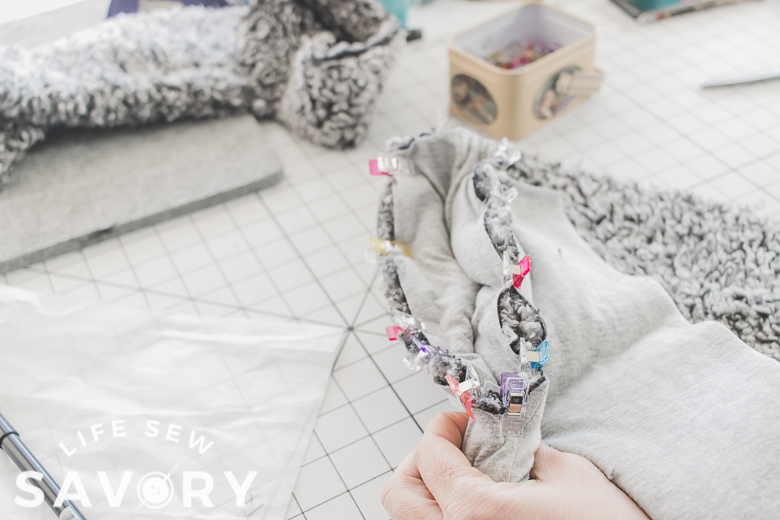
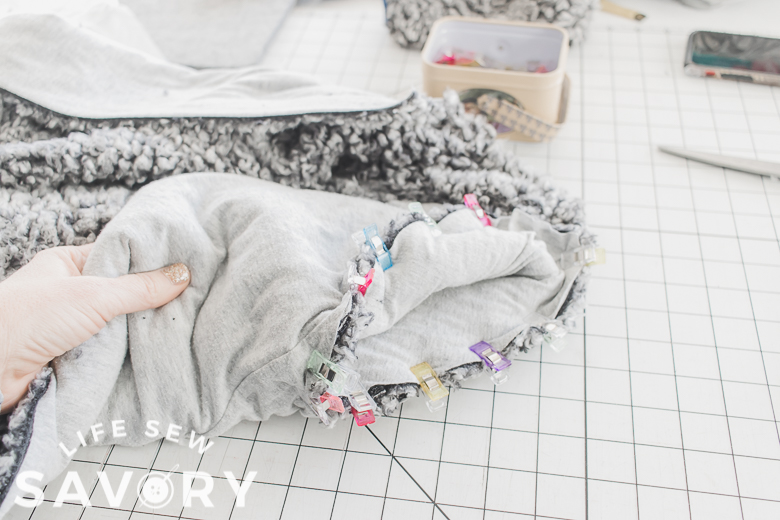
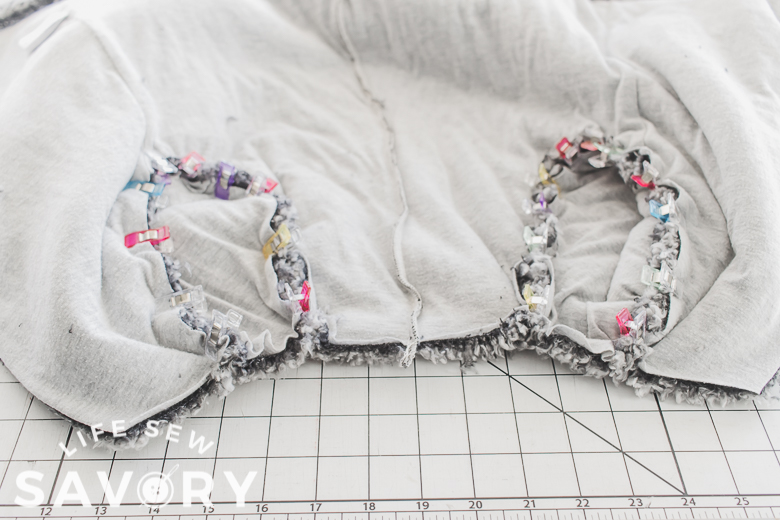
You should now have one piece for the jacket and two sleeve pieces. The sleeves will be clipped into the jacket in a V shape. You will then have the neckline to work with. Clip in the sleeve by lining up the top edges, then clipping down to the under arm.
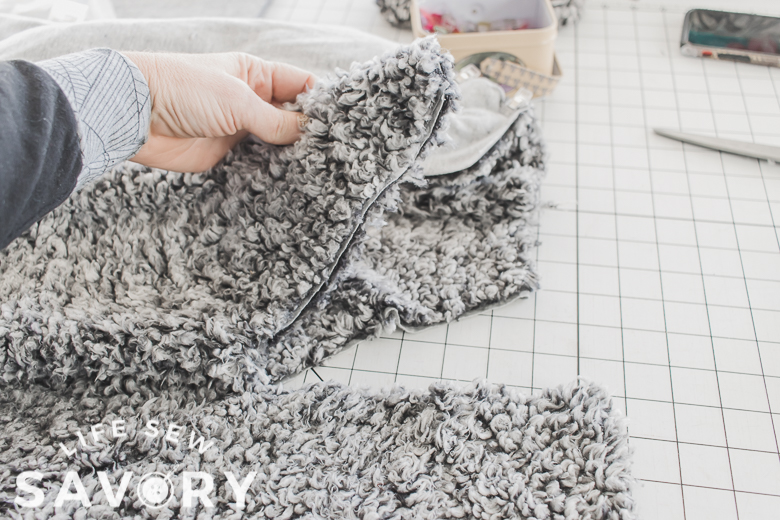
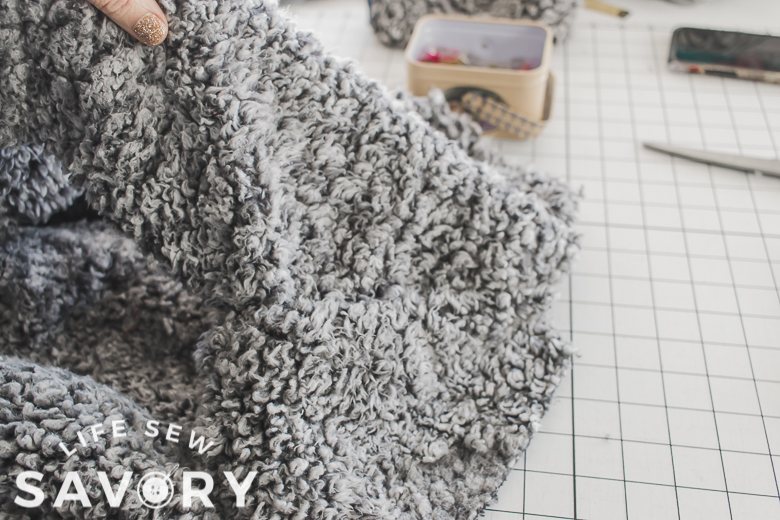
You can see here the two sleeve in the jacket and how the top of the sleeve and the front and back pieces form the neckline. Sew the sleeve to the jacket. The final photo shows the sleeve sewn in, but it’s so furry and hard to see.
Let’s sew on the collar. I just placed right sides together and sewed it on. Trim the sides as the original collar was wider – this also cut off the old zipper. I did leave 1/2″ on each side of the collar un-sewn. I’m going to slip the zipper in there on the next step.
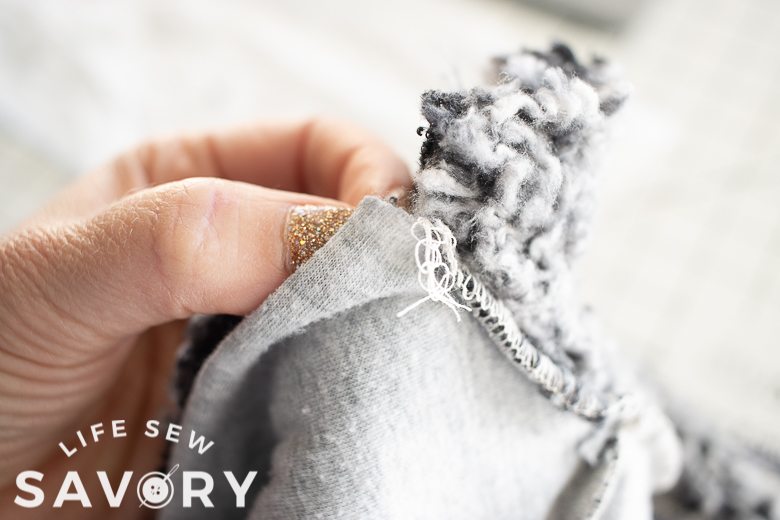
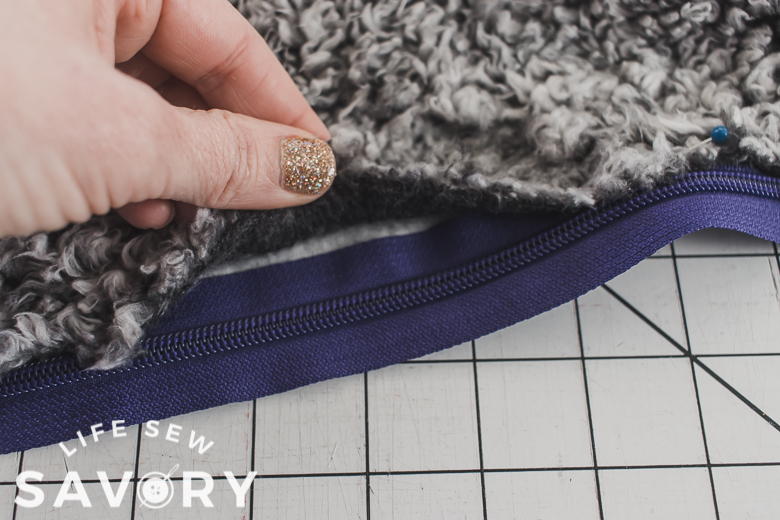
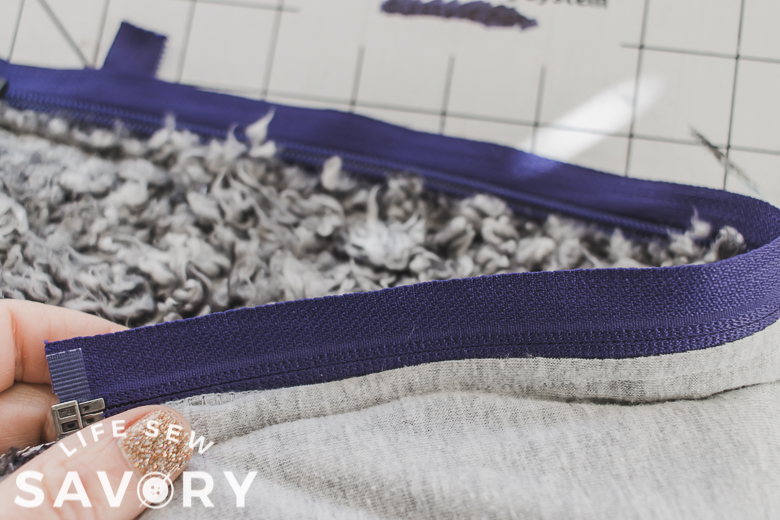
Time for the zipper! Because my fabric had two layers of fabric stuck together, I sandwiched the zipper inside. If you have just a single layer fleece you will just sew the zipper on right sides together. Follow this sweatshirt tutorial for zipper. The first photo shows opening the layers {I had to peel open} and place the zipper inside.
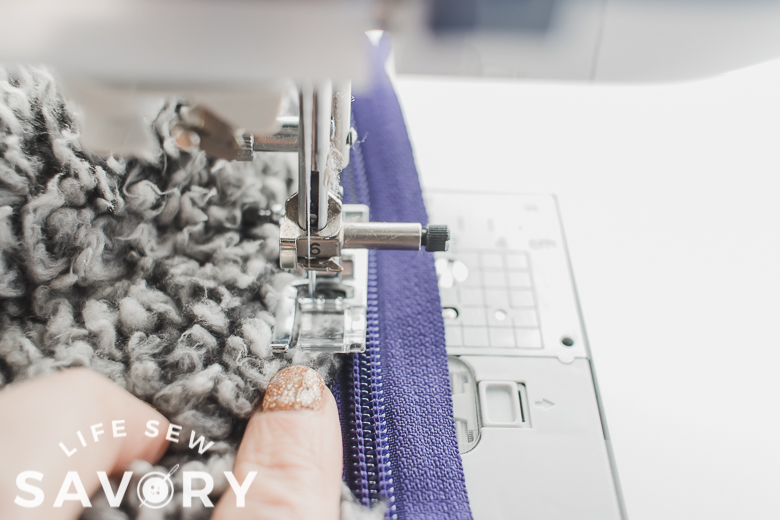
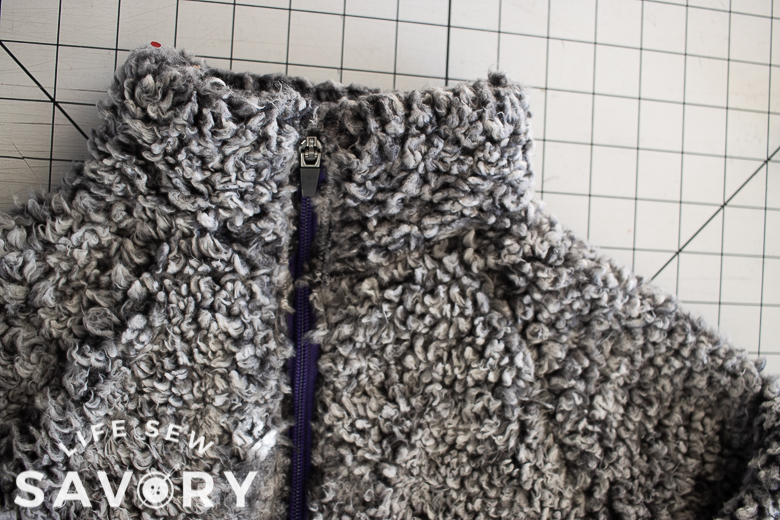
At the top of the collar, keep at least and extra inch when you trim the zipper, then fold it over and inside the collar. Use lots of pins to hold the zipper in place and then sew with a zipper foot and straight stitch.
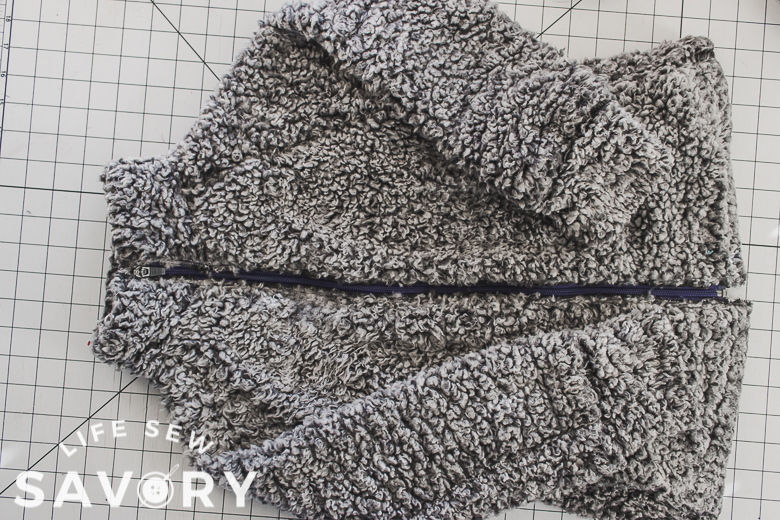
Here is the zipper sewn in place, I made sure to catch the fabric on the front and back. I did go over the seam again with a zig-zag stitch to help keep the fluff down. I was afraid it would keep getting stuck in the zipper.
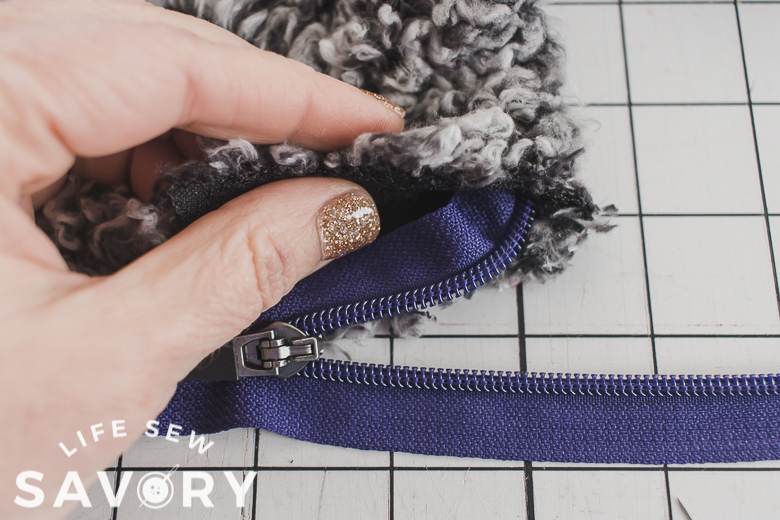
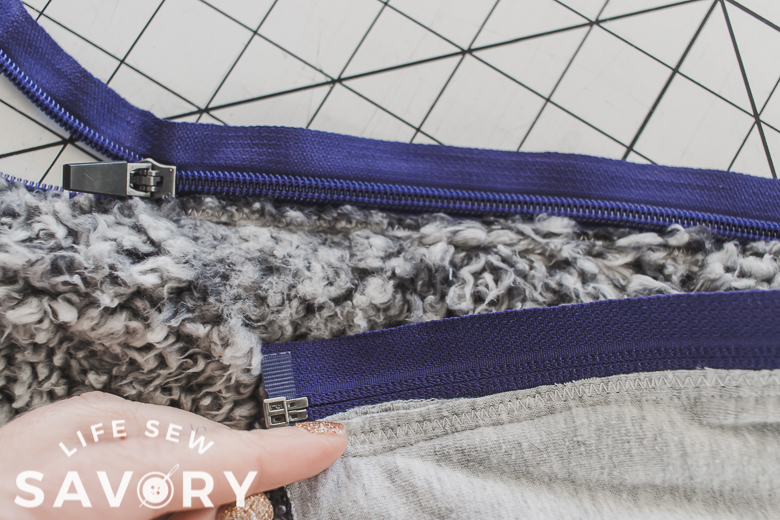
Now the zipper is super secure and hopefully the fluff is out of the way. Add the second half of the zipper and make sure the bottom lines up when you start. You can see the zipper doesn’t go all the way to the bottom – I couldn’t sandwich it in the bottom hem, so I just started above. Sew in place then zig-zag, just like the first side.
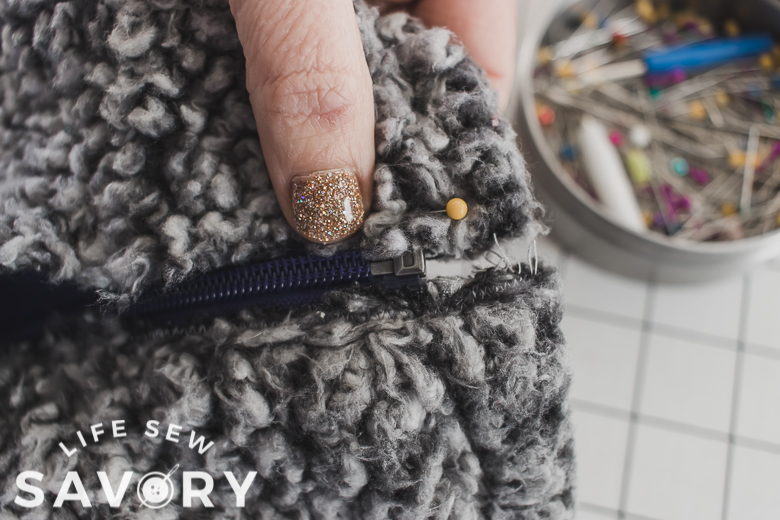
You may have to go back and sew closed the open seam by the collar if it didn’t get caught in your zipper seam. I had to add some reinforcement there where I had left open for the zipper. I just love this cozy jacket. Do you have a coat you don’t love that you could cut down in size?





Patti says
Wow, that is truly awesome! For me my favorite clothes are the ones that make me feel good when I wear them. You took a jacket that just didn’t give you the “feels” and turned it into an amazing jacket for your daughter. You can tell from the pictures that she loves it. I don’t think that it is just because it’s so soft and cozy, I think that it’s because Mom took the time and made it for her.