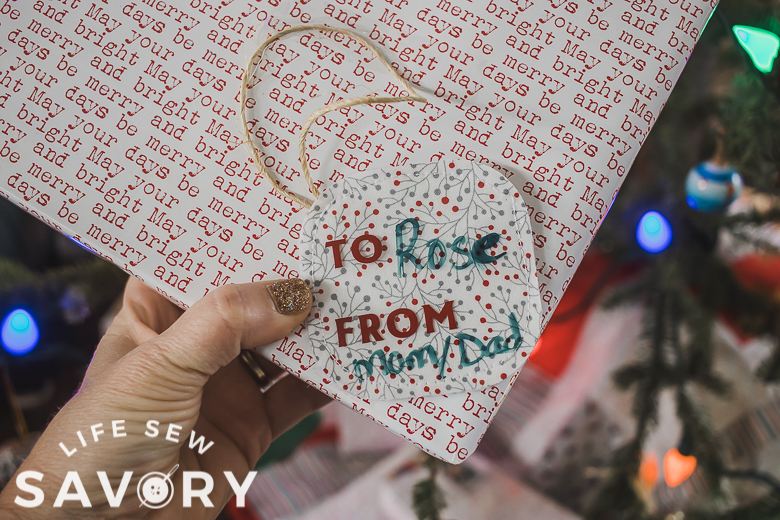
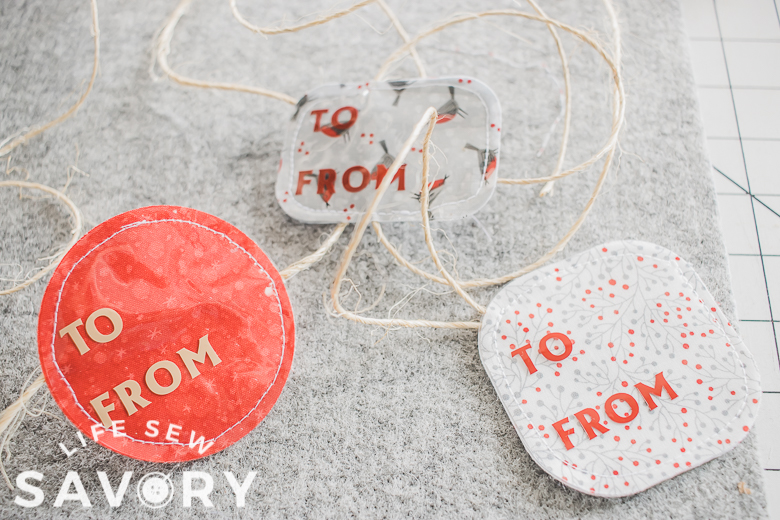
inside: create adorable reusable fabric gift tags for Christmas or any holiday. These tags are easy to make, fun to use and can be wiped clean to use over and over.
Over the years I’ve used fabric to make a few different types of gift tags. I’ve really love the look of adding a handmade fabric gift tag to a not-so-handmade gift {haha} This year I set out to figure out how I could get more use out of these beautiful fabric tags, so today I’m sharing how to create reusable fabric gift tags and I love how they turned out. I’ve made Christmas tags, but you really could create these for any gift giving occasion to be used over and over.
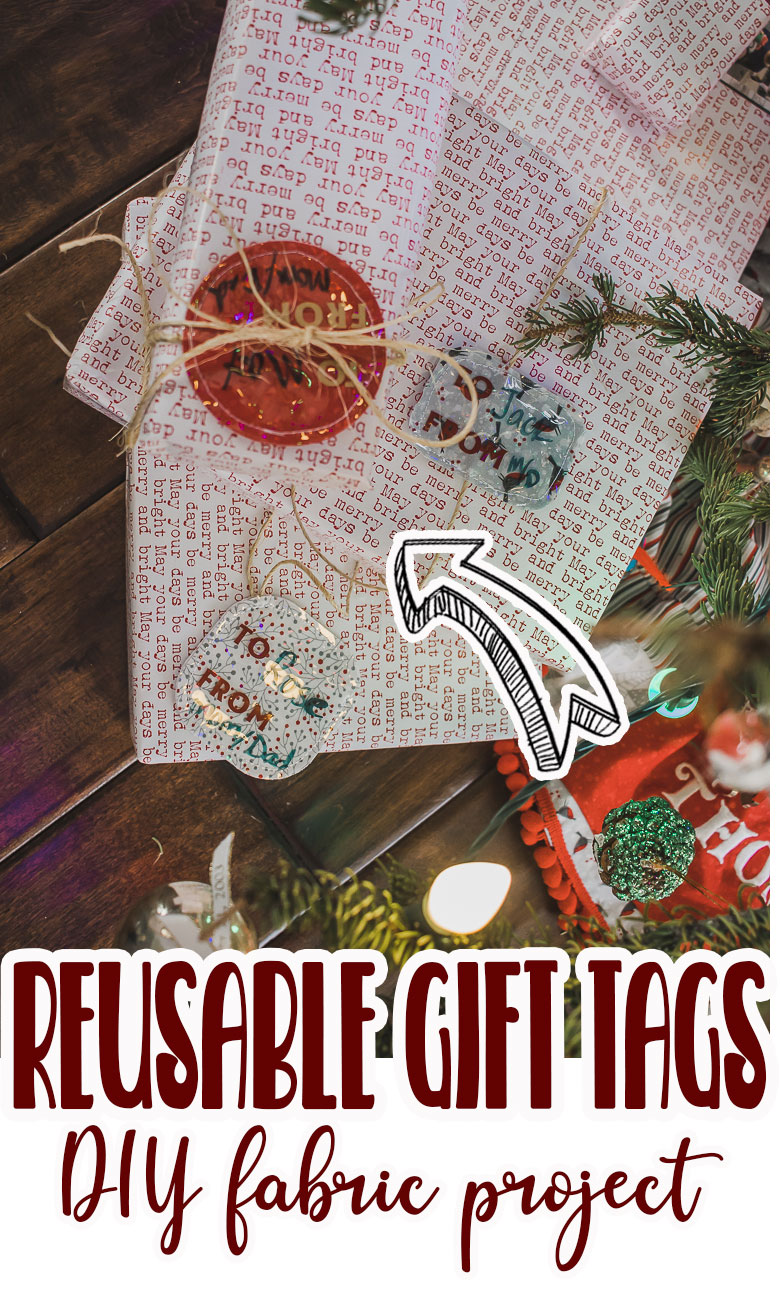
Reusable Fabric Gift Tags
You can see my end of year teacher gift tags here, and my fabric luggage tags. This is a combination of both those tags to create these fun tags that you can keep using.
Check out tons of other fun holiday craft ideas here.
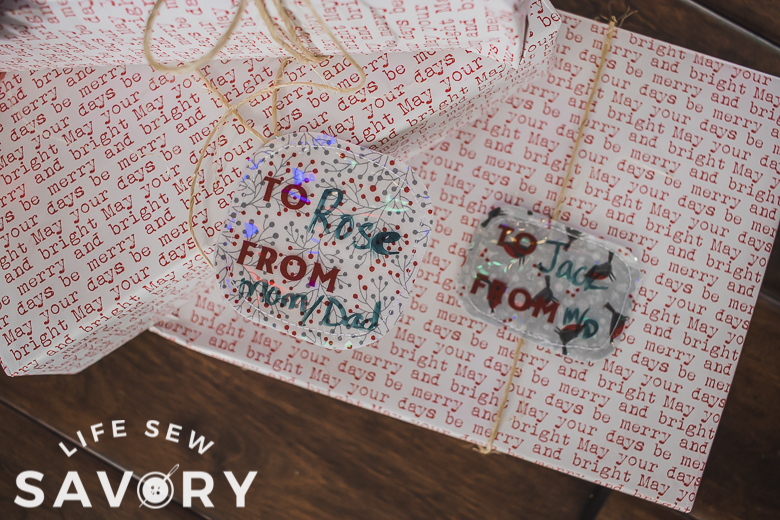
The key to making these tag reusable is the layer of vinyl on top of the fabric. It’s super easy to add, and makes it so you can wipe off the name.
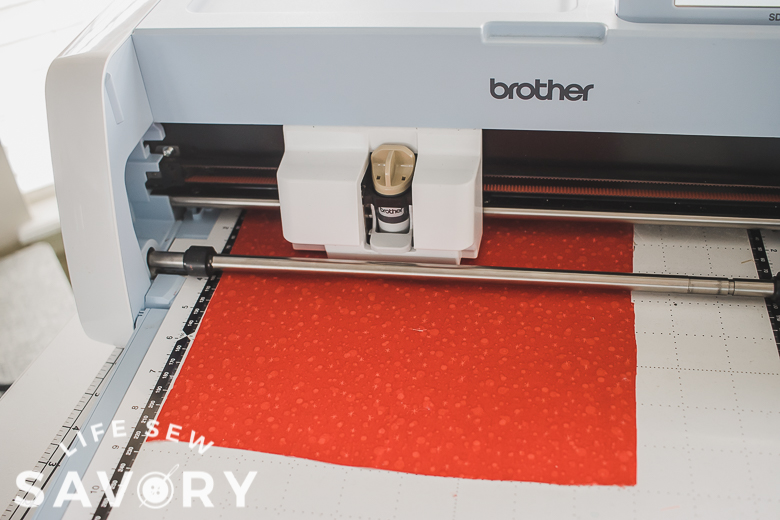
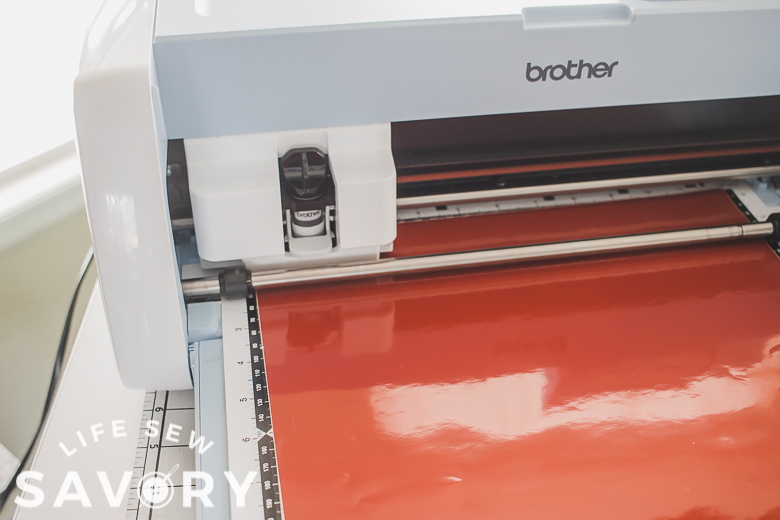
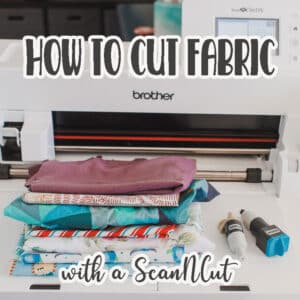
I cut all the fabric and vinyl for this project on the ScanNCut {but you can use any electronic cutting device} so you can make these tags in virtually any shape. The fabric that you use can add a specific season or holiday, but using general fabric can keep the tags neutral as well.

ScanNCut Fabric gift tags-
Ok! Let’s dive in and create some fun gift tags.
Fabric gift tag supplies:
- {Optional} Electronic Cutting machine like the Brother ScanNCut
- Festive fabric scraps – I used what I had on hand
- Fabric backing if not using the a fabric rotary blade
- fusible interfacing
- clear vinyl – I got mine at a craft store by the yard
- sticky vinyl for letters
- Transfer tape
- washable marker or whiteboard marker
- twine, ribbon, etc for hanger
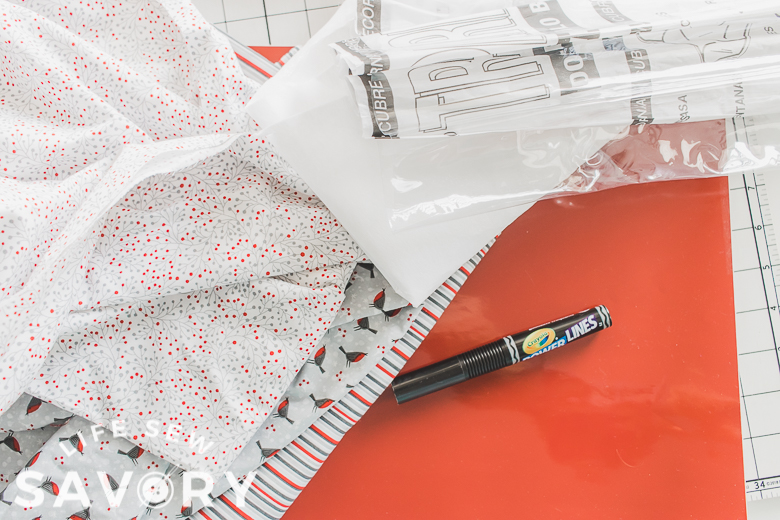
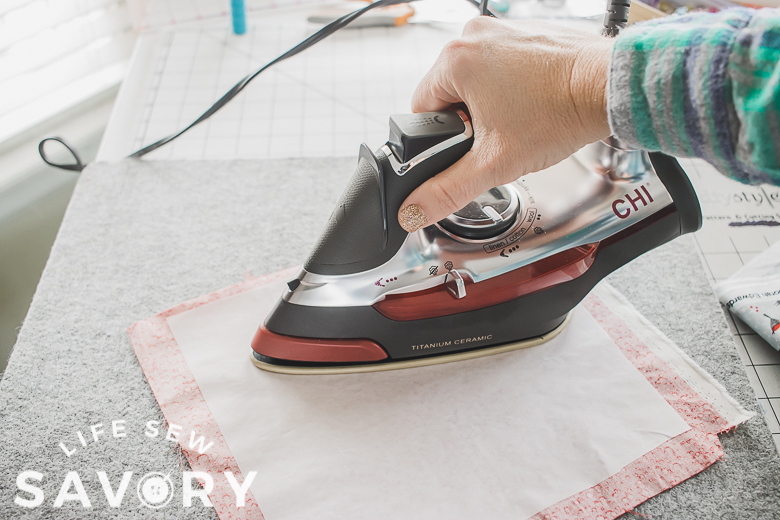
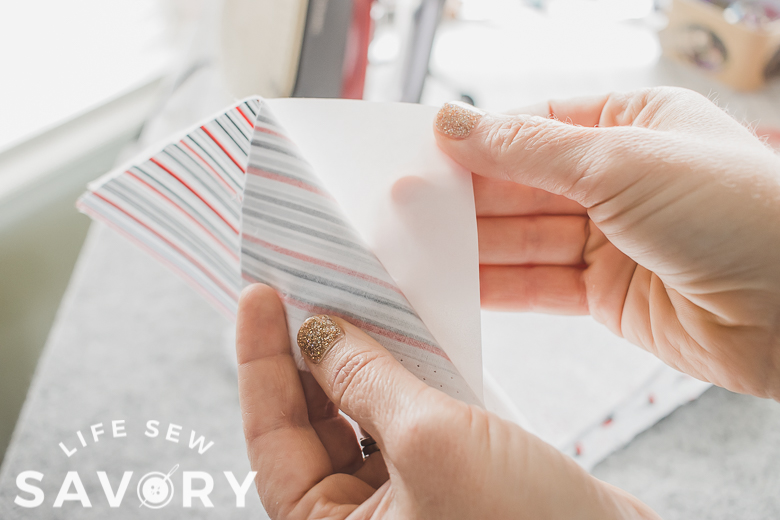
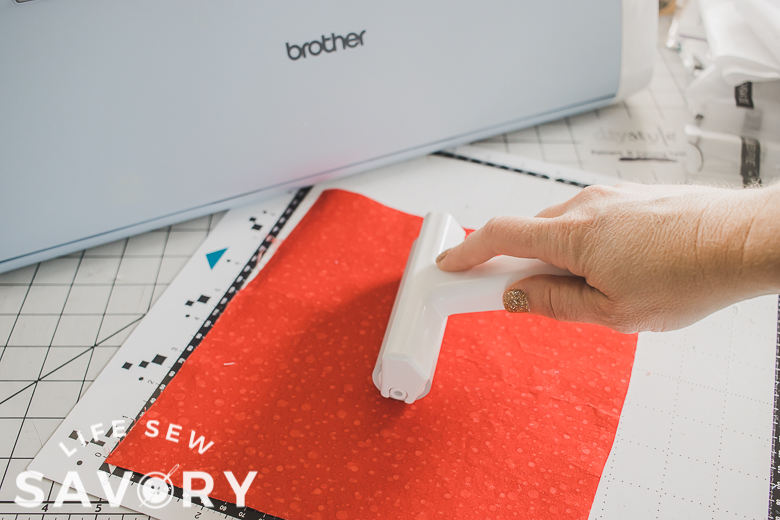
The fabric will cut better if you use the fabric backing {linked above}. Press onto the back of the fabric with an iron, then peel the paper off when it cools. It adds just a smooth back to the fabric that allows it to cut so smoothly.
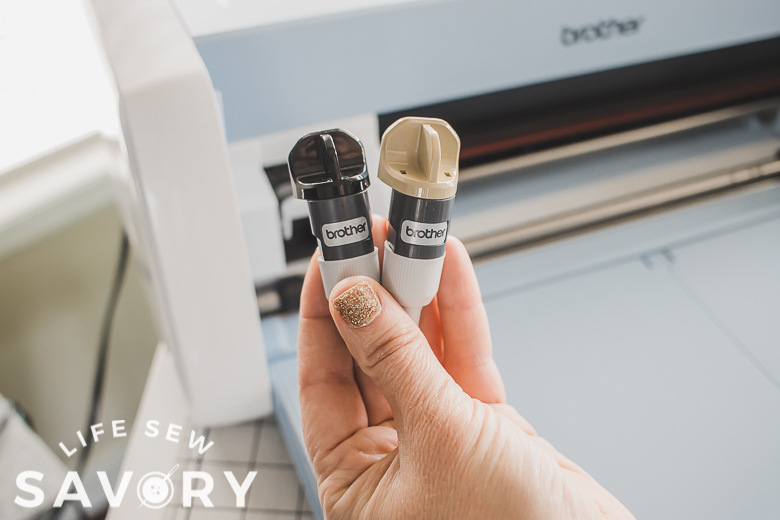
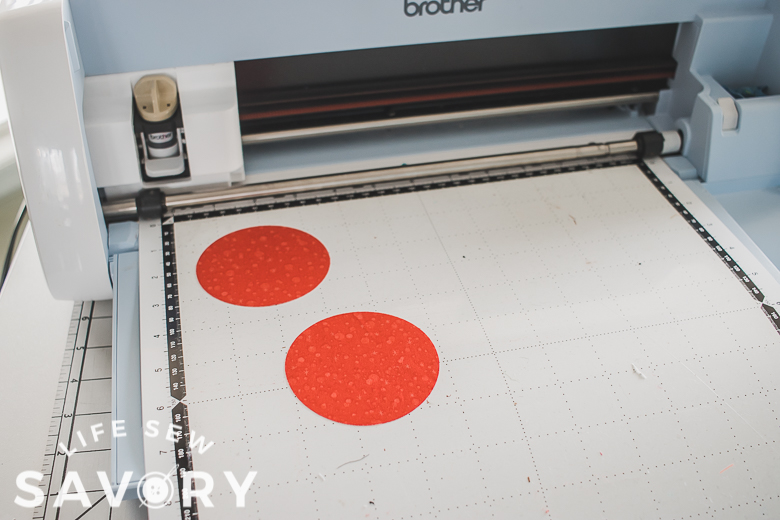
I used my high tack fabric mat, and the fabric blade for my machine. Brother has since come out with a newer machine that has a rotary fabric blade, but this one cuts well too.
Cut two of the same shape for each tag. I used built in shapes on my machine, but you can create tags in any shape.
If you don’t have a cutting machine, just hand cut simple shapes.
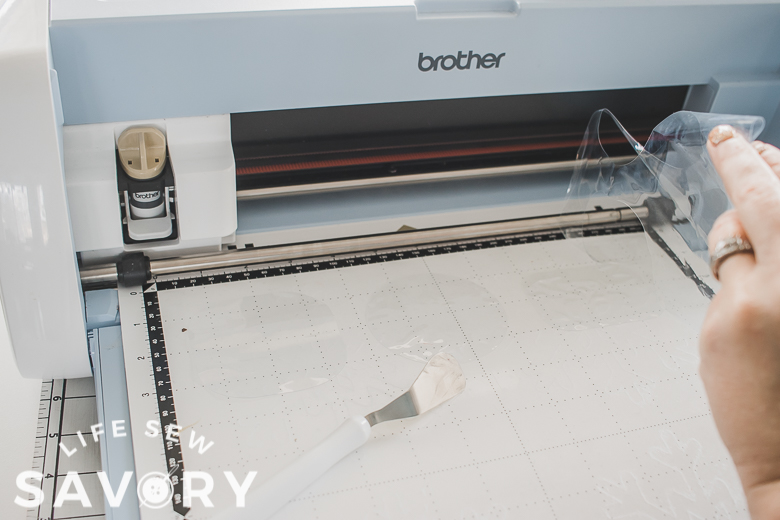
Cut one clear vinyl or each shape {on the machine} and I hand cut one layer of interfacing per tag as well. I made the interfacing just a bit smaller, so we won’t see it on the sides.
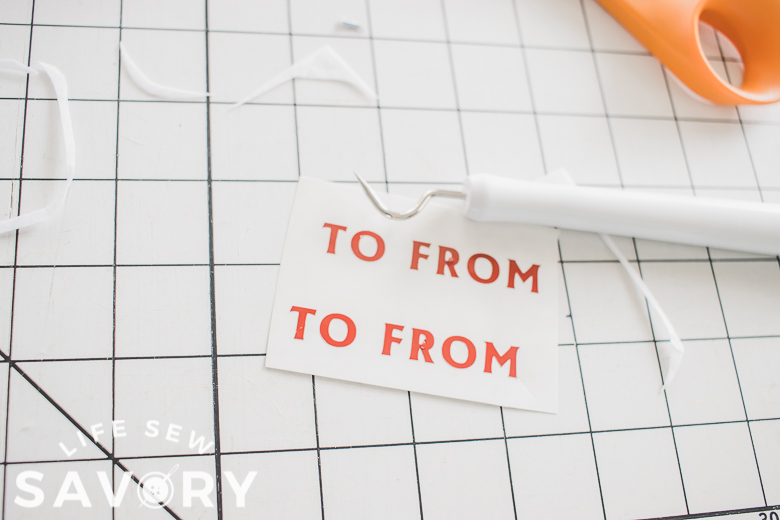
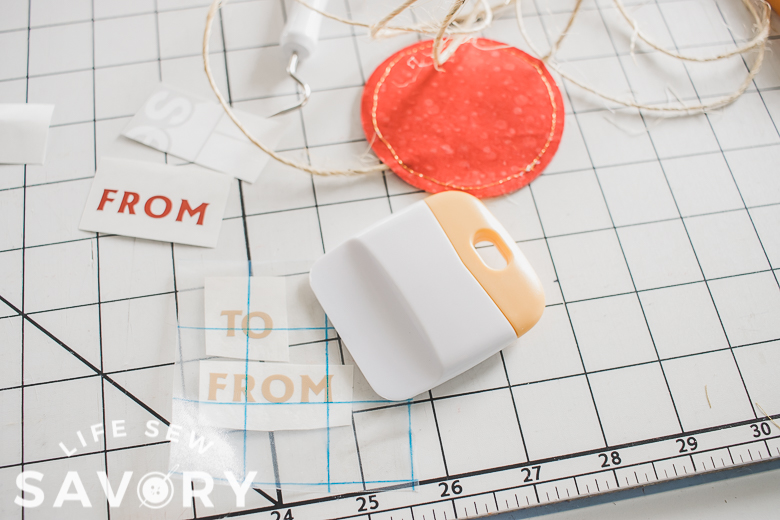
I used one of the built in fonts to cut the words TO and FROM for each of my tags.
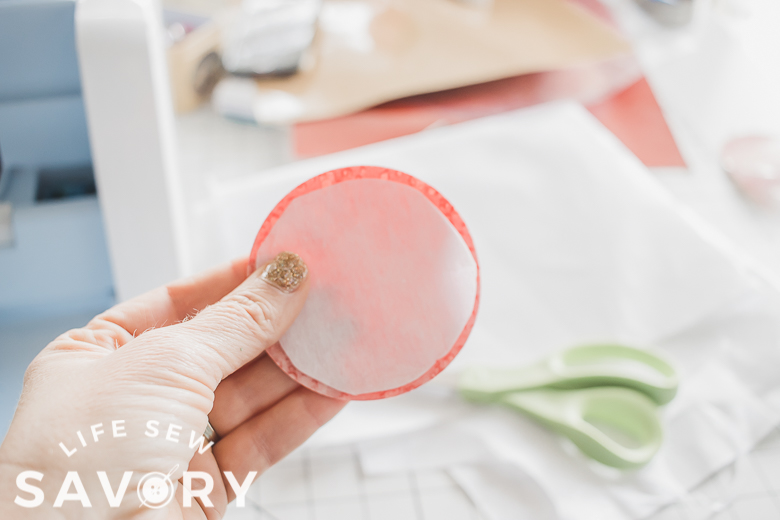
Fuse the interfacing to the back side of one of the shapes for each tag. This will make the tag stiff.
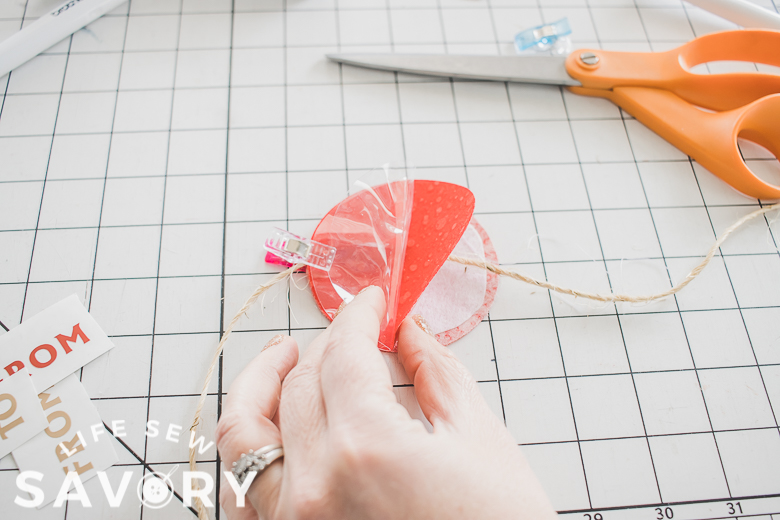
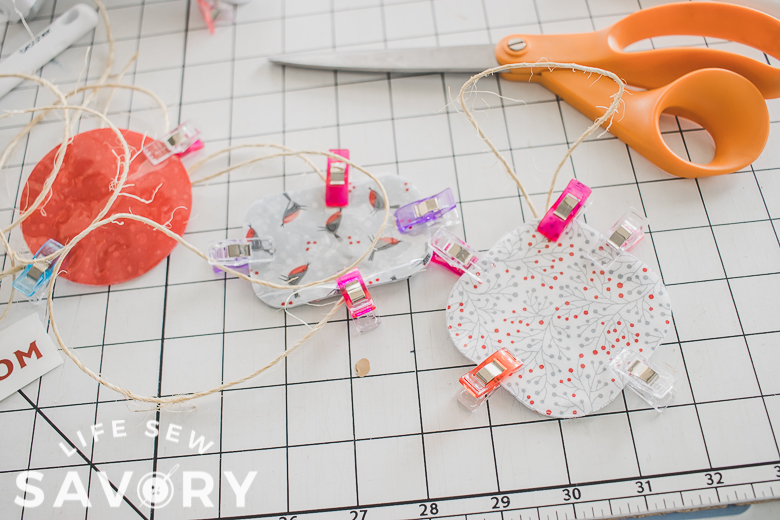
Now it’s finally time to put all this prep work into creating. Layer the shapes with the bottom being right side down, then add a tie {loop or long}, then add another fabric right side up, then the clear vinyl on top. Clip around to hold in place.
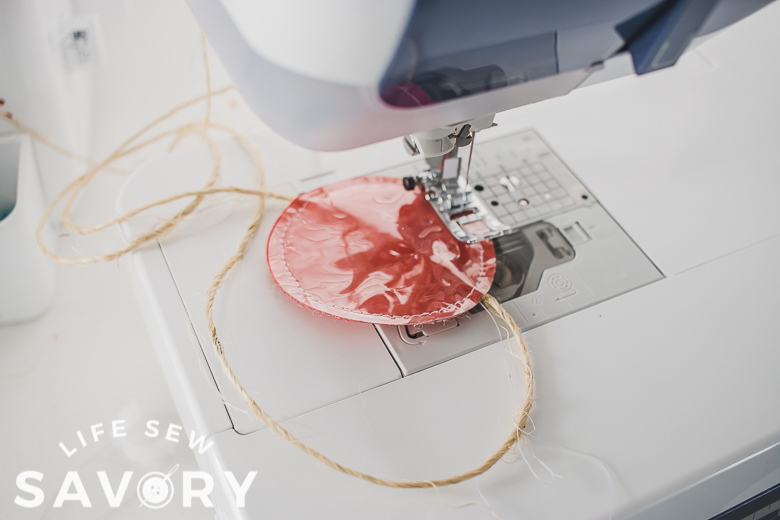
Sew all the layers together with a straight stitch. I used 3.0 and just white thread. I didn’t use any different needle or foot for this small piece of vinyl.
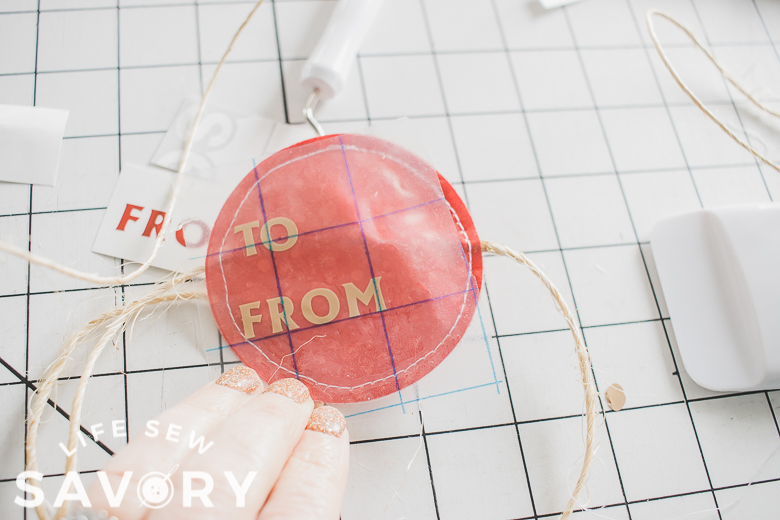
Use transfer tape to lift the letters off the paper and move to the tag.
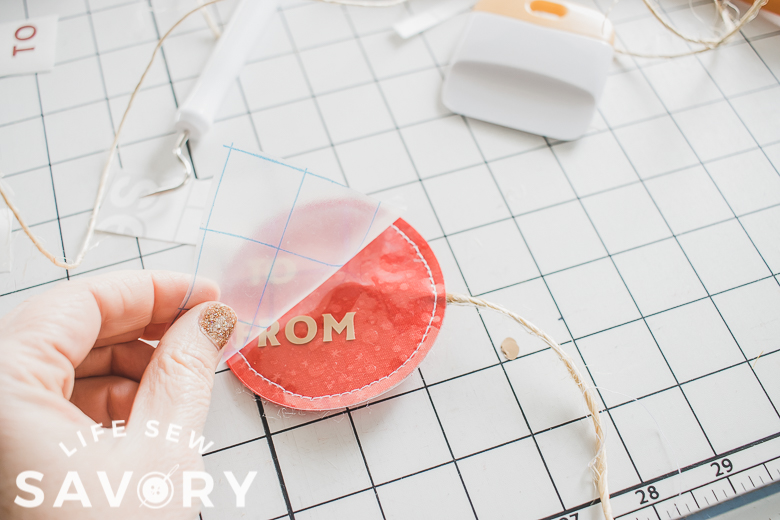
Press the letters to the vinyl, then remove the transfer tape. Your tags are now ready for names and gifts.
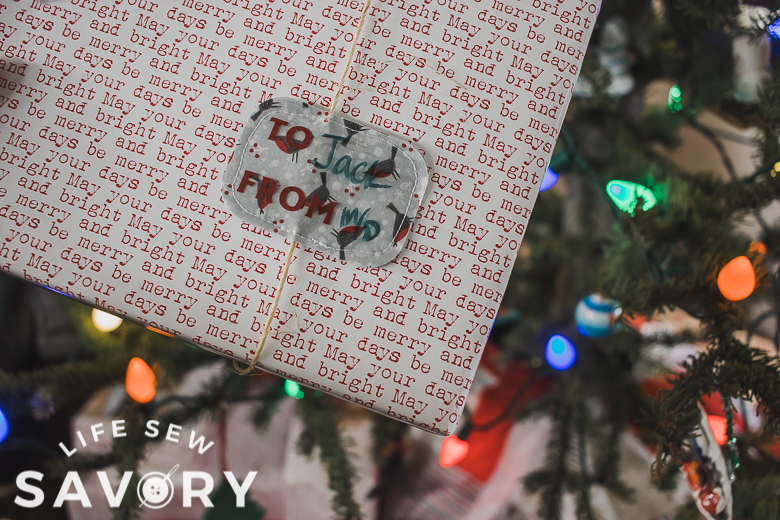
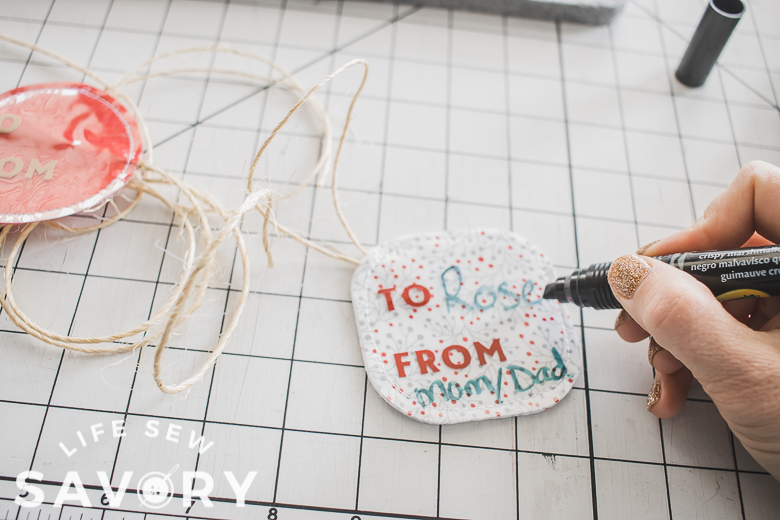
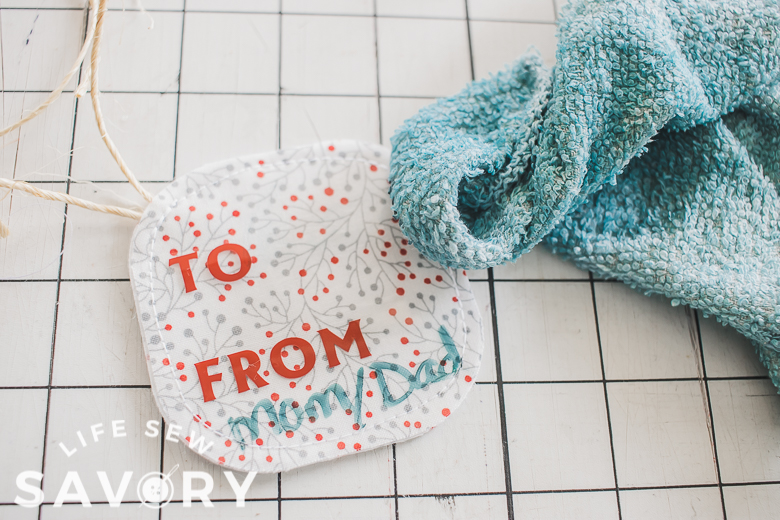
Add names with washable markers {not all will work on the vinyl, but this one did} or whiteboard markers. Use a damp rag to wipe names off when you want.
And cute tags are ready! Tie onto your presents and give away!








Rae says
Hi there! I love this idea! What a great way to use up fabric scraps to create sustainable gift tags that can be used over and over. Amazing. Do you think that I could use the same method without an electronic cutting device? Maybe If I use a rotary cutter/scissors to cut rectangular or square shapes?
Emily says
of course! You can hand cut any shape you want! Would be easy!