inside: use pre-printed fabric panels to make fun seasonal throw pillows and a tutorial for button back pillow cases.
I’ve been planning this project for a long time and finally just sat down to do it!! I’m planning to design more Fabric Panels in the future, but this is a fun start. I love using pre-printed fabric panels {see this pillow with handle project}, they make sewing easy and you get a fun design.
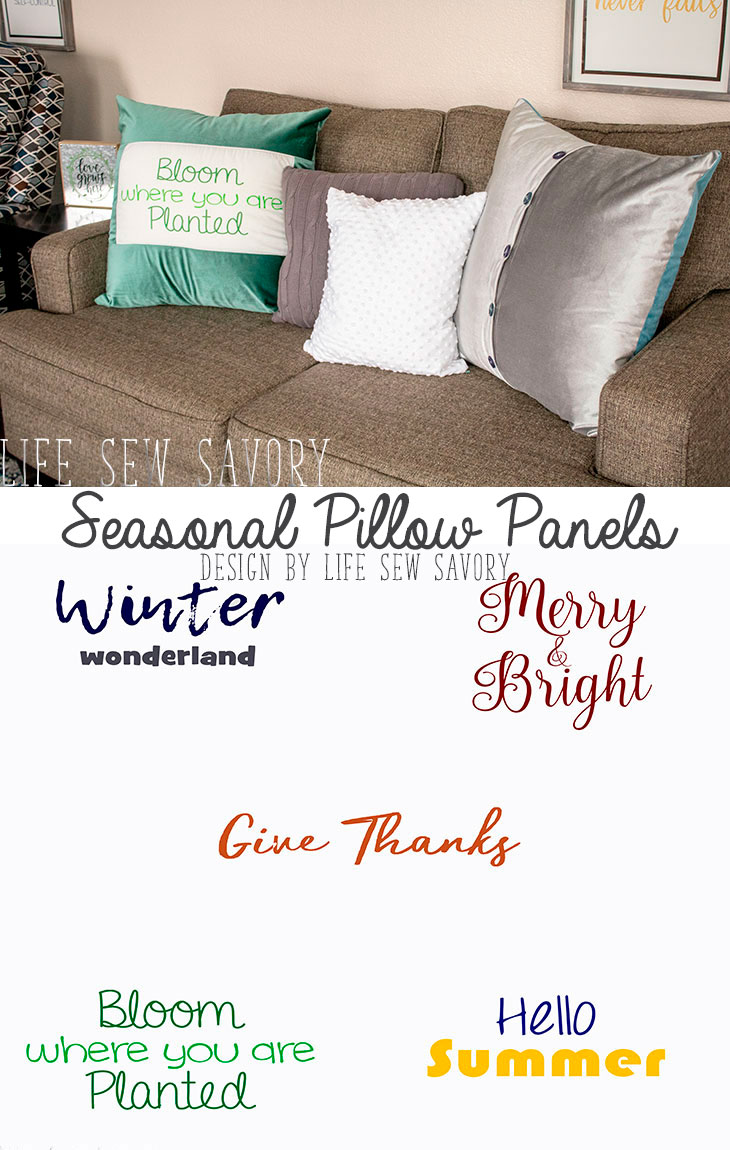
These fabric panels for throw pillow have designs for FIVE seasonal pillows all in ONE yard. So ordering one yard of fabric gives you enough to make five seasonal throw pillows. YEAH! I’ve sewn up the first two to show off today.
I’m also showing off our “finished” family room area… I have it in quotes because it always feels like a work in progress, but it is pretty done for now. You will find the tutorial for fun button back pillow, links to the fabric panel and photos of our family room in this post.
Seasonal Pillow Fabric Panels –
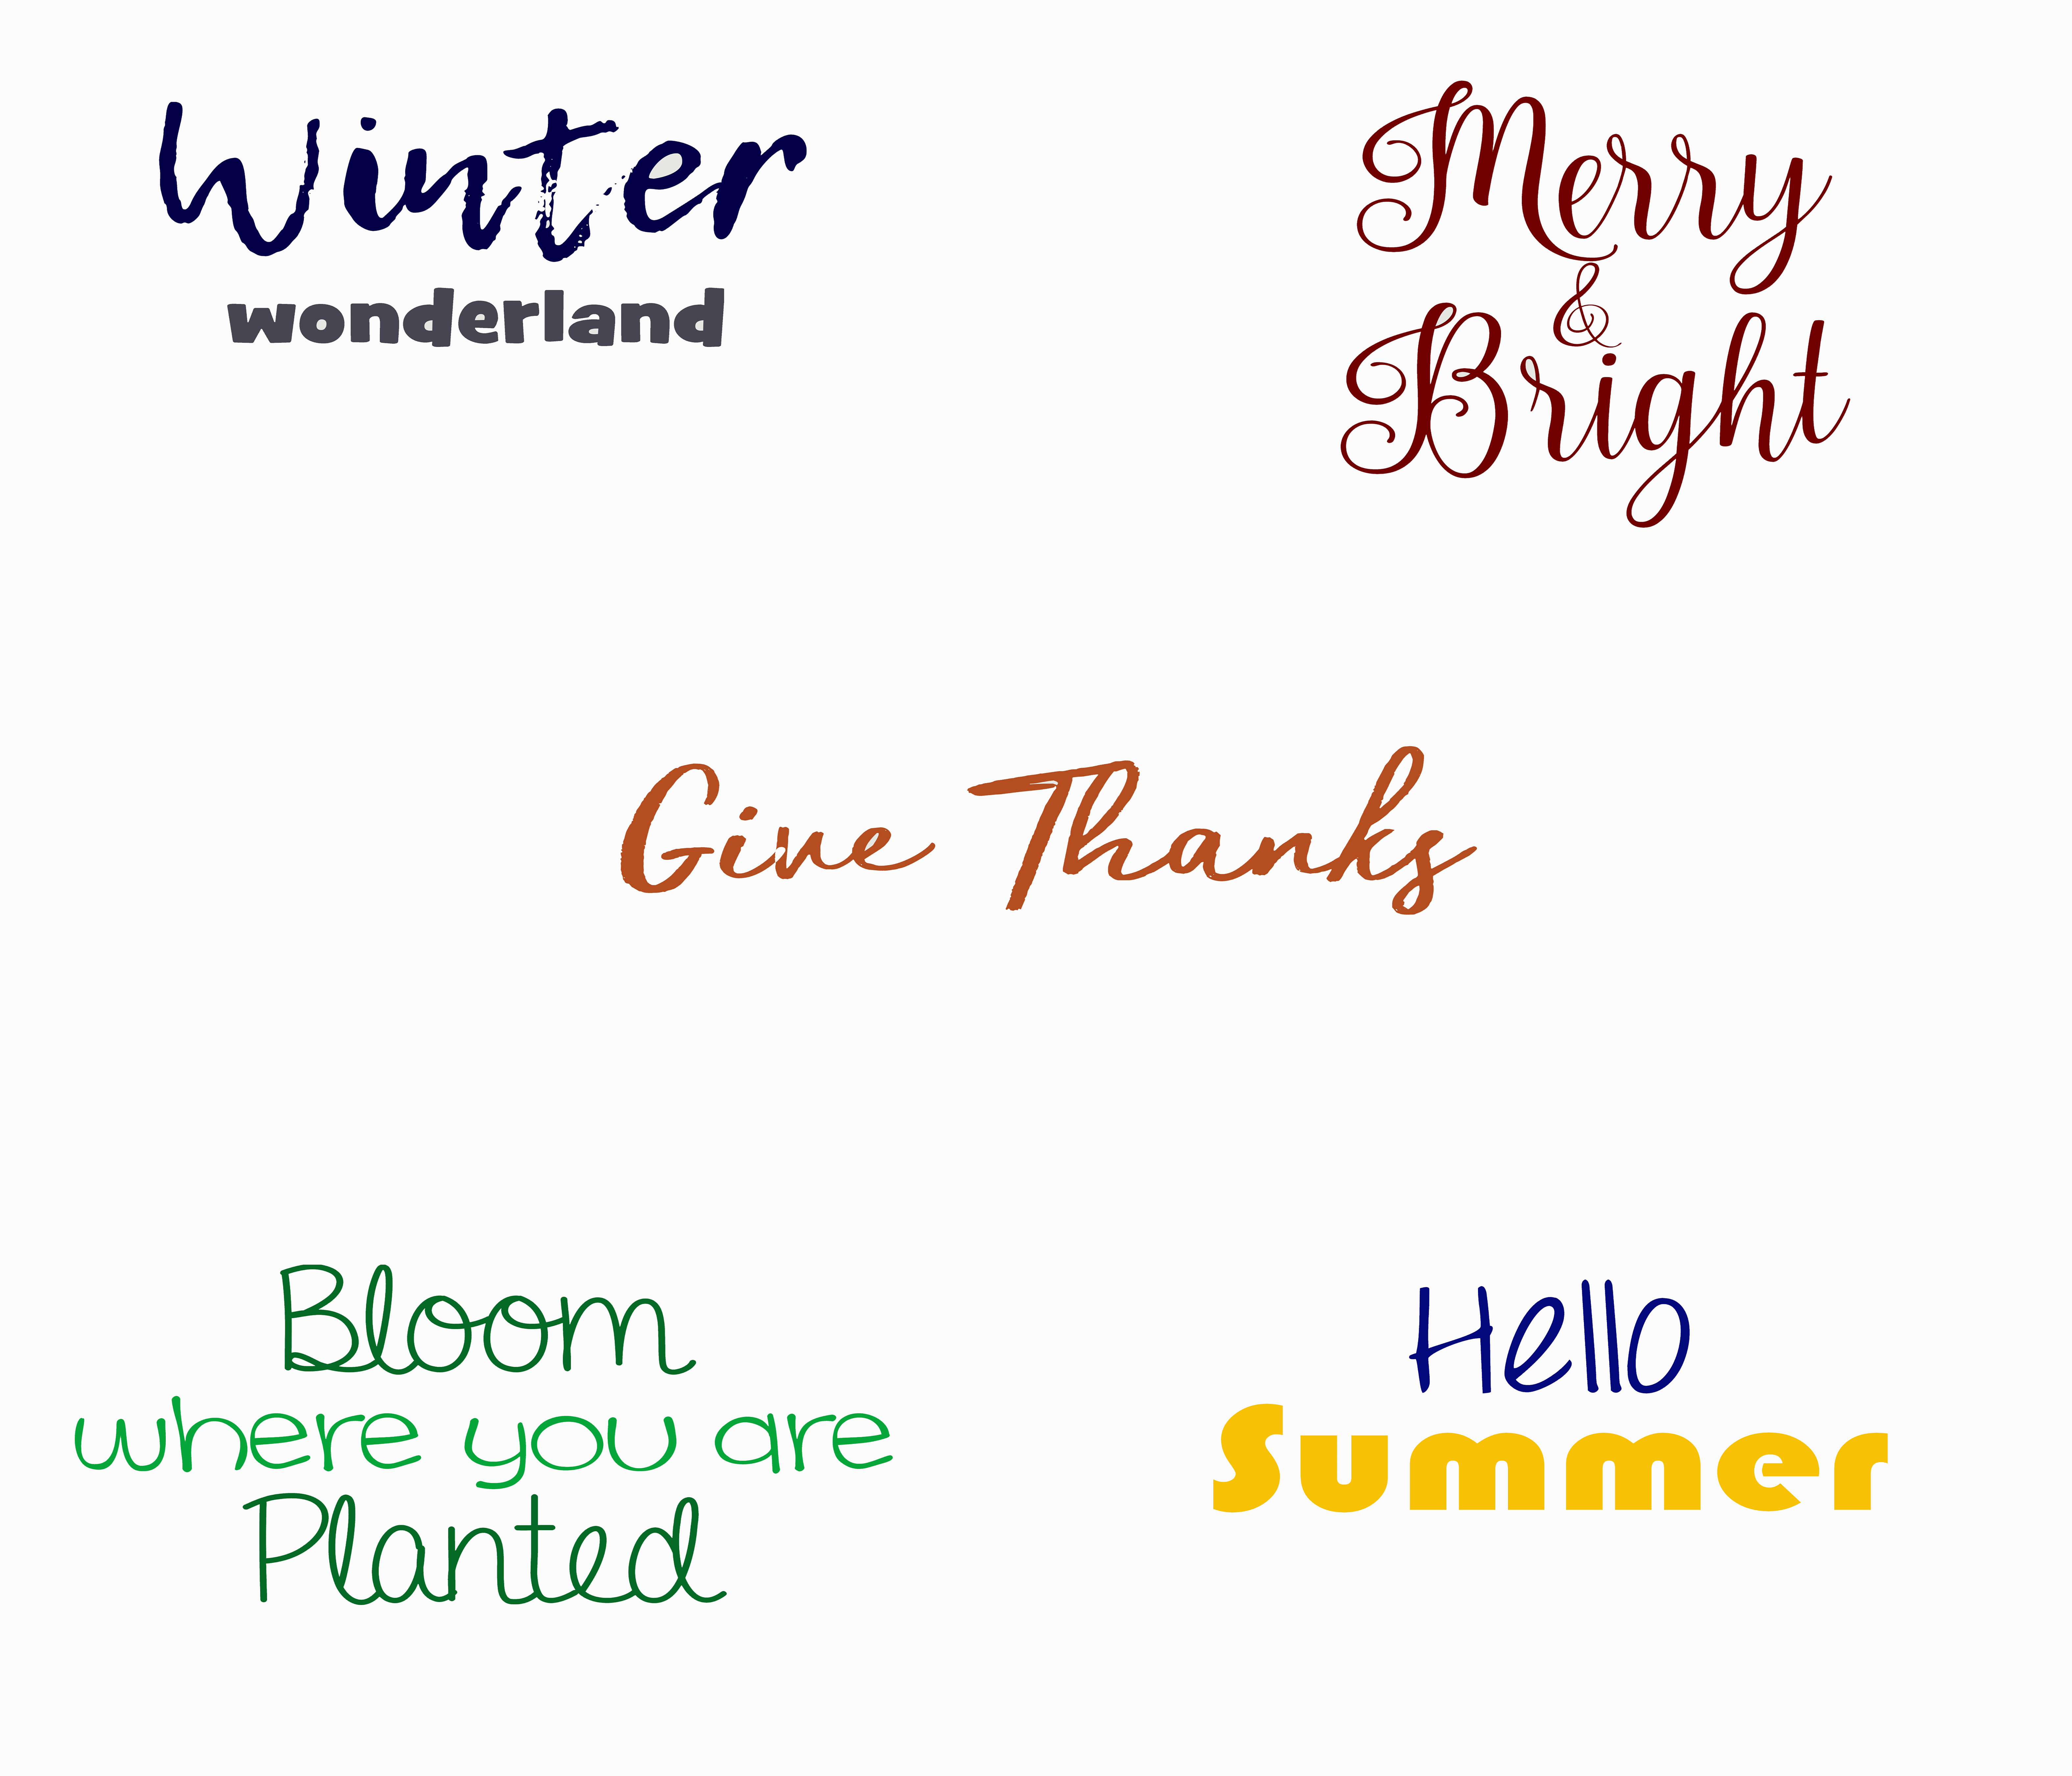
The above photo shows a shot of the five designs you get with the 1 yard fabric panel. It’s a good idea to check out the designs first before you order the fabric to go with them. I didn’t do a great job matching the blue for the WINTER pillow as you can see I wish it was a bit deeper blue for the velvet..
I really love the combo on the spring pillow though.. If you have seasons/phrases you want to see on future fabric panels please let me know as I am planning to do another batch soon! I love the rich look of the velvet I used on these pillows. {AND it’s not expensive!! links below}
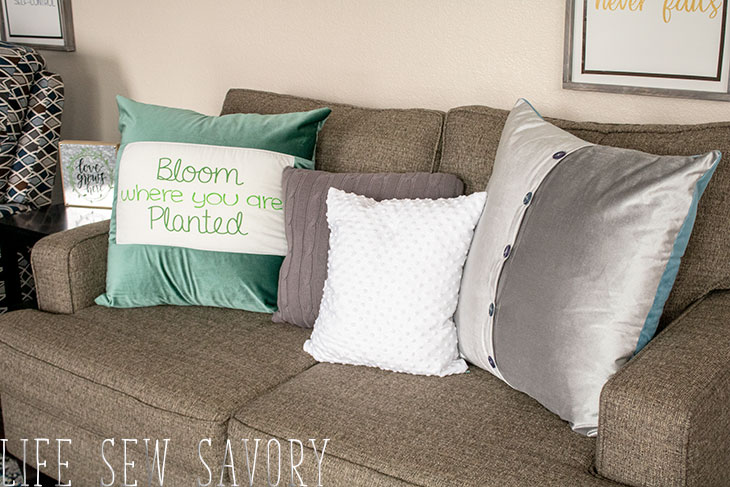
OK! Let’s talk fabric, then we will do the button tutorial and finally you can scroll all the way down for room photos… You can purchase this panel on Spoonflower HERE.
Again, 1 yard will get you all five designs.. They fit on 20″ or larger pillow forms. I used 27″ forms, and 25″ pillow covers for nice full pillows. Each phrase has space around it to cut as desired before framing with your choice of coordinating fabric.
For the panel I just bought the basic cotton ultra to test, but it comes in SO many great fabrics.. canvas, velvet, sateen… you should check it out! Here is the fabric I used for around the fabric panels – Royal Velvet in a variety of colors… the grey is GORGEOUS!! Check them out.
Button Back Throw Pillow Sewing Tutorial –
Here’s a great image to pin if you are wanting to save this tutorial to make later.. If you want to make these seasonal pillows and want to use a different pillow method here is my ENVELOPE STYLE CASE or the ZIPPER PILLOW CASE tutorials.
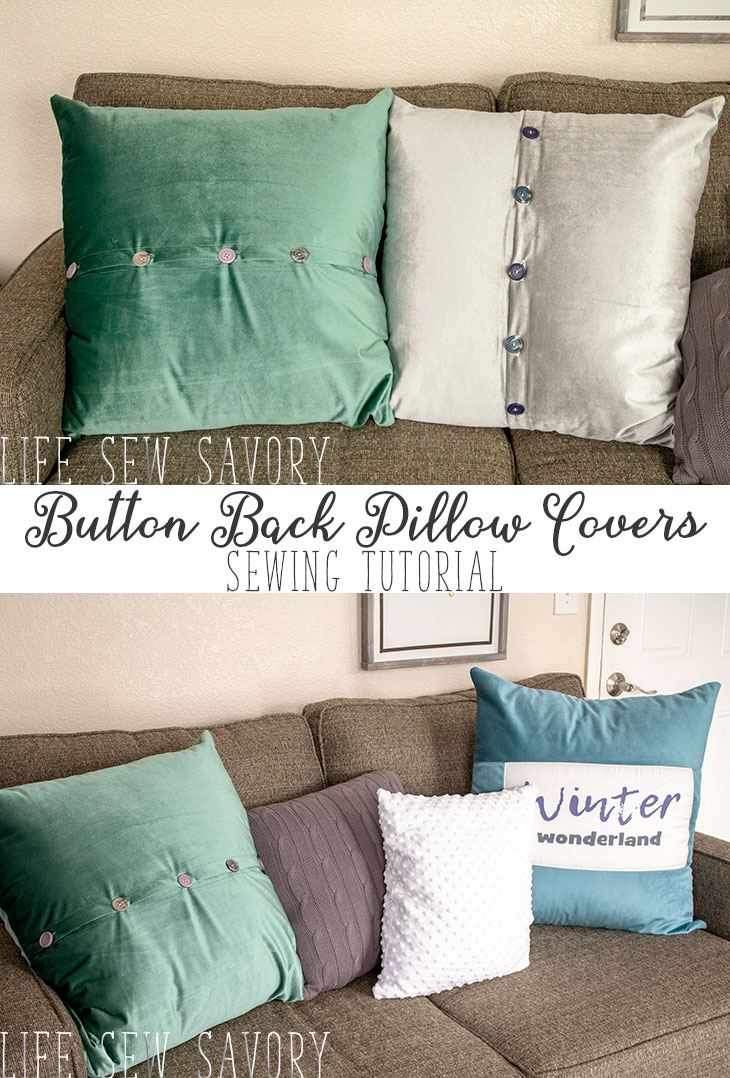
I started by cutting out my design from the fabric panel then laying fabric around it. Again my pillow form was 27″ and I made my pillow cover 25″ square for a full pillow.
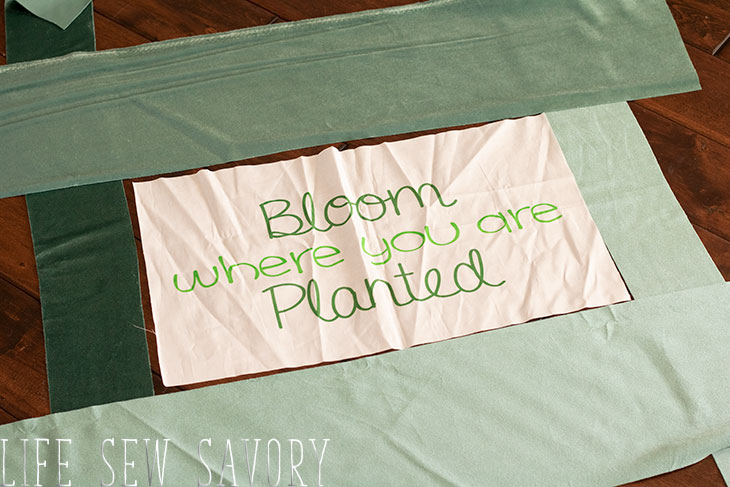
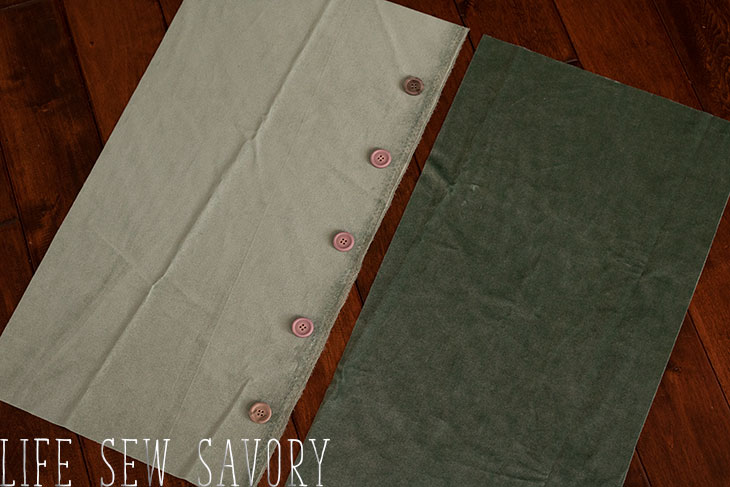
The button back was laid out like this.. I cut the long sides the 25″ and then for the width I added 2″ to each for seam and placket allowance.. So each side is 25″ x 14.5″. For this large size pillow you will need 5-6 buttons for the back.
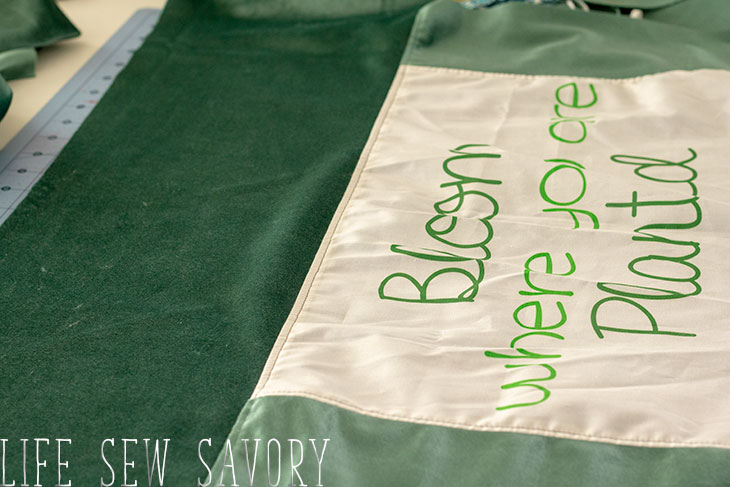
First make your pillow front. I top-stitched along each seam.
Square it up to 25″ on all sides.
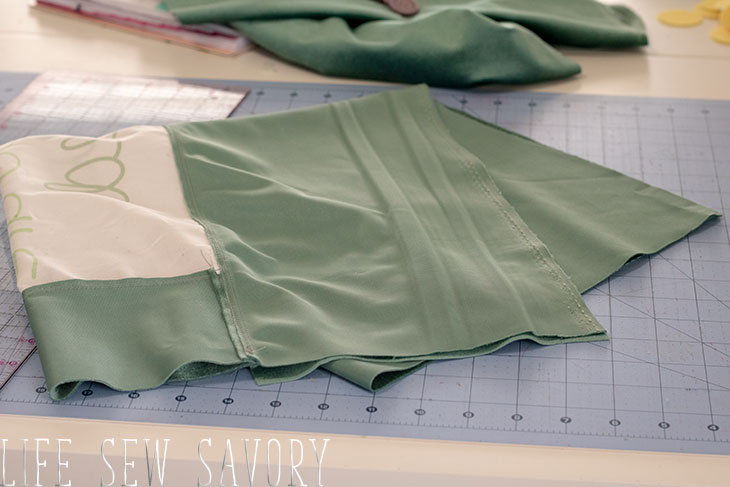
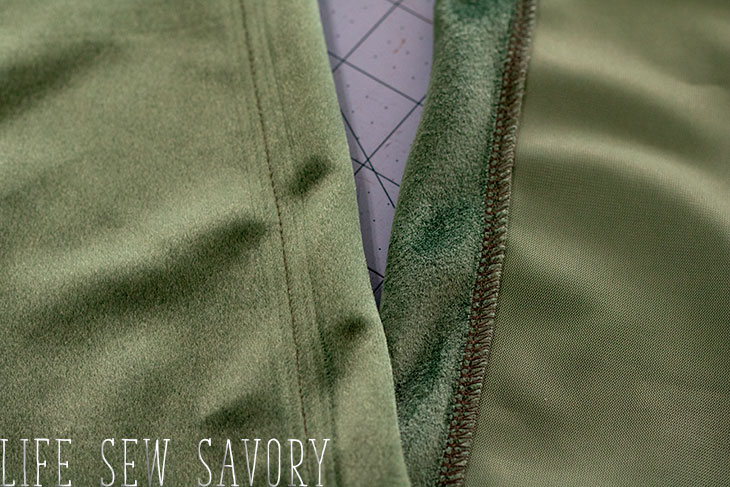
Prepare the back by finishing one of the long sides of the pillow. I used a serger, but you could also fold under 1/4″.
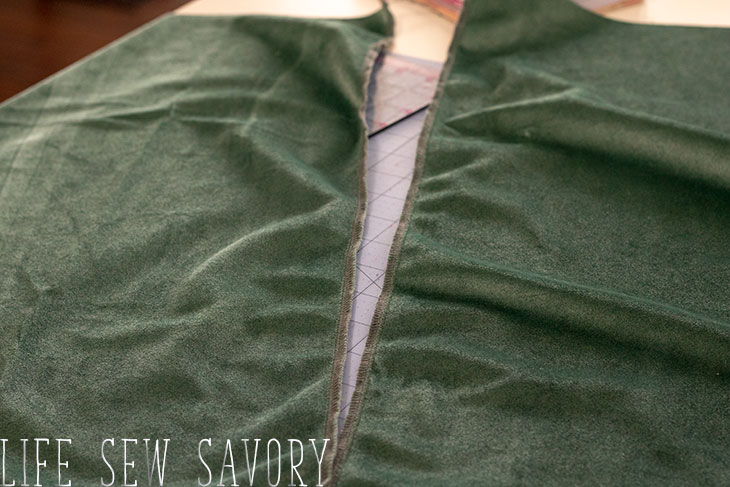
Fold back the button placket about 1.5″ on each side. Sew along the edge to secure.
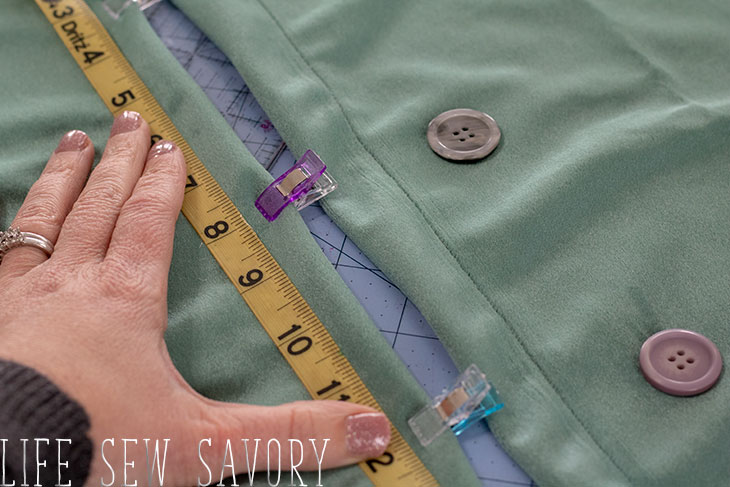
Space out and measure for the button placement. Mark and make button holes in each of those locations. You could also use snaps in place of buttons.
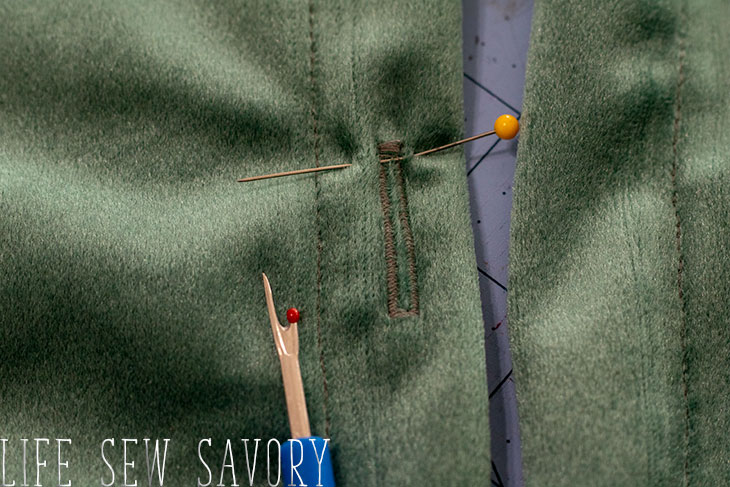
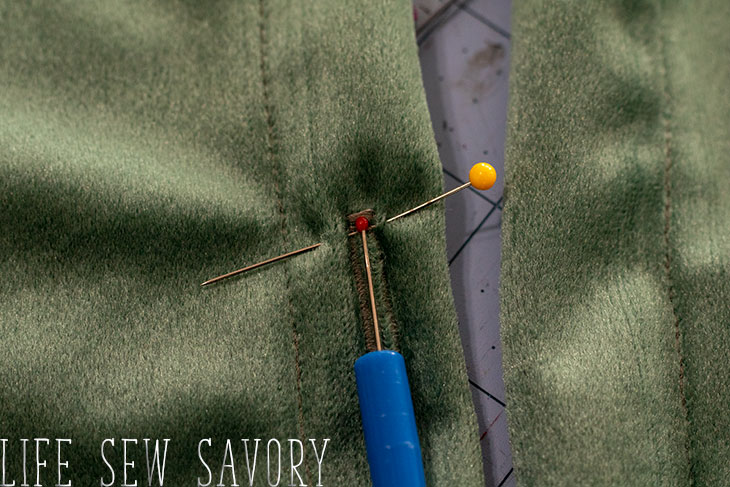
Here is how I cut my button holes open. I place a pin across the top of the hole on the inside of the stitching. When I slice up with my seam ripper it stops at the pin and I have no worries of cutting my stitches.
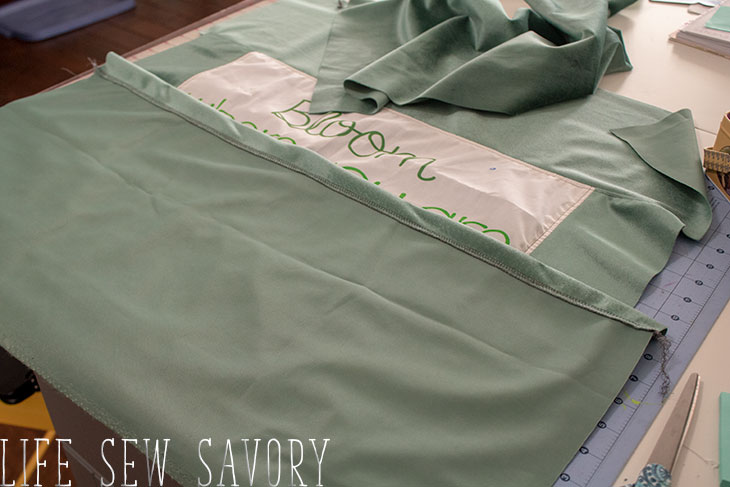
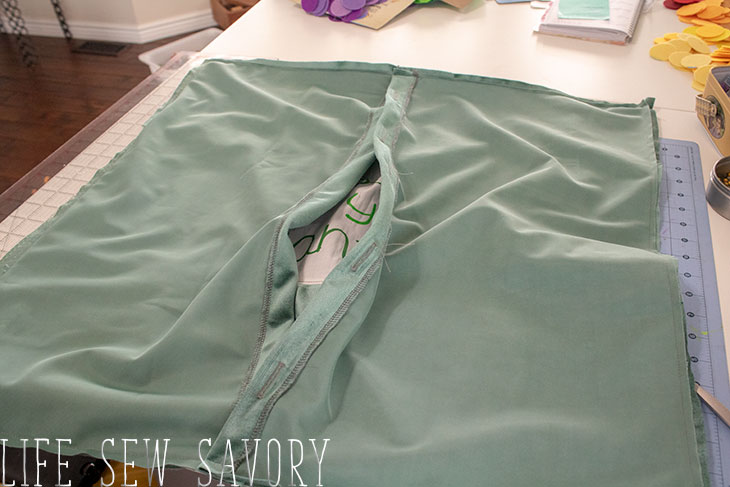
Place the back panels rights sides together on the front of the pillow. The side with the button holes should be UNDER the side without.. My picture below does NOT show this.
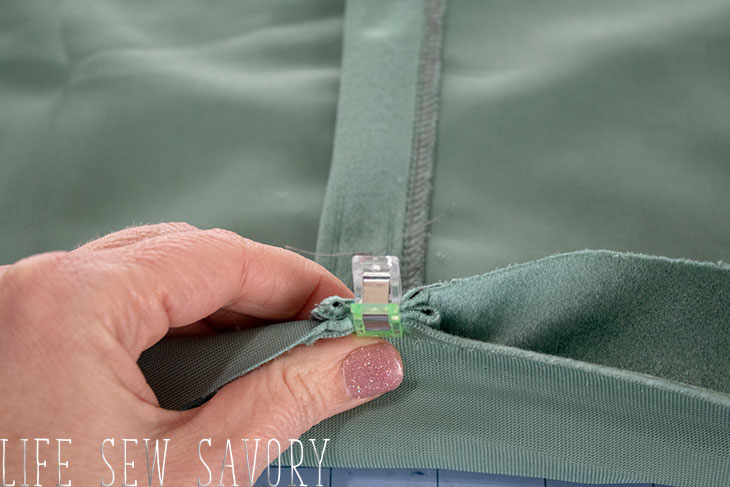
Pin or clip where the panels connect to make sure this area stays securely lined up.
Pin around the rest of the pillow case as well.
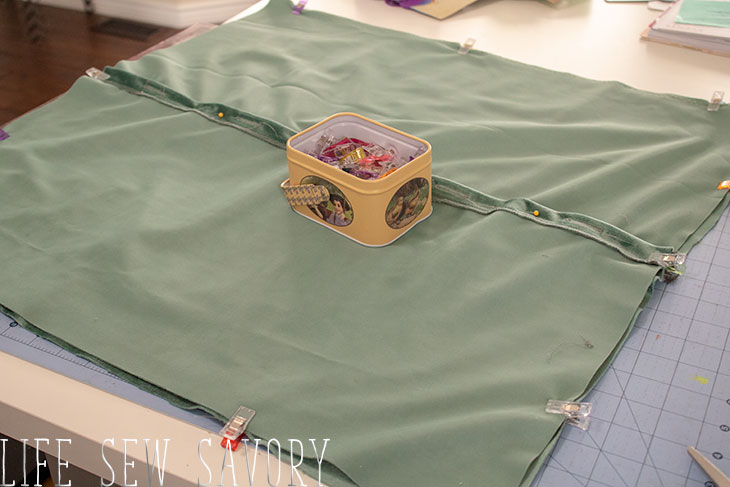
Sew around the pillow case and then open and turn through the back hole.
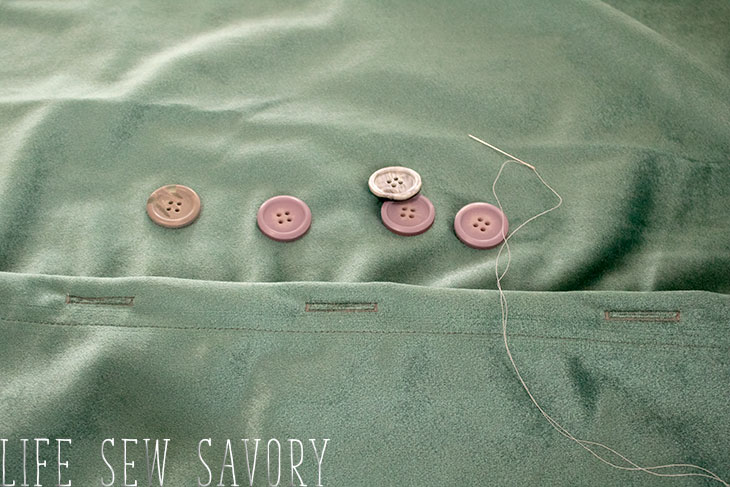
Sew your buttons on to the under placket to finish. I LOVE both of the button back cases I’ve made recently.
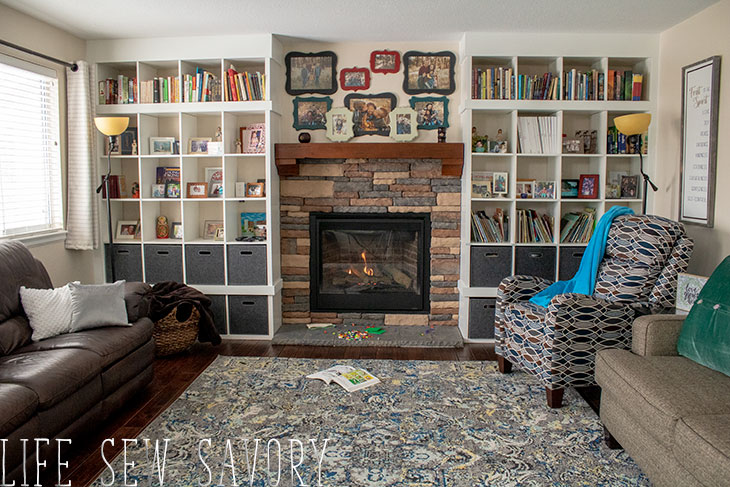
And finally for those of you who are nosey like me and LOVE seeing other peoples homes.. here is our family room…
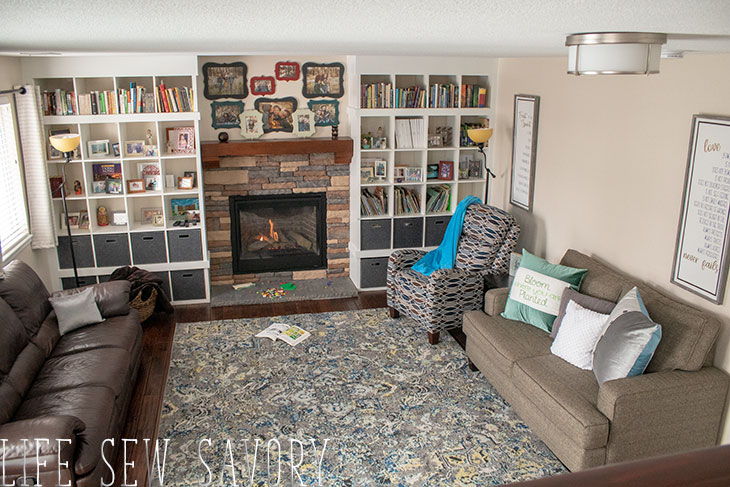
I took this photo as a very good representation of what it looks like all the time. PLUS PLUS toys on the hearth and an open Calvin and Hobbs book on the carpet.. We generally don’t have too many toys in this part of the house {just books} but the Plus Plus have landed here… if you don’t know what I’m talking about check THIS OUT – seriously the best toy and SO good for imaginative play.
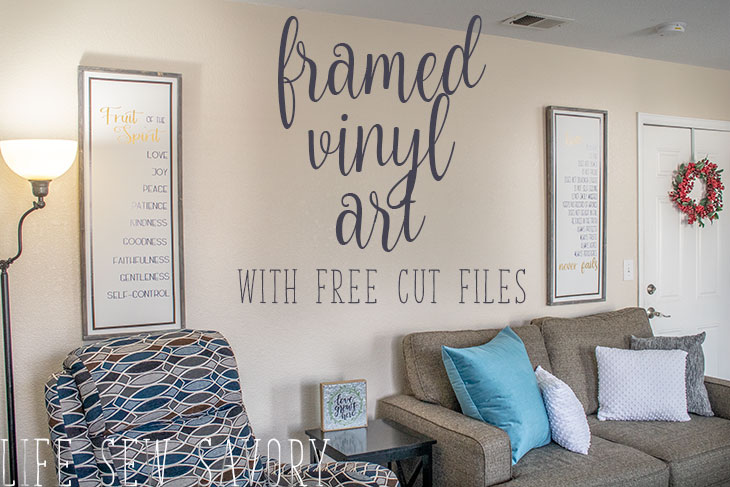
If you saw my post last week on these farmhouse frames and the vinyl art inside you will know I was talking about the white space on this wall… Read the full story of our projector journey here.. A few people asked about how the picture was so I thought I would show you. This is during day light hours with the window covers open! Still plenty bright, of course it’s even better at night or with the curtains drawn.
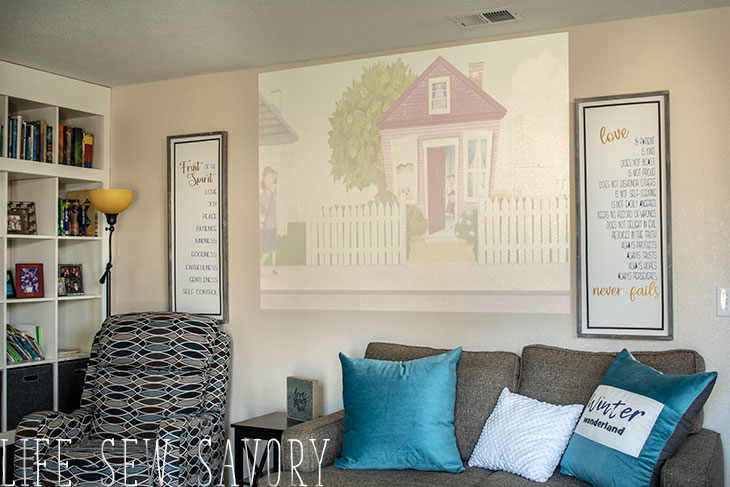
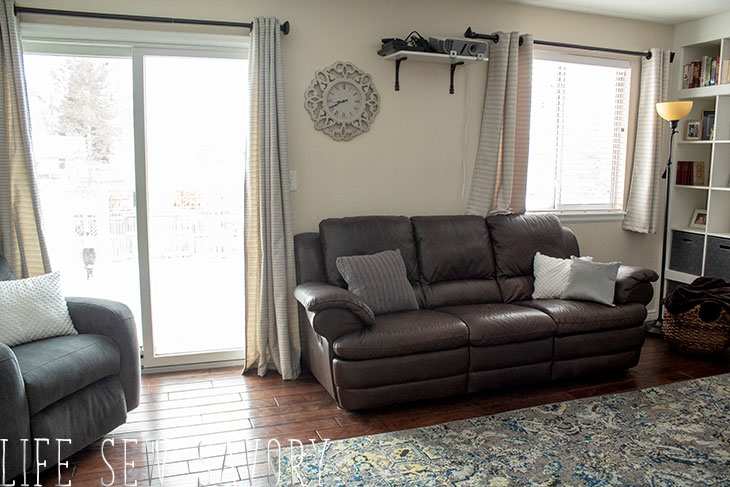
And here is what the opposite wall looks like. Our projector set up is above the couch and fairly inconspicuous. I don’t mind it and rarely sit staring at this wall. You can find all the products for our set up here in this post..
One final view from above… this room is down 5 stairs from our kitchen/eating area. I created the built ins on the back wall with IKEA bookcases and plain wood. We put the book cases in when we first moved in and then I added the frames about a year later. I painted the wood frame to match and then finished with caulk. Check out THIS POST to see what this wall looked like when we first moved in…. WOW what a difference!!
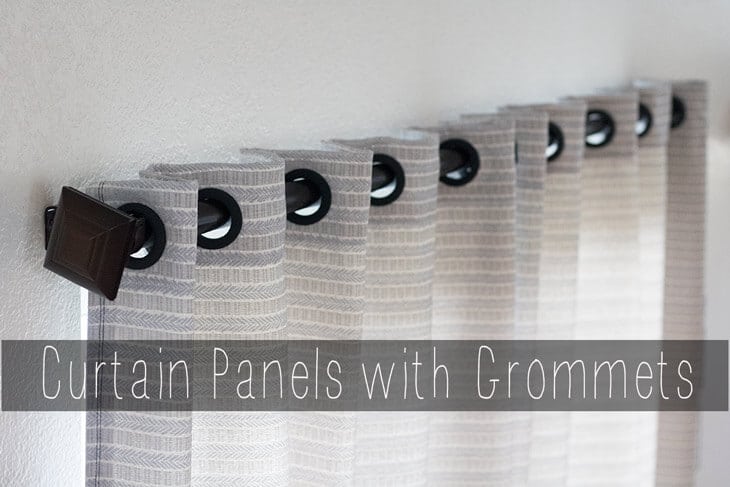
Curtains with Grommets tutorial






Leave a Reply