Inside: Learn how to sew a Christmas socking from a blanket with a free PDF pattern. Sew a cozy Christmas stocking using a blanket. Add embroidery if you want for a personalized look.
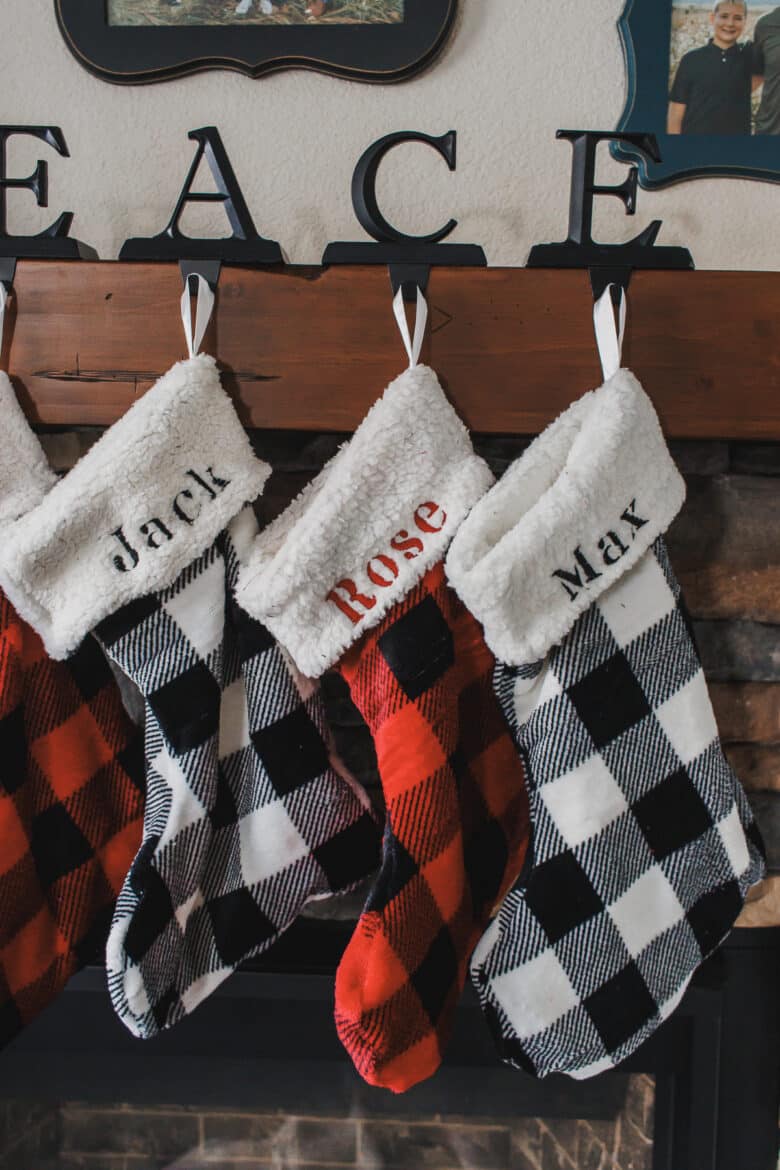
Last year I sewed a Christmas tree skirt from a cozy blanket and this year I’ve sewn coordinating stockings to go with it! The stockings are hung, but we don’t have a tree yet, so the tree skirt hasn’t made its appearance yet. {coming soon!} I’m so excited with how these stockings came out, and in the process of making them I decided to add embroidery, so now they are personalized as well!
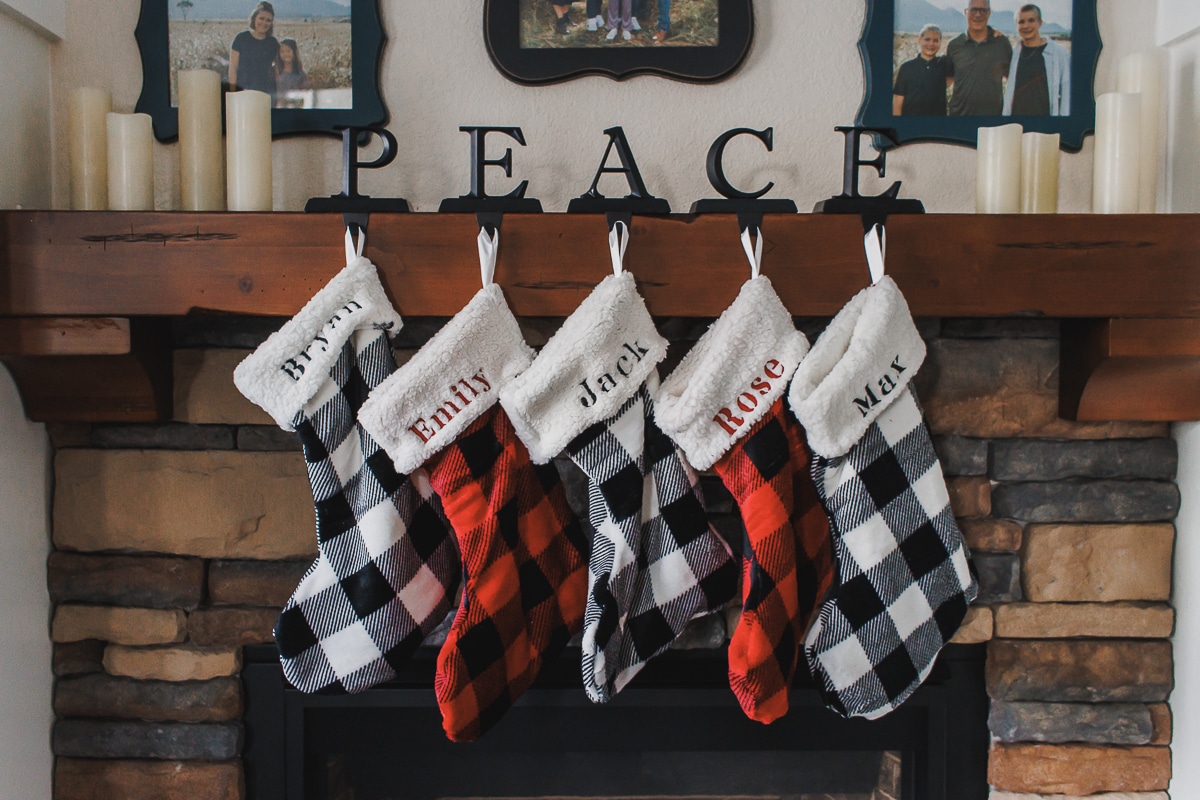
Cozy stockings from a blanket – personalized
After creating the pdf pattern, and cutting out the shape from the blanket, I decided I wanted to add embroidery to these stockings as well. This made the project take longer than I had hoped, but I still finished all these stockings in about four hours. The kids came home from school and were so impressed, they also think they are bigger, which means more stuff… I’m not sure it that will be the case {haha}
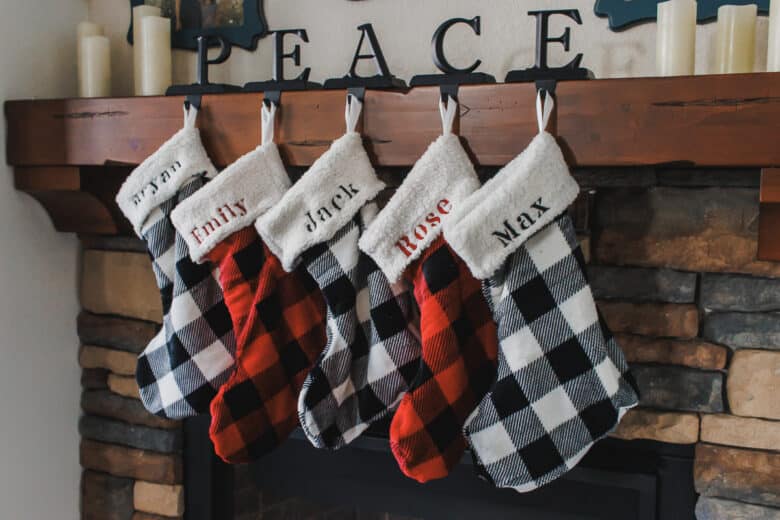
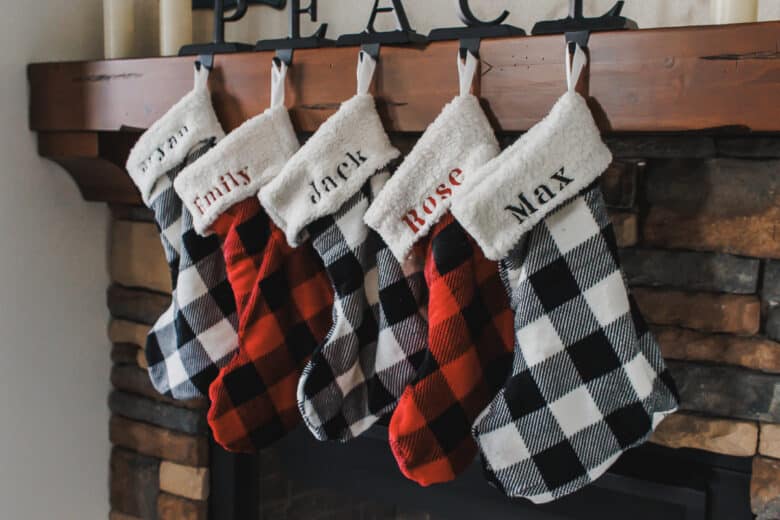
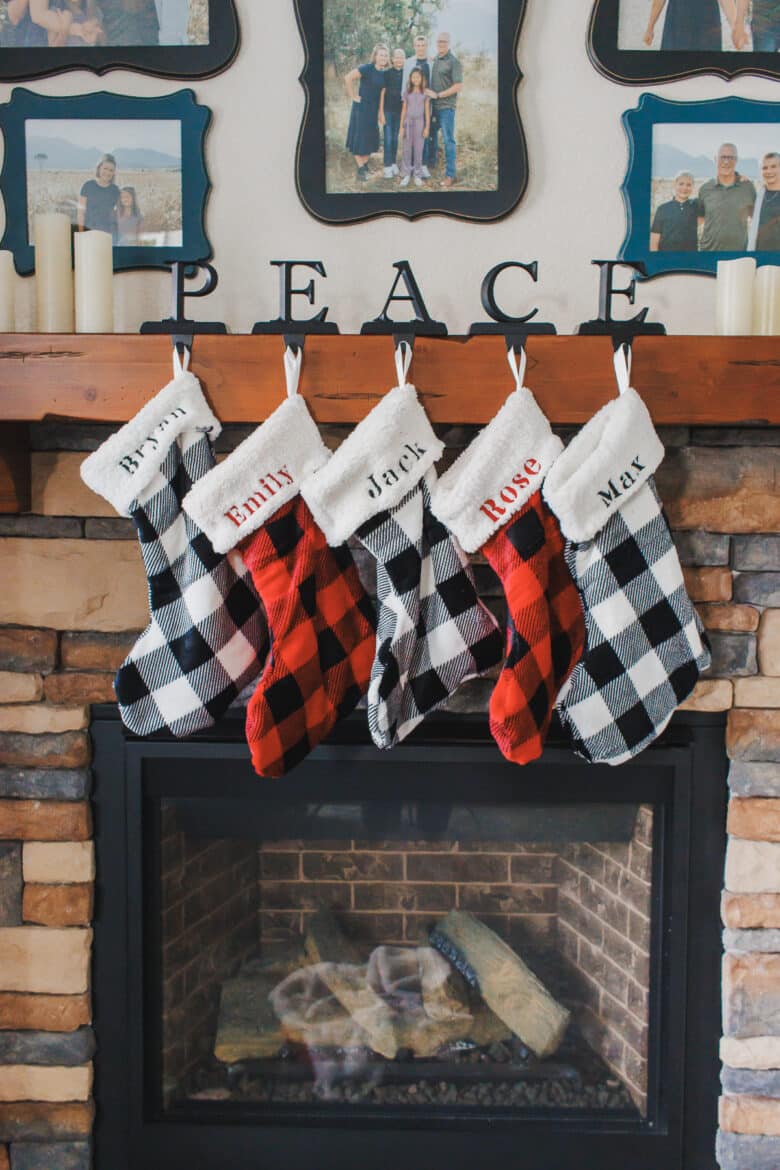
In the end I’m very pleased with the result and love the combination of the red and white blankets. Each stocking is lined, but the blanket I used was actually two layers, so I took them apart. If you blanket is a thin single layer you will just cut more layers using the pattern.
I have a free pdf pattern for this larger style stocking and it works perfectly for sewing a stocking from a blanket!
Other free Christmas sewing tutorials and patterns
Every year I sew a few fun projects for Christmas so you should check out my other tutorials and patterns for sure. Here are some fun ones!
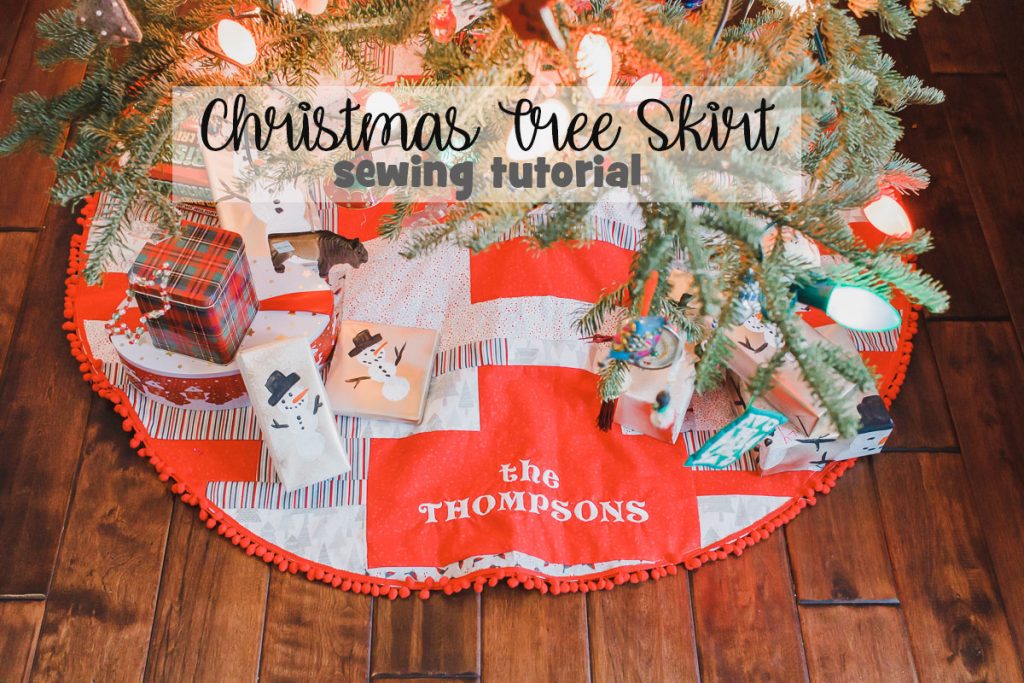
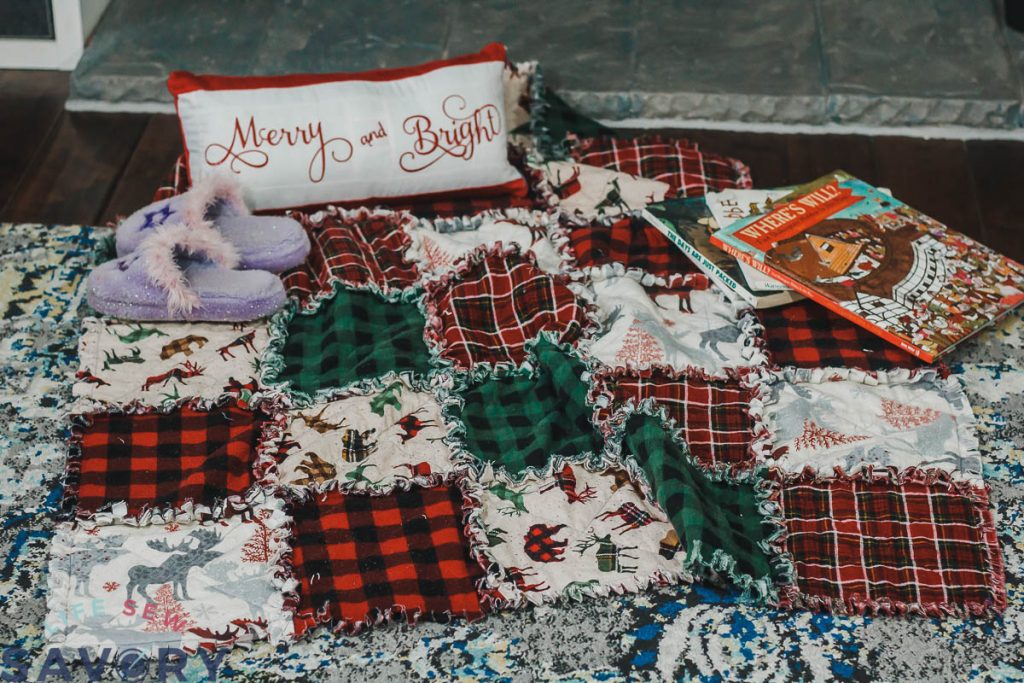
- Christmas tree Skirt tutorial
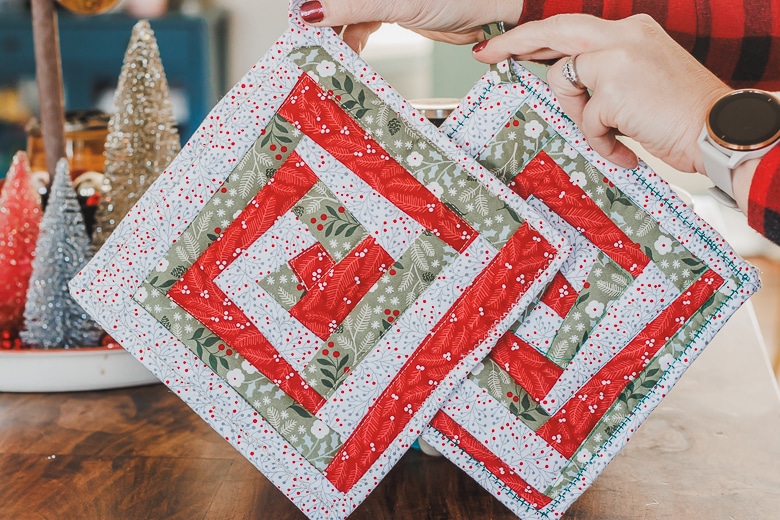
- Scrappy potholders
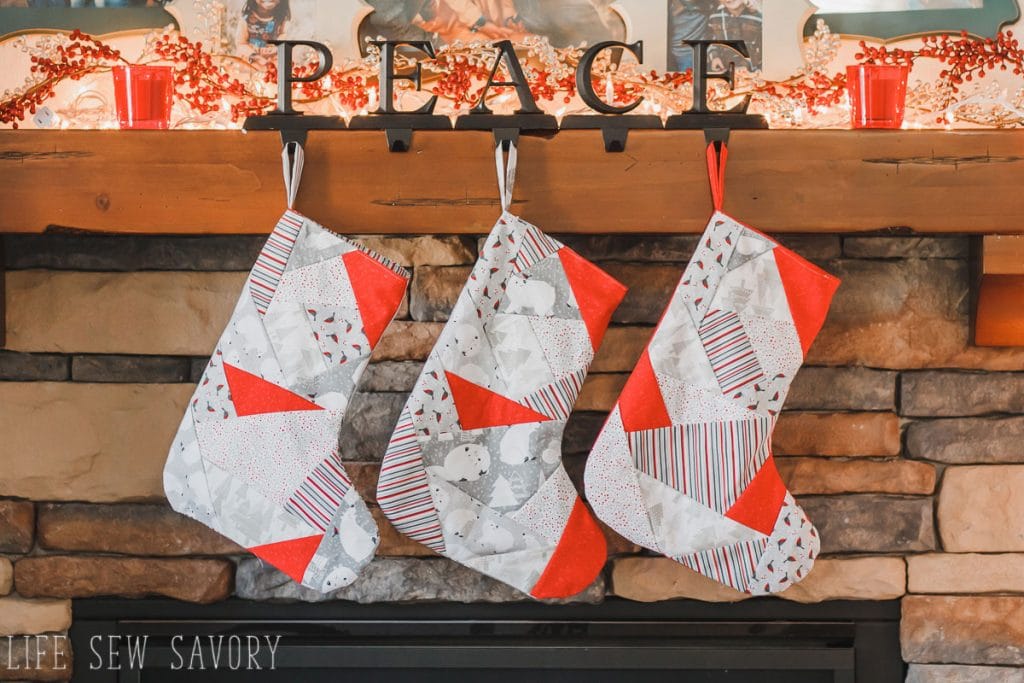
- Paper piecing Stocking pattern
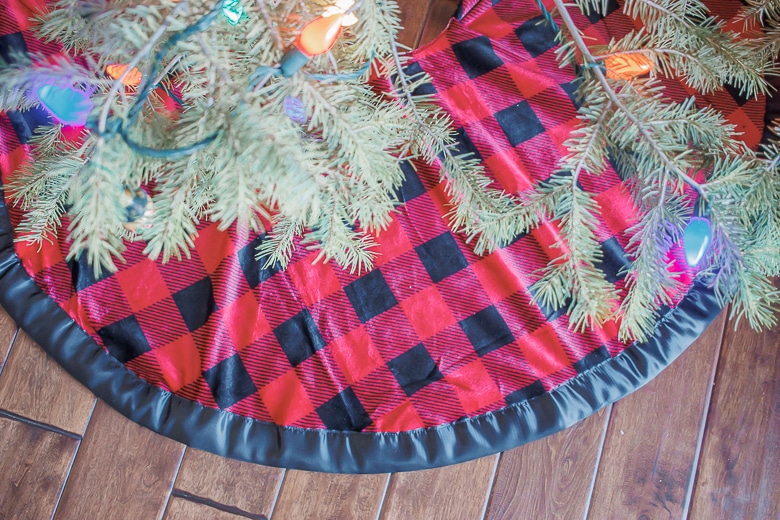
- Sew a Tree skirt from a blanket
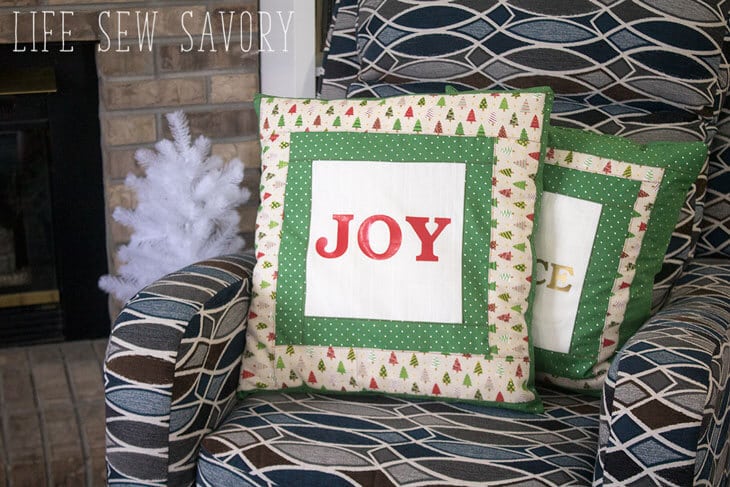
- Christmas pillows
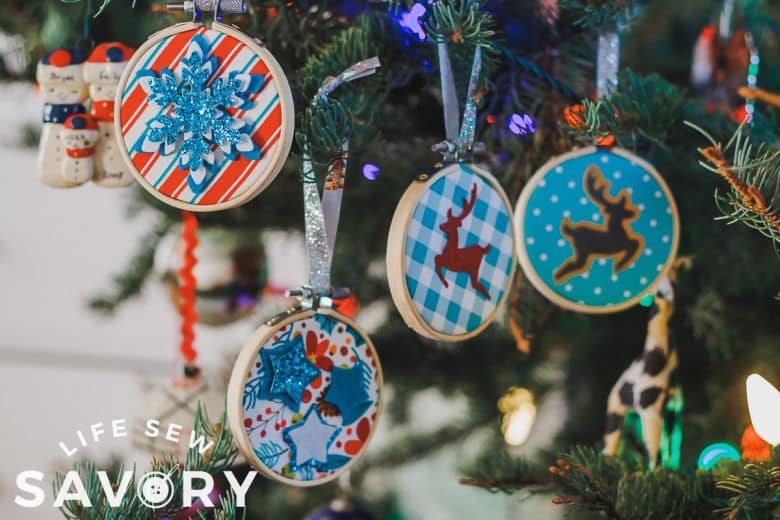
- Mini-hoop ornaments
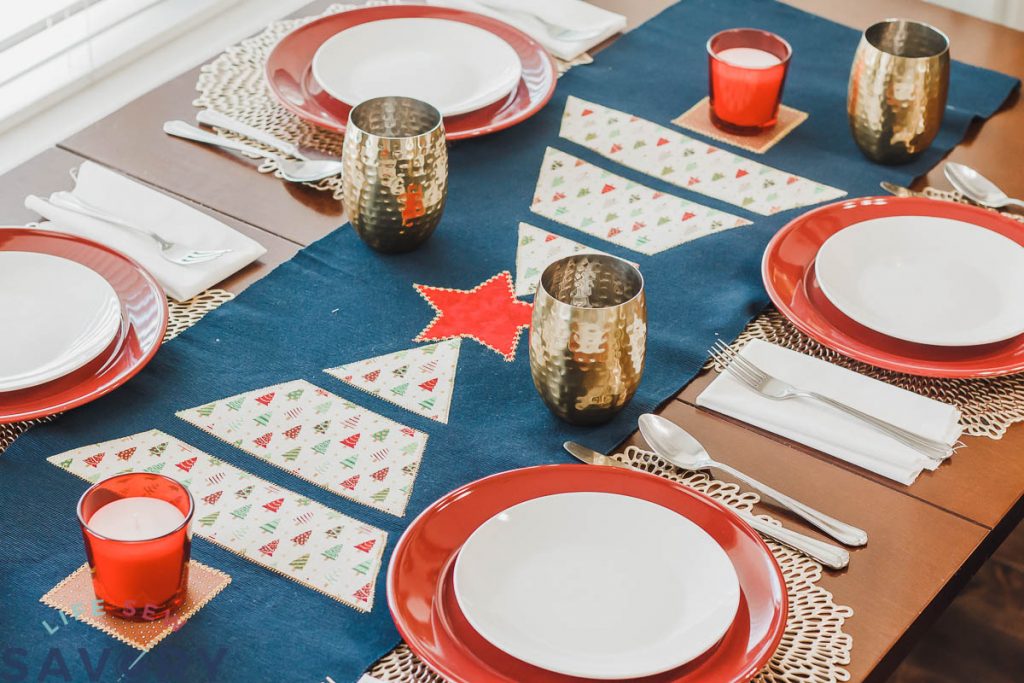
- Christmas tree table runner
- Cozy flannel Christmas blanket
How to sew a Christmas stocking from a blanket
Let’s jump into the tutorial! I used blankets I found at Hobby Lobby – they were 40% off which makes them cheaper than just buying fabric. Each blanket was about $10. The blanket linked below is similar from Amazon. A throw size blanket could make four stockings.
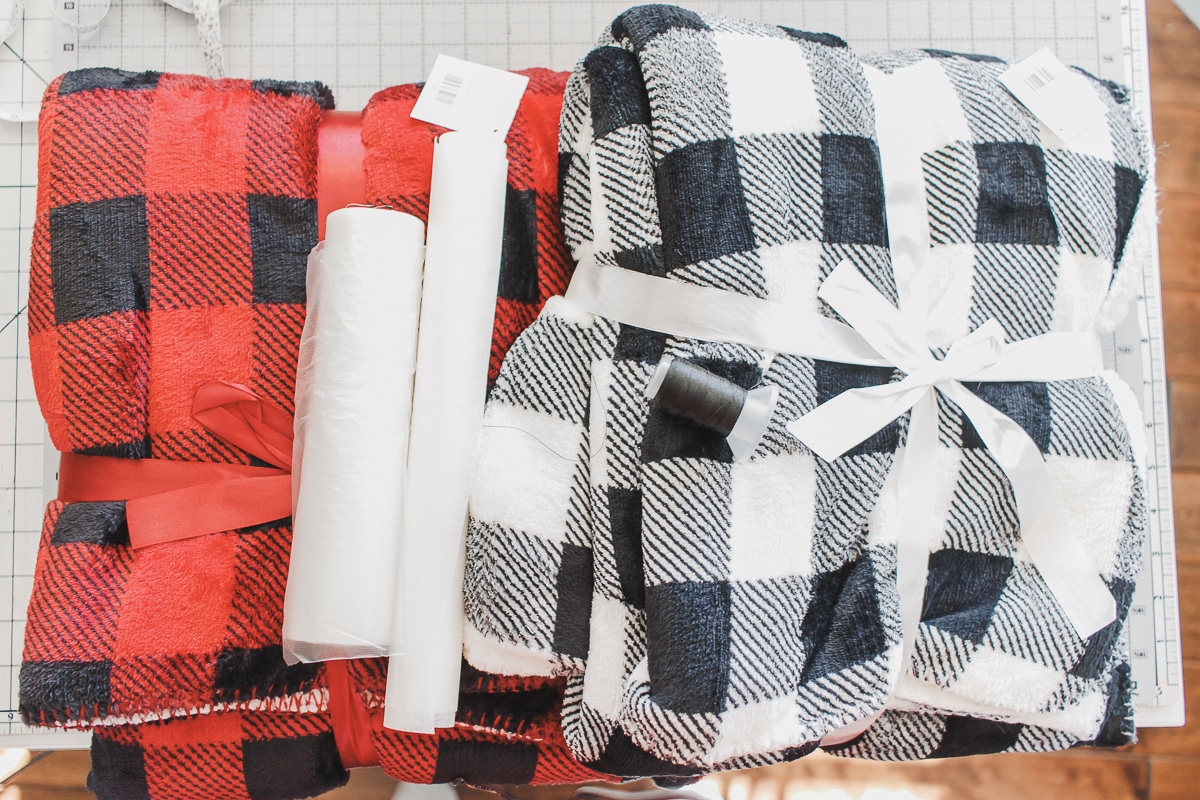
- Cozy Sherpa Blanket
- Supplies for embroidery if added
- Sewing/Embroidery machine { I used the Brother SE200 combo machine for all}
- Download free pdf pattern using button below
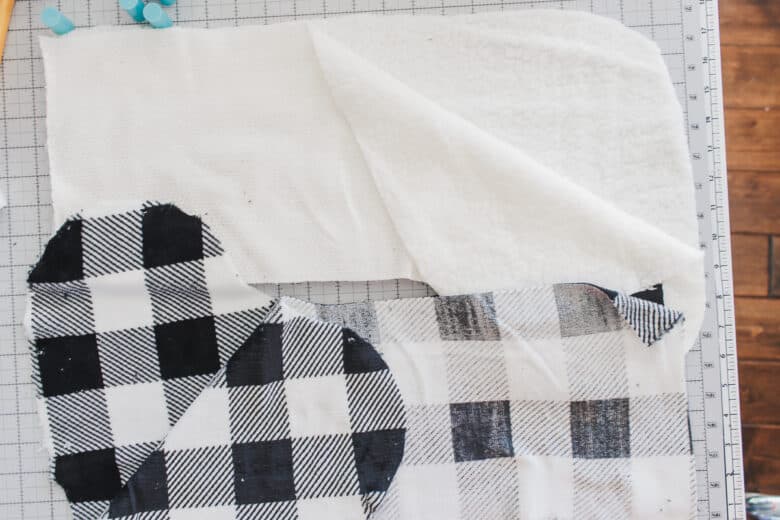
I folded the blanket in half and then cut out my stockings. This was just a throw size, so when folded the stocking pattern just fit side to side. I did add about 2″ to the top edge to give a bit more fabric for the folded cuff. This is optional… you can add or just cut as us for a shorter stocking OR if you don’t want a cuff.
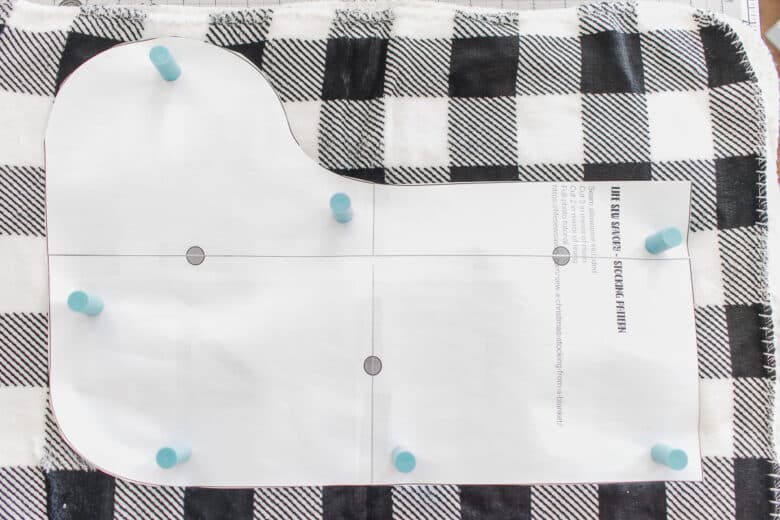
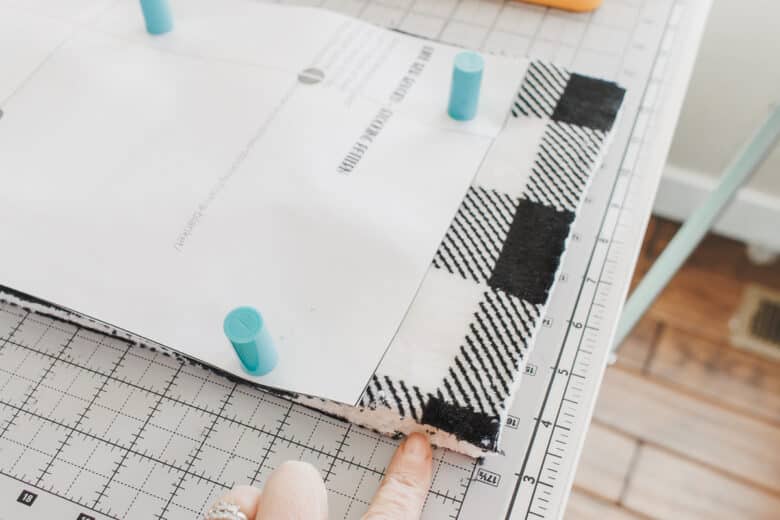
You should have two pieces of the main fabric and two of the lining. These were both sides of the original blanket, I just pulled them apart after cutting.
Important!! If you are making more than one stocking make sure you embroider the name on the same side of the lining each time. That way your stockings will all face the same way when finished!
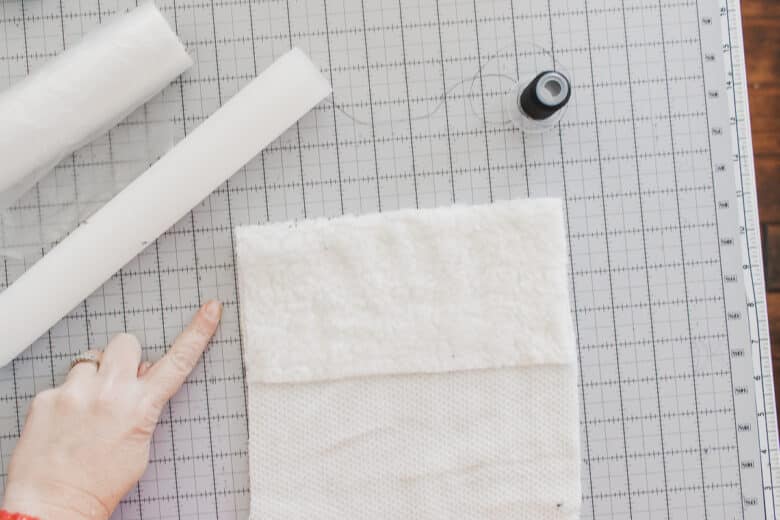
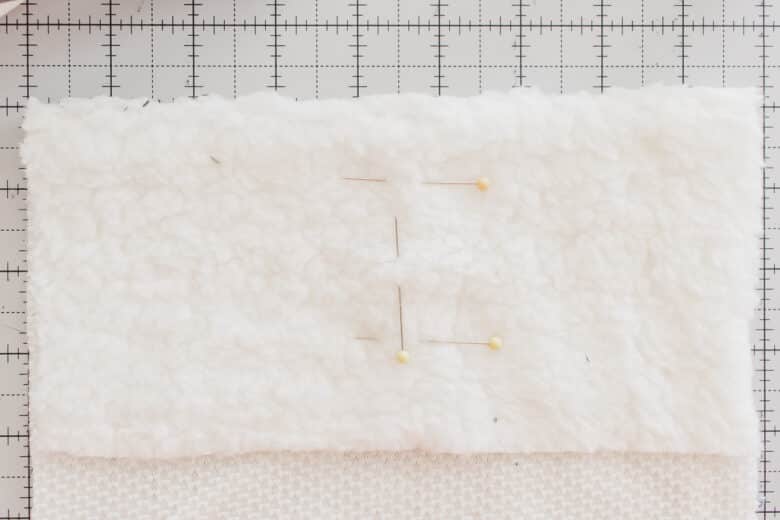
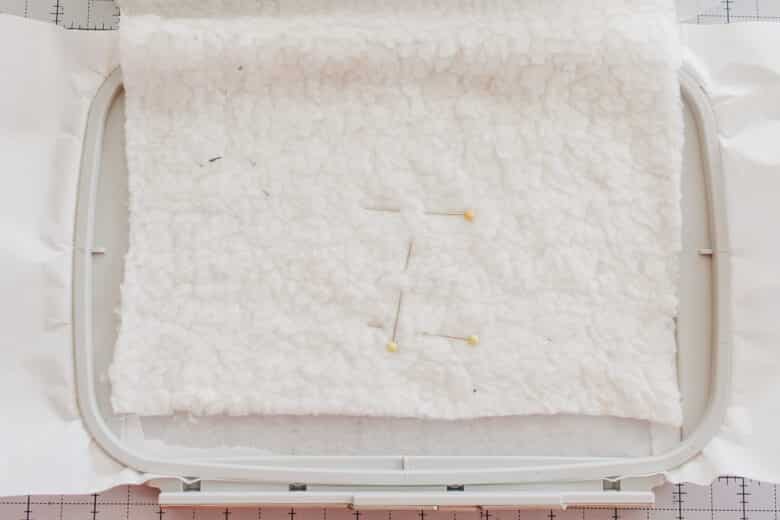
If you aren’t adding embroidery you can skip ahead here. Find the center of the folded over stocking and mark about 1″ from the fold, and 1″ from the raw bottom edge. You are aiming to have about 2″ tall embroidery in the space between. Place a sheet of sticking stabilizer in your hoop and remove the paper layer.
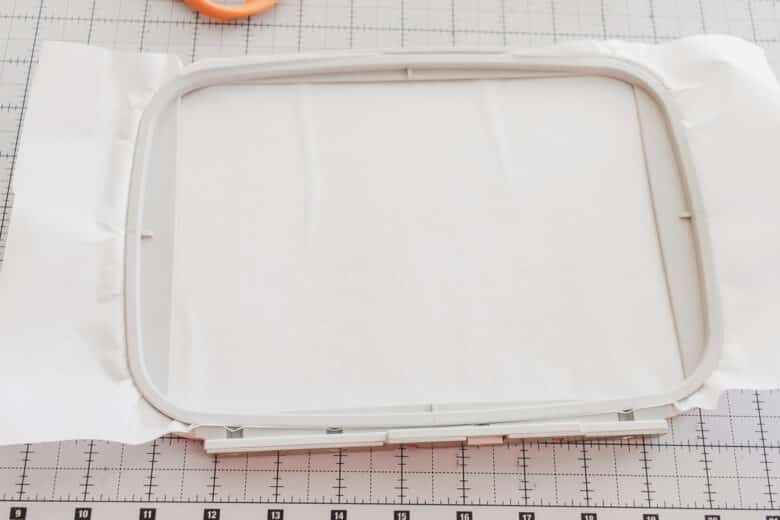
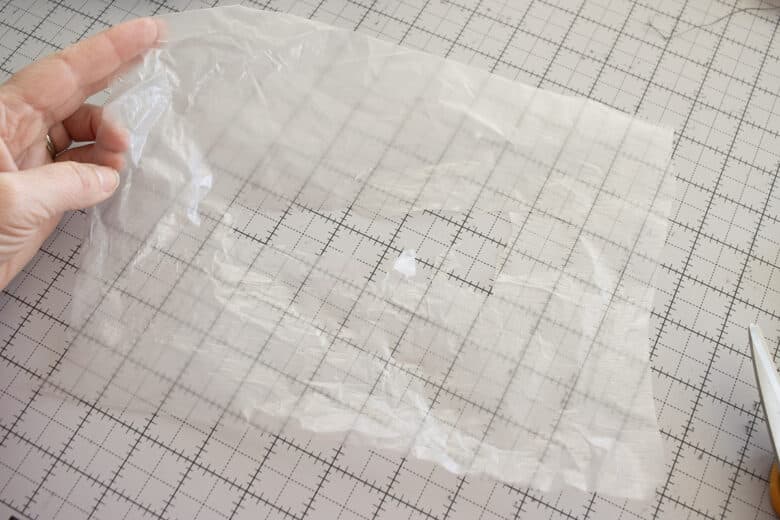
Stick the stocking to the paper, keeping the center of the stocking in the center of the hoop. Finally, place a layer of the clear stabilizer over the top so your thread doesn’t sink into the sherpa. If desired you can add two layers of clear for extra definition.
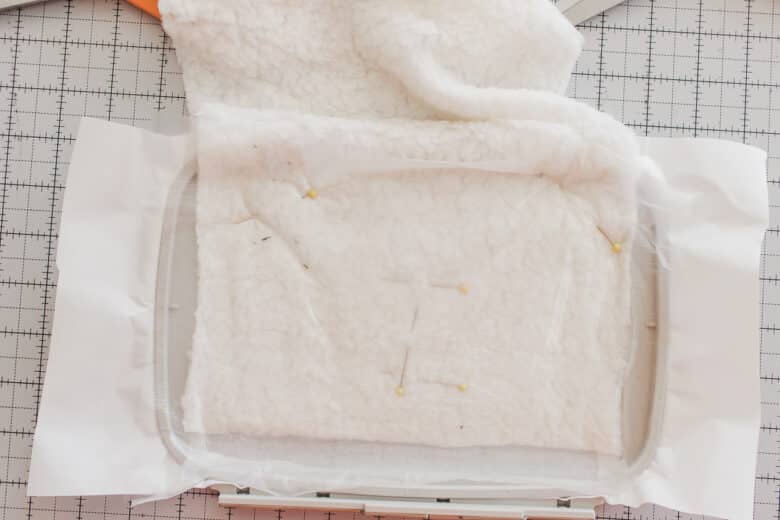
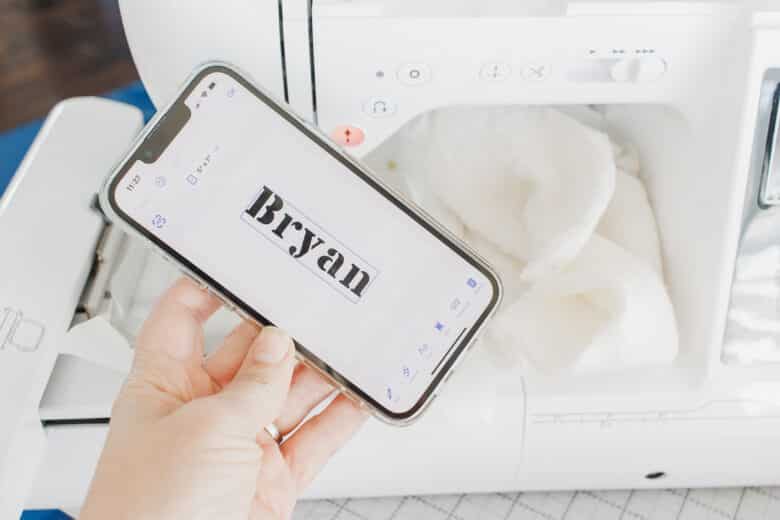
You can create the text using built in fonts on your machine, but I love how easy it is to type out on the Artspira App, so that’s what I used. Use WiFi to transfer the design to your machine. Open and set for embroidery.
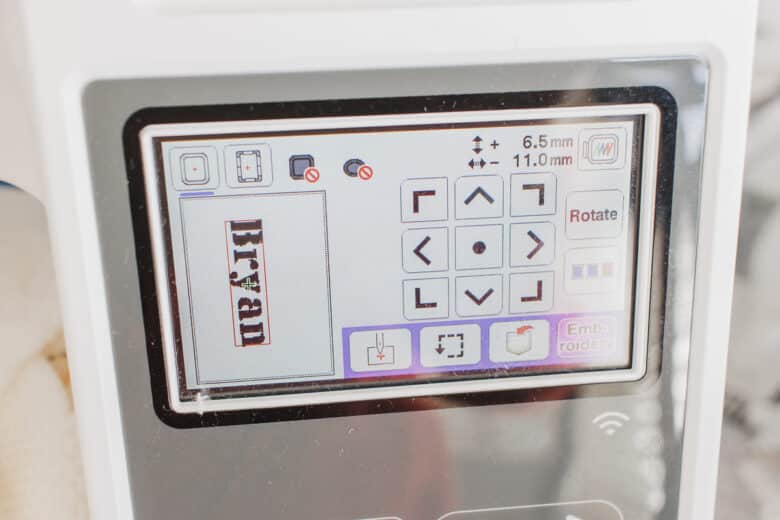
I made sure my design was lined up with the pin markings I had put on the stocking. When it’s set, remove the pins and place the clear layer stabilizer back on top of fabric.
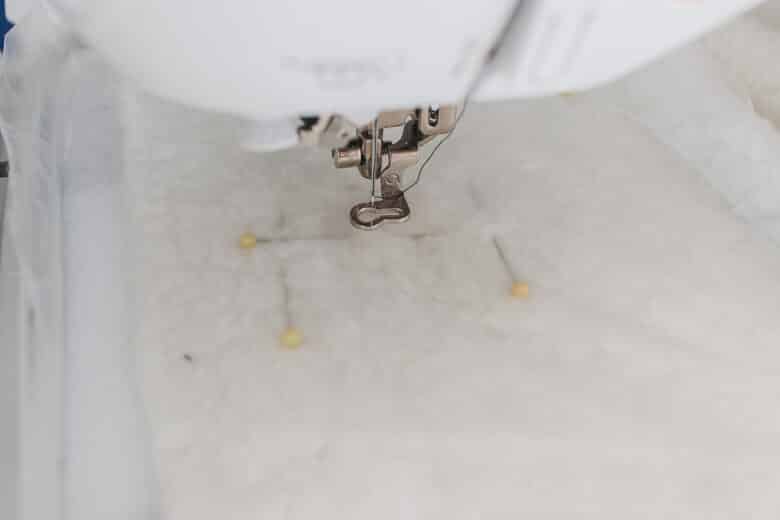
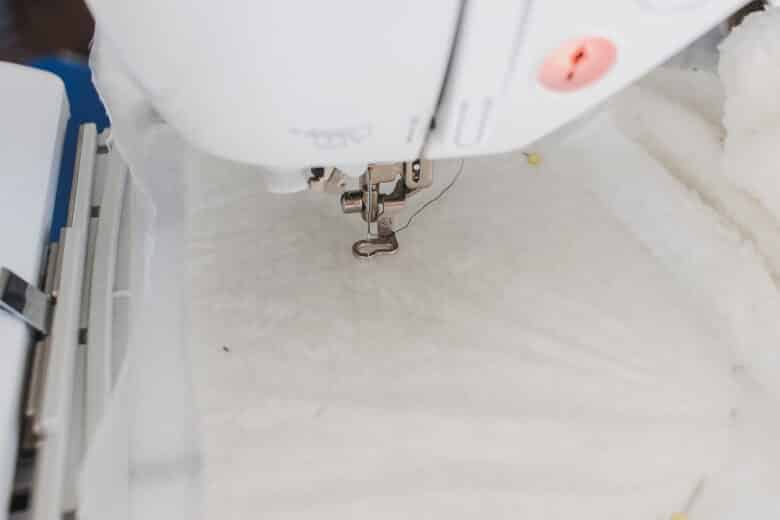
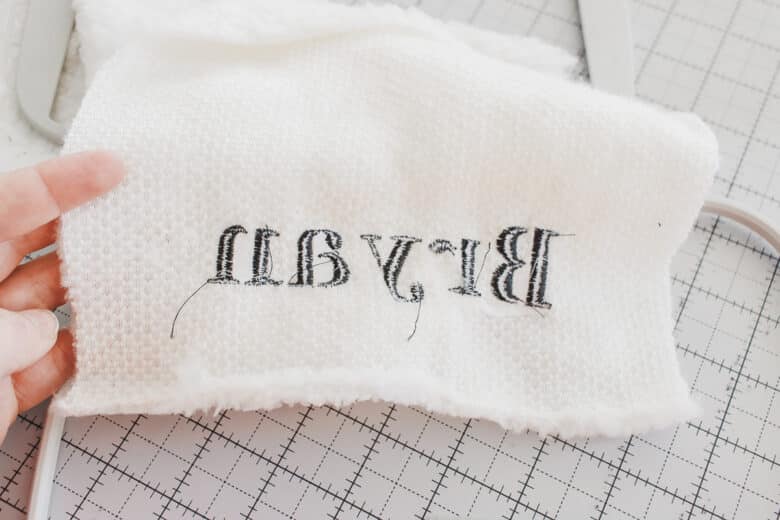
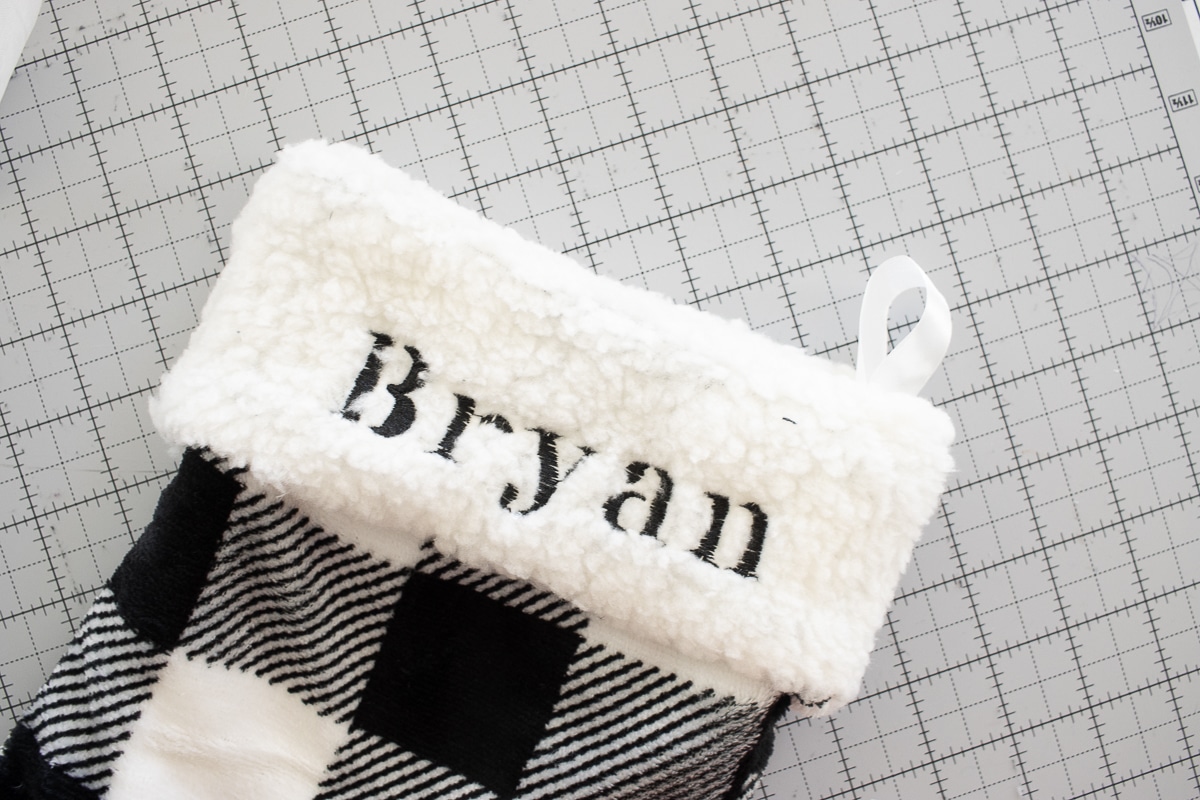
Embroider the name. It was fast! Each name took about 5 min. When I got going I used both embroidery machines I have out to do two stockings at once! Remove the clear layer once the design is finished. You may have to pick it out from the small parts of the text.
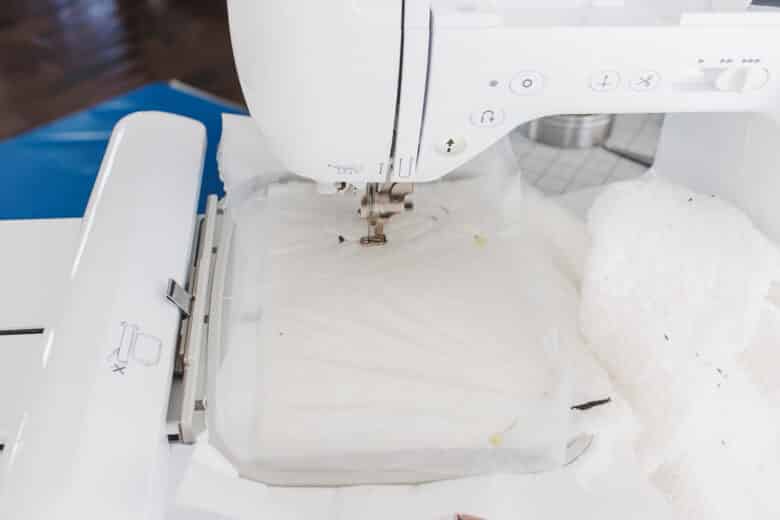
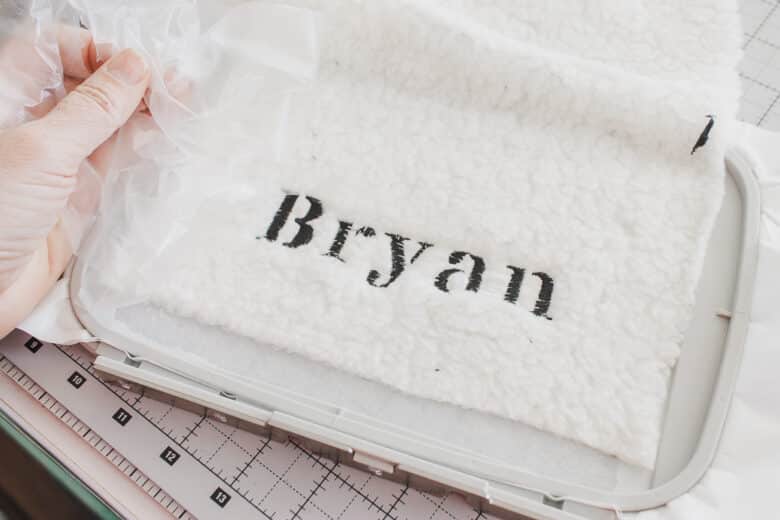
Also remove the sticky stabilizer from the back of the design. It’s hard to see, but the second photo is the clear stabilizer, the middle is gone, but you can keep using this same piece. You don’t have to hoop this stabilizer, so just lay it on top of the project at the unused space.
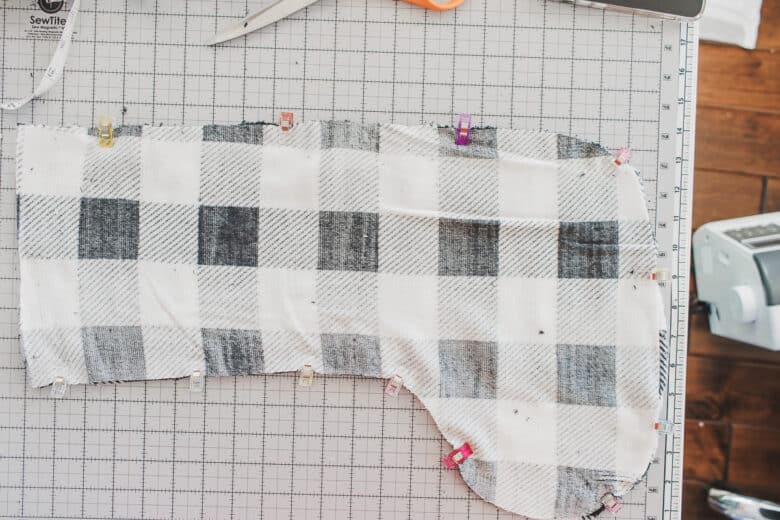
Sew the lining layers right sides together, leaving a 4″ opening on one straight side {this will be to turn later}
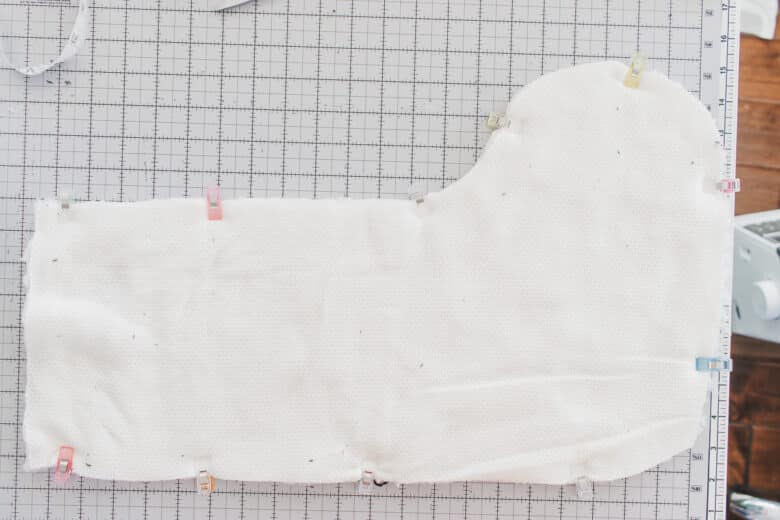
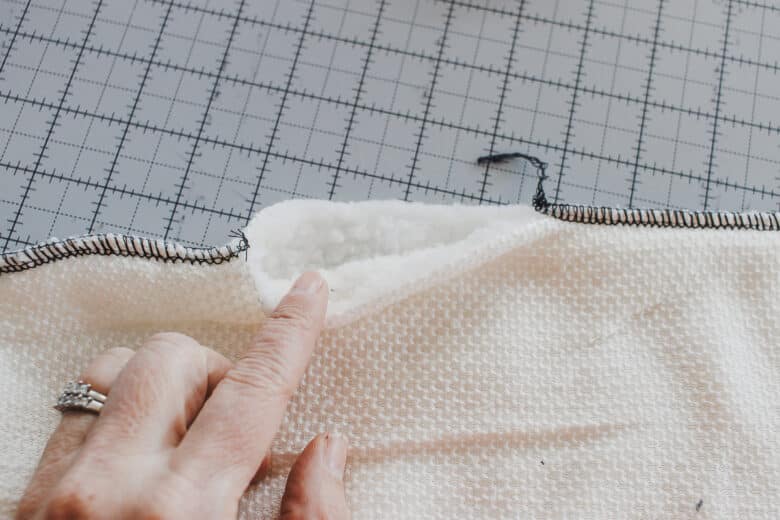
Sew the main layers of the stocking right sides together as well. Turn this side right side out after sewing, place inside the lining and sew around the top.
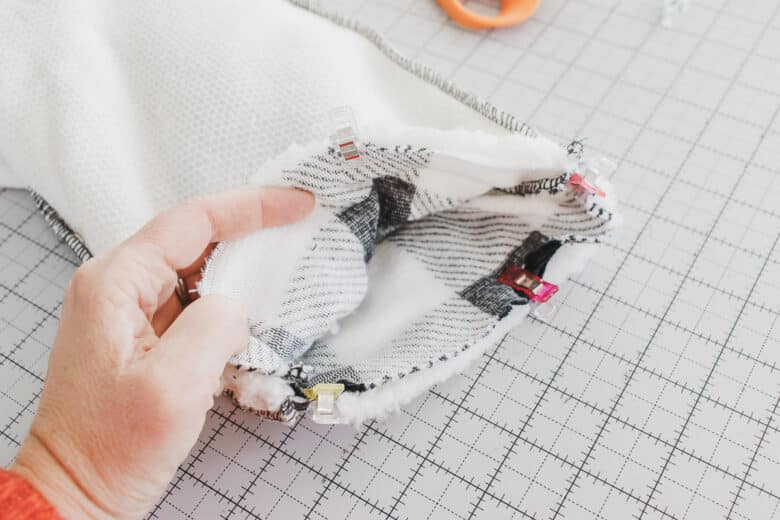
After sewing around the top of the stocking, pull both layers out through the turning hole.
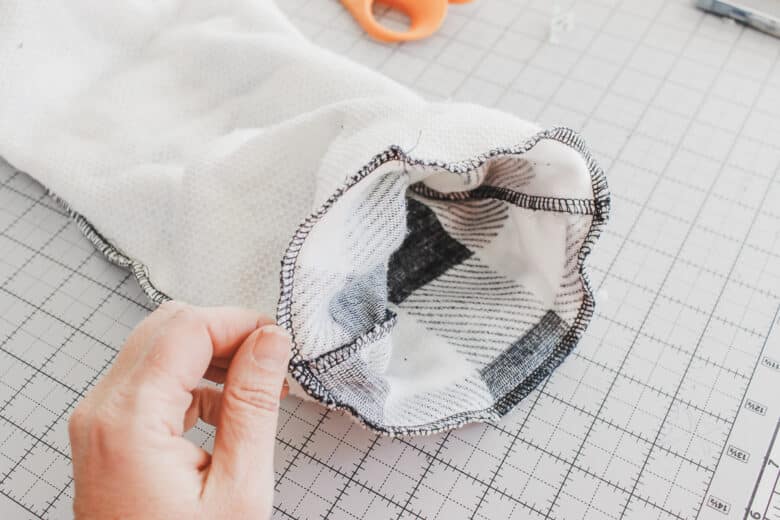
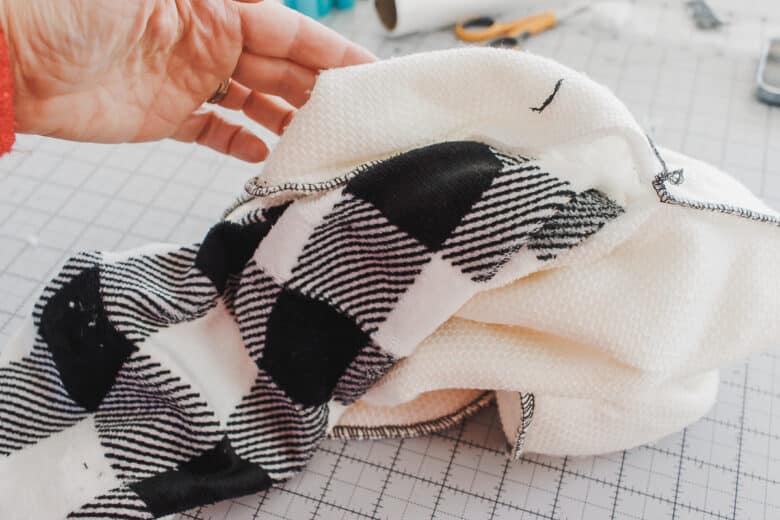
Fold the seam allowance of the hole inside, then sew up the hole.
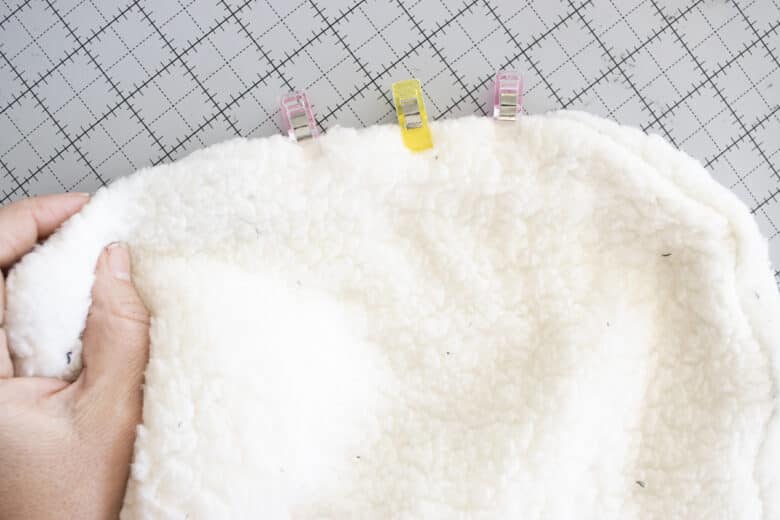
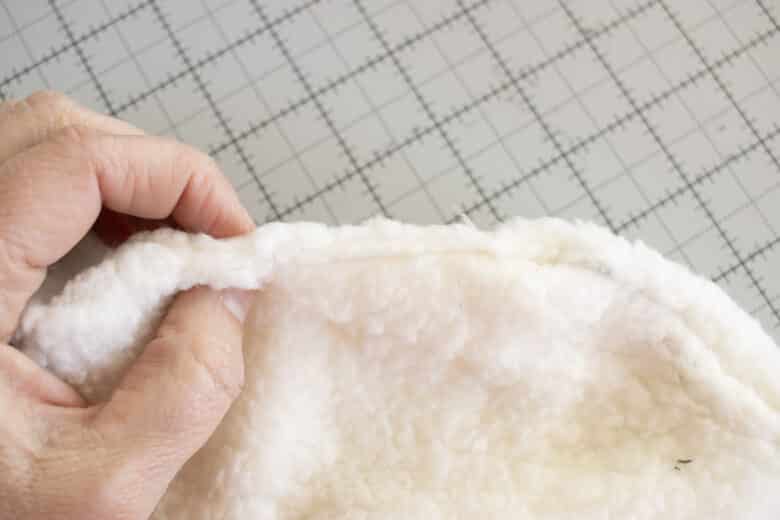
Tuck the lining inside the stocking and smooth out. Fold over the top edge to reveal the name. You should fold over about 3/4 inches.
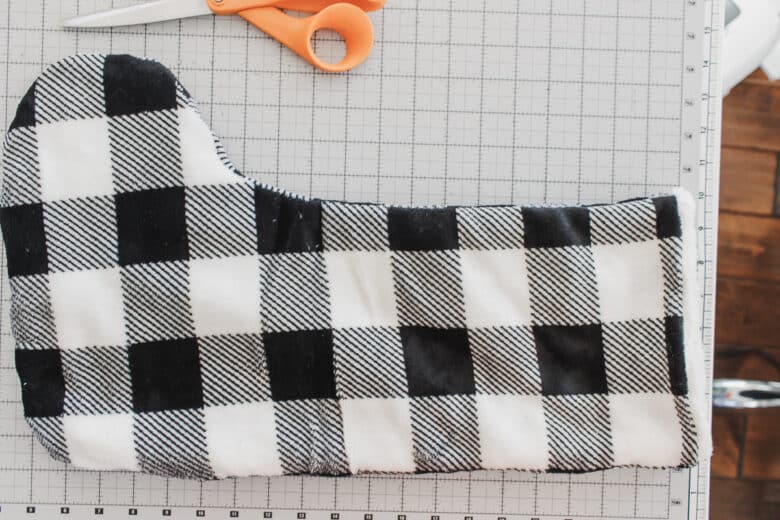
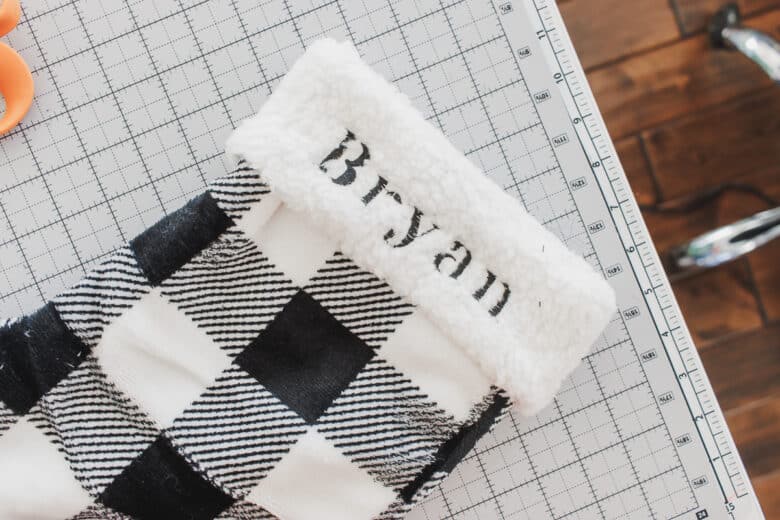
Cut a 6″ ribbon. Place the ribbon about 1″ down from the fold. Pin in place on the side seam. The ribbon should be on the heel side. Make sure to only pin through one layer of stocking and not the outside folded layer.
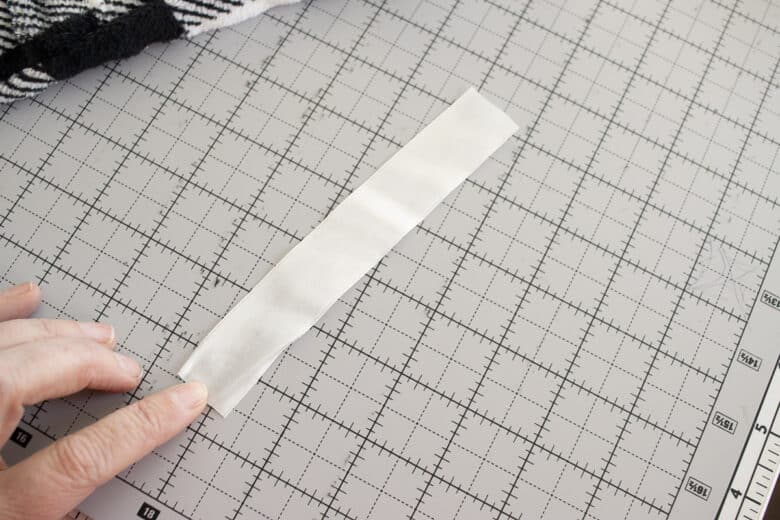
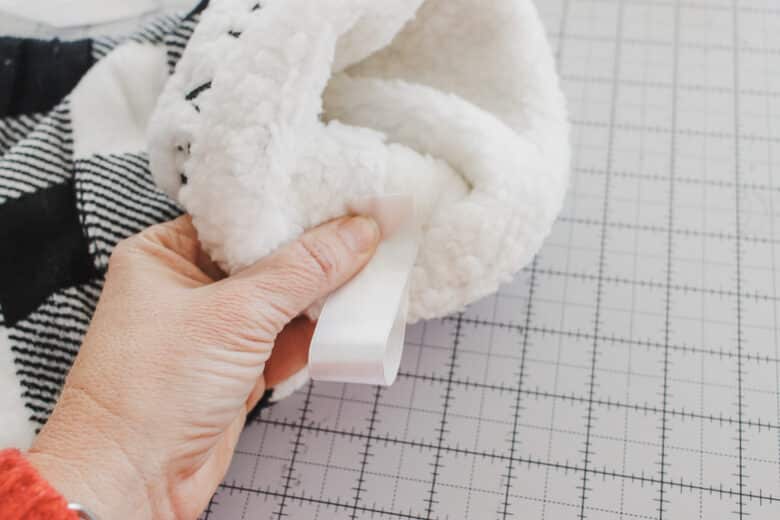
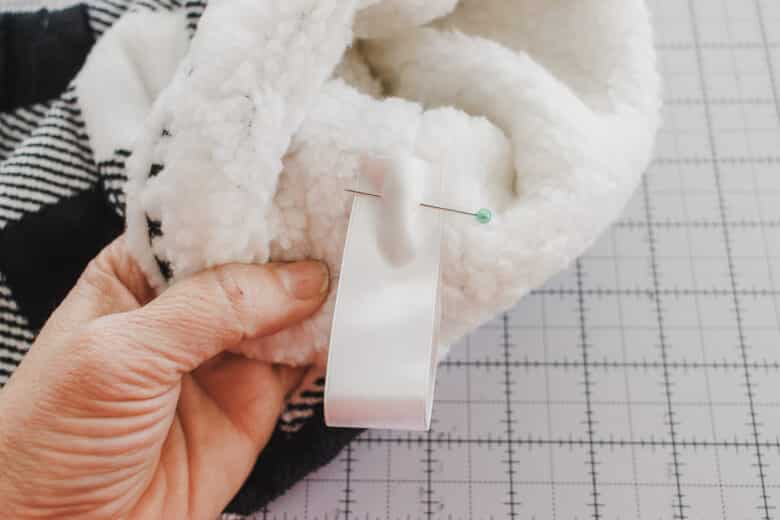
Sew the ribbon in place, opening up the fold, so that the stitches are hidden under the fold. After sewing the fold will cover any stitches you can see.
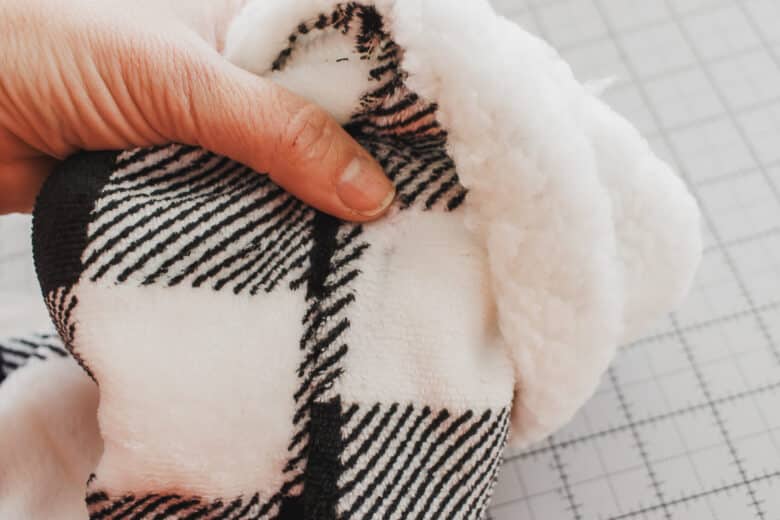
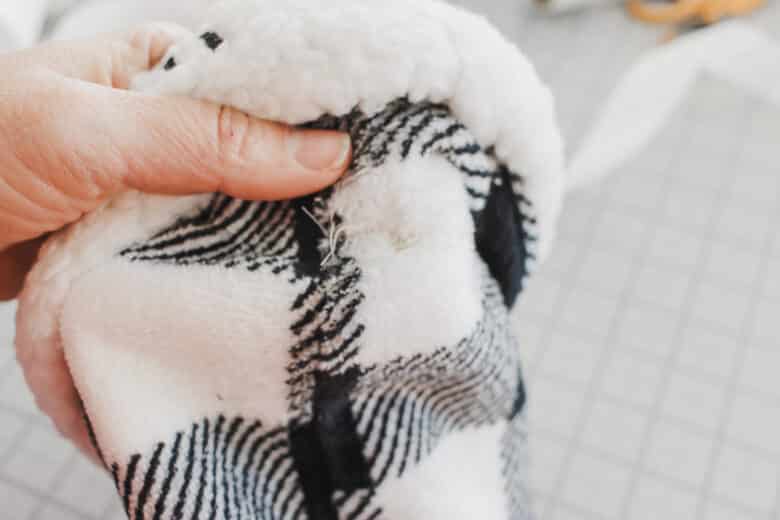
Now you have a finished stocking. Cheater tip… use hot glue to tack the fold over so it stays in place and hangs just right. If you scroll back to the top you will see this stocking looking a little pulled in the first photo. I didn’t glue until later, but it hangs much better now. {haha} Merry Christmas!!




Lori says
Question on fleece hoodie … does the cuff get sewn from the front shoulder down or halfway between the shoulder and blanket bottom? Sorry to be so dense today but it was hard to determine from written instructions and video. I should be able to figure it out but it’s been one of those days.
Lori