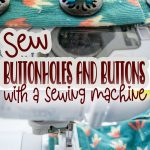
Inside: Learn how to sew buttonholes on your sewing machine that are practically perfect every time. Did you also know you can sew buttons on your sewing machine? tips and tricks to get it right.
If you are like me, you are always a little fearful of buttonholes. For years I would do snaps instead on the boys clothing. Buttonholes still aren’t my favorite thing, but I have overcome my fear and can sew them with confidence when needed.
Today I’m going to show you how to sew buttonholes and buttons on your sewing machine.
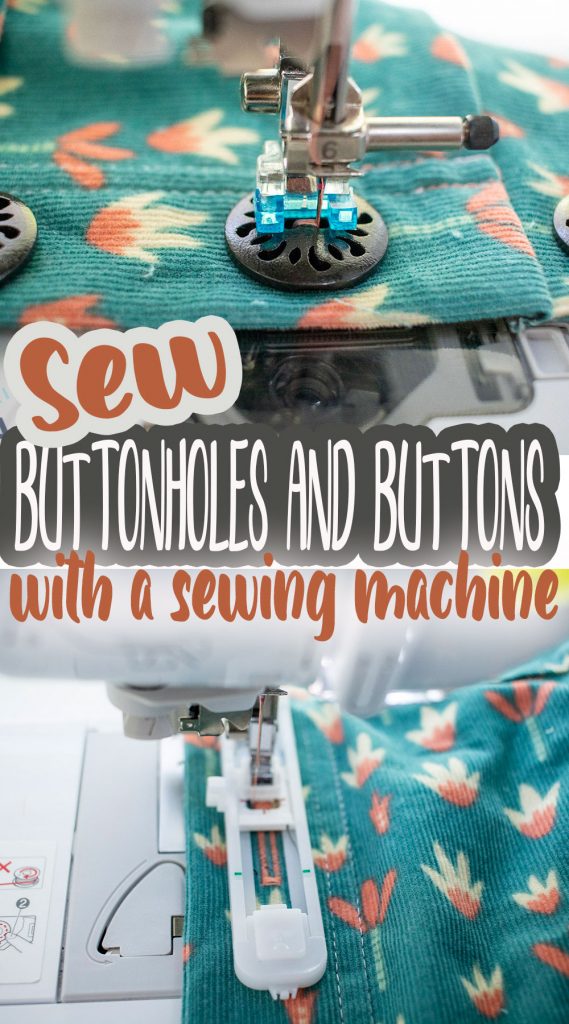
How to sew buttonholes on your sewing machine
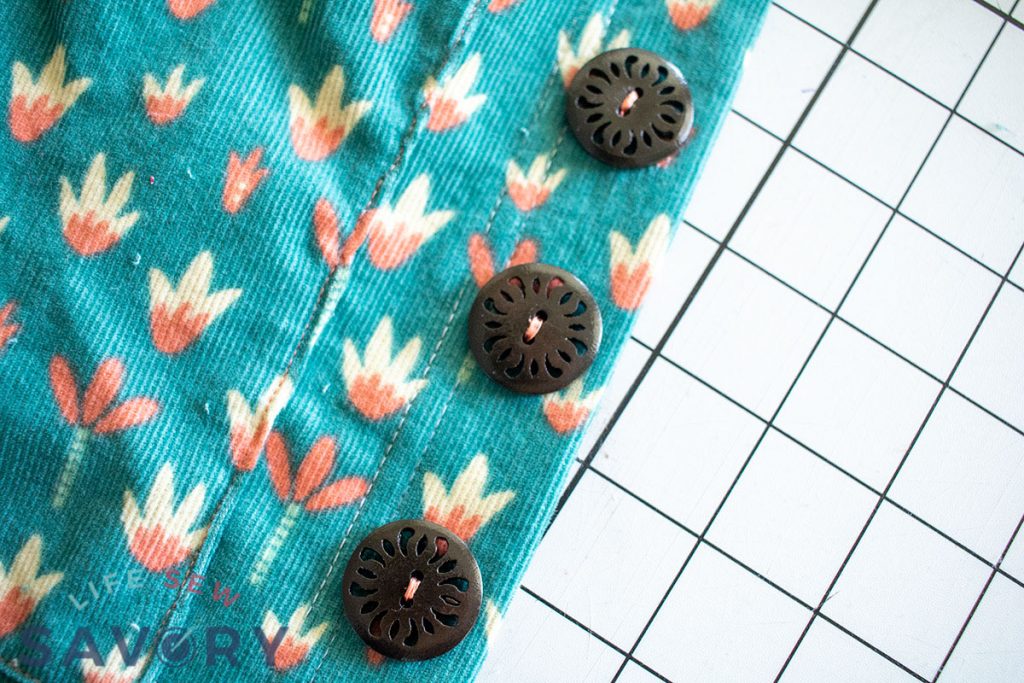
The video in this post will show you some of these things in action, but the photos below will also walk you through all the steps needed.
I took the photos for this tutorial while making the button front skirt for women and girls that I sewed last fall. You can find those free sewing patterns here. Womens Skirt — Girls Skirt
The past several years I have been exploring how to really sewing buttonholes with my sewing machine and I’m loving the results.
How to sew a perfect buttonhole
To sew buttonholes and buttons with your sewing machine you may need to explore your sewing machine and the feet that you need for this. I’ll show you how this works on my Brother sewing machine, but you should be able to transfer this to your machine as well.
Start by finding your button hole foot. It should look something like this.
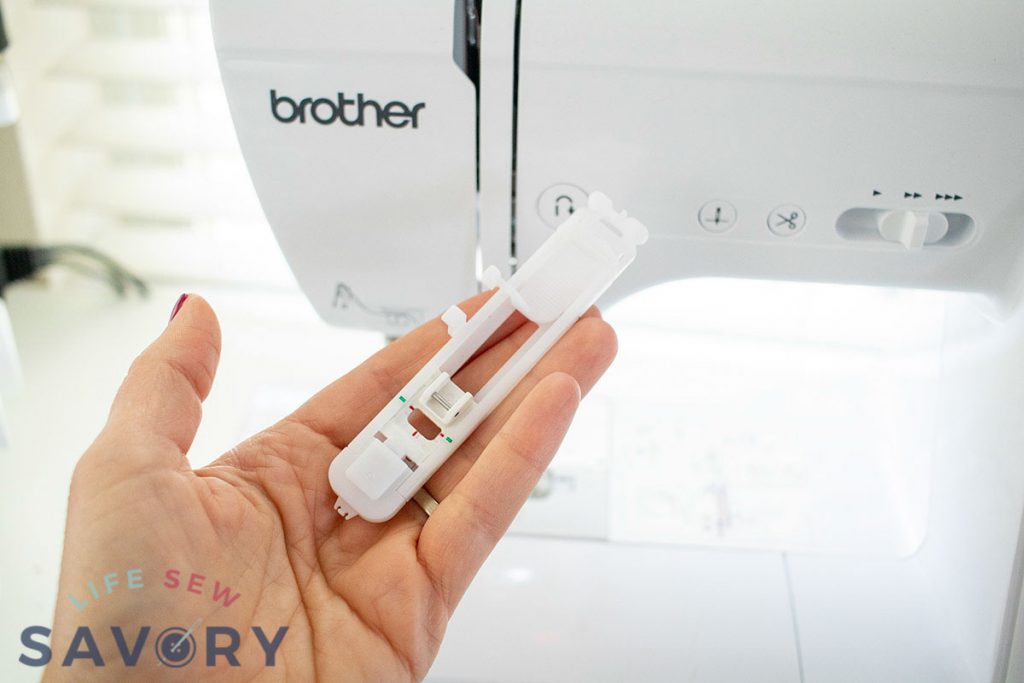
You will need to fit the button to create a test button hole. ALWAYS test to make sure the fit is okay before sewing on your project. I’ve had some sewing machines where it made every hole slightly too large, so I would take the button out and make the hole smaller by one click on the fitting end. This is why we test!
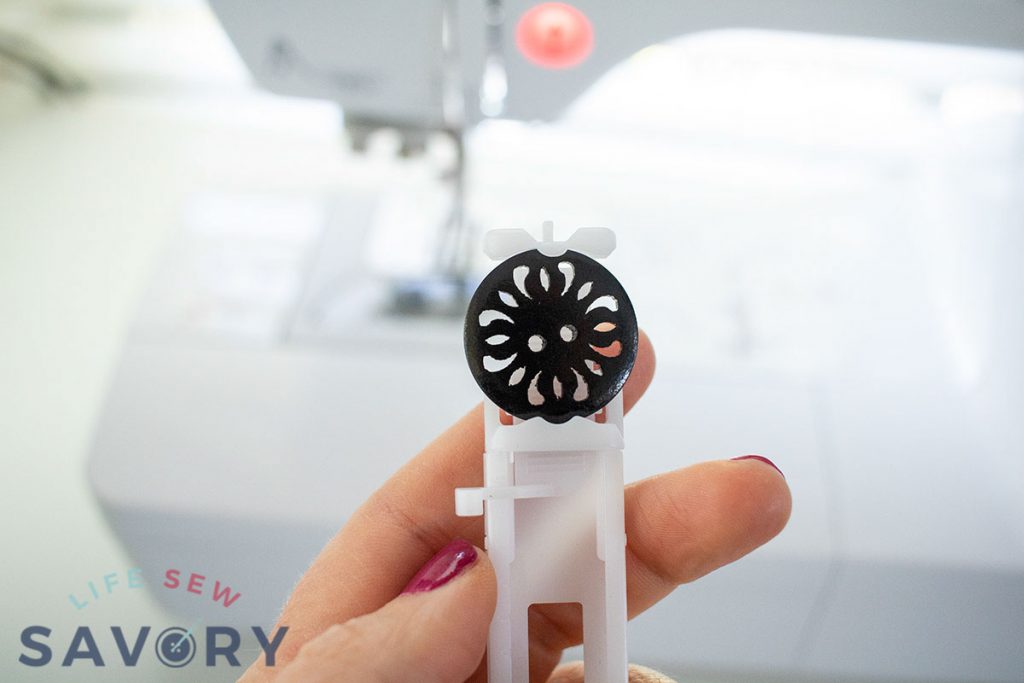
Remove your regular sewing foot and place the buttonhole foot on your machine shank. After you attach the foot, pull down the button hole lever until it meets the block on the foot.
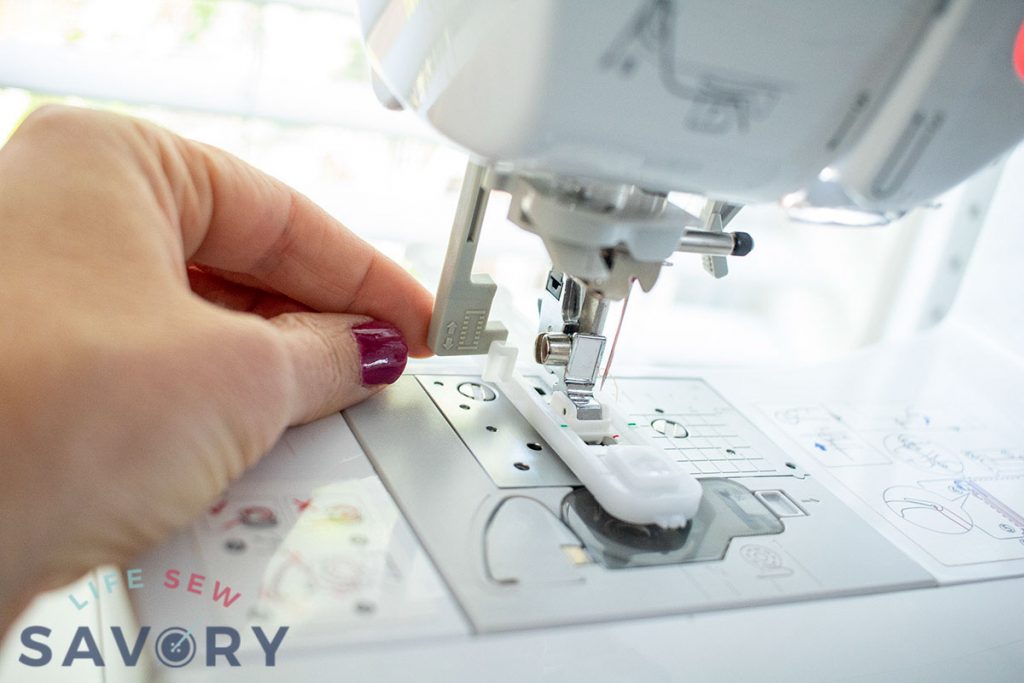
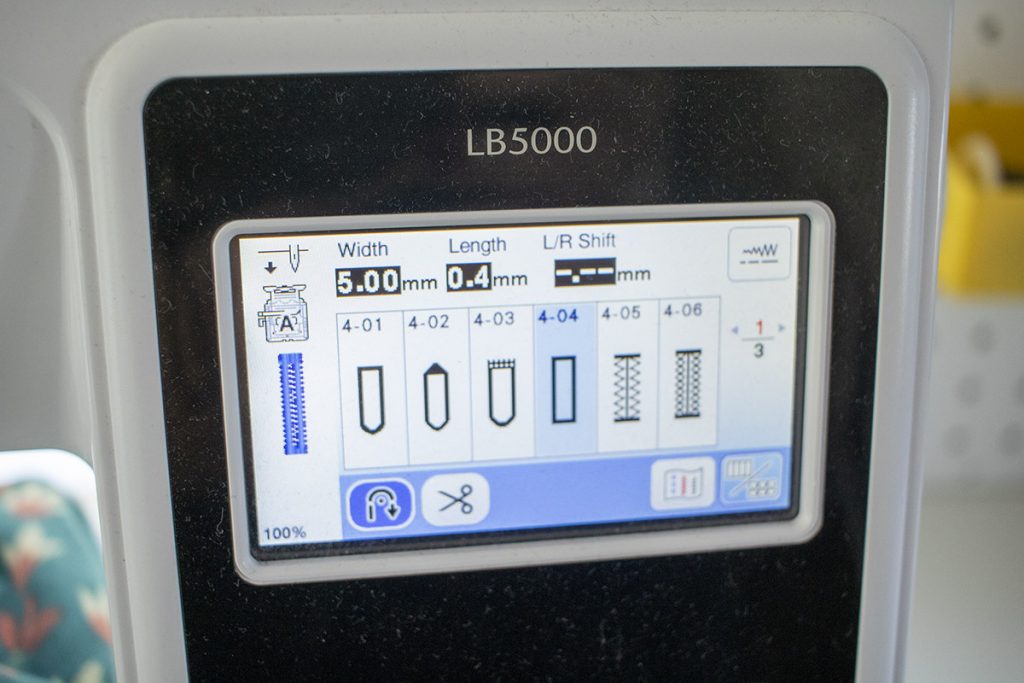
Choose the style of button hole that you want to make.
When I mark my button hole placement I like to make the BOTTOM of the hole. {more details in the tips sections} This is becuase the button hole foot sews from the bottom to the top {or you can turn the fabric around to sew top to bottom.
Either way you need to mark one end and not the middle of the hole and know which way you are sewing from the marking.
Look at my button foot below… it has two green marks on the side.. this is where the bottom of the hole will be. So I line these marks up with my hole marker and then sew. Make sure you are also center in your button placket.
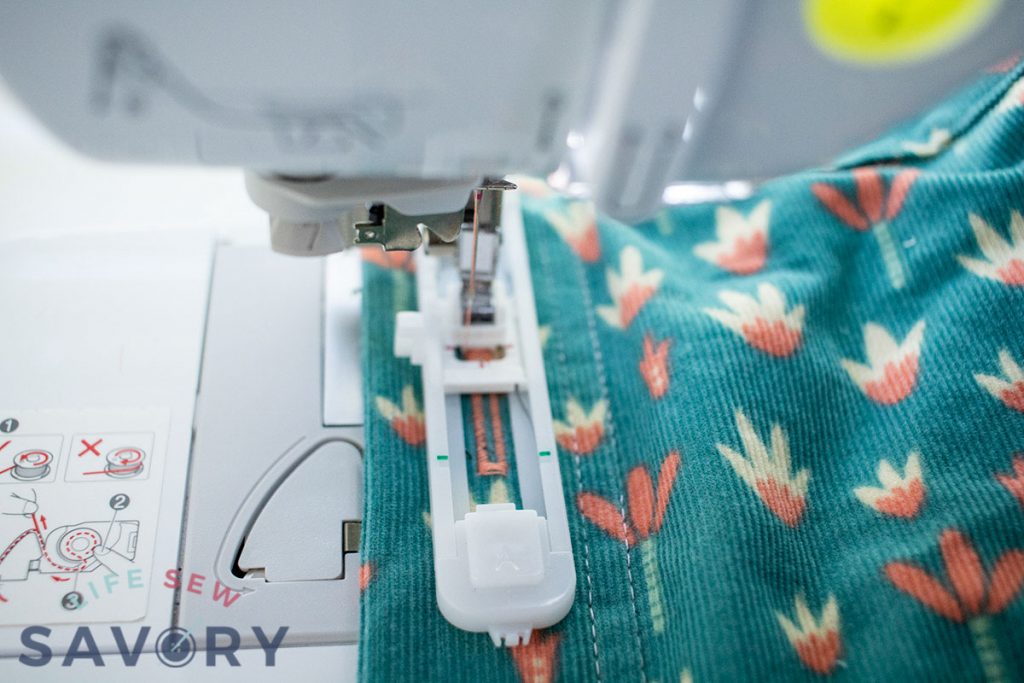
Repeat with each of your needed buttonholes.
While sewing the button hole use a steady pressure on the foot pedal AND keep a medium fast speed. Too slow and the button hole may not form correctly.
How to sew buttons on your sewing machine
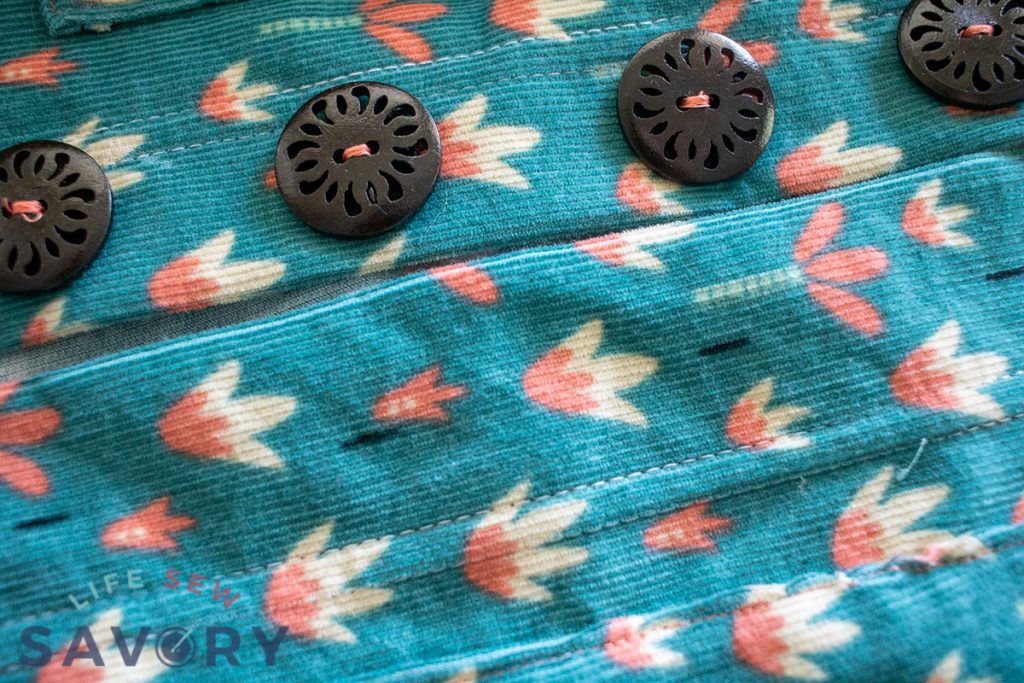
Have you tried to sew a button on your sewing machine? This is a technique I explored only recently. I’m not sure that it’s quicker, but each of the buttons is sewed on perfectly and straight so I looks better for sure.
Find your button sewing foot as shown. Some have little clips under the foot to hold the button in place. Mine did not.
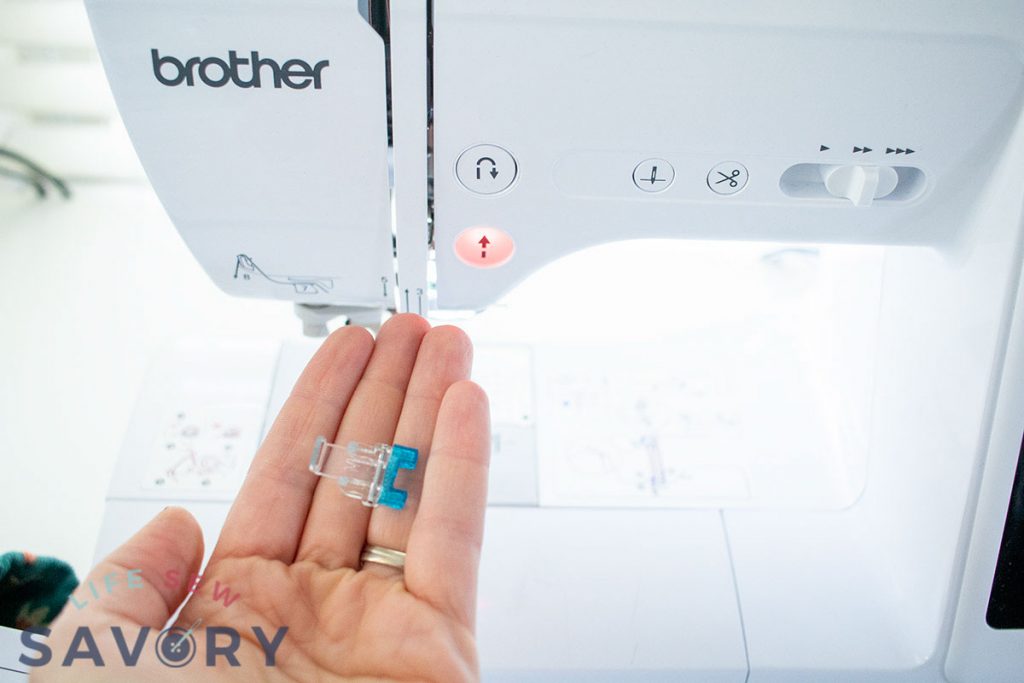
Look for a stitch that looks kind of like a button with a line in the middle.
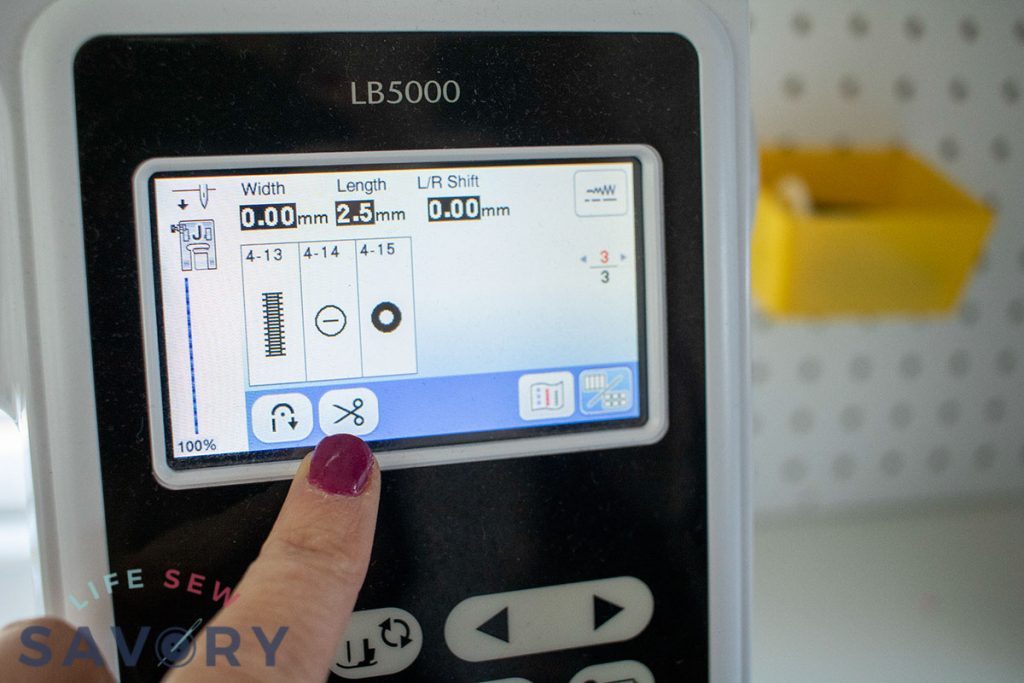
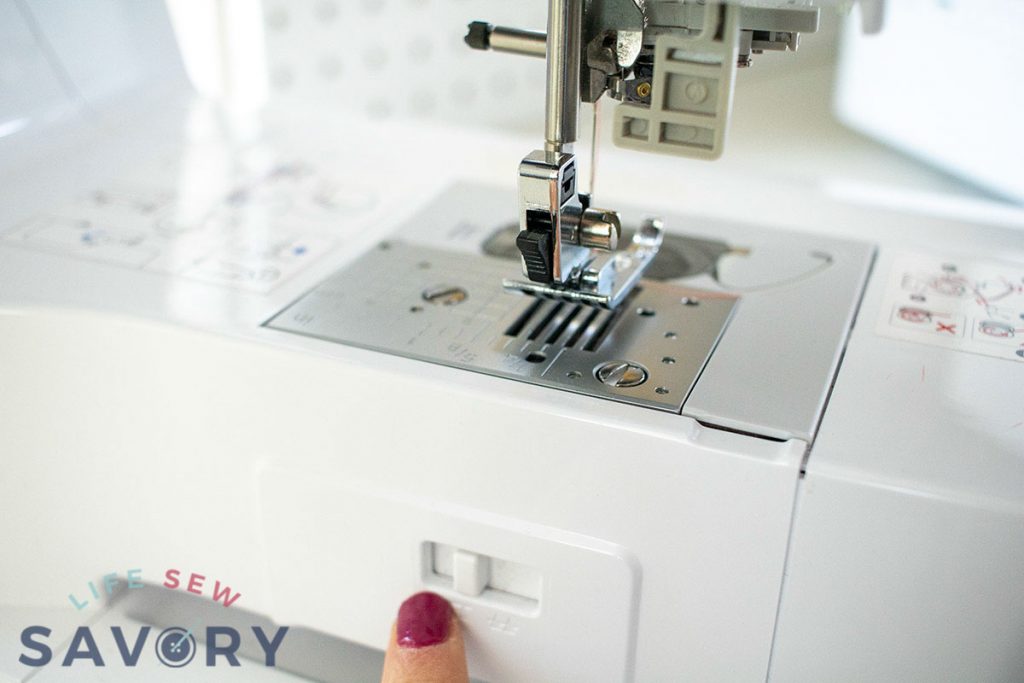
You will also need to drop the feed dogs on your machine. We don’t want the button to move while sewing. My machine has a a slide button on the back to lower the dogs.
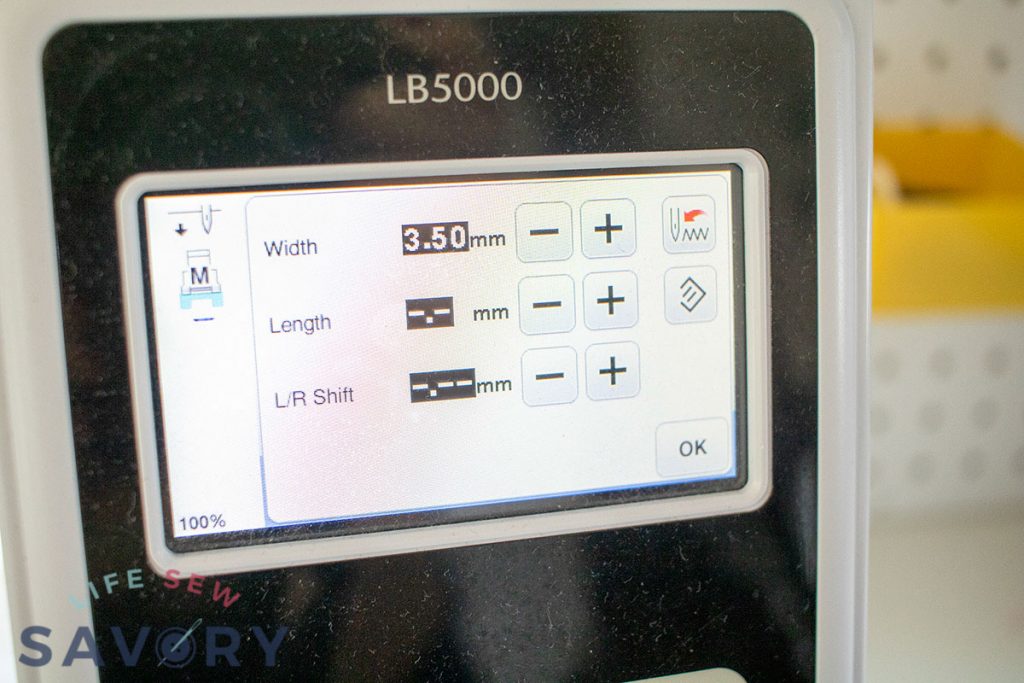
You an also adjust the width of the side to side stitching as needed for you button size.
I turn the hand crank to move the needle and check that the placement is correct. The button foot has a back to hold the back of the button and then the top clamps down on either side of the holes.
DO NOT use the pressure foot while checking the needle placement. Once the needle is adjusted and clears both holes, you will press the foot pedal until the stitching stops and then the button is secure.
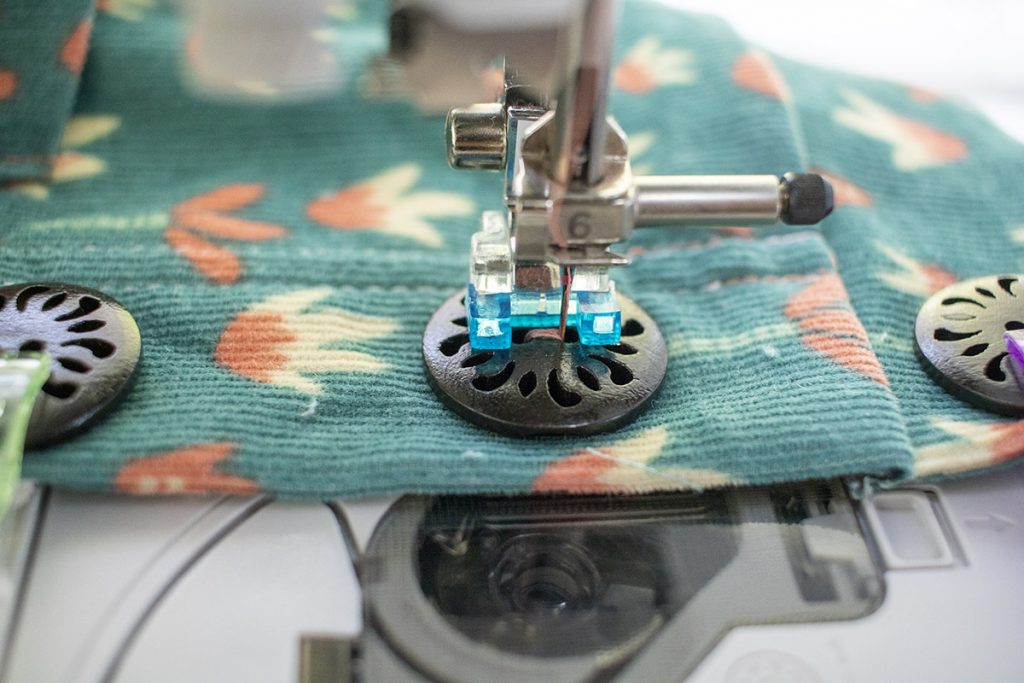
Repeat with all the buttons you need.
Tips for buttonholes and button sewing
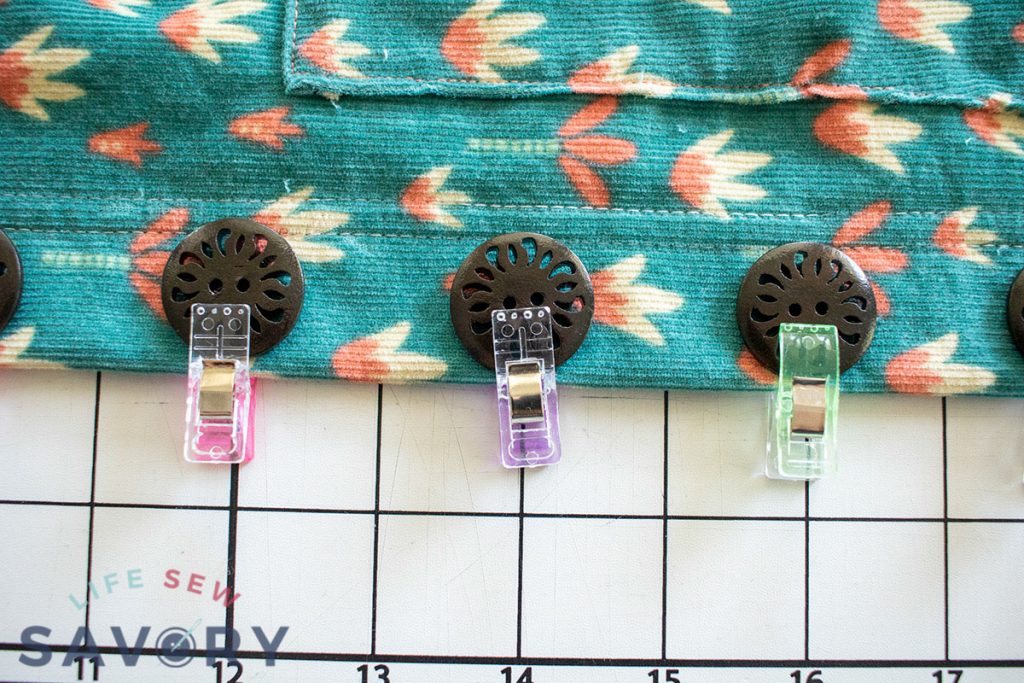
I like to measure and sew the buttons first then mark the BOTTOM of the button as the place to start the button hole sewing.
I’ve found the best way to hold all the buttons in place is to use sewing clips. This keeps the perfect placement and let’s me sew all the buttons one after the other without going back to measure again.
The clips are big enough to hold on even these chunky wooden buttons.
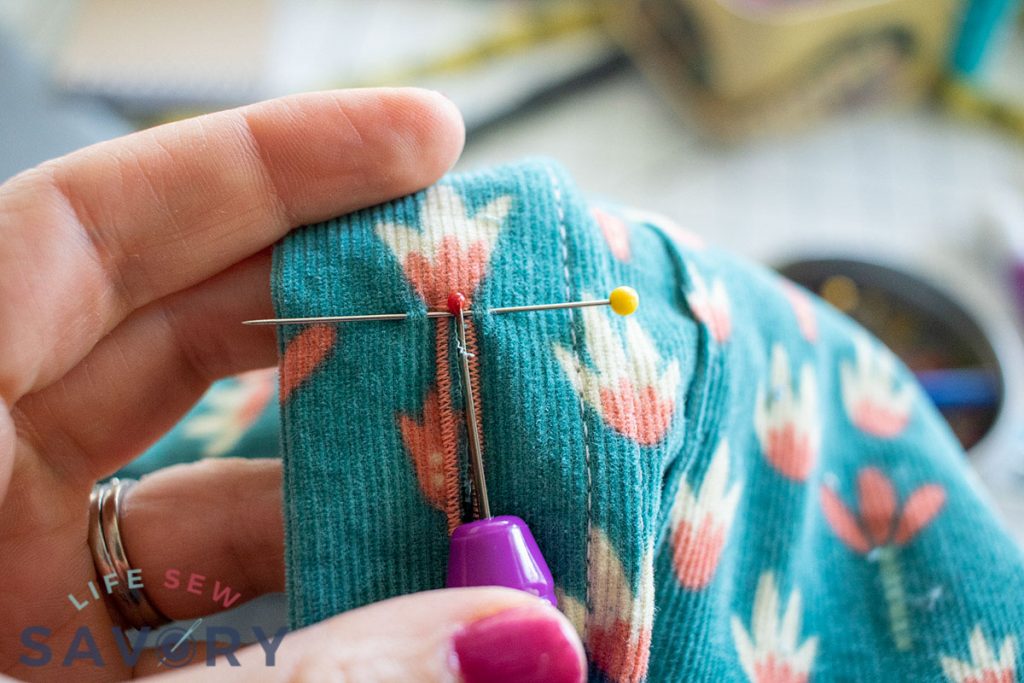
One of my very favorite tips for cutting the button hole open is to place a pin through the fabric at the top of the button hole. The shaft of the pin should cross over the top of the button holes stitches.
After I have my pin in place I can slide my seam ripper right up the through the middle of the stitching until it hits the pin. I don’t have to worry about stopping before cutting the end stitching. Quick and easy button hole cutting every time.





Iceni Summersides says
Thanks for the tutorial. But I am still too wary of doing it. My machine is the same as yours so I WILL try to do this soon! 🙂
Dee K. says
Love the pin at the bottom of the button to make sure you don’t rip past it. I did this once where it was like the fabric suddenly gave easy and I messed it up. Of course, not at the bottom where no one sees it but right in the middle of the shirt. So mad. I have had a fear since, but this hack should be fool proof! Thank you!