Inside: Check out my sewing hacks video showing you how to turn a short sleeve pattern into a long sleeve pattern piece that you can use in your sewing design. Works great for knit shirt patterns. Can be adapted for woven patterns as well.
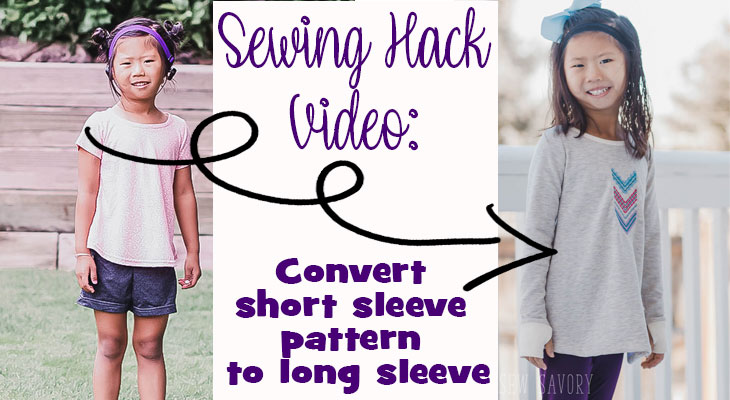
It’s video time again! Today I’m going to walk you through a sewing hacks video showing how to convert a short sleeve sewing pattern into a long sleeve one. Many patterns have both options, but sometimes you find a short sleeve pattern that you love, and it’s only short sleeve. This video and tutorial will show you how to create your own long sleeve pattern piece.
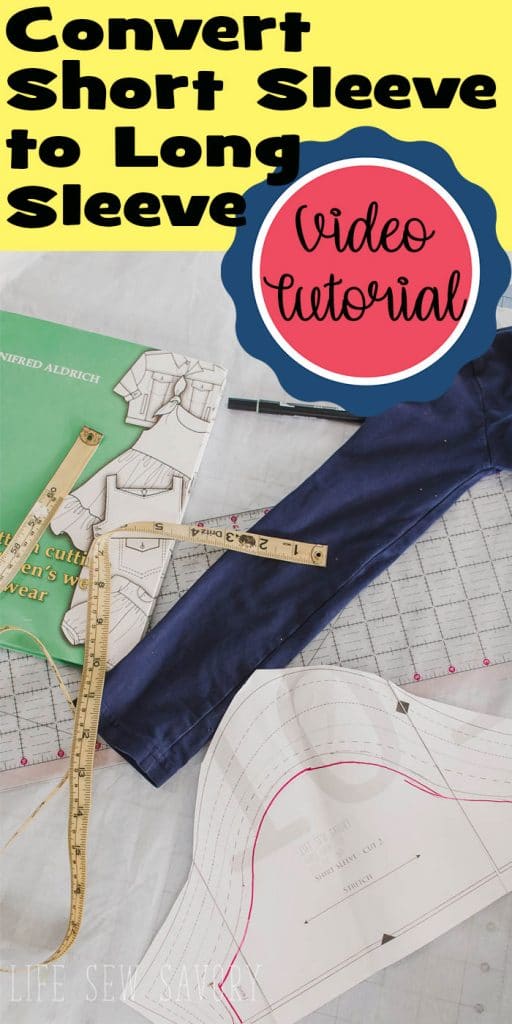
Sewing Hacks Video –
Here is the full video tutorial with directions. If you have an ad blocker please disable before watching or it will not work.
The above video will walk you step by step through changing your short sleeve sewing pattern to a long sleeve one. I’ve seen many ideas for taking long to short {a bit easier} but I thought it would be fun to offer the reverse.
Below is also some photos and written description if that works better for you. Here are also a couple of my patterns to try this technique on.
Free Short Sleeve T-shirt Patterns to try this on-
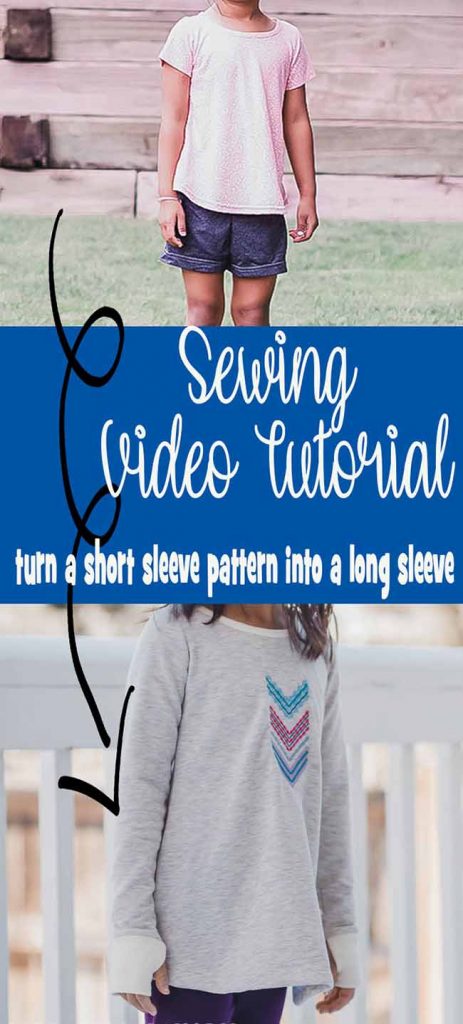
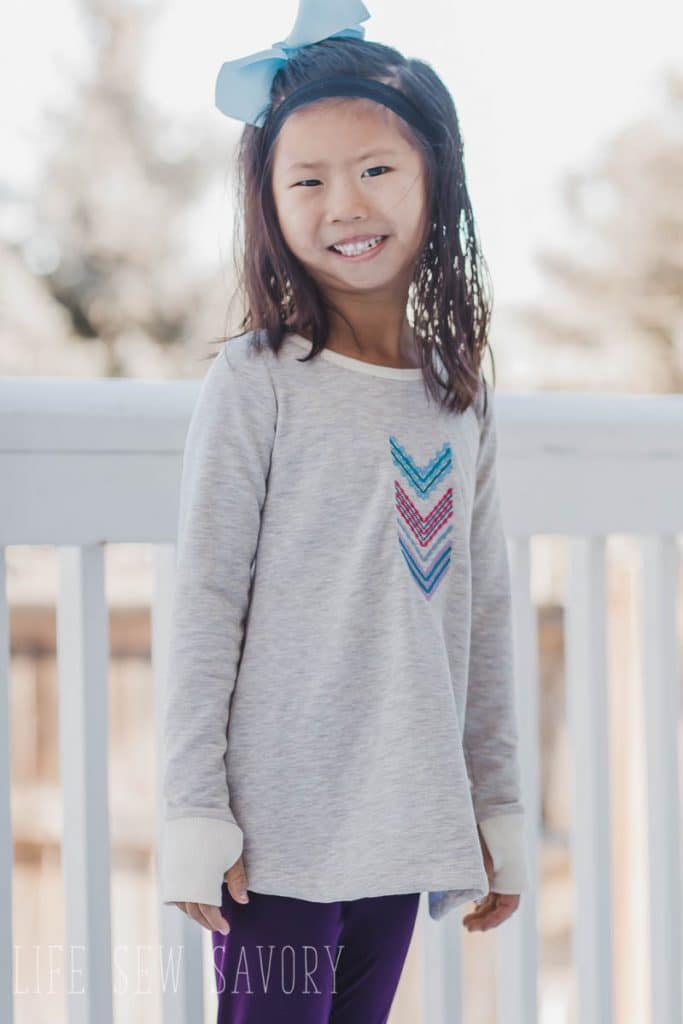
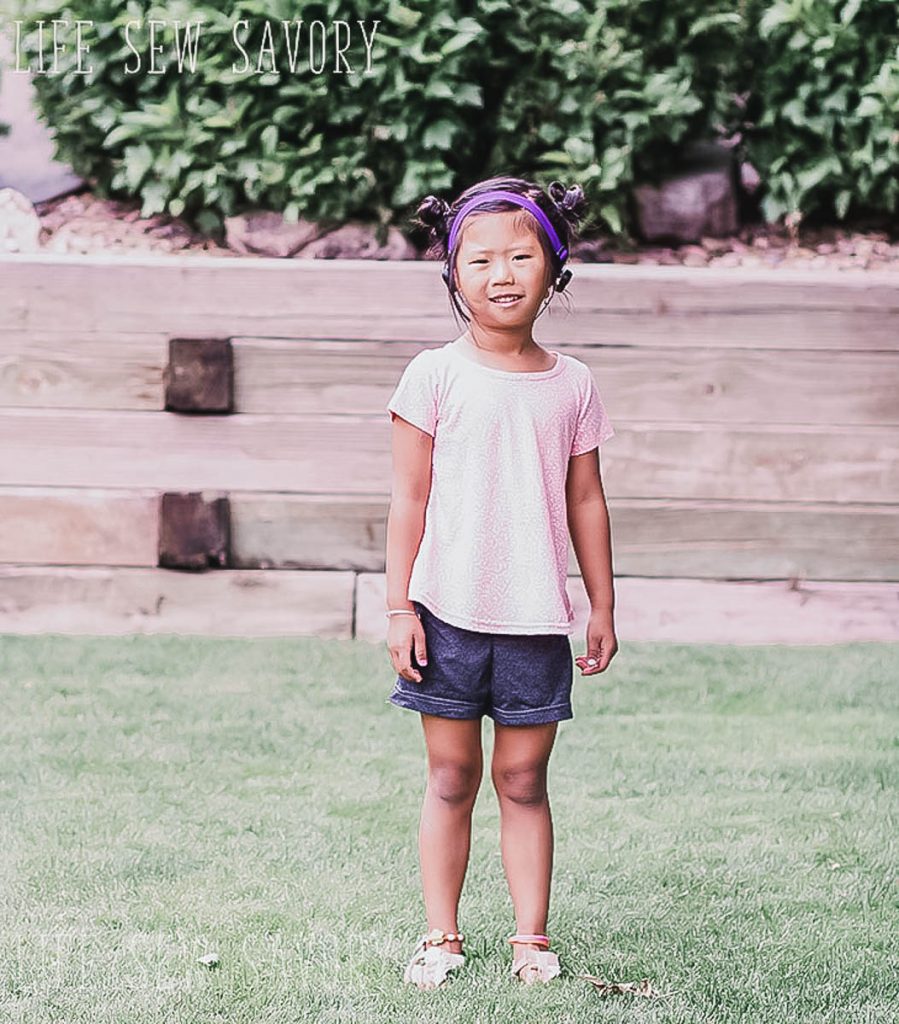
Here is the pattern I used as a base for this tutorial and the finished result with long sleeves. I also added the thumb cuff to my long sleeve and you can find that cuff tutorial here. Can you see how much Rose has grown in a year and a half!
Long Sleeve Pattern Design-
Let’s walk through all of the steps that I cover in the video. This will be a brief version, so if you want more detail- watch the video.
Supplies Needed:
- Short Sleeve Sewing Pattern {start with knits and work your way from there}
- Tissue or other tracing paper
- Straight edge ruler
- Measurements of the arm and wrist from actual child or from a standard measurement chart.
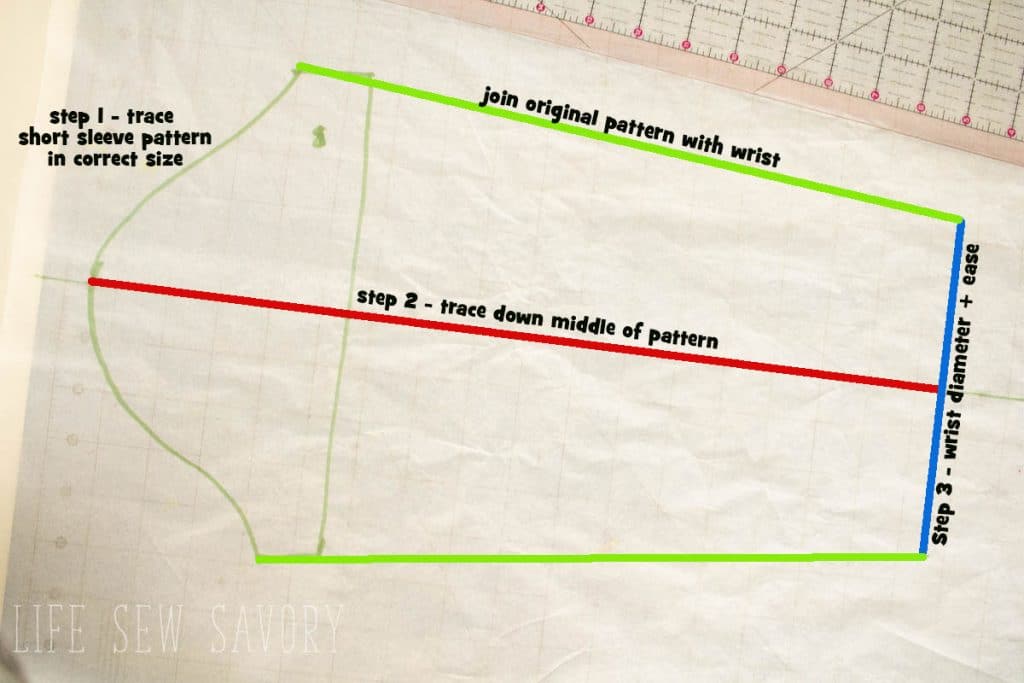
- Start by tracing the correct size of the short sleeve pattern onto the tracing paper.
- Find the center of the short sleeve piece, place on a grid and trace a line cutting the short sleeve piece in half and extending down longer than you will need.
- Take the wrist measurement of the person you are sewing for and add 2″ of ease for a fitted girls tee. Add 3/4″ for a boys long sleeve tee and a bit more for adults {measure a shirt you like for reference}
- The total wrist width {actual + ease} should be split down the middle over the center line.
- Connect the ends of the wrist line with the short sleeve top of the new pattern.
See this diagram for reference to the above.
Pin for future reference.






Sandy says
What was the name of the book you used in this video for the long sleeve pattern?
Ruth Angotti says
You are so awesome, you explain everything so us newbies can understand. Giving videos, tutorials and free patterns are beyond kind. I just wish I could get my printer to work properly. Printed out the Raglan Shirt and the pieces don’t match up right so I’m going to just do my best. Probably need a new printer but that’s not in the budget for awhile.. lol
Thank you so much for all that you do,
Ruth
Deb says
Nice video and written instructions. However, may I suggest editing written step #3 where is states “Add 3/4″ for a boys” ease. In the video you said 3 or 4 inches, not 3/4 inches. If one cannot view the video, they will be confused by 2 inches of ease for girls but only 3/4 inches for boys.
Trina Grier says
Thanks for this! I had a general idea of how to do this, but these instructions were very helpful, especially since I was working on a size 5, so all the measurements were correct! It’s a woven pattern, but I’m confident that with your tips, it will come out perfectly!
Heidi Stonesifer says
Thank you for the excellent video on converting a short sleeve pattern to a long sleeve.
I made a twirly dress out of red velveteen for a granddaughter and the sleeves came out perfectly!
ok Win says
I loved this video on turning short sleeves into long sleeves! Your step-by-step instructions were super clear, and I can’t wait to try this hack on my next sewing project. Thanks for sharing such a useful tip!
ri188 says
I loved this video! Turning a short sleeve pattern into long sleeves is such a clever hack. I can’t wait to try it on my next project. Thanks for sharing these tips!
Due win says
This is such a clever idea! I love how you transformed the short sleeve pattern into long sleeves. It’s perfect for those cooler days! Can’t wait to try this hack on my next project. Thanks for sharing!