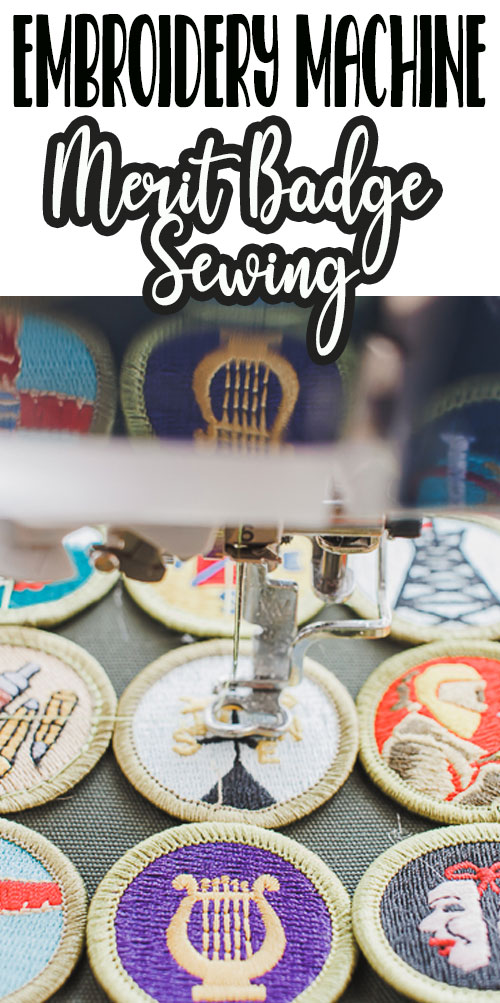
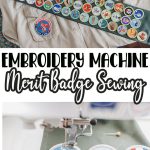
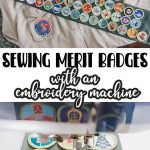
inside: Learn out to sew merit badges on sash with an embroidery machine. This is a simple and quick way of sewing merit badges on a scout sash. If you have an embroidery machine this is an easy technique.
A few weeks ago a friend asked me to sew badges on her sons scout sash. He is going to be an Eagle Scout in the coming months and they had not sewed any of his badges on. There were more than forty badges to sew on and thought it should be possible on my embroidery machine. When I looked online though, I couldn’t find any information on this. So today I’m going to show you how I figured out how to put badges on a boy scout sash…. with an embroidery machine.
sewing merit badges on sash with embroidery machine –
As I looked for information on sewing merit badges I found information on placement, order, and how to sew them with a sewing machine. I couldn’t find anything on sewing badges with an embroidery machine. It seemed easy to me… program a circle and sew it over and over to attach all the merit badges. I’m so so pleased with the result and I think using the embroidery machine made it go really fast.
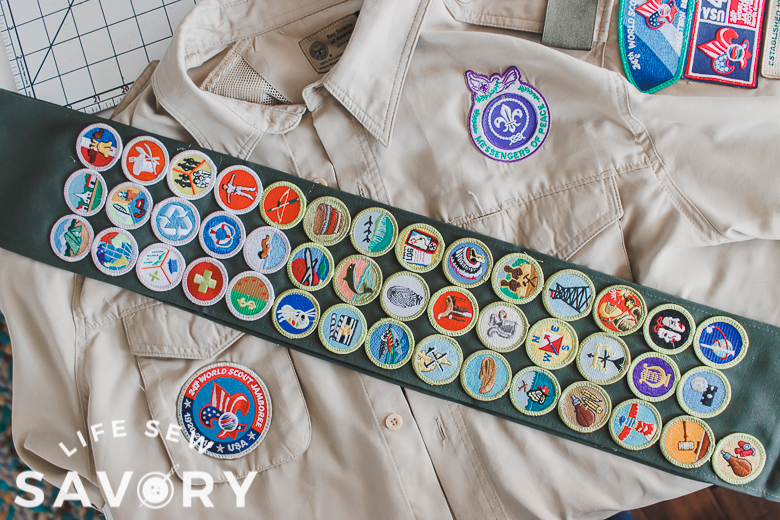
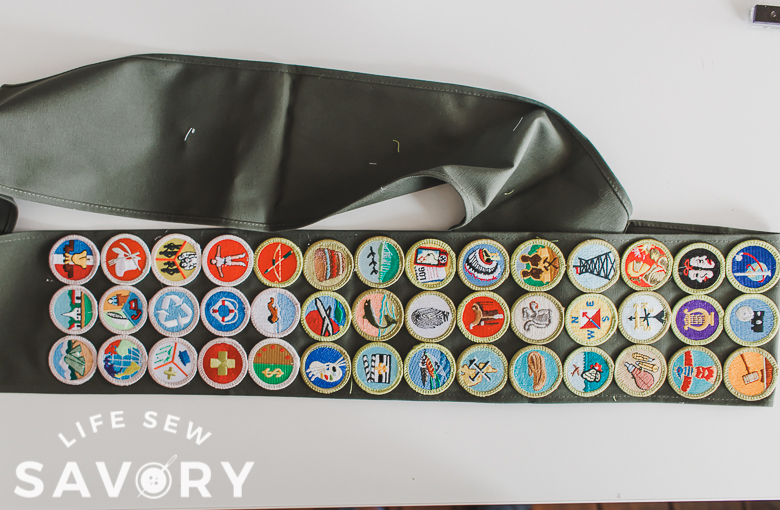
It took a bit of set up to organize this project, but once I got sewing the badges went on really quickly and the circles were perfect. I’m sure that if I were sewing them with my regular sewing machine I would not have been able to sew such perfect circles.
It would have been a lot of sewing and pivoting with the sewing machine and not perfect circles. Using an embroidery design for this creates beautiful circles.
Here are some other sewing projects for other clubs/hobbies
Sewing merit badges on scout sash –
ready to try this? Here is what you will need:
- Merit badges
- Boy scout sash
- Embroidery machine
- Sticky stabilizer
- Circle Design if needed – can find on Etsy
- Thread that matches the edges of your badges
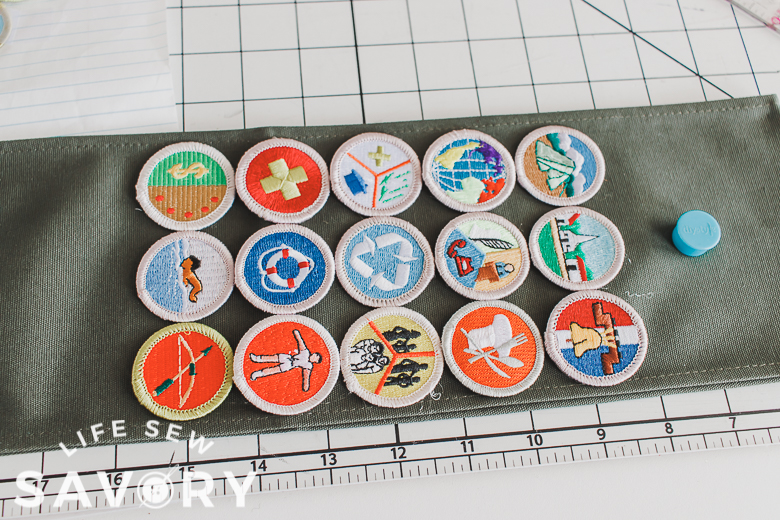
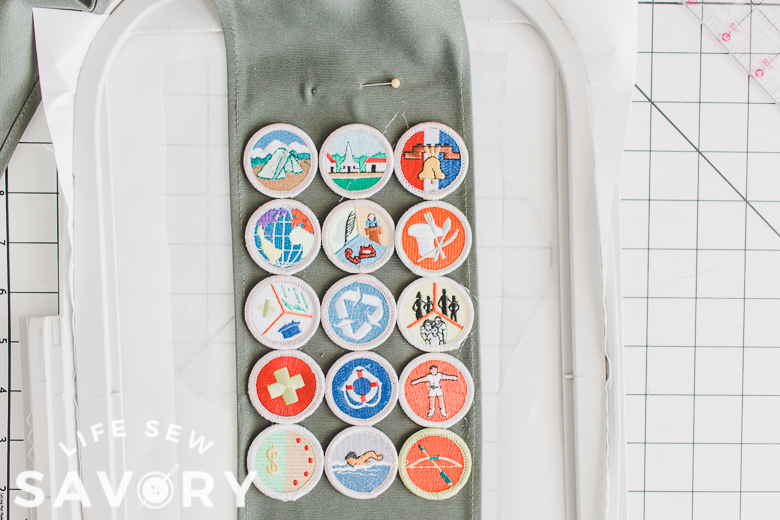
My friend who asked me to help laid out most of the badges for me, so that was helpful and should be the first step in the process.
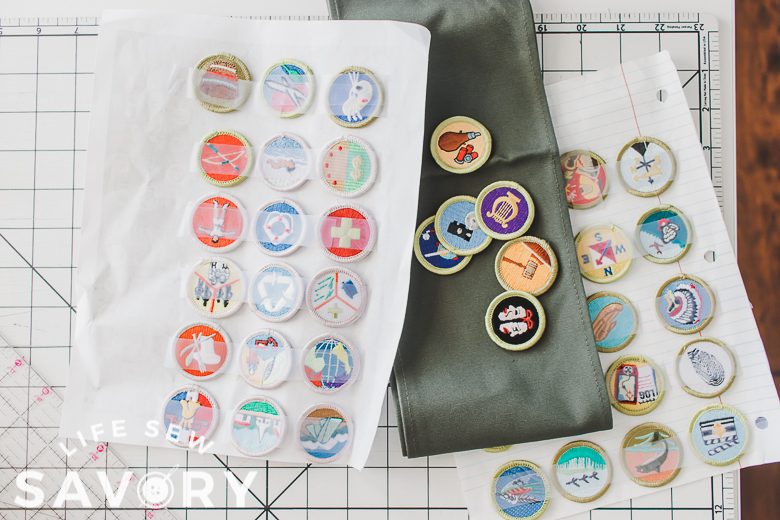
I used my cutting mat as a grid to help with the badge placement. Specifications say that badges should start 4″ down from the top fold of the sash.
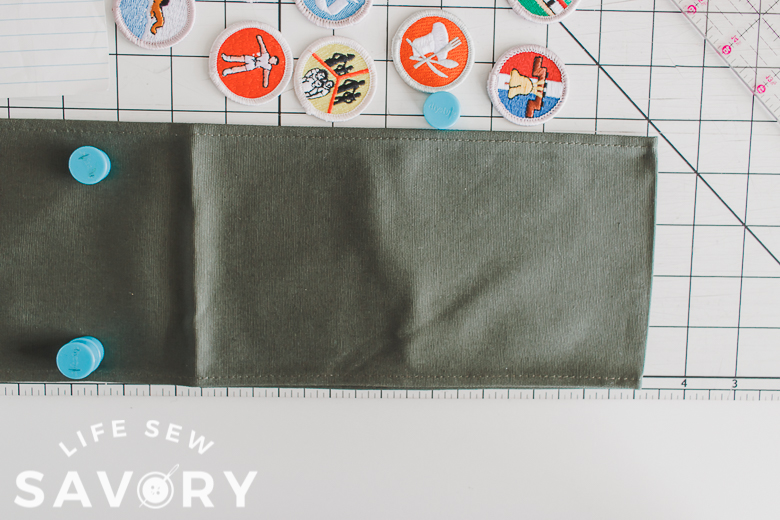
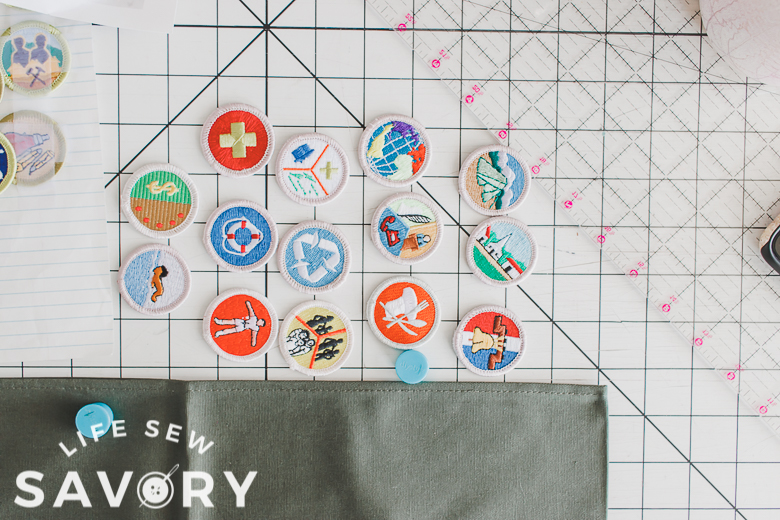
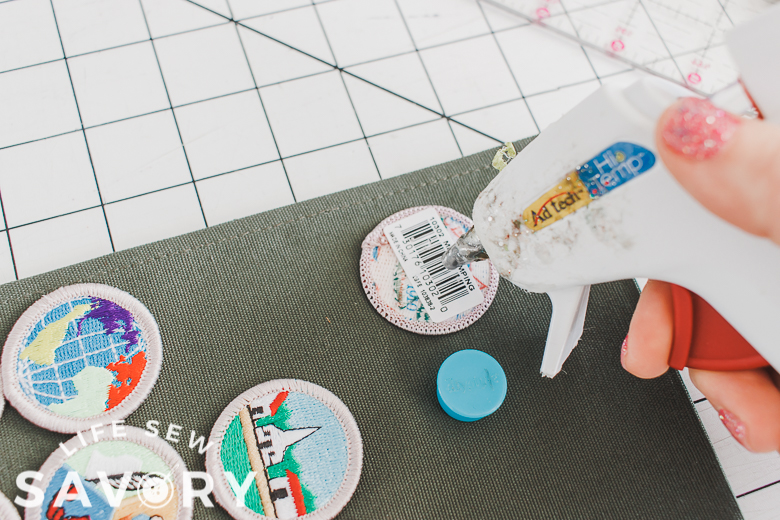
In some of the badge sewing tutorials I found online it mentioned using hot glue to hold the badges in place while you sew the badges in place. I ended up doing this and it made it super easy. Just use a tiny bit of glue, just enough to hold it.
I did the badges in three phases in my embroidery hoop.
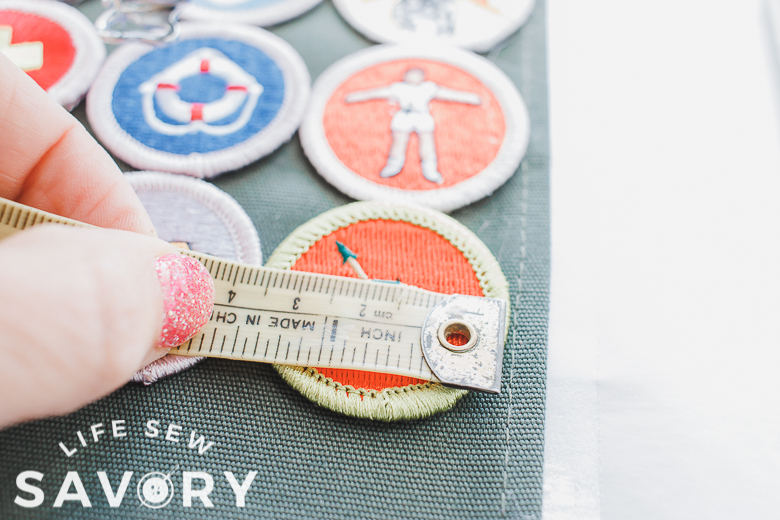
Depending on the size of your hoop you can do a few or many badges in one hoop. Place the sticky stabilizer in the hoop and then again use a grid to place the sash squarely in the hoop. Measure the badges from side to side. You want to measure from the middle of one border to the center of the other side of the border. I needed a 35 mm circle.
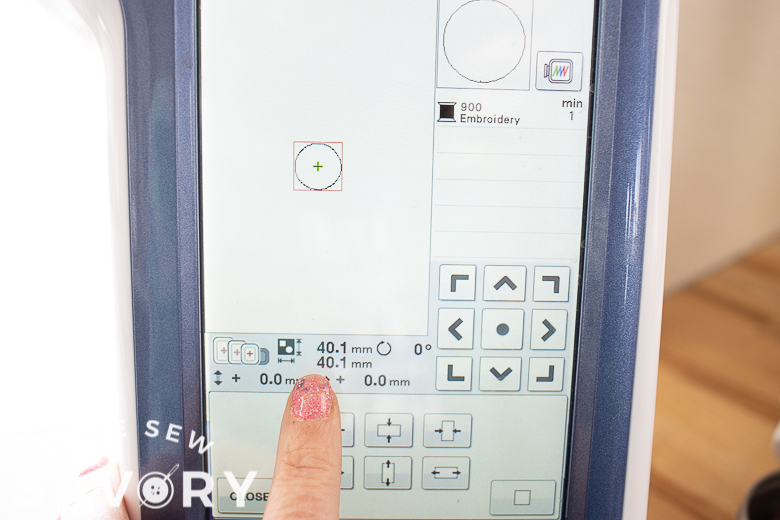
My first idea was just to use the circle in one of the built in designs of my machine. I have a Brother VM5200 combo sewing and embroidery machine and it has a ton of built in designs. Well, I opened up a simple circle border, only to find out that I couldn’t make it small enough.
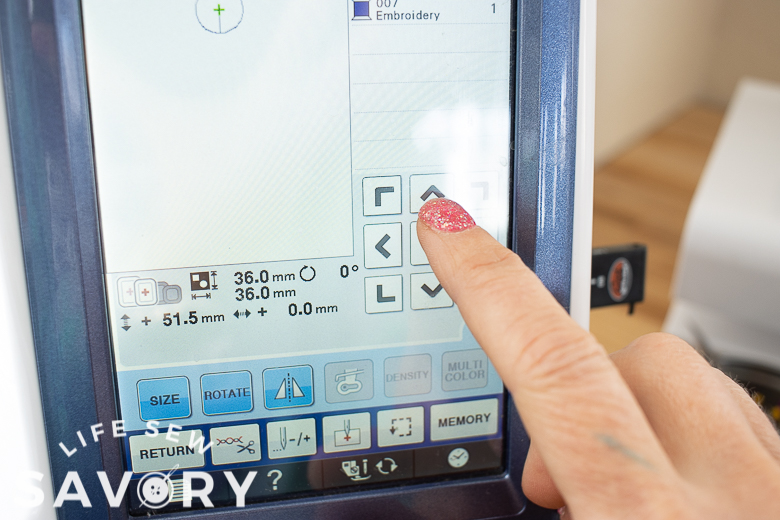
Unfortunately, I was able to reduce it to 40.1mm which just wasn’t small enough. I ended up purchasing the circle design listed in the supplies list above. In the end, I ended up going one size smaller than the 36 mm on the right.
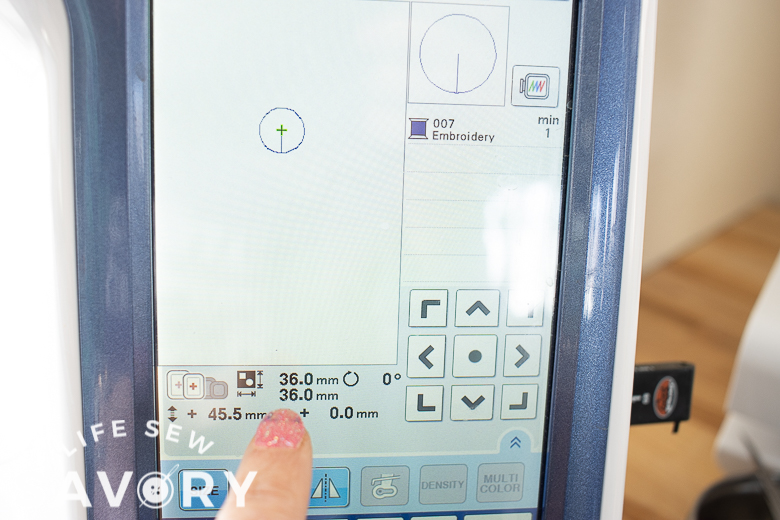
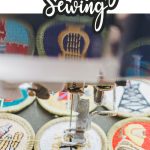
On my machine I can use the arrows to move the needle. Thread the machine with thread that matches the border of the badge. Move the needle to the center of the first badge. When I got close to the center I would lower the presser foot then eyed the center best I could.
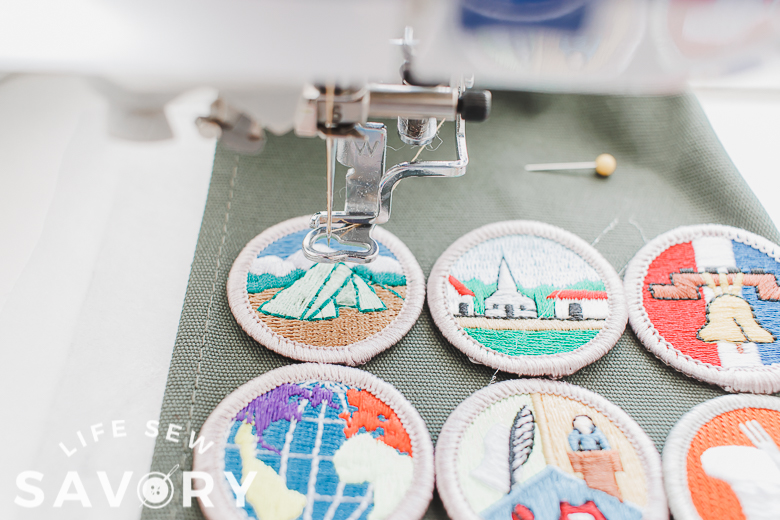
Once I have the needle in the center I pushed start on the design. The machine will do its thing to create a perfect circle.
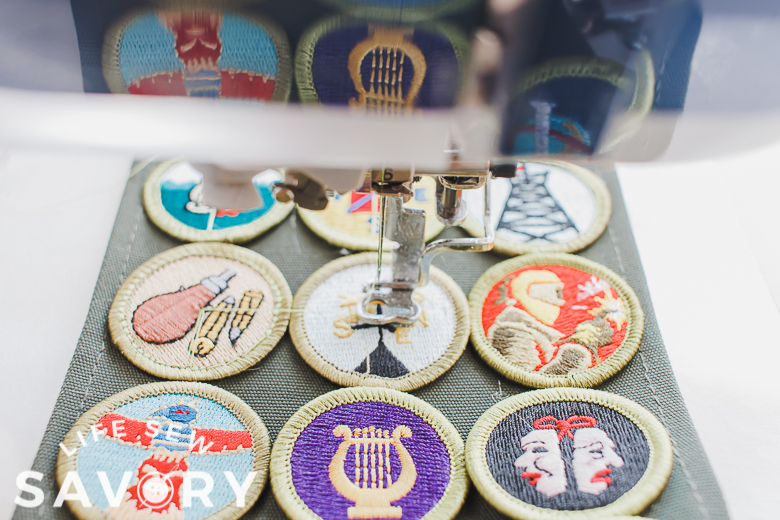
On the design I used the locking stitch at the start and end of the design was in the center, then stitched the circle. The better I eyed up the center, the better my circle fell on the border. Overall, I was really pleased with how the stitching went. After sewing all that could fit in my hoop I clipped all the threads.
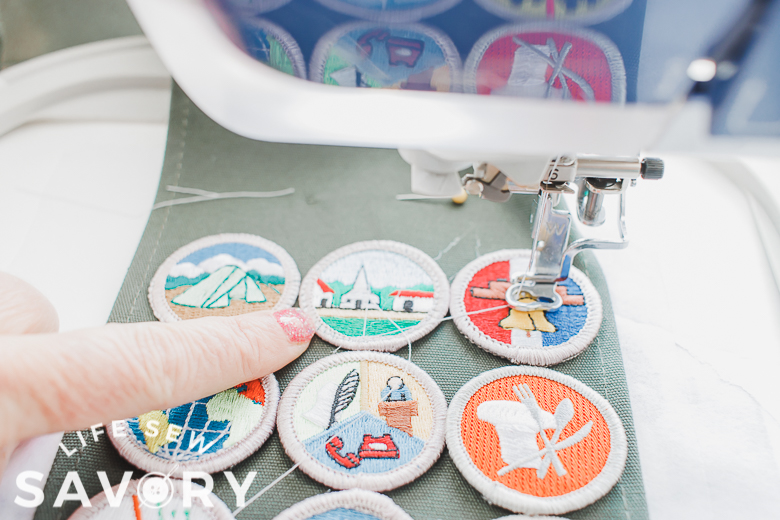
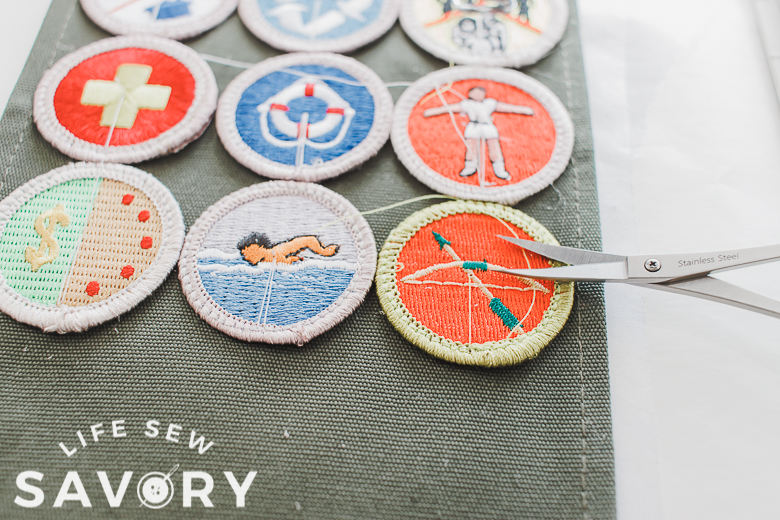
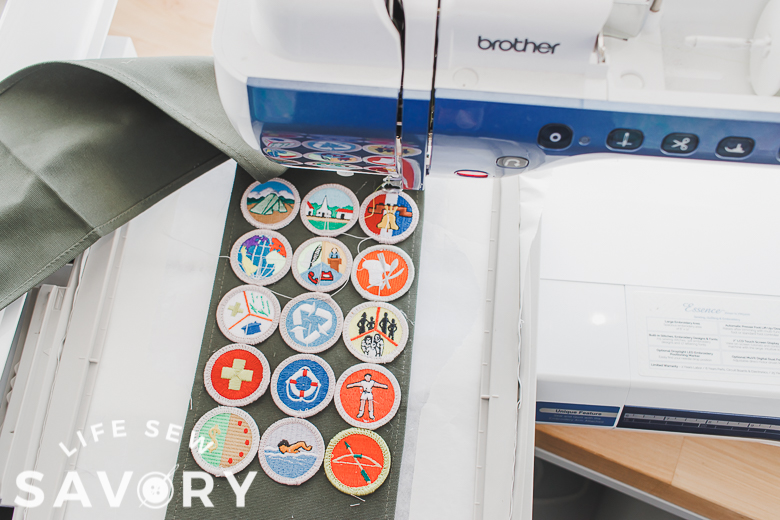
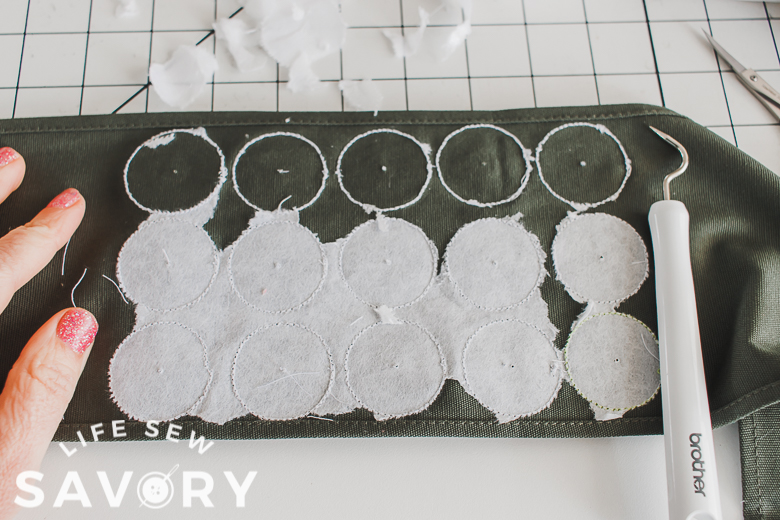
After I clipped the threads, I pulled the sash off the hoop and then picked off the stabilizer. If you have more badges then can fit in one hoop, repeat the process with more badges until you are finished. It took me two full hoops and another half hoop to finish the project.
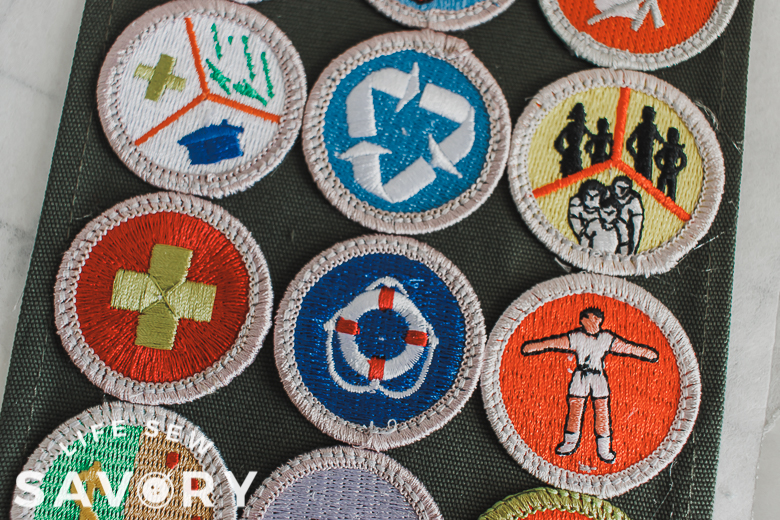
I handed the sash with badges back to the mom and her future Eagle Scout this week and they were very pleased with the result. I hope this tutorial for using your embroidery machine to sew merit badges on a sash is helpful to you.



Speattle says
This is brilliant! I didn’t have an embroidery machine when my 2 Eagle Boy Scouts, and my Gold Girl Scout were growing up, and I couldn’t even tell you the number of badges I have sewn on sashes. My daughter is now a GS leader and has 3 girls in Girl Scouts. She also has an embroidery machine, so I will be recommending this post to her. Thank you!
Emily says
Margaret Pennington says
OMG why did I never think of this before it’s brilliant.