Inside: Learn how to sew a simple leotard by turning a swimsuit pattern into a leotard. Sewing hack to create a simple leotard from a swim suit pattern. Create easy gym wear for your kids.
My daughter loves lots of activities. She has rotated between dance, gymnastics and soccer over the past couple of years. After a few months she gets tired of one and tries something else. I’m fine with that and just trying to help her explore her passions. By the name of this tutorial I bet you can guess what she is trying next. The Olympics inspired her to try gymnastics again, so she needed a new leotard.
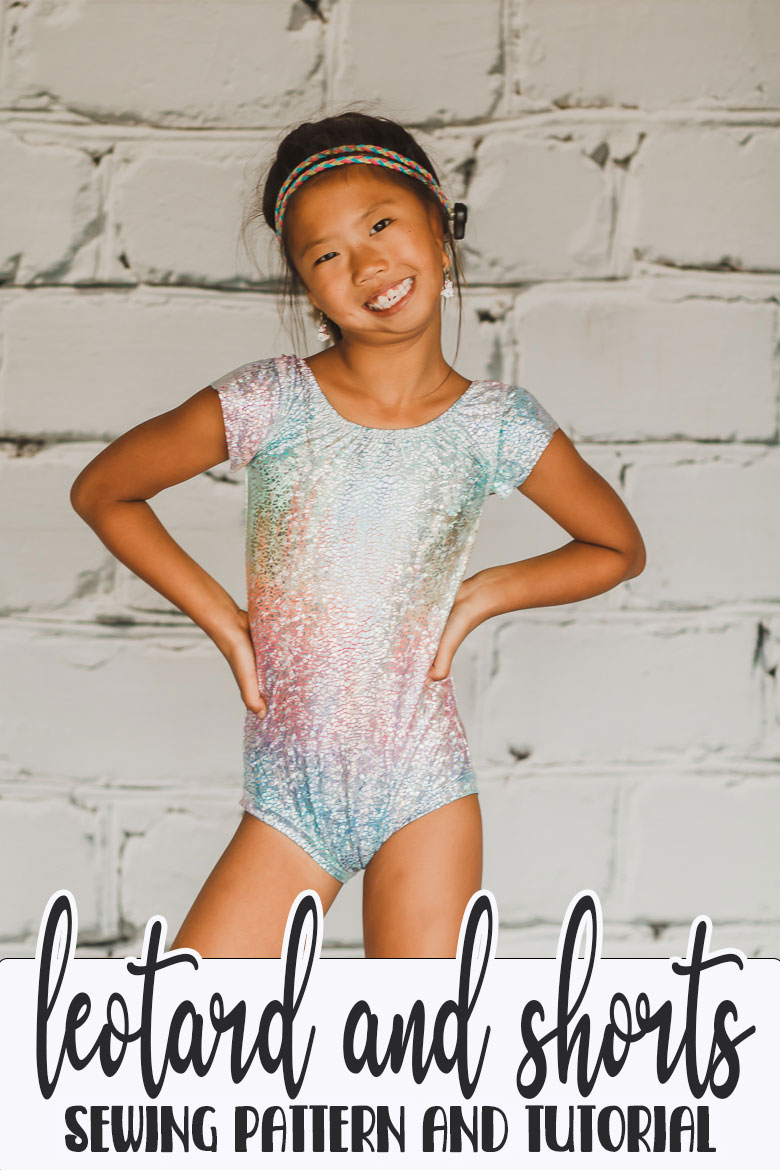
Simple Leotard Pattern from a swim suit
I found this amazing fabric when I was at Hobby Lobby and wasn’t sure what pattern I would use to sew a leotard. My goal was to try and hack a pattern I already had rather than buy something new. After some thought I decided to try and hack my basic swimsuit pattern to create a gymnastics leotard.
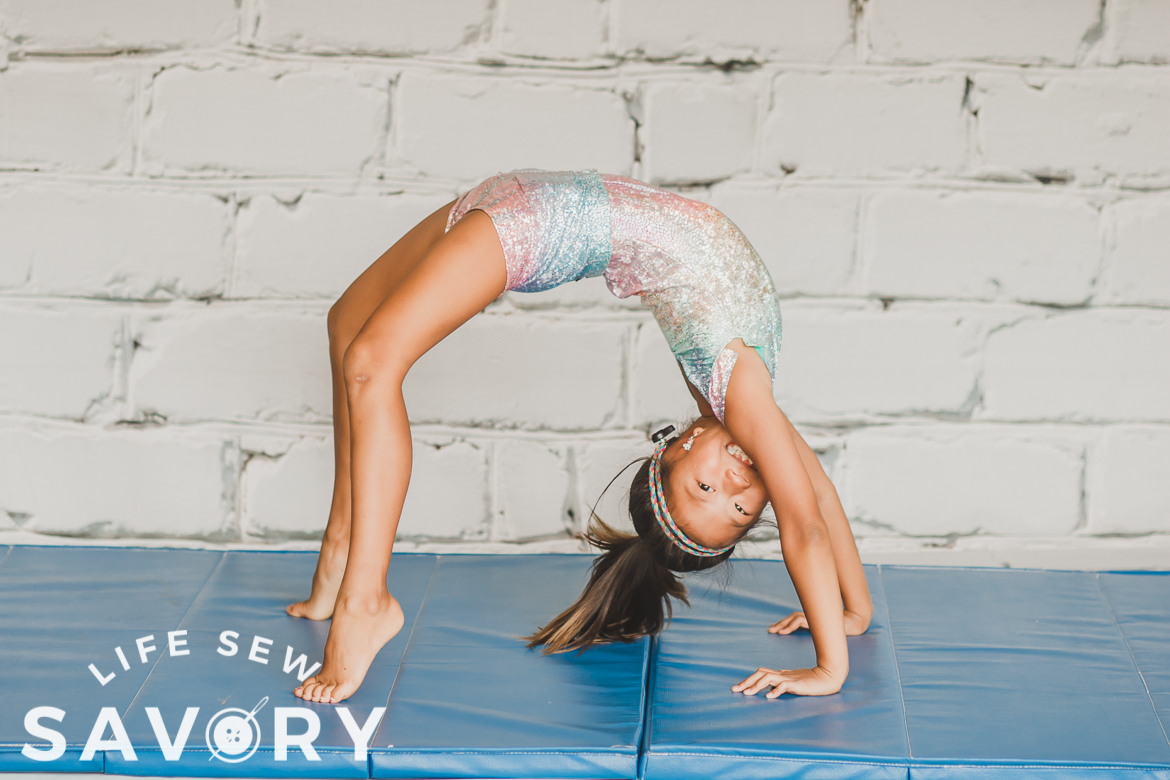
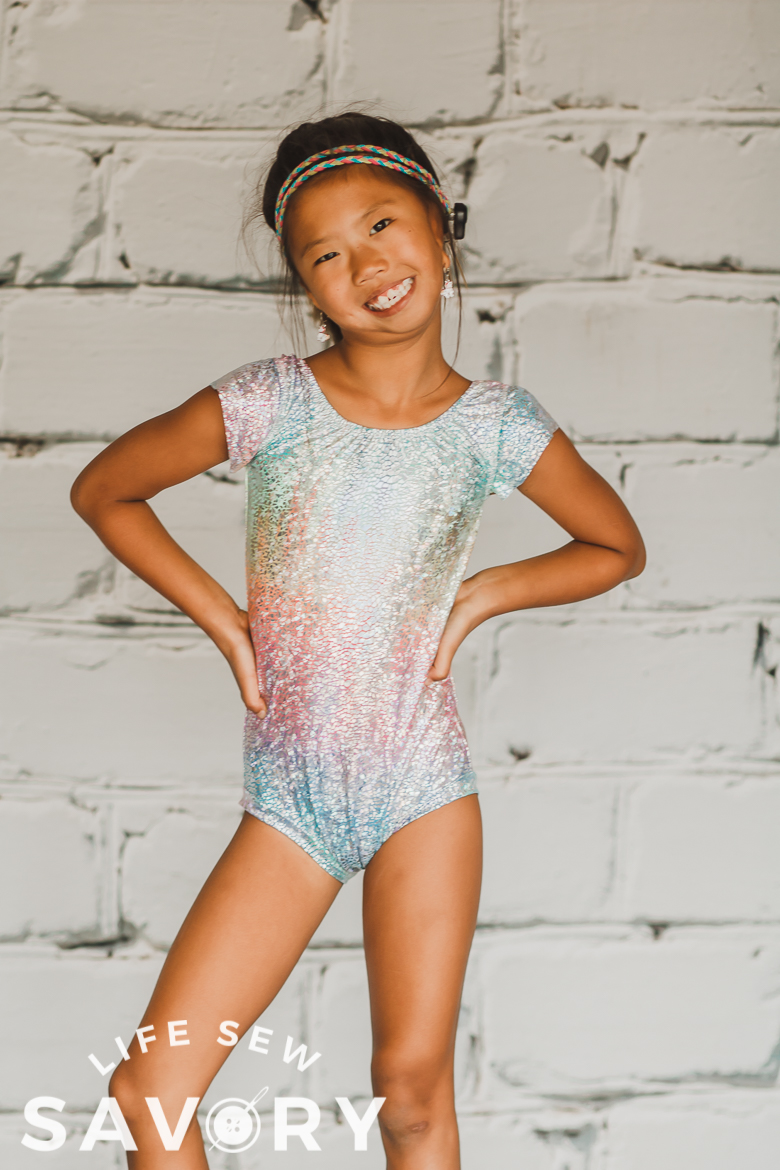
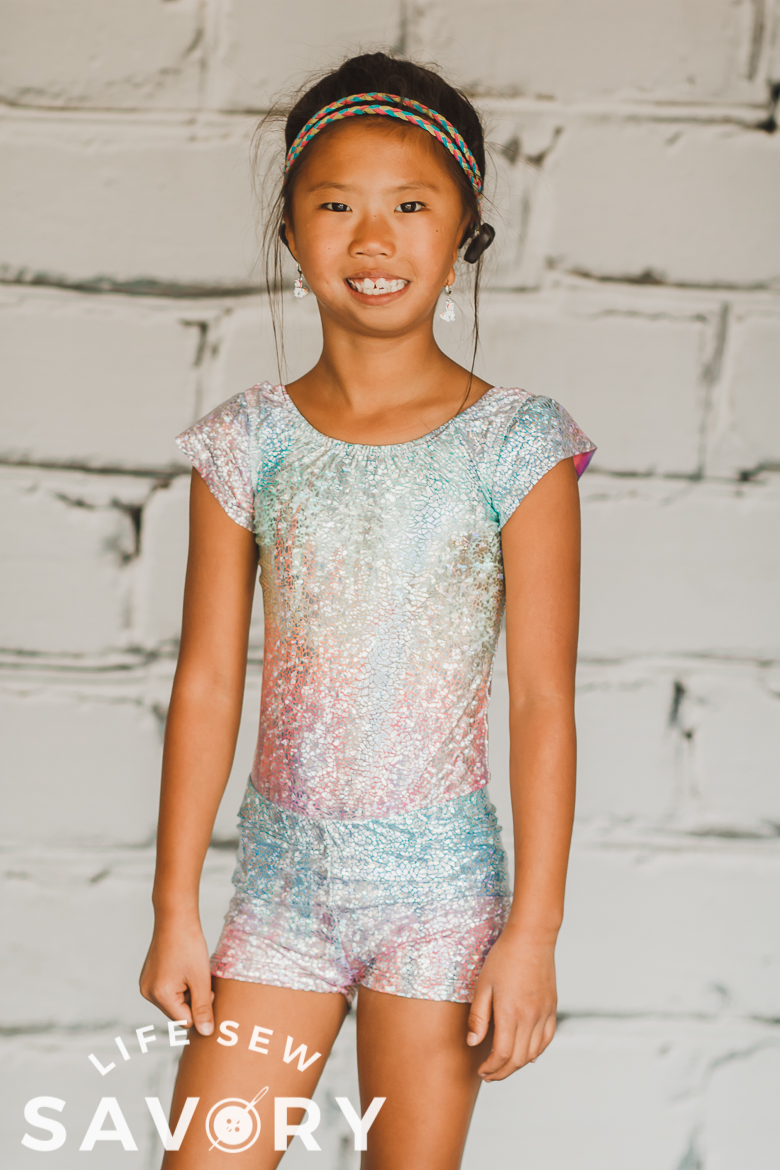
I’m pretty pleased with how this leotard turned out. The shorts are an easy add on as well. I’ll link the swimsuit AND shorts pattern below.
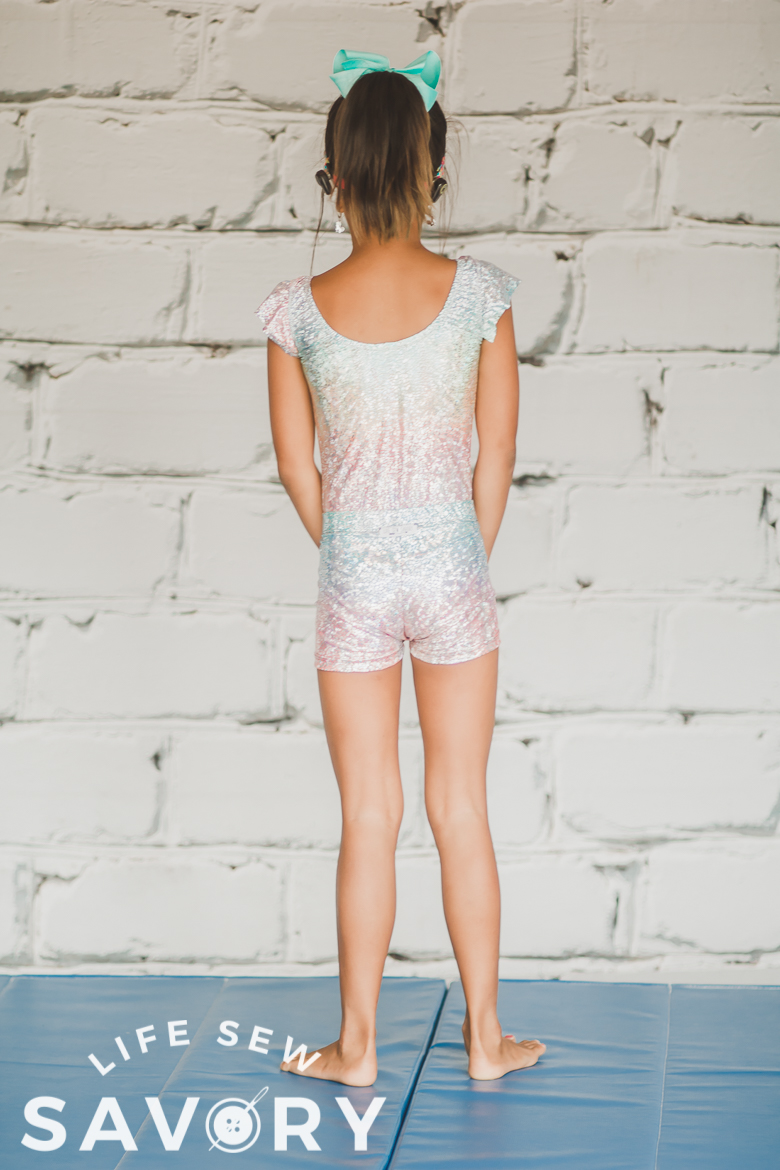
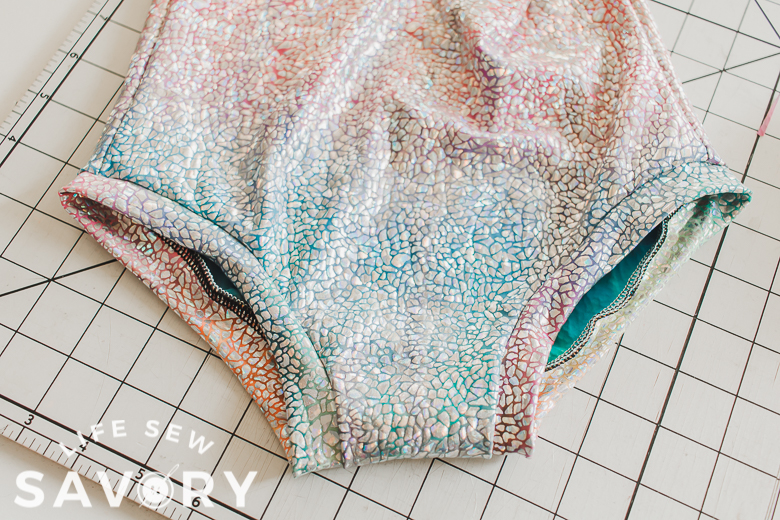
I also added cuffs on the bottom of the suit rather than the elastic leg openings. In addition to the leg openings I also added a little ruffle to sleeves, I think these details make this look more like a leotard and less like a swim suit.
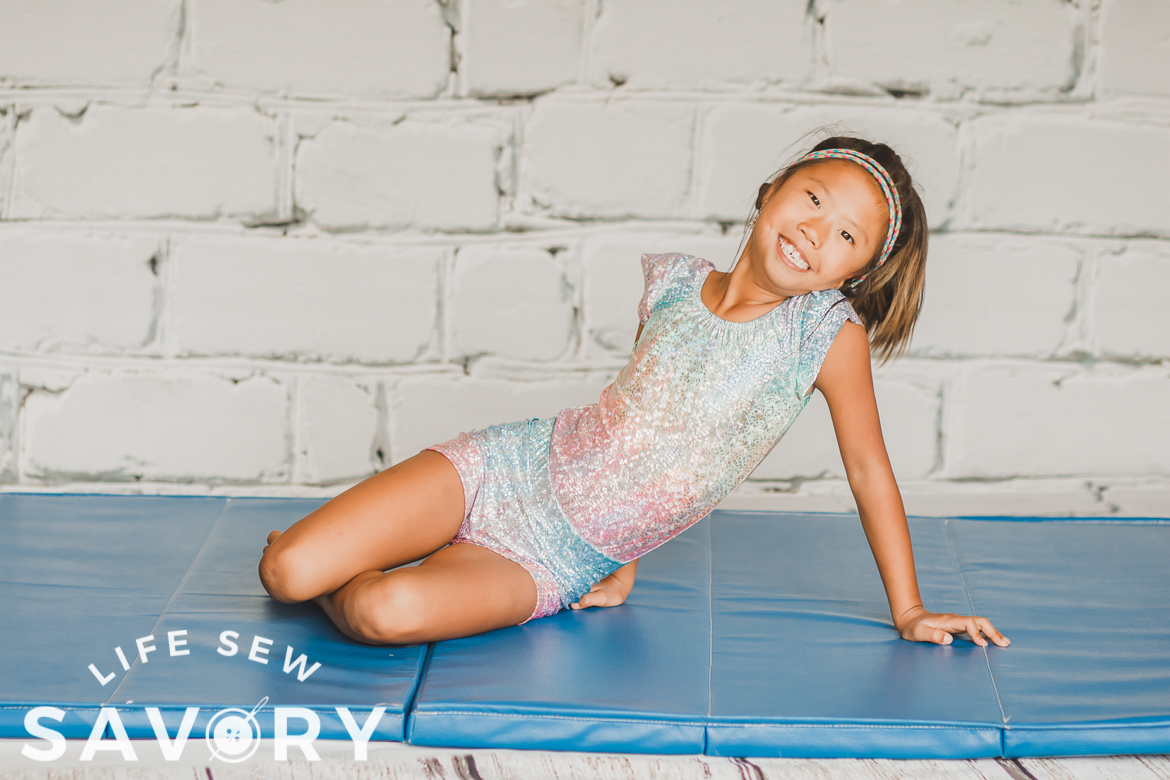
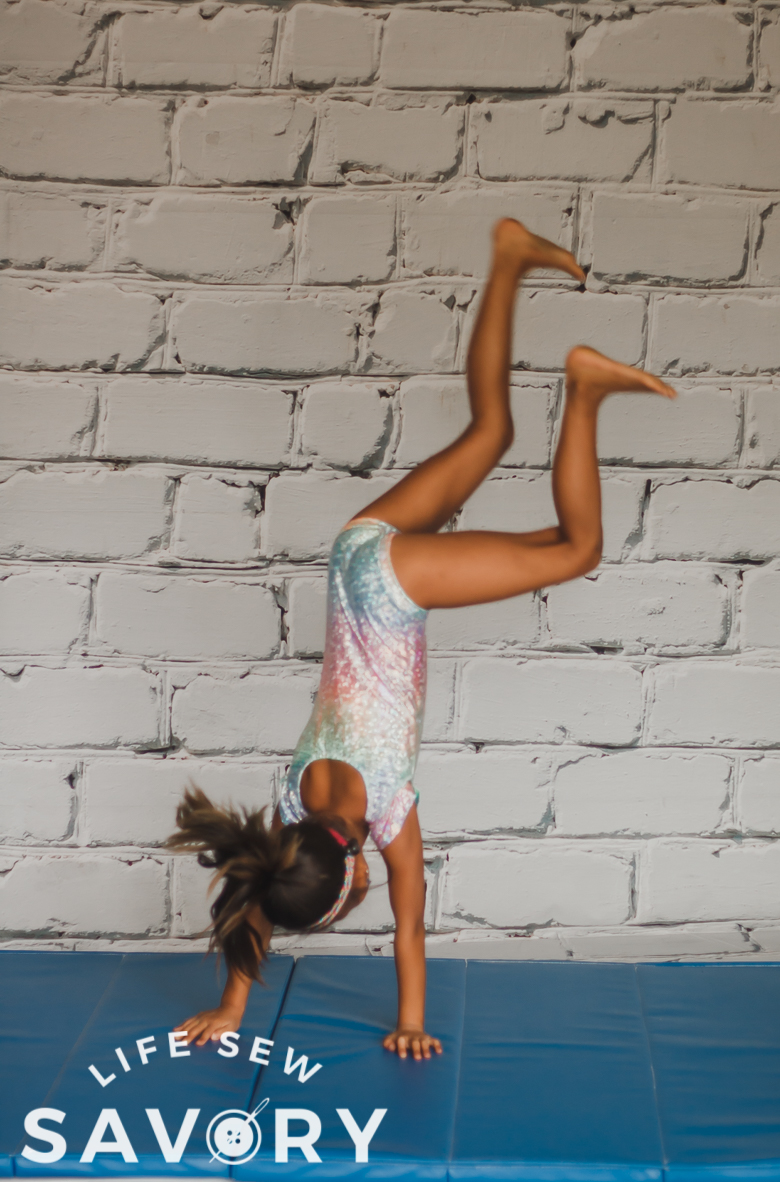
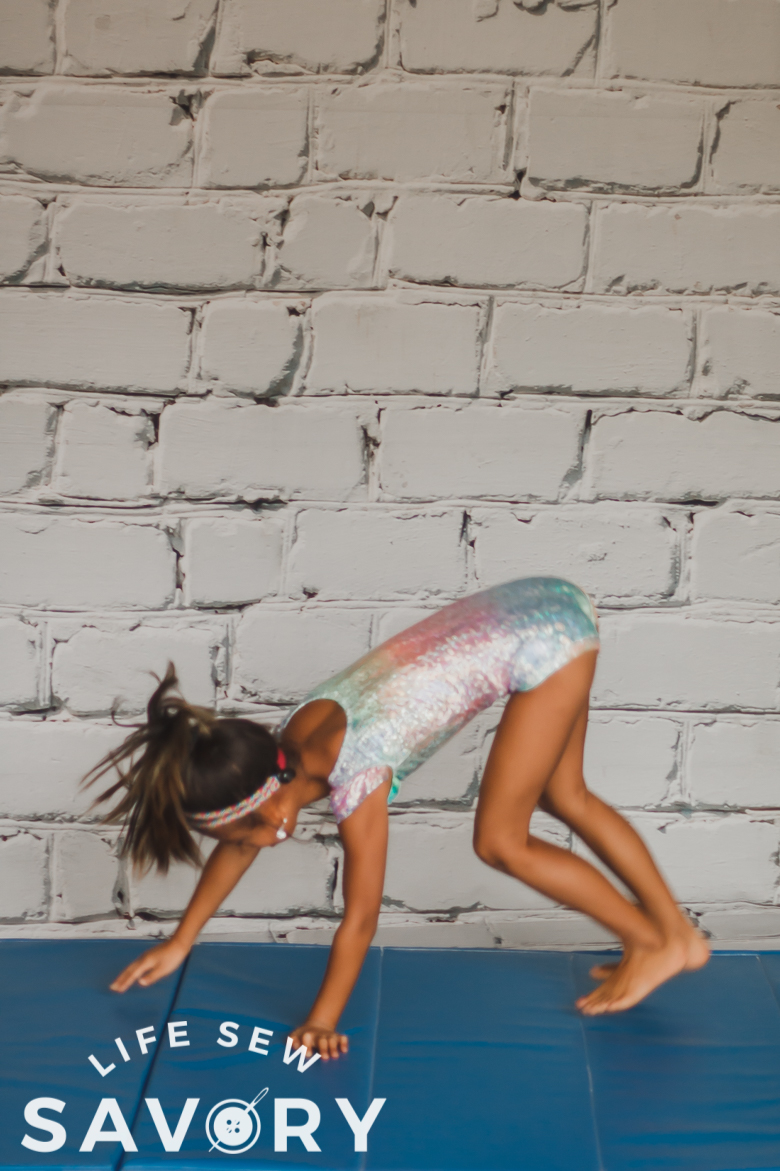
Rose thinks this all works great for showing off her gymnastics moves. She has been practicing hard over the summer and is looking forward to her official classes starting next week. She has done a million cartwheels this summer {haha}
How to sew a leotard –
Ok! let’s get started sewing. I used 1 yard of fabric for the shorts and leotard, but you will need more if sewing larger sizes. patterns used:
- basic swimsuit pattern size 2-14 years {$5}
- shortie leggings pattern size 18M – 12Y {free}
- You will also need 1″ elastic for the shorts and 1/4″ elastic for the leotard.
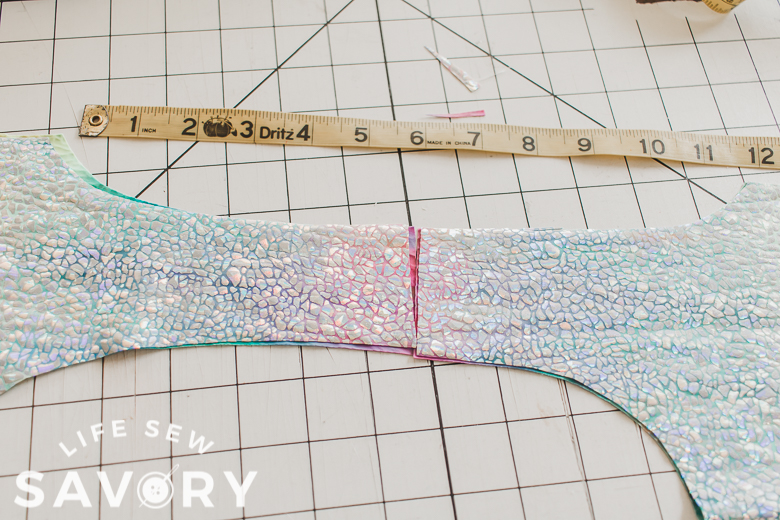
I created this swimsuit pattern a couple of years ago because my daughter isn’t a standard size. She is tall and thin and needs a combination of sizes. I cut this leotard as a size 8 length and 5 width, the only other change I made was to add 1″ to the width of the shoulders on the arm side. The green line is the added width.
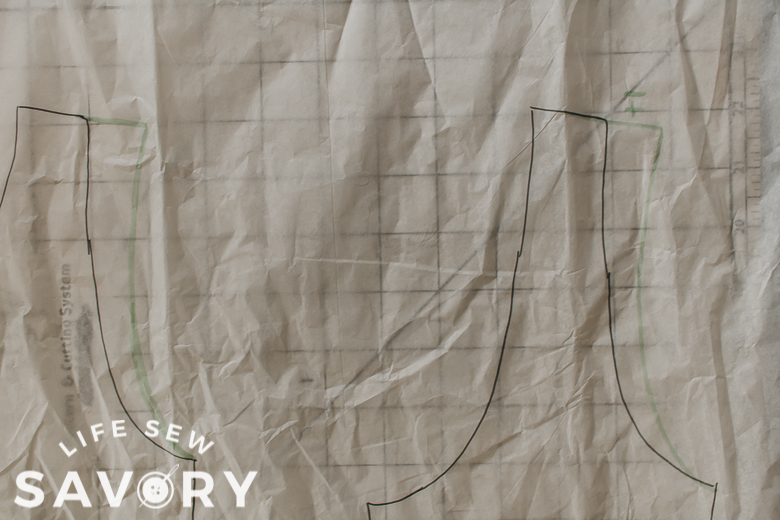
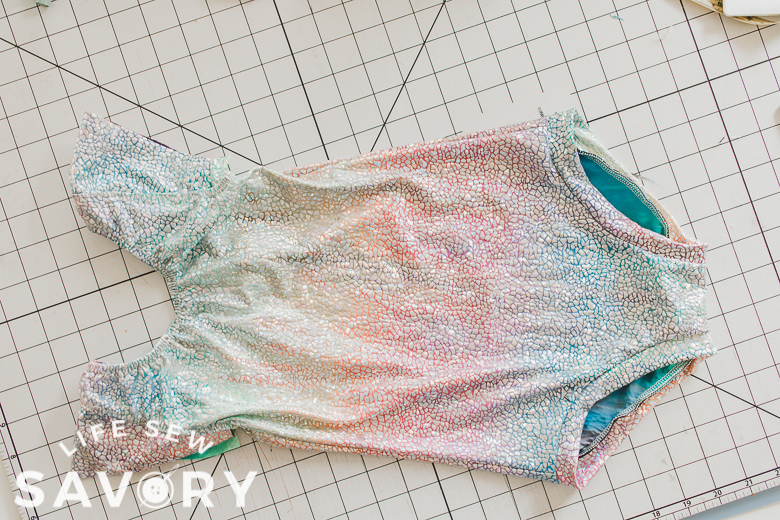
This is how it looked when I cut it from the fabric.
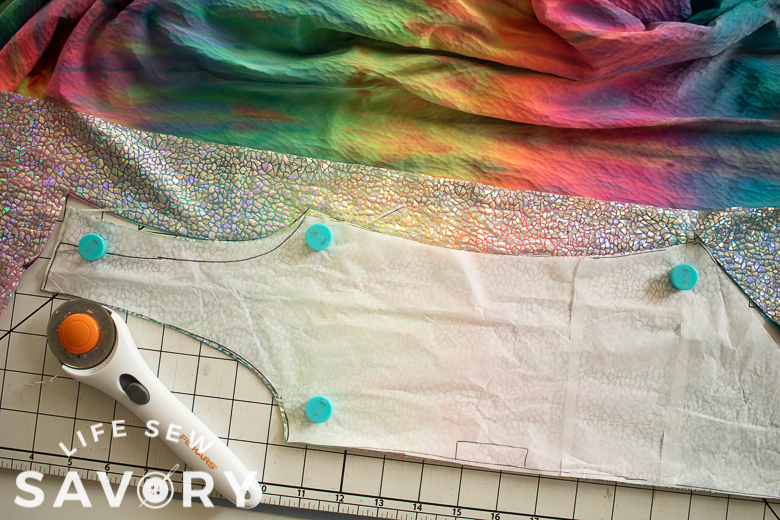
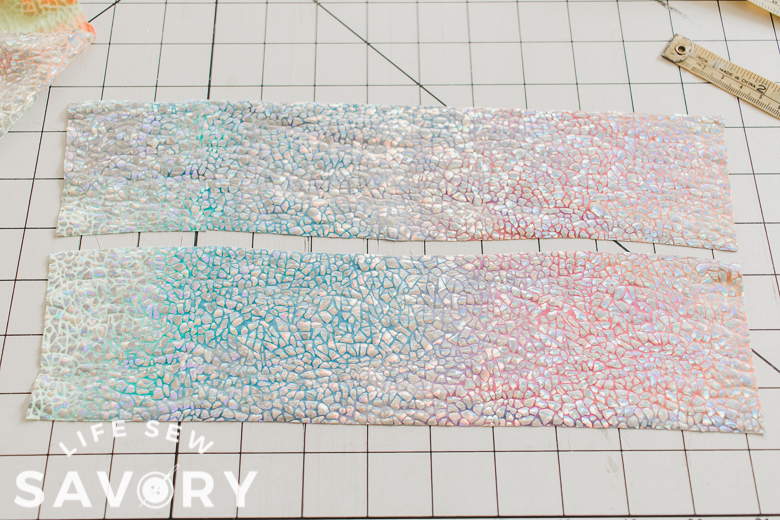
Make sure the shoulders are the same width. Then cut a flutter sleeve if you want to add that option. Measure across the arm opening. Mine is 11.5″ {I didn’t measure the curve}, then cut rectangles that are 3″ tall and the length you measured.
You will want to create a curved edge on one long side of the sleeve. Fold the sleeve in half and then angle one side. Start 1″ up from the raw edges and then curve it up towards the center fold. Repeat with the other sleeve.
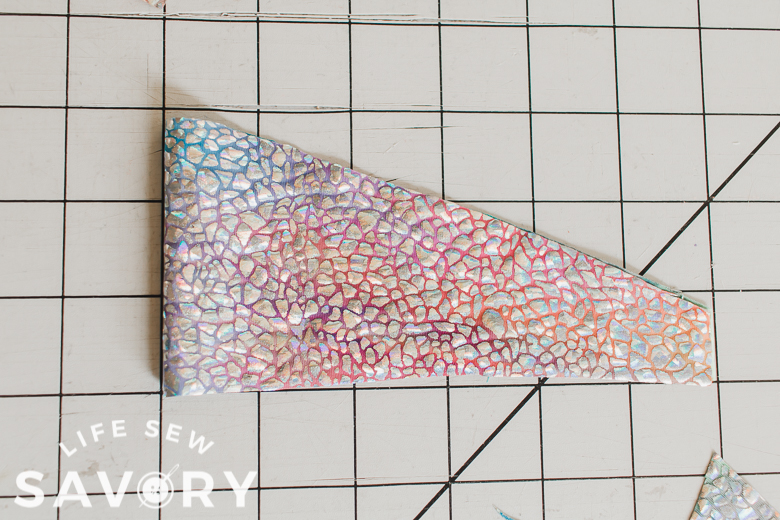
Here are all the pieces cut out. Shorts – 1 main piece x 2. Leotard – 1 front, 1 back 2 sleeves PLUS elastic.
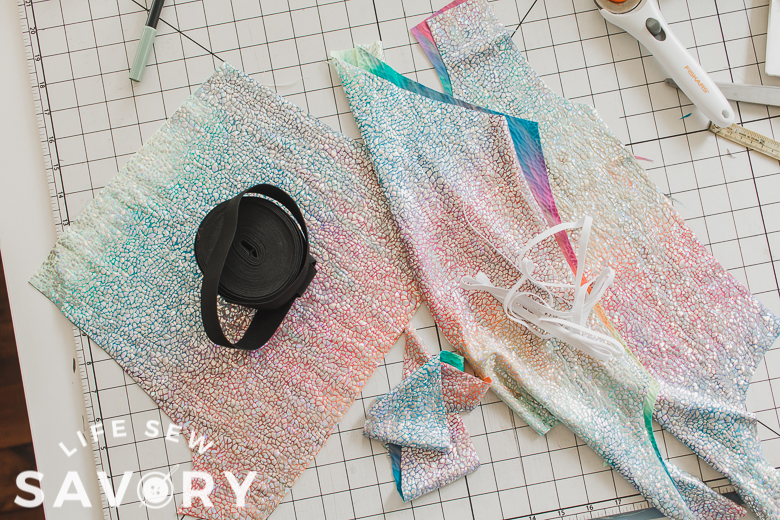
I began by sewing the shorts because I have sewn so many of them and this is easy for me. Not sure how to sew up these shorts? Use the short legging tutorial here.
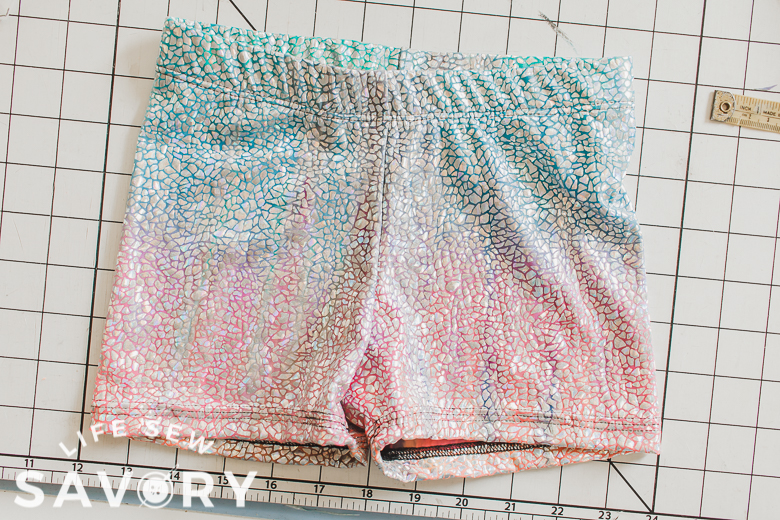
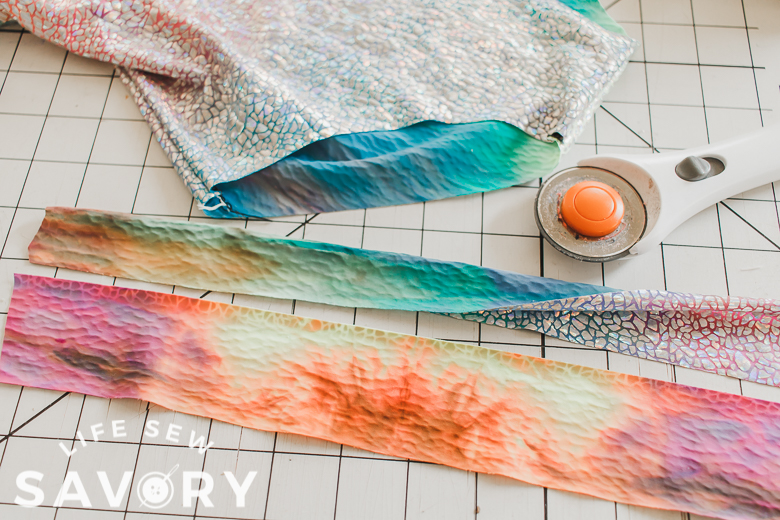
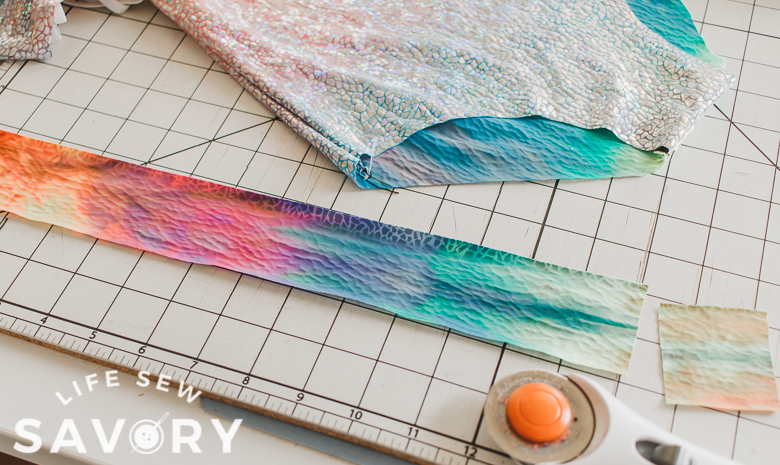
For the swimsuit/leotard you will start by sewing up the sides and shoulders of the leotard as according to the suit directions. When you get to the leg and arm openings we will finish the leg openings with bands. Cut 2″ strips with the stretch going side to side the long way. I decided to turn the fabric the other way for this part.
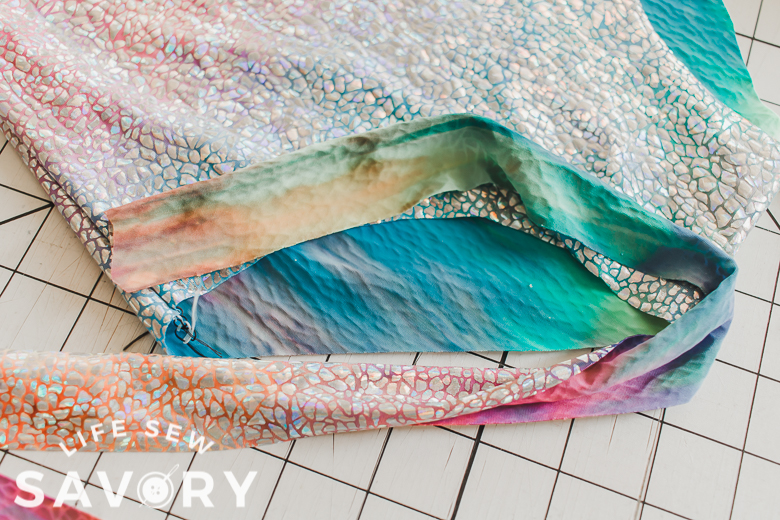
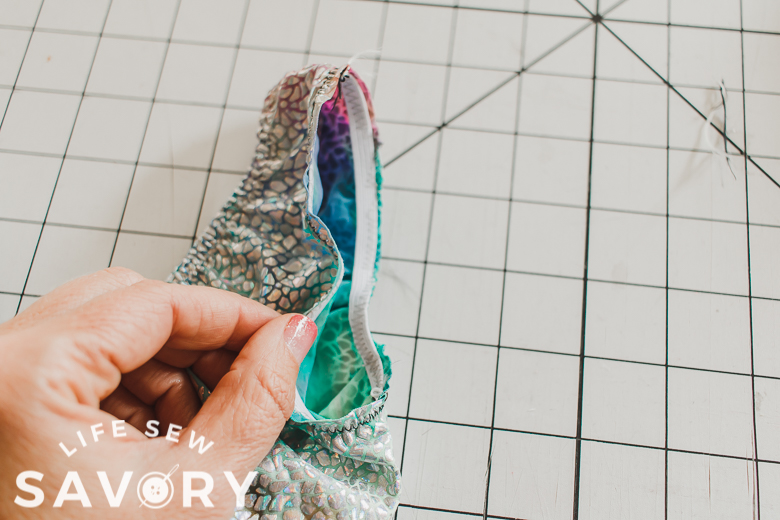
Measure around the leg opening and then I cut 2″ off this measurement for the leg band. You want to remove about 20% of the length. Sew the short ends together and then fold with the wrong sides together. I meant to sew it the opposite way {with the wrong side out} but was too much in auto mode and sewed it right side out. Stretch the band around the leg opening lining up all the raw edges and sew with a stretch stitch. {need help with bands? Check out this tutorial}
For the arms I sewed the the first step {stretch and sew the elastic} Now take the curved edge of the ruffle sleeve and find the middle. Place the middle of the sleeve on the shoulder seam.
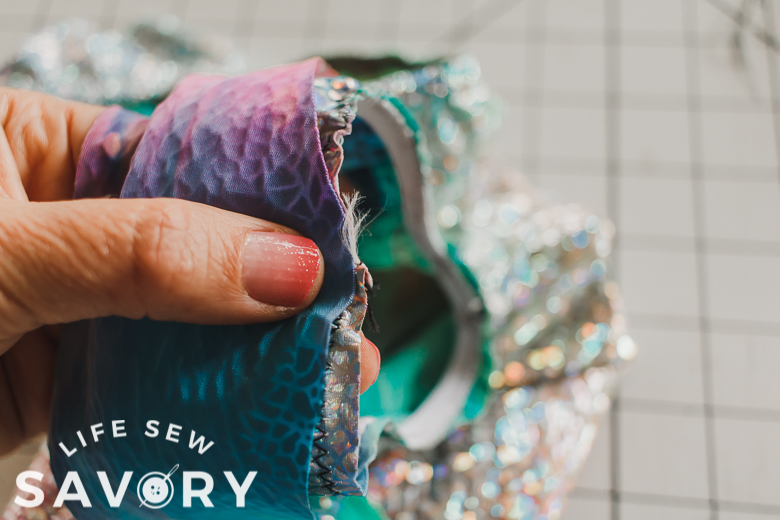
Fold back the elastic like you would do to enclose and then fold back the sleeve as well. Remember – the CURVED edge of the sleeve is the one you should be pinning to the elastic. Fold back the elastic and pin the sleeve as well. I had to stretch the elastic and try not to stretch the sleeve.
I sewed the elastic over and top-stitched with a zig-zag like usually making sure to catch the sleeve as well. Repeat with the other sleeve and then finish the neckline.
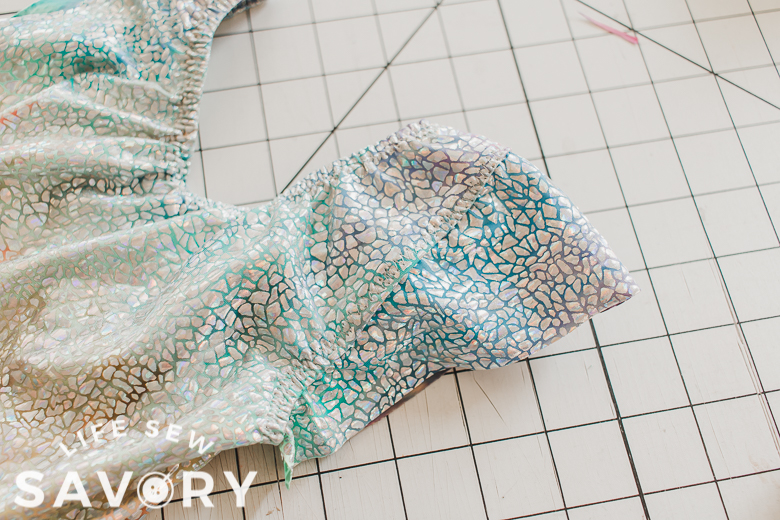
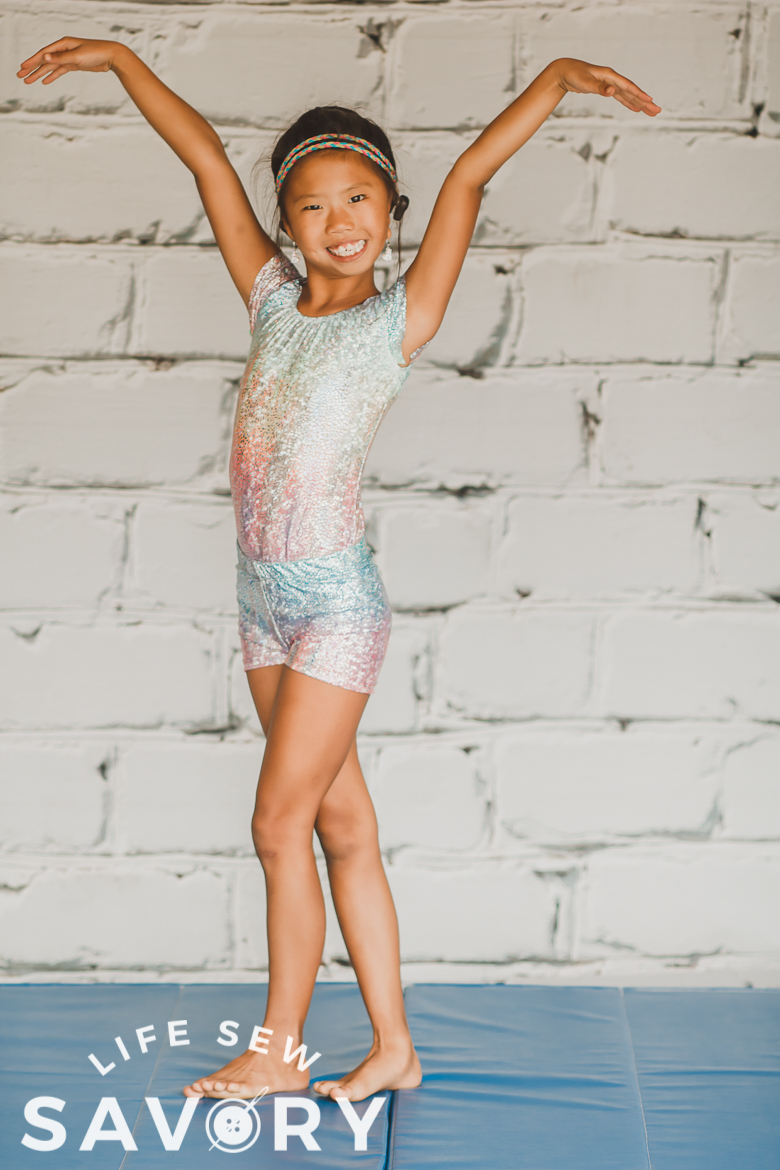
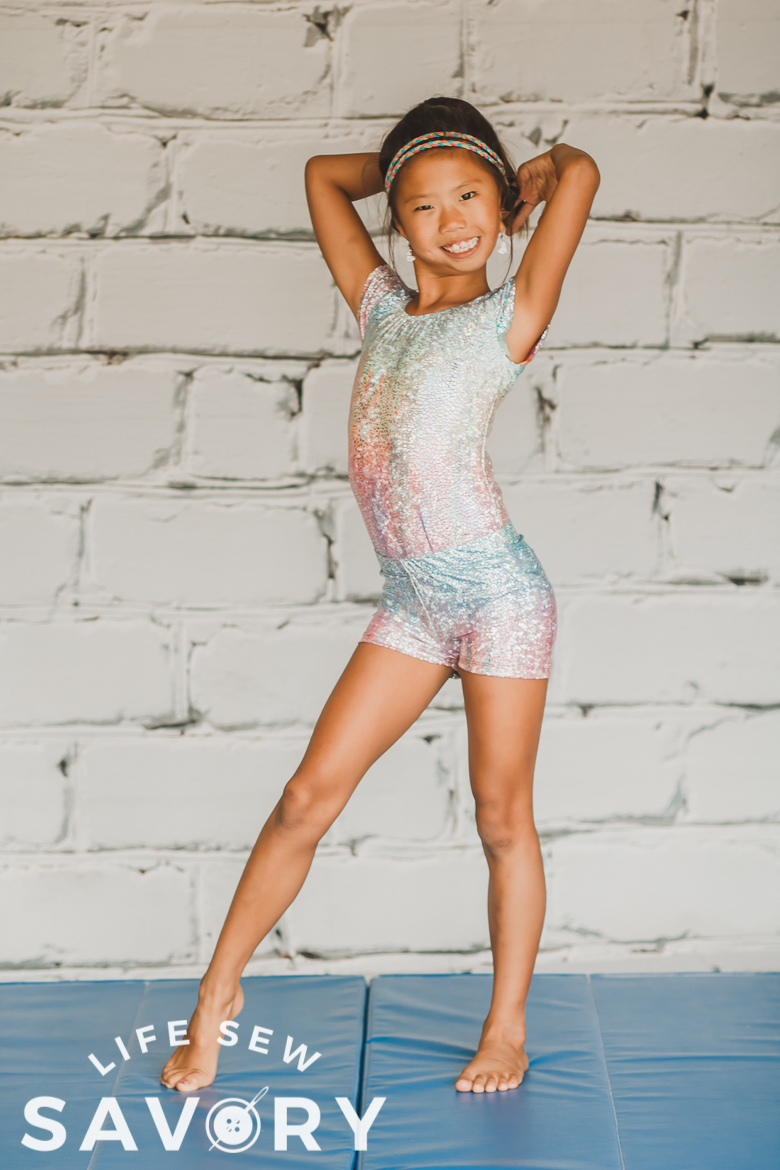
Here is the finished result! I was thinking the hips looked big, but when Rose put it on it fits fine. I’m thrilled I was able to make it work using my swim pattern.
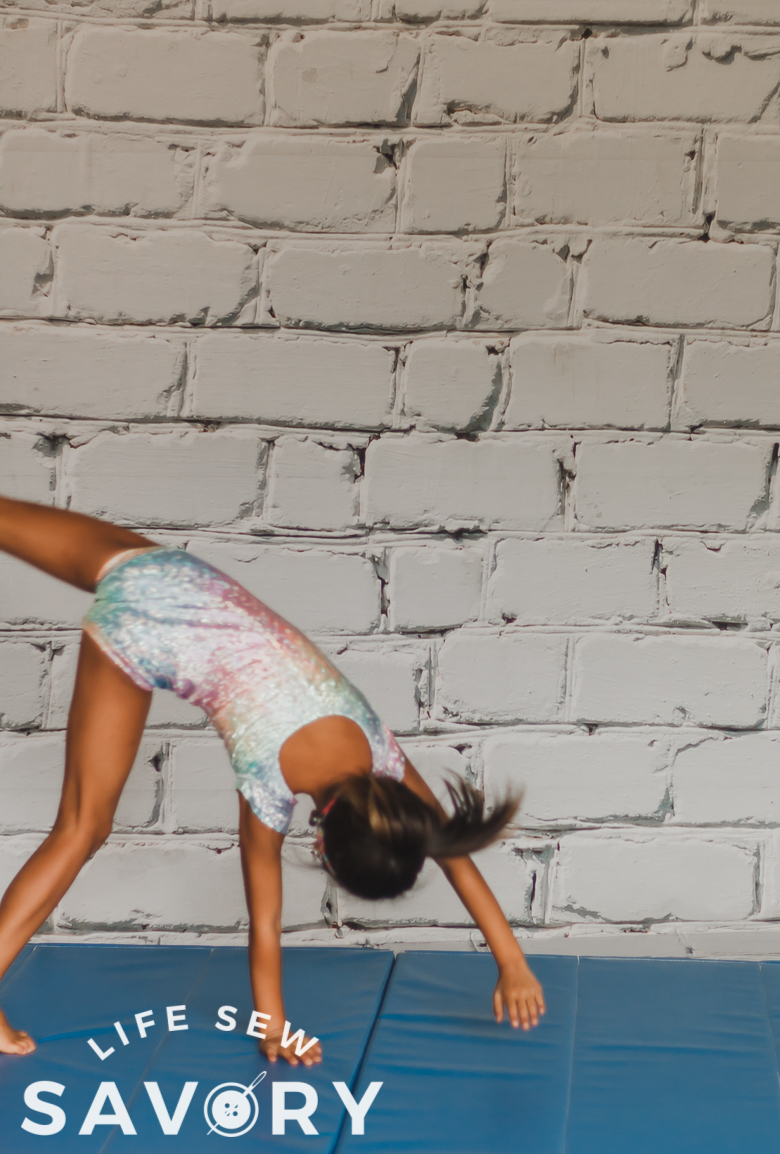
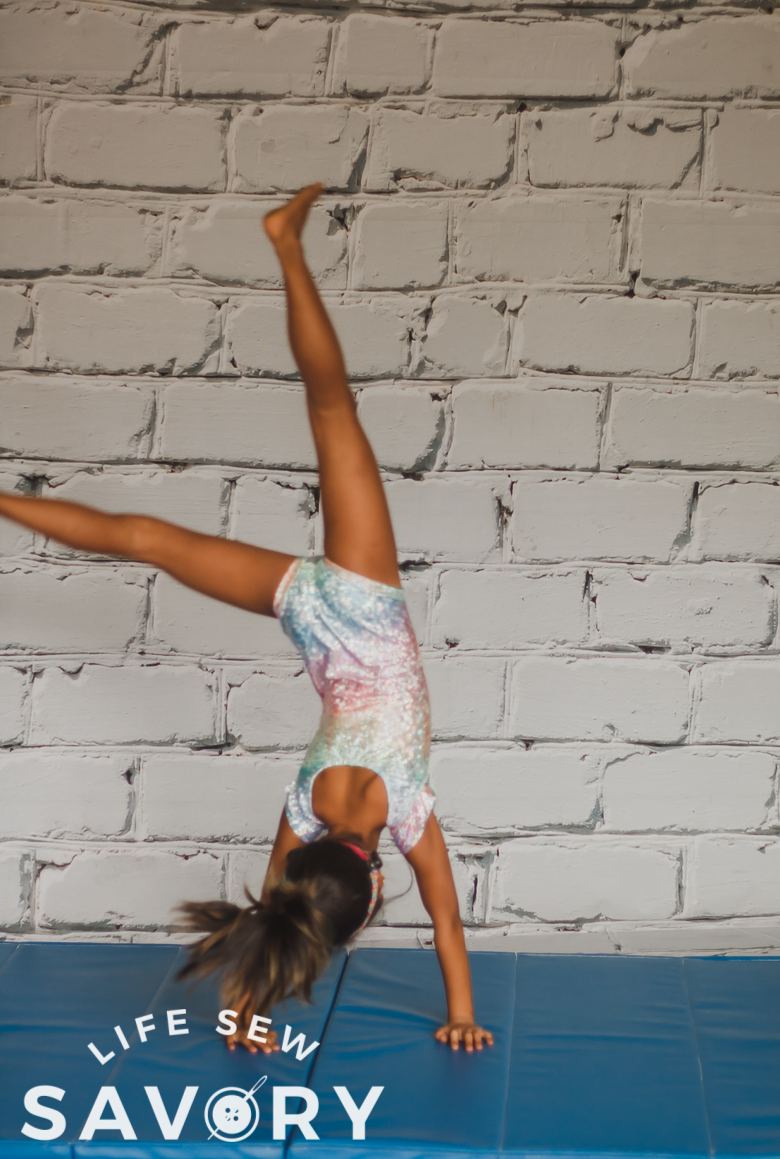
We even tried out a few cartwheels. I think it’s a good one!








McKenzie Reints says
Hello, i was wondering if you could advise me on how to make a belly and thigh adjustment for the leo for a plus size child.
Haydee Muir says
Hi McKenzie, I bought (at a thrift shop) an adult (NZ size 14, (approx us10)) swimsuit for my friend’s 8 year old. she had a waist of about 34″ I cut the cups out. I shortened the shoulder straps, by about 2″ . I also took the crotch in by about 2″. I did, as I this by taking it in at the back crotch seam stretching the crotch to fit the back seam, as I overlocked it. It was a bit scary as id didn’t have the child with me, and had no idea what I was doing. It worked beautifully, It was a perfect fit. Ideally you want a swim suit without cups in it.