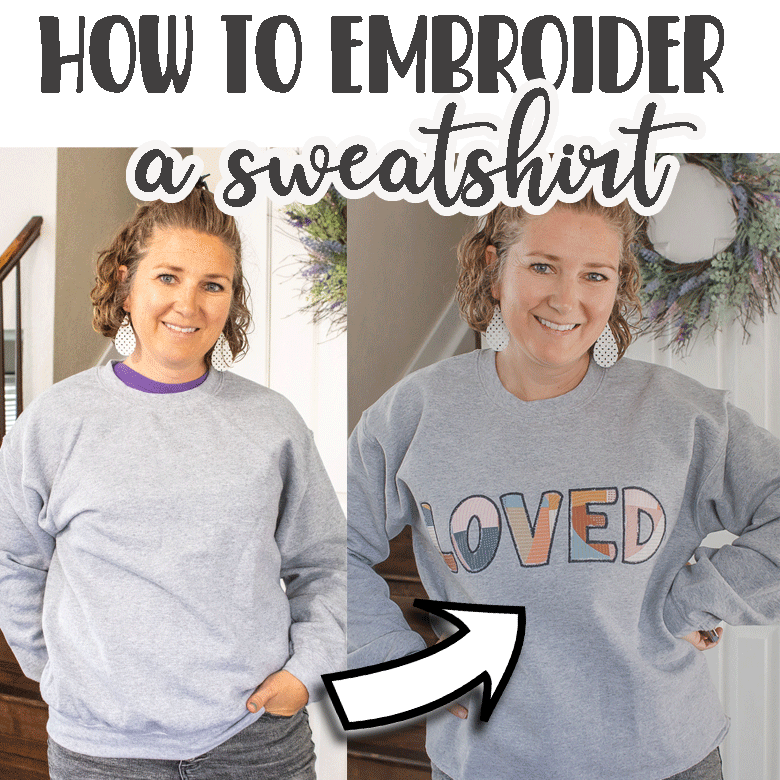
inside: Learn how to embroider on a sweatshirt with a single needle embroidery machine. Any machine can be used to embroider a sweatshirt, get tips for sweatshirt embroidery with this DIY tutorial. Use your single needle embroidery machine to create fun custom shirts.
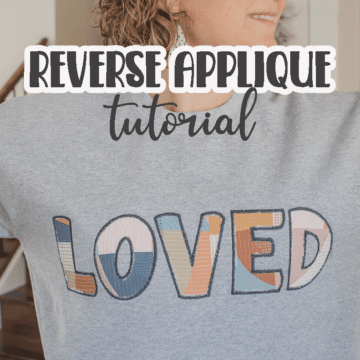
I’m trying to force all the fall feelings around here with fall sweatshirts and home decor. So far it’s still pretty warm here, but our home is decorated a bit for fall and I’m busy sewing fun sweatshirts! Last week you can see the tutorial I created for reverse applique shirts. Today I’m sharing some tips for sweatshirt embroidery on a single needle machine. You can use this for any type of shirt embroidery on your single needle machine. I’m using the Brother Stellaire XJ2 combo sewing and embroidery machine, but these tips are not machine specific.
Tips for sweatshirt embroidery
When using a combo sewing/embroidery machine or any single needle embroidery machine it can be really hard to keep the back of the shirt out of the way while you embroider on the front of the shirt. Today I’ve got a few tips to hopefully help you with the embroidery process.
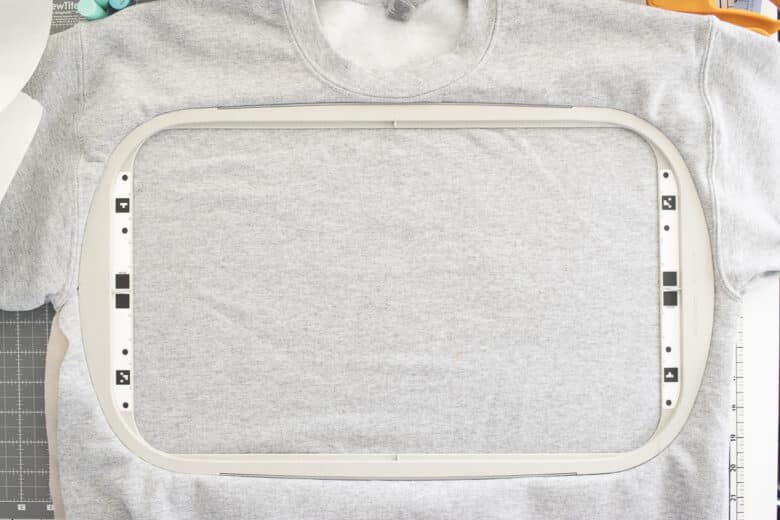
Even using my largest machine hoop, it’s not that hard to slide it inside the sweatshirt and center the hoop. The problem is when I go to put it on my machine, the back of the shirt is in the way and really hard to slide out. You don’t have this problem so much with a multi-needle embroidery machine, but with a flatbed machine the fabric is in the way.
Free sweatshirt patterns to try-
- How to make your own sweatshirt
- kids tunic sweatshirt
- Womens raglan style sweatshirt
- Tunic sweatshirt free sewing pattern
- Girls raglan sweatshirt hack
- Free womens hoodie sweatshirt pattern
How to embroider a sweatshirt with a single needle machine
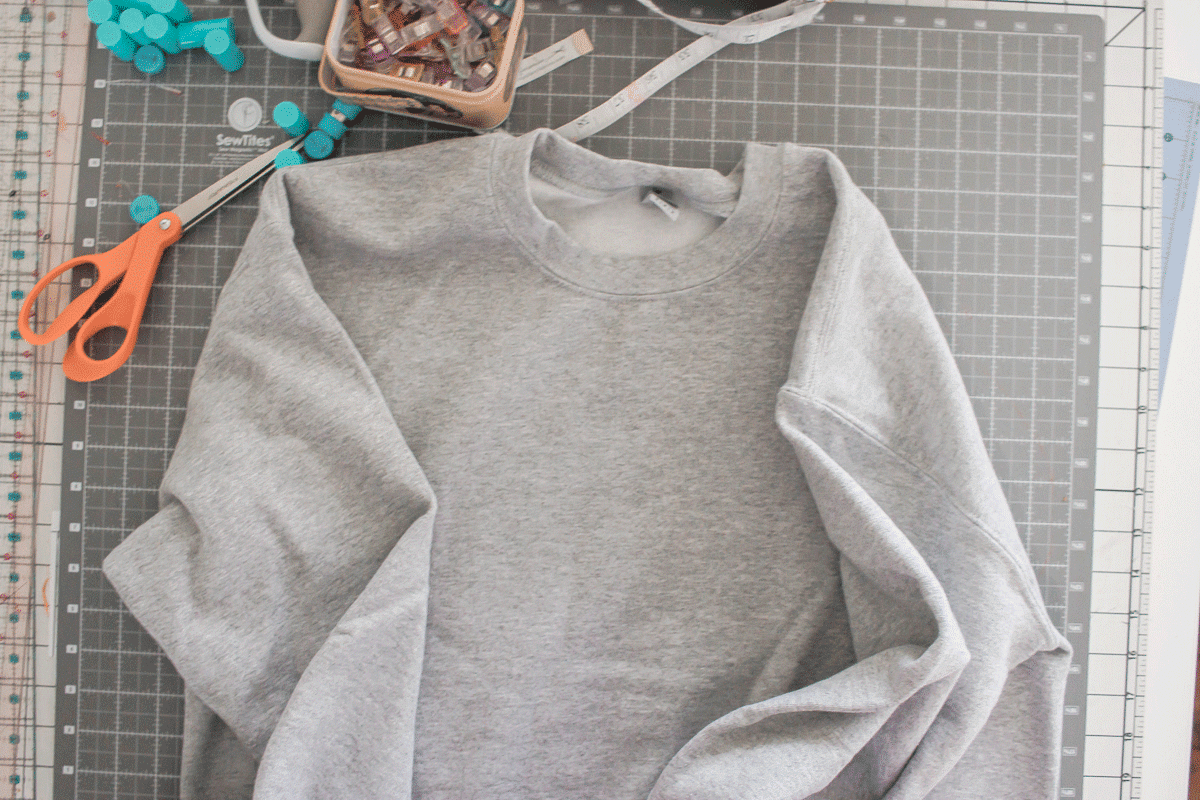
My solution to this problem is simple to cut open one side of the shirt! If you are sewing the sweatshirt from scratch then of course this isn’t an issue at all, but if using a pre-made one as seen here, we need to get more room!
Many sweatshirt do NOT have a side seam to pick open. If this is the case, I just lay it flat and cut open the tube of fabric on one side.
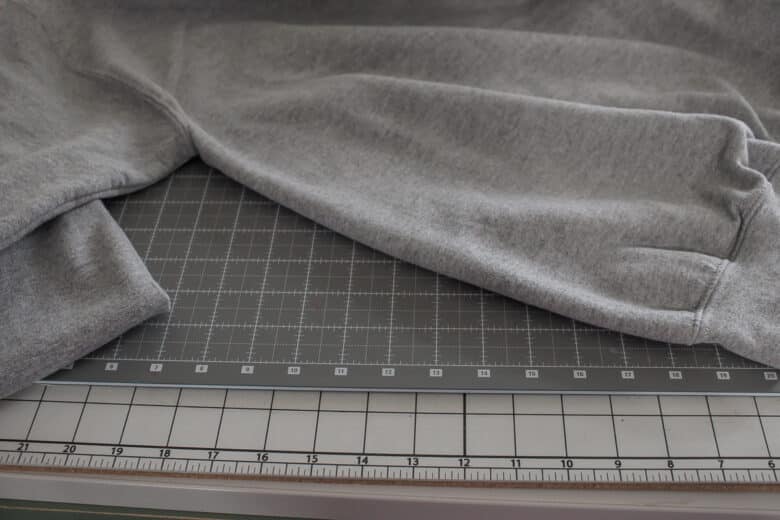
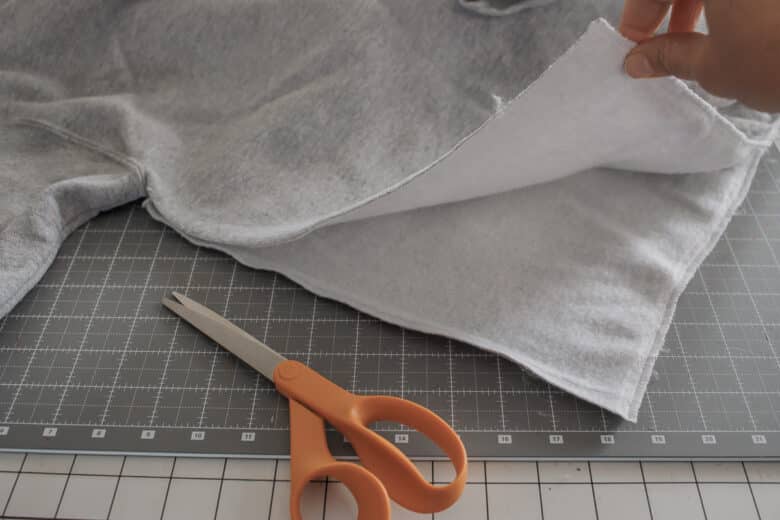
I like to carefully pick off the bottom band first so I can reuse it at the end of the project.
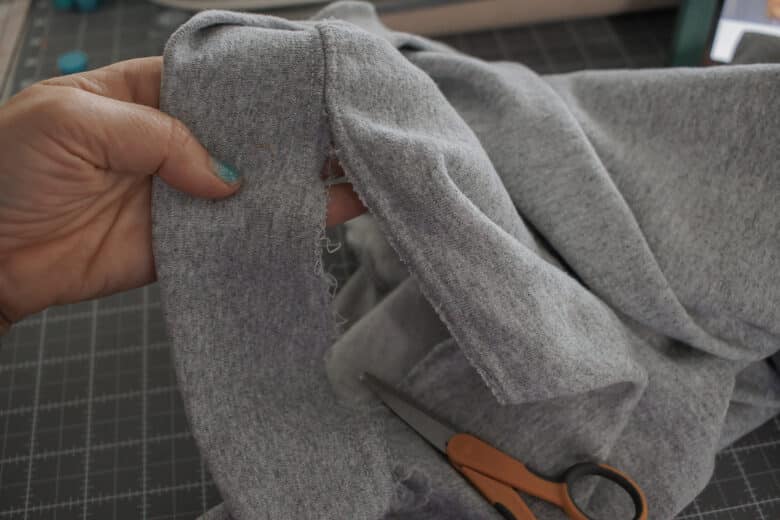
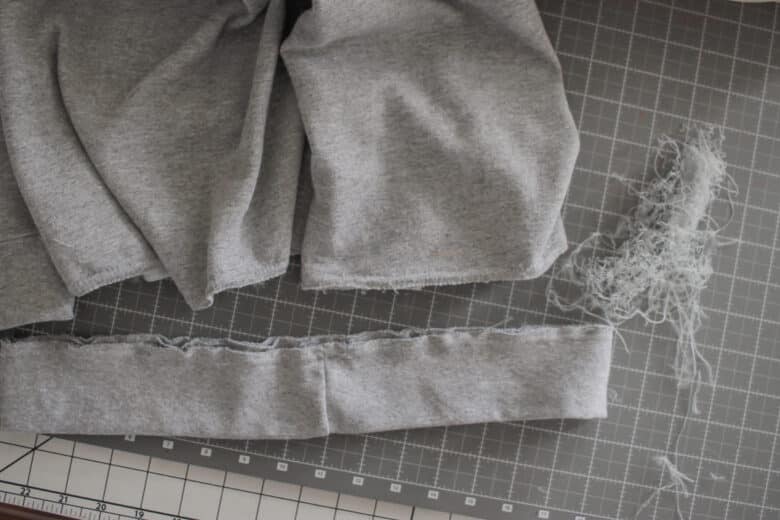
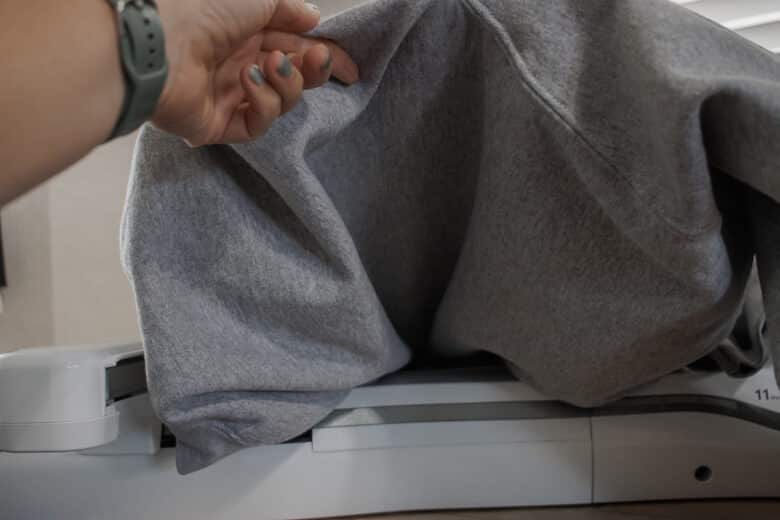
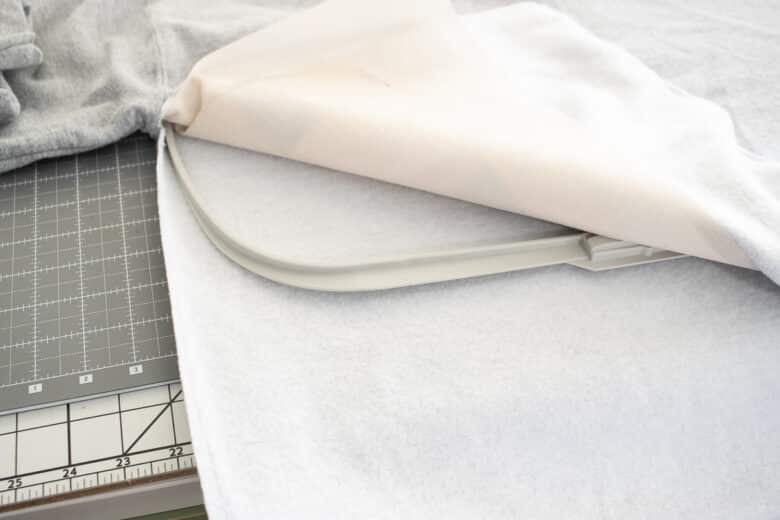
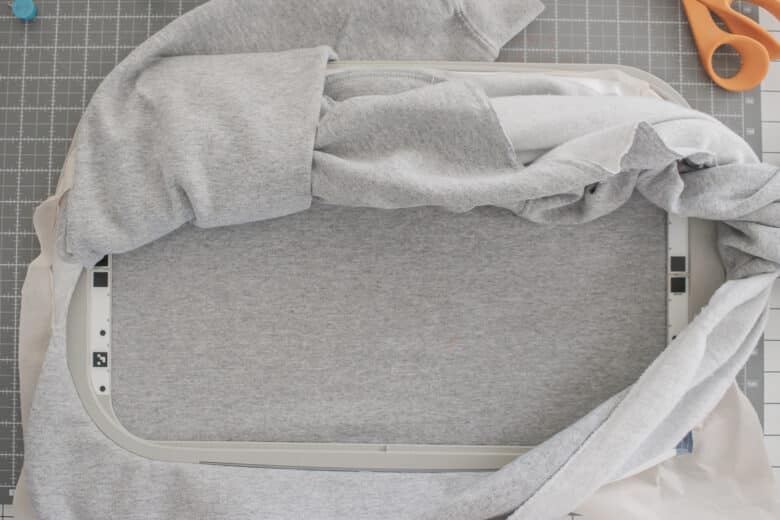
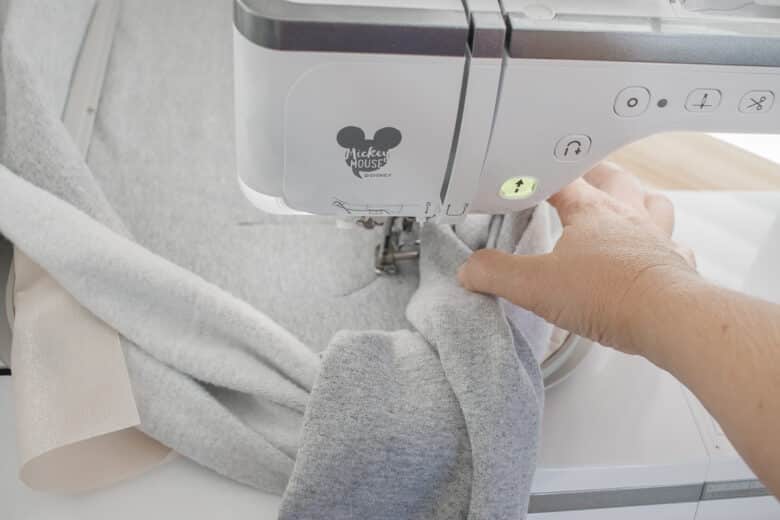
Now that you have made more room you can slide the hoop inside and center where you want to embroider. I do this no matter what hoop size I am using so I can get the back of the shirt out of the way. You can see in the second photo that the back of the shirt is pull up and to the front so that I can embroider without it in the way.
Sweatshirt embroidery tips
Slide the hoop onto the machine and make sure that the front of the shirt {or where ever you want to embroider} is under the needle and free from any other layers of fabric. You can see in the photos how th rest of the sweatshirt is pull and bunched at the side of the hoop so it stays out of the way.
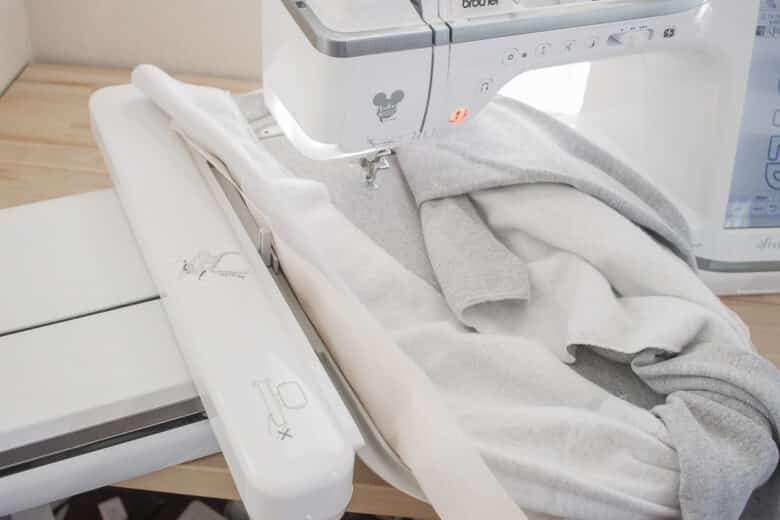
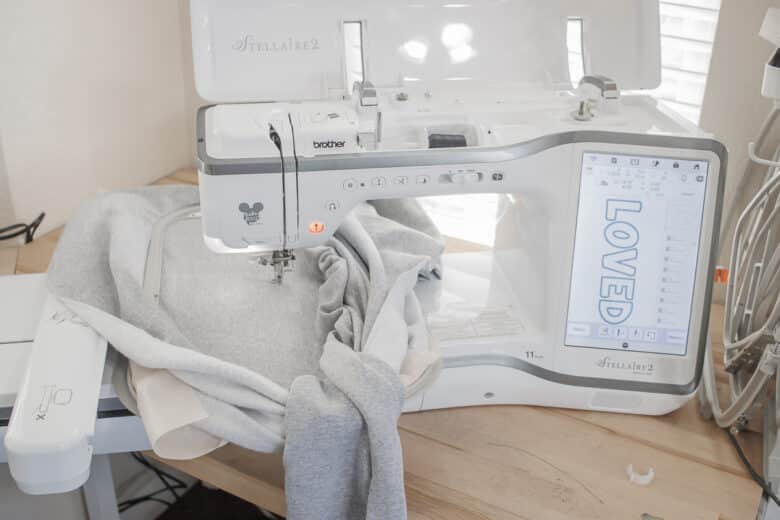
If you do get close to all that extra fabric during embroidery, use your hand to keep the fabric out of the way. When finished embroidering I like to add a layer of soft protective backing so my sweatshirt stays nice and cozy. My daughter really doesn’t like the itchy feeling of the back of embroidery, so this backing now goes on all my projects.
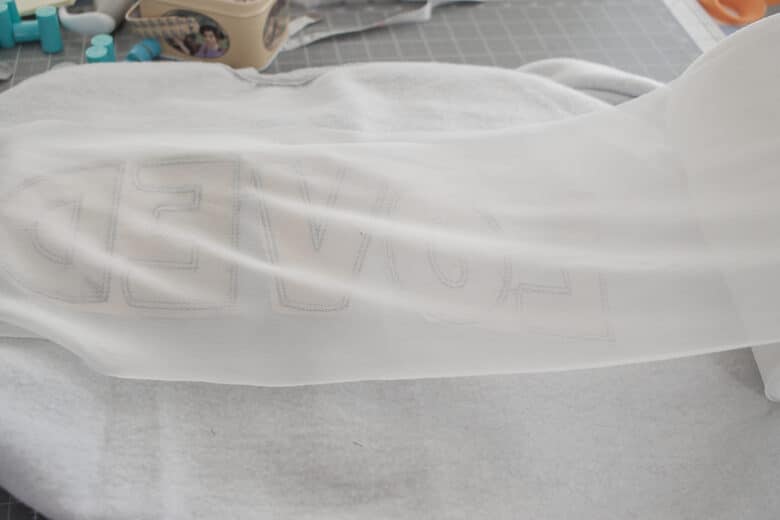
After that part of the project is done you can sew up the side seam. I used my serger, but if you don’t have one, use a wide, close zig-zag stitch in matching color to close. This will make sure the seam still has the stretch it needs for the shirt.
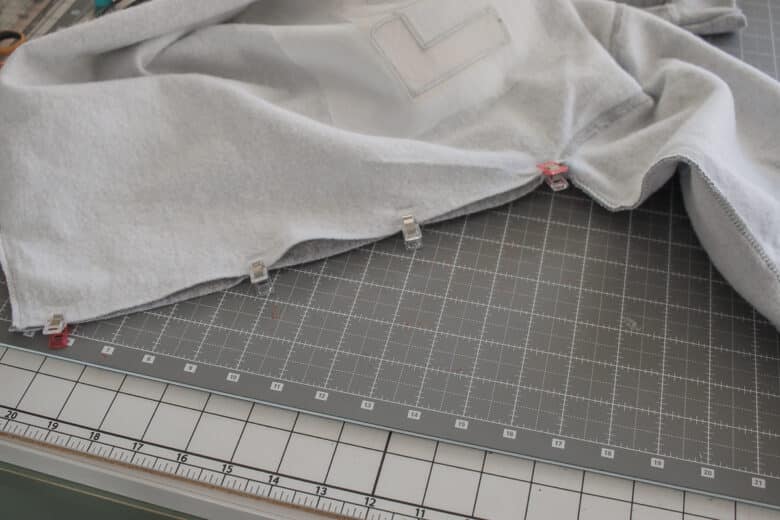
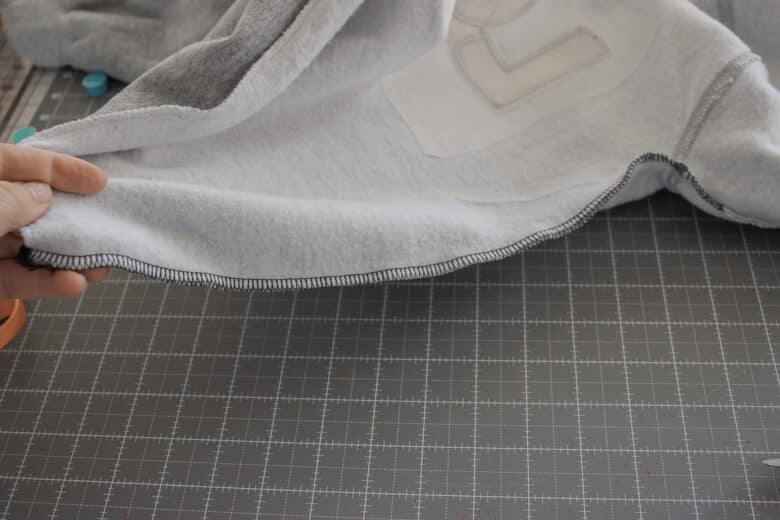
On this particular shirt I decided I didn’t want to add the bottom back back on, so I just finished off the serger tail at the end of my side seam. If you are putting the band back on, quarter the shirt and the band to evenly space, then pin/clip and sew back on. Use the same serger or zig-zag stitch as you did for the side seam.
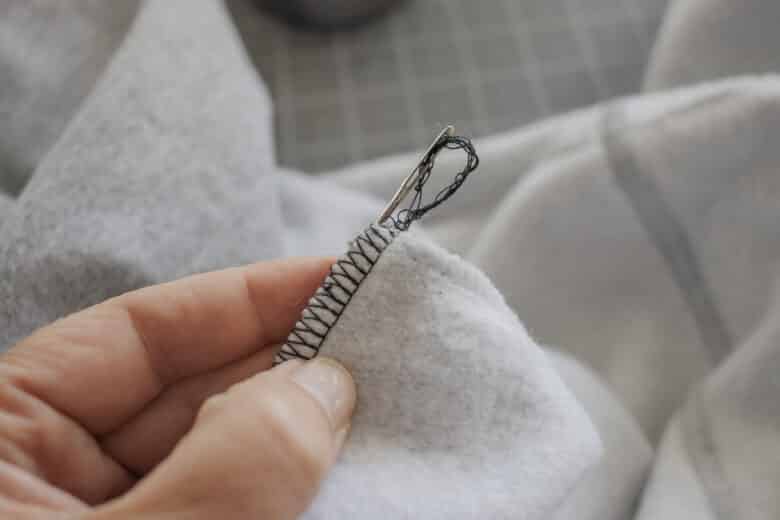
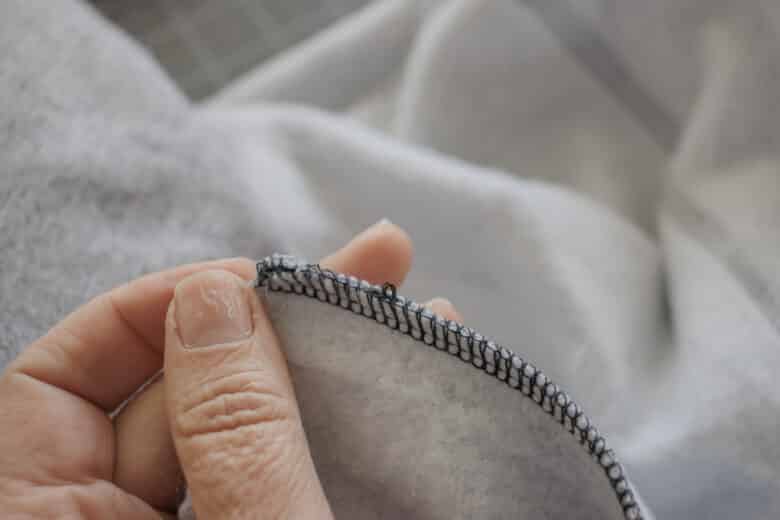
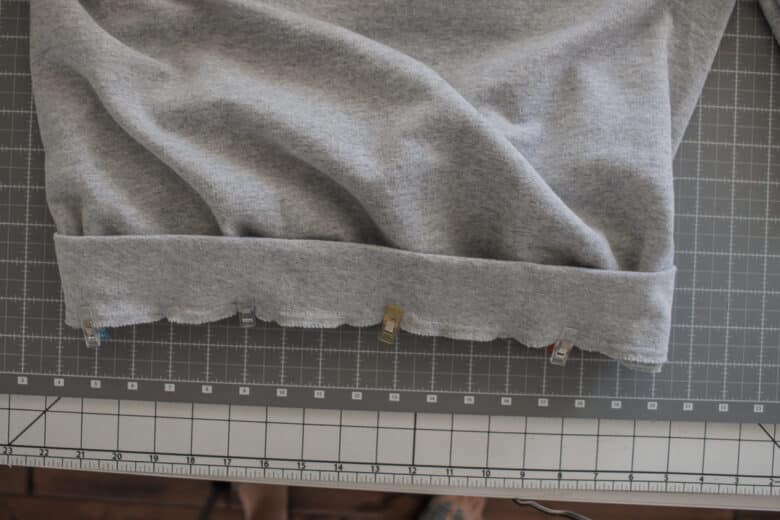
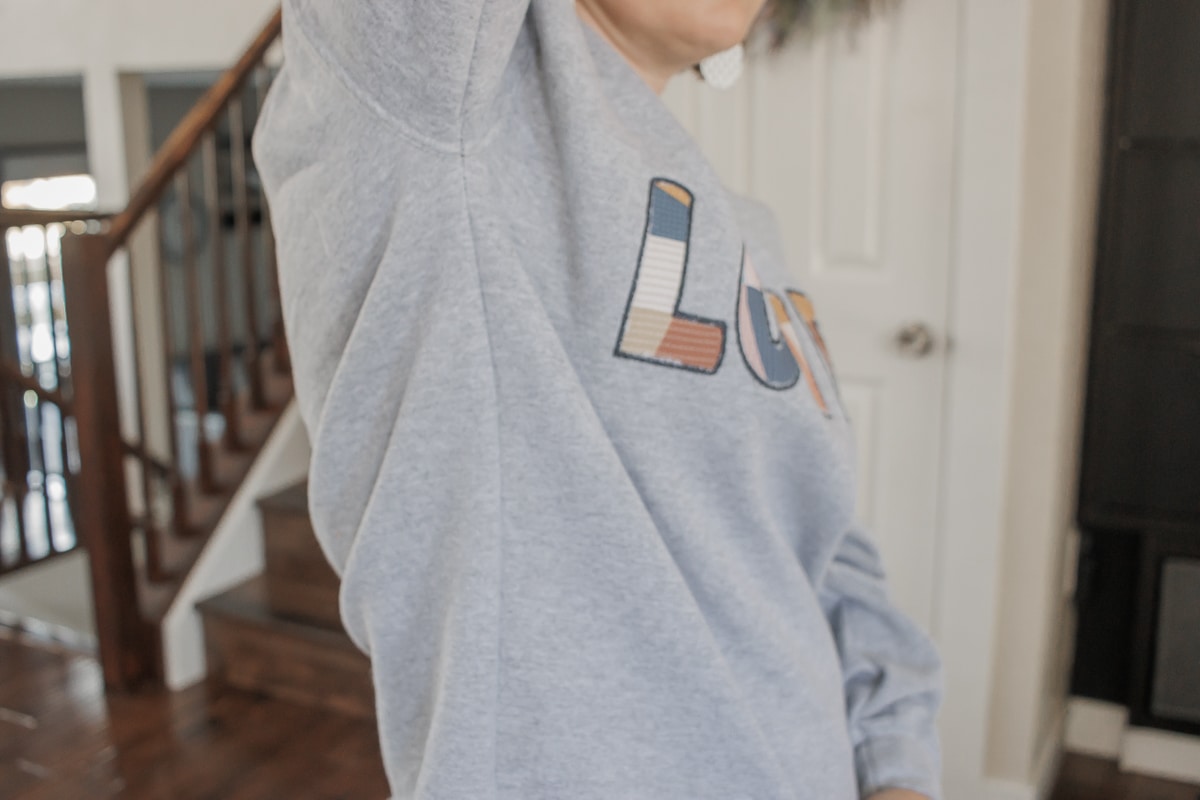
Here is what the finished embroidered sweatshirt looks like with the added side seam. You would never notice if you didn’t know how it was originally. Now it’s time to customize all the shirts with these sweatshirt embroidery tips!






Leave a Reply