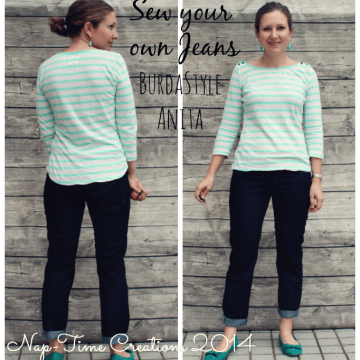
Did you see yesterdays post about my jeans? I made my own and I’m totally thrilled about it! Today I’m sharing some tips for sewing jeans. This was my second jean sewing experience. I made jeans for the boys last fall. And a few weeks ago I bought a pattern from Burda {Anita #6006} gathered up the supplies and sewed up these jeans.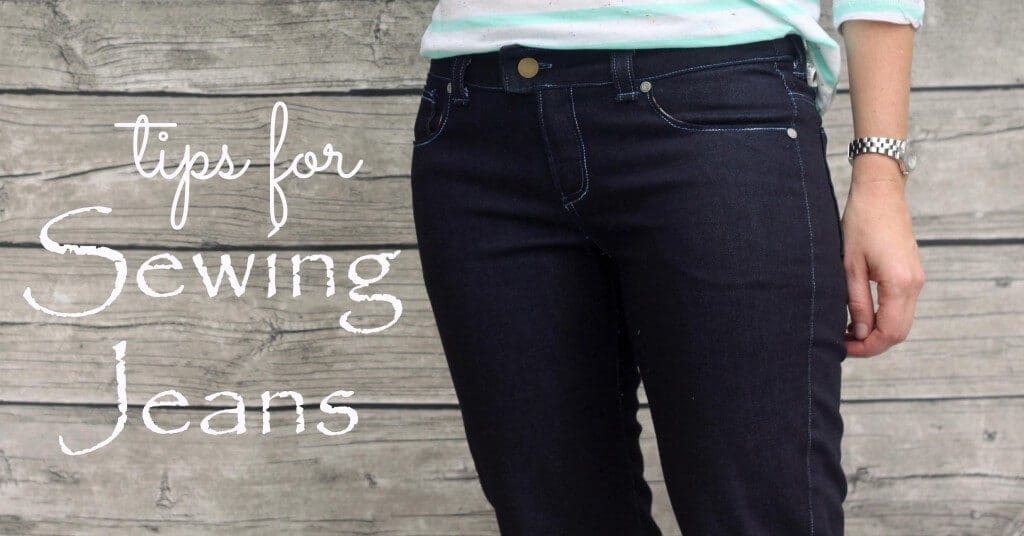 I learned a thing or two along the way and I’m going to share…
1. use thread the same color as your jeans for most of the seams. Only use the top-stitching thread for top-stitching. Otherwise you have to pick out a lot of thread… if I had used dark thread I could have left some of these stitches in.
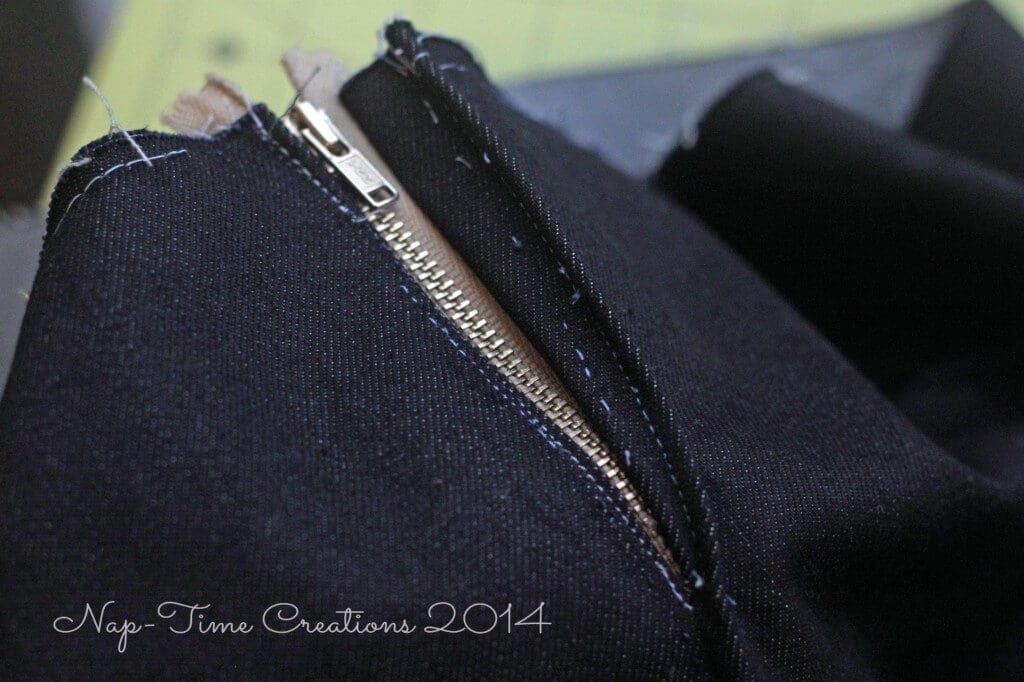
2. Figure out a way to add a zipper lining to the front area. I don’t know if I missed something in the directions for the pattern or it didn’t include one. But, when I zipped up the zipper and pinched my stomach, I realized something was missing! You can see on the jeans on the left {from H & M} that there is another piece of denim under the zipper. Not to self: add this next time!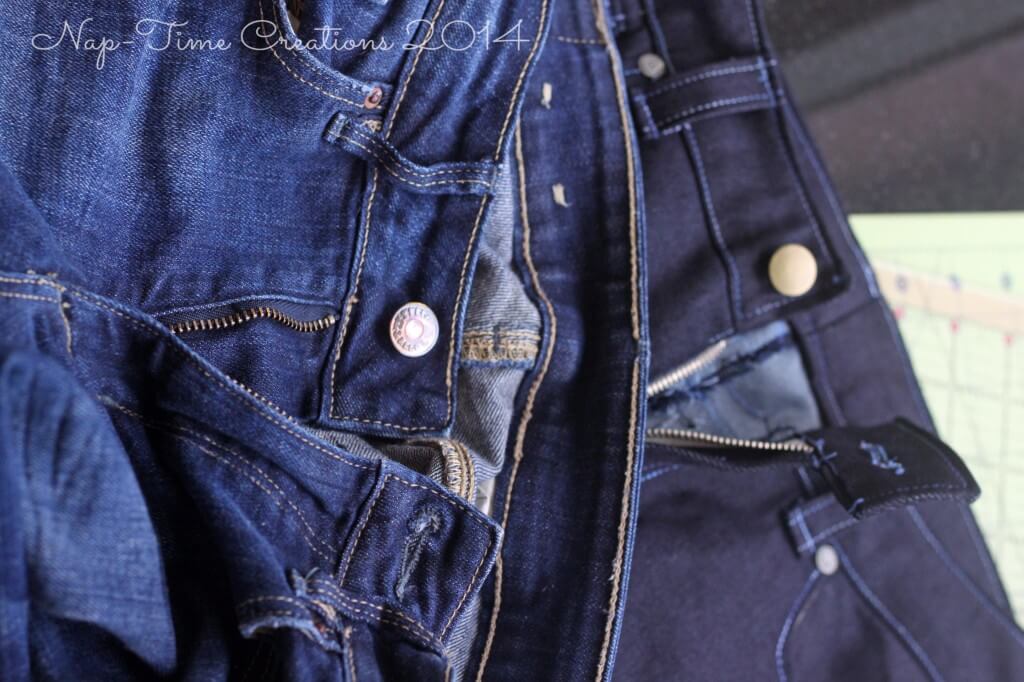
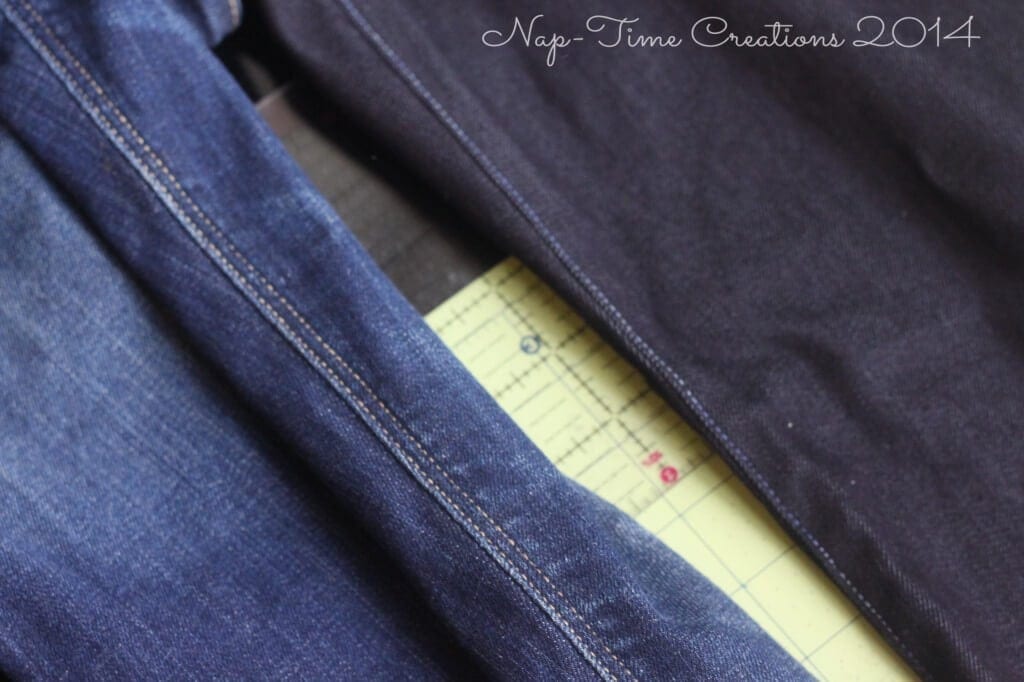
3. Buy a zipper that isn’t too long. This zipper was inches too long and metal zippers are hard to cut and REALLY HARD to sew over {picture a very bent needle} {it really happened!}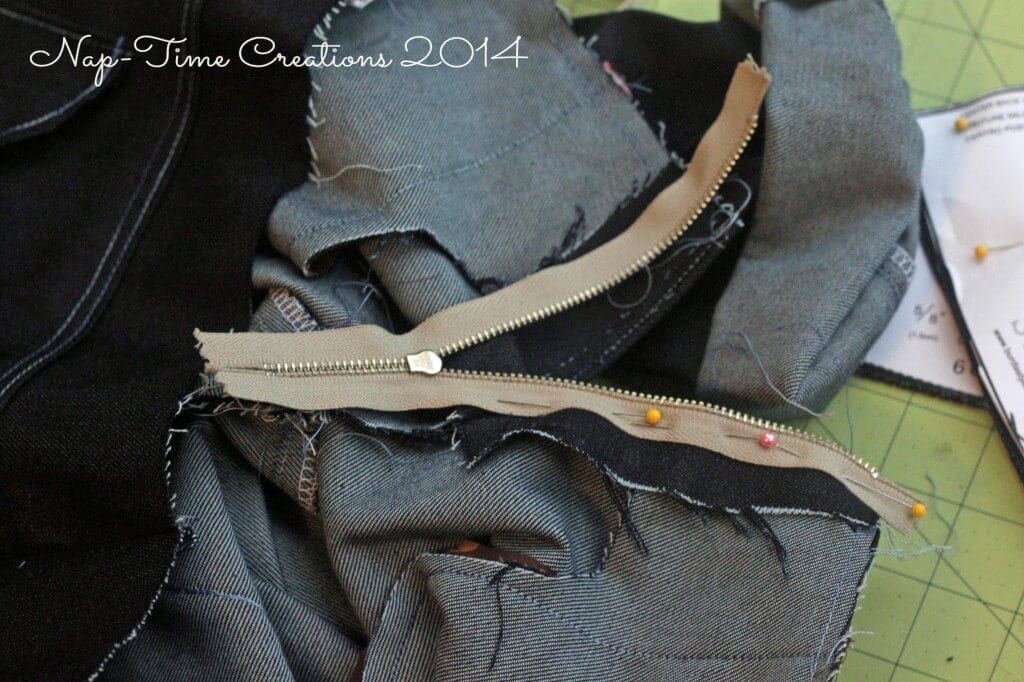 4. The pattern said to sew the side seams first, then the inseam. Well, if you look at most jeans from the store the inseam has double top-stitching. Let me tell you, its really hard to get in there to top stitch after the side seams have been sewn!! I almost didn’t make it! Very squishy in the leg of jeans! Next time I would sew the inseam first, top-stitch, then sew the side seams.
5. Use thin stretch denim for a first attempt. I found that the thin denim was easy on my sewing machine and didn’t feel to bulky. Also, the stretch is more forgiving in the fit. I may consider next time a not as stretchy fabric, but only now because I know how the pattern fits on me.
6. I also used a light cotton as the pocket lining {the piece that you don’t see at all} They helped to cut down on the bulk and the visibility of the pockets when I’m wearing these jeans. You can just see the fabric in the pocket in this photo.
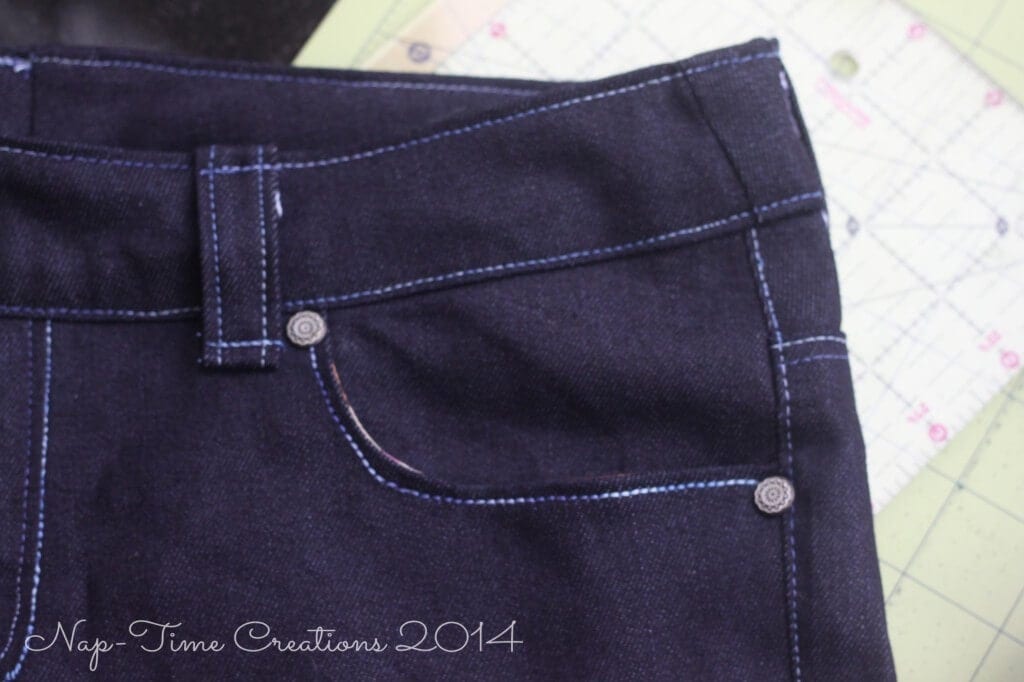
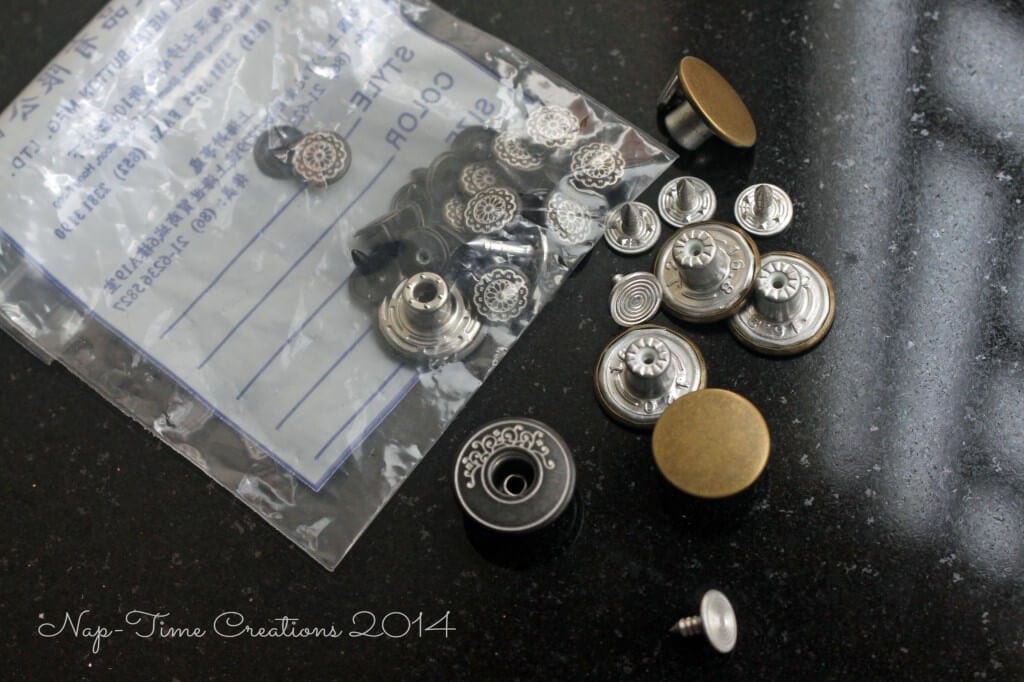
7. Buy “real” jean details. Like the rivits and button. I think these totally make the look and they weren’t expensive. I bought this cute white flower one but couldn’t get it to work… so I had to go with the plain ones.
8. As I mentioned yesterday I thought I had measured, but the back side of these jeans aren’t quite as high as I would have liked. So… don’t underestimate you behind.. also, next time I will just measure a pair of pants that the back fits well.
9. Add fun details! This pattern came with two pocket options. I think you were suppose to use both and have a different left and right. I thought this looked strange and I liked this pocket option, so I sewed up two!
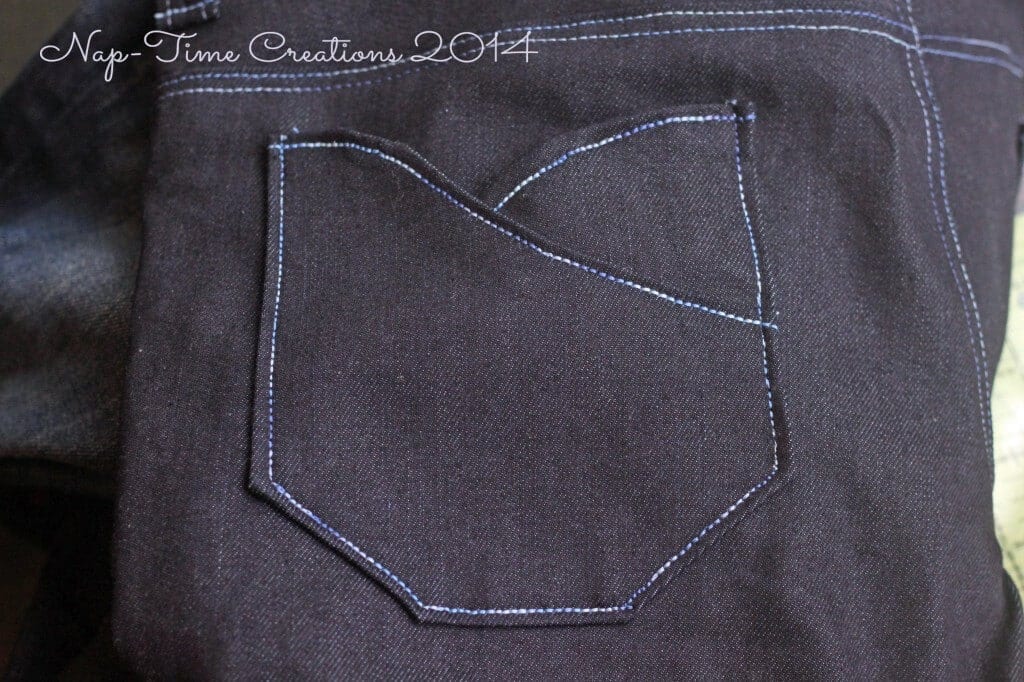
10. finally, to get the top-stitching to really show up, use a fun contrasting color and the setting on your machine that has three lines lll. This will make a thicker stitch and allow the top-stitching to pop!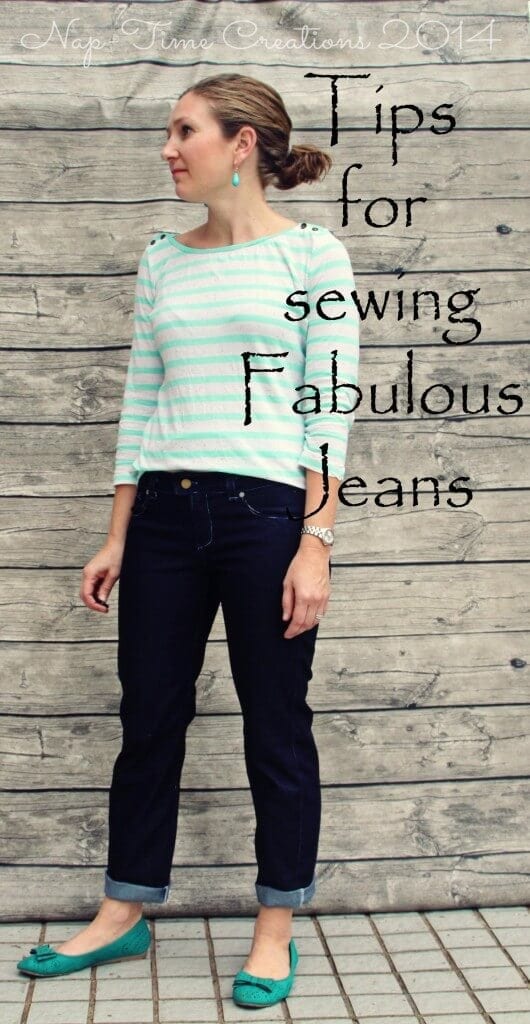
Pop over to the other post to see lots of fabulous photos of these jeans in action. {ha!} Speaking of: I actually wore them for the first time on a day I knew I would be close to home…. I wanted to be nearby in case a seam popped open {Guess I don’t have a lot of faith in my sewing …hmmm}







Crystelle says
You are amazing~!!! Sewing my own jeans is something I have never ever dared take on…. It sounds so difficult….
Yours look amazing and great on you! Good for you!!
🙂
“hugs” Crystelle
Crystelle Boutique
Happy Spring!!
Britni @ Play. Party. Pin says
Emily these turned out fantastic! Thanks for sharing on the weekend re-Treat link party!
Britni @ Play. Party. Pin.
Mel says
Lol close to home,you did a great job now you can go to the other side if the city confident in your sewing, they really look great.
Leslie R. says
Welcome to the “I Make My Own Jeans” club. I’ve been doing it for years. I love how my jeans fit and I’m never going back to bad-fitting jeans again!
Kimberlee says
Your jeans look great! I love the back pocket. Kwik Sew has a really good jeans pattern and that is the one I started with about 5 years ago. I have now designed my own using the Bernina My Label pattern drafting software that fit my measurements – I have had to do a lot of tweaking along the way though and just finished my 8th or 9th pair of jeans today. I am planning to do a blog post soon on the 4 pair I recently made. Really enjoyed your post.
Emily says
I will have to check out that other pattern. Thanks for the suggestion!
Sara says
What a crafty Mama! Your jeans turned out fantastic and I’m sure your tips are much appreciated by your fellow crafty Mama’s. Thanks for sharing. I’d love to have you hop over and share your post with us over at Tell it To Me Tuesday!
http://www.sweetsillysara.com/2014/03/tell-me-about-it-tuesday_24.html
Emily says
thanks for stopping by!
shobelyn says
Hi, found you at Chef In Training blog. I want to invite you to my Cunning Ladies’ Friday Party. The theme is My Popular Post. Please join us.
http://easytocookmeals.com/cunning-ladies-friday-party-3-my-popular-post/
Laurie says
Your Tip Me Tuesday link is incredible this week Emily! In fact, my readers would love to bookmark it in their craft rooms. Did you know that if you upload this blog post into your Tip Junkie craft room using at least 2 images, 2 steps, and blog post URL then Tip Junkie readers can favorite it which instantly bookmarks it so they can find it later. {Whoohoo!} ~ Laurie {a.k.a. the Tip Junkie}
http://www.tipjunkie.com/post/how-to-add-a-craft-room-project-on-tip-junkie/
Emily says
thanks! I’ll this in my craft room when I have a chance…
Judy says
Burda patterns are German which may explain the lack of fabric under the zipper on the one side, Jeans look great!
Whitney says
There is an awesome tutorial on YouTube by Peggy Saggers. She’s an amazing seamstress who has classes all over the US and flies out to teach them. Any way her channel is silhouette patterns and she has a great tut on making a fly front. That should help you with the zipper area. She also has a show called fit2stitch on PBS and has put a few of those shows on her channel. One of the shows is how to make and fit jeans. I have watched this episode so many times to help me make my own jeans. I hope you check it out, it’s great info!
Emily says
thank you!! i will check that out!! I do need to improve my fly area!!
Jessica says
Those look amazing! Congratulations on making a wonderful, professional looking pair of jeans.
Kaley says
This site is like a clossraom, except I don’t hate it. lol
Yvonne Maisonette says
Your jeans look amazing! Can you share who you buy your rivets from? Thx
Emily says
thanks! I got them from a market in Hong KOng, but you can buy them at Joanns or order from amazon.. I think I bought some at joanns after I made these..
was bedeutet selbstbehalt bei haftpflichtversicherung says
seriously? a comedian? Kathy griffin didn’t come on this website and say she wanted to do that…that guy did.‘Oh yeah?? Well someone else on the other side did it too. You can’t point out someone’s stupid and violently hateful comment as being such without pointing out that the other side does it too!! IT’S NOT FAIR!! WWHHAAAAA!!!’I weep for the future generations. Idiocracy will come true, just wait.
Barbara Harris@sewingmachinesview.com says
Denim is the fabric that came from Nime. Jeans are the garment that sailors from Genoa wore. Genes is the FRENCH word for Genoa. And dungarees is another word for garments made from tough fabric. I think the article plainly said this.