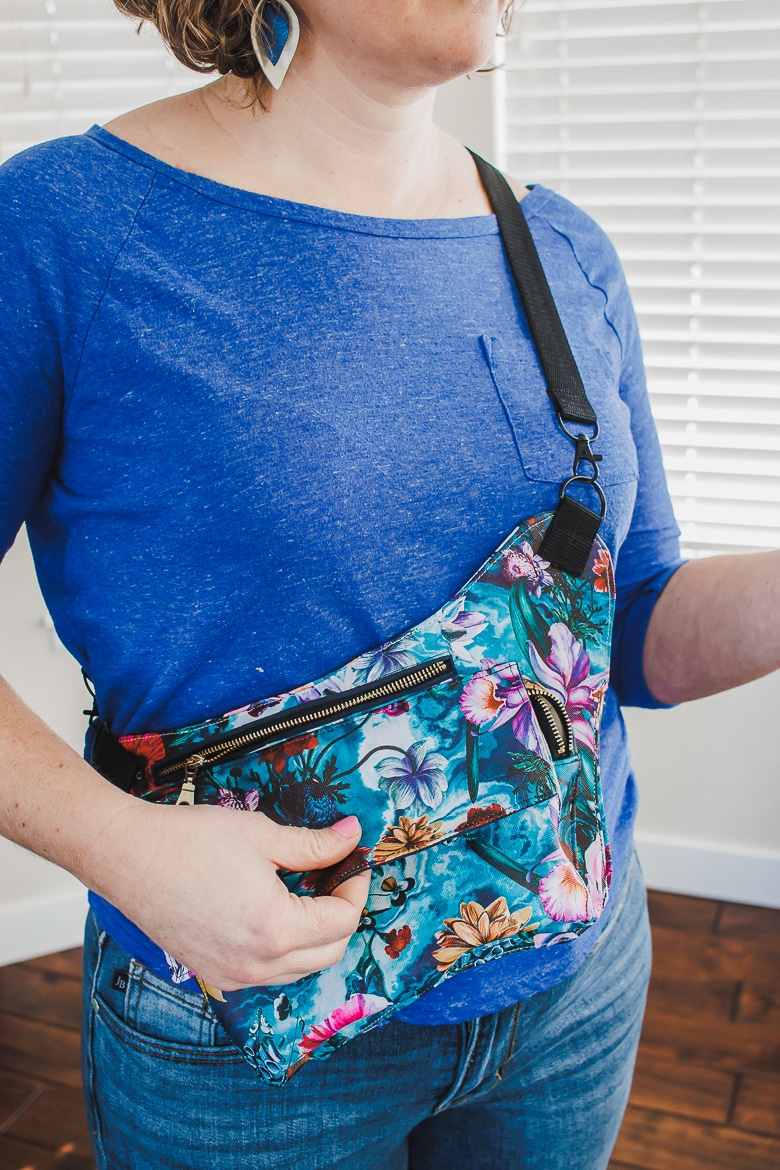
inside: Sew a versatile hip / cross body bag with this free sewing pattern. This amazing free bag pattern can be worn on your hip or over your shoulder. Keep your essential items hand while on the go.
facebook ads got to me again! {haha!} I see ads for cheap items from {possibly} scam sites all the time. I saw this fun hip/cross body bag advertised and I just knew I had to sew one like it. I took some screen shots of the ad, and from there this free pdf pattern was born. I’m super excited about it and already planning to sew another one with different fabric. Wear this versatile bag over your shoulder or on your hip and keep everything you need close at hand.
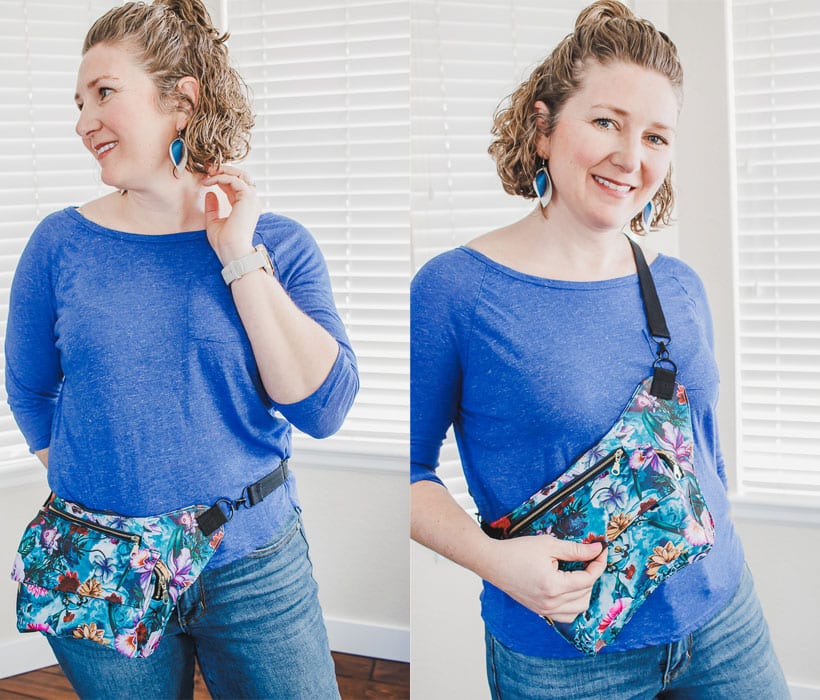
Versatile hip / cross body bag free sewing pattern
We’ve got some travel planned in the next few months and I’m so super excited to take this bag with us and use it to hold my things and keep them close at hand. In my everyday life I’m still carrying the big mom bag, and I really want to downsize. Maybe this bag will inspire me to carry a smaller bag.
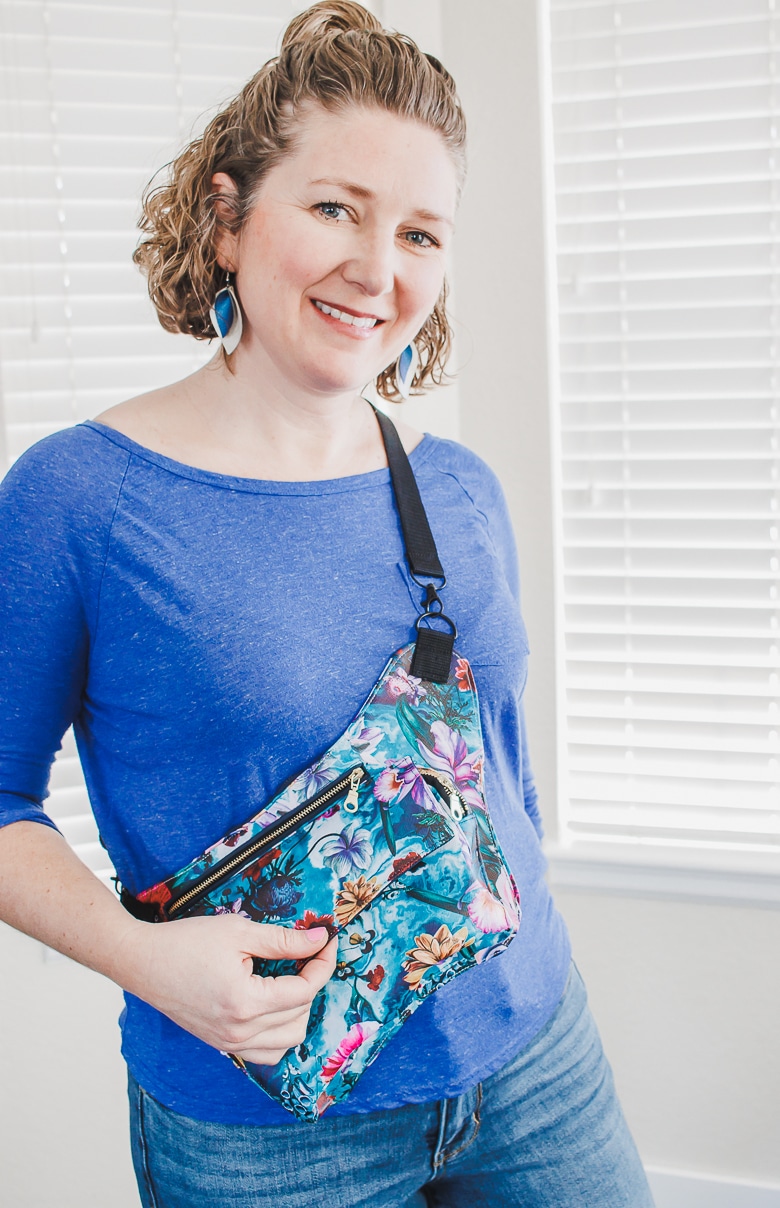
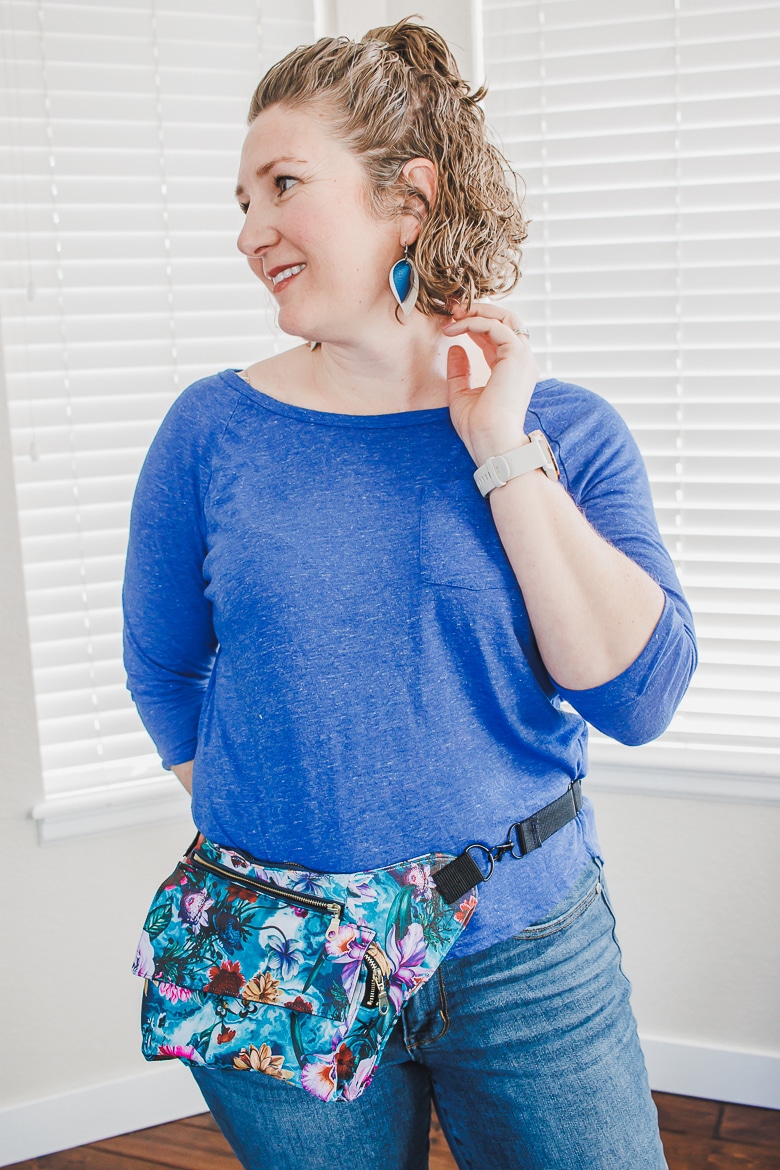
I’m not sure I will every wear this bag on my hip as I’m more of a cross body type. But it works well either way. The slide in the strap makes the size adjustable so you can wear it tight or loose on your hips and high or lower as a cross body bag as well.
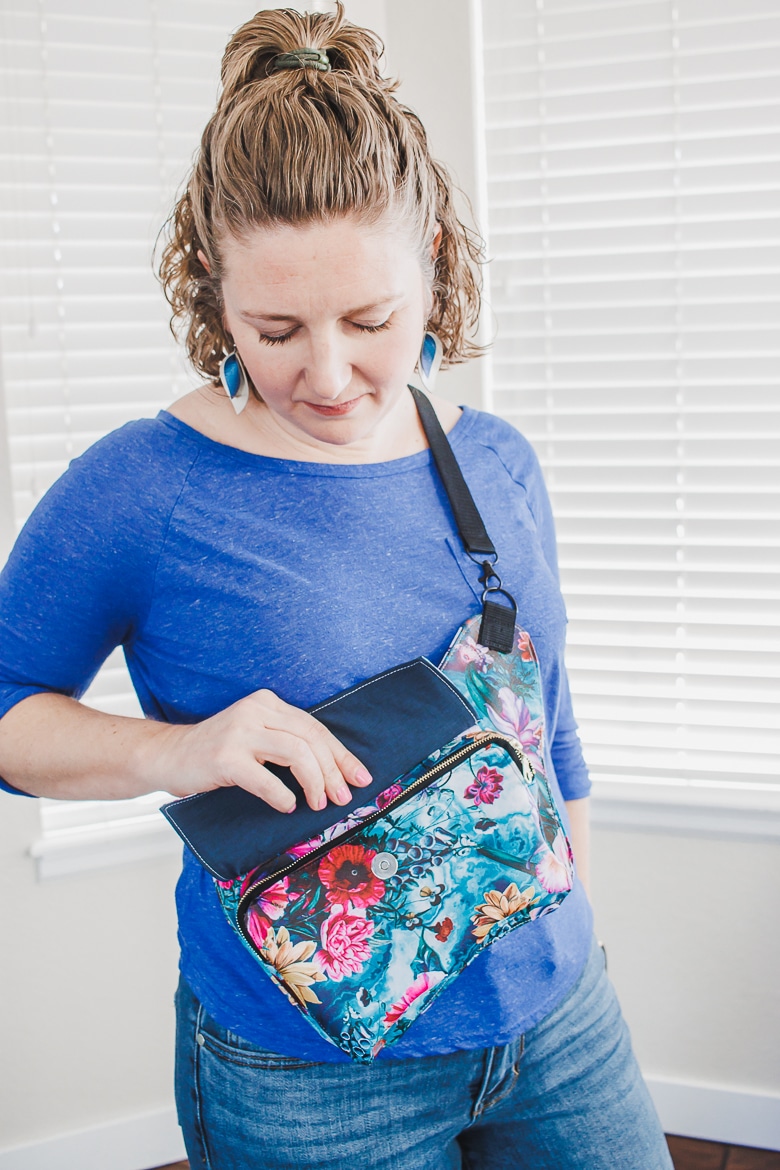
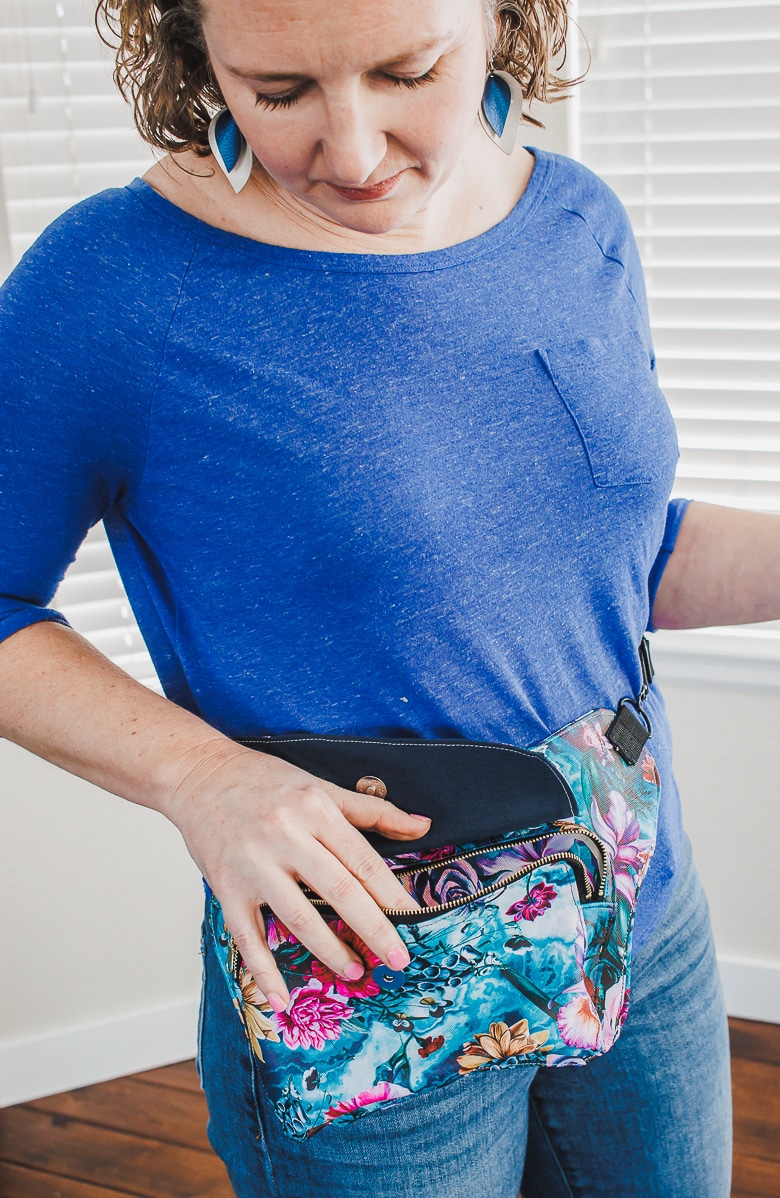
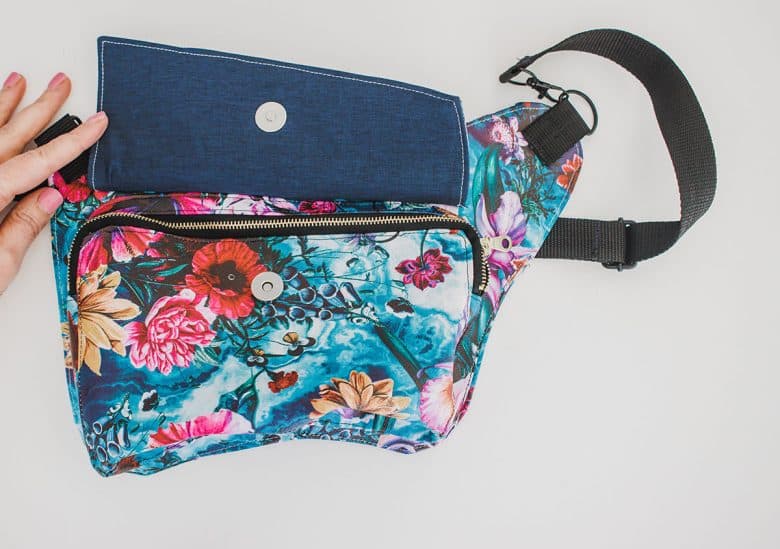
With three zipper pockets this bag is small but mighty. I think my next bag will be a solid color, but I love this floral vinyl too. I’m planning a live sew a long soon to to show you each step of the way. Below you will find the link to download the completely free version of this pattern AND the upgrade which is a printable pattern and tutorial.
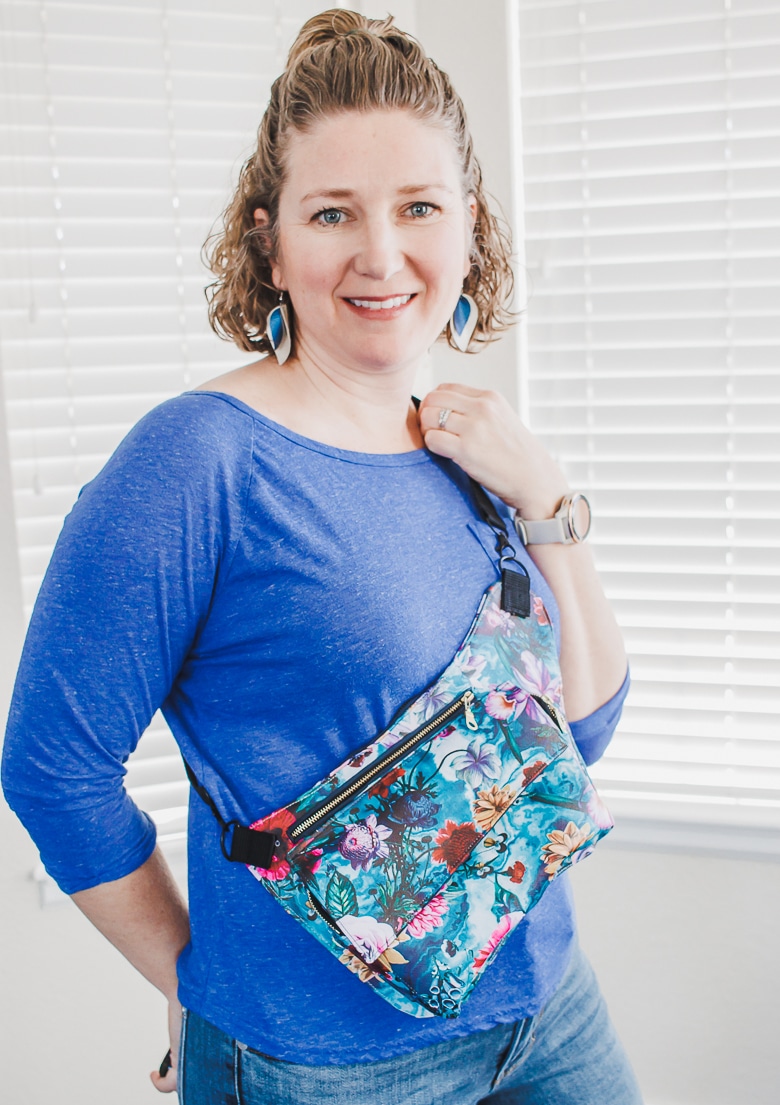
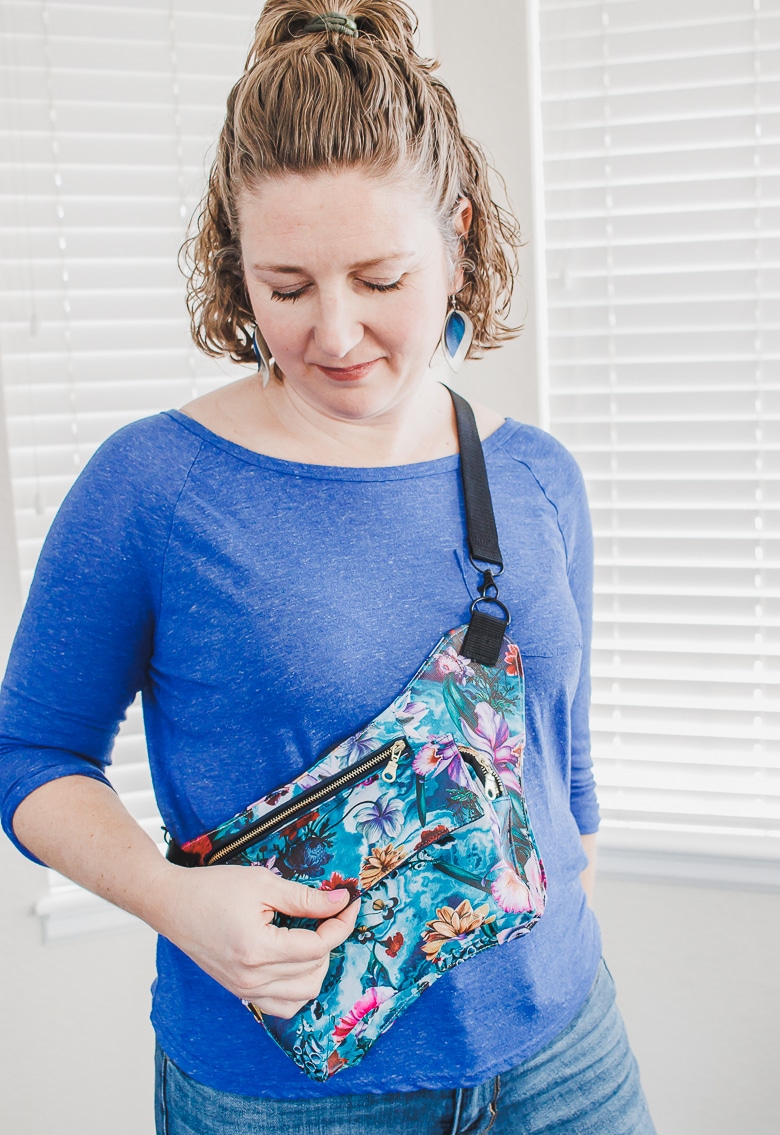
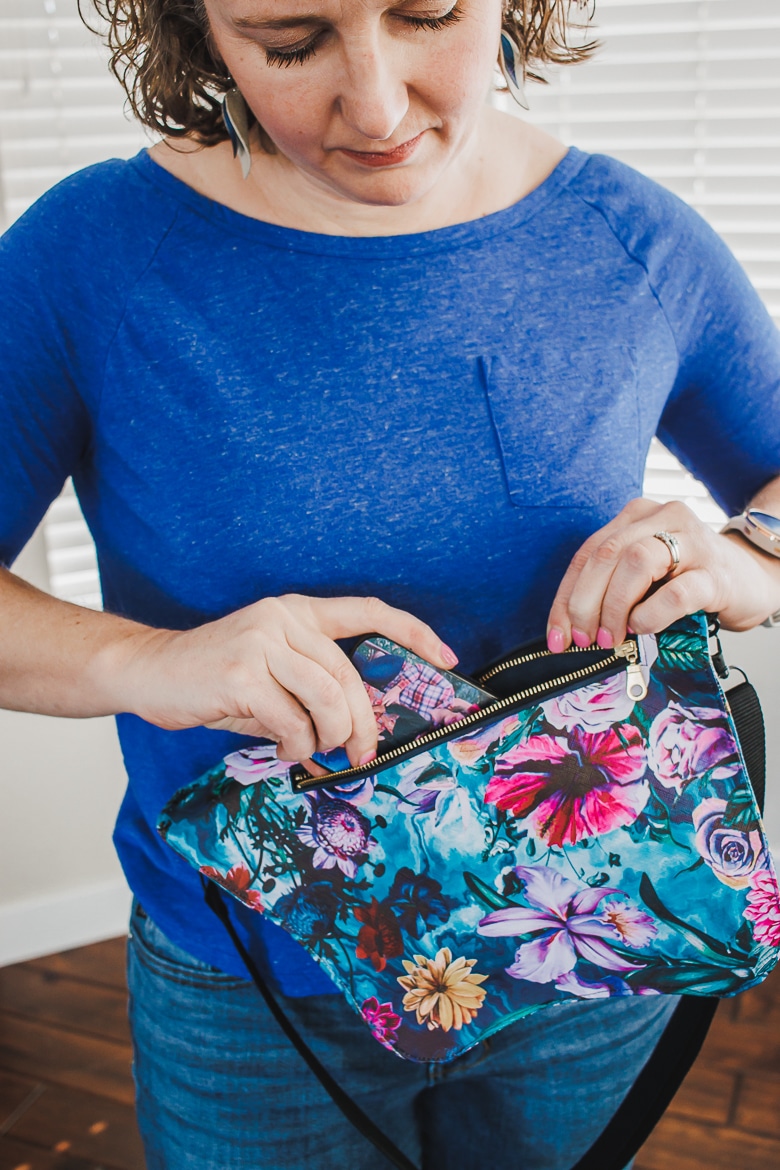
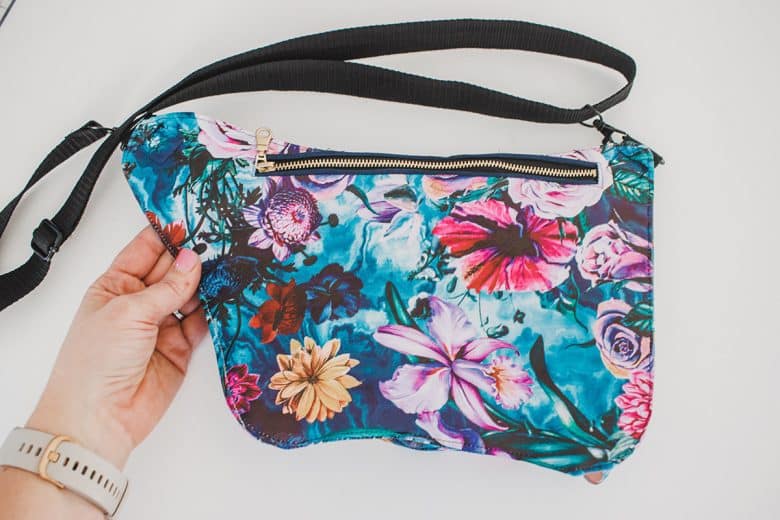
Back pocket is perfect for storing important items, phones, passports, etc can be kept close against your body and in a zipper pocket.
Free PDF bag pattern
Download and print the free sewing pattern using the buttons below. You can download the free version and use the free tutorial here on my site, or buy the upgrade version for $2 and get the pattern AND tutorial in a pdf print version.
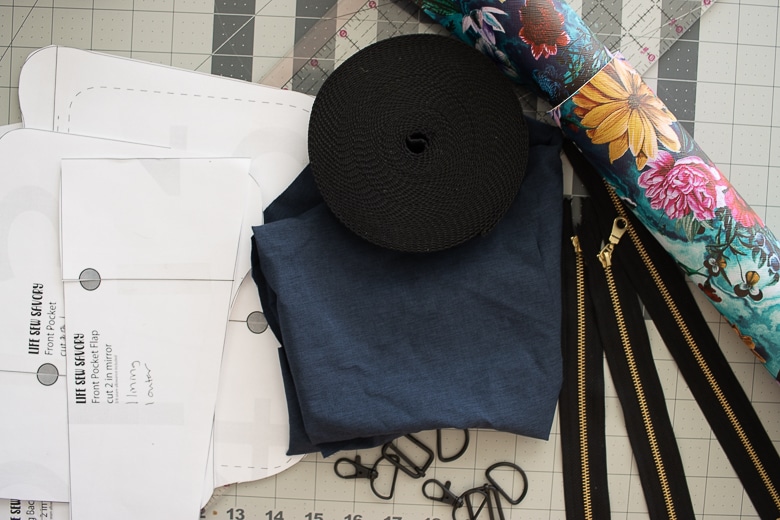
Gather and organize everything you need to make this amazing hip/body bag. You will need:
- pattern printed and cut out
- Vinyl Foot for sewing machine
- nylon straps 1″
- vinyl/pleather for outer body of bag 1/2 yard
- lining fabric, I used stretch woven 1/3 yard
- 2-8″ zippers
- 1 – 12″ zipper
- 2 – D rings 1″
- Strap slide
- 2 – Swivel clips
- 1 magnetic snap
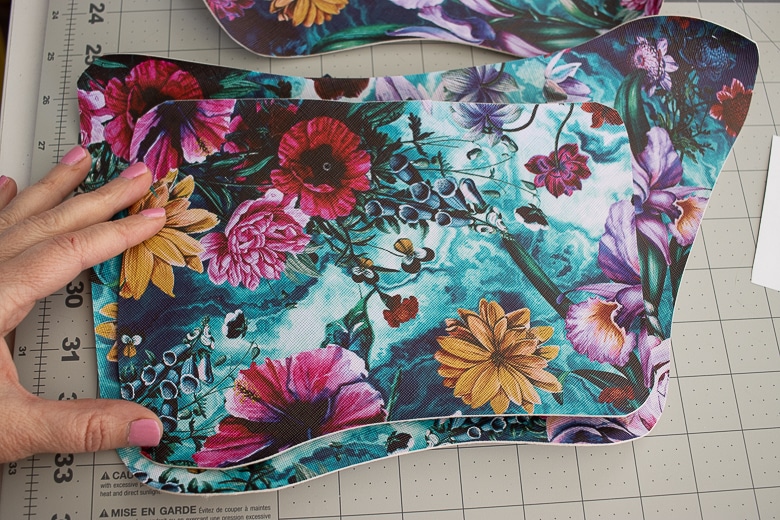
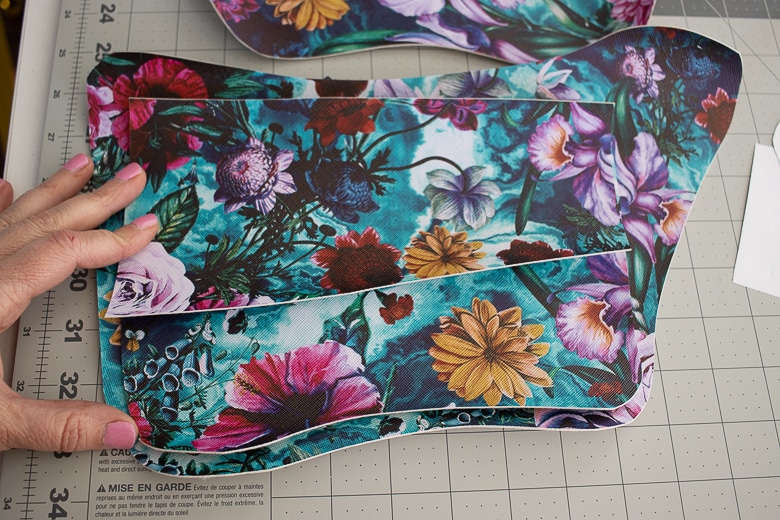
When cutting out, make sure that your front pocket and pocket flap are cut out going the same direction. Sometimes I flip over the pattern pieces to make it fit on the fabric, but the pocket and flap need to match so the longer side of the flap matches the bigger part of the pocket.
How to sew a cross body bag from a free sewing pattern
**remember, if you don’t want to read this tutorial here on the screen you can always purchase the upgrade which features a printable pattern AND tutorial in PDF form. **
We will start by sewing the zipper in the back of the back. Grab one 8″ zipper, and one pocket pouch. Make sure you have the BACK of the bag. The front is the one that matches up with the big pocket as shown above. Grab the other bag piece. Mark the ends of the zipper placement as shown on the template and copy them to the right side of the bag back.
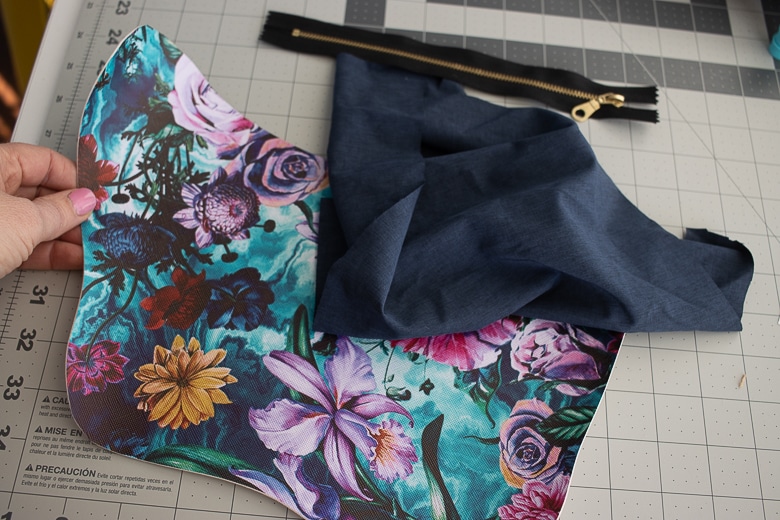
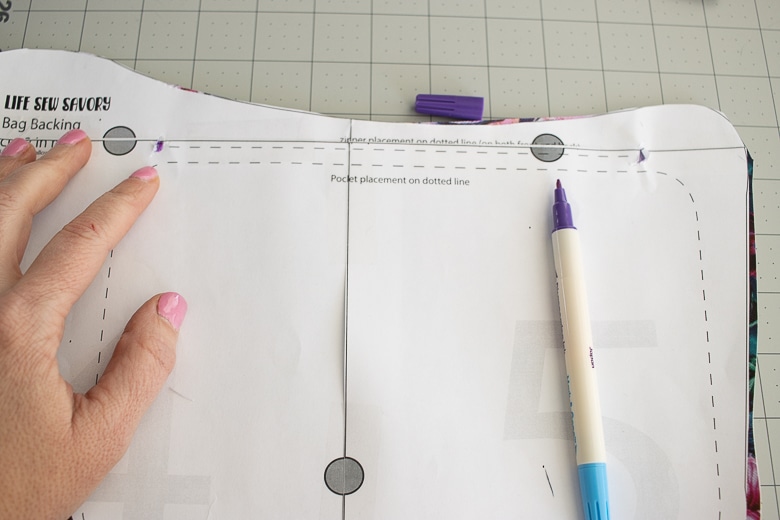
Line up the tab and end of zipper with the markings. Now lay one short end of the pouch fabric on top of the fabric. If your lining has a right and wrong side, the right sides should be touching. You should have around 1″ of fabric extending past the zipper marking. Place pins on the end marking locations and secure the two layers together.
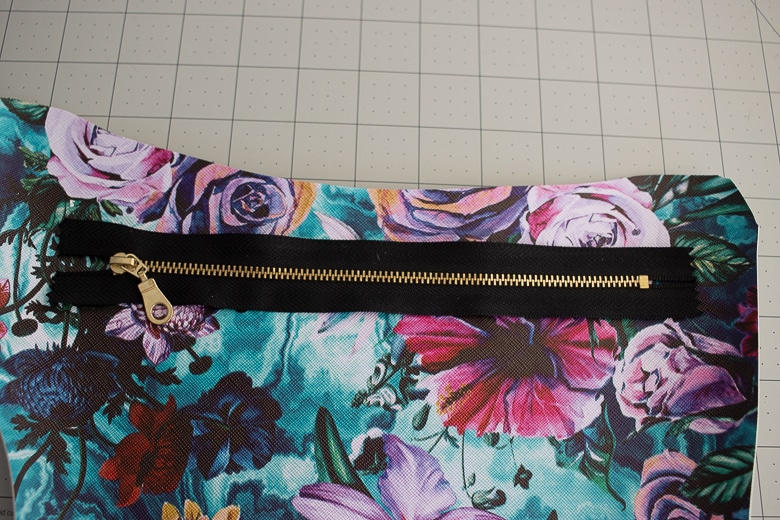
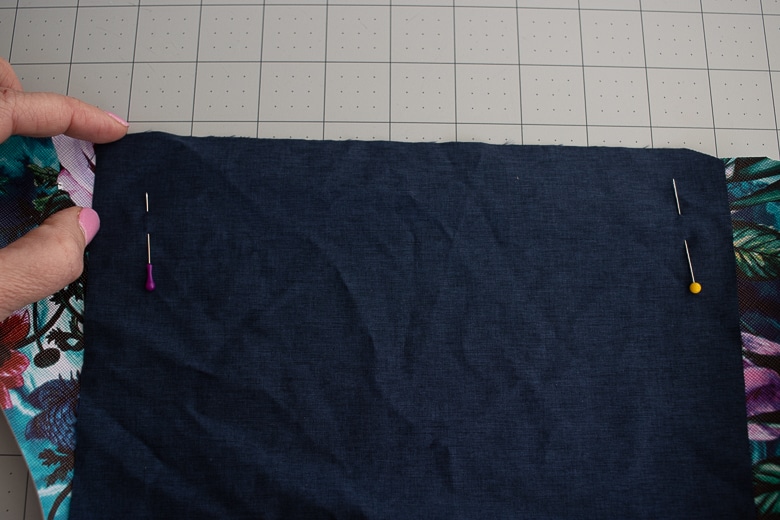
Take a straight edge and draw two lines from one pin to the other. The lines should be 1/2″ apart and about 1.5″ down from the top. Ideally they should be on either side of the marking line on the pattern template.
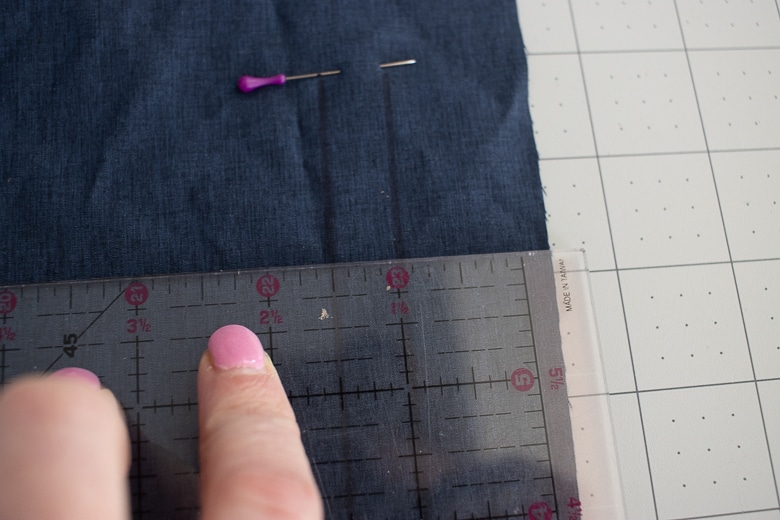
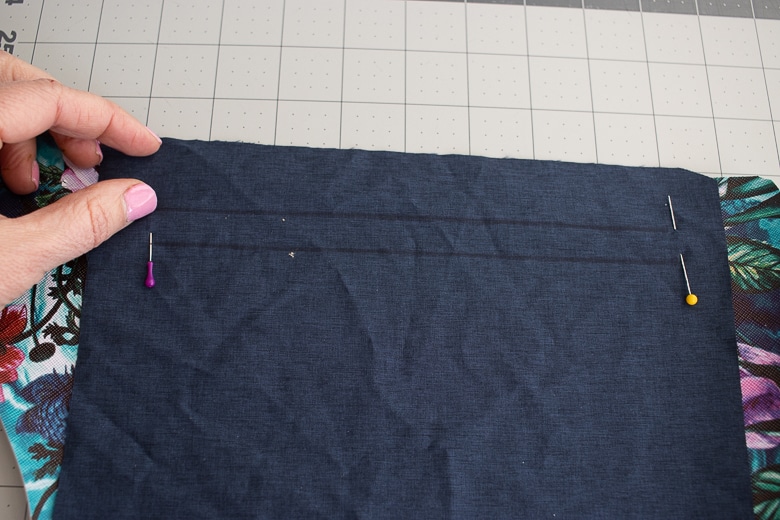
Stitch around this rectangle with a straight stitch. Use the pins as the end of the rectangle. Cut down the center and the Y the corners.
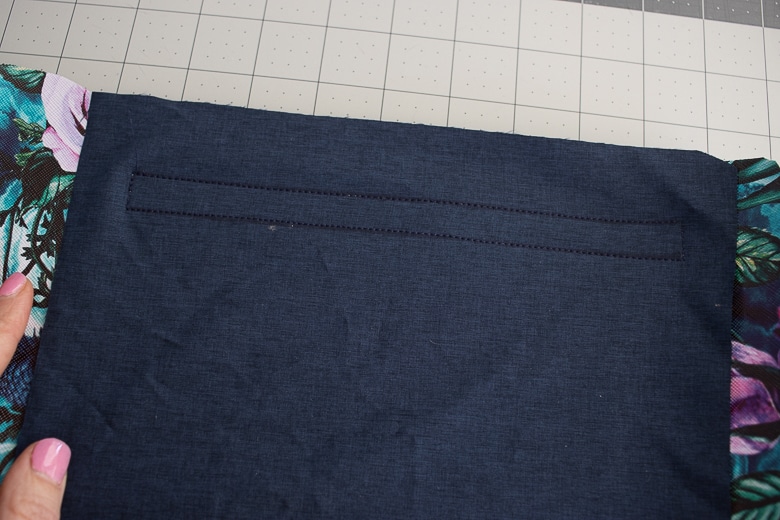
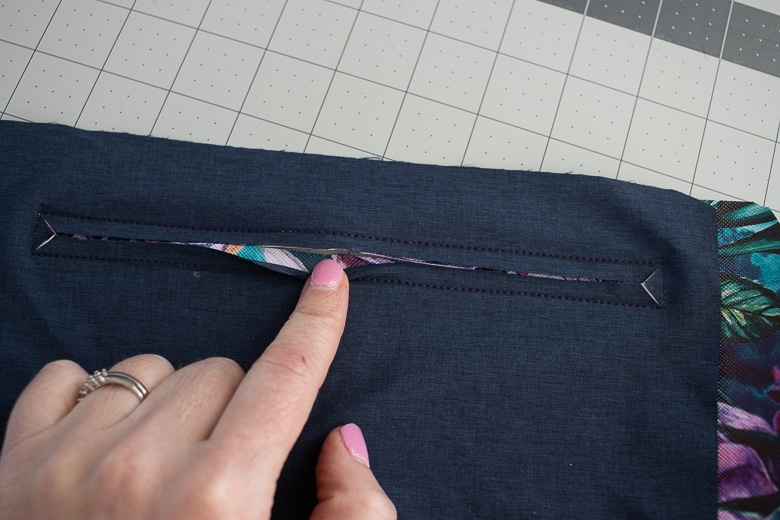
If using a thicker vinyl/pleather, cut down the seam allowance VERY close to the stitching. Push the pocket pouch through the hole and pull to the back. Pull it all the way to the back and then pin or clip to look like the photo below.
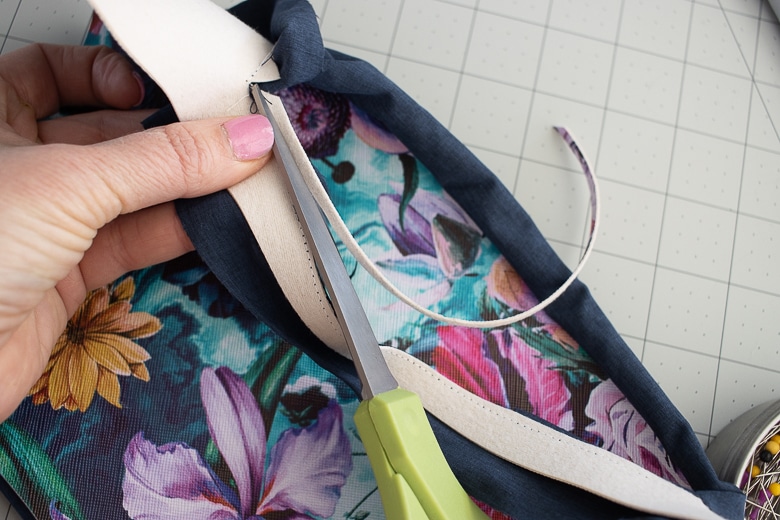
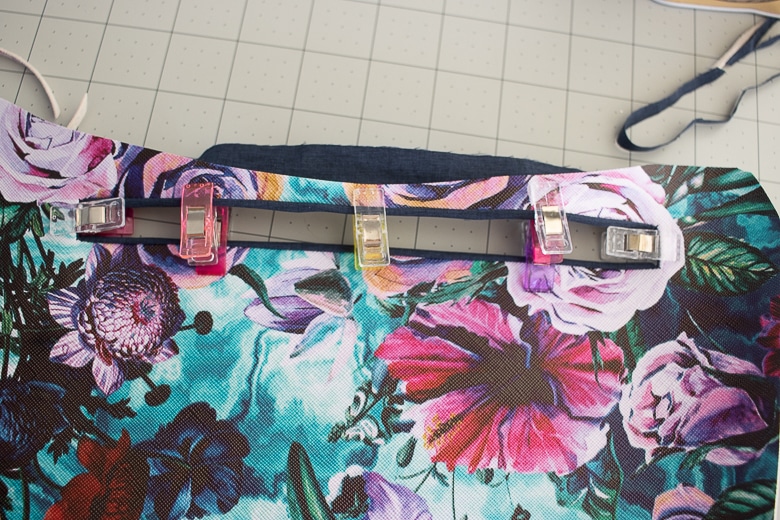
Place the zipper on the back of the fabric with the right side facing up and showing through the hole. Pin the zipper in place. Here are photos of the front and back of the bag back before sewing.
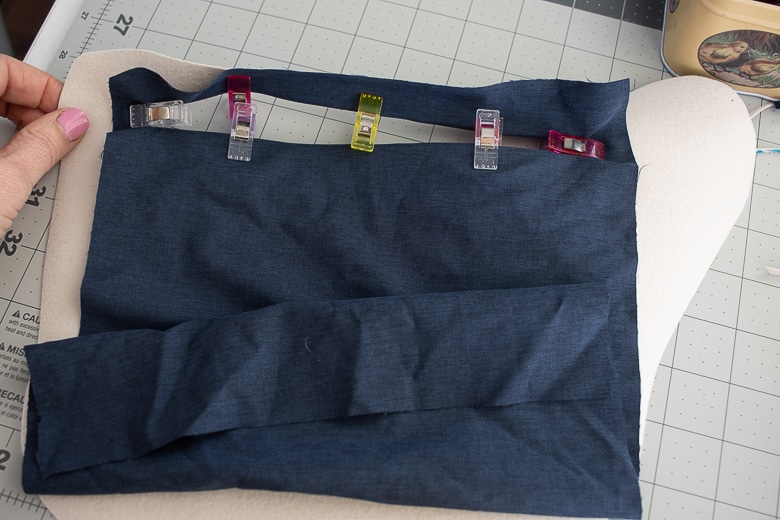
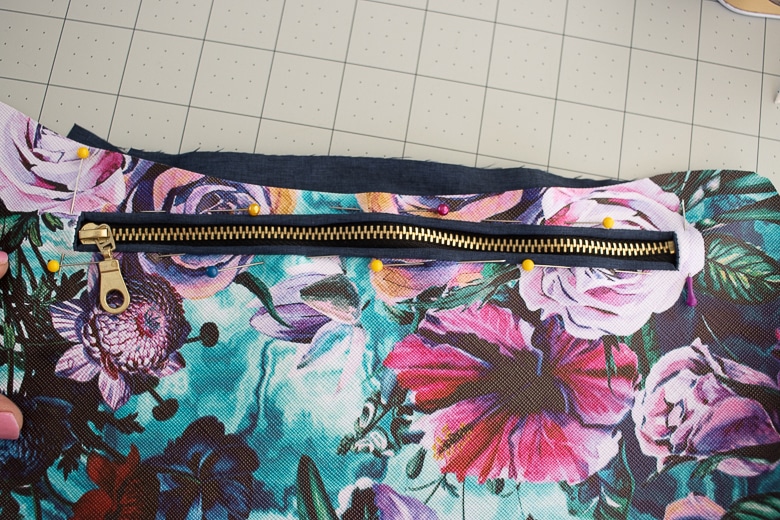
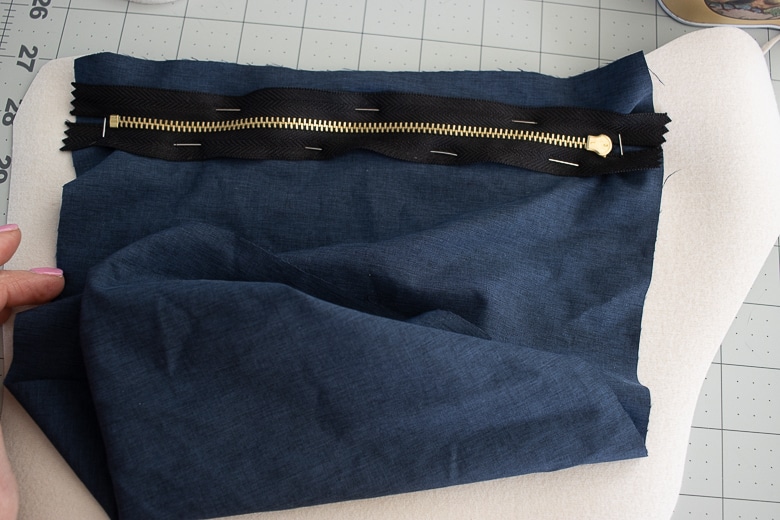
Use a zipper foot to sew around the zipper, this will secure it to the bag. It should look like this when sewn.
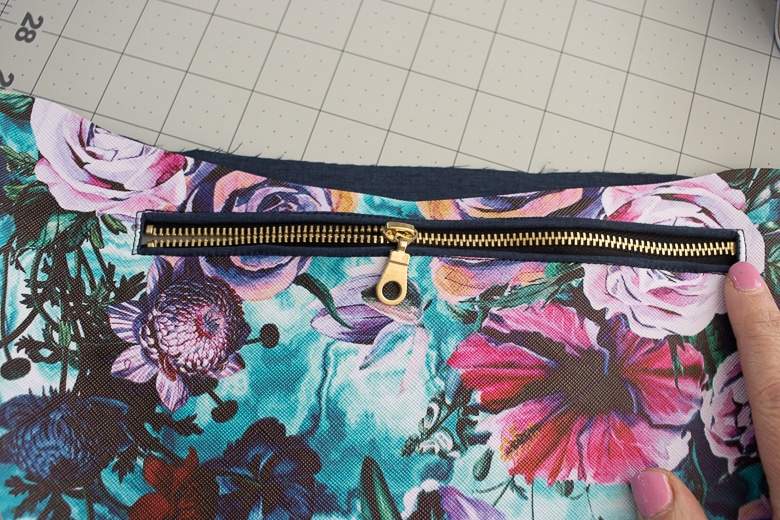
Now fold the bag pouch up so the short ends are together. Sew the three open sides. You can use a serger or sewing machine. I used a zig-zag on the sewing machine.
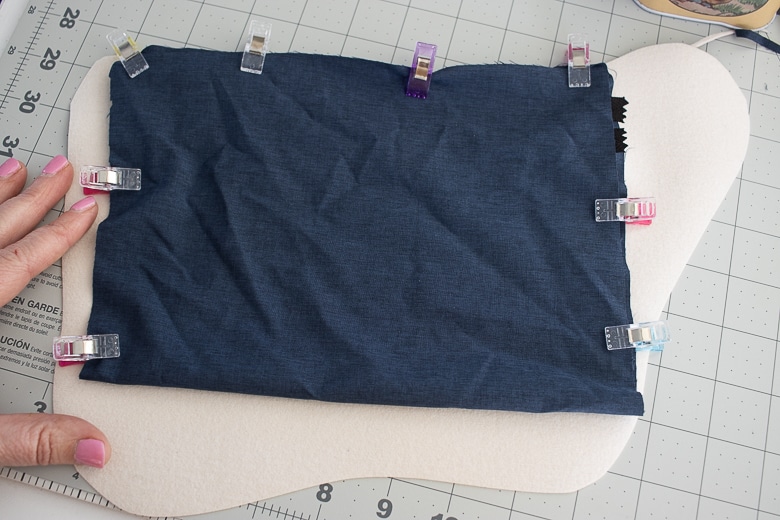
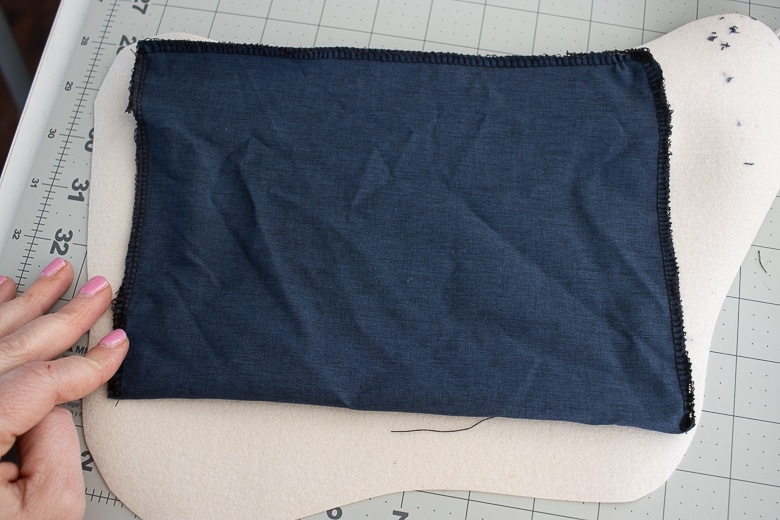
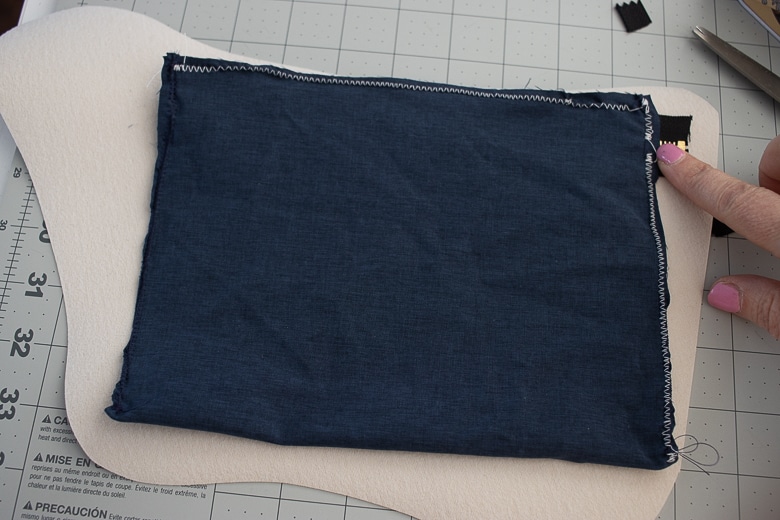
TIP 1: Fold the bag fabric out of the way when sewing along the top of the pouch.
TIP 2: if you happen to be using a zipper that is too long, don’t sew over the teeth. Just sew on either side of them when closing the bag.
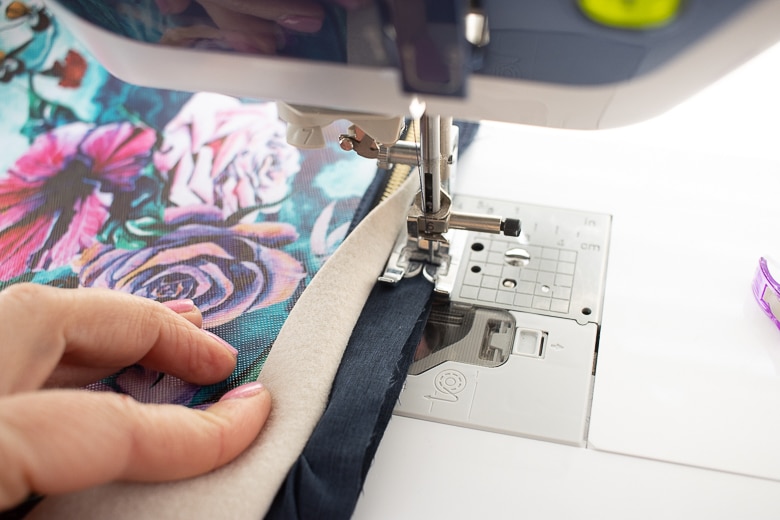
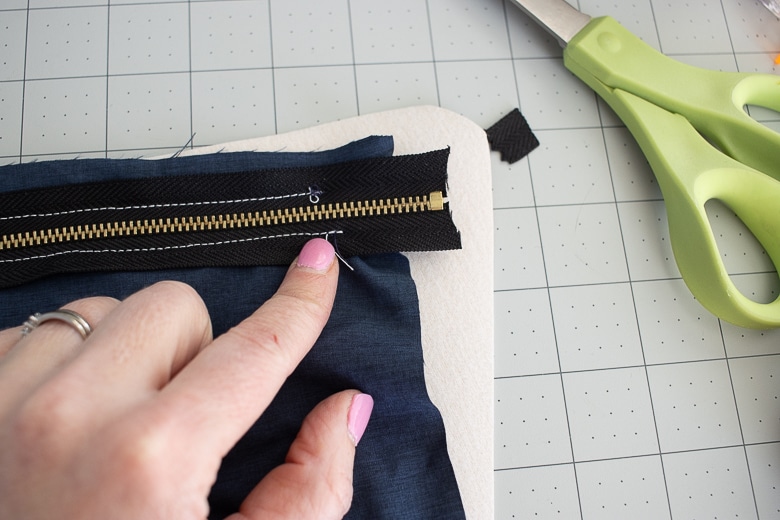
You might be able to see a bit of the pouch fabric at the top of the bag back when finished. That’s ok, will get tucked in later. Go ahead and repeat these same steps to add a zipper pocket to the front of the bag as well. Now the front and back should both have a zipper pocket.
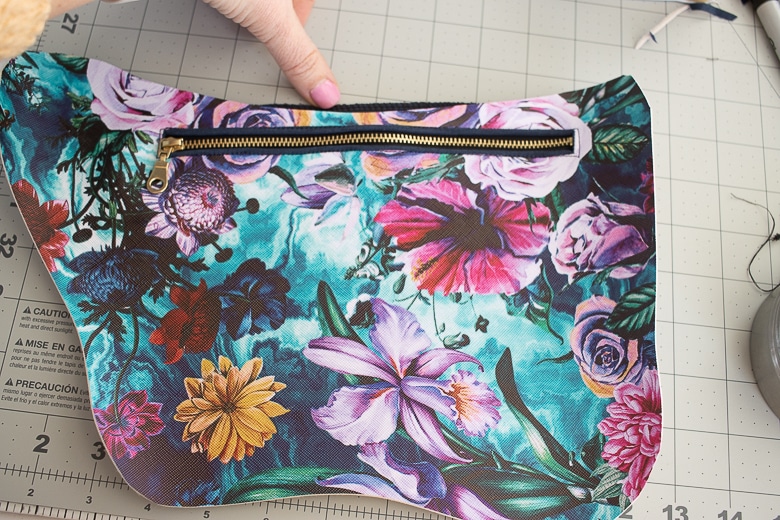
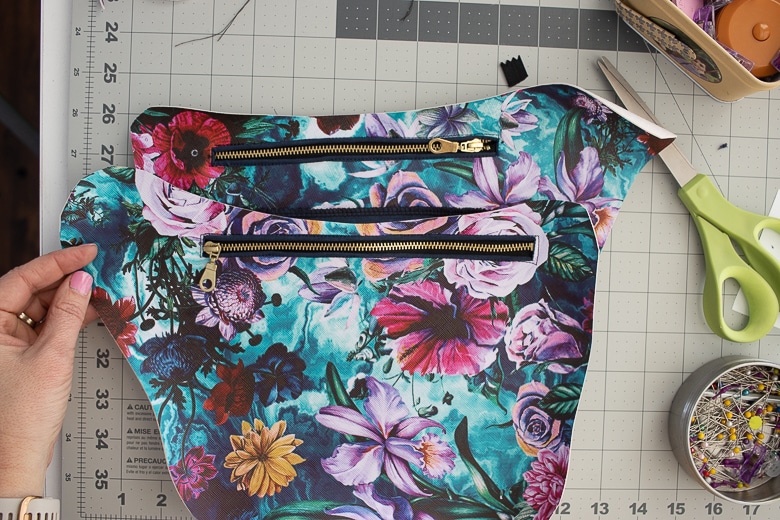
Now it’s time to add the front zipper pocket. Start by taking the zipper facing and sew it right sides together to the zipper. Use a 3/8″ seam allowance. After sewing, fold the seam allowance AWAY from the zipper and top-stitch.
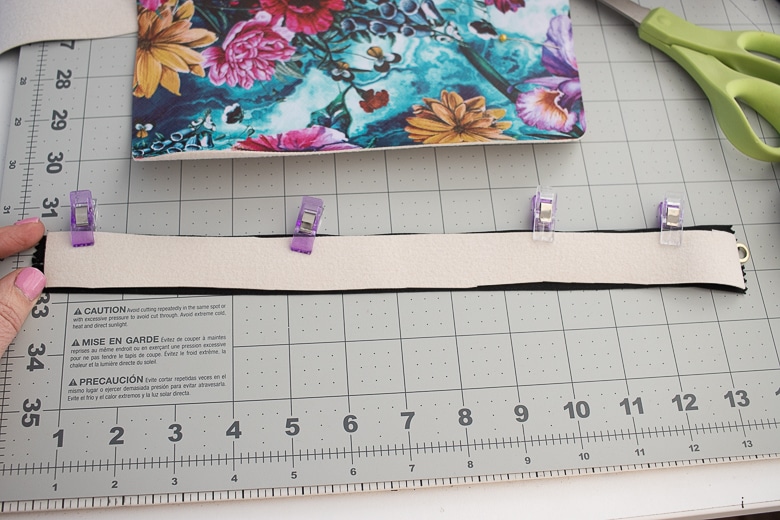
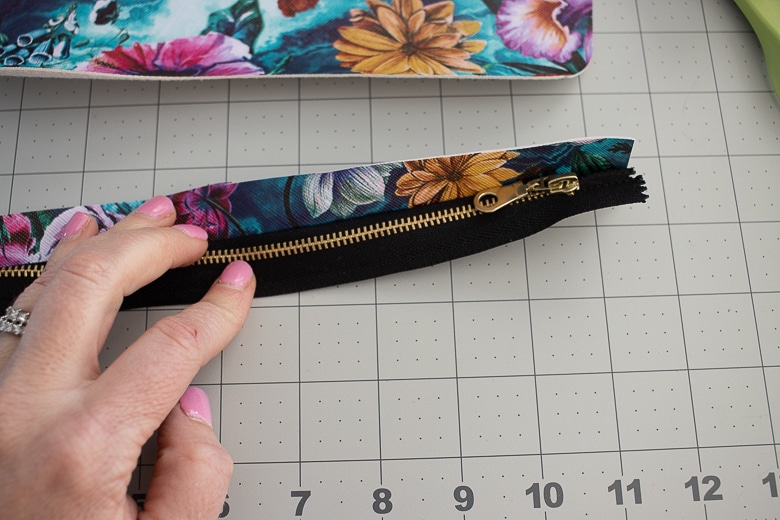
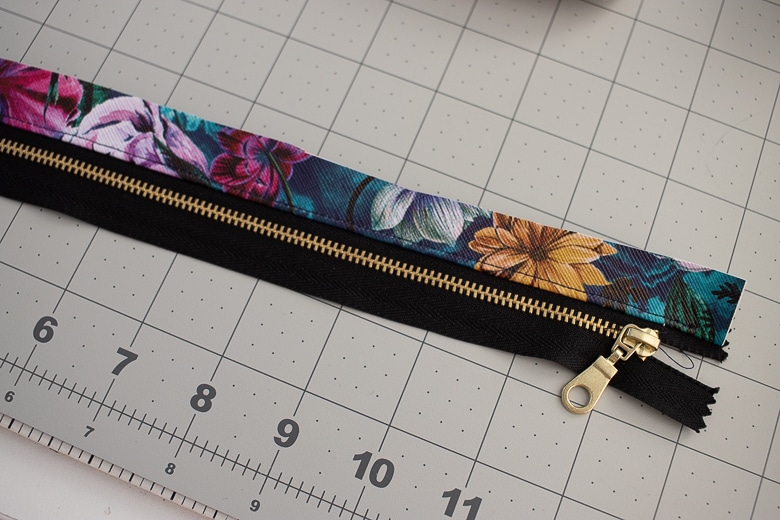
Take the pocket bottom and place one end 3/8″ from the zipper end.
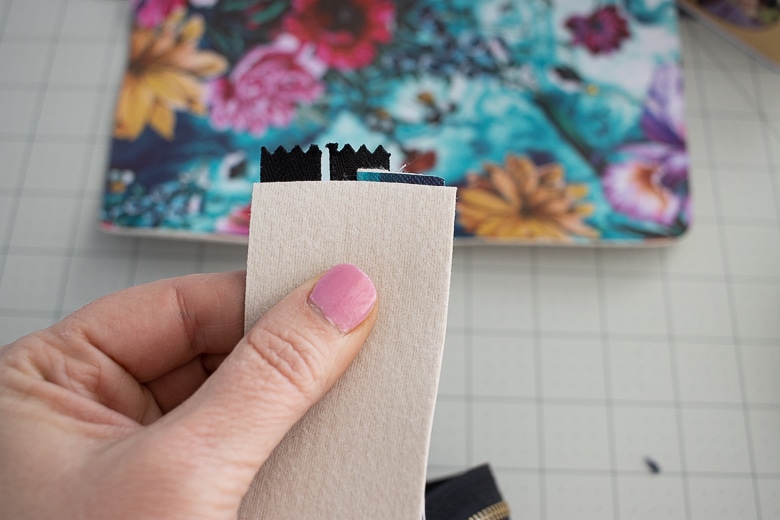
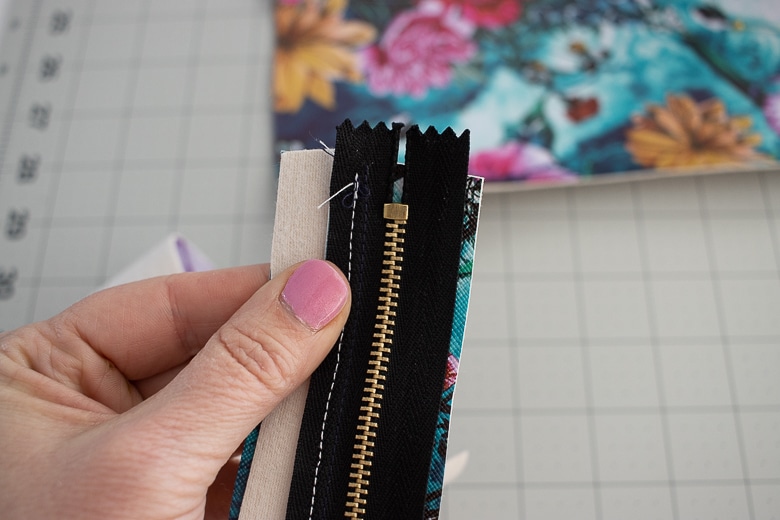
Sew the layers right sides together, stitching as close as you can to the zipper end stop. Open up and fold the seam allowance AWAY from the zipper and top-stitch.
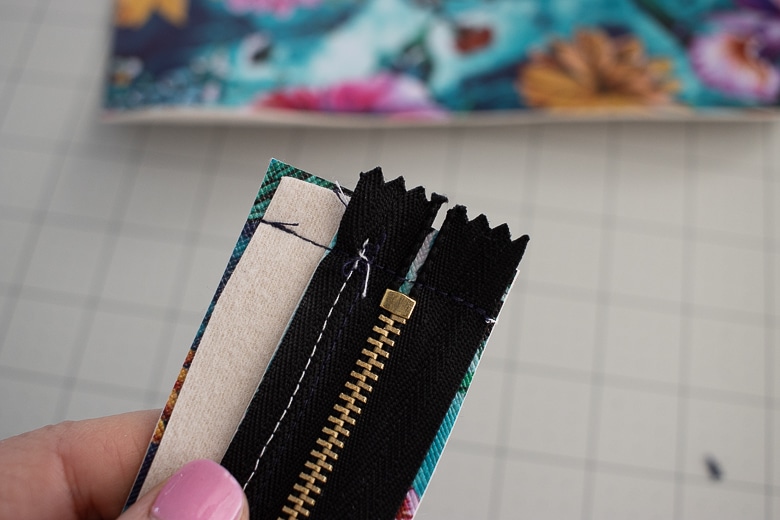
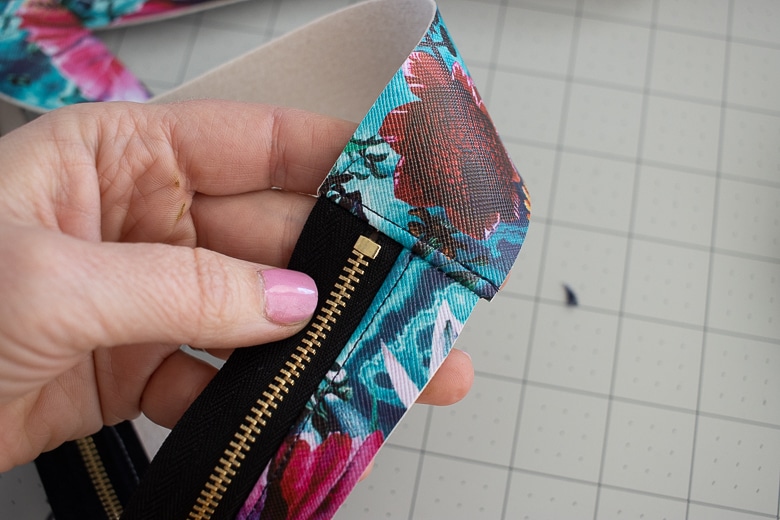
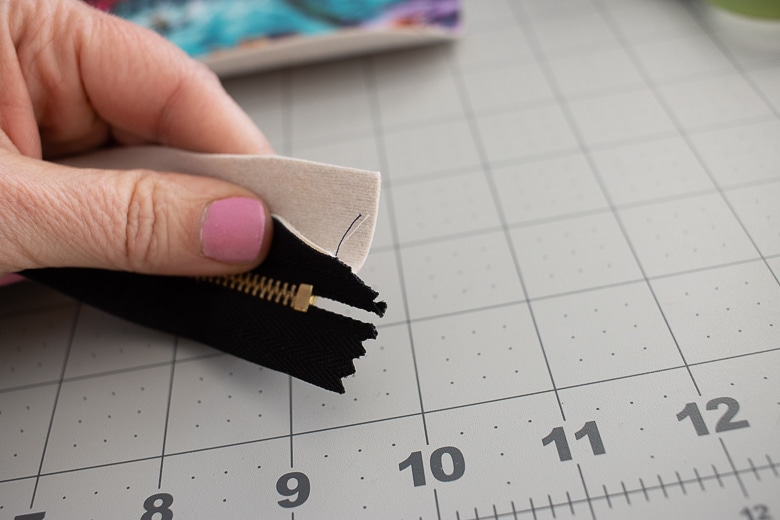
It’s time to form a circle with the zipper and bottom. With right sides together place the pocket bottom 3/8″ from the zipper pull end. Un-zip the pull a bit so you can work with this end. Trim the zipper and facing to 3/8″ and line up the edges. Sew, then open and top-stitch as before.
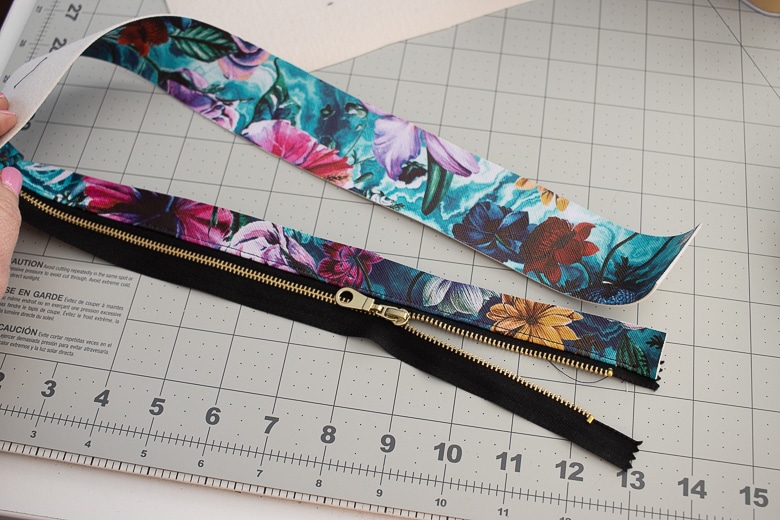
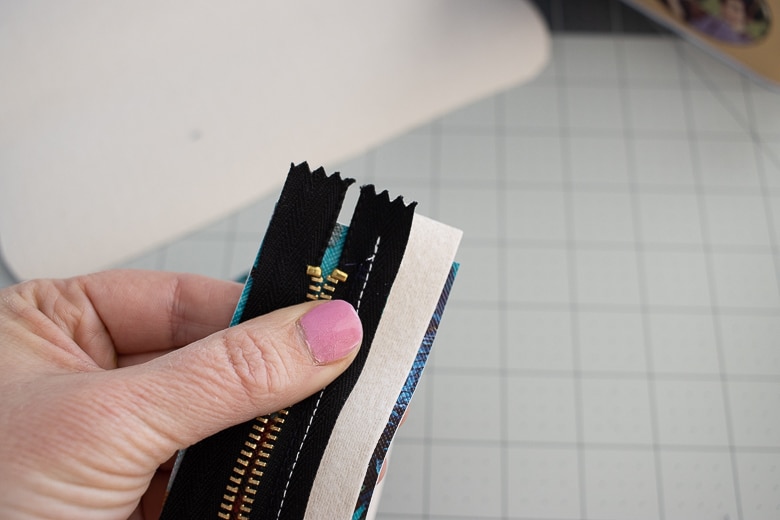
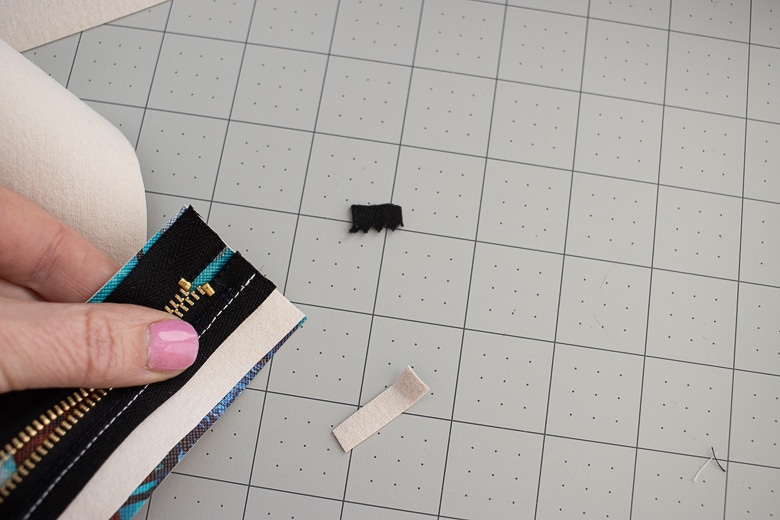
Fold the pocket and zipper to find the half. Place the center of the zipper at the center of the pocket top. Pin or clip in place.
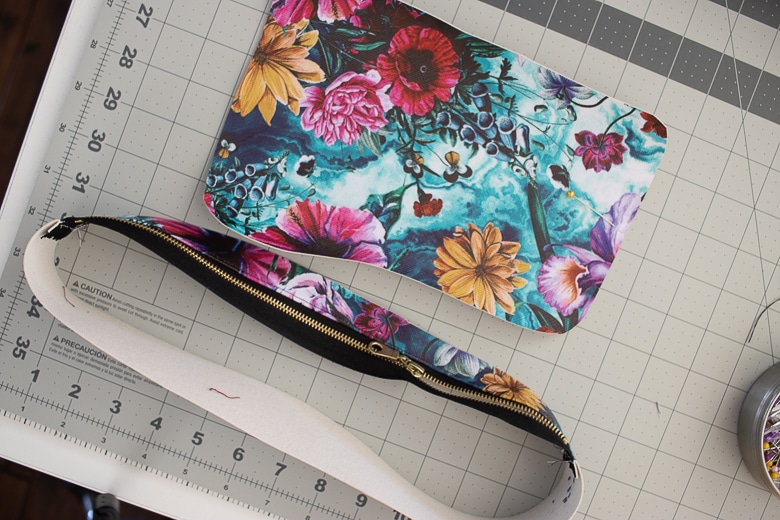
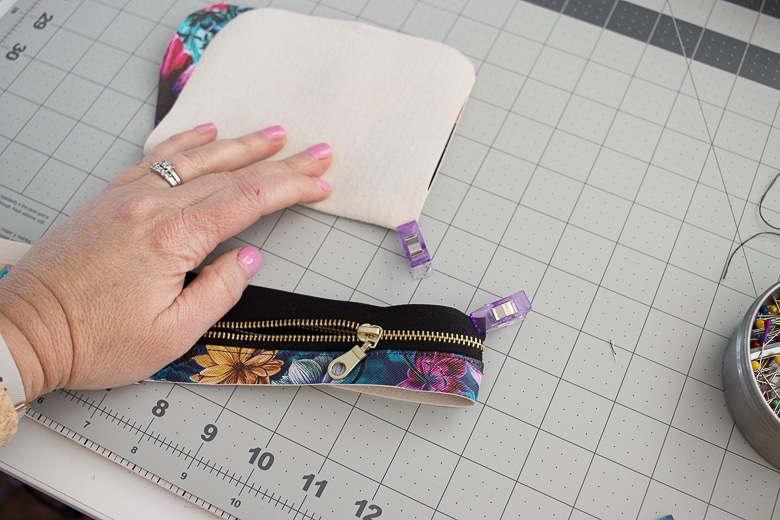
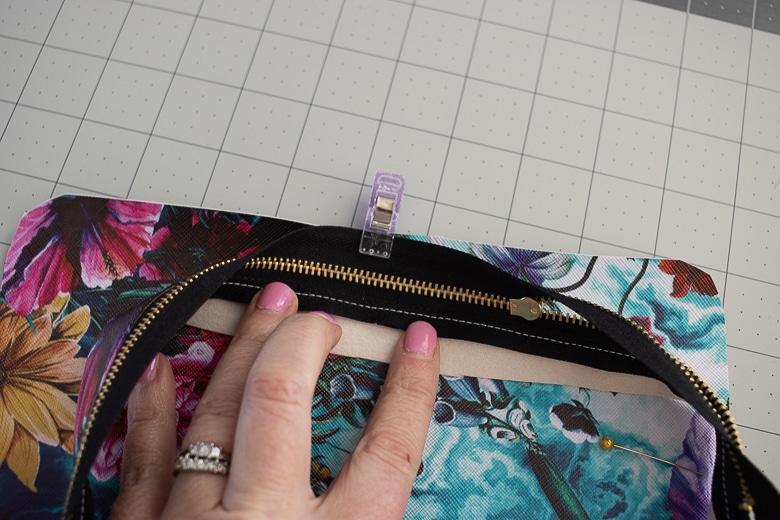
Work all the way around the pocket, pinning/clipping the zipper and bottom of the pocket to the pocket piece. The right sides should be together and should look something like this. With a zipper foot, sew around the outside to attach the layers. Fold the corners and press down when going around.
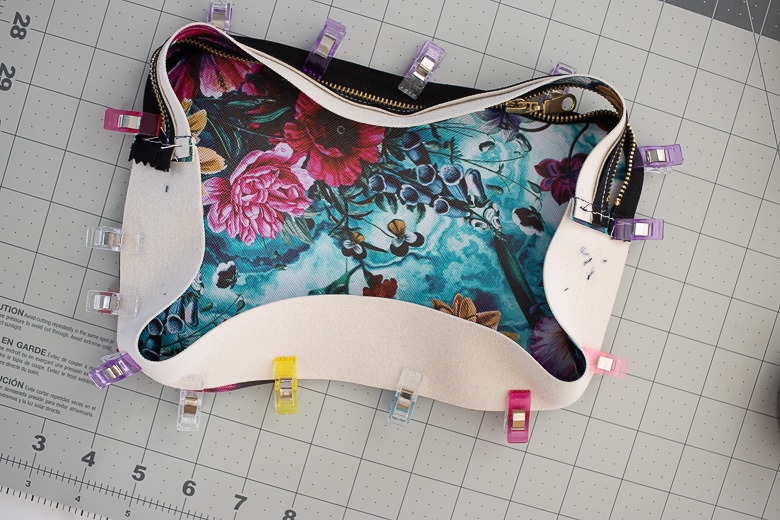
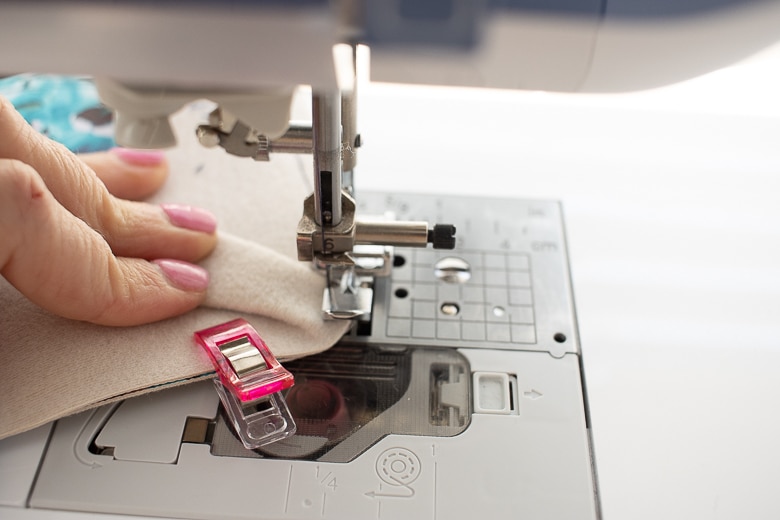
Here is the pocket with the side attached.
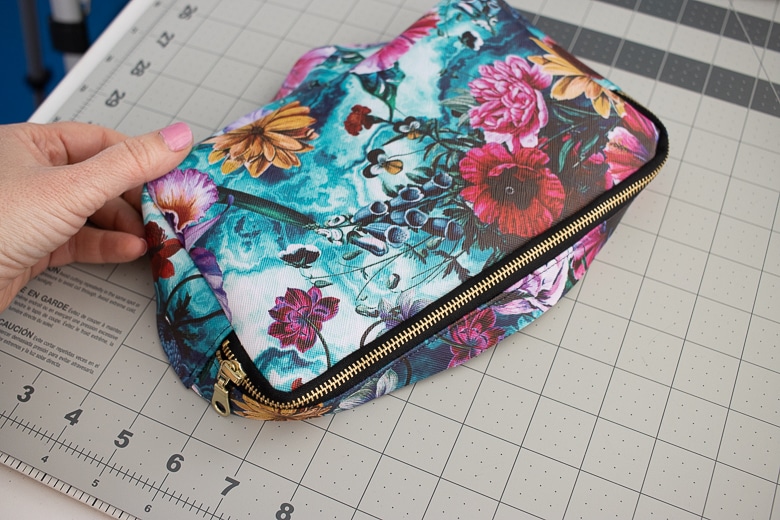
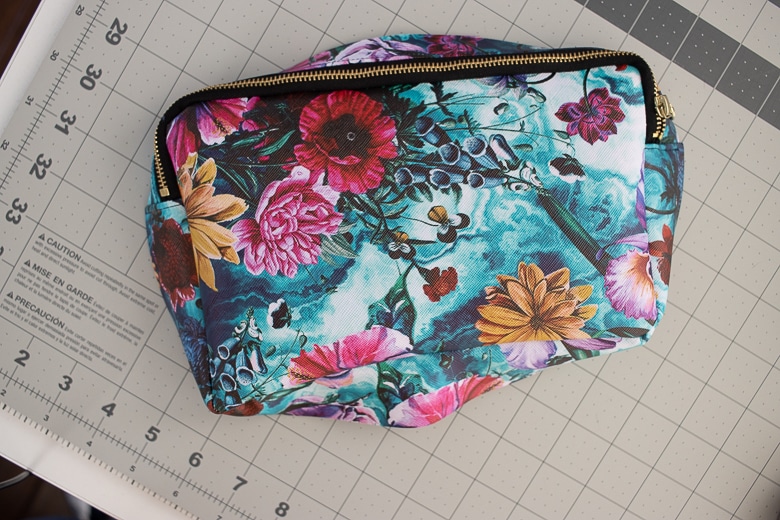
Just like other seams, fold the seam allowance AWAY from the zipper/side and top-stitch around the pocket.
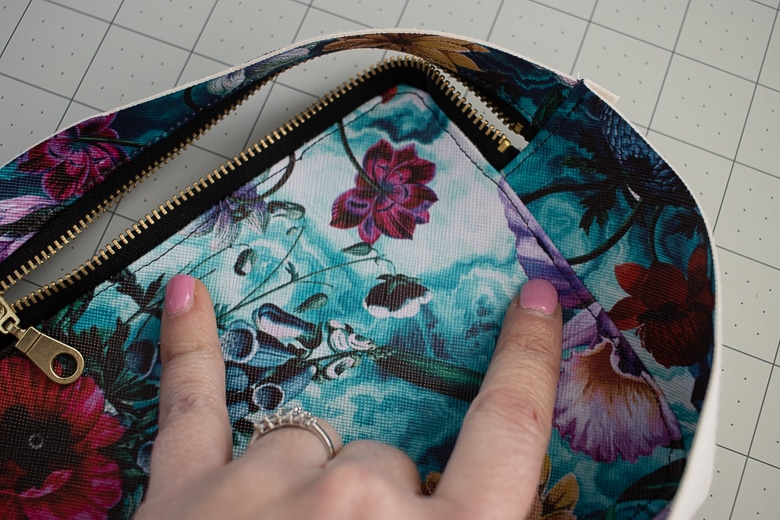
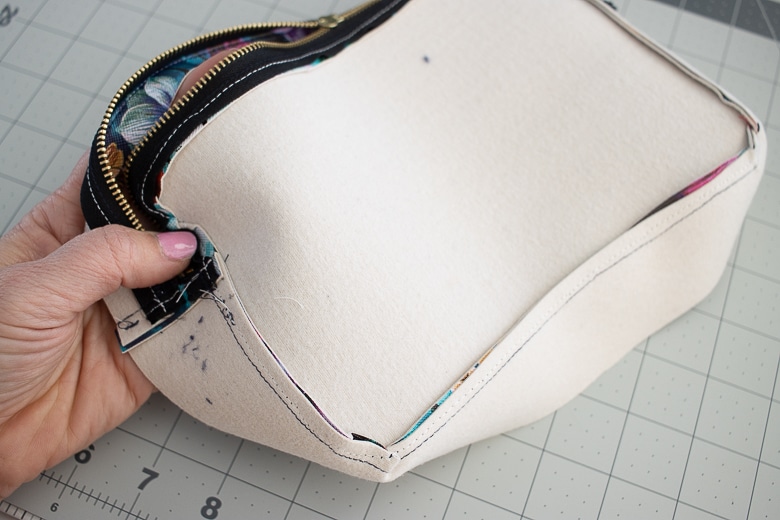
Clip the corners of the pocket bottom/facing with small 1/4″ cuts at the curved sides/corners.
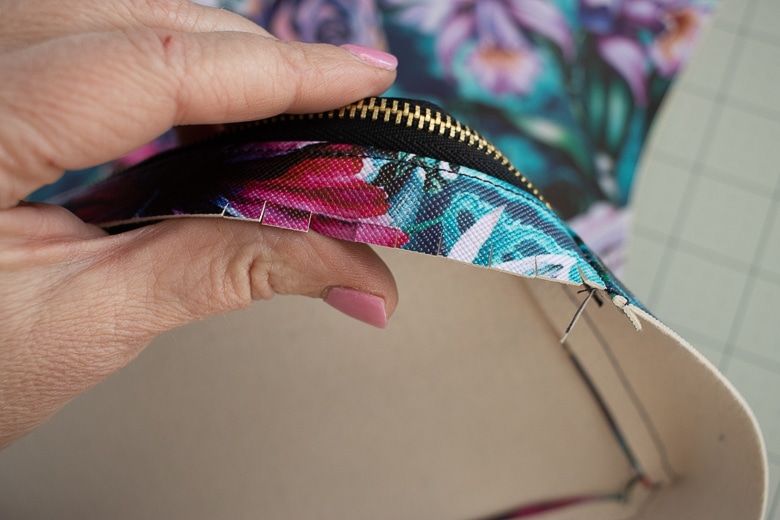
Fold under this 1/4″ seam allowance then pin the pocket on the bag front piece. You can use the template for placement. I pinned the top first, then worked my way around both sides to the bottom. You want the pocket to stick up and the sides should be straight up, not angled. So pin right under the main pocket edge. Make sure there is at least 1/4″ between the pocket and the zipper. You will need this to sew on the flap.
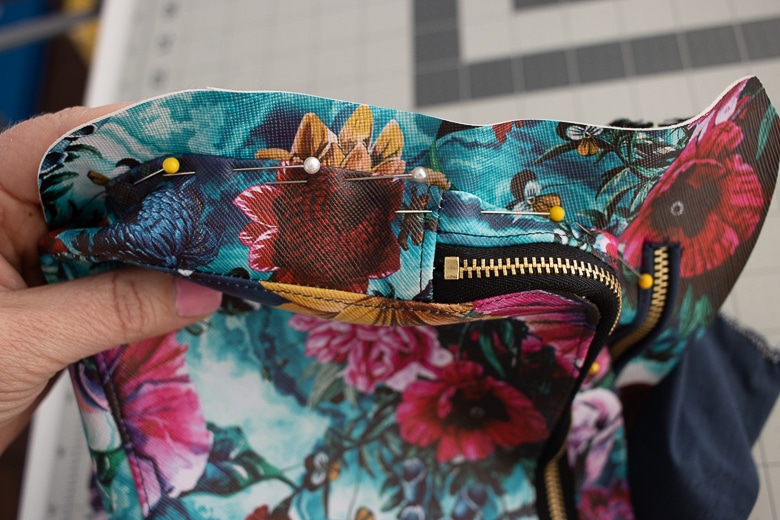
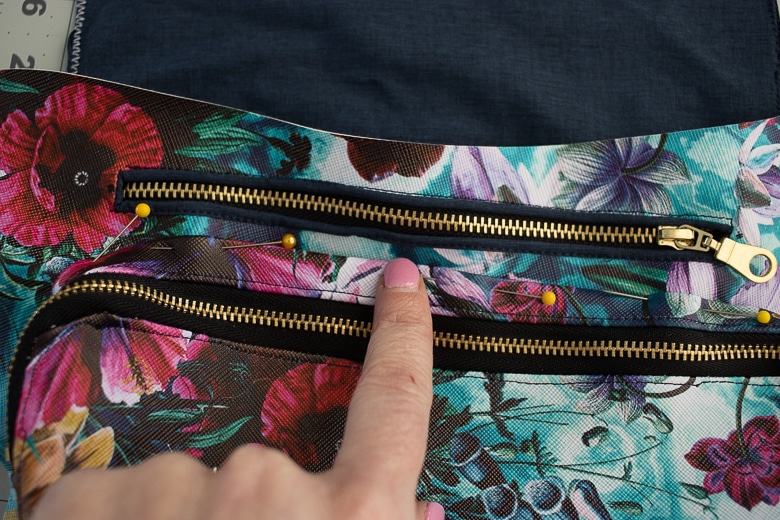
My bottom corners had just a few slight puckers to make it work. This vinyl stretches a bit so I had to tuck it all in. Depending on your fabric, this may be the case for you as well.
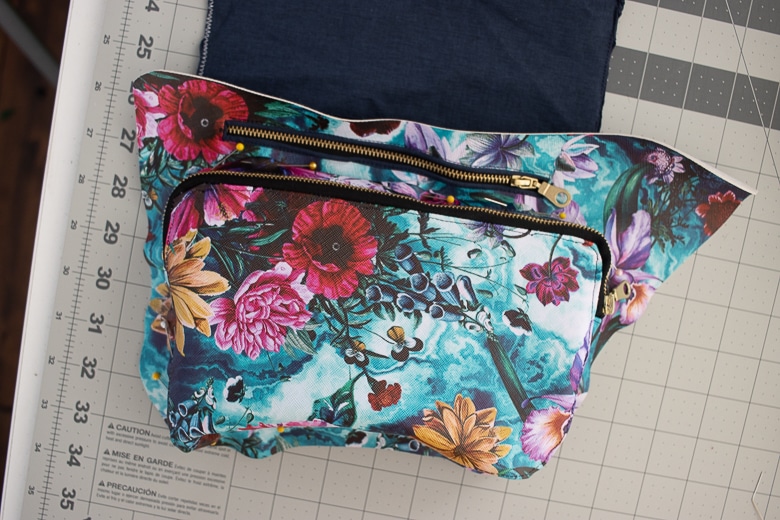
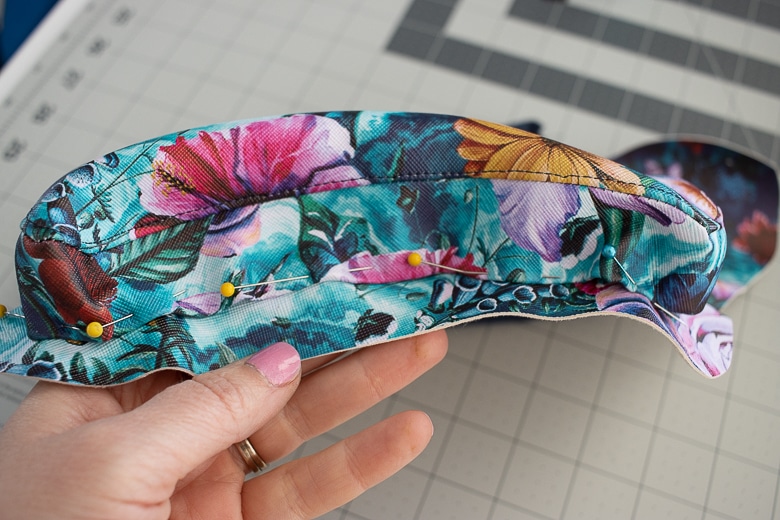
Here is the front and back of the bag with the pocket pinned on. Make sure to keep the inside pocket pouch out of the way!
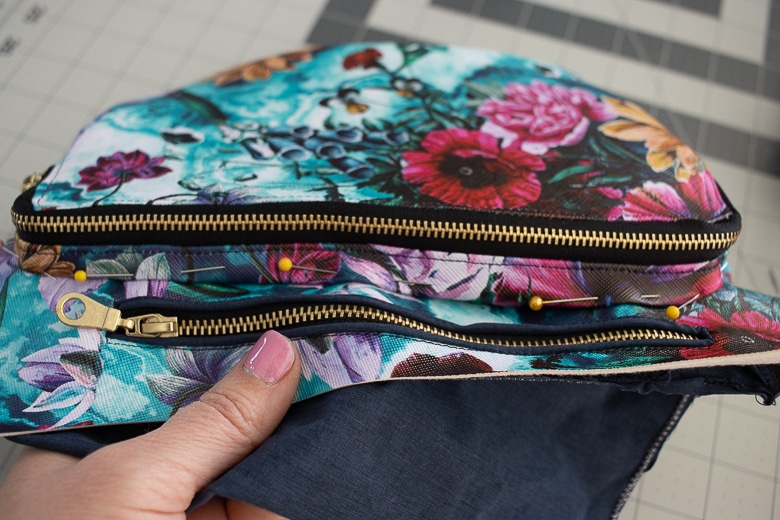
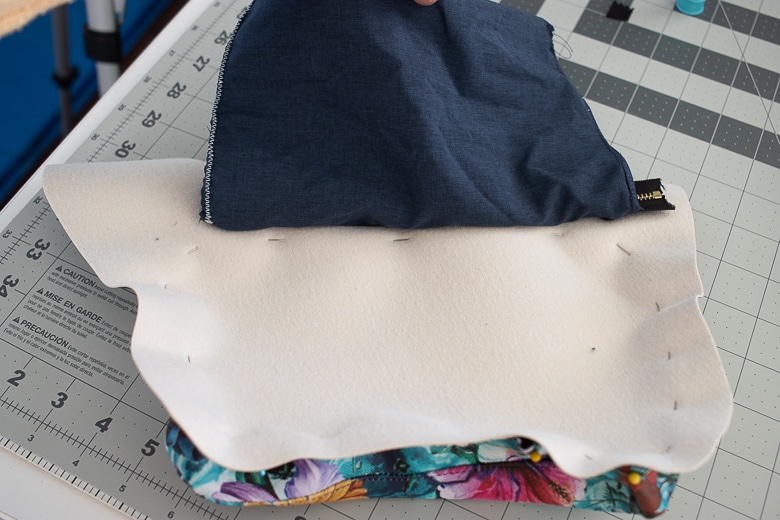
Sew around this outside, flattening, and pushing the pocket the pocket as you sew. Stitch around the bag to secure it to the bag front.
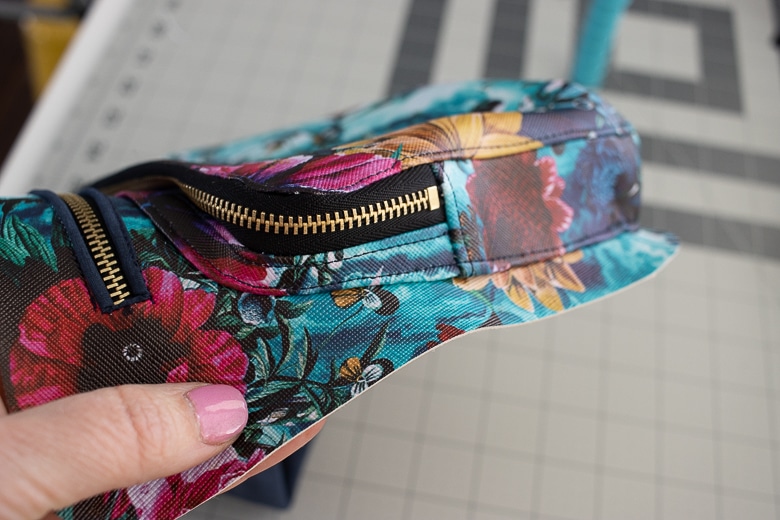
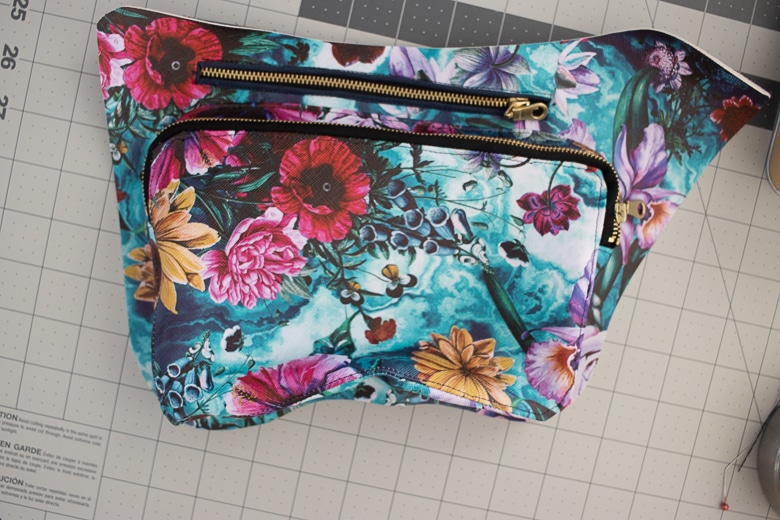
Find the center of the flap lining and then add the magnetic snap 2/3 of the way down the flap at the center. The snap piece should be on the right side of the lining fabric.
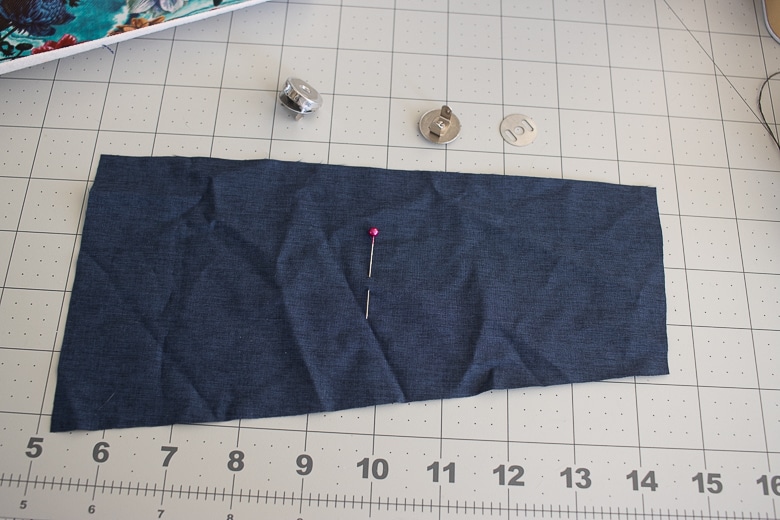
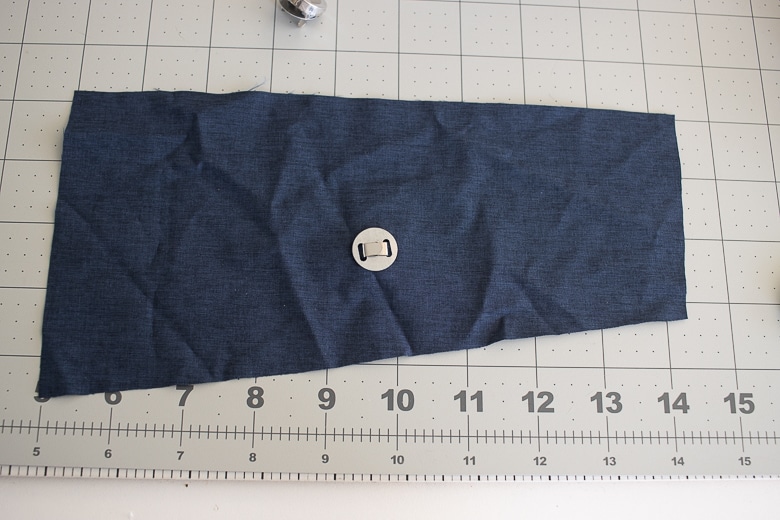
Place the two flap pieces right sides together and sew all the sides, but NOT the top flat edge.
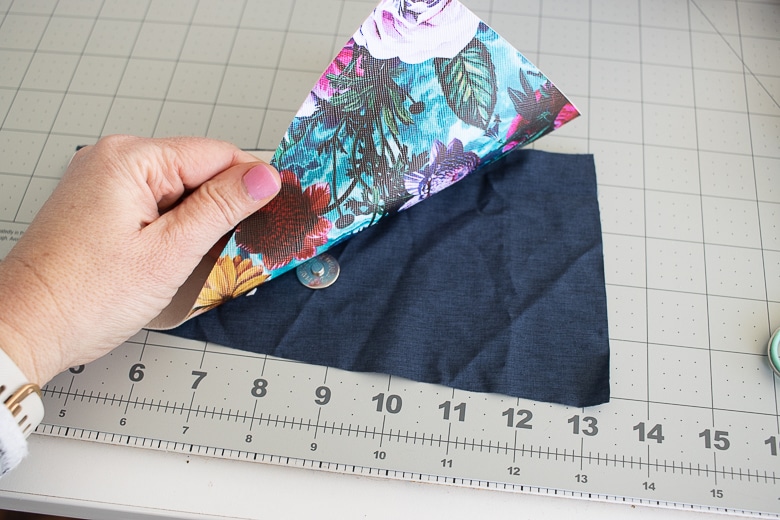
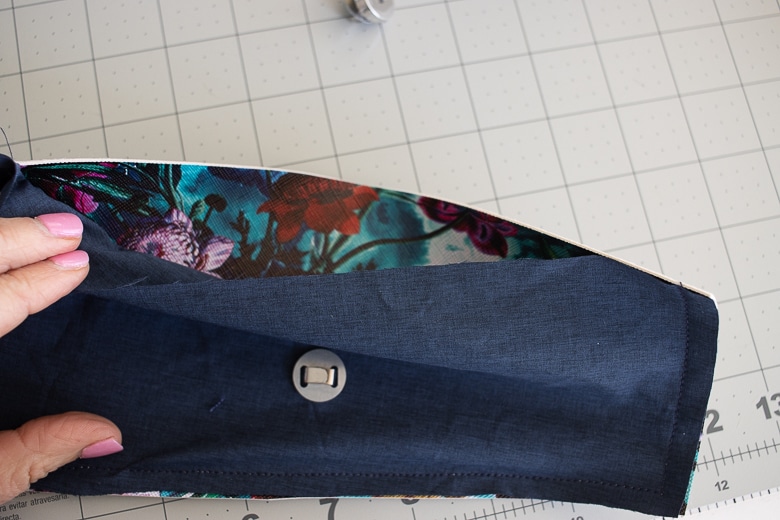
Clip the corners and turn right side out. Fold in the top seam allowance and clip.
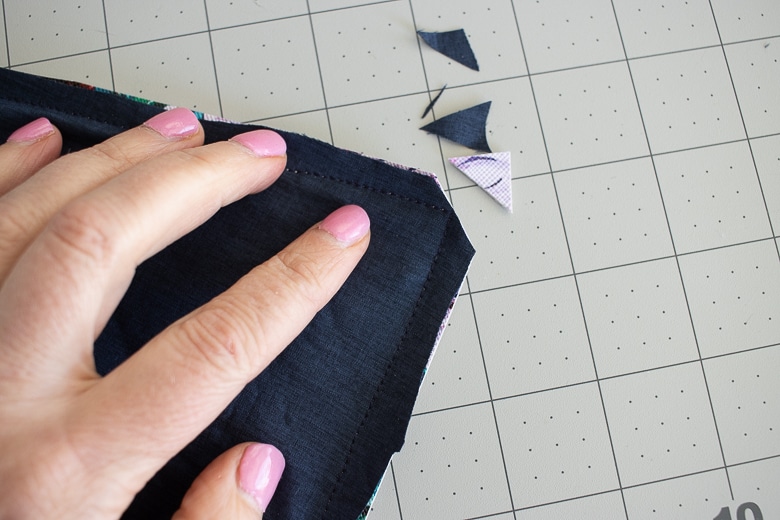
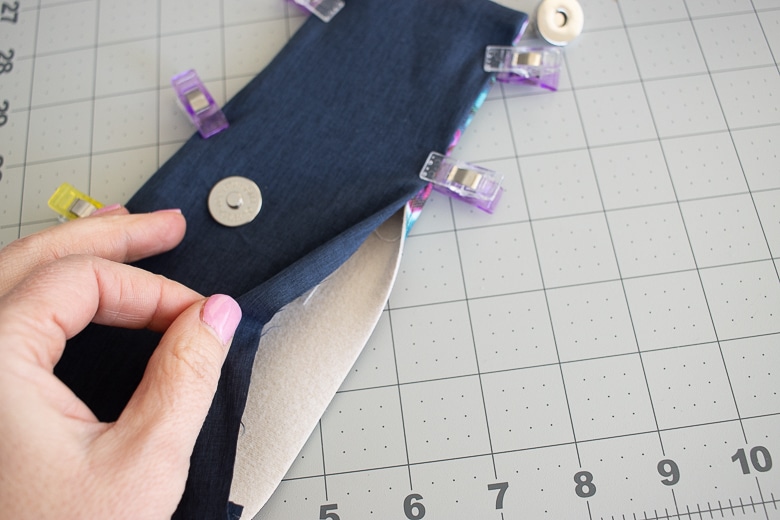
Top-stitch the other three sides. Place the flap on the bag front between the pocket and the top zipper. Make sure the zipper pouch is pulled up and out of the way.
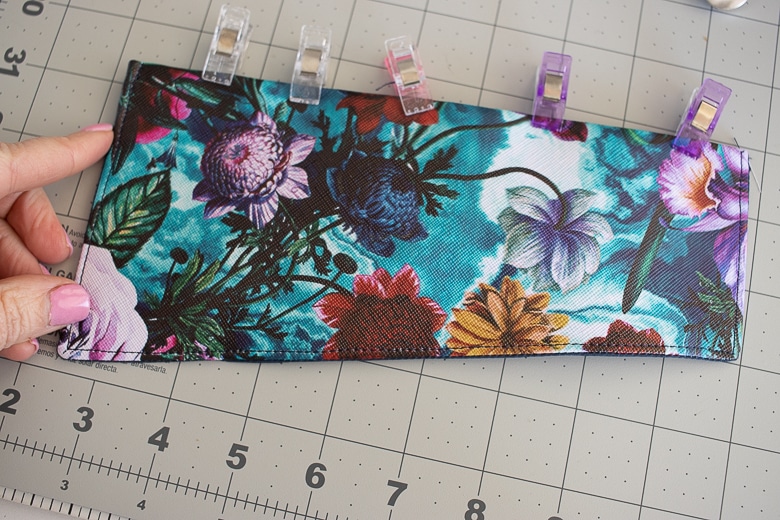
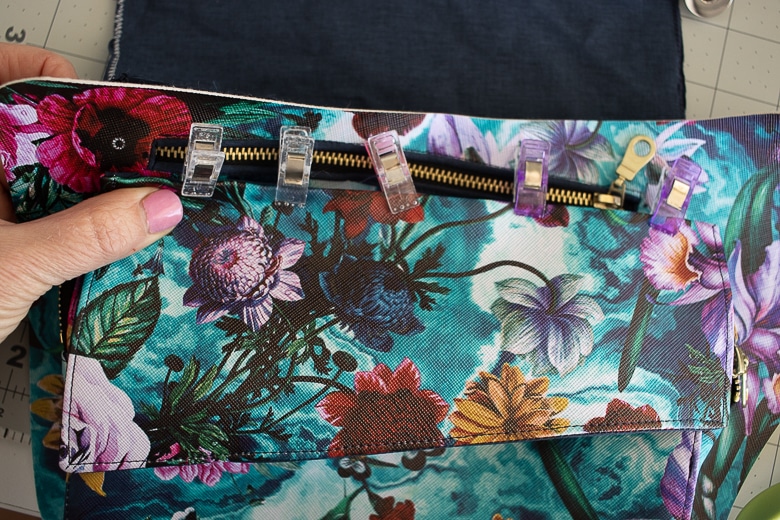
With my vinyl foot I just sewed the flap right under the top zipper. I didn’t even pin it as it had so many layers. Just hold the flap in place and sew.
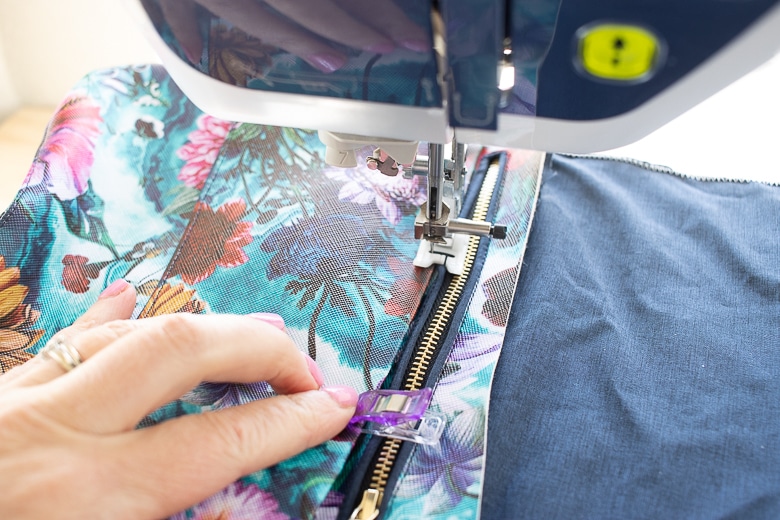
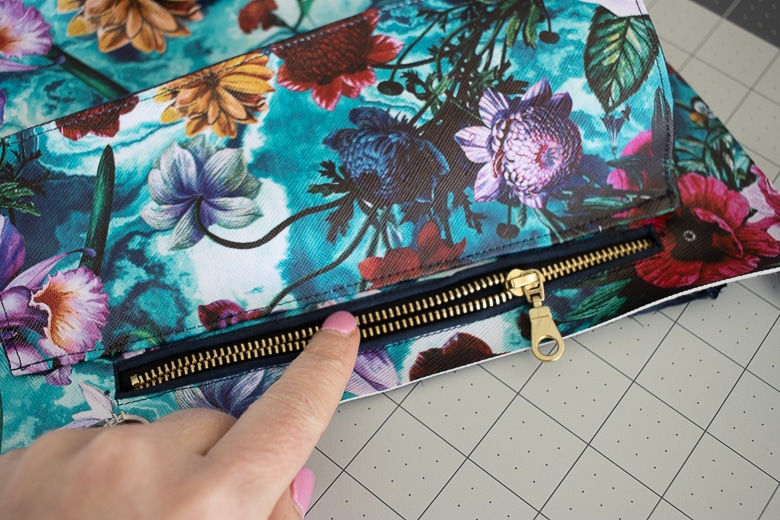
Fold the flap over and mark where the magnet hits the pocket. Add the other side of the magnetic snap here. I reinforced the back with interfacing.
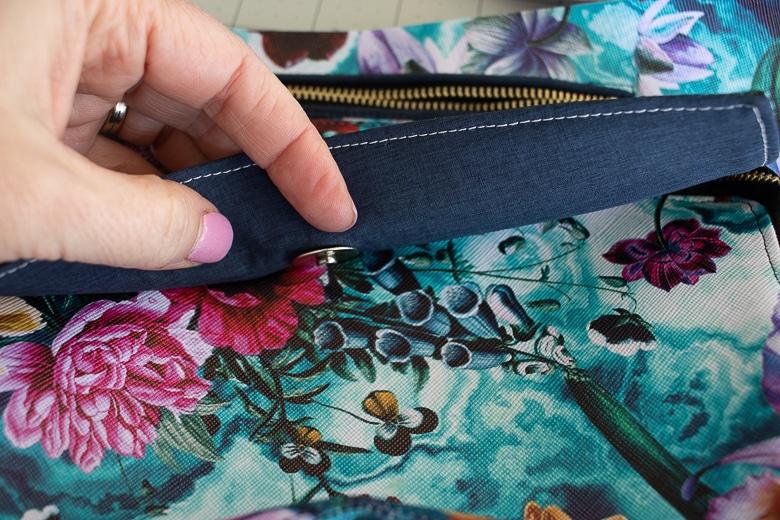
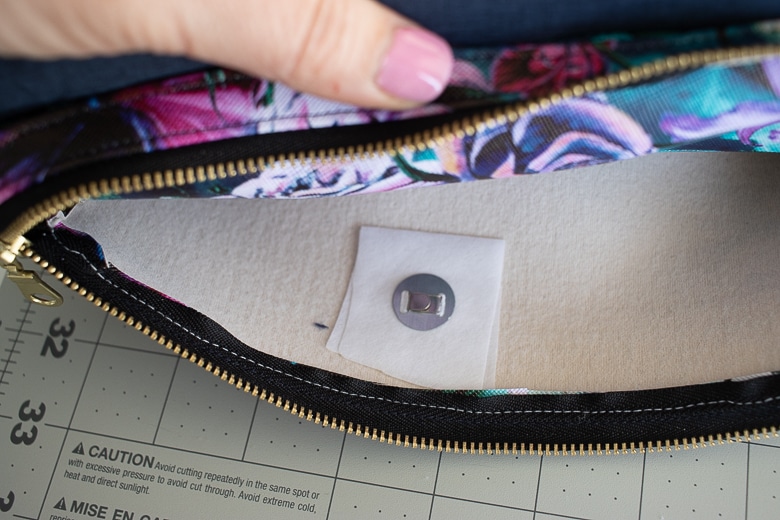
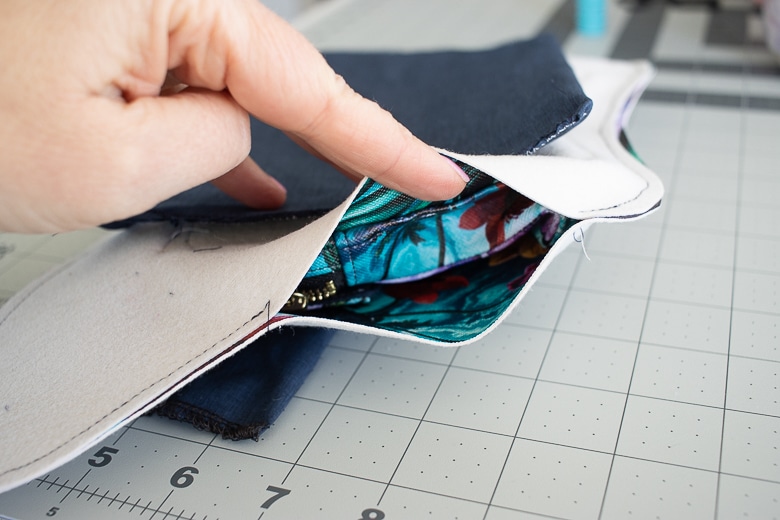
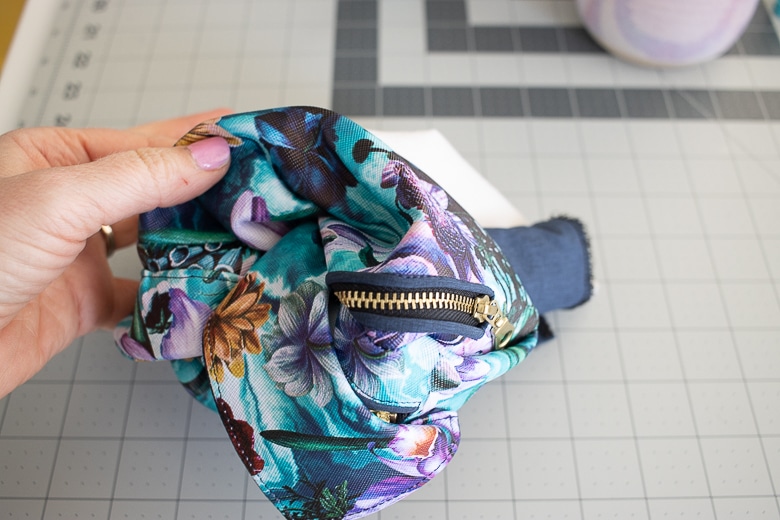
Now the front pocket is beautiful! Still with me? We are almost finished!! Place the front and back together with right sides touching. Pin or clip all the way around. Leave a 6″ opening for turning on the flat, short side of the bag. Sew with a 3/8″ seam allowance all the way around {except the turning hole}
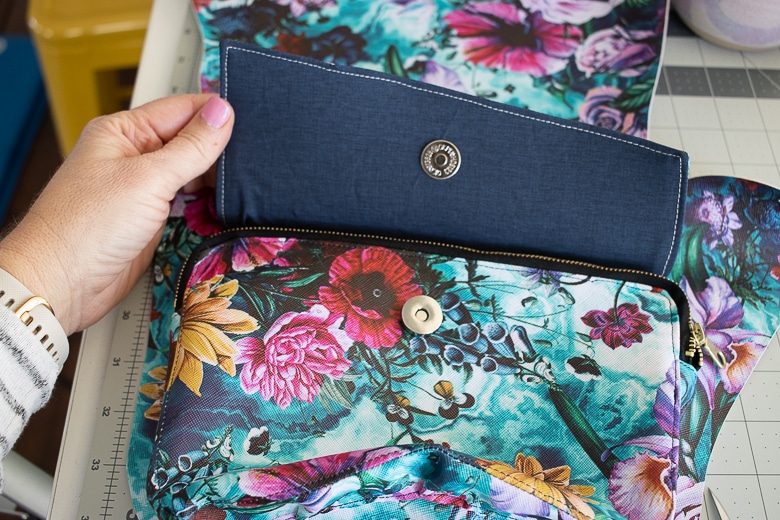
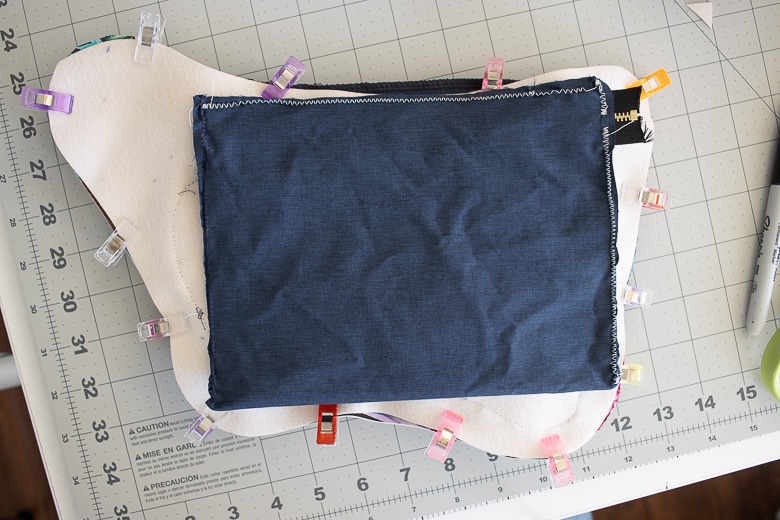
Pull the bag right side out and poke out the curves. Fold in the seam allowance of the turning hole and clip. Top-stitch all the way around the bag, closing the hole and securing all the seam allowance.
Cut 2 3″ pieces of strapping. Melt ends so they don’t fray.
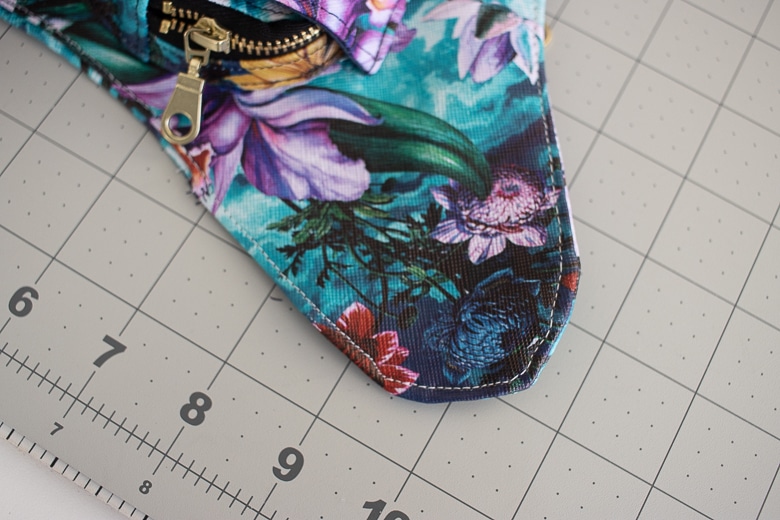
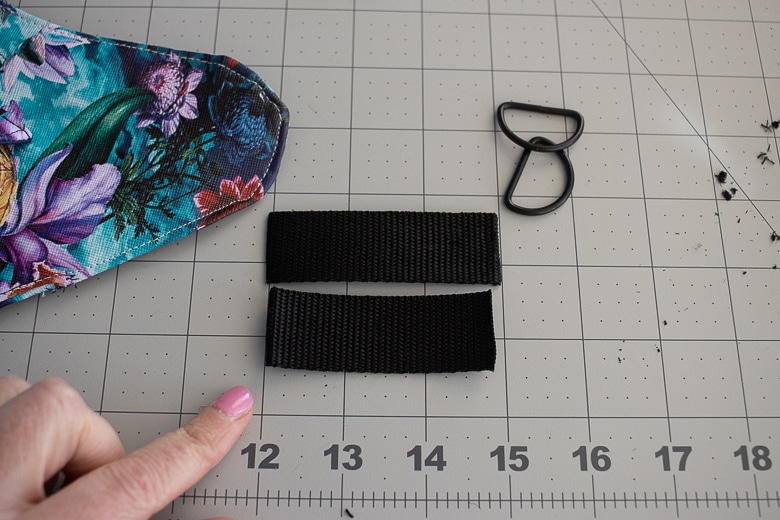
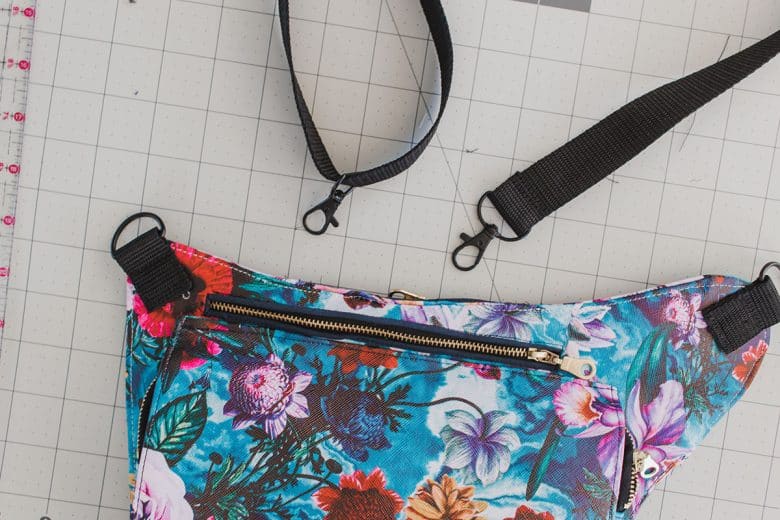
Place a D ring in the center and fold in half. Sew the front side of bag in a square shaped stitch pattern. You can also X the square to reinforce. I used my zipper foot so I could sew closer to the D ring. Sew on both top corners.
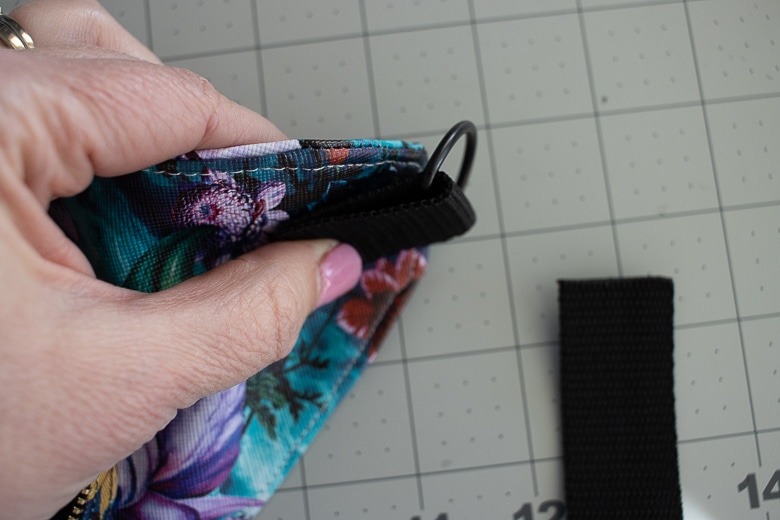
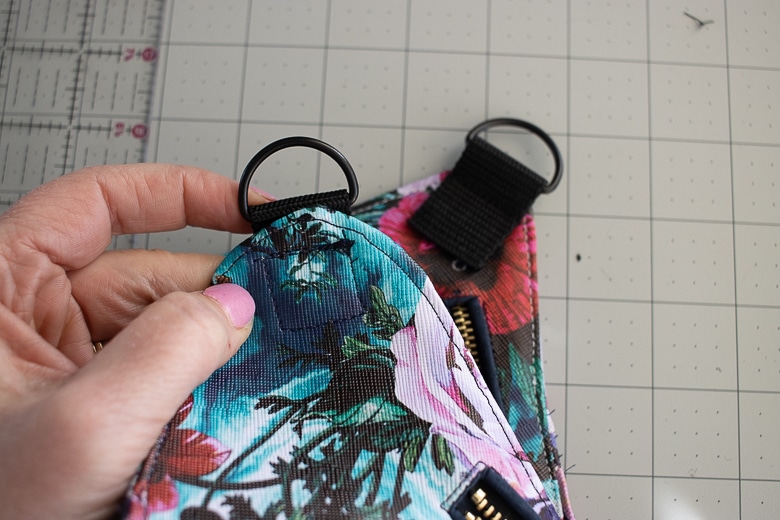
Cut your main strap long enough that it can go around your waist and over your shoulder, for various bag placements. My strap is 40″ and plenty long. Place one swivel clip on the strap, then sew the center of the slide to one end of the strap. I used the zipper foot again to sew close to the slide. Fold the other end over and thread through the slide.
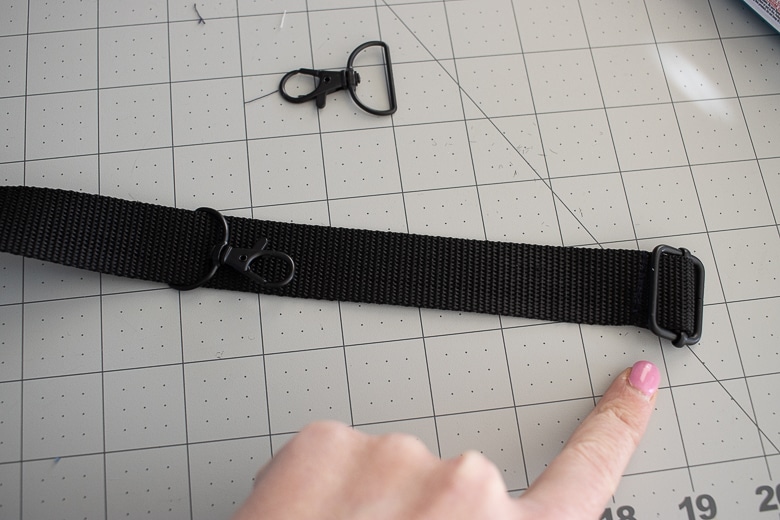
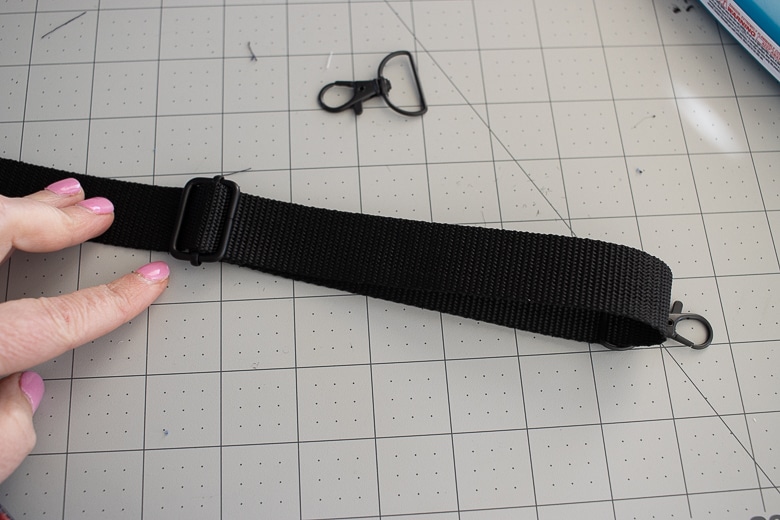
Sew the second swivel clip to the other end of the strap. Clip onto the D rings and enjoy your new bag!!
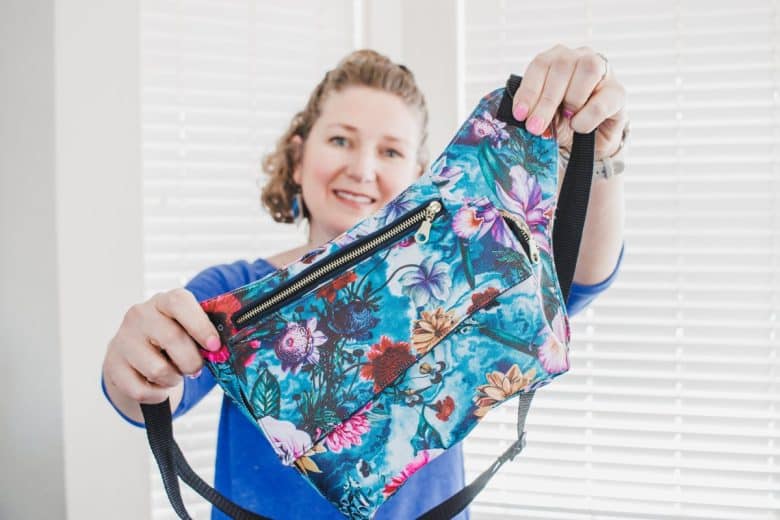
This is an versatile hip cross body bag that you can sew over and over. Please share photos on social if you make a bag.




Candise says
I think I must be missing something but when I click on the free pdf it takes me round in a circle back to this page and I still can’t find the pdf, can you help please as I love the look of this bag.
CHRISTINE SARRICO says
I also had trouble downloading the free PDF pattern. I clicked to put it in my cart. I couldn’t find the cart to checkout.
Phyllis Denning says
Can’t seem to find the download button…keeps sending me back to the same page.
granny says
I feel like I miss some information here and I want to ask but I cannot remember.
Danielle says
I also had trouble downloading the free pattern pieces. I have tried everything I know. I have given up.
Bee says
Thank you for your free pattern. I had a few issues as I was making this the instructions I think need to be a little better explained. The circle piece does is not long enough to go around the bag, I have double checked the pattern pieces. The bag is about a 38 inches in circumference; the bottom piece and zipper only add up to 29 before sewing them together I have to add another strip to the bottom to make it fit. It also would be nice to have a tutorial on how to make this with a lining.
Bee says
The pattern pieces would be better if you numbered them as it is very difficult to see some of the pieces in your pictures. So my apologies I mistaken the front pocket at the front part of the bag that is why the length of mine was too short. Will have to do some ripping and fix.