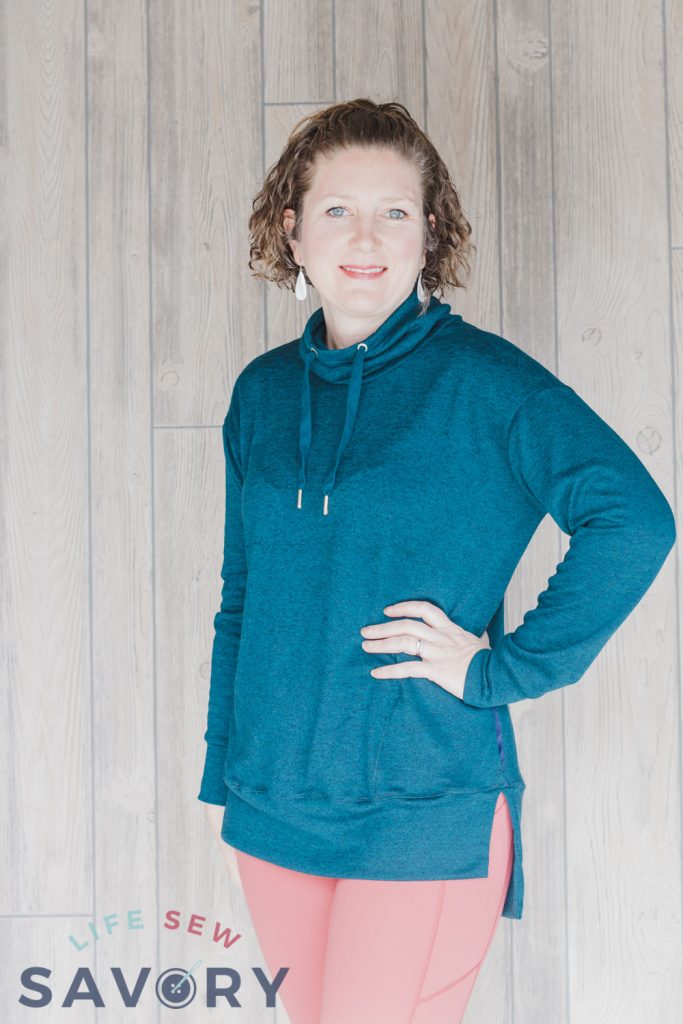
inside: Grab the new free sewing pattern – the womens sweatshirt tunic! This is a sporty style I’ve been looking for and love the casual style and fit. Free sewing pattern and tutorial for women.
I’ve been dreaming of this pattern for months. A top long enough to wear over athletic leggings and comfortable enough to wear around the house. This is the perfect top to throw on over a workout and still look presentable to in the house or out. The cozy cowl neck and pockets make this top my new favorite. Grab some cozy fabric and let’s get sewing!
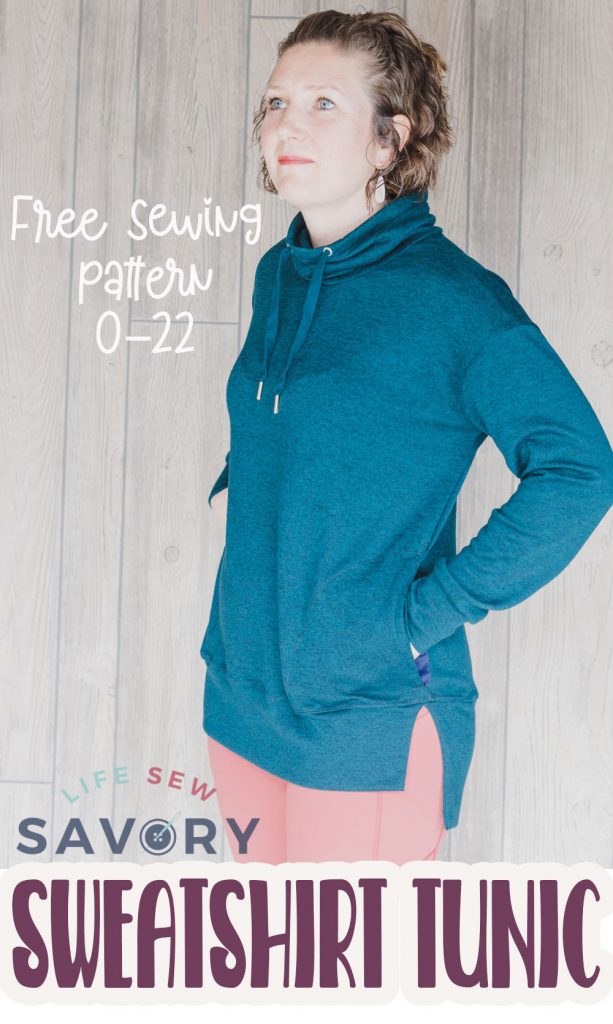
Womens sweatshirt tunic free sewing pattern
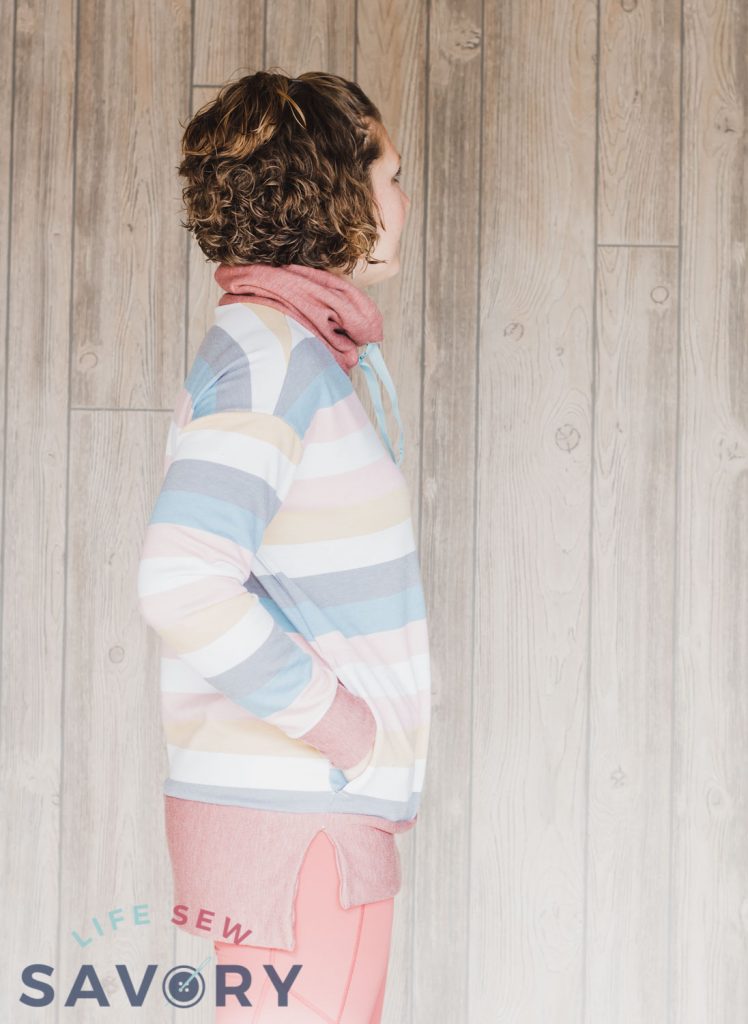
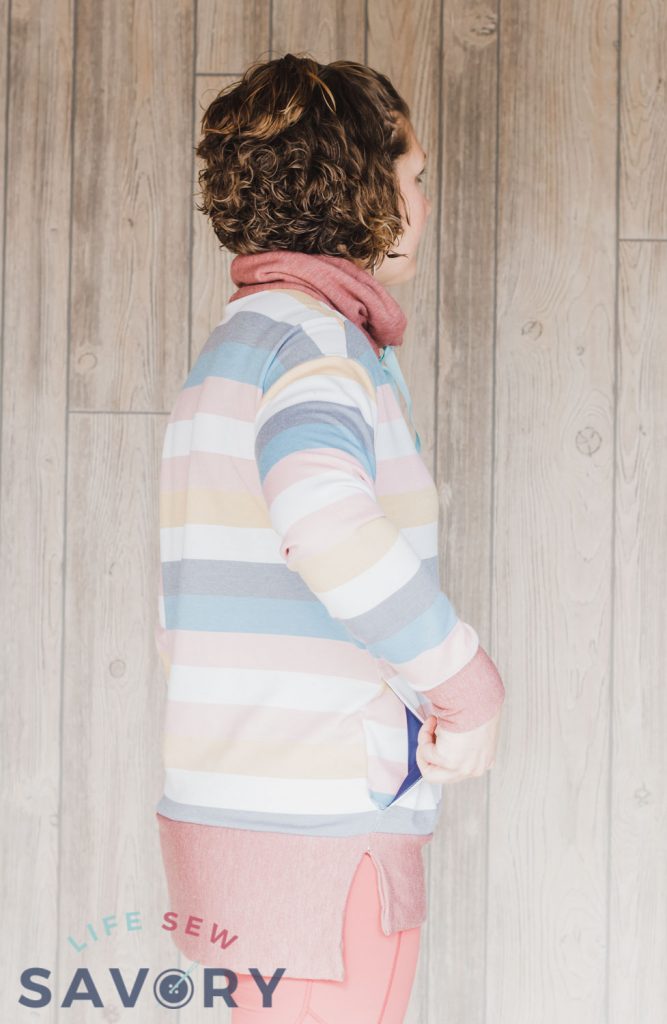
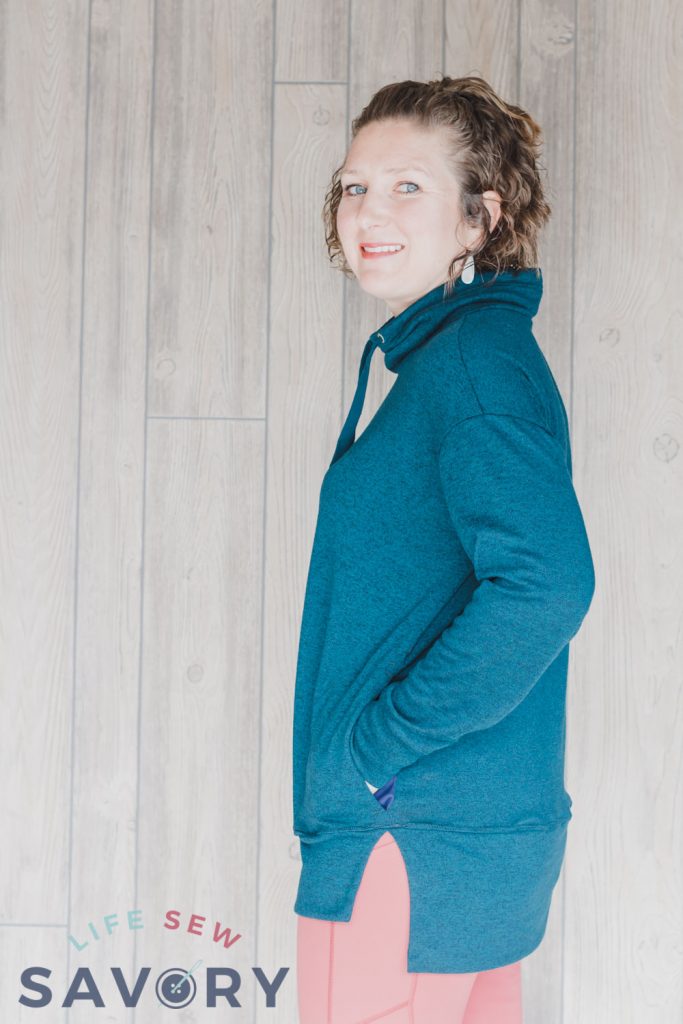
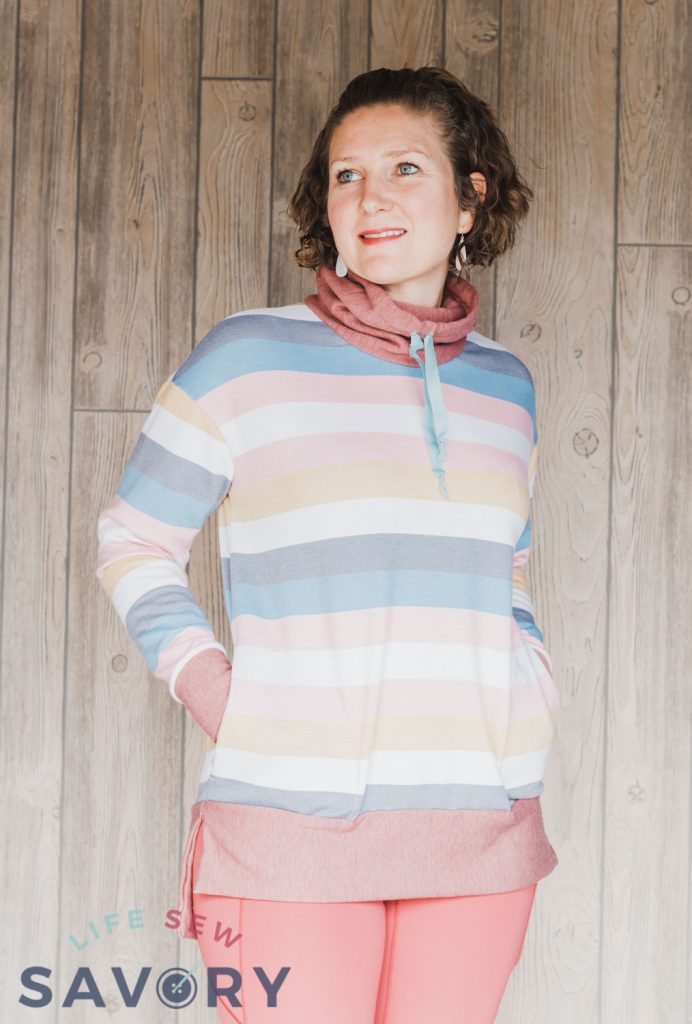
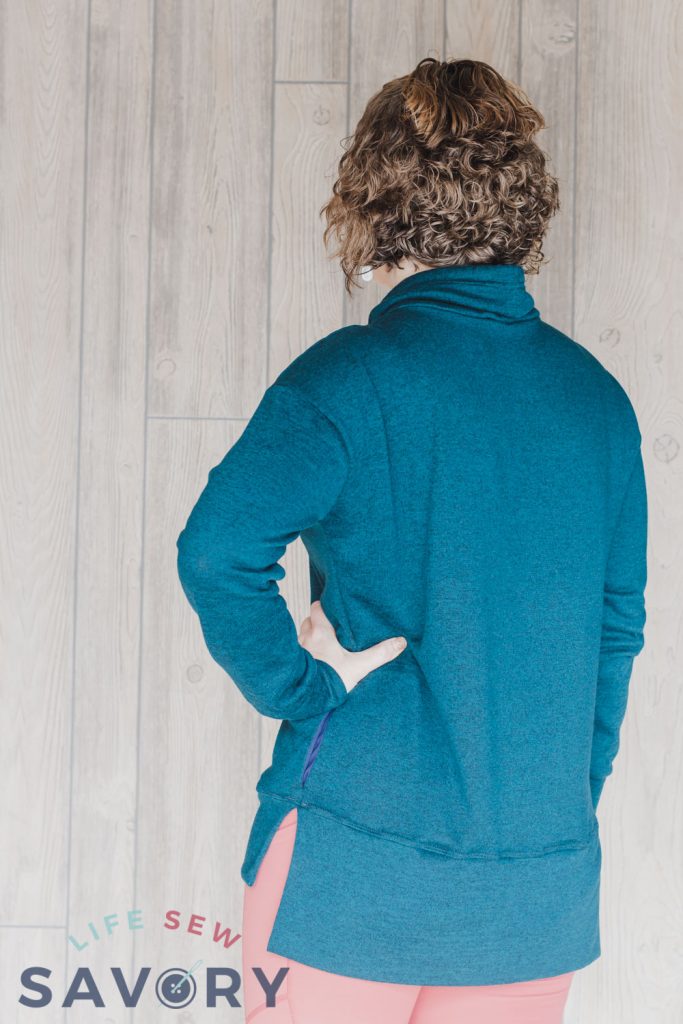
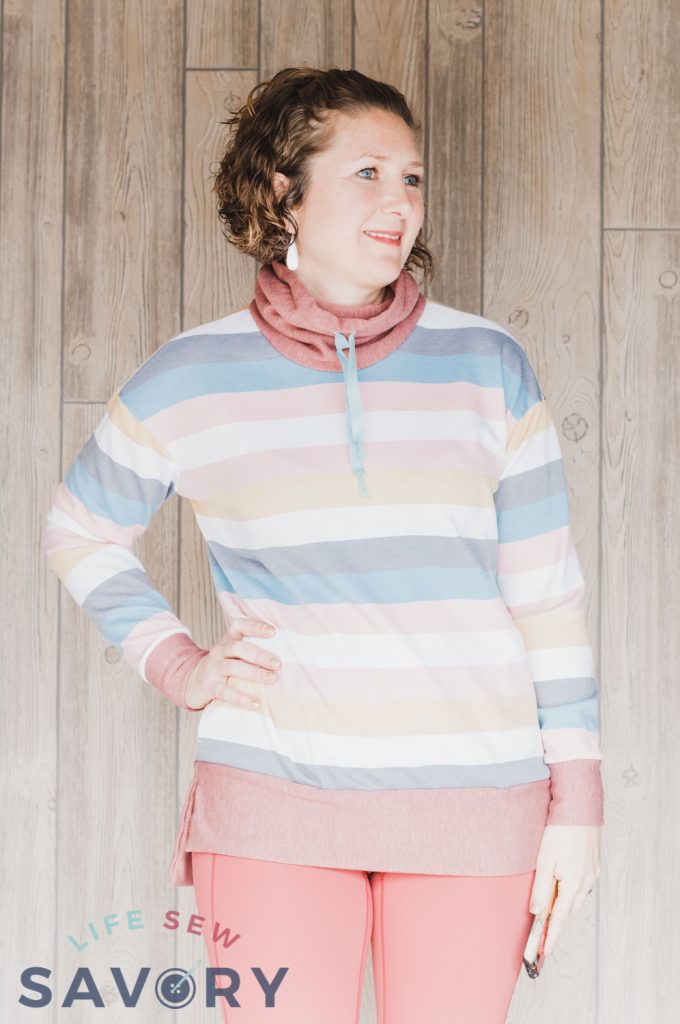
Before we get into all the sewing details, let’s take a few more looks at just how amazing this new top pattern is. You all know I’m a pocket lover, so of course this top has pockets… big enough for my phone or other important items.
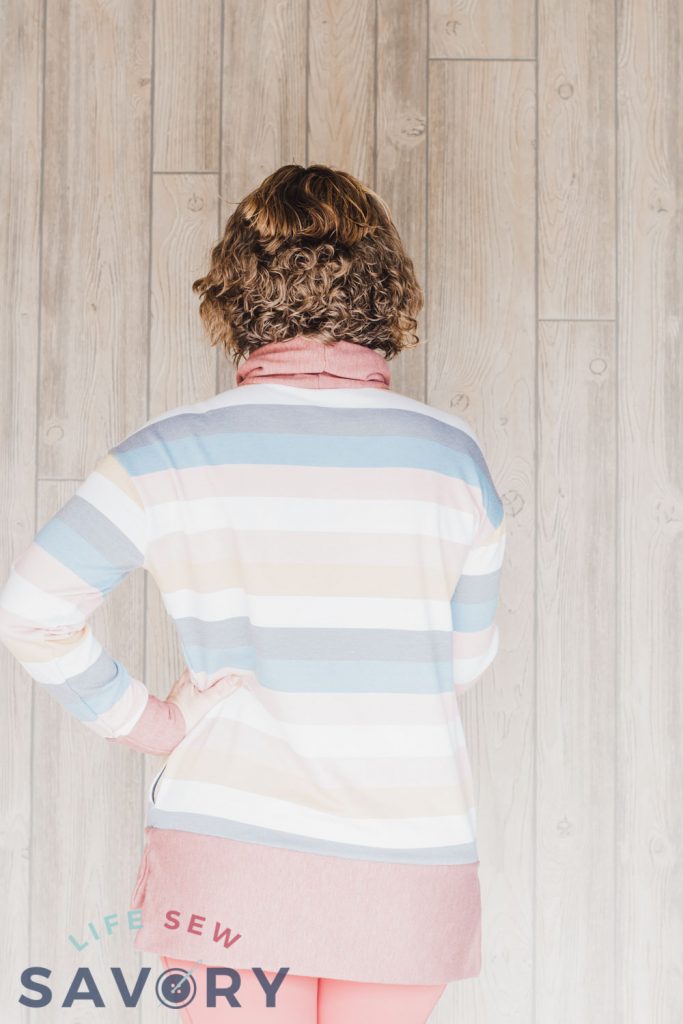
Don’t you love the length? I’m 5’5″ so If you are taller and want this length you may want to add a few inches. I would add them in the middle of the front and back pattern pieces.
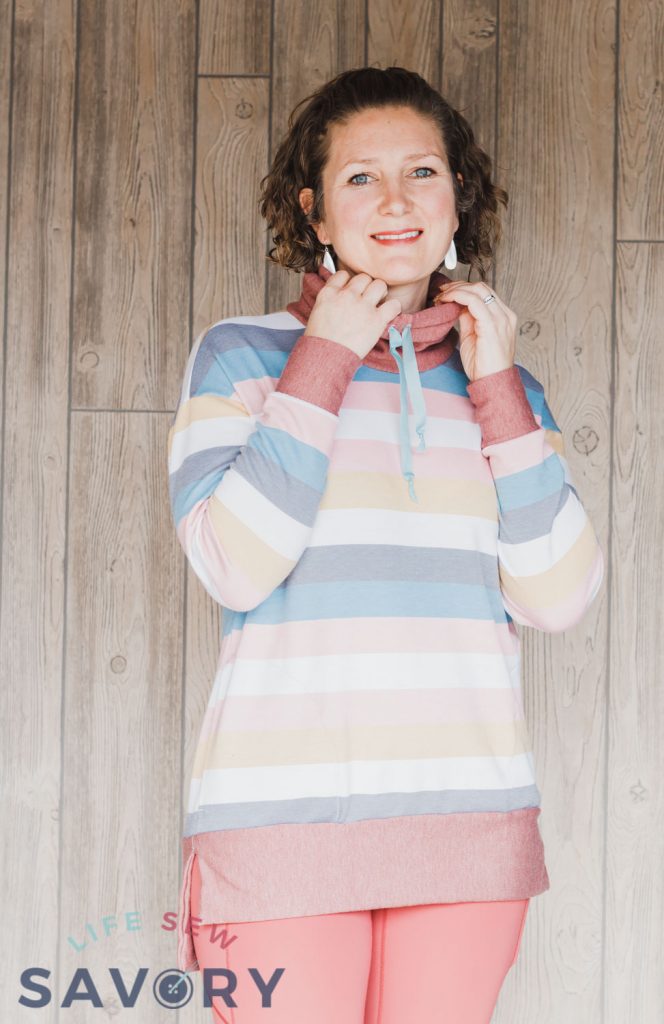
This sweatshirt fleece is so very soft and this is my favorite of the two versions that I made.
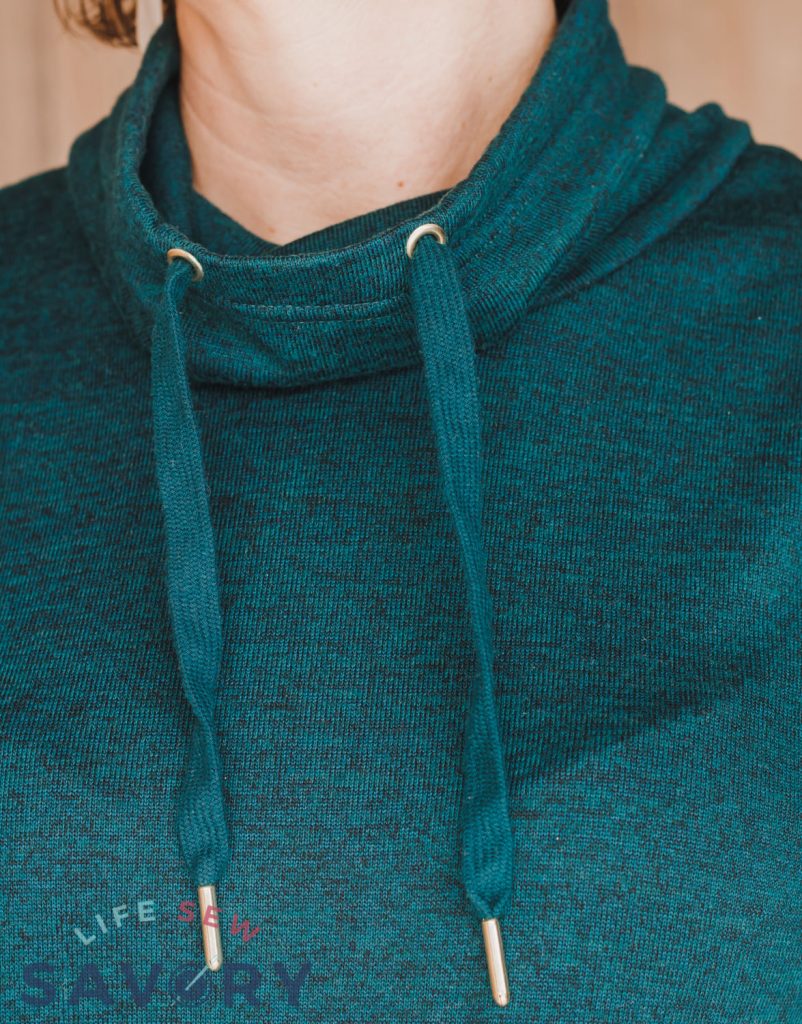
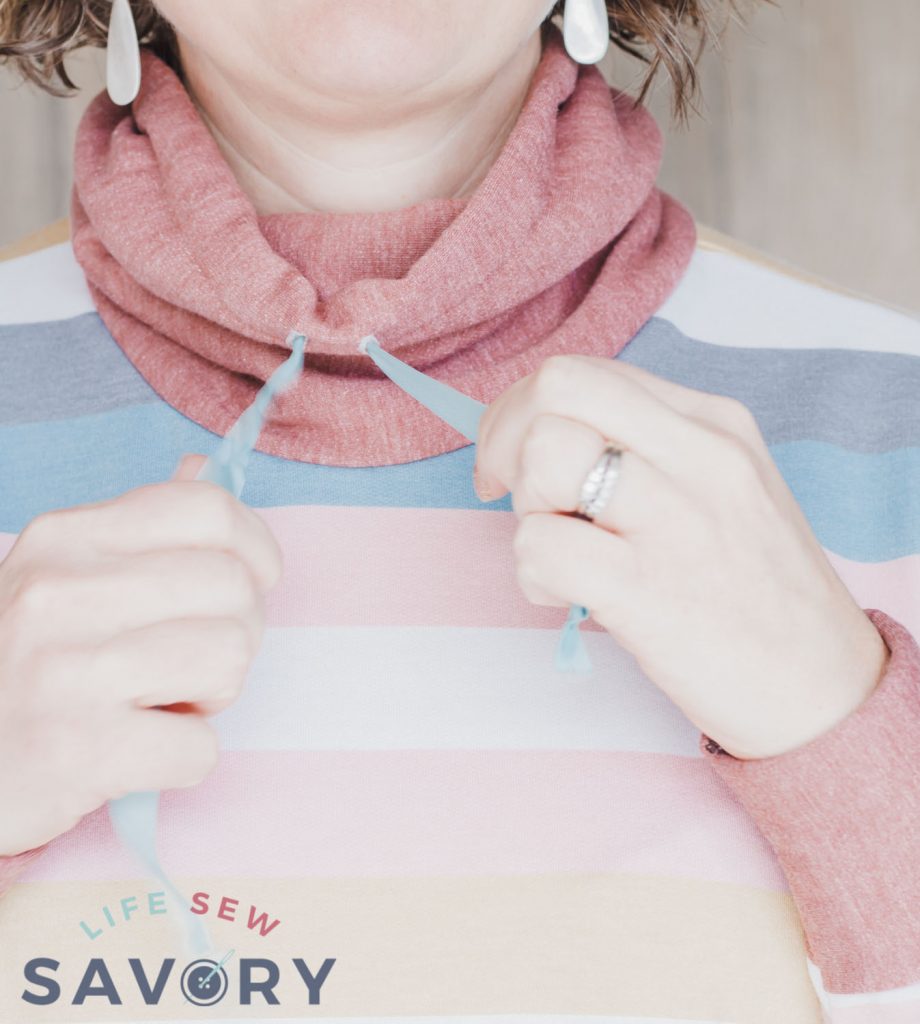
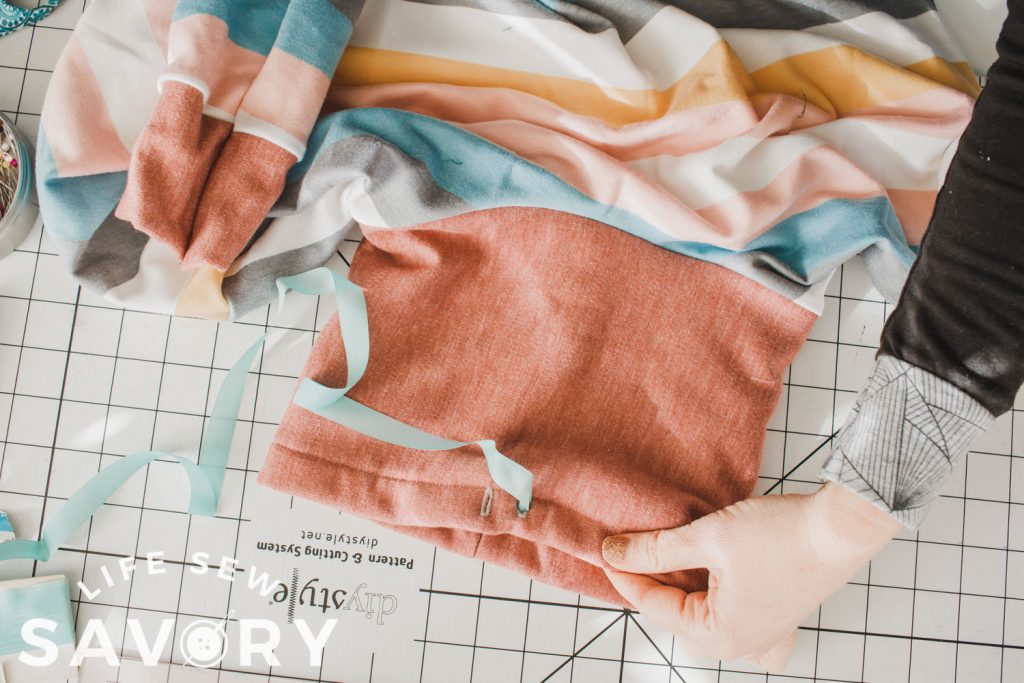
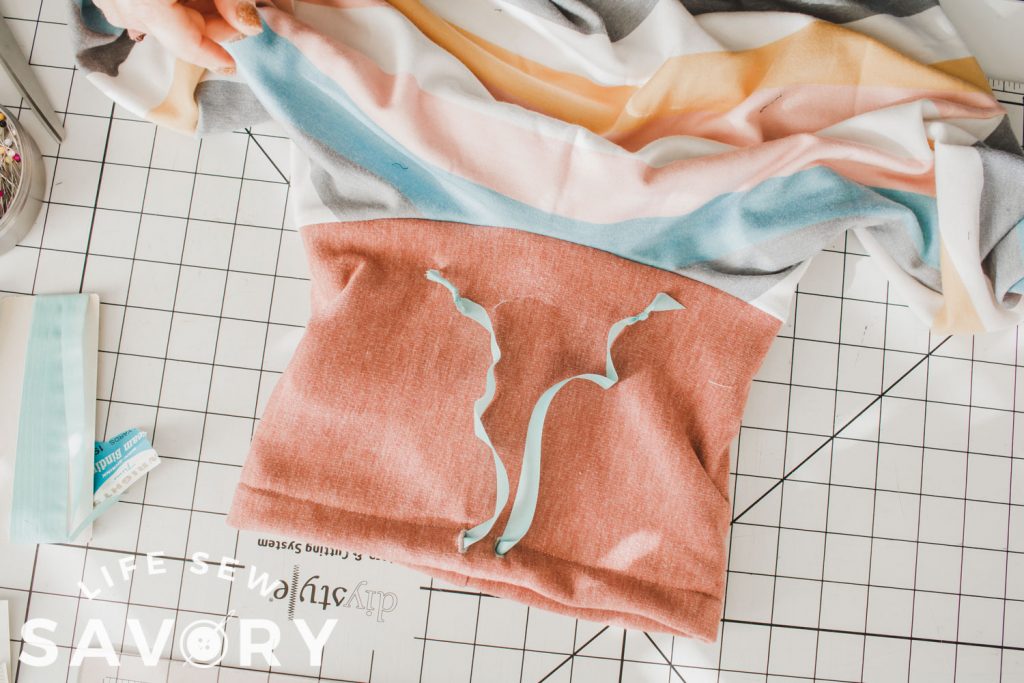
You can add an optional casing for a cowl drawstring. You will need to add either buttonholes or grommets for this option.
Before we get to the sewing details here is the fabric I used… the stripes are sweatshirt fleece from Raspberry Creek Fabric and the teal is Hacci from Sincerely Rylee Fabric. Grab some before the winter fabrics are gone for the season.
Sew a sweatshirt tunic
Tunic Supplies –
- 2-3 yards cozy knit fabric. Hacci, Sweatshirt fleece, fleece, etc…
- Drawstring {optional}
Ready to sew this awesome top? Grab some fabric {you will need 2-3 yards of fabric – depending on size}
You can download the free tunic pattern using the button below. Need help using my site? Here’s a video to help you download my free pdf patterns.
The premium version includes the pattern pieces AND the full tutorial in printable pdf format so you don’t have to use this tutorial.
Need help with the download or printing? Check out this PDF pattern help post. After you have printed the pattern you will need to assemble the pdf pattern. Here’s a layout guide if you need assembly help.
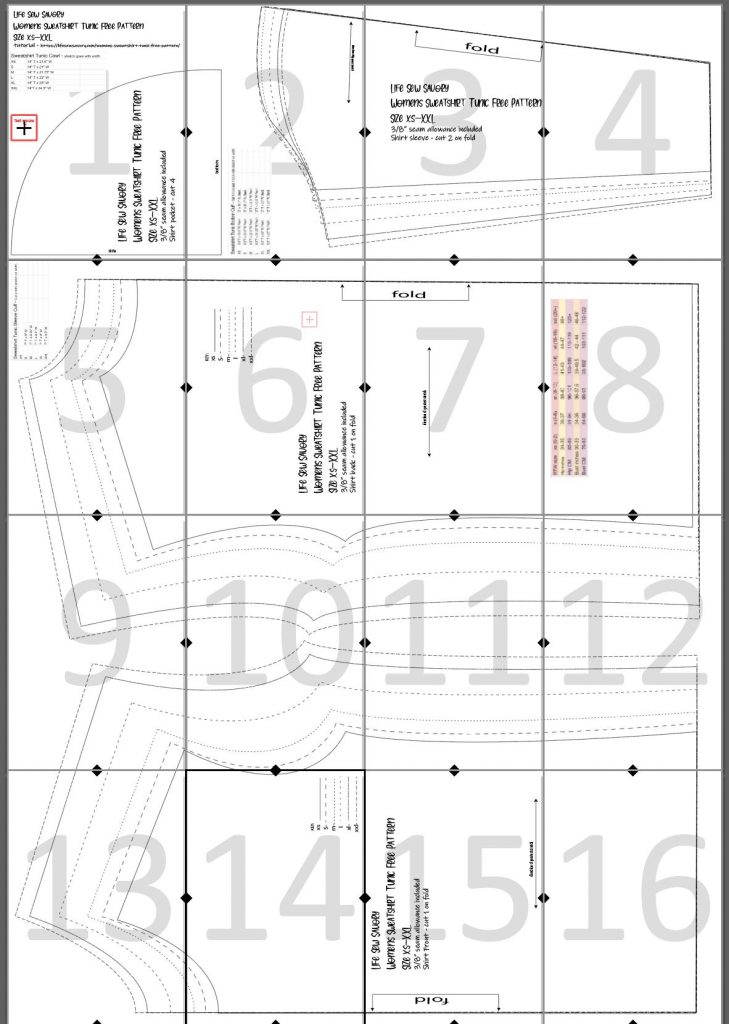
The pattern pieces are 16 pages of pattern pieces, plus 3 charts for you to cut the cuffs, bottom and cowl. Here is the size chart for you to decide what size to cut out and make. You may need to blend a couple of sizes for your hip and chest measurements. {go by full bust}

These charts are also on the printed pattern pieces, but here they are as well incase you’ve misplaced the charts from the printed file.
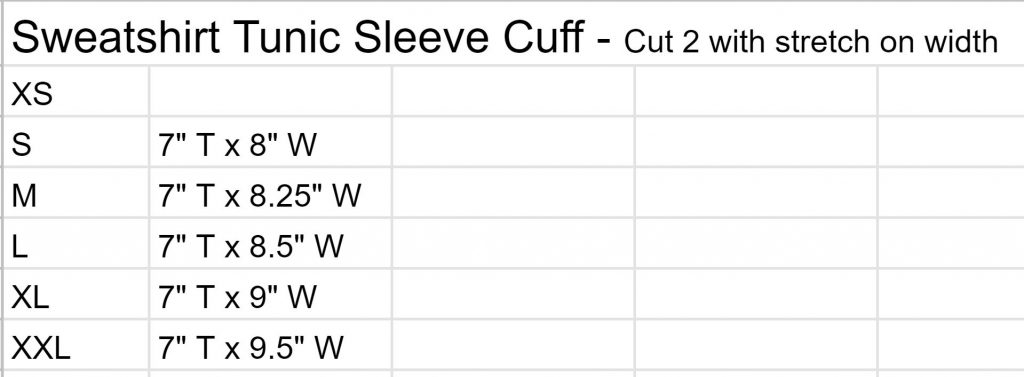
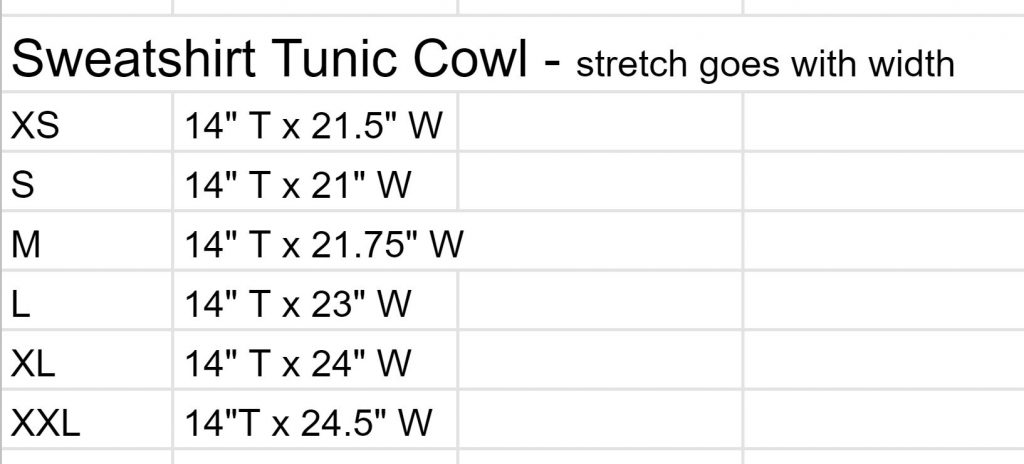

Here’s one more link to download the pattern if you need.
How to sew a sweatshirt
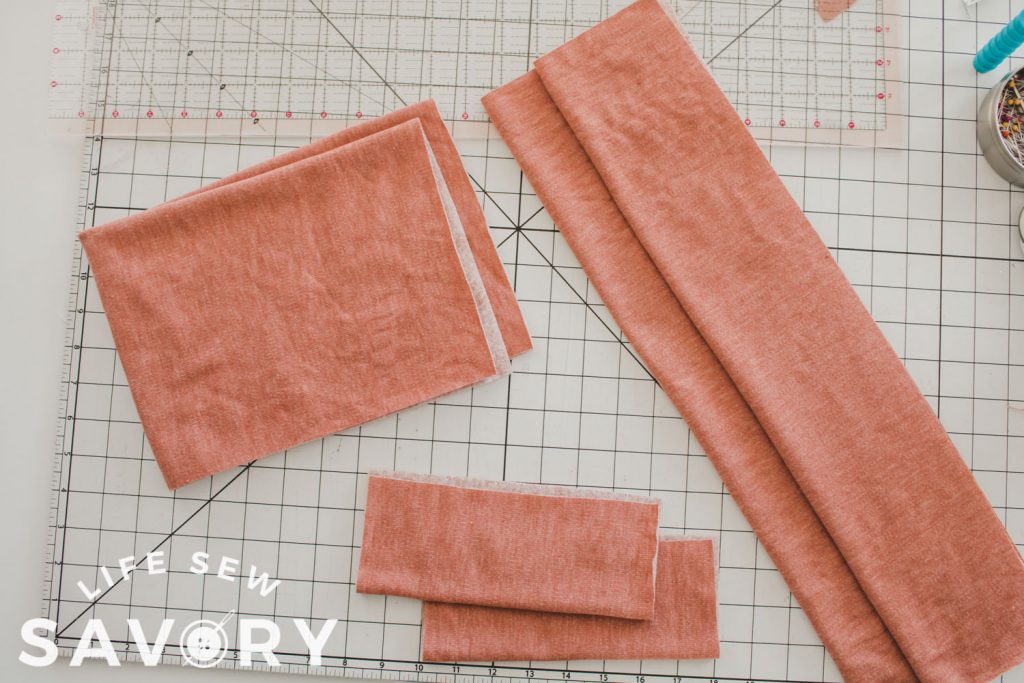
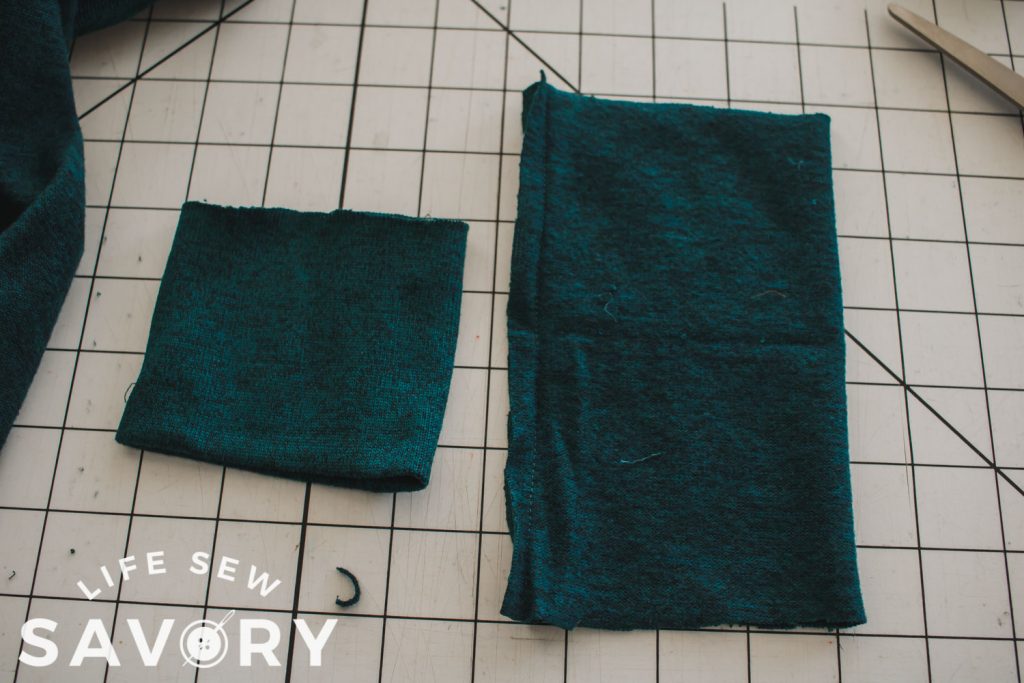
Cut out all the pattern pieces as directed, and the cuff, cowl and bottom pieces according to the chart.
Below is a video explaining how to add the side seam pockets. I would recommend watching before you start sewing, but I will also describe the pocket process with photos below.
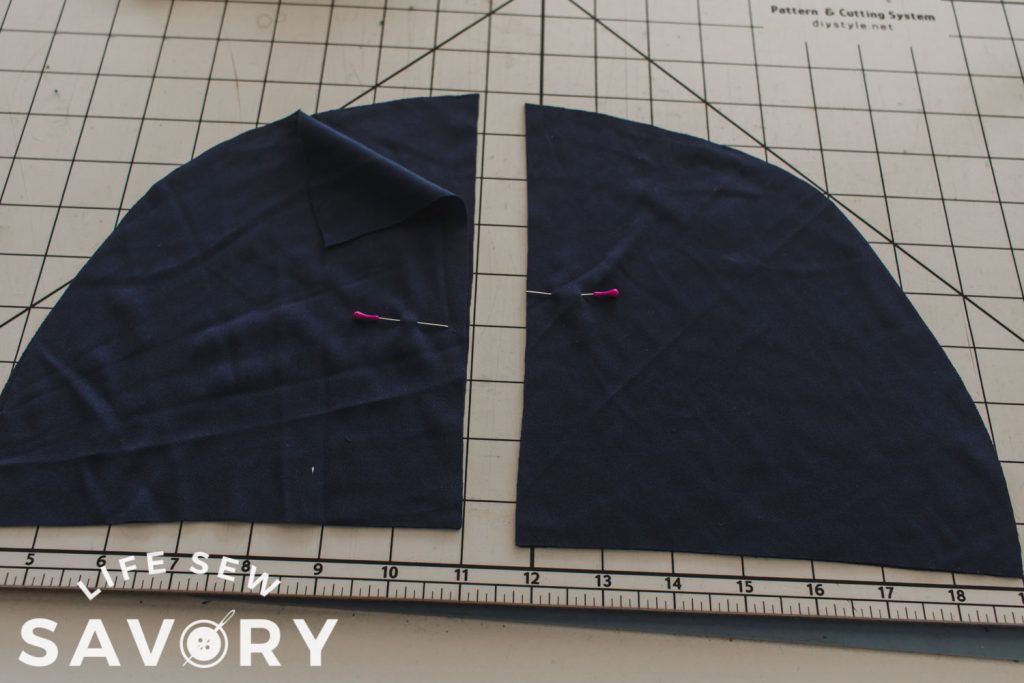
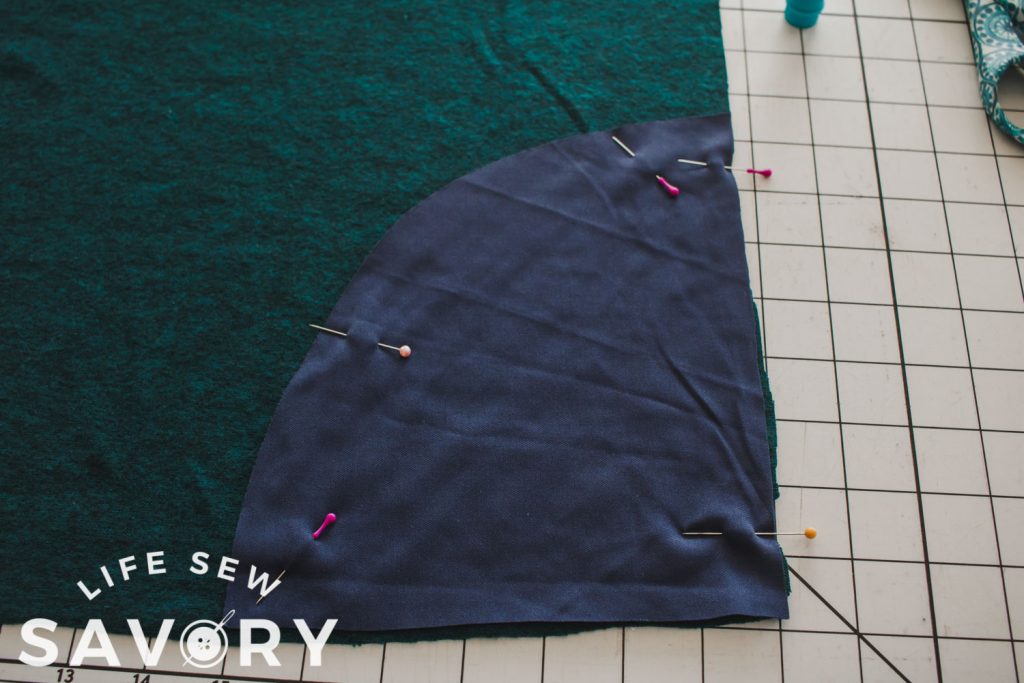
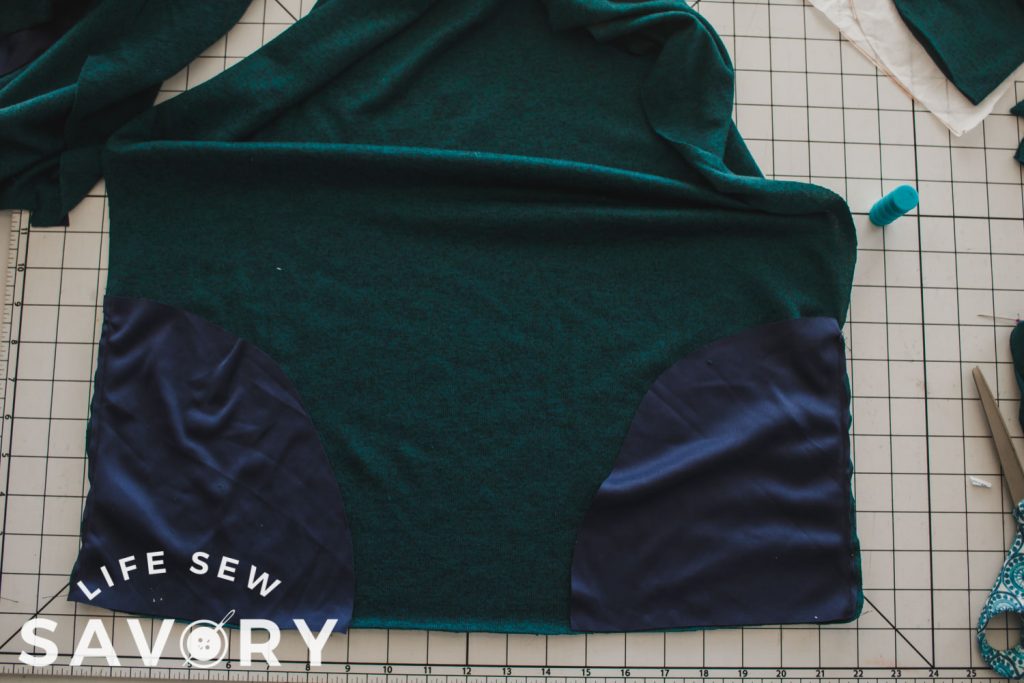
The first think to sew on the sweatshirt are the front pockets. I’ve marked the sides of the pockets in the first photo. You should have cut 4 pockets pieces. Link up the sides and bottom of a pocket piece on the front of the shirt. Right sides should be together.
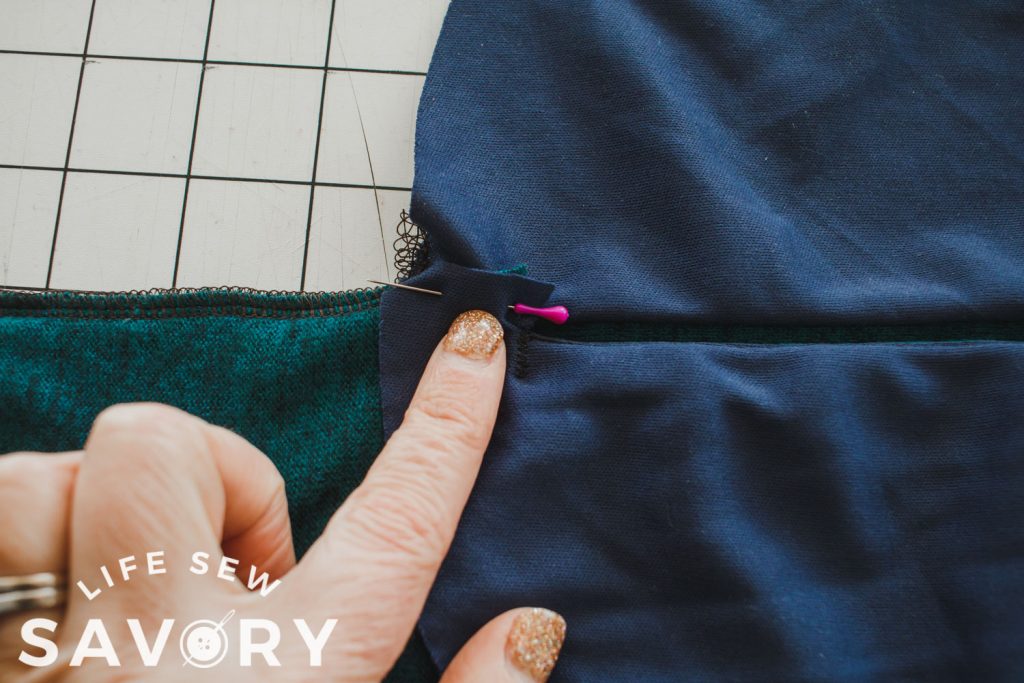
Mark 1″ from the top and bottom of the pocket side and sew between the markings. Use a stretch stitch or a zig-zag to sew. Clip the seam allowance at the end of your sewing. Fold back the pocket and understitch by sew the pocket flap to the seam allowances below. Only stitch between the clippings.
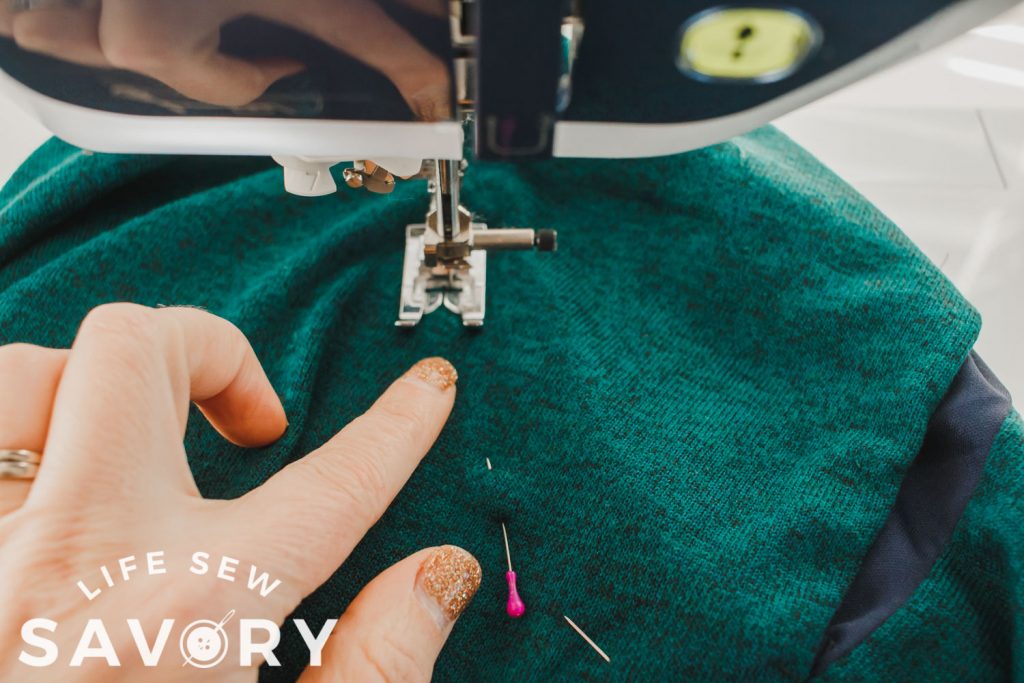
Fold the pocket to the back side of top and pull the seam allowance out to the front. Pin the front and the pocket together to hold the layers together.
Pin and baste the back pocket sides to the back shirt piece. Again, use a stitch that will stretch with the shirt. This is all we will sew on the pockets for now.
Sew the shoulder seams with right sides together.
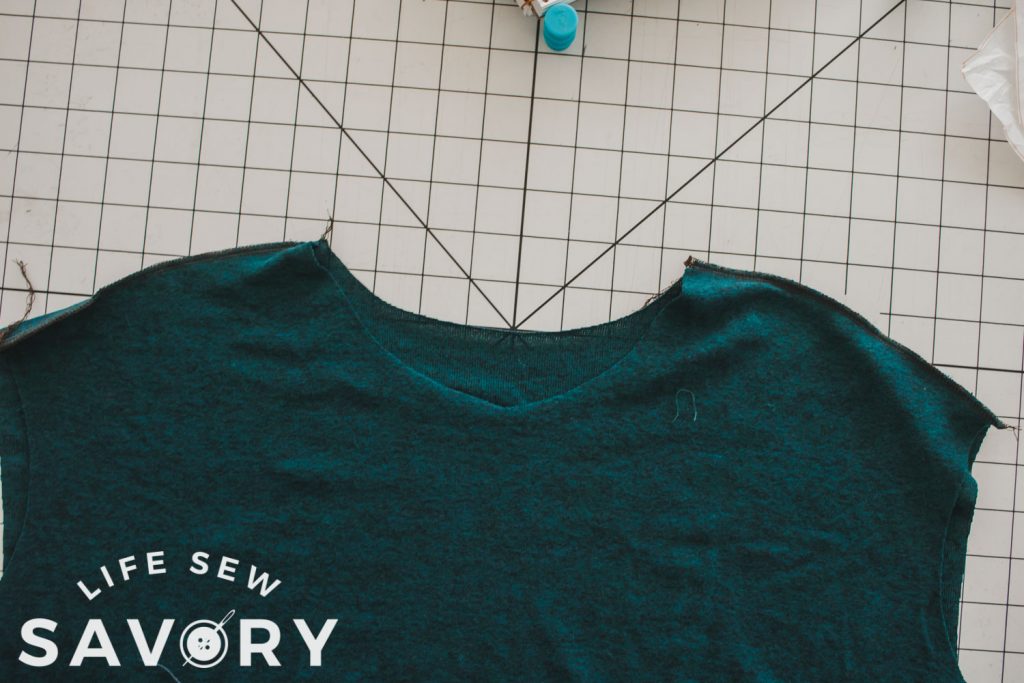
Open up the shoulders and pin or clip in the sleeves. I like to start at the outsides and work my way towards the center. Sew and then repeat with the other sleeve.
If you want to add the cuffs on a flat sew it now. Fold one cuff with wrong sides together and then stretch the raw edges along the end of the sleeve. Sew and the repeat with the other cuff.
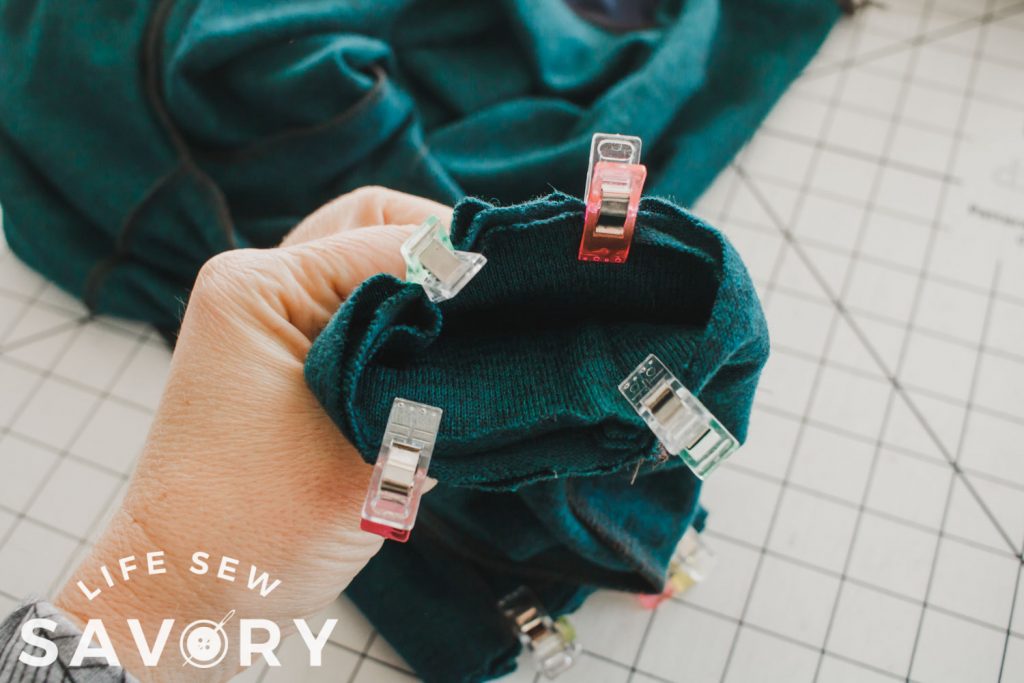
If you want to sew the cuff in the round, wait until you have sewed the side seam them come back to this step. Fold the cuff in half with the sides together, sew, then fold back the cuff. Line up the raw edges then match with the right side of the sleeve. Pin or clip then sew the cuff in place. Repeat with the other side.
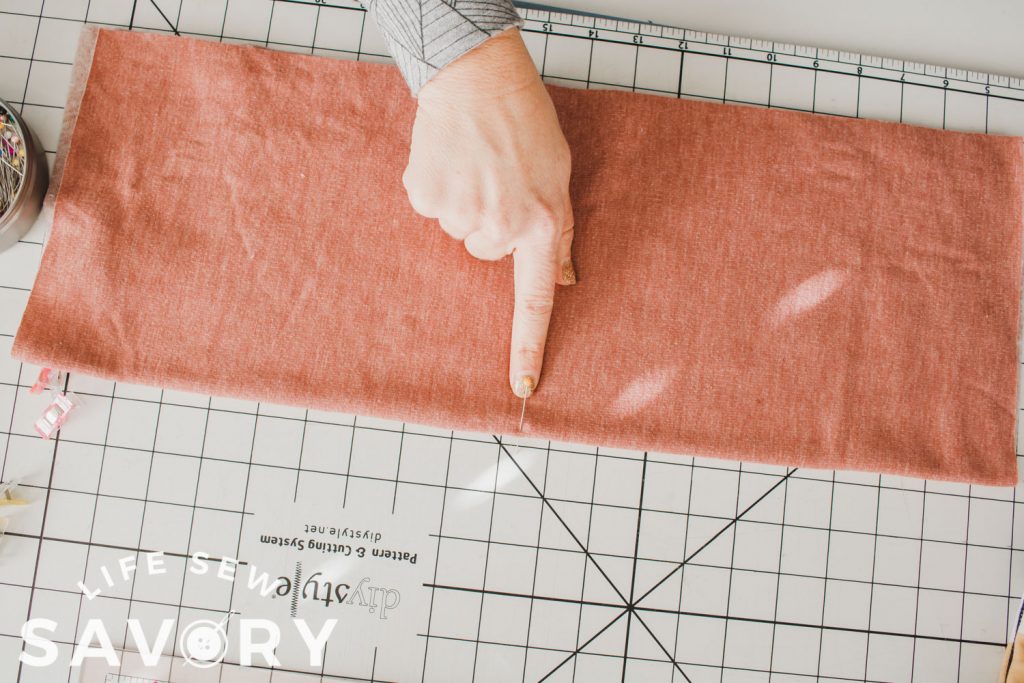
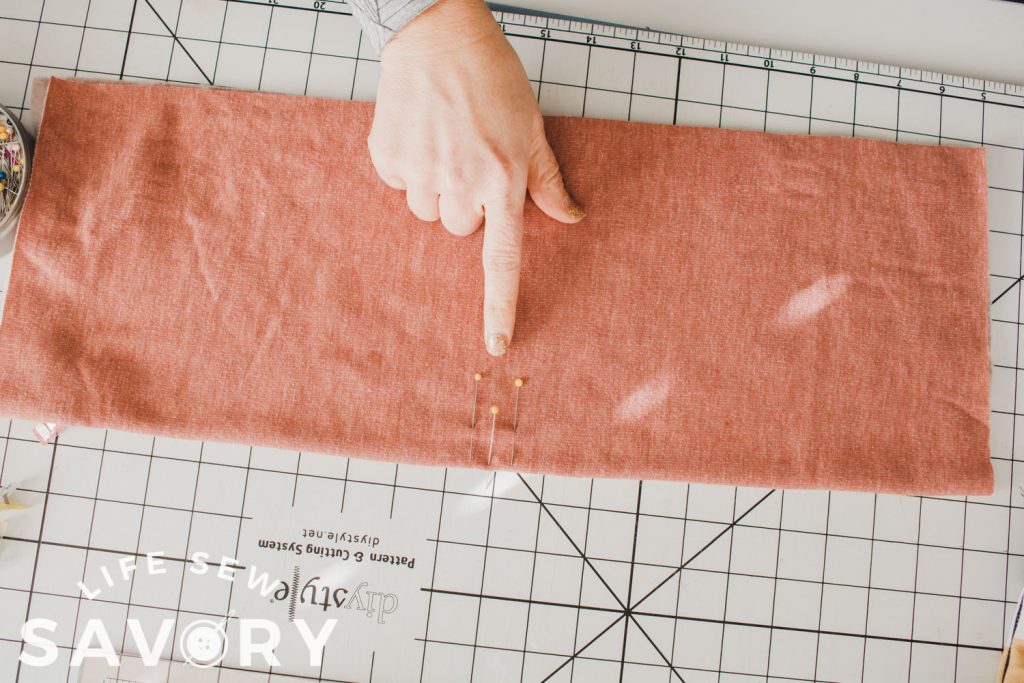
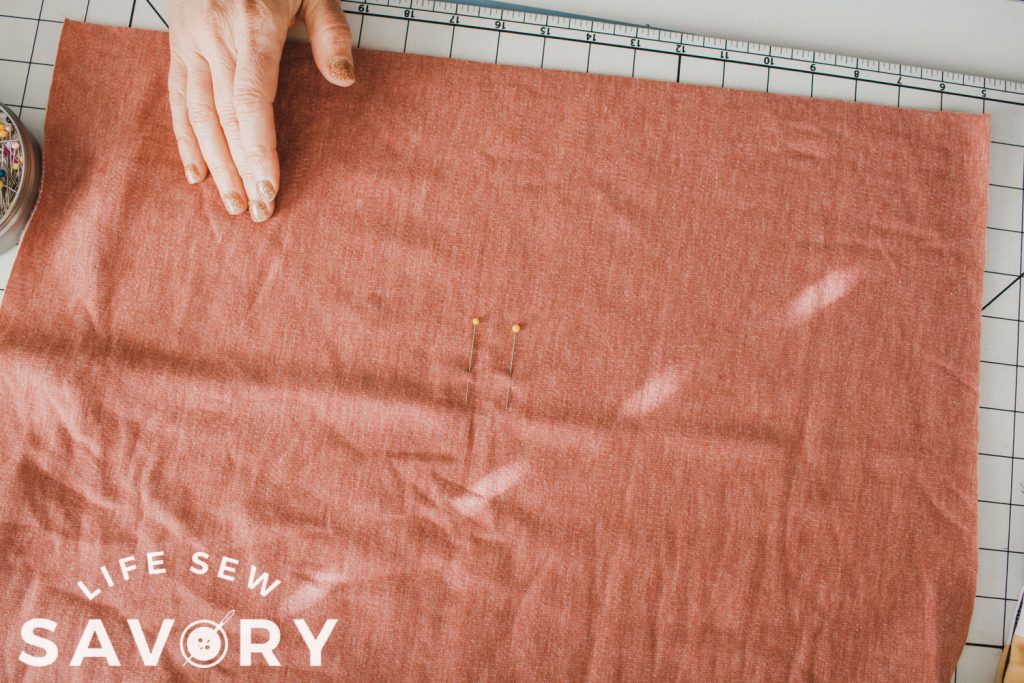
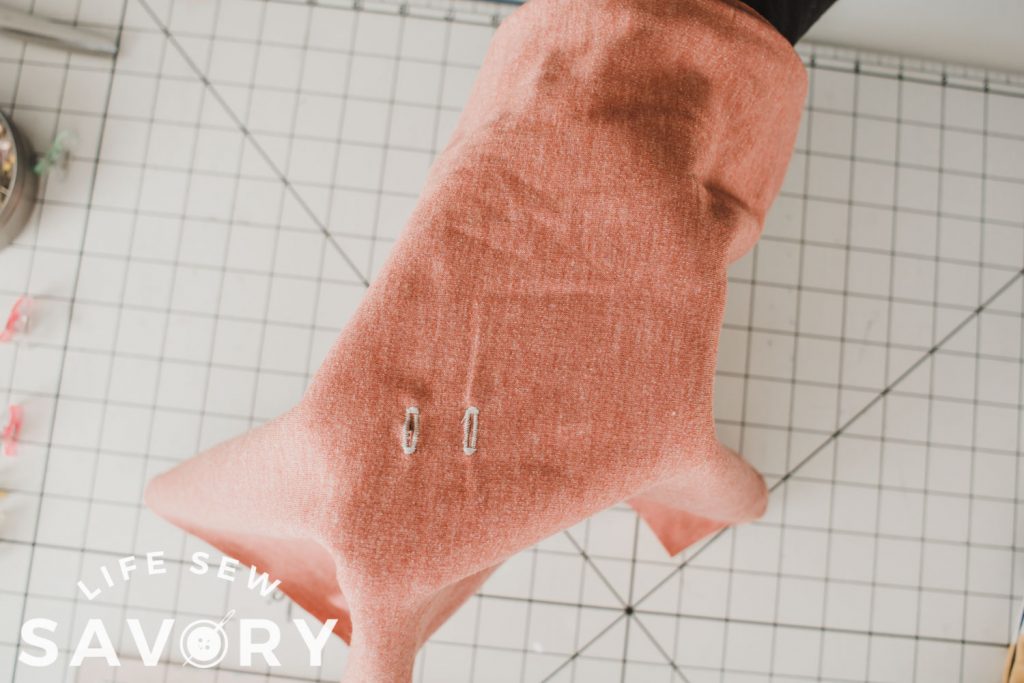
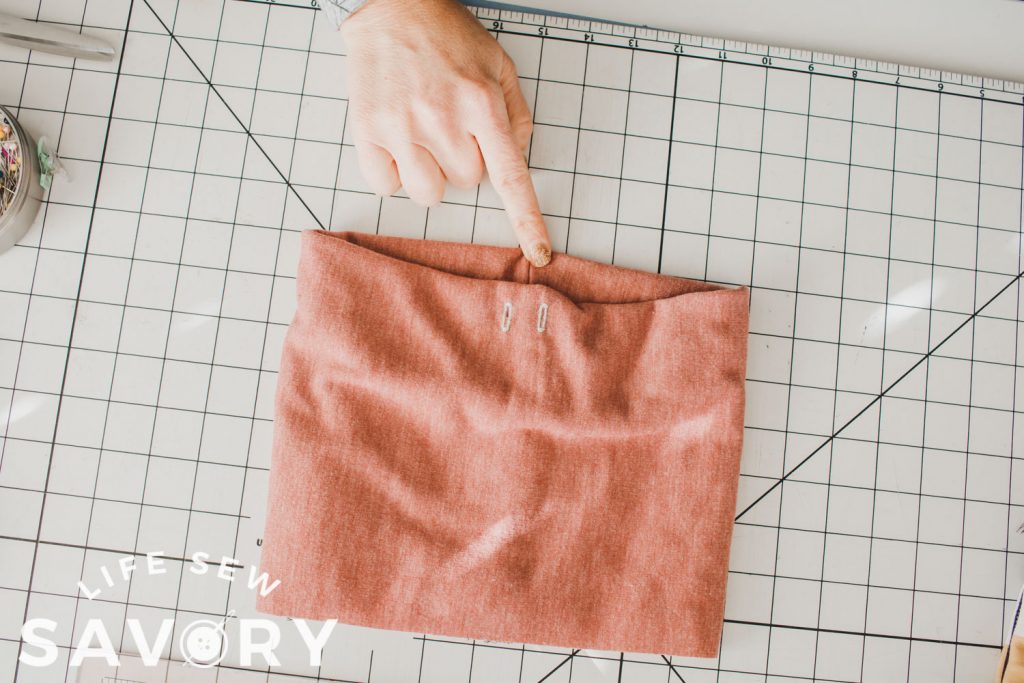
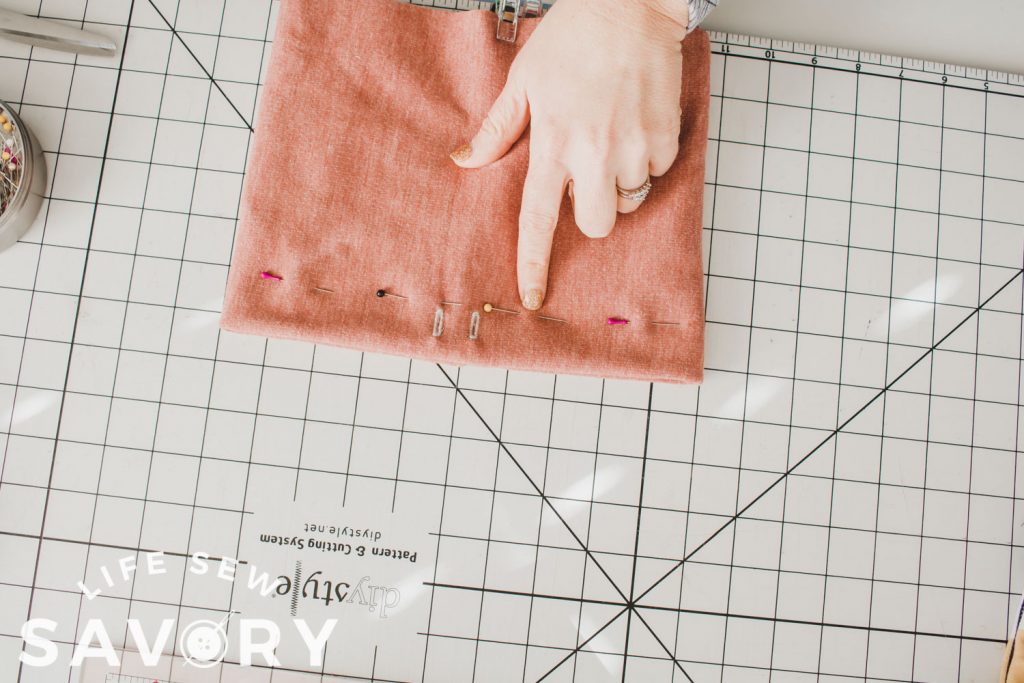
To add a drawstring casing to the cowl fold the long sides together with the right sides out. Find the center and then put a pin 1/2″ on either side of the center pin. Open up the cowl and remove the center pin. Add grommets or buttonholes on the two side pins.
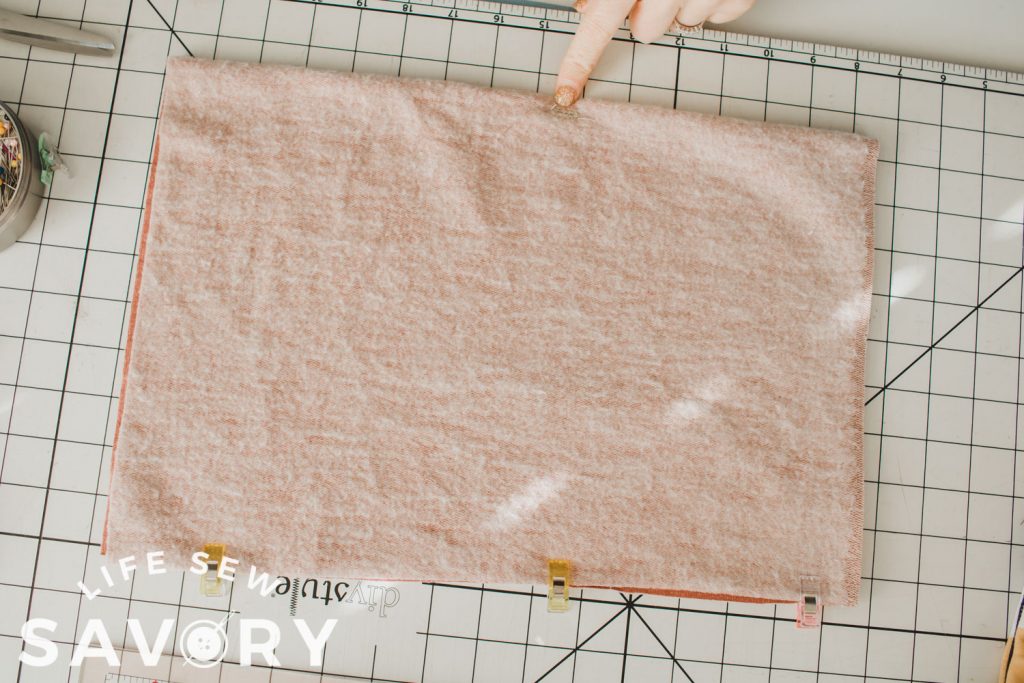
Fold the cowl the other direction and then sew the back seam. Fold the cowl back again to reveal the holes on the front and back seam on the back. Pin 1″ down from the top fold. Sew on this pin line to create a casing.
Put the right side of the cowl on the right side of the shirt and pin. Sew the cowl to the shirt. Thread a ribbon or shoelace through on buttonhole and then around and out the other to create a drawstring.
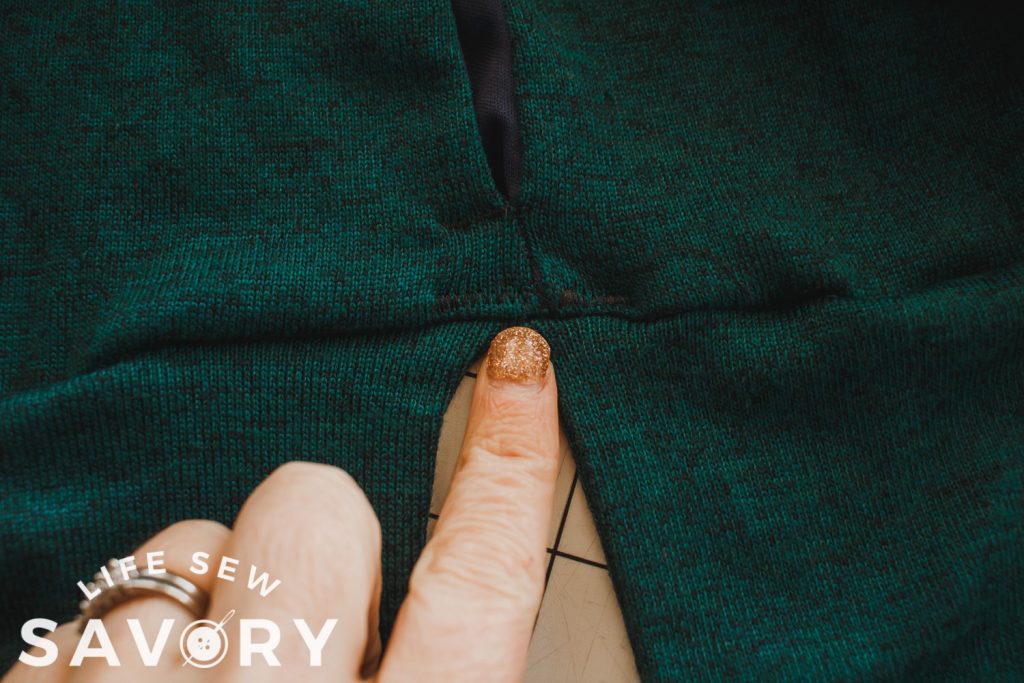
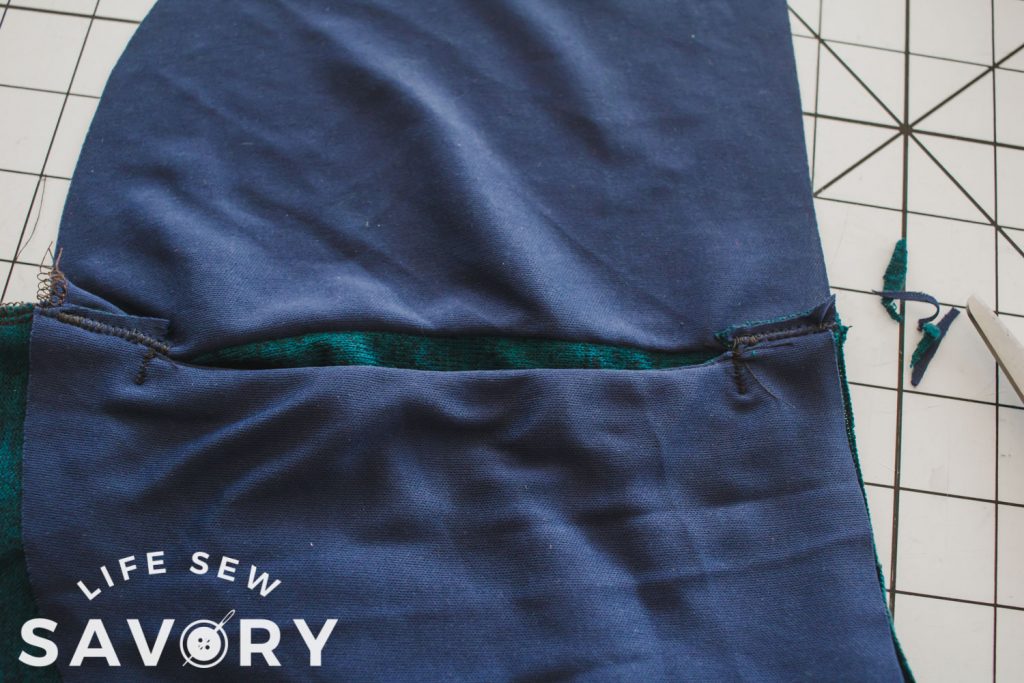
Now we will sew the side seams and finish the pockets. Pin or clip the side seam from the end of one sleeve to the top of the pocket. Make sure both pocket flaps are pulled out from the shirt. Sew the side seam to the top of the pocket then stop.
Take the pulled out seam allowance from the top and bottom of the pocket and pin them over the back pocket flap. Sew the top and bottom of the pocket to the back pocket. I used a zig-zag to sew the pockets to each other. Trim any extra fabric.
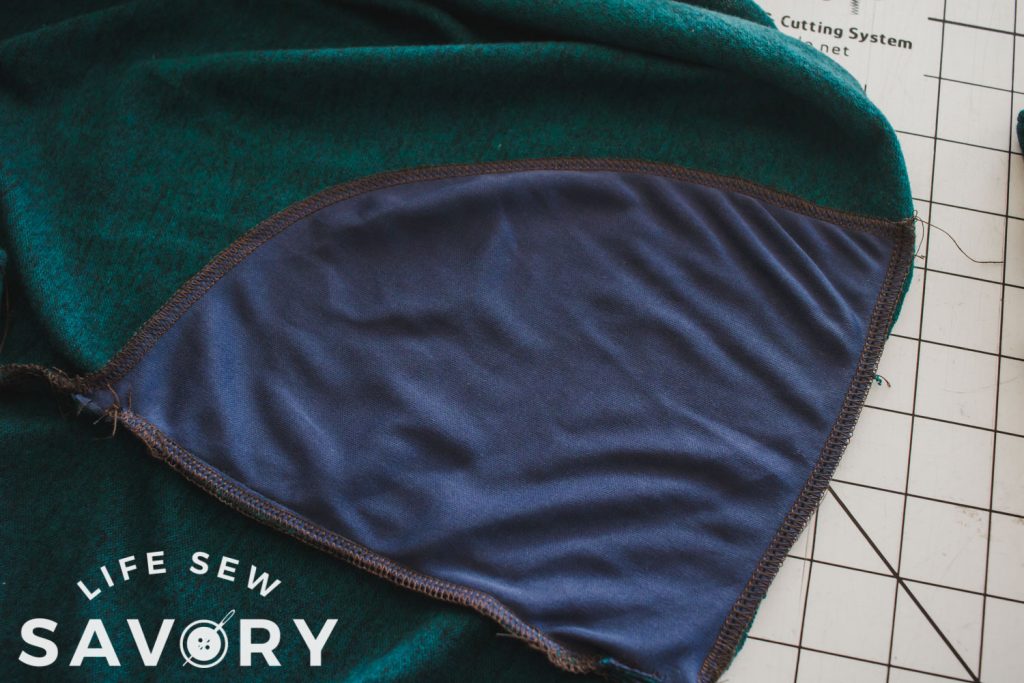
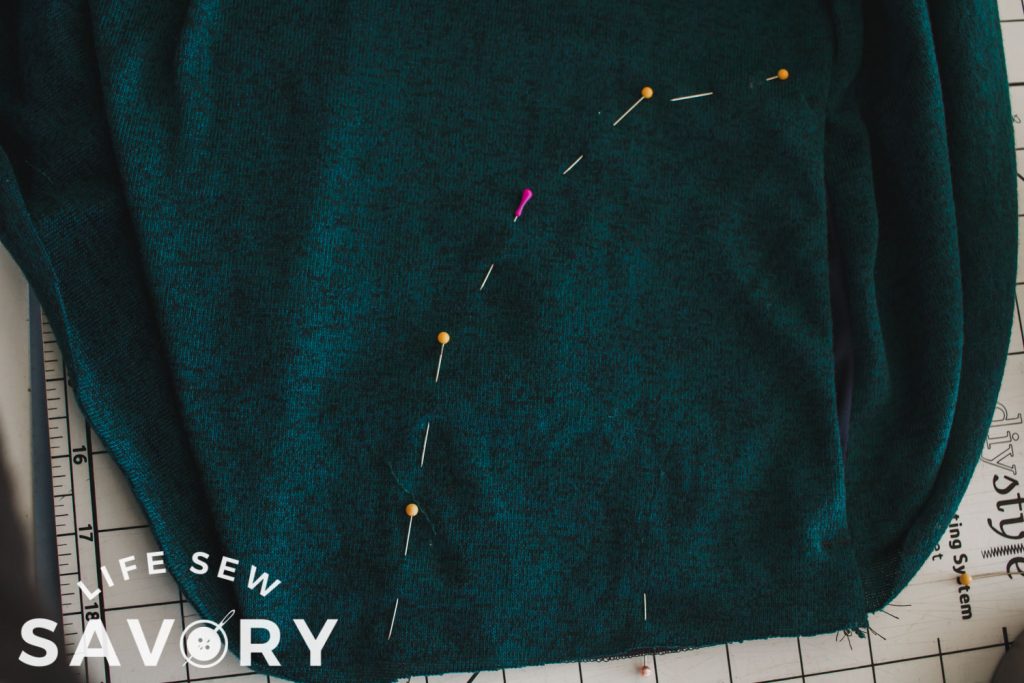
Fold the front and back pocket together and sew the curved edge and the straight bottom edge. Fold the pocket over to the front of the shirt and pin on the front along the curved pocket edge. Top stitch along this curved edge on the right side of the shirt. Use a zig-zag, coverstitch or twin needle to top-stitch pocket to front. Repeat with the the other side.
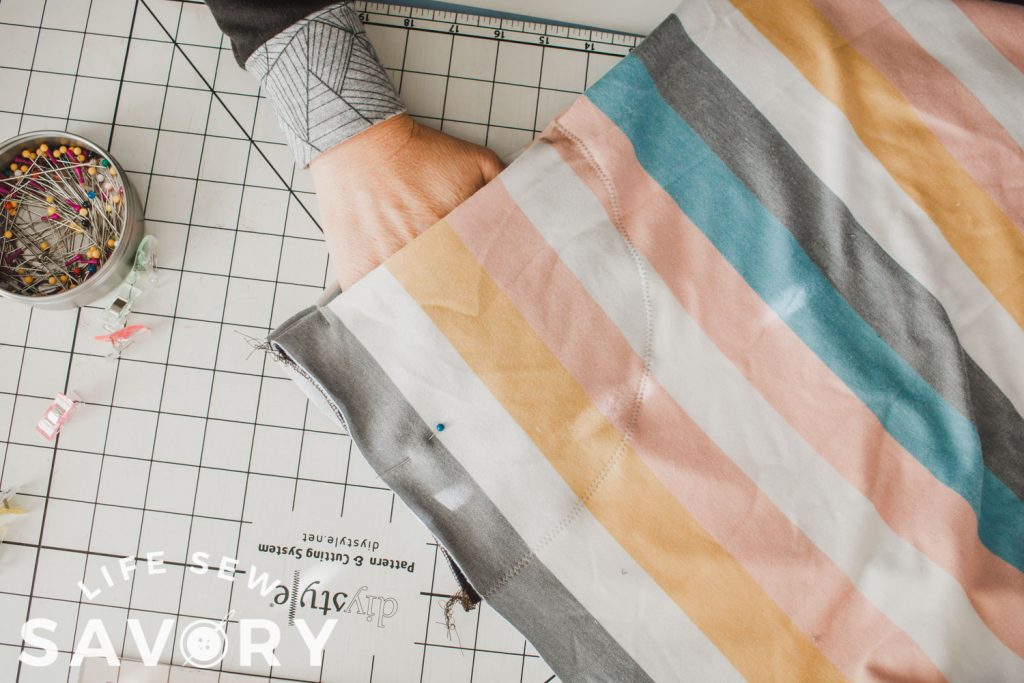
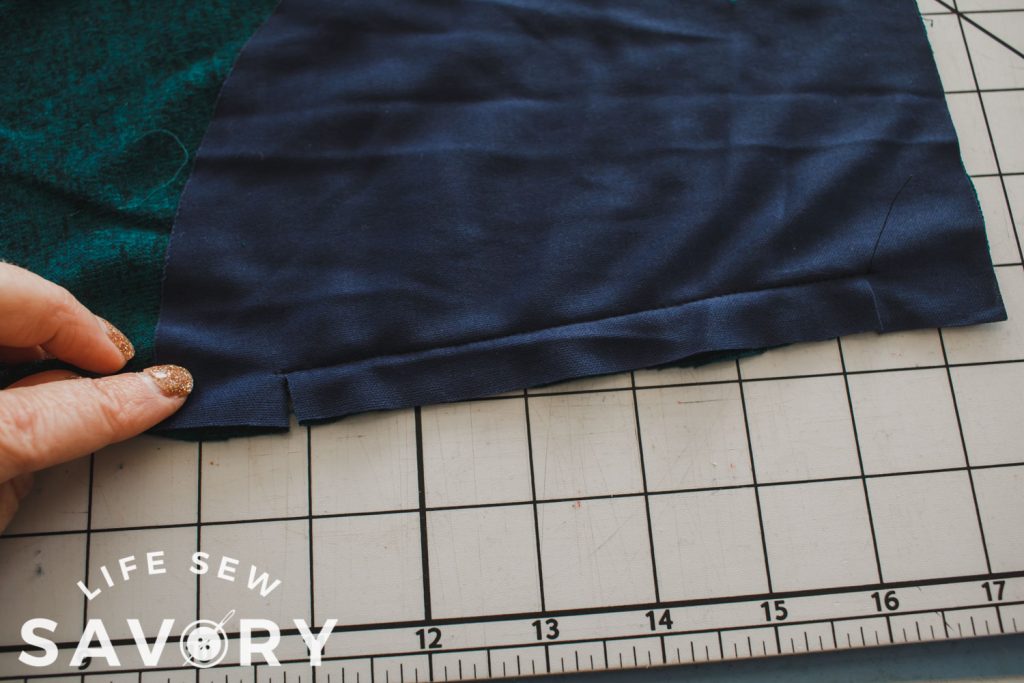
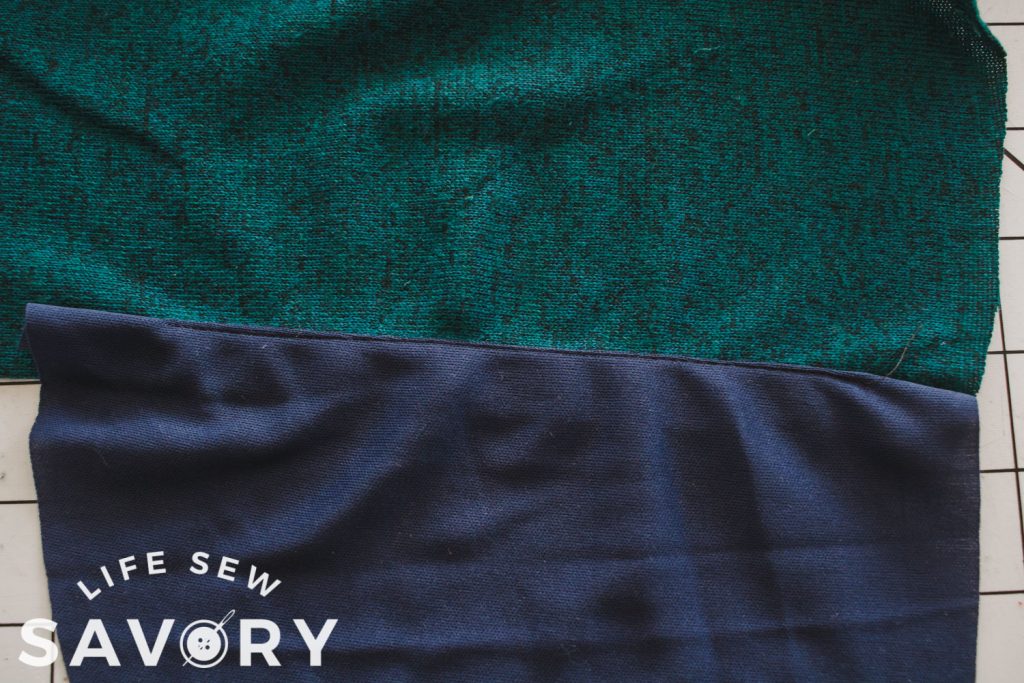
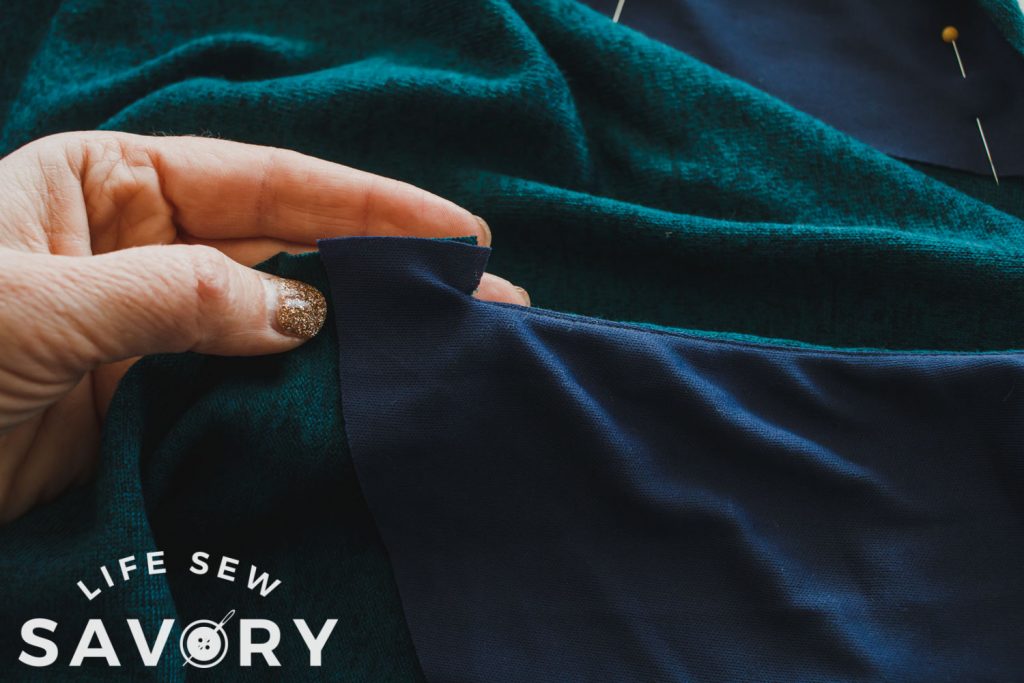
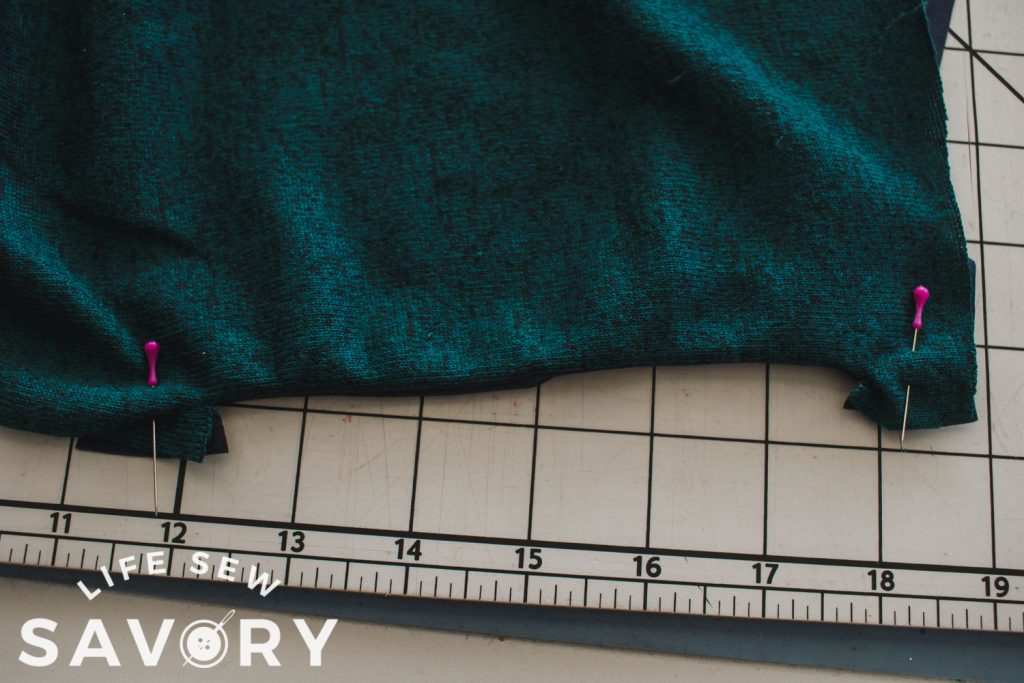
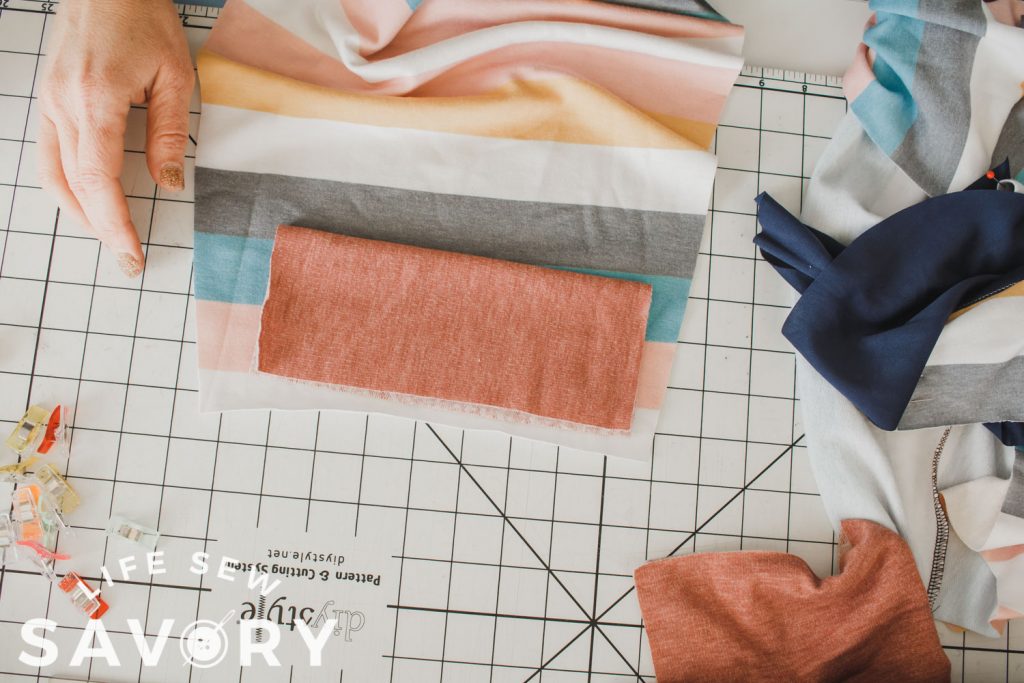
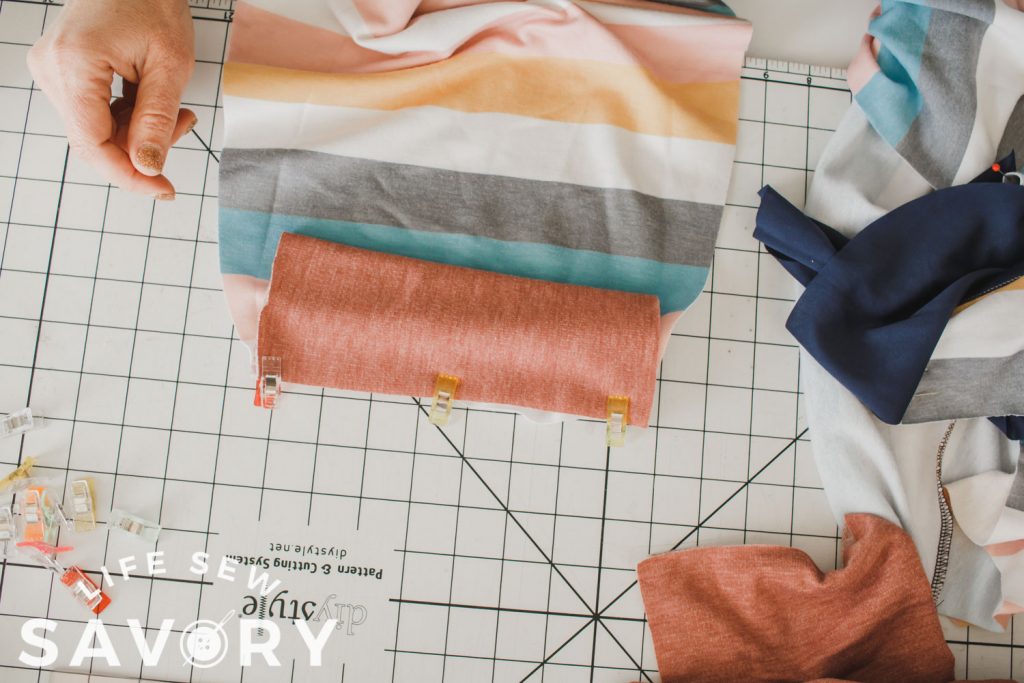
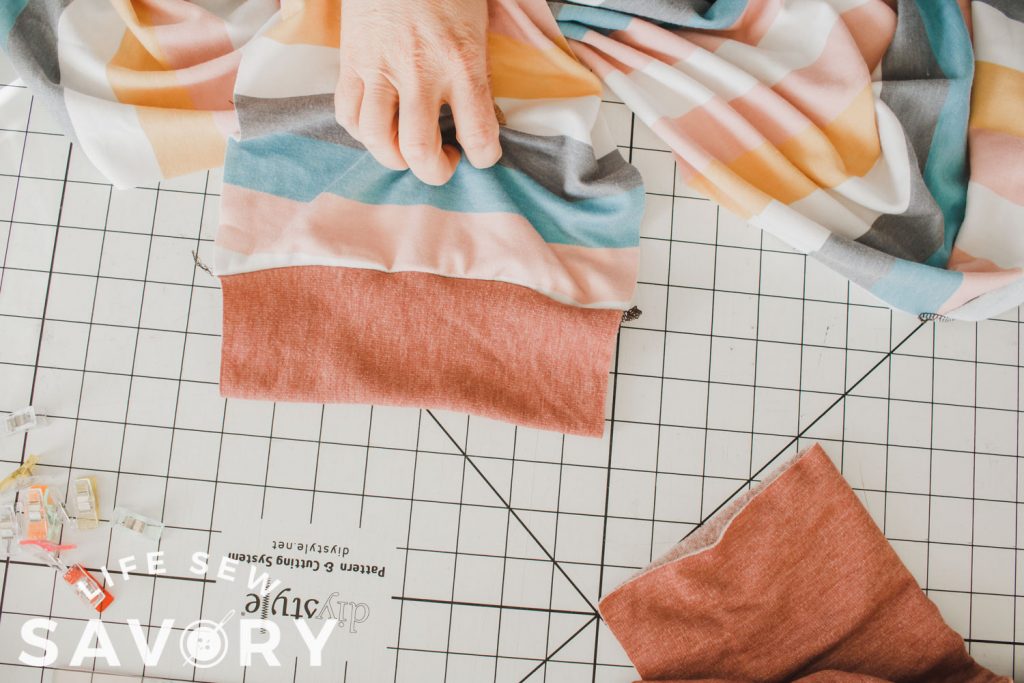
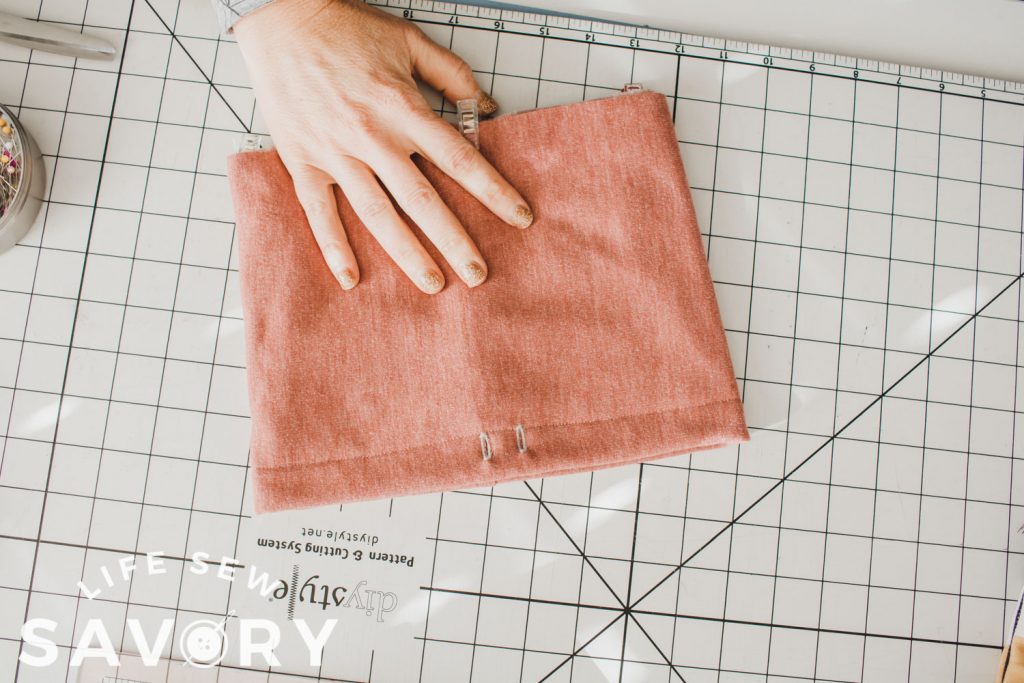
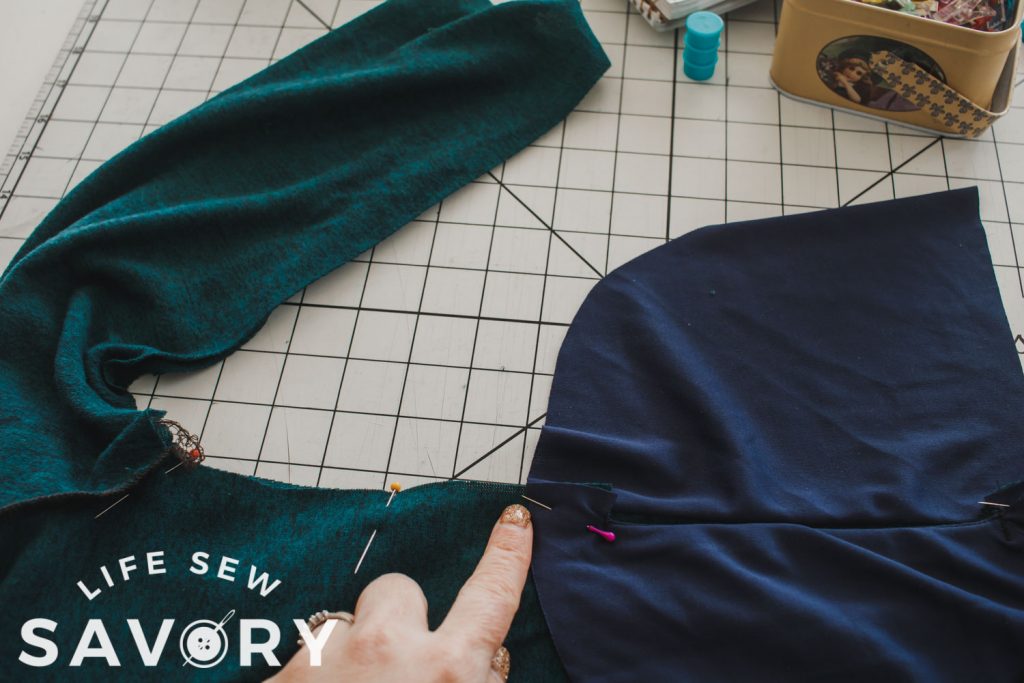
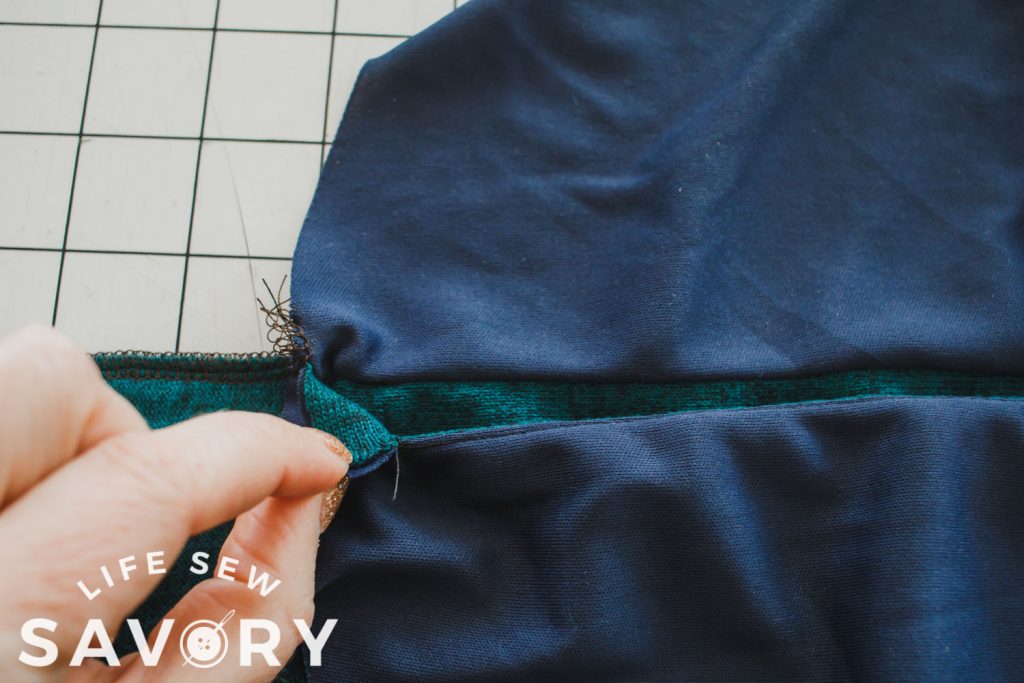
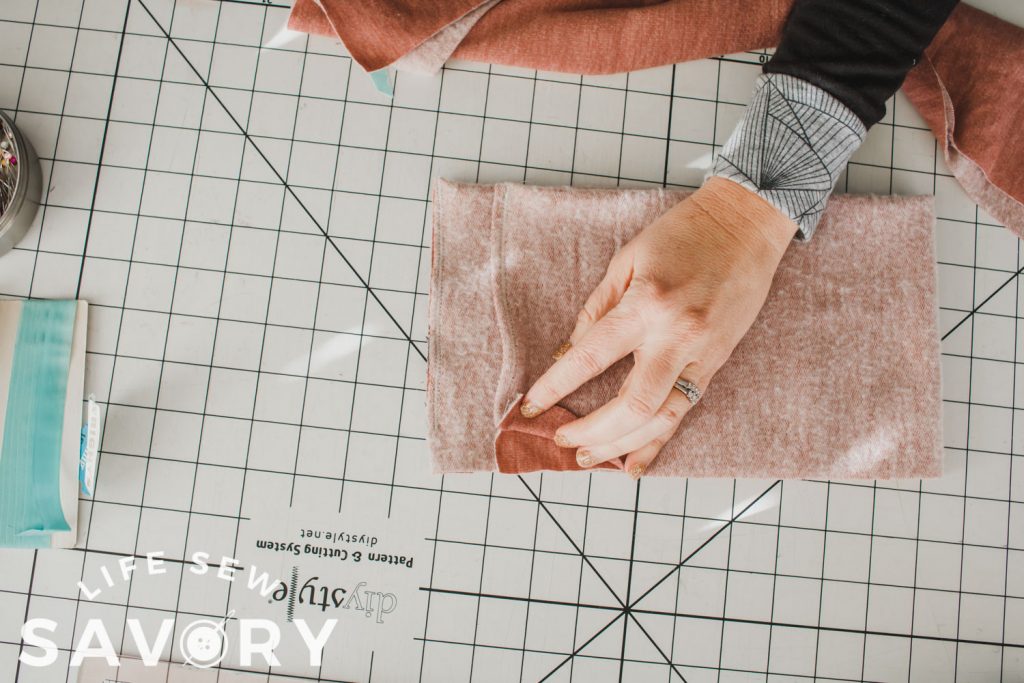
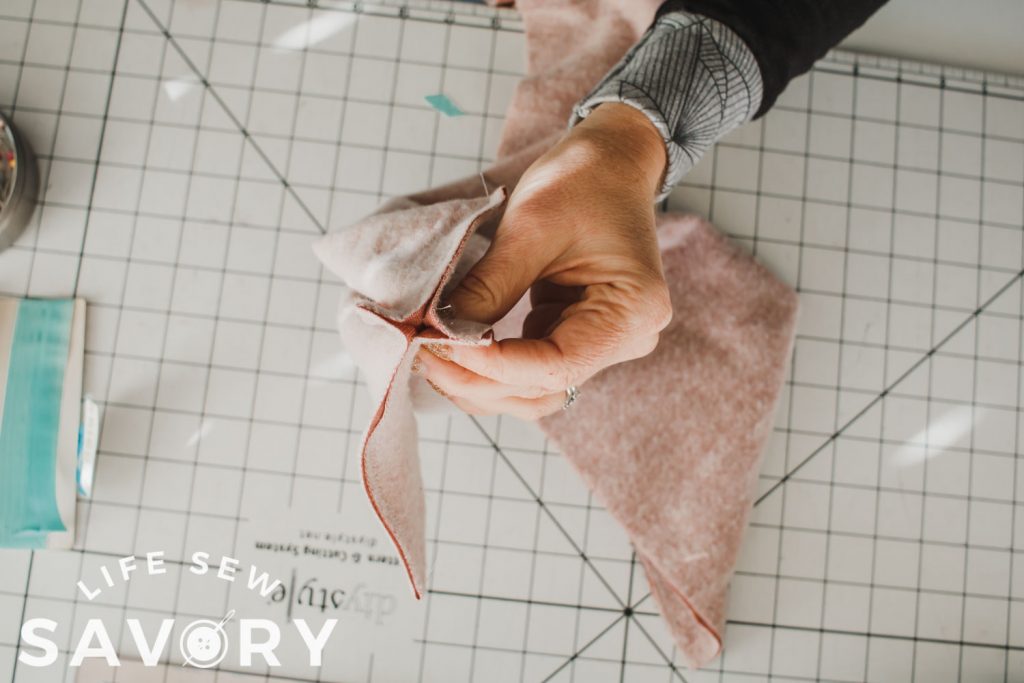
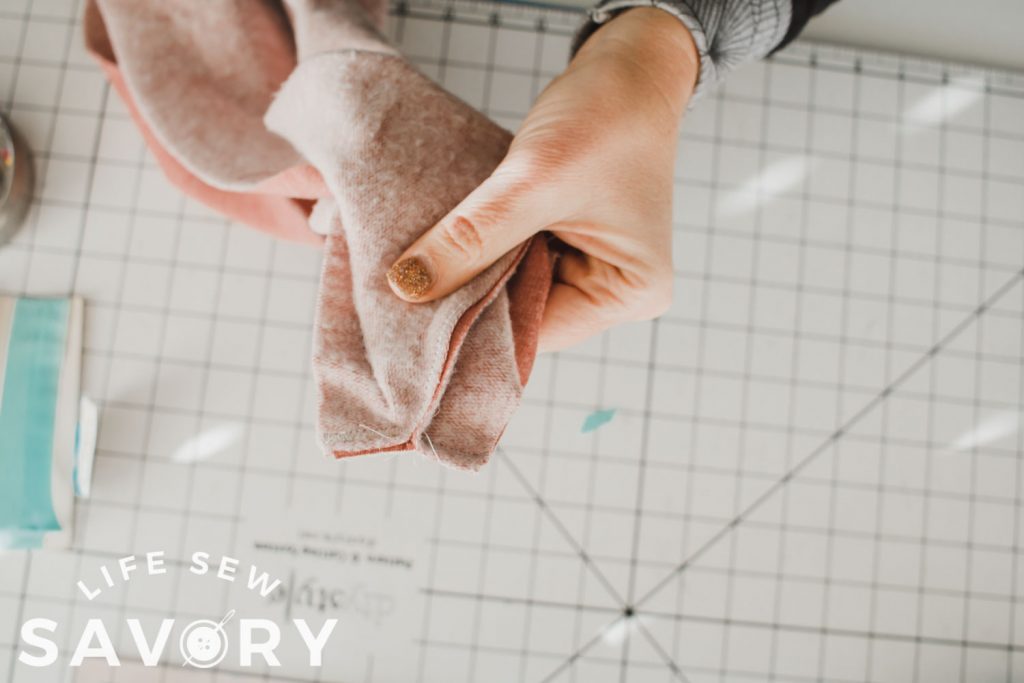
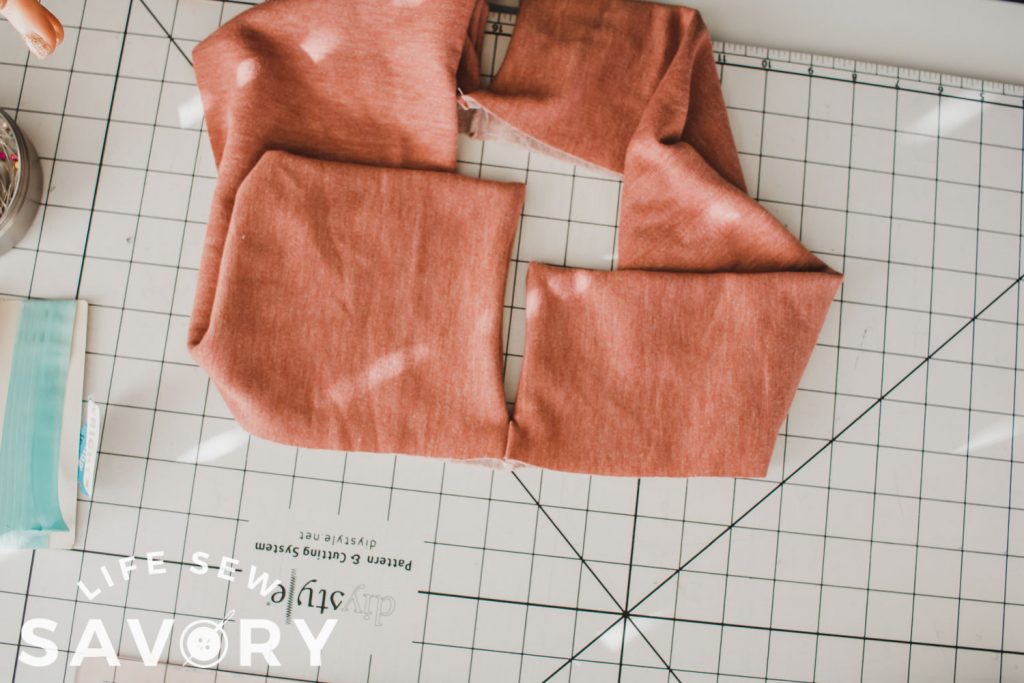
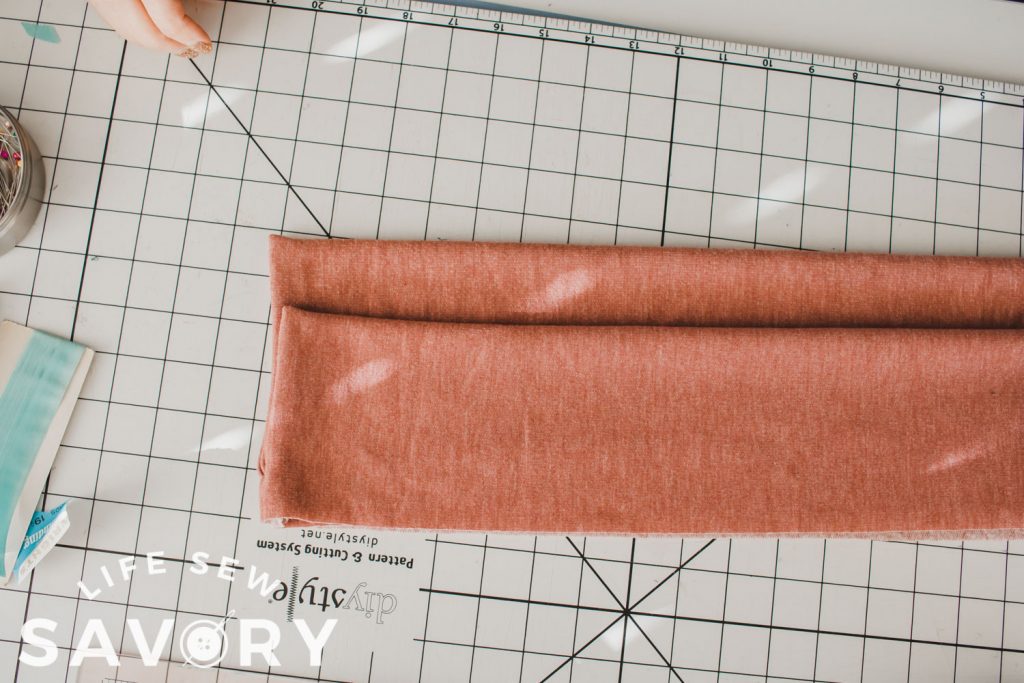
Fold the bottom front and back together. Sew the short sides together, stopping 1″ from the raw edges. {see the first photo}. Sew both short ends of the front and both on the back. Leave 1″ open on all 4 short ends. Take one end of the front and one end of the back and open up the 1″ opening. Place them together and sew on both sides of the middle. See bottom photo… repeat with the other end of bottom band.
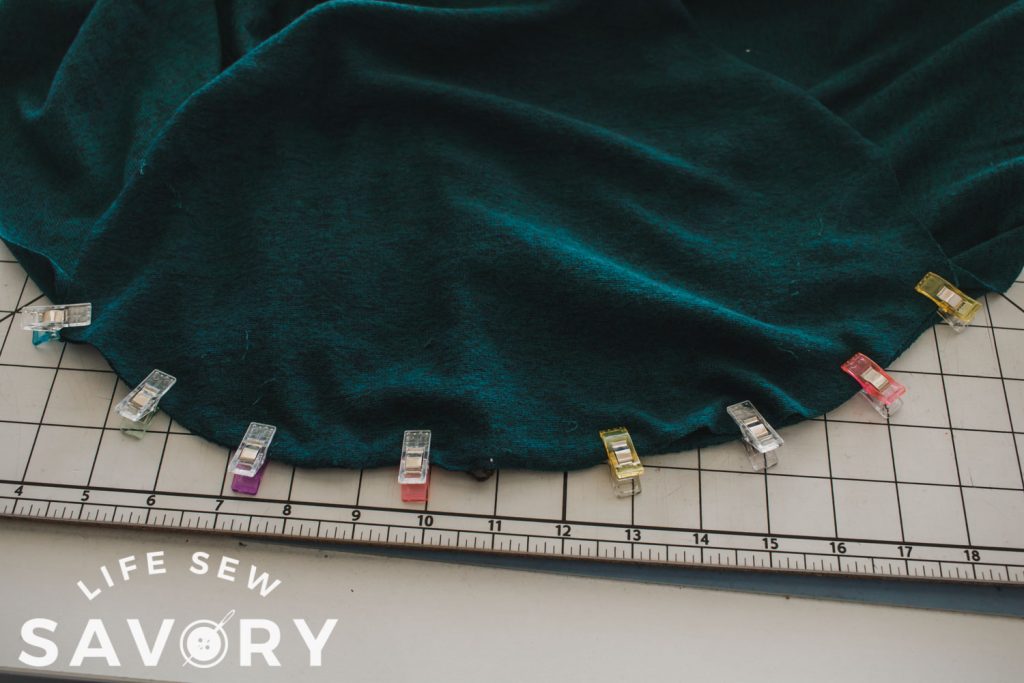
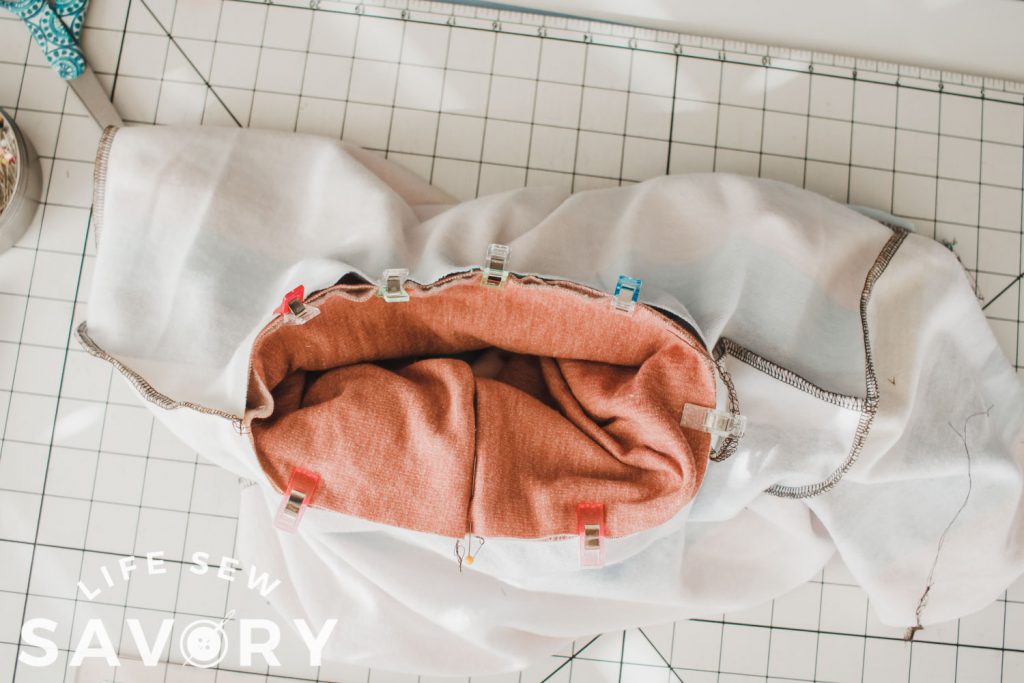
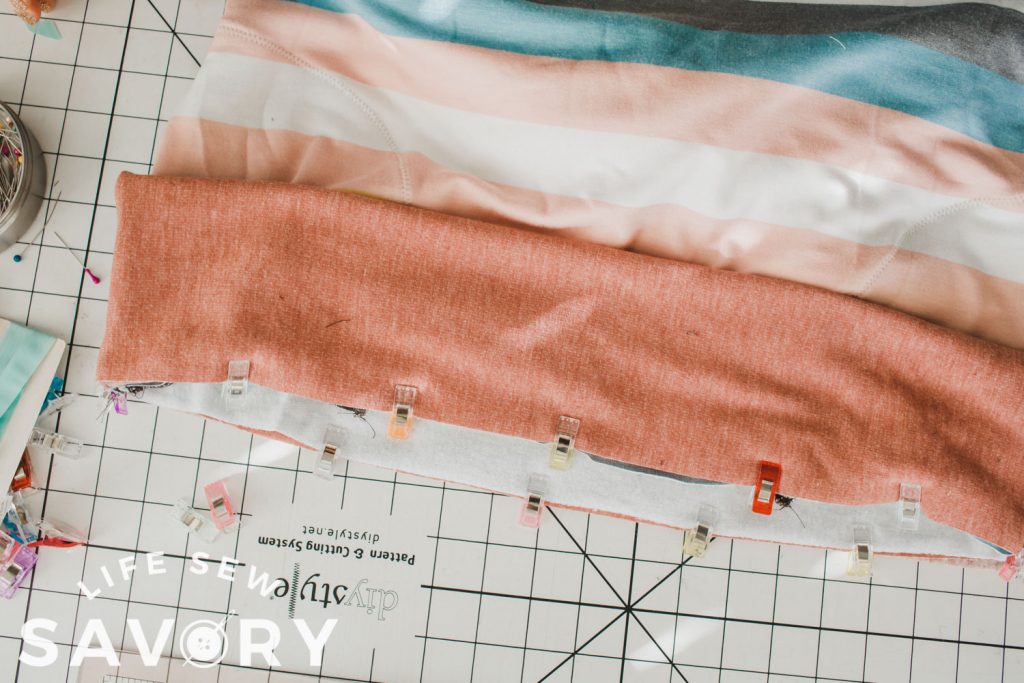
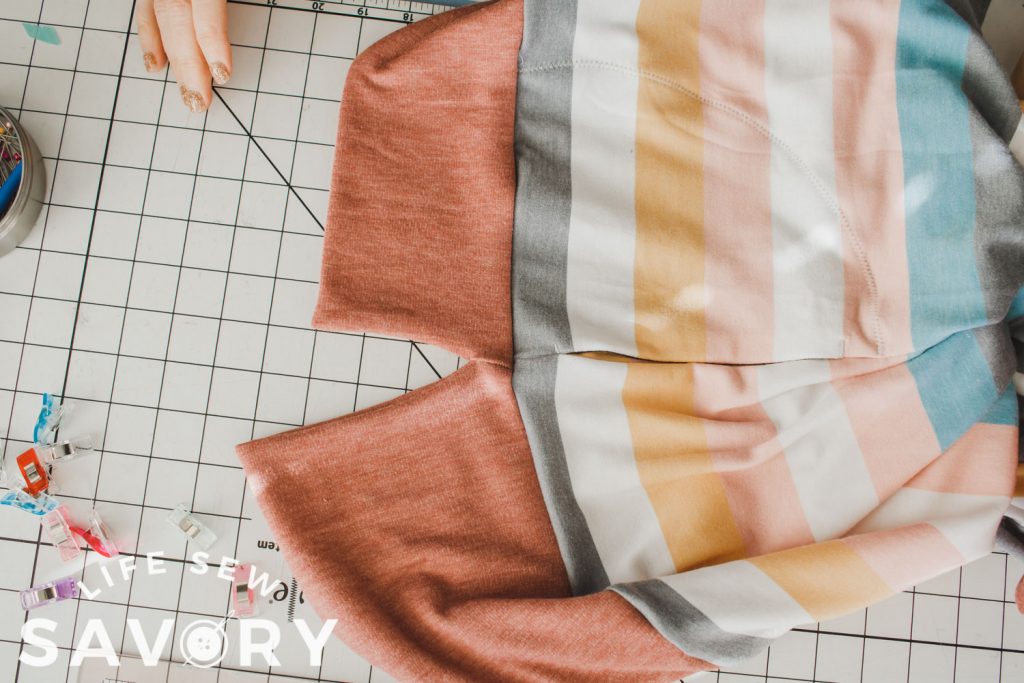
Turn it all right side out and poke out the corners. Lay bottom in a circle. With fronts together pin or clip to the shirt bottom edge and sew.
If your bottom band does lay nicely you may want to topstitch right at the side seam. This will help band lay down nicely. You can also top-stitch all the way around the band if you need.
And that’s it!! You did it!!! Enjoy your amazing new sweatshirt tunic top. I’m sure you will want to make a few for your wardrobe. I’m sure I will be wearing these often…






Pamela Flores says
This looks like exactly what I’ve been needing! Thank you so much!!
Erin says
I think there may be a mistake in the chart for the bottom cuff back. Size Large has the same back measurement as Size Medium. Should large be 24.25″W?
Also the chart says front in both columns for Sizes Medium and Large. But based on the chart I think I’ve figured out that the 2nd column is the back.
Emily says
I’ll have to take a look at this. Sounds like there might be a typo or two! thanks for catching this.
Kelly Rachal says
Is there a video tutorial for this? I have found the one for the pockets but was hoping for one for the rest of the shirt. The chart says “front” when I think it should say “back”” for the bottom band as stated in another comment.
Dee Kay says
Oh Emiliy, your timing could not be better. I am just starting to get back to seriously working out again (not just taking my doggies for a romp, but instead, sweating and breathing hard, lol). I wanted a new sweatshirt for working out in and given my **Ah hem….age, I want a little coverage on my backside. But everything I found in a fabric or color I liked was a crop top! I mean, sure, if you’re 16-24, that’s cute, but for us mature ladies, come on….
By the way, that teal looks divine on you. The color makes your skin, hair and especially your eyes POP! Just lovely. Great inspiration, because we all know that the right color/pattern or piece can really make us all shine! Now, just to find my perfect fabric, plus your pattern, I am all set! Thanks a million, you are a life saver.