OK, let’s get started sewing! First, go grab the free pattern from Sew Daily HERE. {NOTE: this pattern is no longer free} There are free patterns for a top, bottom and full suit, but I’ve only created the tutorial for the bottoms… someone else can do the others {ha!} There isn’t a measurement chart, but the S seemed right on for me, so I would start with your normal size and adjust from there.
You will need swim fabric and lining fabric. I made mine with a 1/2 yard of each. Use a 3/8″ seam allowance for all seams, unless otherwise stated.
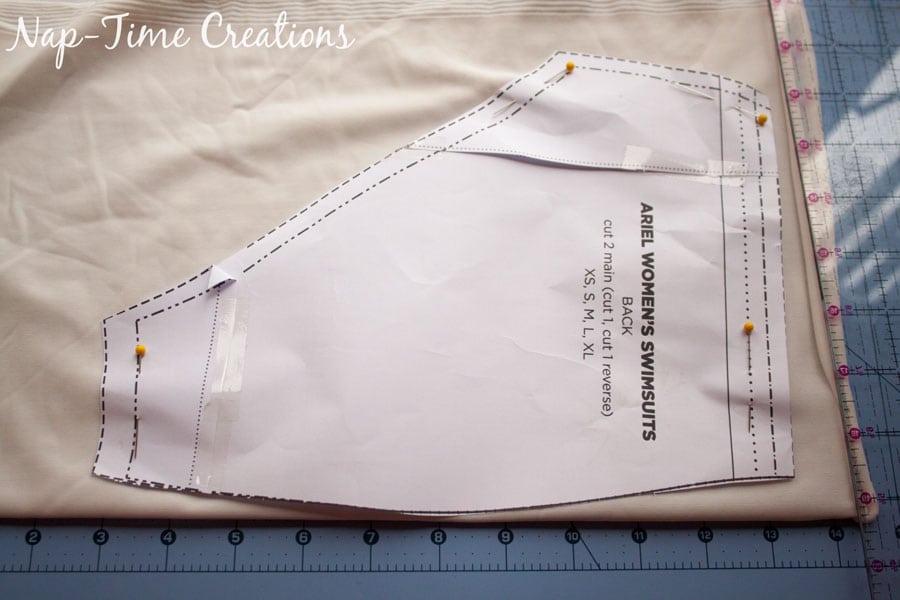
Lay the curved edge of the pattern against a fold in your fabric. I did not cut the curve. For a bit more shaped back you can cut and then sew up back seam before proceeding.
Sew front and back together at the crotch seam. Repeat for lining.
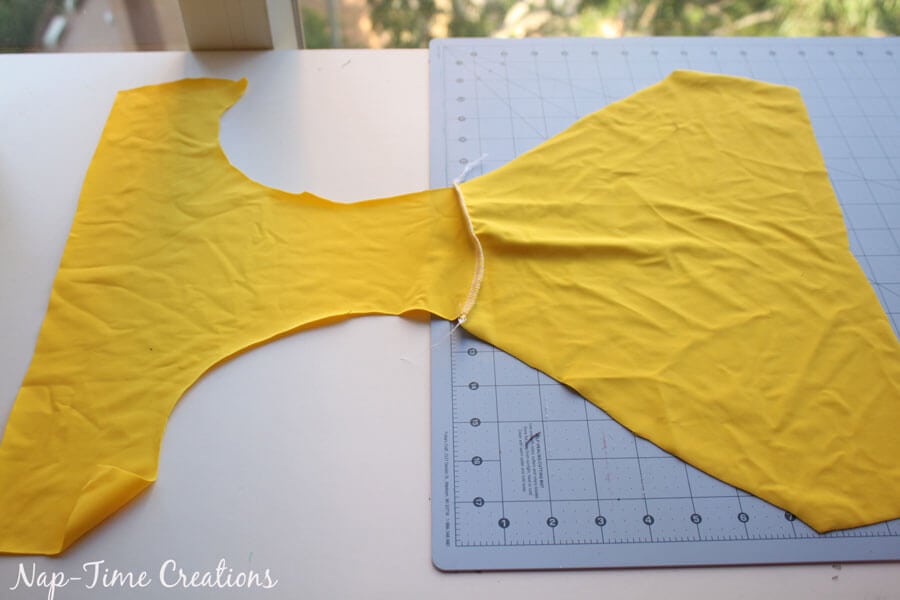
Lay the lining and suit together with right sides touching and sew both curve leg opening edges.
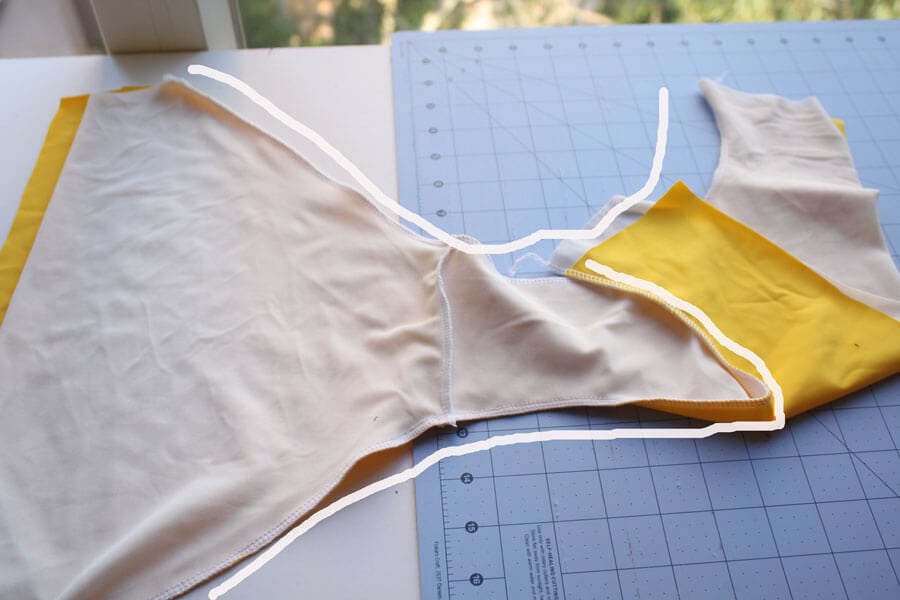
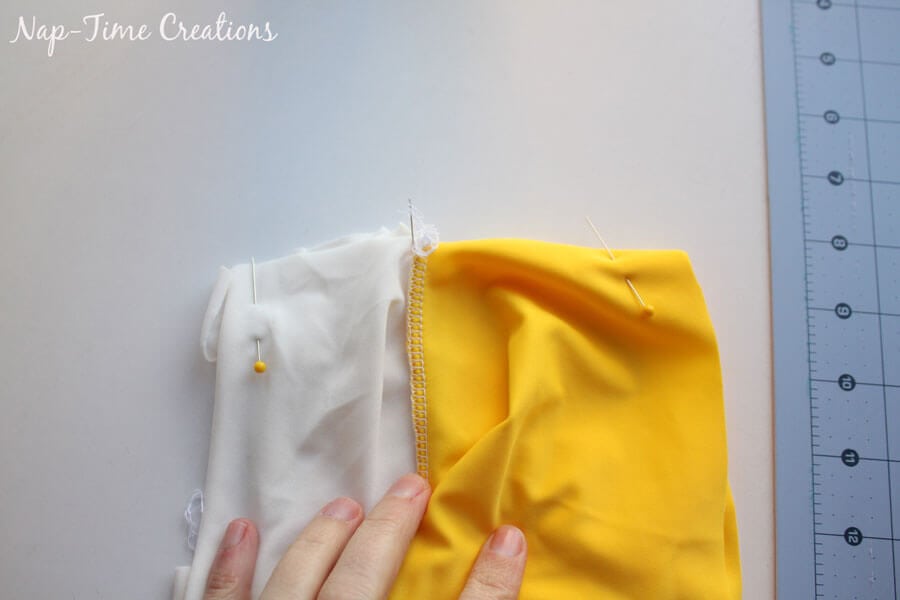
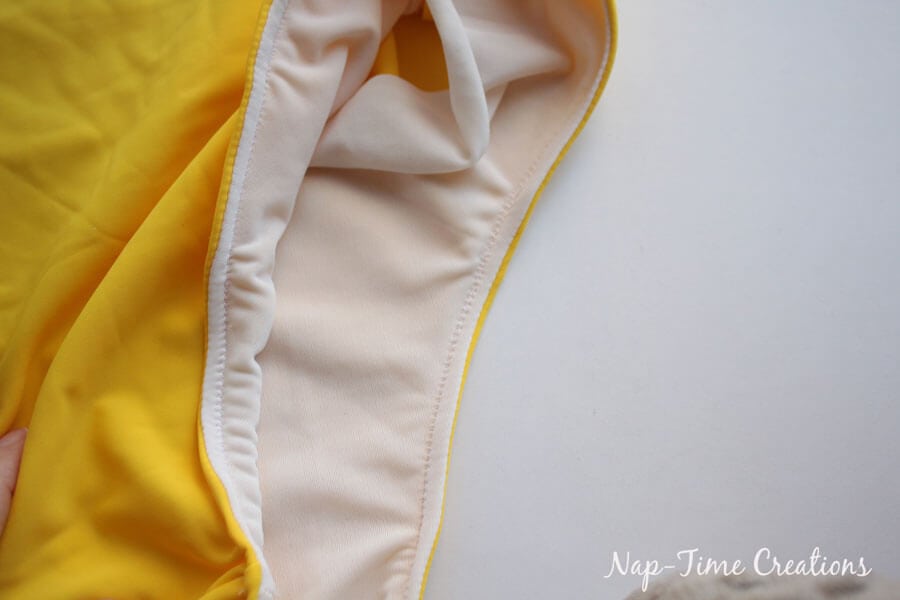
Turn the suit so that the right sides are out and open up the side seams. You want to match the lining with the lining and the suit with the suit as shown.
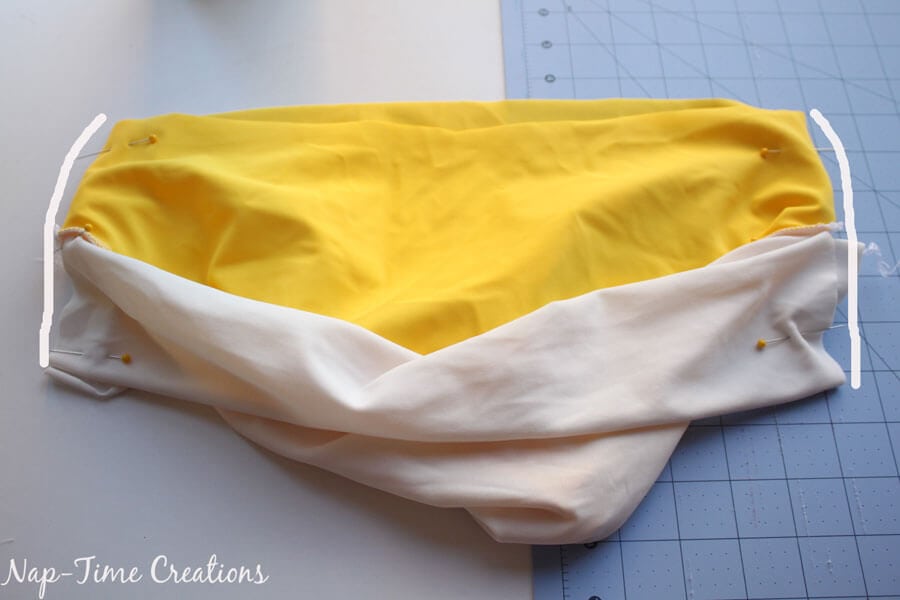
You want to sew both side seams as shown, with them opened up while sewing.
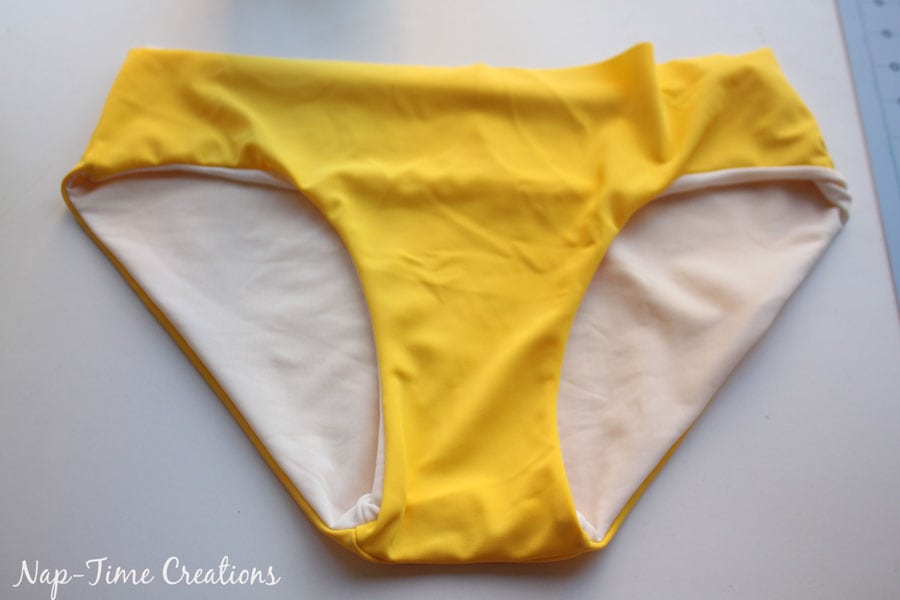
Now you should have a lined swim bottom…
For the elastic I used 3/8″ clear elastic. I just measured around my leg with the elastic and adjusted the fit to the desired tightness. Cut 2.
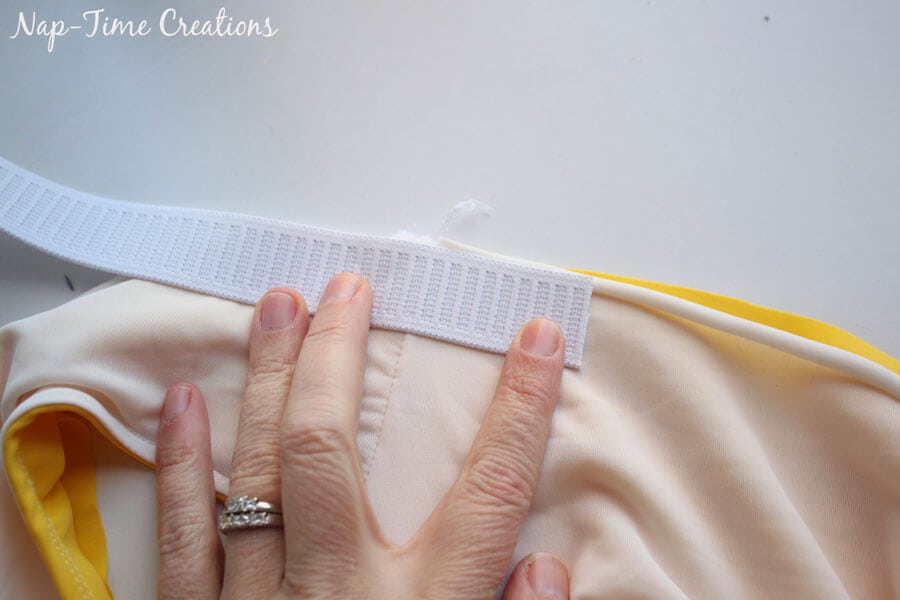
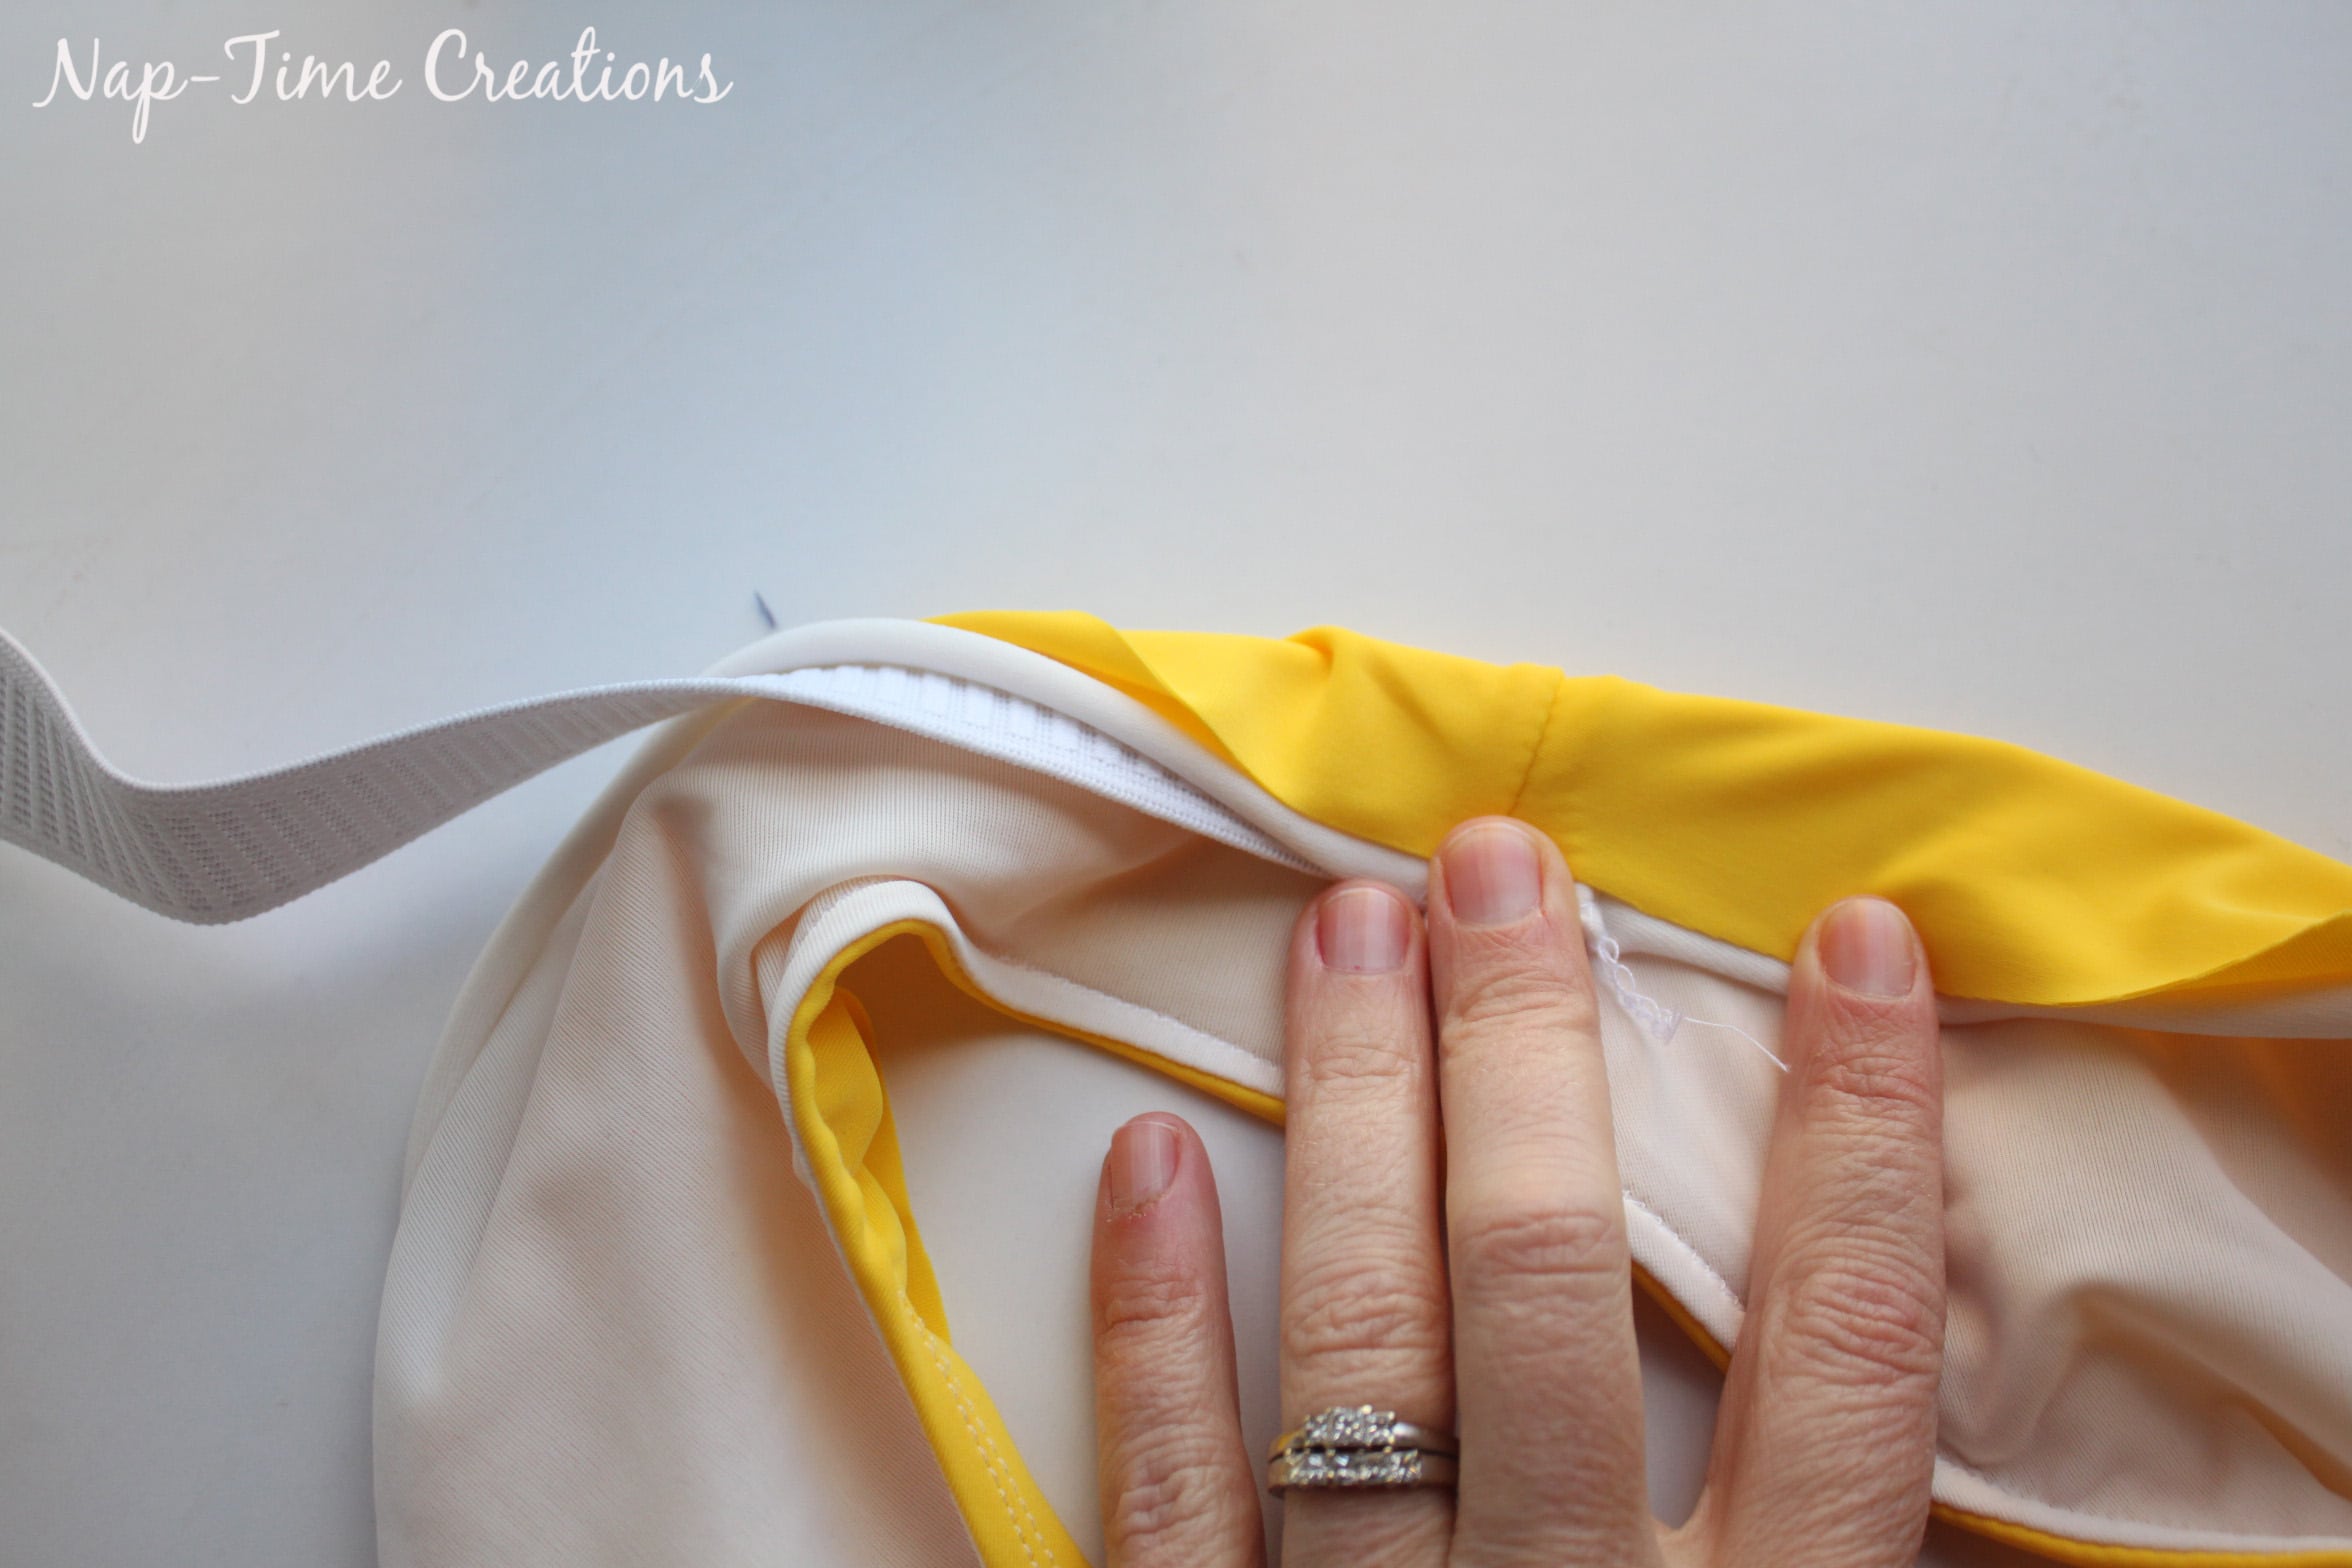
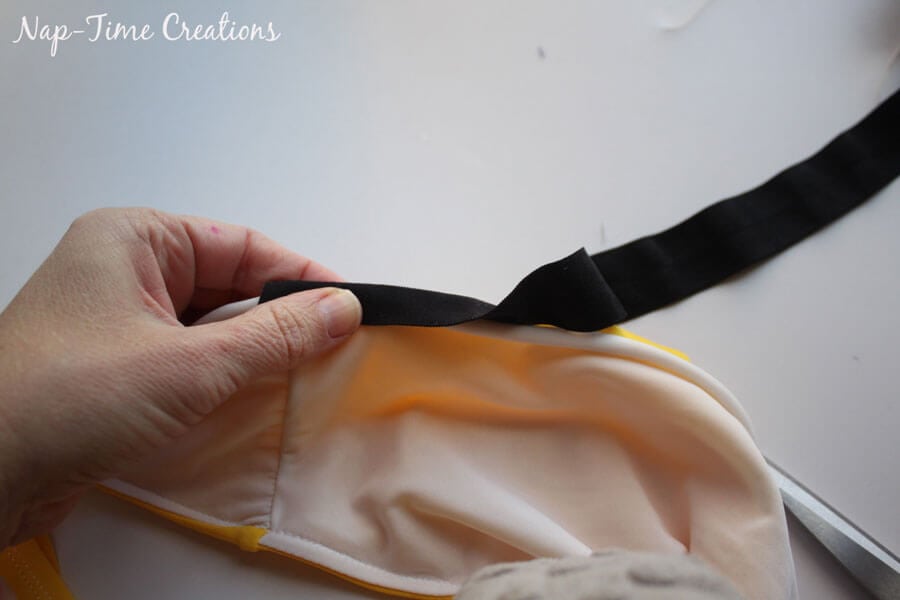
Now you will open up your swim bottom and thread the elastic around the edge of the leg opening. Try to lay it right along the seam.
When you get back around, overlay slightly.
Pin the Elastic in place from the outside.
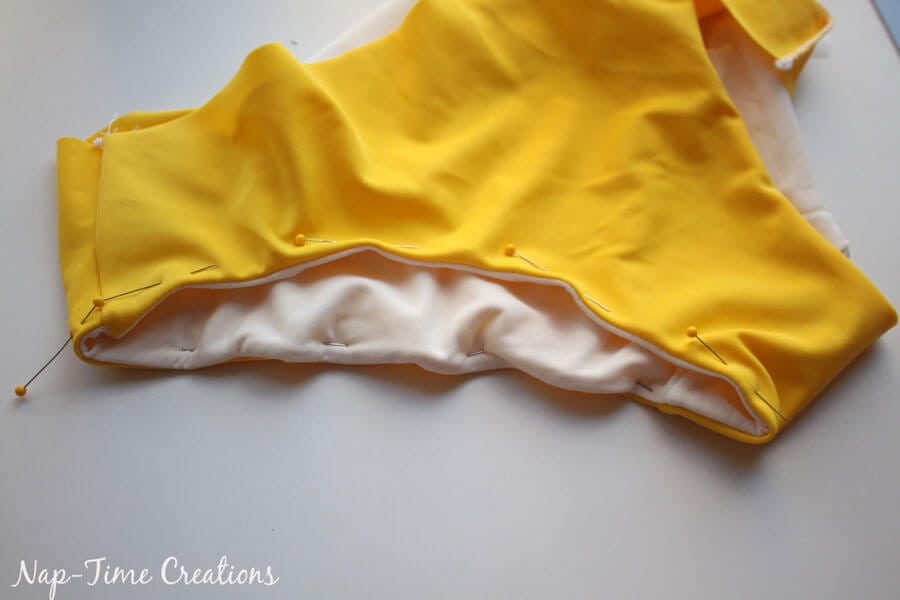 Sew. I used my double needle knit sewing technique to sew, but a zig-zag would work too.
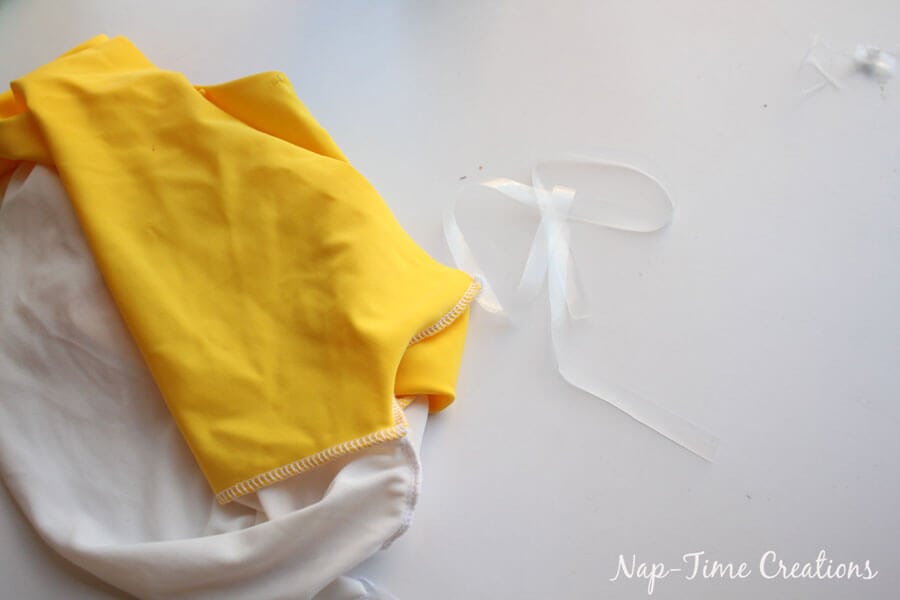
If you open the suit again you can see that the elastic is now attached inside.
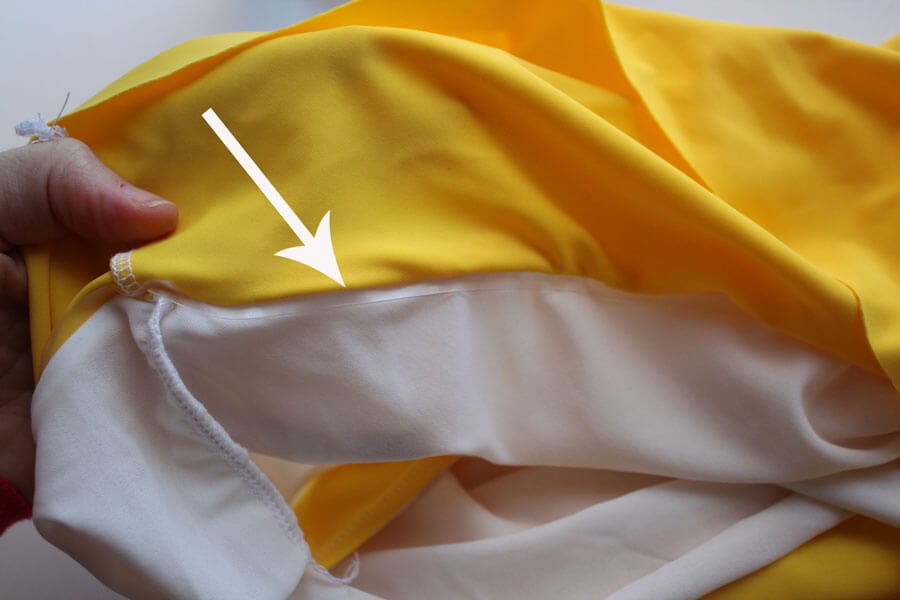
There are several options for finishing the top. For a lower rise, use elastic. Sew around the top, then fold over and sew again. This will make it about 1″ lower rise than shown in my photos. I may do this next time.
I use FOE and pinned it around the top, then sewed it on.
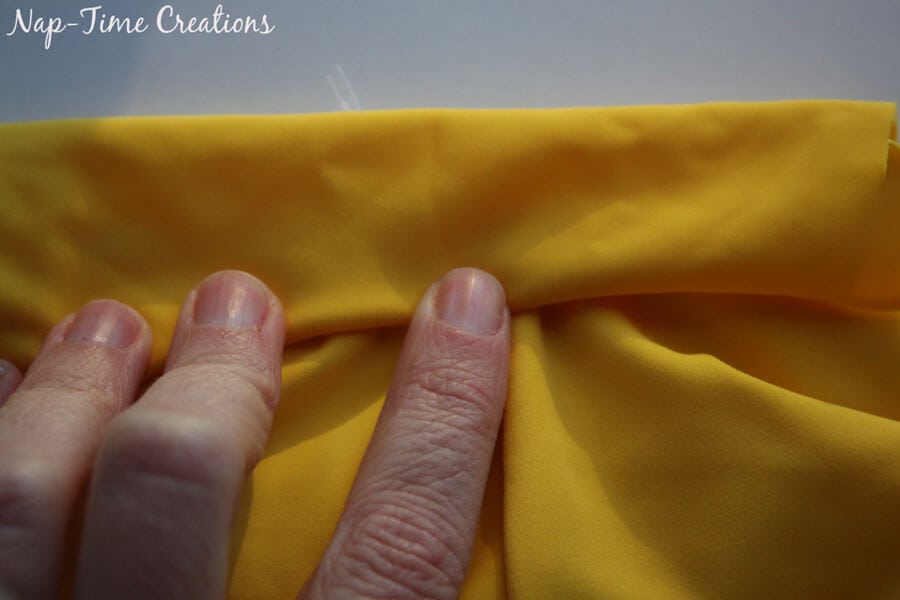
You could make an high rise suit by cutting a 3″ wide piece the to create a band around the top. Fold in half, then sew with right sides together. Make the band a bit smaller than the top of the suit so it fits snug on your waist and keeps the suit up. Stretch the band to fit as you sew.
When opened up, you will have a nice wide band on the top of your suit.
And one final look at my finishes swim bottom. It was perfect for our Christmas trip and I’m excited to get it out again and wear all summer.
Want to see more finished photos? Check out all the full bathing suit photos by clicking below…










Kate says
Girl !! How super cute are you in the suit!! You did SO well on it!!! Love LOVE!!
Gina says
Cute suit! Years ago I was brave enough to sew a swimsuit – maybe when I drop a few pounds I will reinvestigate. Bathing suits are so expensive nowadays for good quality!
Maria says
I love this suit, and it’s even better that it’s totally custom made by you! The colors and the style are just so unique! Love love love 🙂 Thanks so much for sharing this on #shinebloghop this week 🙂
Stacey says
How creative! Thanks for sharing and stopping by #HomeMattersParty
Lisa @ Fun Money Mom says
What a unique bathing suit! It kind of bridges the gap between a one piece and a bikini! Thanks so much for sharing with us at Share The Wealth Sunday! xoxo
Jessa says
It turned out super cute! I’m just getting started with sewing, but when I get my skills up to par, I will definitely try this!
Frugal Hausfrau says
Great idea – I never thought of sewing my own!!Thanks for sharing on Throwback Thursday!
Mollie
SharonElizabeth says
Love the sporty style! The mesh is just enough covering as well! Tankinis are my favorite.
Clare says
I also love this – you look very attractive – I love the colour, too!
tammy says
Where do you find the pattern?
Aprisa Newton says
The Pattern is no longer available
Emily says
I’m sorry! this was a super old post. I’ll make a note in the post.