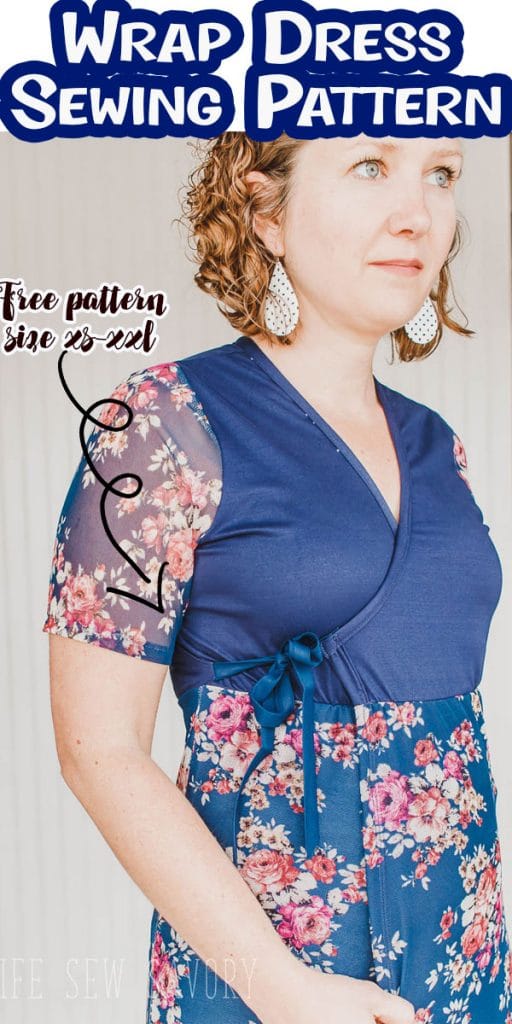
Inside: A wrap dress sewing pattern in sizes xs – xxl. Enjoy this free sewing pattern for women. Instant pdf downloadable pattern.
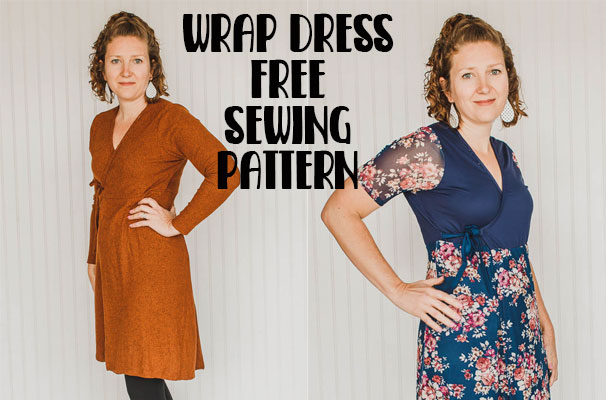
I originally was going to share this in March as an Easter dress pattern, but then the world changed and Easter became a stay at home event and I took my time getting this free sewing pattern out. And while it just snowed more than 8 inches yesterday here is a gorgeous wrap dress for all seasons!
Share finished photos or ask questions in my Facebook group.
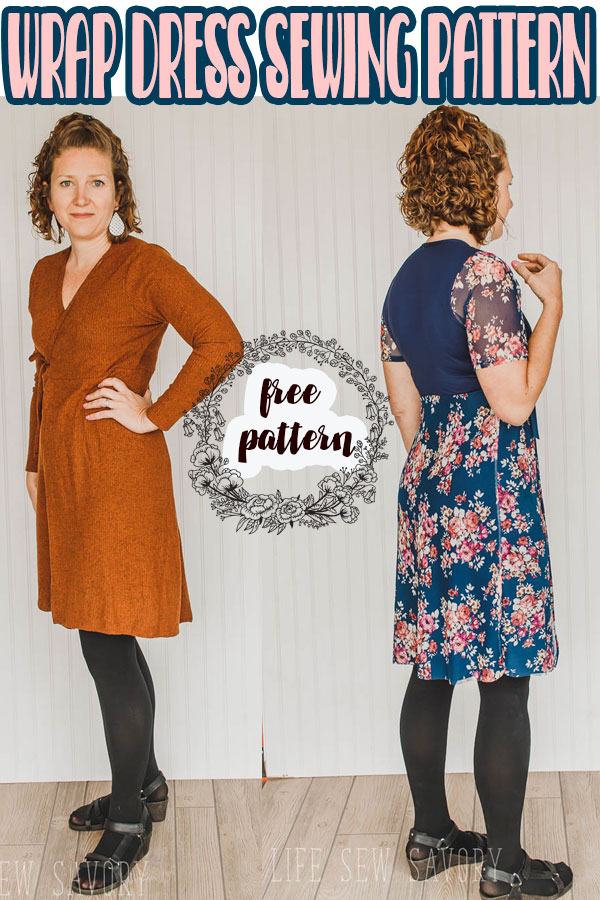
Wrap dress sewing pattern
I want to say this here near the top of this post, I fully tested the Size S of this wrap dress, but I have not full tested the larger sizes. I would LOVE feedback if you do sew the larger sizes. This pattern is drafted based on the size chart below and I am confident in the pattern, I just wanted to let you know.
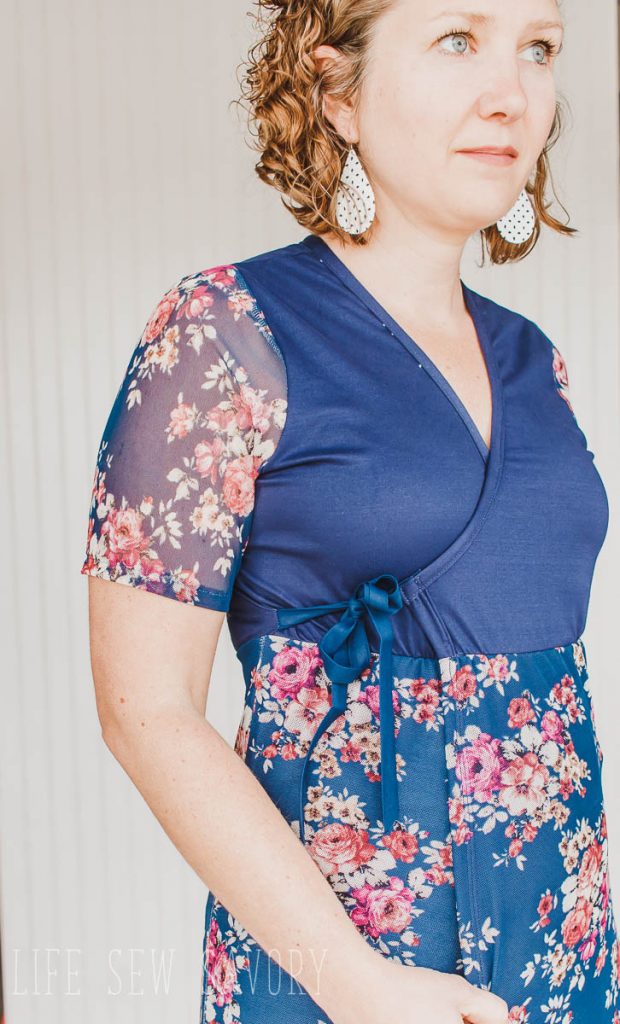
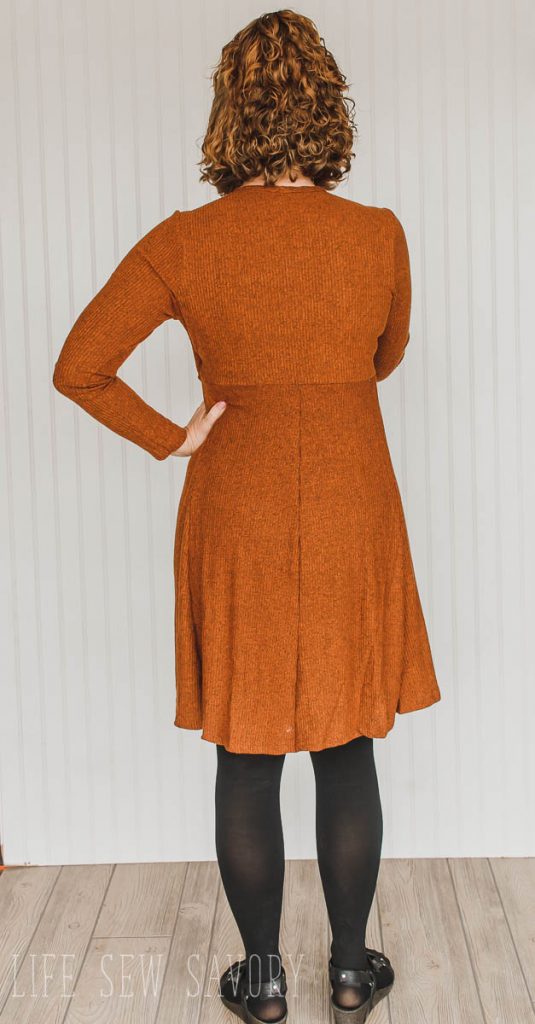
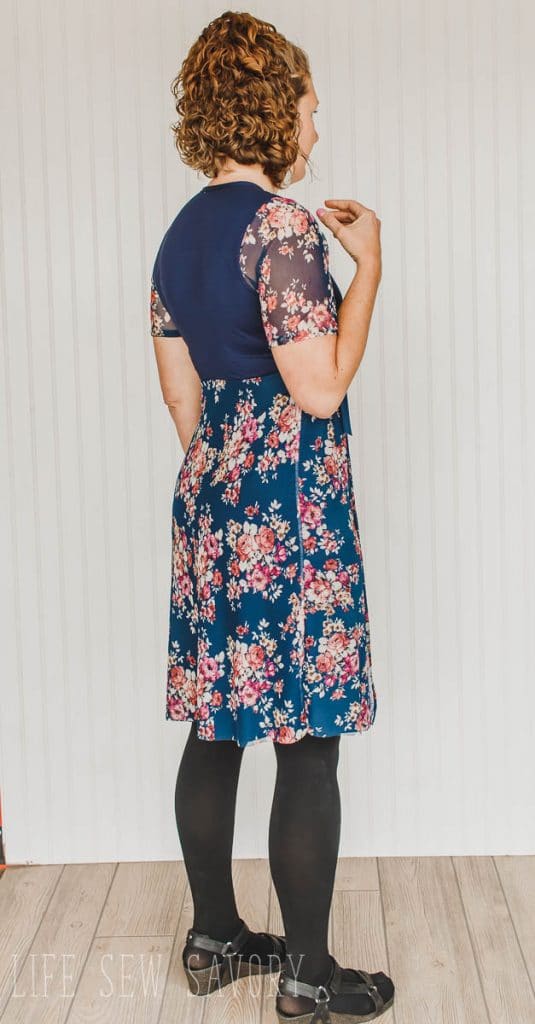
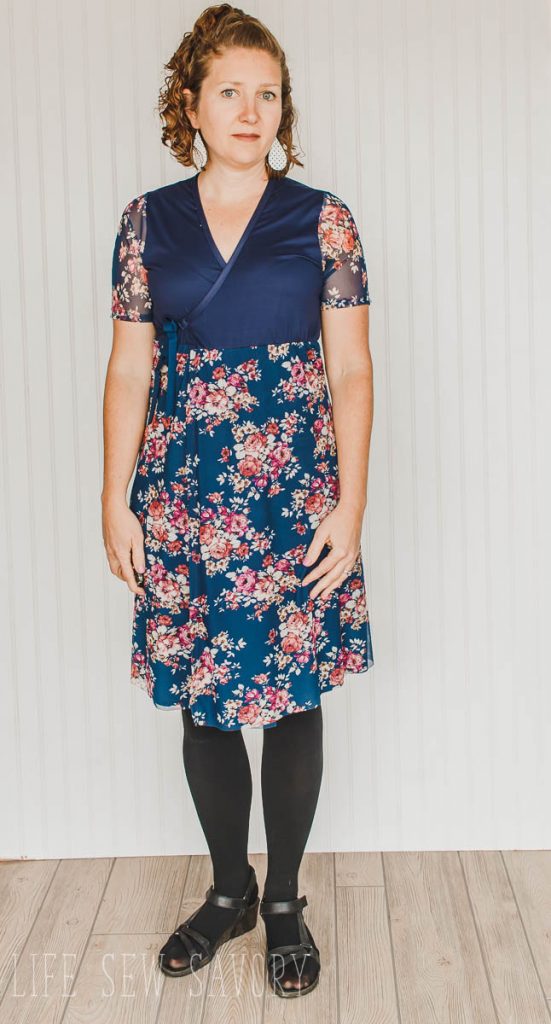
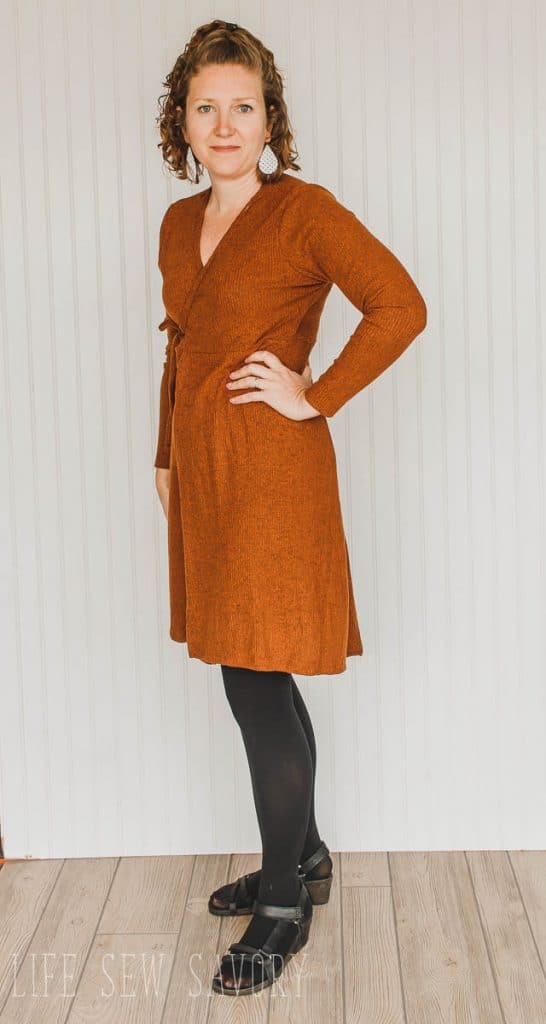
These two versions of the wrap dress were so fun to make. One is made with sweater knit and long sleeves and the other is made with DBP knit with a floral mesh overlay skirt. Here are links to fabric.
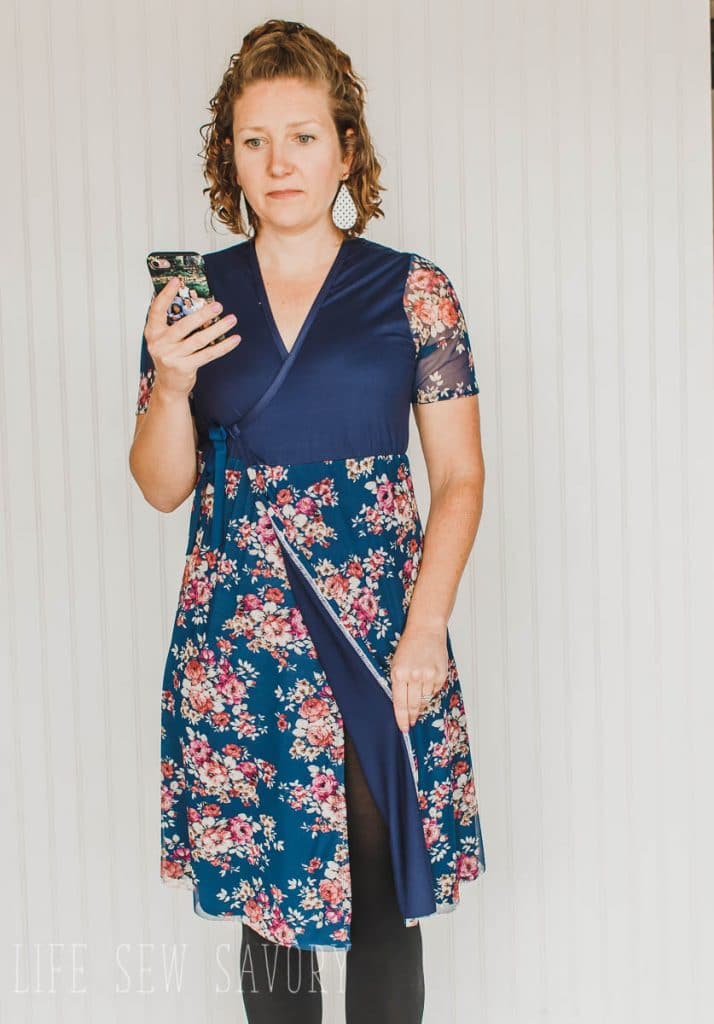
In the photo below you can see the “wrap” of the skirt. This is a true wrap dress and not a faux wrap. Also, I’m not surfing social media while taking a photo… I have it connected to my camera and use it as the remote to take these photos.
You can download the free sewing pattern below as well as access the full photo tutorial. Here is the back view –
Front of the wrap around dress pattern-
How to sew a wrap dress –
Use the button below to download the free wrap dress pattern. The wrap around dress pattern comes in sizes xs – xxl and you can reference the size chart below to see if this dress works for you.
You should be able to make this dress with 2-3 yards of fabric. Two for the smaller sizes and three for the largest… and in between for the others.
Again make sure to share photos in our Facebook group or tag me in social media if you make this dress.
Download and print the pattern. Need help with either of these things? Check out my post everything you need to know about PDF patterns.
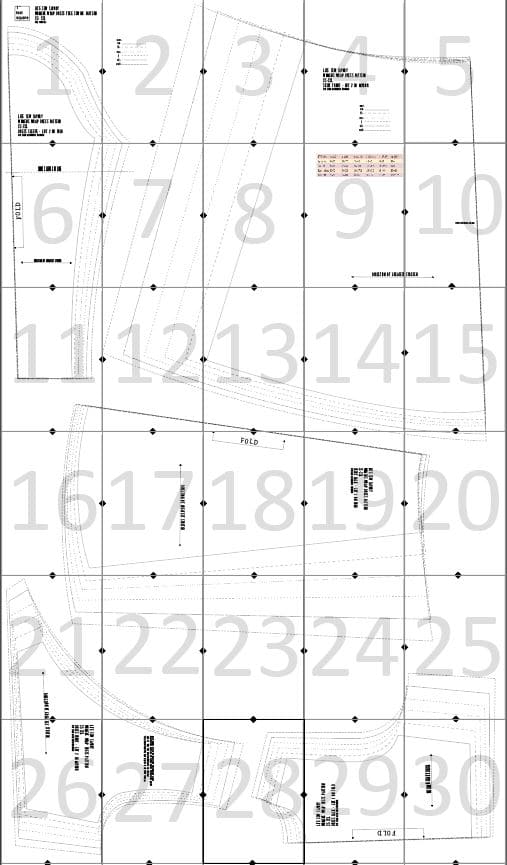
Will this fit you? The size share is on the pattern pieces or you can look here. This will also tell you if you need to blend sizes based on your bust/hip measurements.

Ok! Enough talk! Let’s Sew! Gather your supplies
- Fabric
- Pattern
- Ribbon or thin tie made from dress fabric.
- Clear Elastic {optional}
Cut out the pattern pieces as directed on the printed pattern. You should have TWO sleeves, ONE top back, TWO dress fronts, ONE skirt back, TWO skirt fronts. You will also need four ties, these can be ribbon, bias tape or thin tubes made from the same fabric as the dress.
The seam allowance for this dress is 3/8″ unless otherwise noted in the sewing tutorial. All seam should be sewn with a serger or stretch stitch.
Begin by sewing the shoulder seams together. Match the front sides to the back at the shoulders and sew.
Prep the neckband
Measure this open neckline. You want to cut the neckband about 90% of neckline length. Cut it 2.5″ wide x the length you measured. Fold the band in half with the right side out.
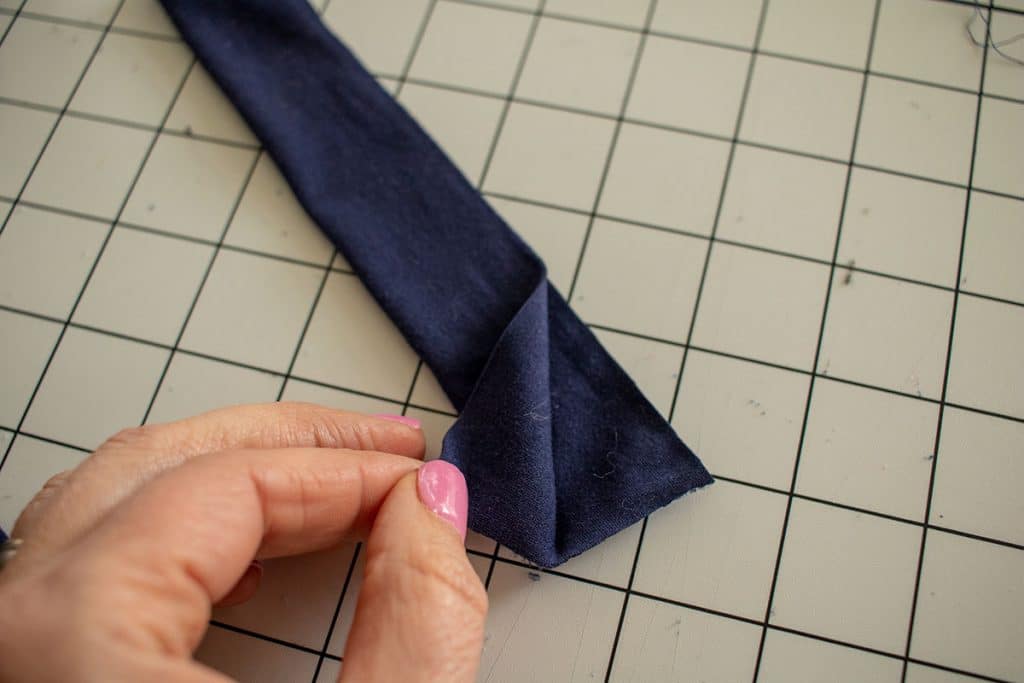
Sew the band to the WRONG side of the neckline {this is different that usual bands} Sew with serger or zig zag for stretch. The seam should show when you look at the right side of the top.
Right side of top
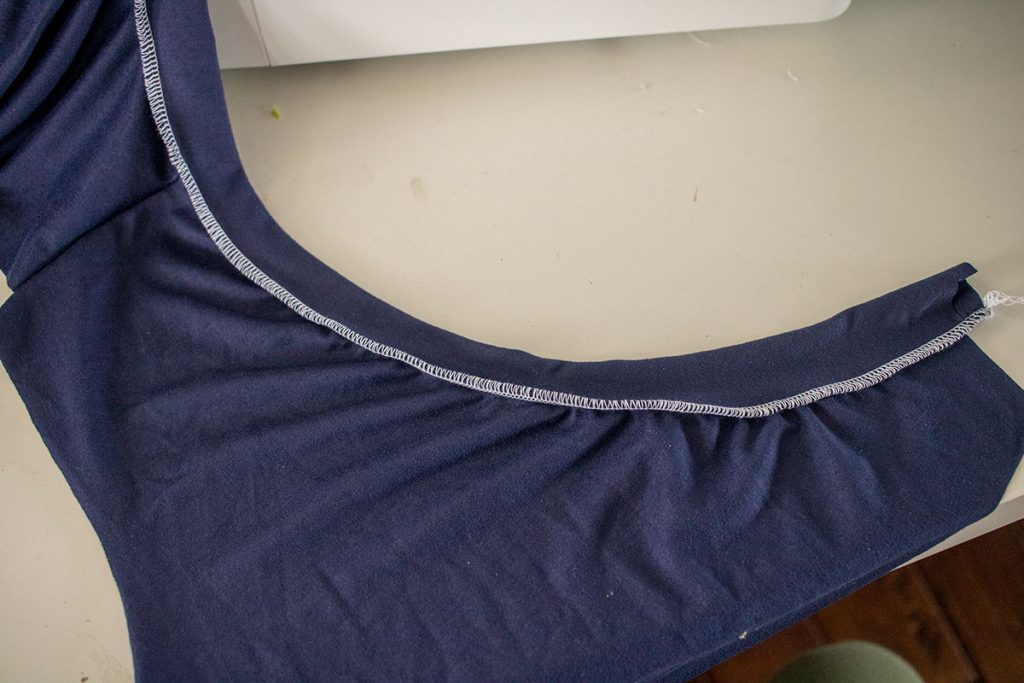
Wrong side of top
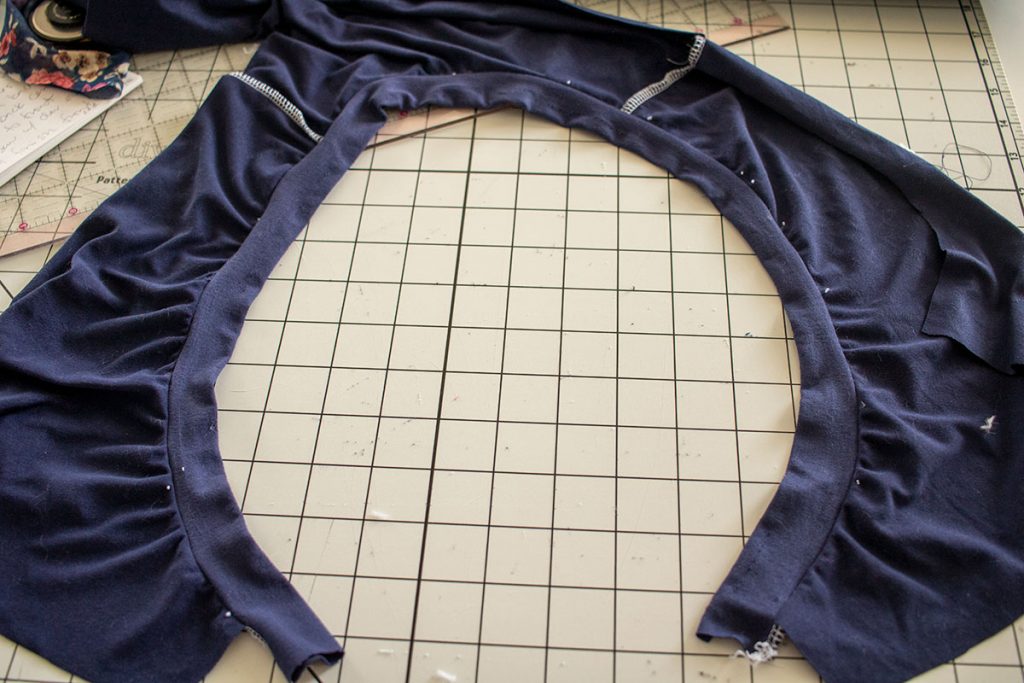
With the right side of the shirt facing up, fold the seam allowance towards binding and then fold the binding back over the seam and towards the shirt. The folded binding covers the seam and creates the binding. Sew with coverstitch or stretch stitch on your sewing machine.
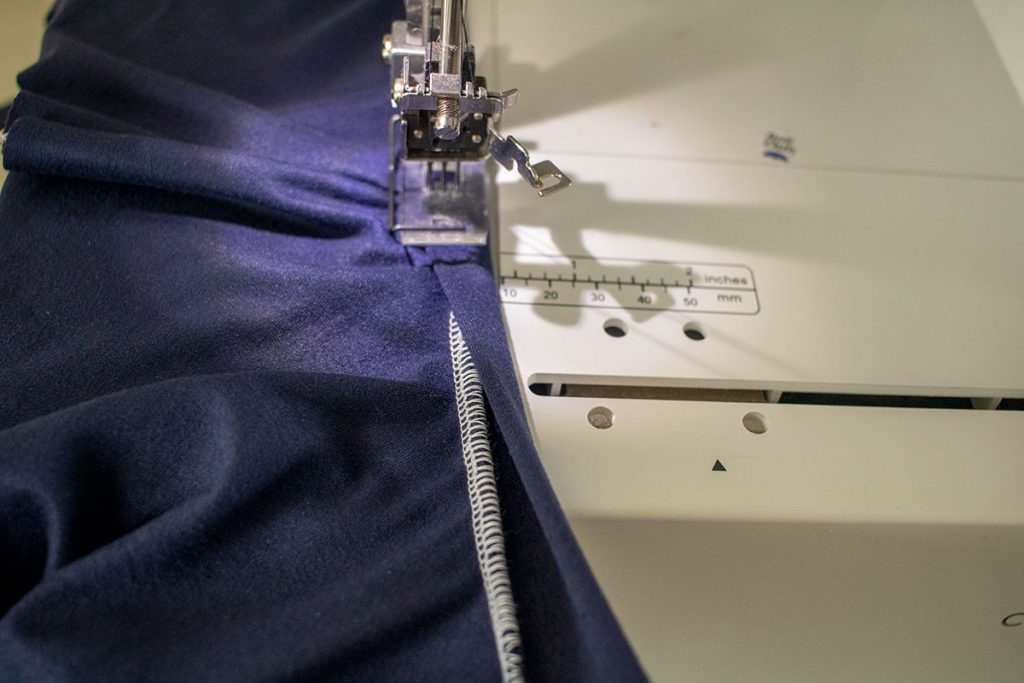
Here’s what the enclosed neckline should look like.
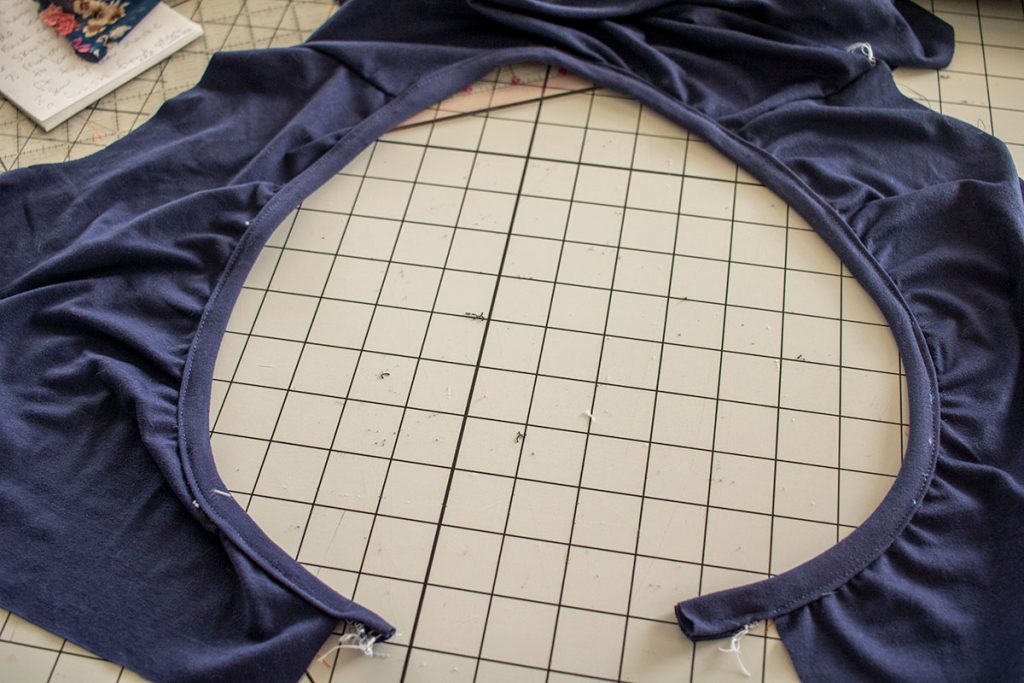
Attach the sleeves: Because the sleeve is cut on the fold, it doesn’t have a front or back. I like to match both sides and work towards the middle shoulder, easing the curves as I go. Sew the sleeve and then repeat with the other side.
Hem the sleeve. Both the long and short sleeve should be hemmed now.
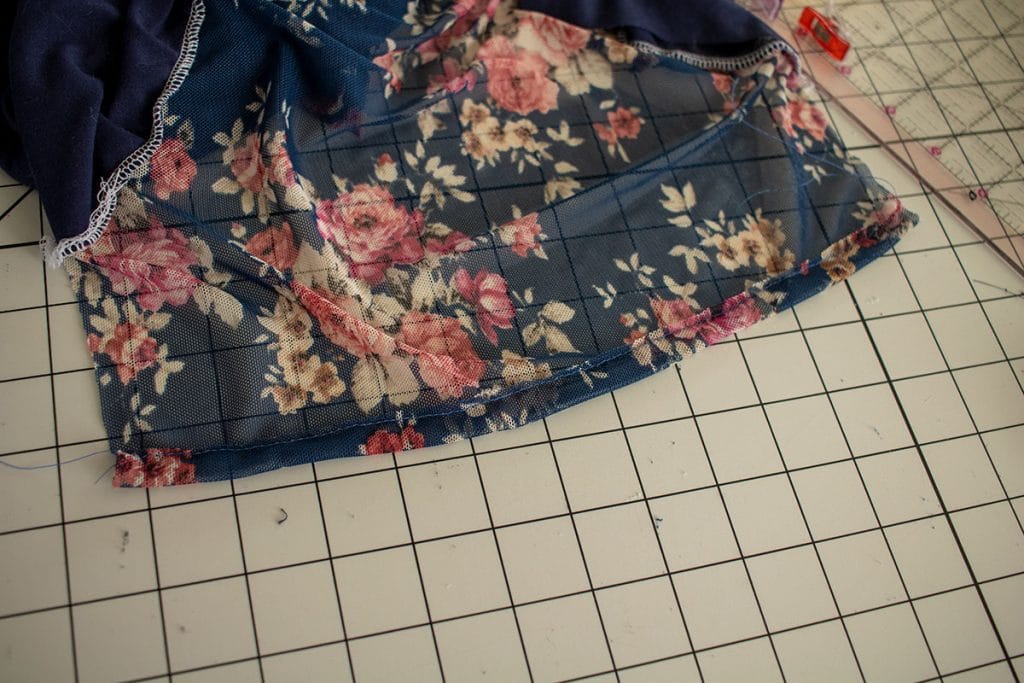
Sew the side seam. Start at the sleeve end and sew up the sleeve and down the top side. Repeat on the other side.
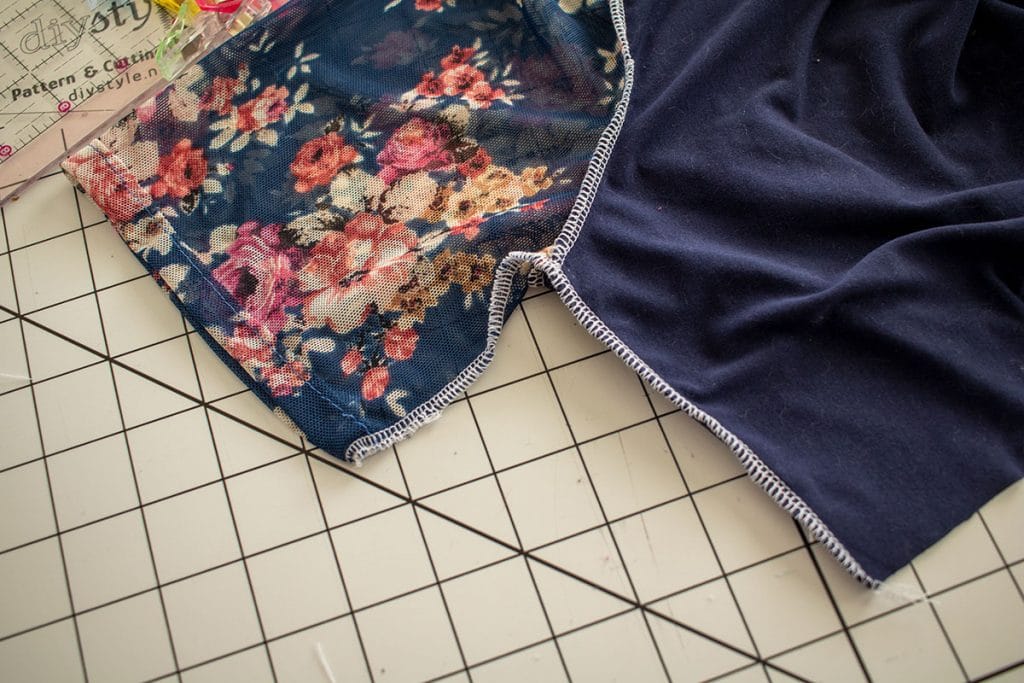
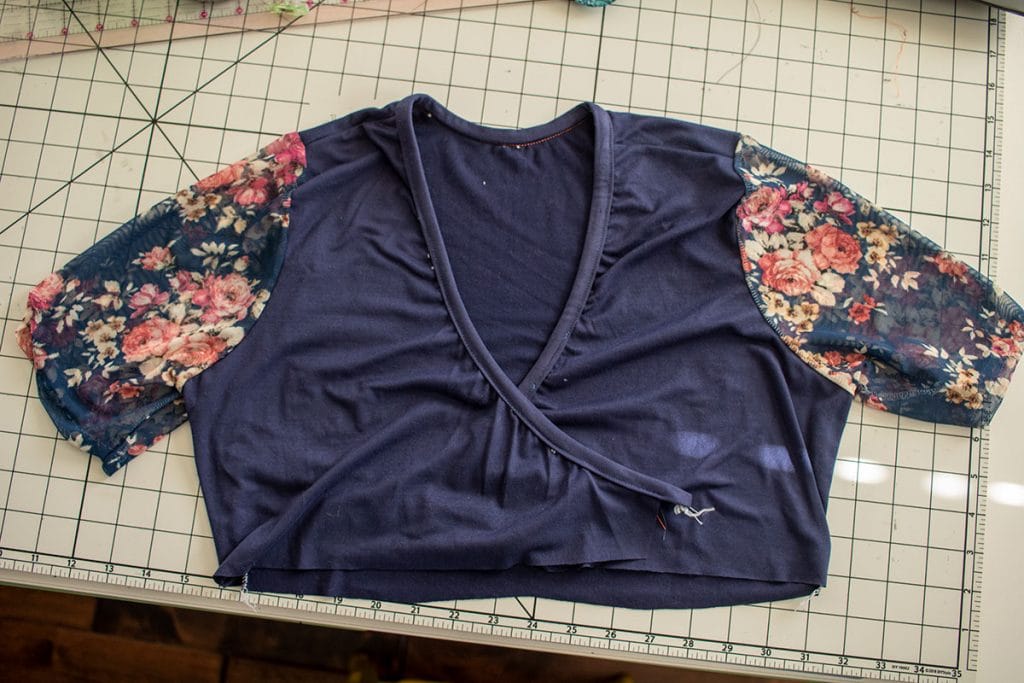
You should now have a top that looks like this.
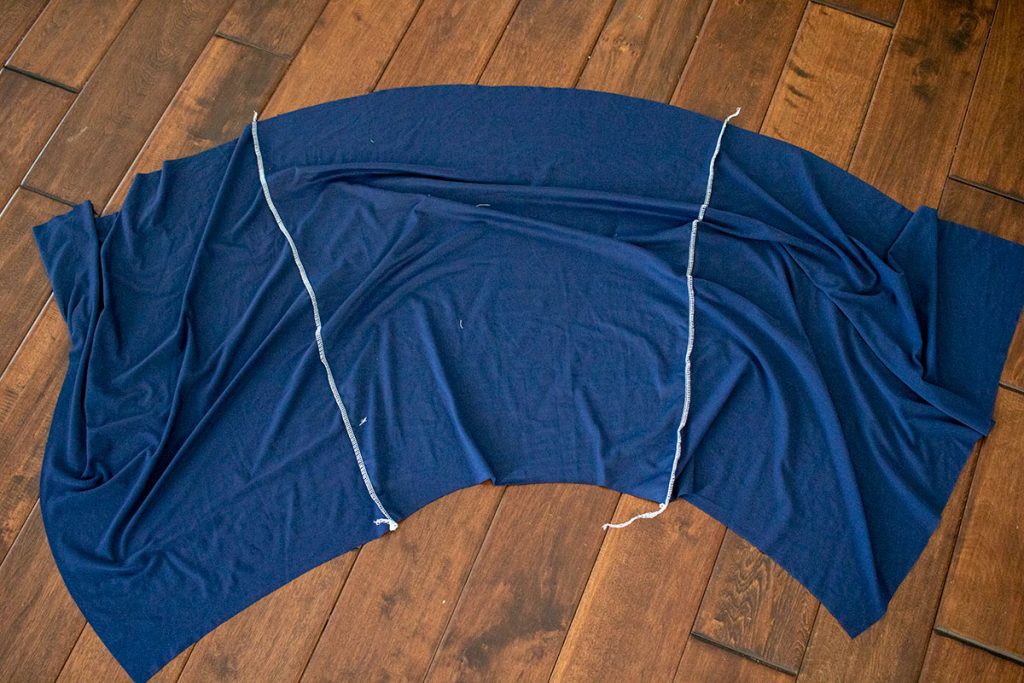
Sew the skirt sides to the skirt back. The skirt fronts say front finished edge. Those should be the open ends.
Find the back center of the top and the back center of the skirt. Pin there and work out towards the open sides. Ease together.
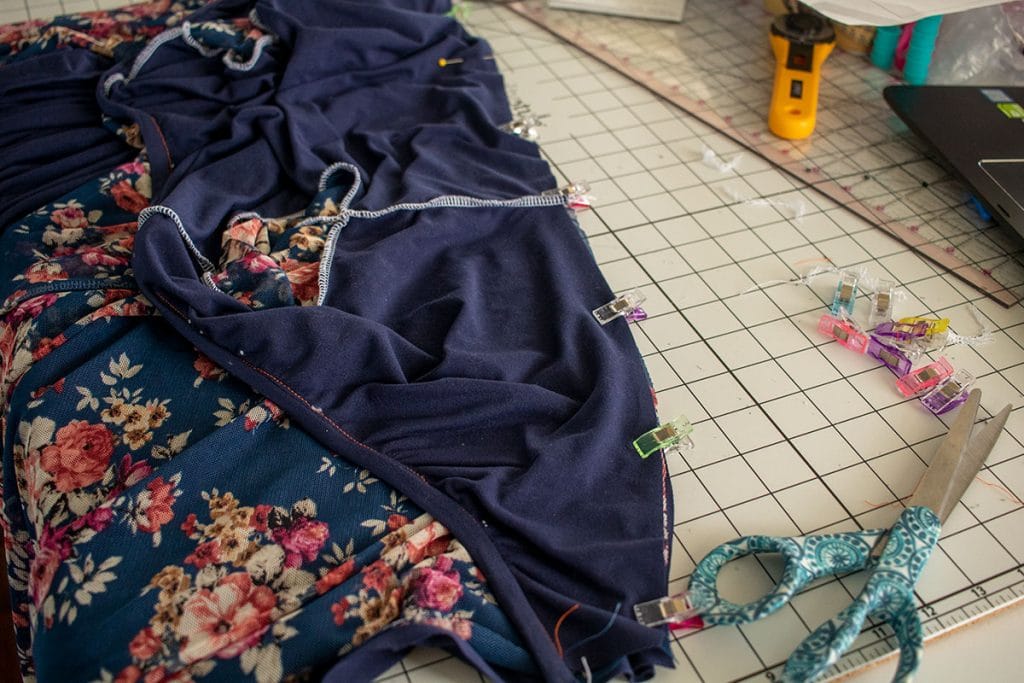
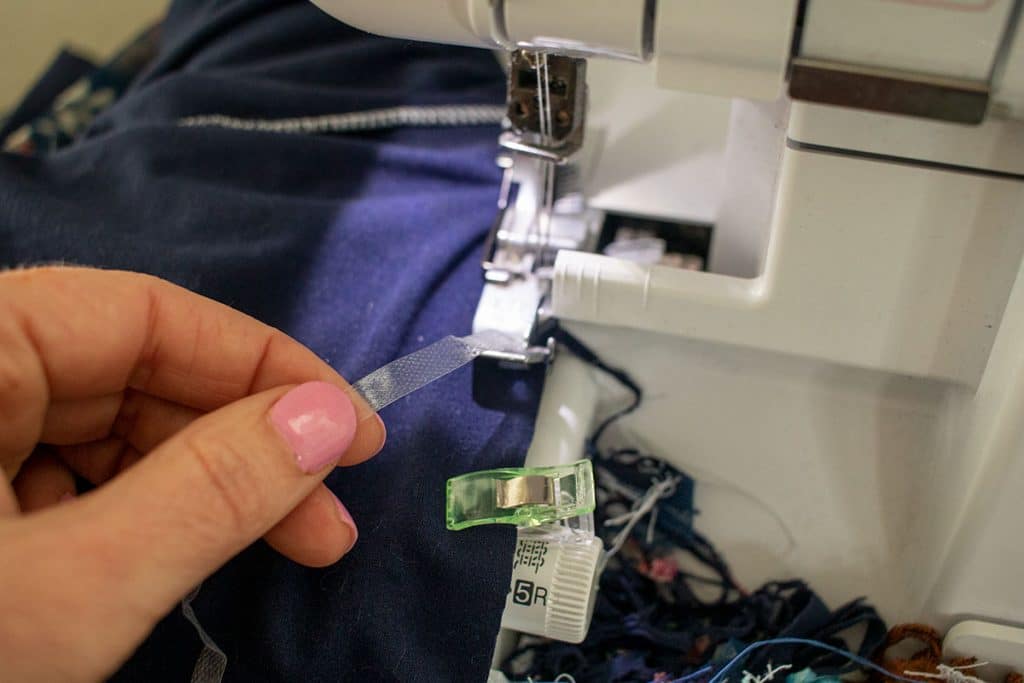
Sew the top to the skirt. I put clear elastic in my waist seam. Need help with clear elastic? Check out my clear elastic post here.
Now your top and bottom are together.
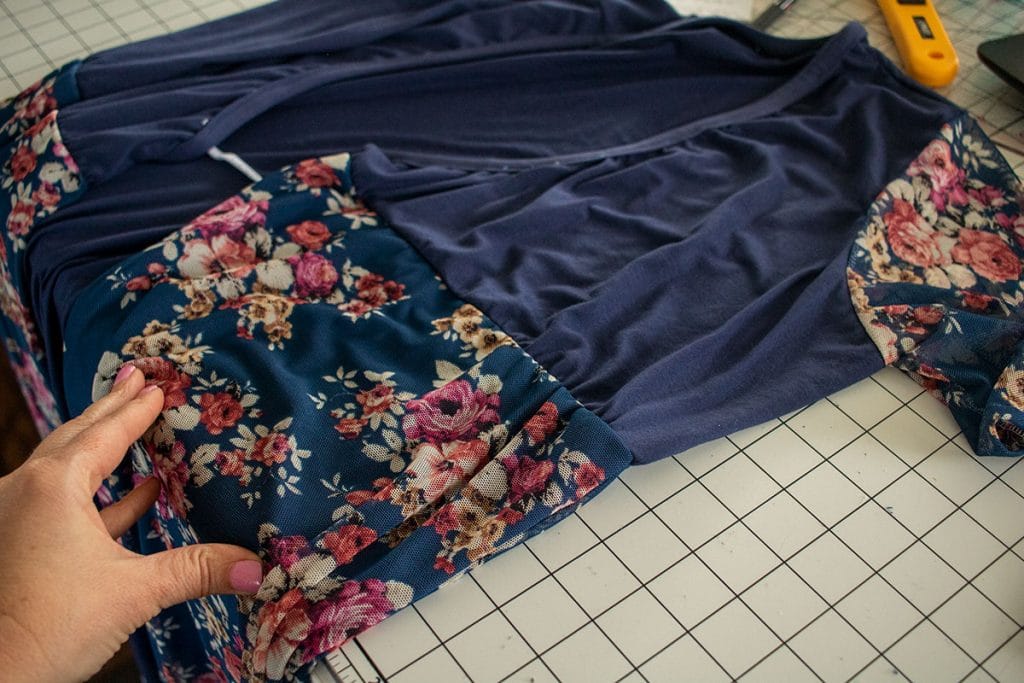
Finish the front edges of your dress. Fold back 1/2 inch and sew. This should go all the way from the bottom of the neckline to the dress bottom. I used a coverstitch for my finish.
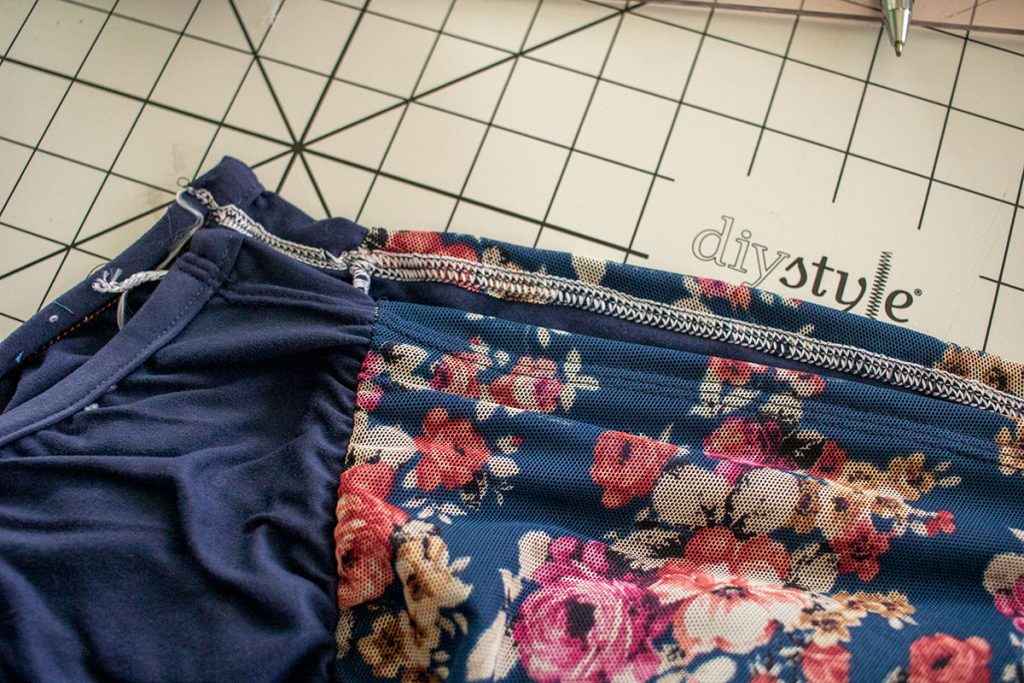
Attach and 12″ ribbon, bias tape or fabric string to both sides of the front.
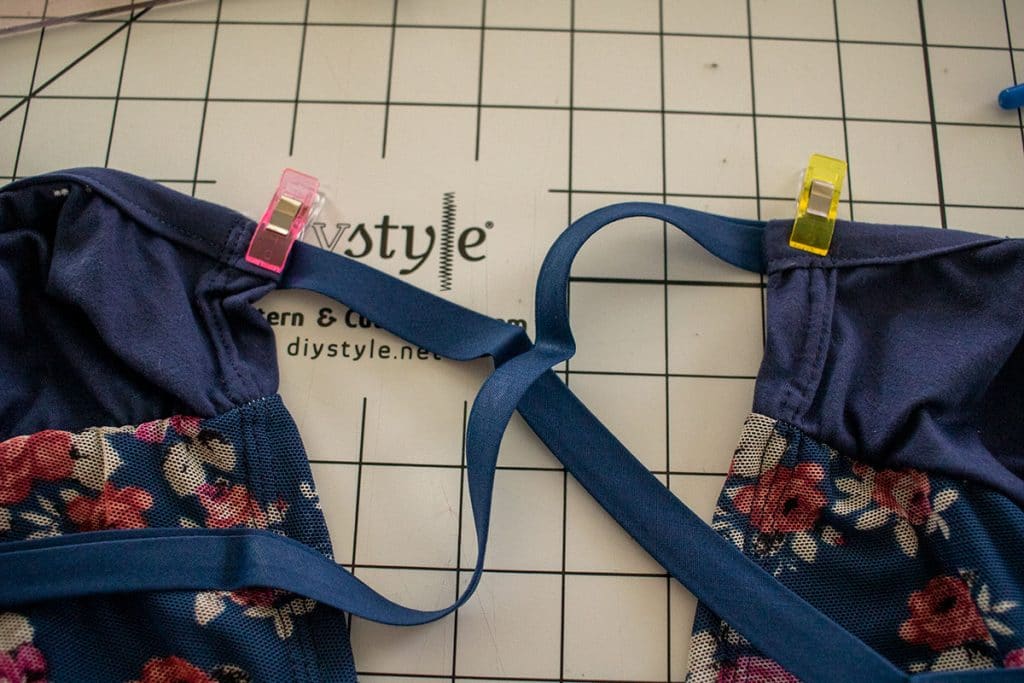
Cross one side over the other {up to you which way} On the top cross over, place another tie on the opposite side seam as shown.
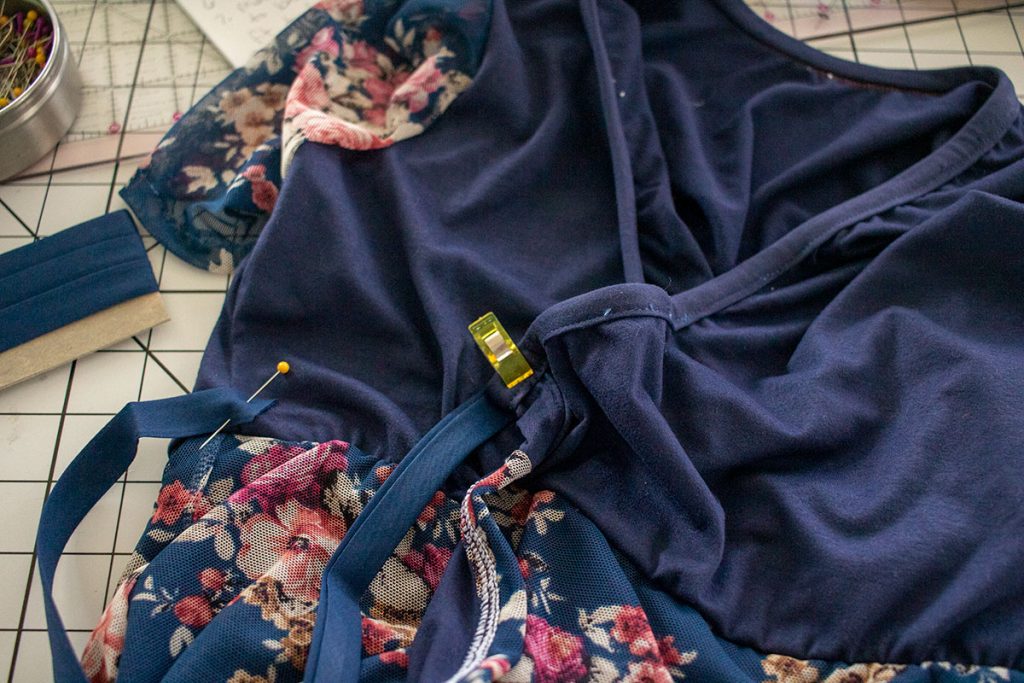
On the other side pin a tie to the inside side seam.
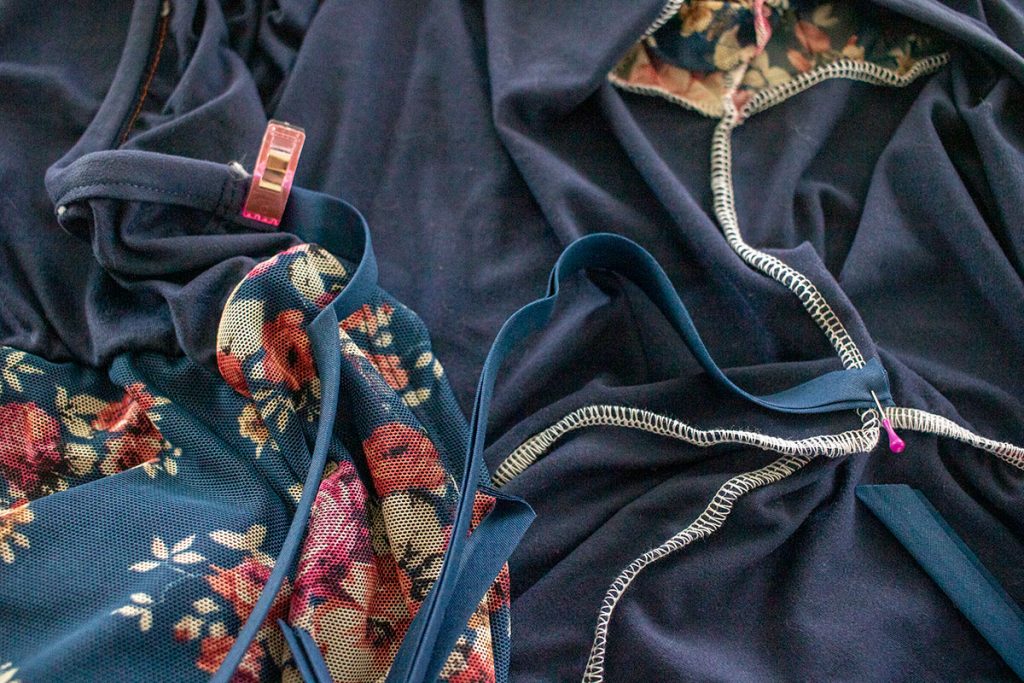
One side will tie on the inside of the dress.
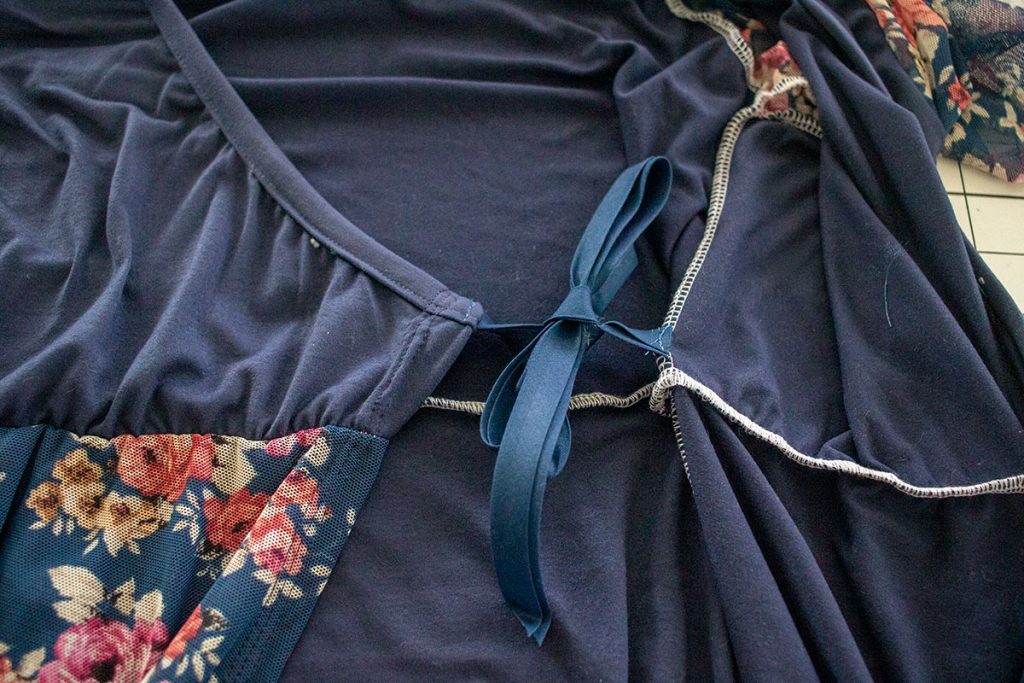
And the other side will tie on the outside of the dress.
Hem the dress with a 1/2″ hem.
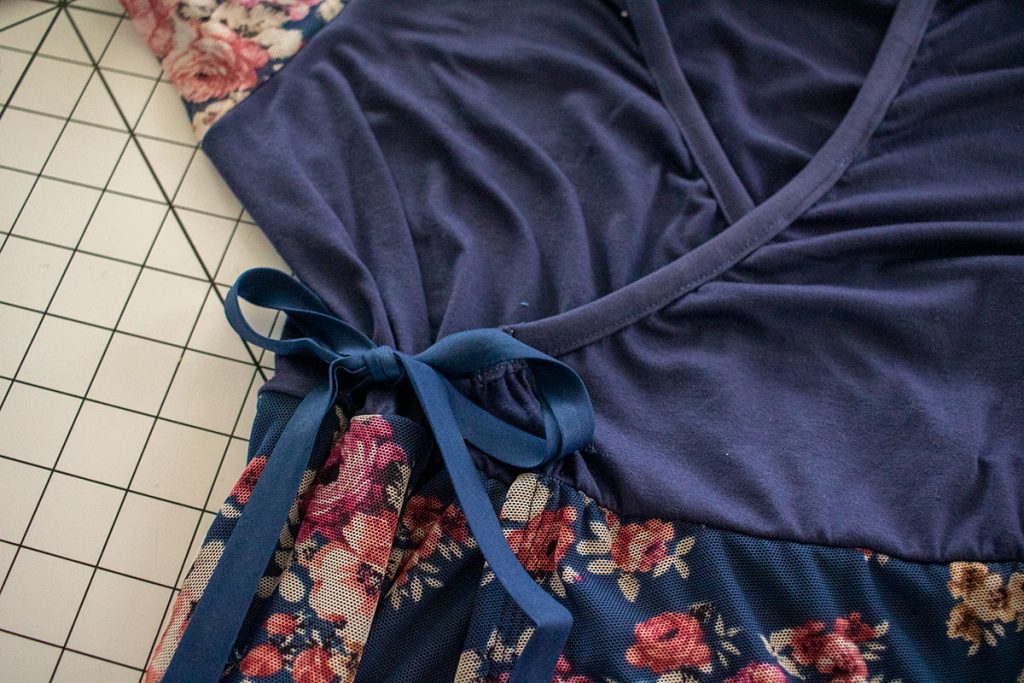
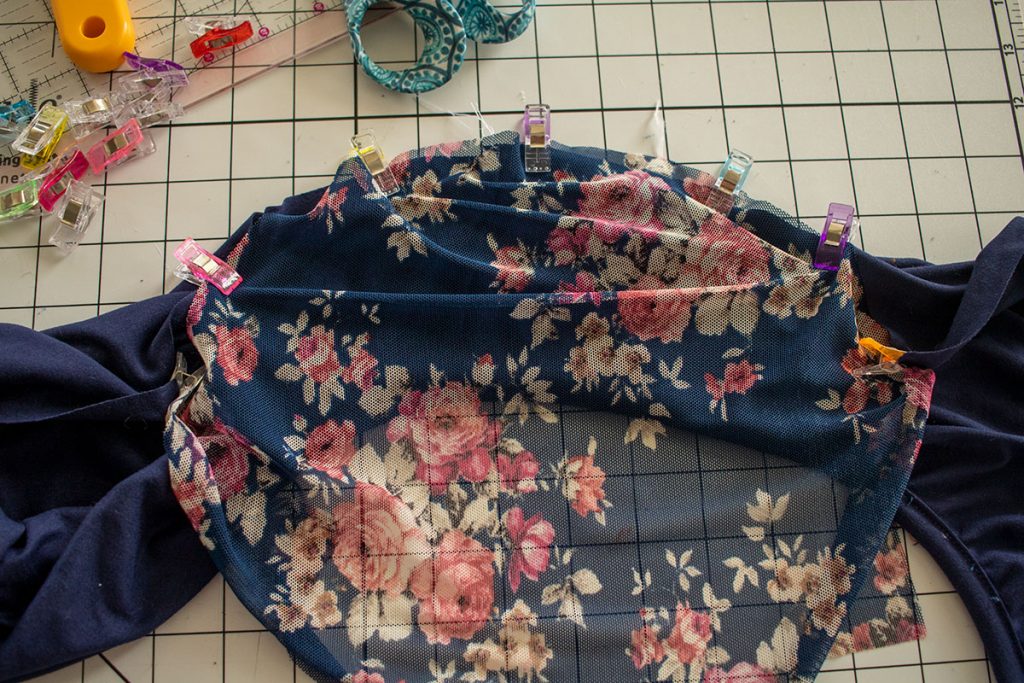
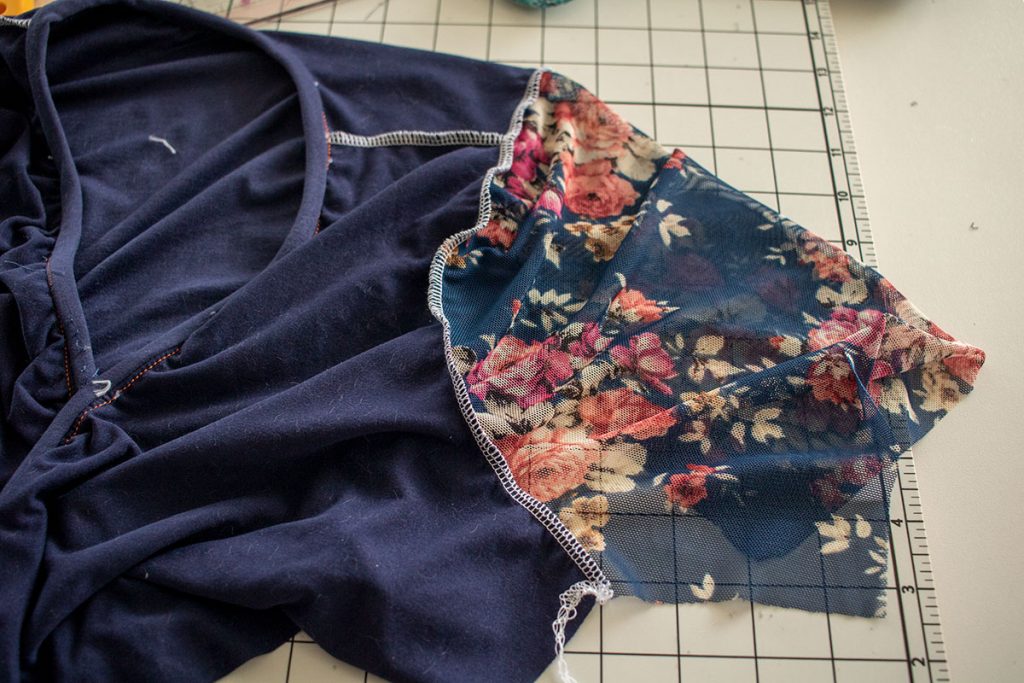
And you did it!! Beautiful!!! My skirt is a double layer of mesh and knit and I did not hem it. I didn’t want to mess with hemming the mesh.







Heather says
This is the cutest and will be so great for when I finally go back to the classroom!
Kynne says
I would like to see a pattern for a reversible wrap skirt.
Rocky Hendrickson says
Oh…nice. I did that for my granddaughter
M says
I absolutely love the dress!!!
You are a beautiful model in it:)
Rocky Hendrickson says
I love this !! If someone figures out the larger sizes..please let us know. Since being injured….2x for me. Sigh…
Andrea says
having a lot of trouble with the neckband likely because I’m a beginner! Can anyone give me any tips? I’m a bit confused about the neckband being 90% of the neckline and then how to match that up to the garmet to sew it? when I pin it I keep having spots where there is a lot of material that laps over.
Andi Stallwood says
Hi, If you pin or clip the neckband at the beginning and end first, then find the centre of the band and the top and clip them together.
Now work on one half. Again find the centre of both the band and the top and clip.
You can work like this in smaller pieces until you’re happy with how much you have clipped together. Then go back and do the other half.
Hope that helps and makes sense x
Amy Grant says
I made this in the largest size for a dress for a funeral and it was so easy to follow the instructions and the dress came out great.
Caitrin Martin says
I’m gonna be trying this in cotton fabric … thinking I should go up a size or two just for some ease?
Emily says
I haven’t tried it with woven fabric. The sleeves are not drafted for this kind of fabric.