
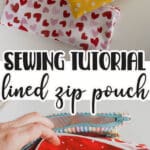
Inside: Sew up this fun lined zipper pouch with this tutorial. Lined zipper pouches take an easy zip pouch to the next level and can be used for so many things. Use this tutorial to sew a lined zip pouch.
**Post updated 2/2025 originally posted 6/2018**
I’ve been working my way through my old zipper pouch tutorials, updating the tutorials and rewriting them and doing some updating. Today I’m updating my lined zip pouch tutorial. This is a small upgrade from the simple zipper pouch tutorial I shared last week. It’s not a lot more difficult, but I would suggest you be a bit familiar with zippers before you sew this pouch {or be a very confident beginner!}
Lined Zipper Pouch
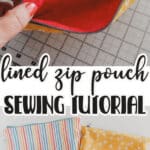
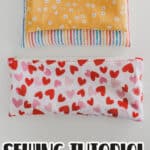
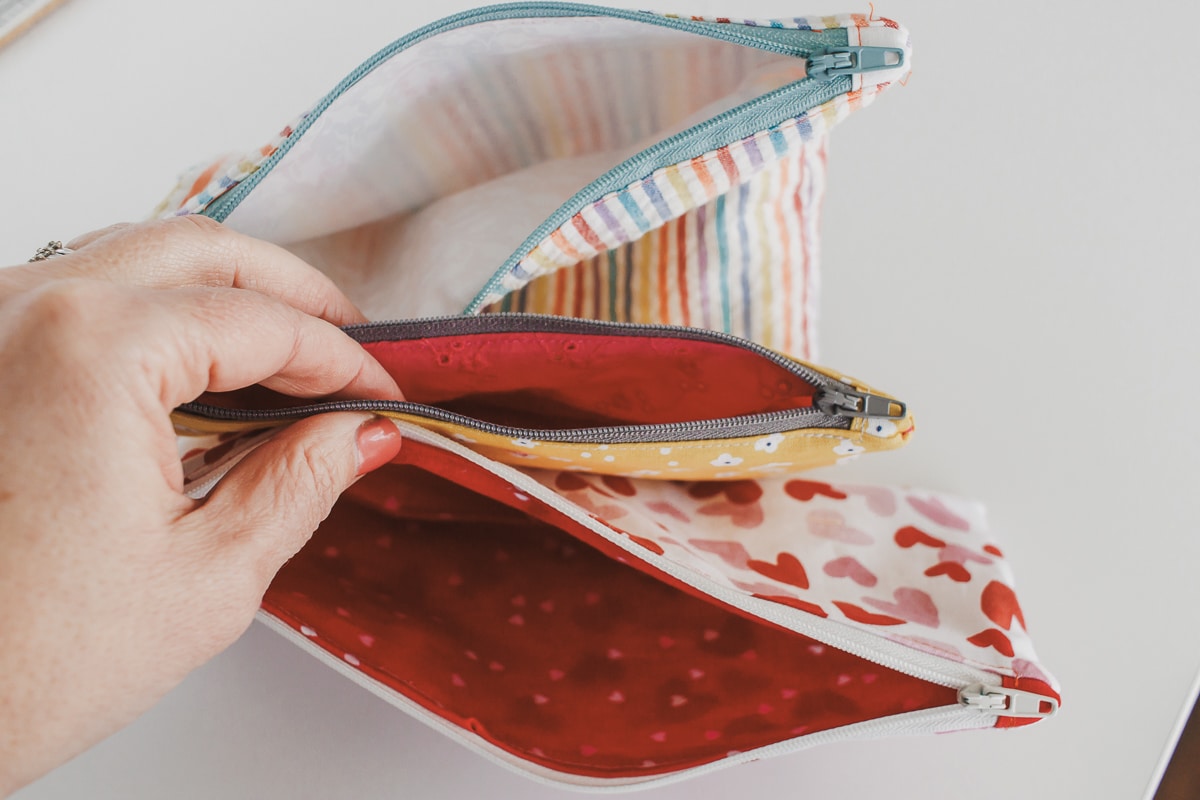
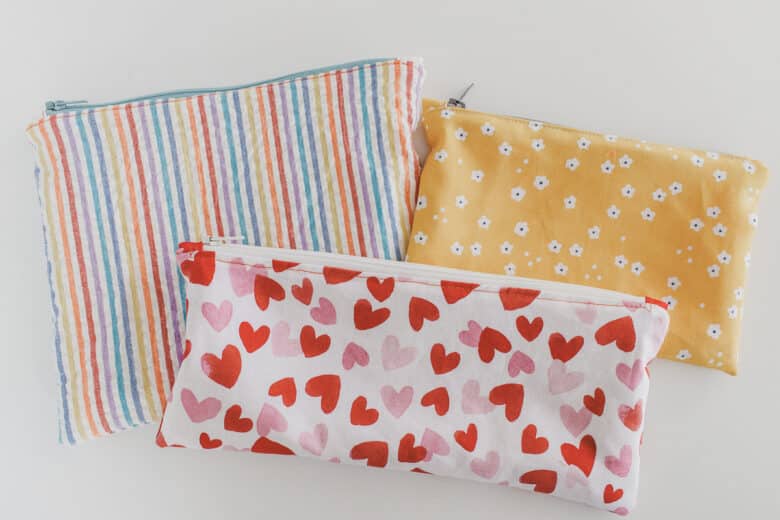
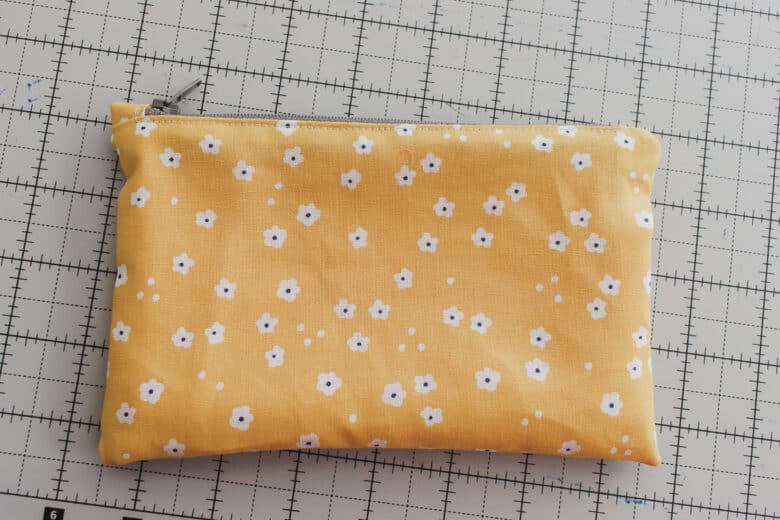
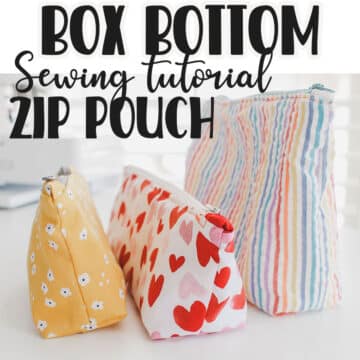
I’m so happy with how these turned out. This project is a great scrap buster and you can make a lined zip pouch in nearly any size. The next one that I want to try is a tiny one… like a credit card size. I’ll keep you posted. Here are the ones that I made this week.
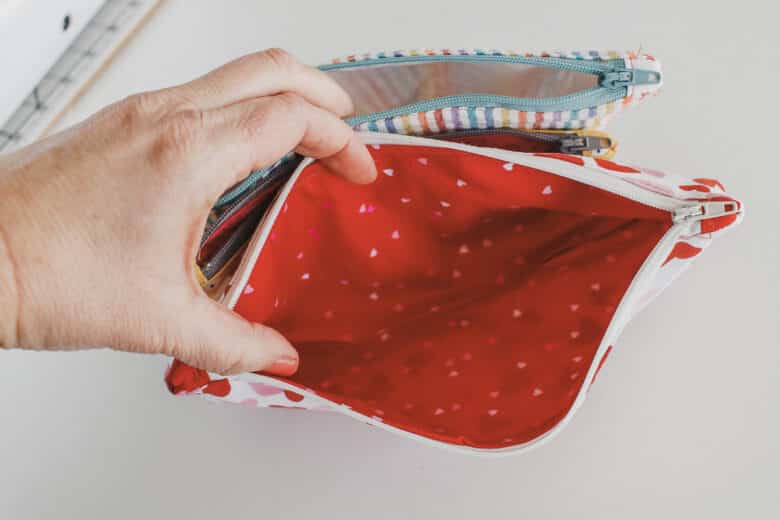
You can use the same fabric for the inside and the outside, but when you make your first pouch you should use two different fabrics. It’s easier to see the outside and the lining if you use two different fabrics so you can tell the two sides apart.
Other amazing zipper pouch tutorials to try-
Lined zip pouch video tutorial –
Here is the step-by-step video tutorial for the photo tutorial below. You can go back and forth between the video and photo version of the lined zipper pouch tutorial or pick which one works best for you.
How to sew a lined zipper pouch
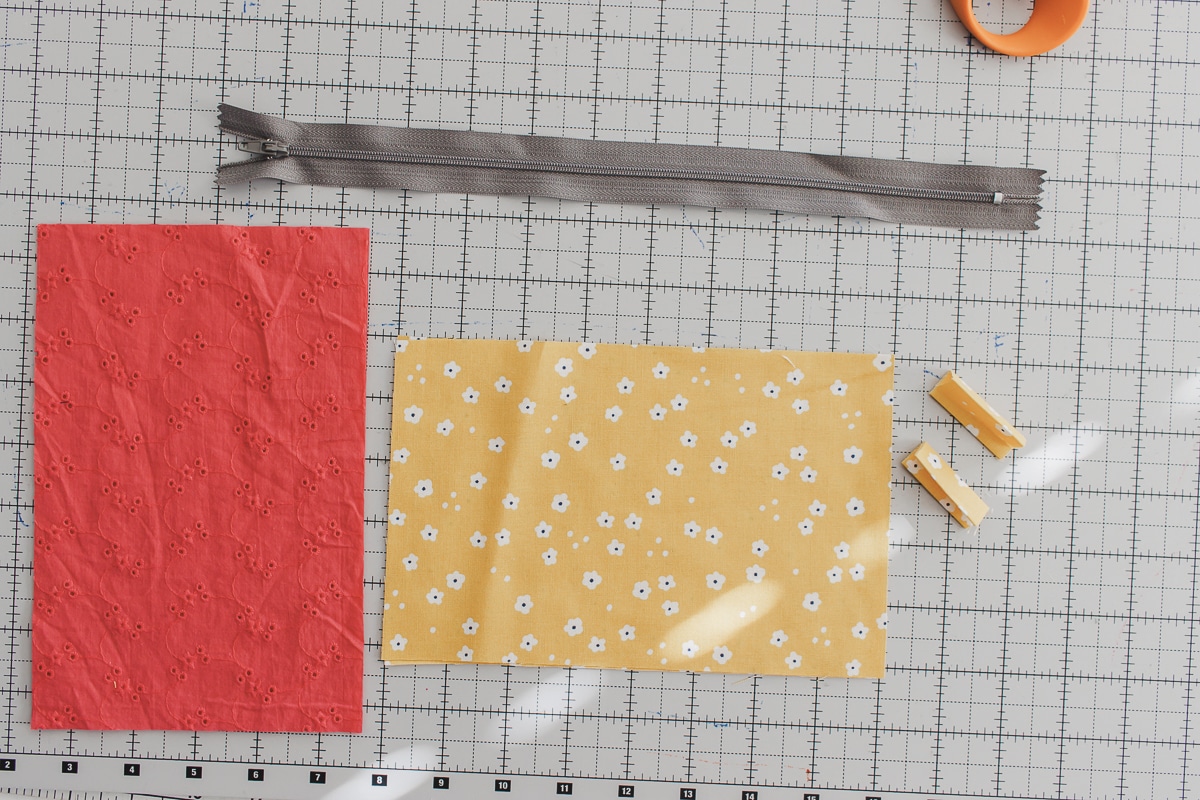
This lined zipper pouch tutorial is a great project for using up scraps. You will need fabric scraps of any size, but at least as wide as your zipper. Smaller zippers 6-10″ long work best for zippered pouches. You can make your pouch as tall as you want. I made one wide and short and one more square shape. Cut 4 pieces of fabric { I used 2 different fabrics } Also cut one zipper tab of fabric 2 x 3″ of fabric.
Note: You can also make your lined zipper pouch a bit more structured but using some fusible fleece on the back of the outside main fabric. Fuse on the back of the main fabric now before any sewing. I thought I had some, but I didn’t {sadness}….
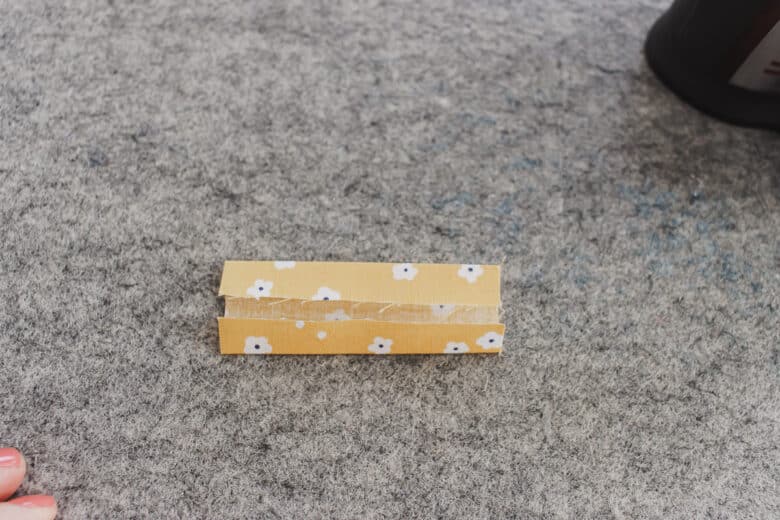
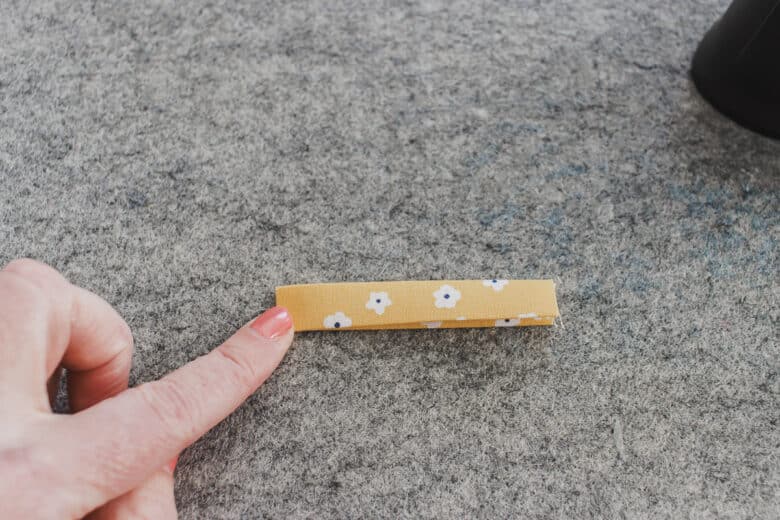
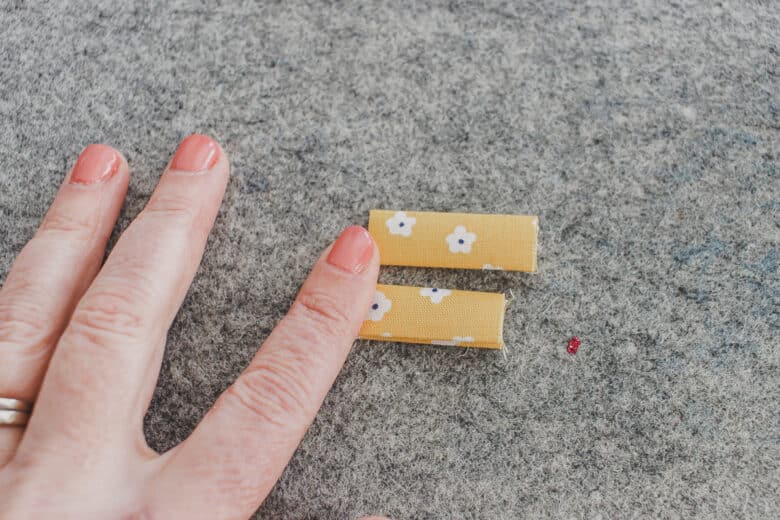
The photo above, the zipper tabs are already prepared… so let’s catch up and prep the tabs. I told you to cut ONE 2 x 3″ piece of fabric. With the three inches side to side iron the fabric in half, then iron each edge into the half again. {A double fold} Iron well. Then cut in half to make two zipper tabs.
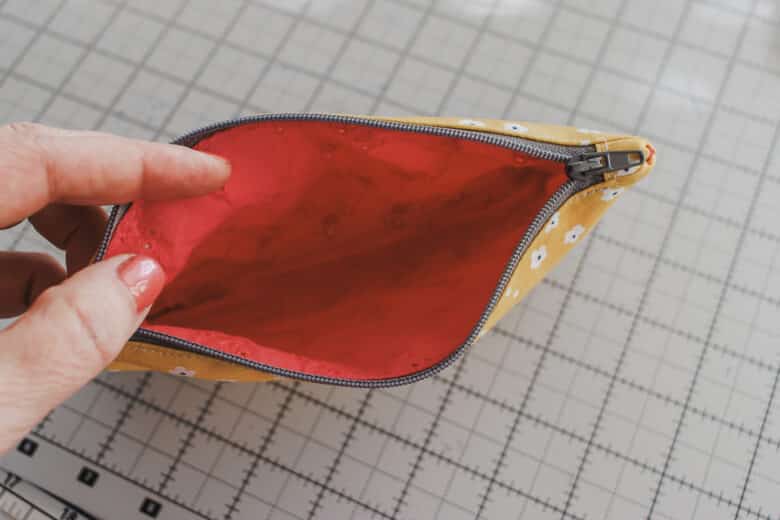
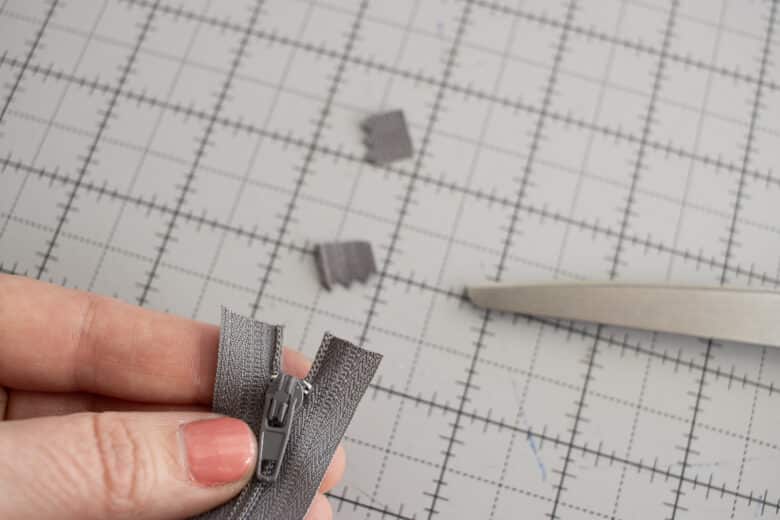
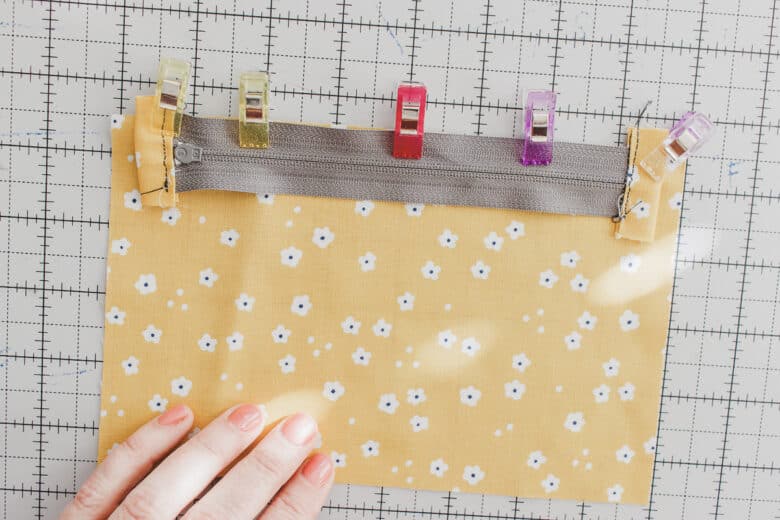
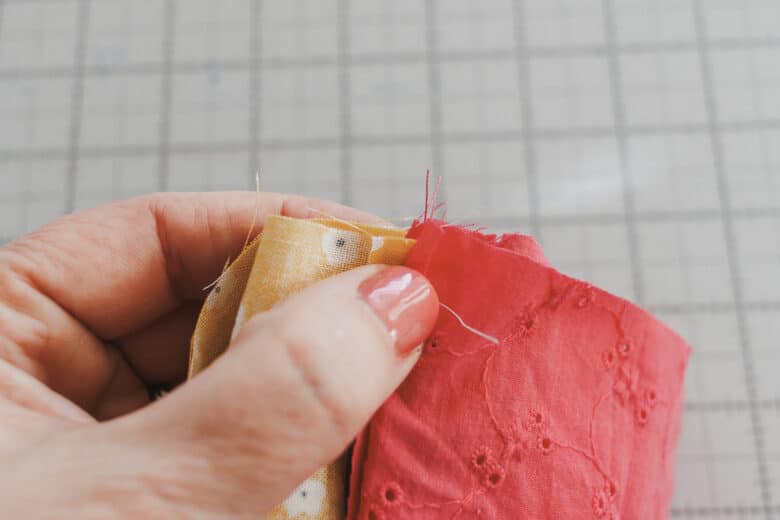
On the zipper pull end of the zipper, trim off the extra zip tape so the fabric tab will fit snug. Pin or clip to the zipper. I like to use a grid mat or ruler for this step. Trim the zipper and add the fabric tab to the other side of the zipper so the zipper is 3/8″ shorter than the pouch on either side. This will be the seam allowance. The grid mat helps me measure and see the 3/8″ easily.
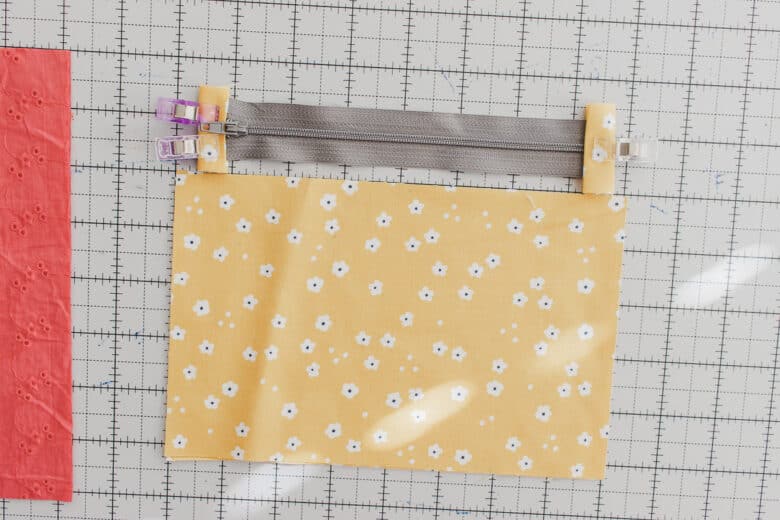
Using a zipper foot on your sewing machine, sew on the fabric, close to the zipper side to secure the fabric to the zip. {Move the zipper pull out of the way before you sew that end} Place the right side of the zipper on on the right side of your OUTSIDE fabric and pin or clip.
Sew along this edge with about a 1/4″-3/8″ sea, allowance using the zipper foot. Add the lining fabric on top of the back side of the zipping, lining up the top edge. Sew along the top edge as shown, using the same seam allowance.
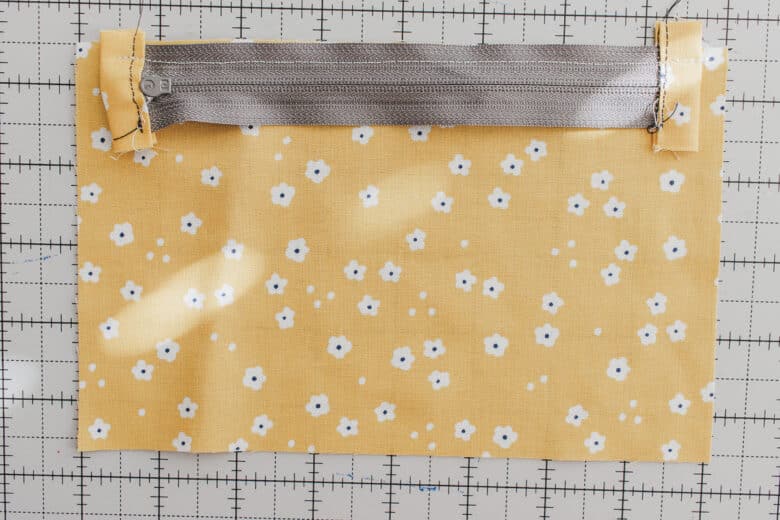
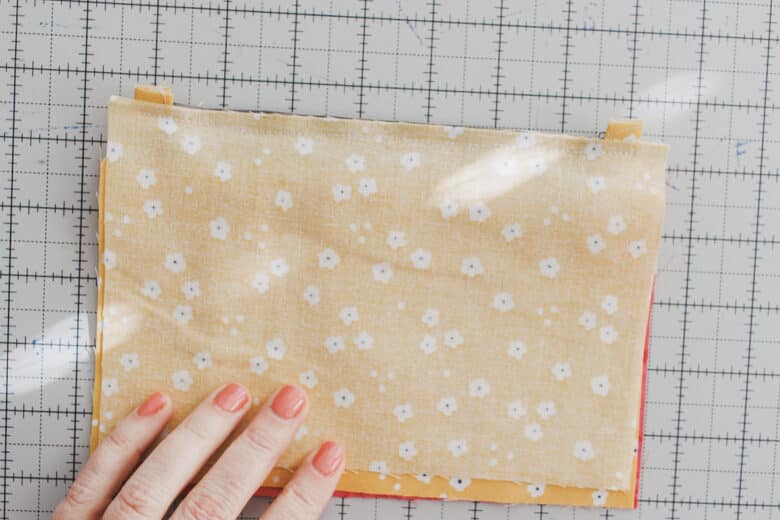
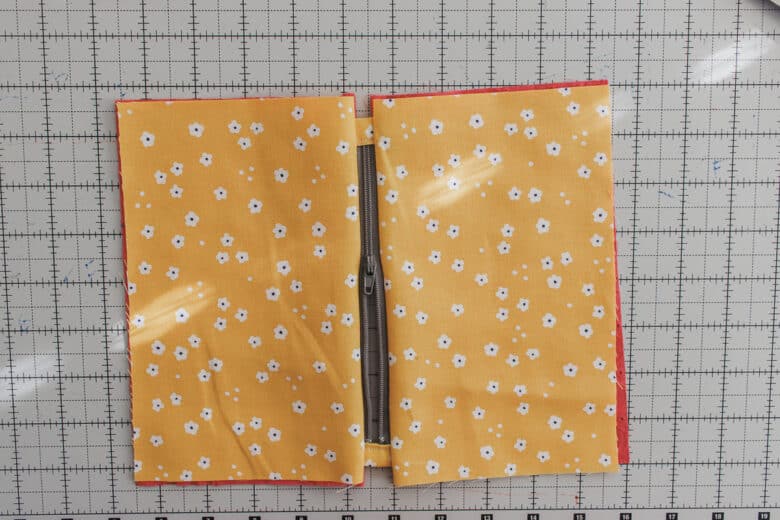
When you open up the fabric you now have a main fabric and a lining sewn on one side of the zipper. Place the zipper and fabric as shown in the right photo below.
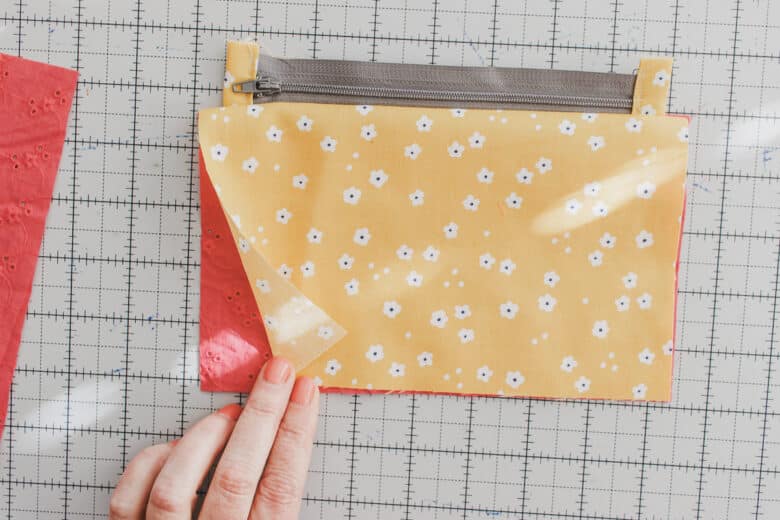
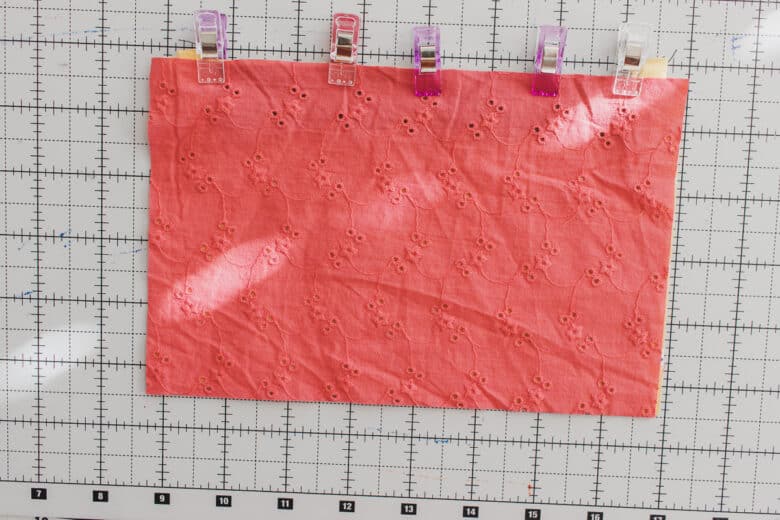
Place a piece of the main, outside fabric on the zipper, with the right side of the zipper and the right side of the fabric together. When you open up the fabric you should see the top of the zipper and both sides of your outer fabric.
Sew this fabric to the zipper with the same seam allowance as the other side.
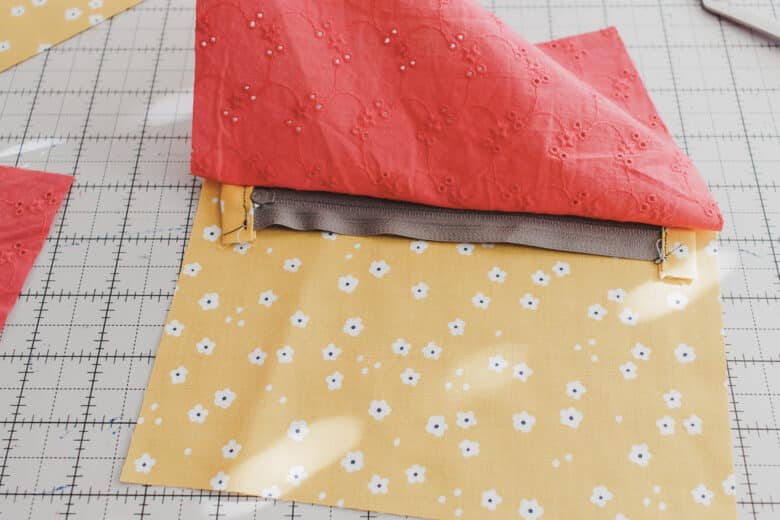
Flip over the zipper to the back side and place piece of the lining fabric on the back side of the zipper.
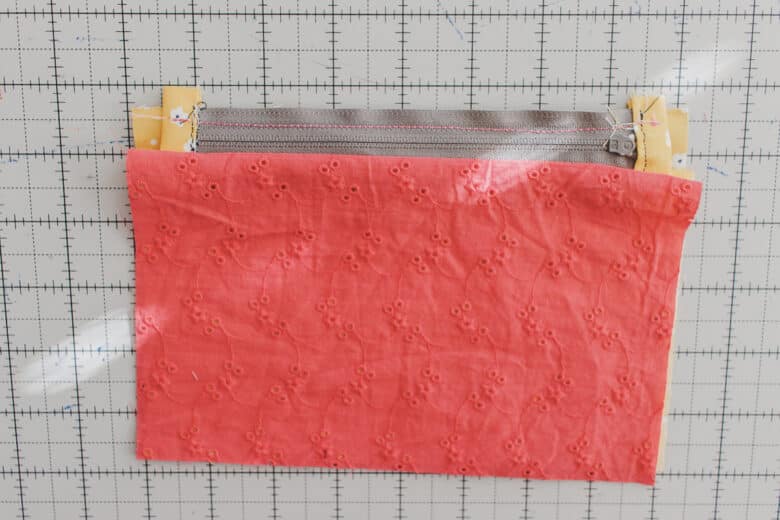
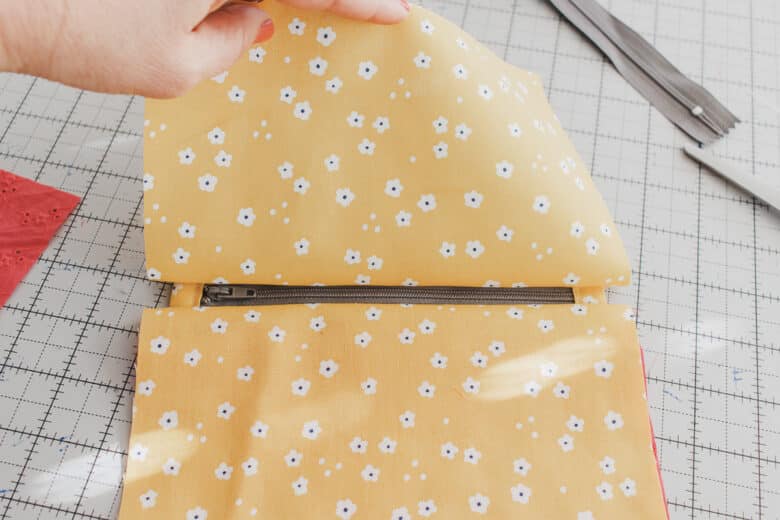
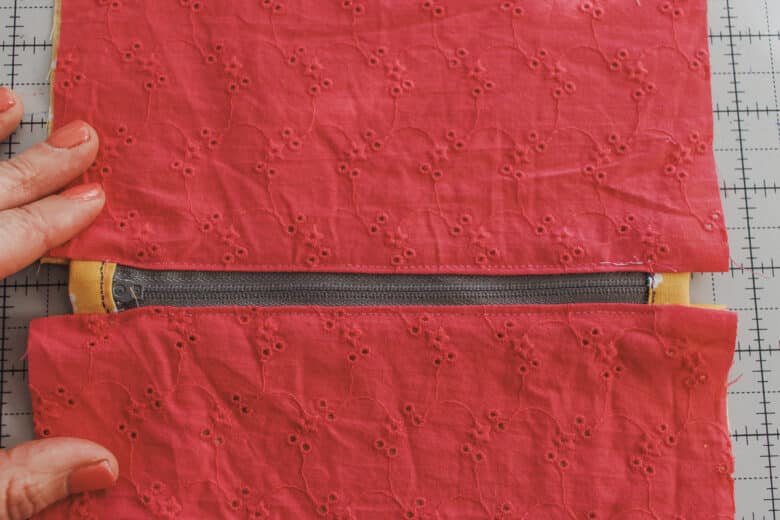
When you open it up, you should see the back of the zipper and what will be the inside of the pouch fabric. Sew along the zipper again to attach the lining fabric. Open up the fabric on either side of the zipper. You should have one lining and one main fabric on either side.
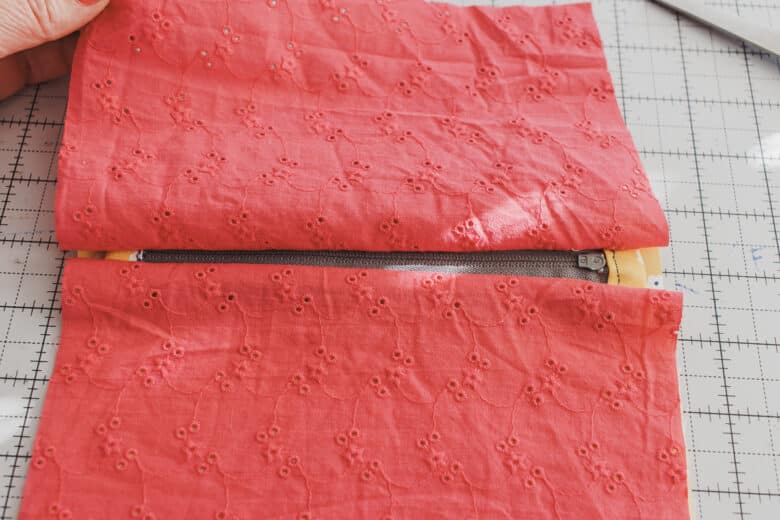
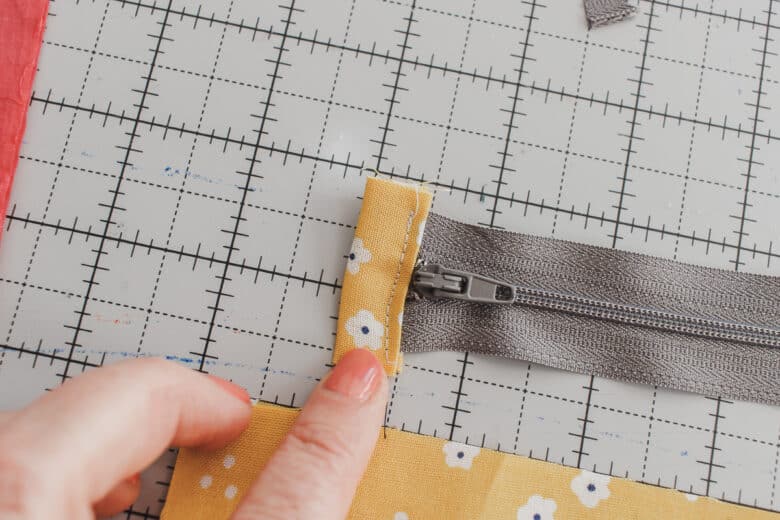
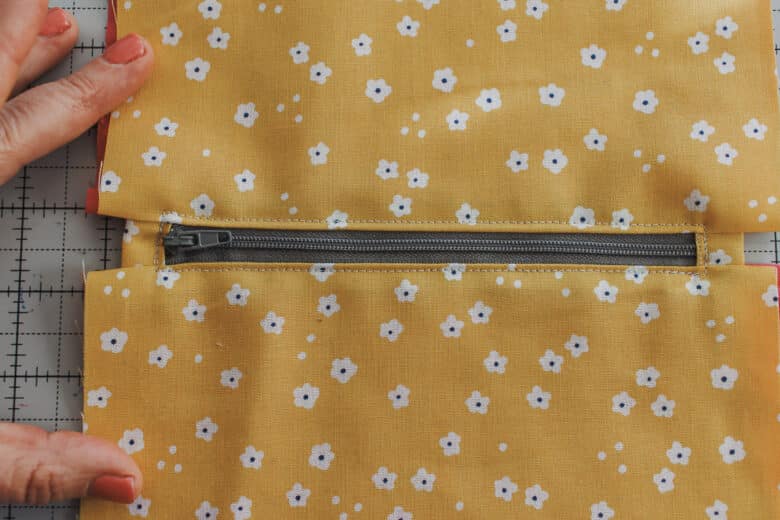
Top-stitch around the zipper on all four sides. Stitch close to the zipper, keeping the fabric pulled tightly away from the zipper. Move the zipper pull as you sew, so you never sew past it. Here is what the top and bottom should look like.
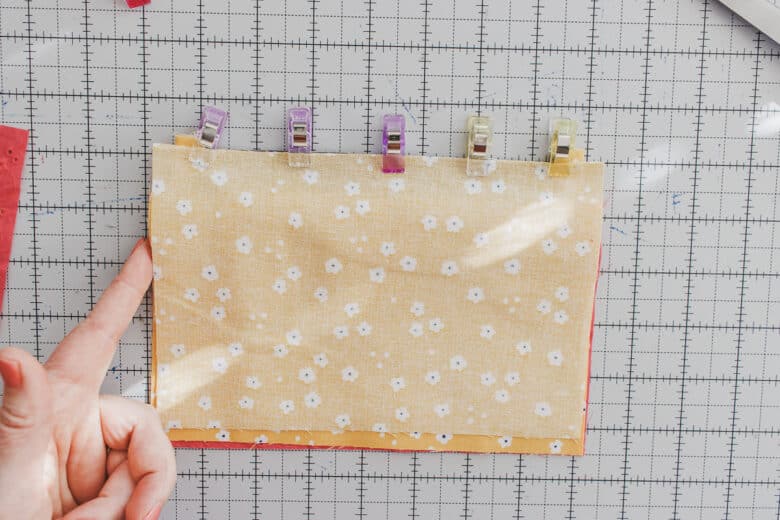
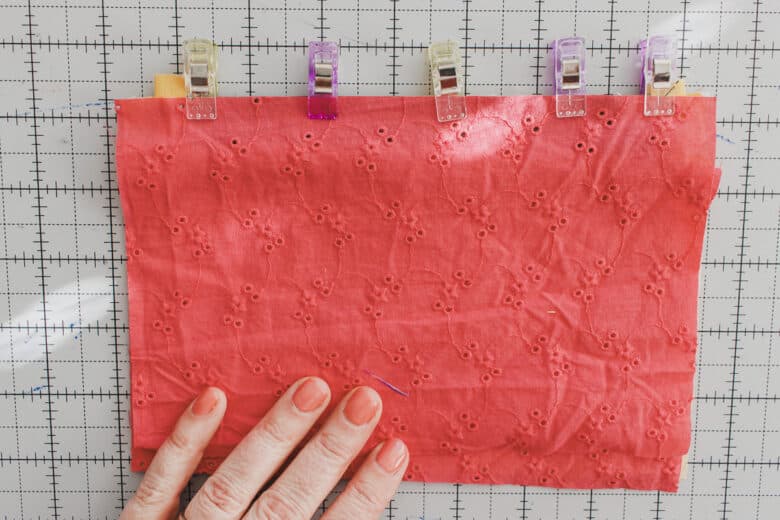
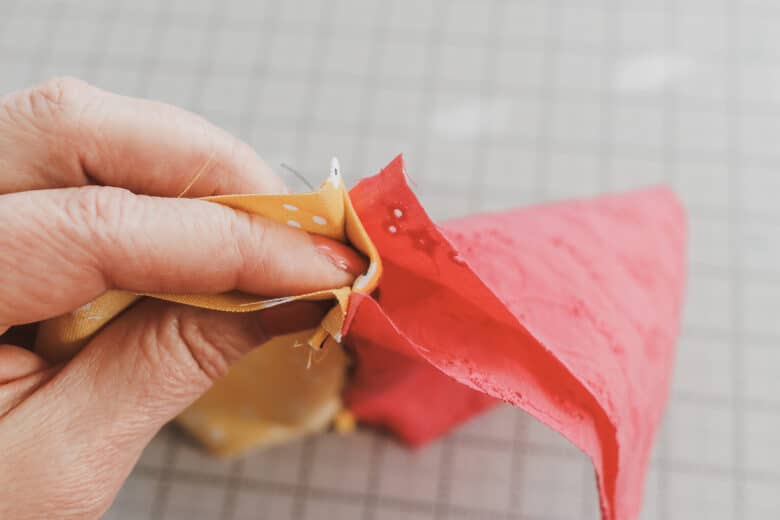
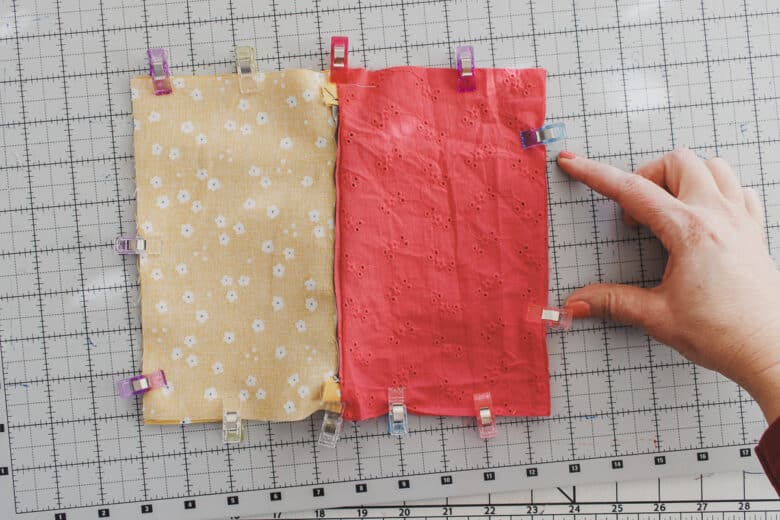
Open up the zipper at least half way. Fold the fabric so the two outside pieces are together and the two lining pieces are together.


In the middle, press the fabric tab towards the lining side, open up the seam allowance and pin or clip.
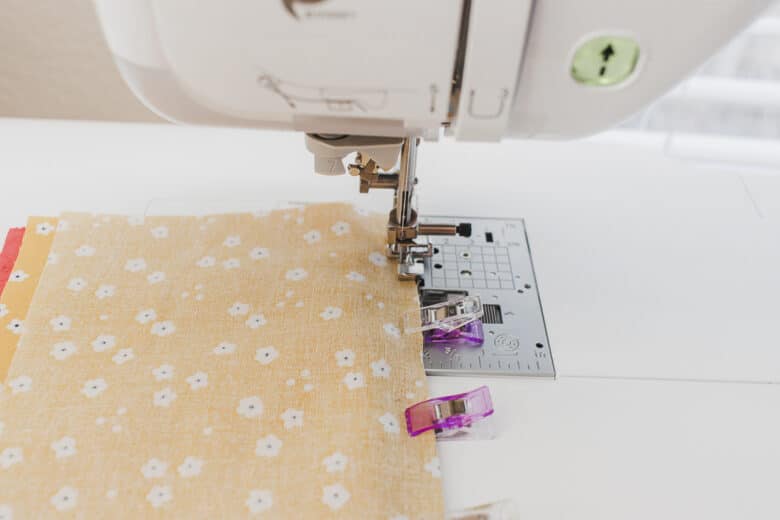
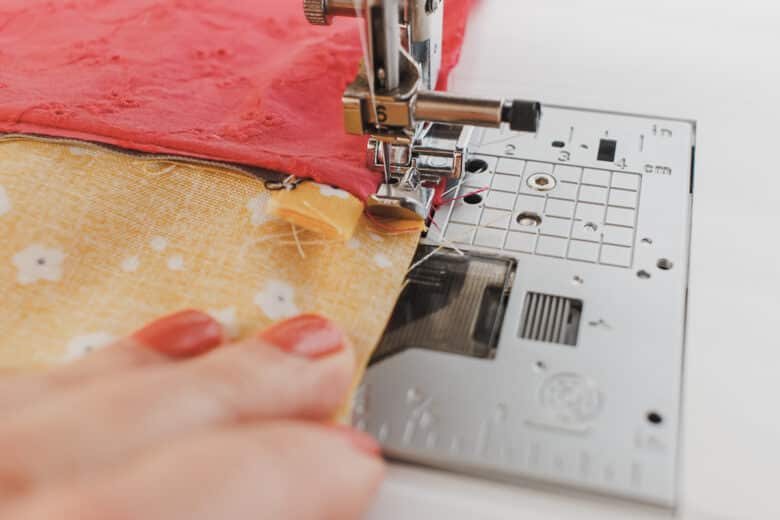
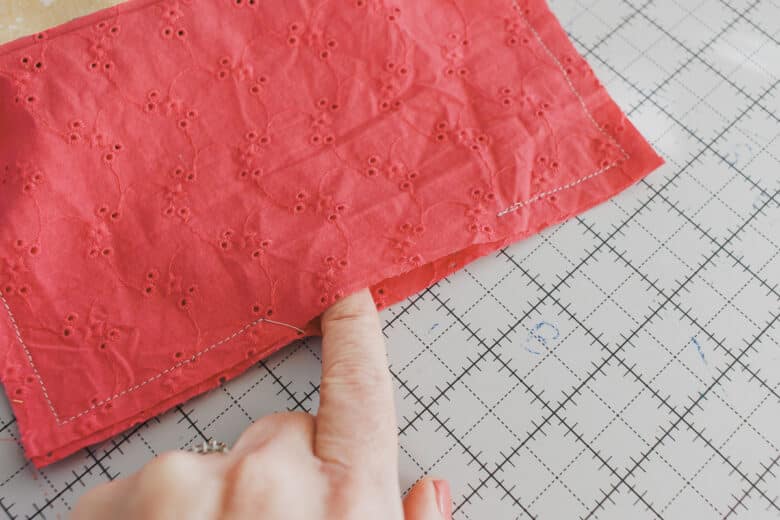
You will leaving an opening at the bottom of the lining for turning. Start at one side of the bottom of the lining, start sewing around the bag with a 3/8″ seam allowance. When you get to the zipper tab end you will want to sew as close to the fabric tab as you can, without sewing through the tab. Keeping the zipper foot on your machine helps with this.
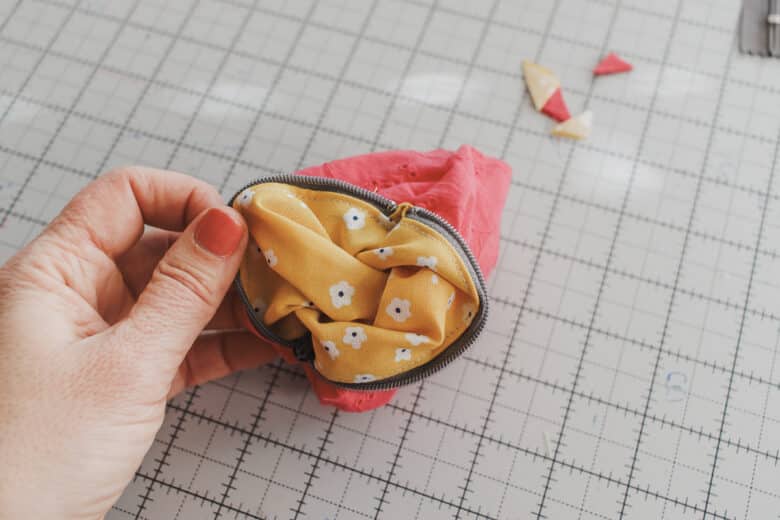
Clip the four corners of your pouch, then turn right side out through the turning hole and open zipper.

Fold the seam allowance of the turning hole in, and stitch with a needle and thread or your sewing machine. Poke out the corners and your zip pouch is ready to go!
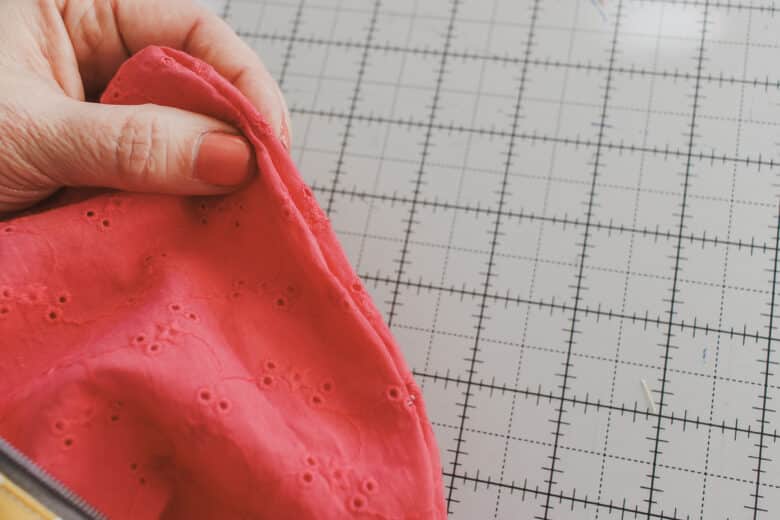
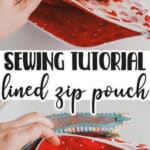
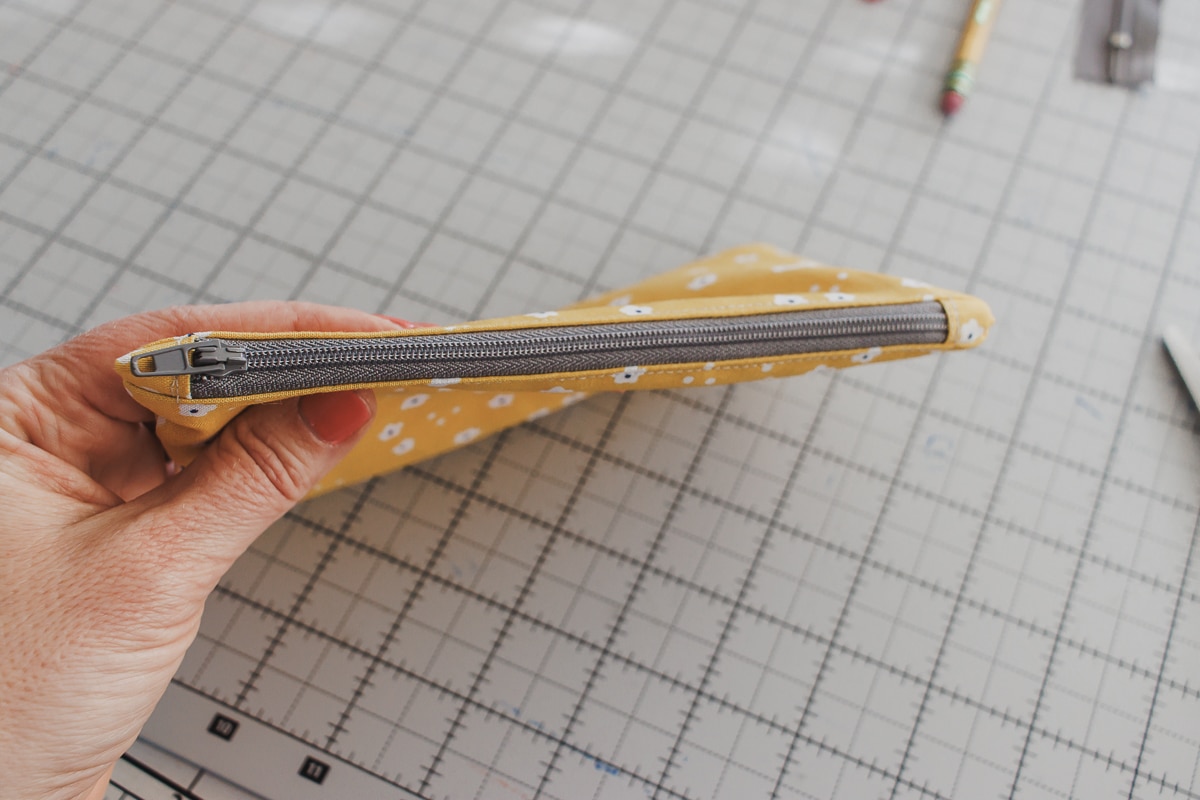
Enjoy how the beautiful zipper looks in your new lined pouch.


Ushmana Palmo Rai says
These pouches are so cute!
The method is quite tricky but its all worth it in the end with the zipper, it’s going to be my new makeup travel bag! Thanks!
singdong says
This is very easy to the tutorial to make such a beautiful pouch.
leaExisa says
Impossible à démêler, trop de volume, trop secs… Les cheveux crépus sont souvent difficiles à coiffer. Pourtant, avec des soins adaptés, ils dévoilent toute leur beauté. Voici nos conseils, à appliquer au quotidien.
Les caractéristiques des gommage beurre de karité
Très frisés naturellement, les cheveux crépus sont généralement très denses, aplatis et non ronds. Ils sont couchés le long du crâne plutôt que droits. Ceci sert à protéger le cuir chevelu du soleil. Les femmes noires, du Maghreb et des îles le savent bien !
Les problèmes des cheveux crépus
Sous les climats tropicaux, le cuir chevelu est constamment humidifié, ce qui permet aux cheveux de pousser et de se maintenir en bonne santé.
Mais dans les pays tempérés, comme en Europe, le manque d’humidité provoque un resserrement des pores, concentrant le sébum au niveau du cuir chevelu. Celui-ci s’asphyxie, se déshydrate et pèle, tandis que le reste de la chevelure devient de plus en plus sec et frisé, poussant en spirale, ce qui entraîne le recours quasi systématique aux pratiques de coiffure comme le défrisage ou les rajouts, qui, à la longue, fragilisent la chevelure.
Le shampooing pour cheveux crépus
Fragiles et secs, les cheveux crépus ont besoin d’être lavés en douceur et nourris intensément. Faites un shampooing pour cheveux secs et frisés, que vous compléterez par un après-shampooing riche et nutritif, à base de jojoba, de carthame ou de karité.
Massez la chevelure et rincez à l’eau chaude puis tiède avant de terminer par un jet d’eau fraîche. Cela facilite le démêlage et fait briller les cheveux.
Les soins pour cheveux crépus
Une fois par semaine, offrez vous un masque ultra-nourrissant au beurre de karité, pour assouplir et nourrir profondément votre chevelure.
Avant le shampooing, laissez-le poser au moins une demi-heure, enveloppée d’une serviette chaude pour plus d’efficacité.
En cas d’extrême sécheresse, gardez-le toute la nuit et émulsionnez-le sous l’eau, au réveil. Les mèches retrouvent toute leur vigueur.
Le choix de la rédac’ : Le soin Huile-en-Crème pour cheveux très secs, d’Elsève Huile Extraordinaire, enrichi en 6 huiles de fleurs rares. Spécialement conçu pour les cheveux très secs ou frisés, ce soin est un must-have de la beauté. Il apporte une nutrition durable, transforme la chevelure en une matière souple et soyeuse, sans l’alourdir ni la graisser. On l’aime également pour son côté multi-usages : sur cheveux mouillés, à appliquer sur l’ensemble de la chevelure pour la nourrir intensément ; avant le brushing, sur les longueurs et les pointes, pour protéger la matière des agressions du sèche-cheveux ; ou en soin de finition sur les longueurs pour assouplir le cheveu et faciliter le coiffage. ?
Huile Extraordinaire Huile-en-Crème Cheveux très Secs, Elsève – 7,90 euros
Pensez aux huiles de palme, de jojoba ou au monoï qui hydratent et nourrissent les cheveux très secs et abîmés. Appliquez le soir et laissez poser toute la nuit. Lavez et rincez au matin : les cheveux retrouvent vigueur et luminosité.
?Comme les Marocaines, usez du rassoul. Dilué dans l’eau, il forme une sorte de boue qui mousse et absorbe les graisses. Ce soin, pratiqué depuis l’Antiquité par les femmes du moyen Atlas, redonne brillance et souplesse aux cheveux.
Recettes maison
Masque express
Faites tiédir de l’huile d’olive au bain-marie et appliquez-la sur vos cheveux, enveloppés dans une serviette chaude une demi-heure avant le shampooing.
Masque à l’huile d’amande douce, au miel fondu et à la crème fraîche
Mélangez tous ces ingrédients en proportion égale pour faire un masque que vous mettrez pendant une demi-heure, sous une serviette chaude. Procédez ensuite au rinçage.
Masque à utiliser en cure
Mixez ou râpez ½ avocat et ½ banane, ajoutez un jaune d’œuf et une cuillérée à café d’huile d’olive. Mélangez bien l’ensemble.
Appliquez sur cheveux humides le masque en massant bien le cuir chevelu. Recouvrez d’un bonnet en plastique et laissez reposer pendant ¾ d’heure à 1 heure.
Ce masque, à appliquer une fois par semaine, en cure d’un mois minimum, permet de restructurer la chevelure.
Comment brosser les cheveux crépus ?
Très fins mais concentrés en masse, les cheveux crépus sont difficiles à brosser et cassent facilement. Il faut donc les démêler avec un peigne à larges dents.
Éventuellement, vaporisez un peu de lotion démêlante sur les nœuds.
À éviter
les gels de coiffage qui cartonnent, assèchent et finissent par étouffer le cuir chevelu
les tresses trop serrées : les cheveux trop sollicités finissent par tomber, et certains ne repoussent plus
les démêlages trop violents qui fragilisent les cheveux
les extensions trop lourdes, qui tirant sur les racines, provoquent la chute des cheveux