


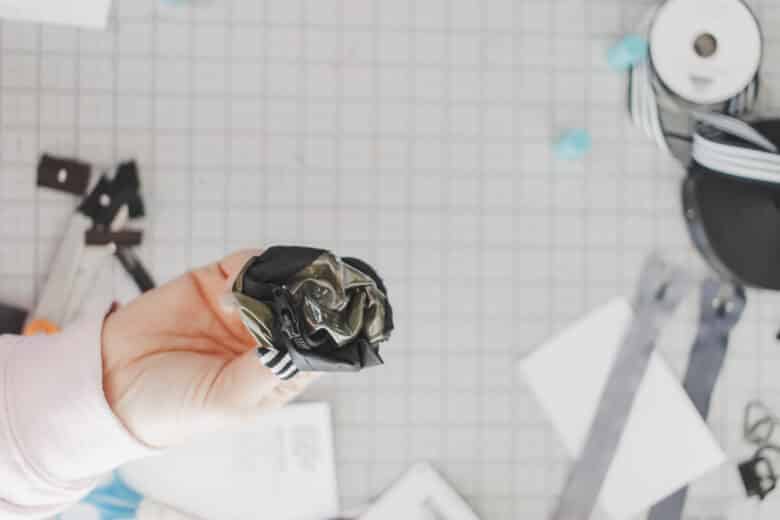
inside: sew up this perfect sized zipper wallet for your lanyard or pocket. This free pattern and tutorial make it easy to sew and perfect to use. Create in any color for boys and girls, great for those who don’t have much to carry.
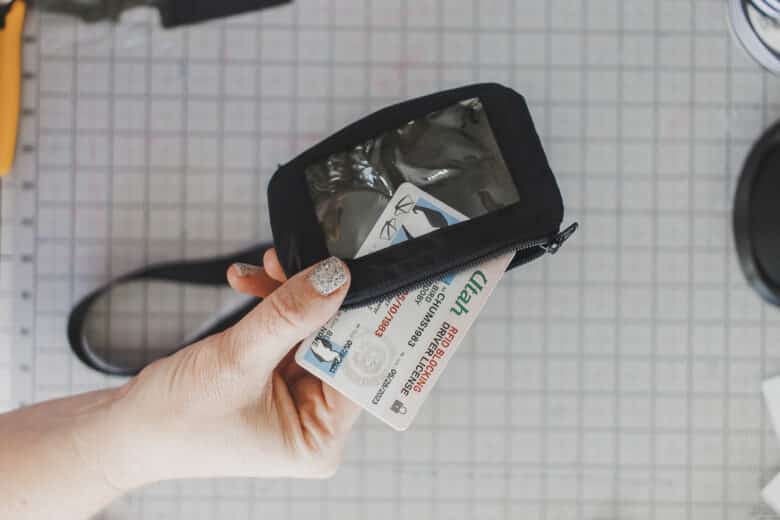
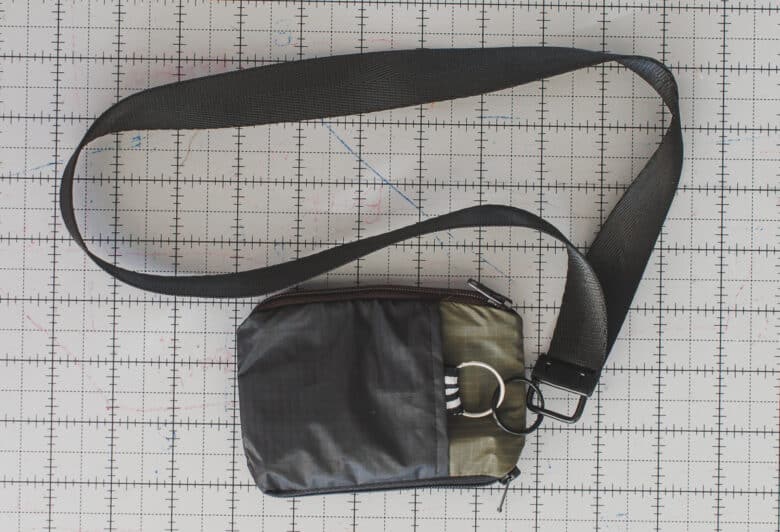
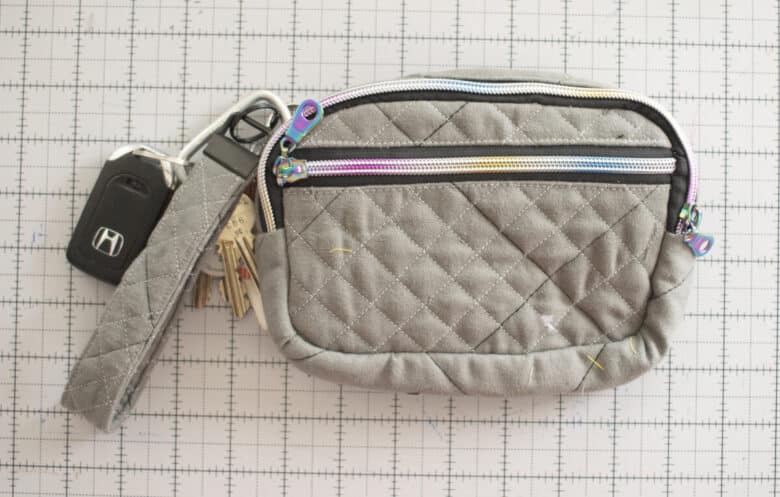
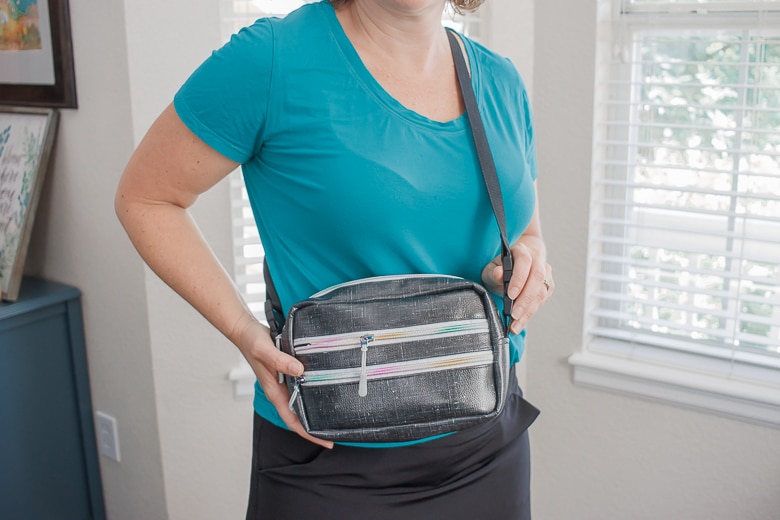
I sewed up a few of these before Christmas for my boys and my nephew. My oldest has been driving for a while now and uses a lanyard like this to hold is keys and a small wallet for everything else. This lanyard wallet has a clear ID pocket, inside pocket for cards and a separate zipper pocket for cash or other cards. The O-ring on the back side is securely sewn into the wallet to make sure it stays on the lanyard. Enjoy this free pdf pattern and tutorial!

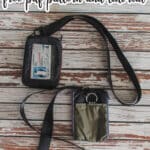
Double Zipper Wallet for Lanyards
I had bought him a super popular simple wallet, but the place where you hooked it on the lanyard kept breaking, so his wallet would end up left in places it shouldn’t be. After trying to fix it many times I decided to make one with a more secure attachment piece. I saw a double zipper wallet like this online and they played around until I was able to create something similar. We love the results!
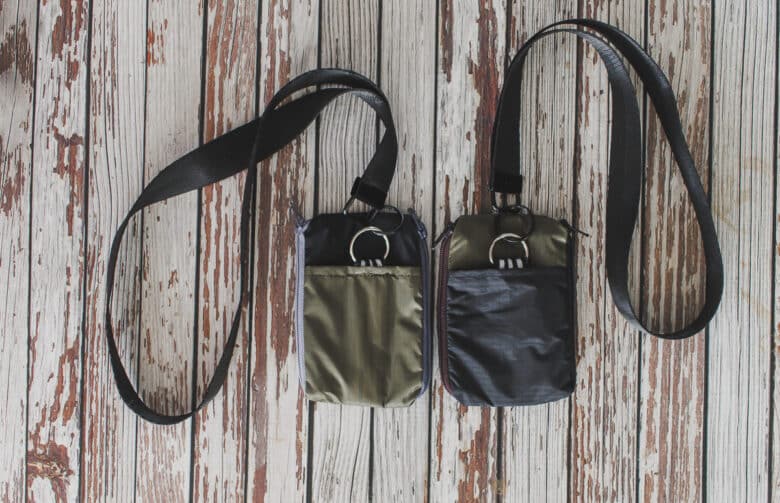
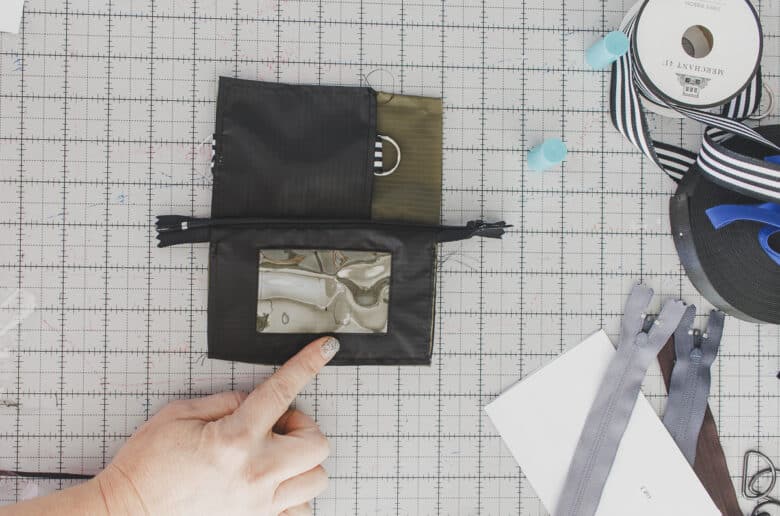
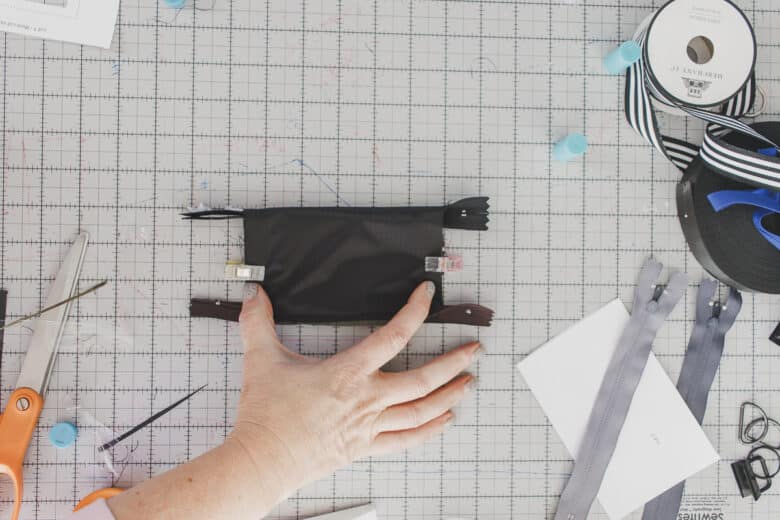
This wallet has a small pocket on the back, two zipper pockets {one with ID window}, and another inside pocket divider.
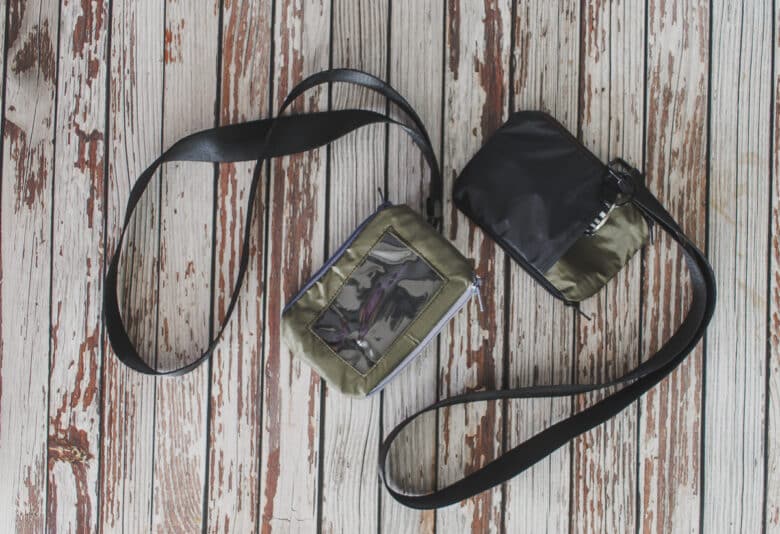

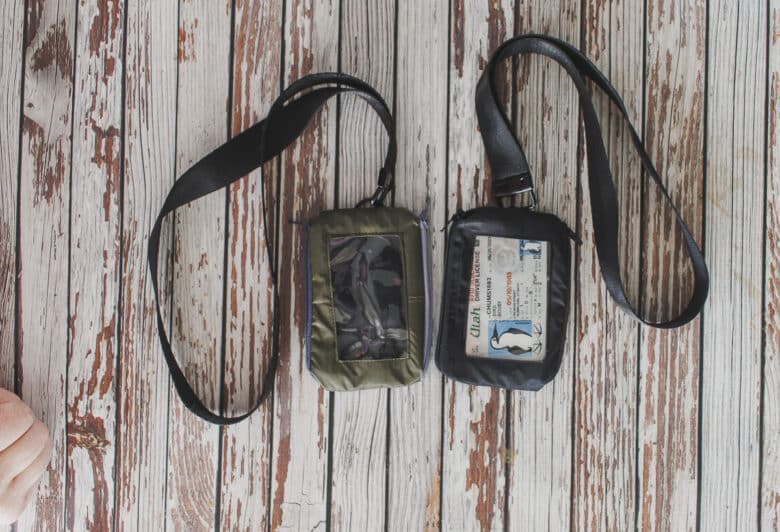
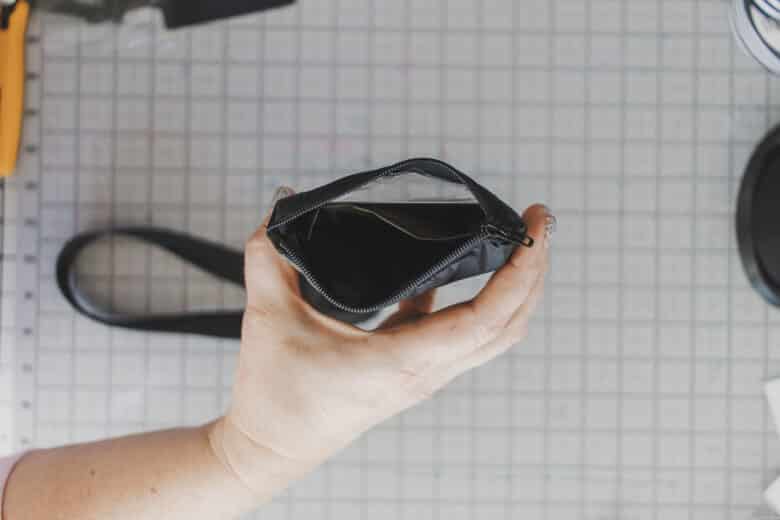
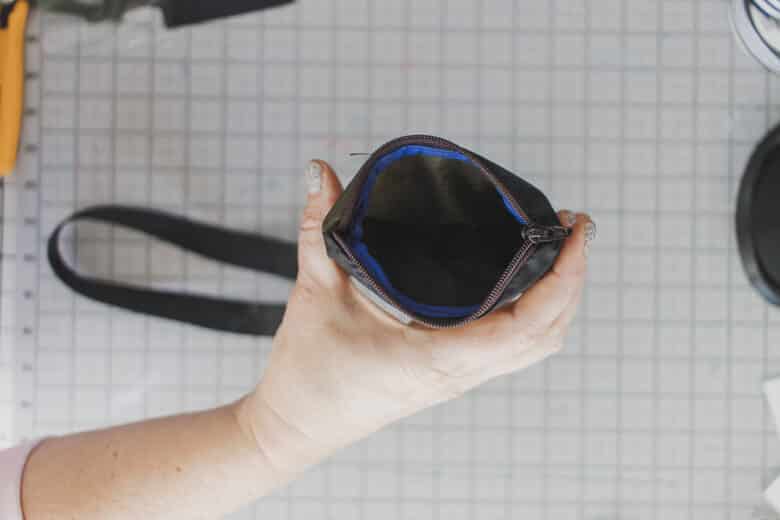
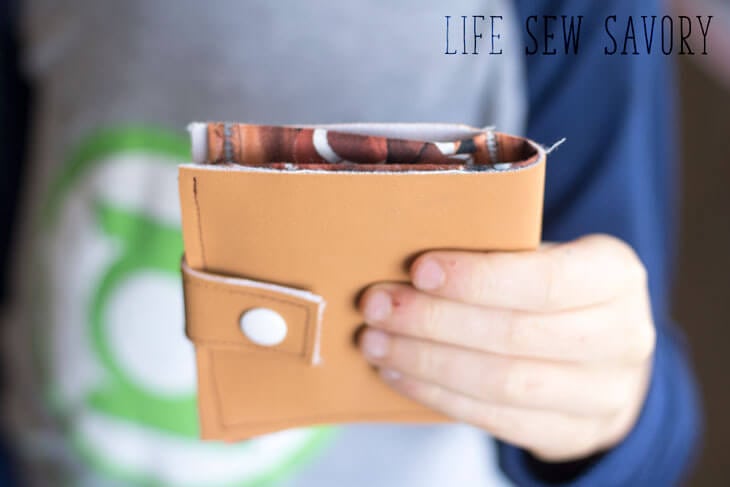
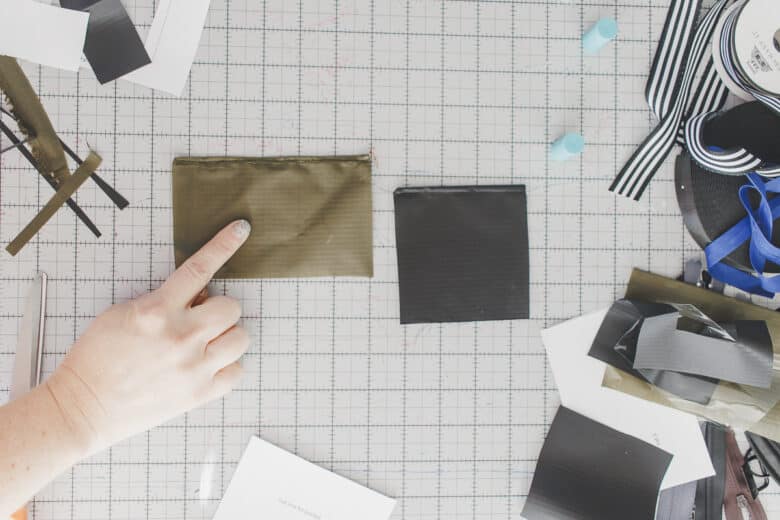
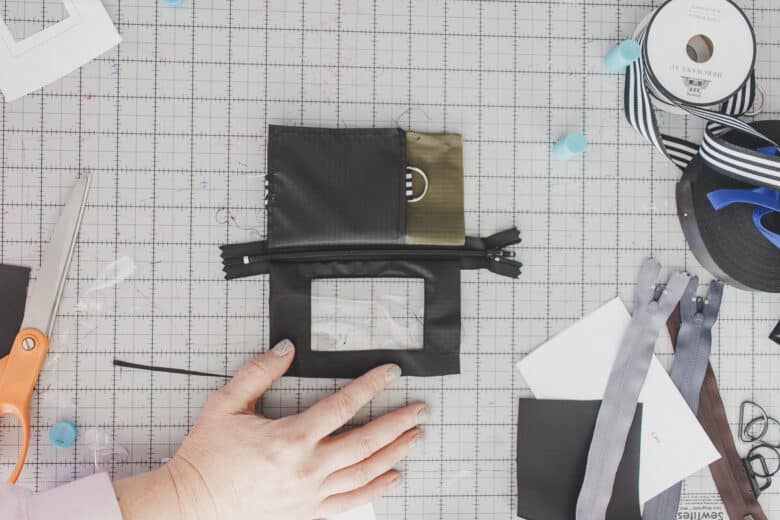
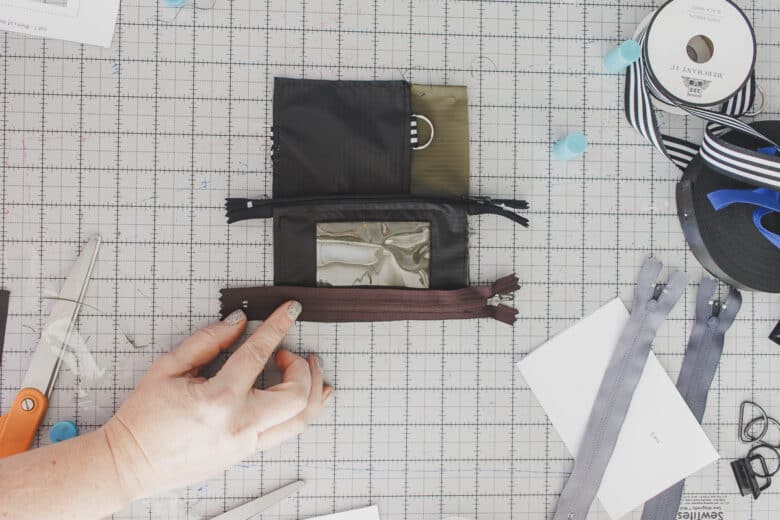
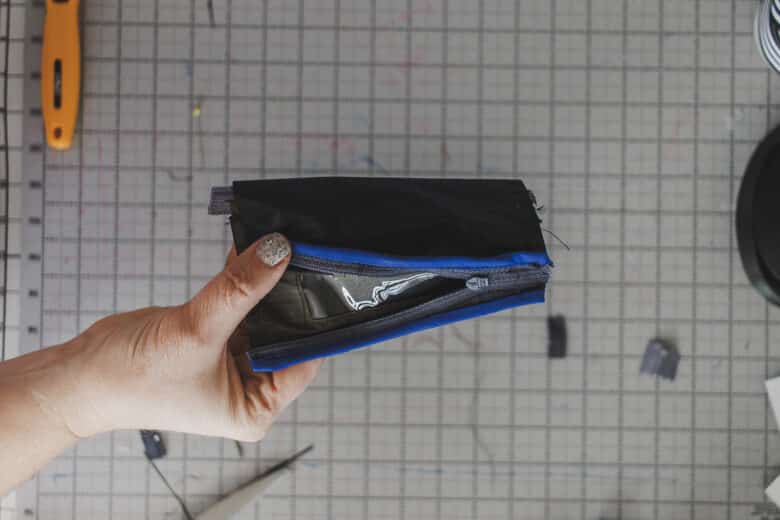
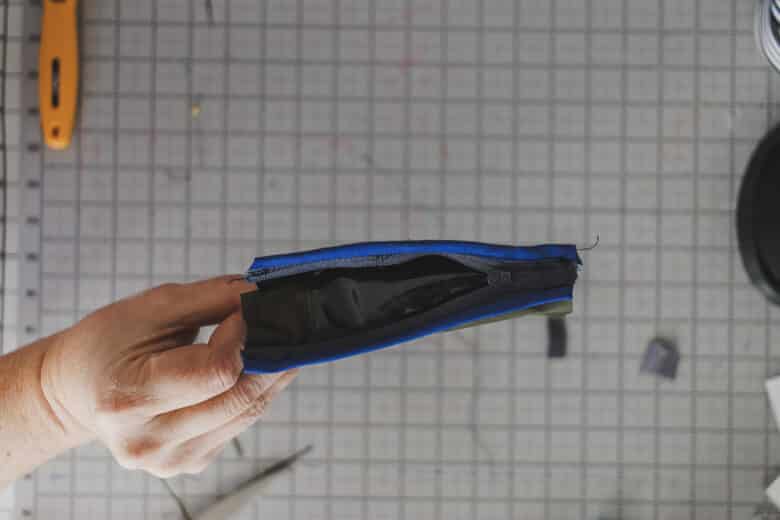
With the dark fabric it is a bit tricky to see the pockets. The first photo shows the window pocket and the divider inside. The second photo is the other zipper pocket.
Other amazing wallet and bag patterns to try
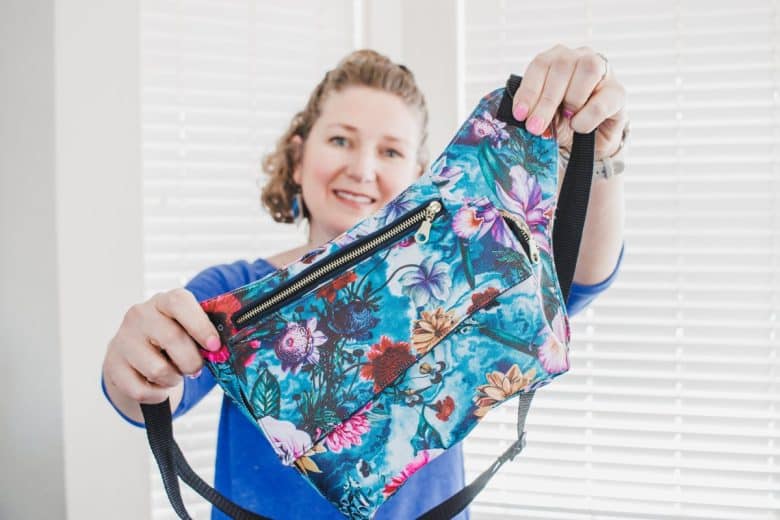
I love designing and using new bags and wallets and here are several that I’ve made over the years. Here are many that I have created for a variety of uses. I have lots of big bags as well, but here are some of my smaller wallets and bag patterns.
- Wristlet wallet Sewing pattern
- Card and coin wallet for keychain sewing tutorial
- Kids simple wallet
- Bottle Carrier with wallet pocket
- Small bunny cinch sacks
- Cross body bag
- Zippered cross body bag


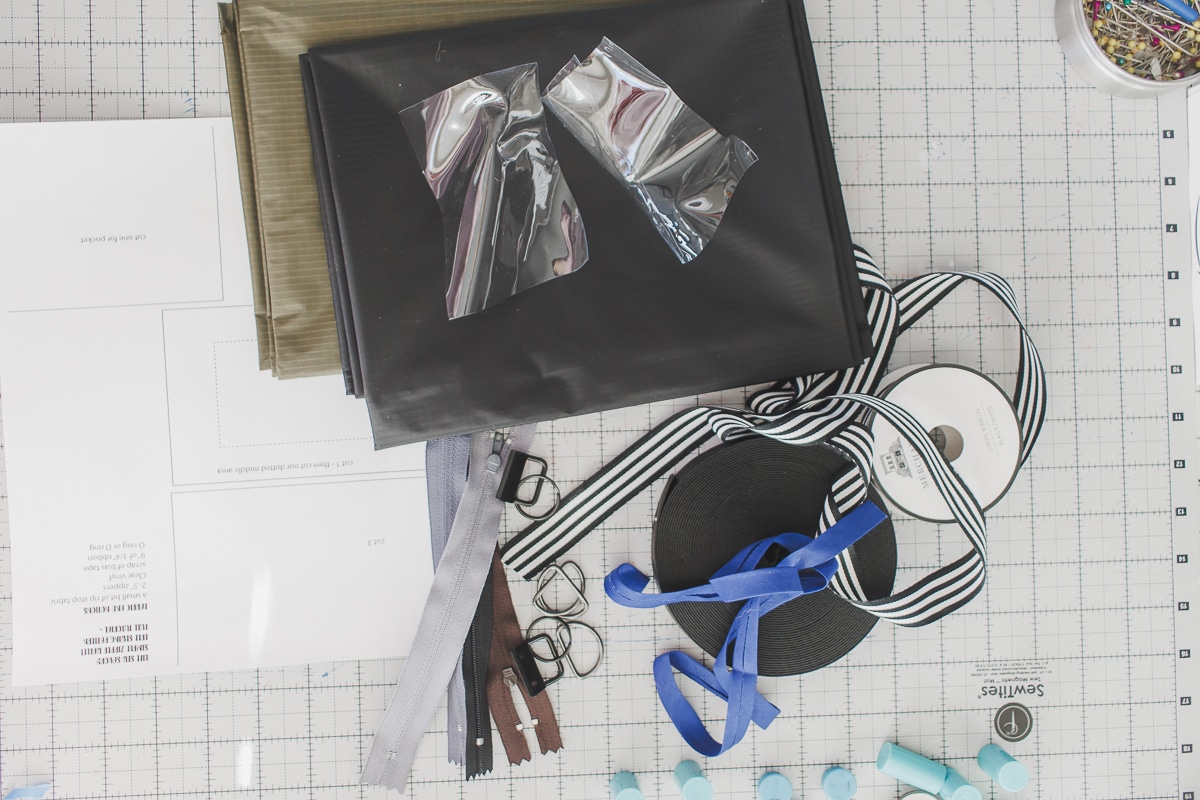
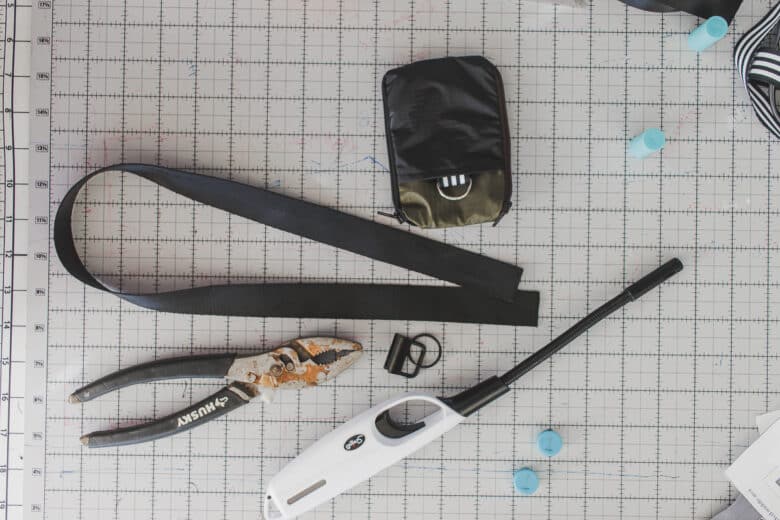
Supplies for the zipper lanyard wallet
Here are the supplies needed for this project. I used rip-stop fabric for the zipper wallet, and that’s what I’ll show here, but you can try other light, strong fabrics if you want. Tutorial for custom, embroidered lanyard.
- Free pdf pattern {linked below}
- a small bit of rip stop fabric
- 2- 5” zippers I used 7″ zippers and shortened them
- Clear vinyl
- scrap of bias tape
- 9” of 3/4” wide ribbon
- O ring or D ring
- Buy or make a lanyard.
Here is a preview of the video upgrade. You can watch the first 2 min of the 10 ish minute video to see if this is something you would like to purchase.
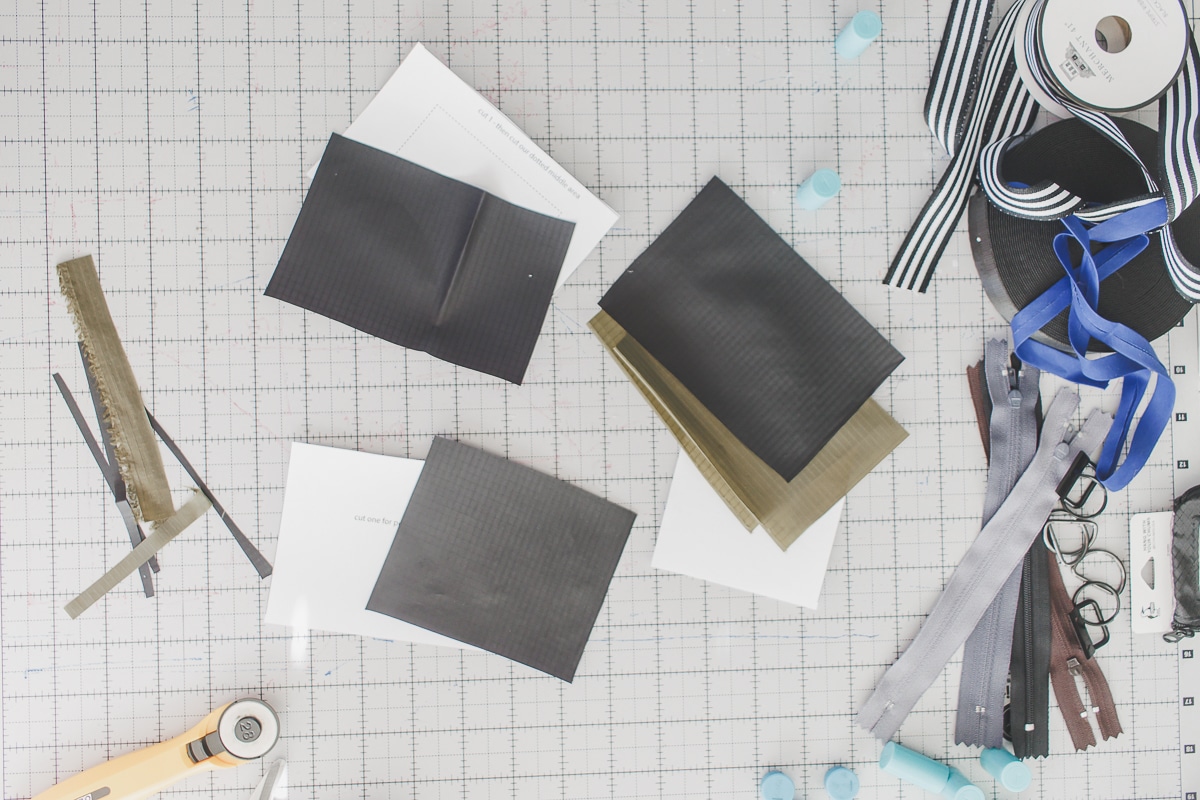
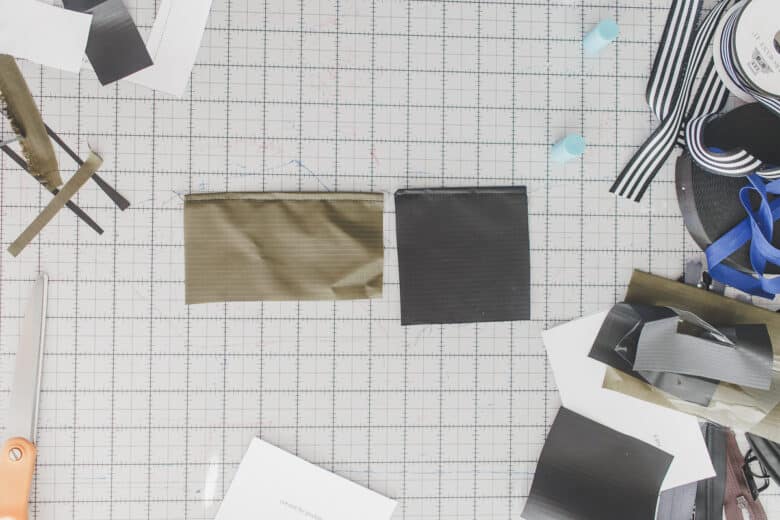
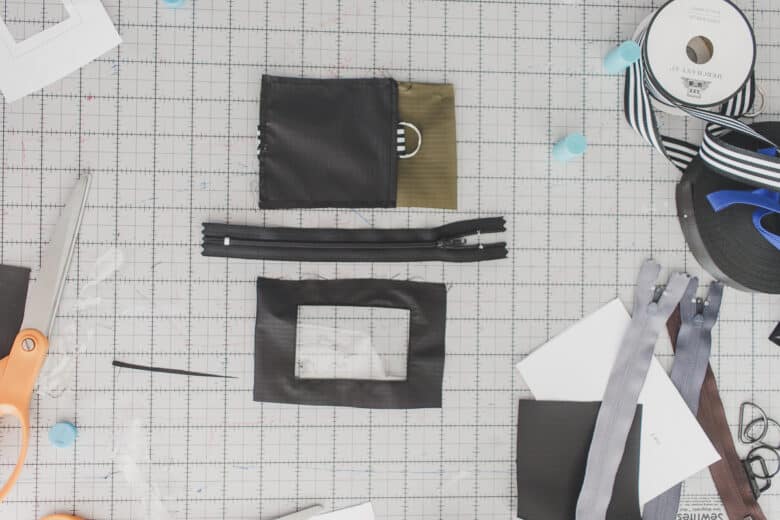
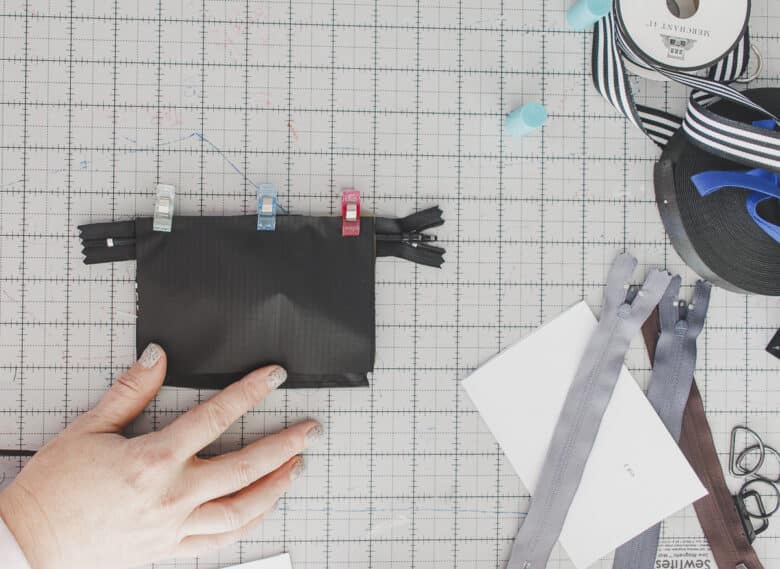
Here are the fabric cuts you should have-
- Three main pieces {I did two of one color and the third of another color}
- One window piece {window not cut yet in photo}
- One smaller pocket piece
- One clear vinyl piece {super hard to see in photo -haha}
How to sew a zipper wallet for a lanyard
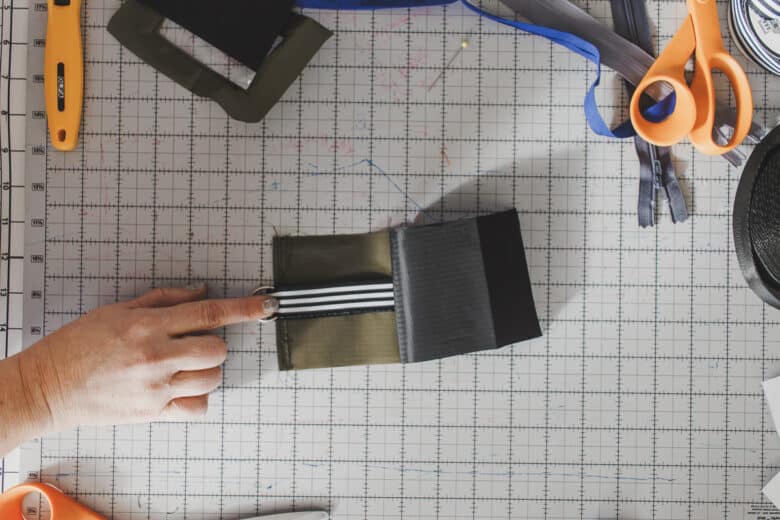
Ok! Now that your fabric is all cut out you are ready to get sewing! Take one of the main pieces, and the smaller pocket piece. On the main piece you will fold 1/4″ over on the long side, sew, then fold over another 1/4″ and sew again. Now that long edge is fully finished and both sides of the pocket can be used.
Repeat on the short edge of the smaller pocket piece.
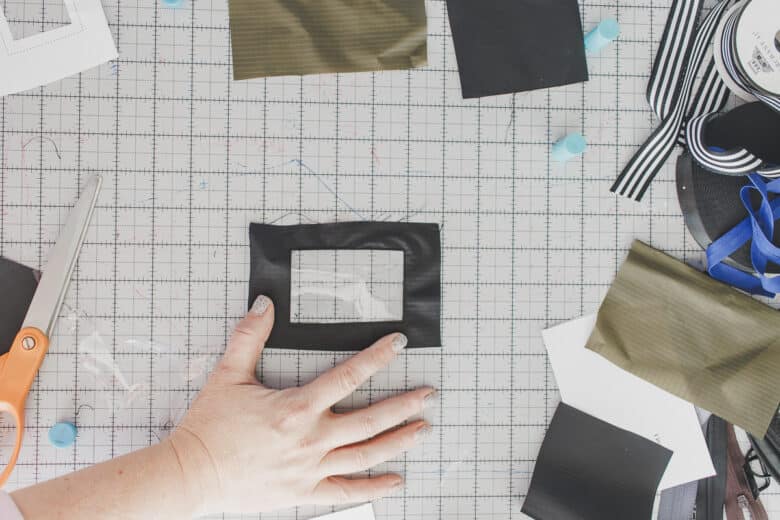
Now time to make the window side. In the V of each corner of the window, make a 1/4″ clip. Fold this 1/4″ to the back of the fabric and press/pin.

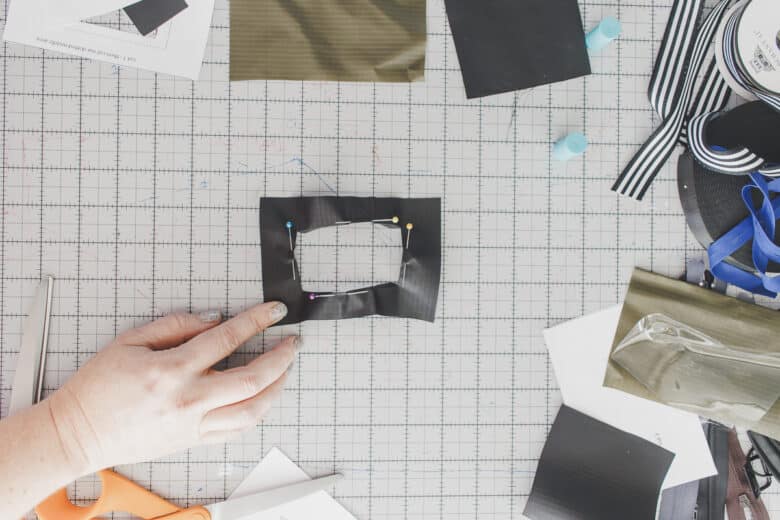
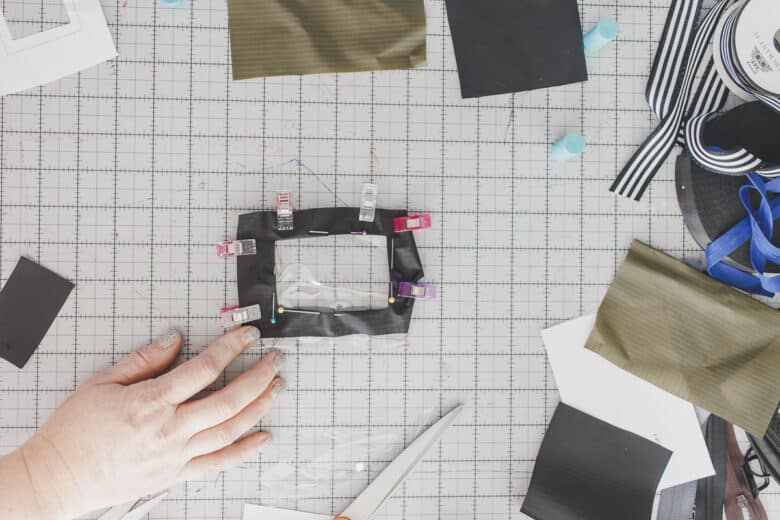
Add the piece of clear vinyl to the BACK side and pin or clip to the outer edge. When you flip to the front you can see the pins on the seam allowance. Now you want to sew from the front side close to the fold edge of the window. This seam will attach the vinyl to the backside AND keep the fabric around the window folded back.
NOTE: while clipping/pinning and sewing try to keep the window corners square. It’s easy to distort this shape, so sew slowly.

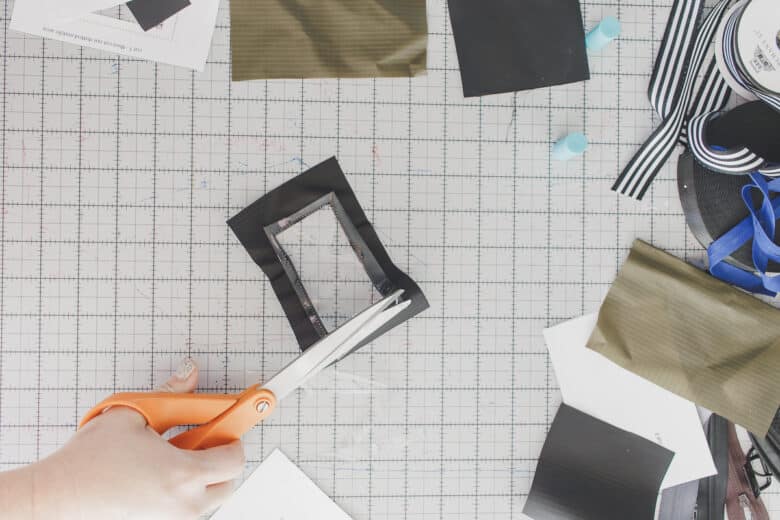
Trim the vinyl to around 1/2″ from the stitching. The second photo shows this piece from the front side as well.
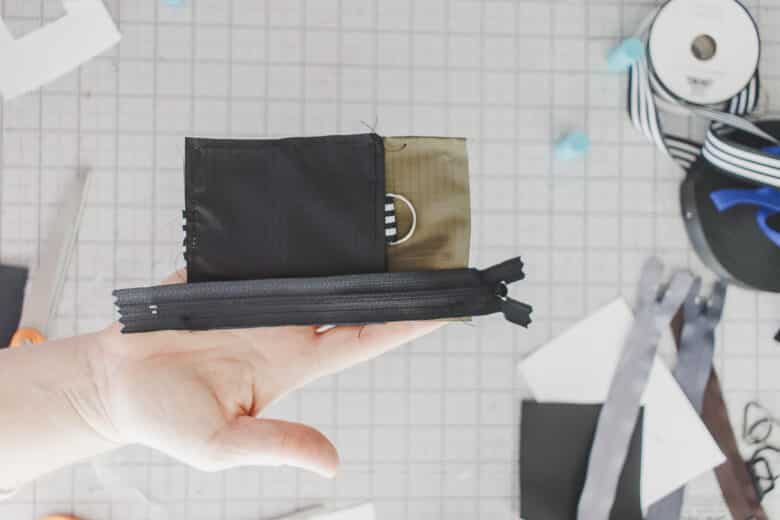
Now we will create the back pocket piece. Take one main piece and the ribbon and key chain ring. Thread the ribbon through the ring, fold the ends together and place the ends on the short side of the main piece. Tack the ribbon in the center. Add the smaller pocket on top of the ribbon. Sew the bottom only.
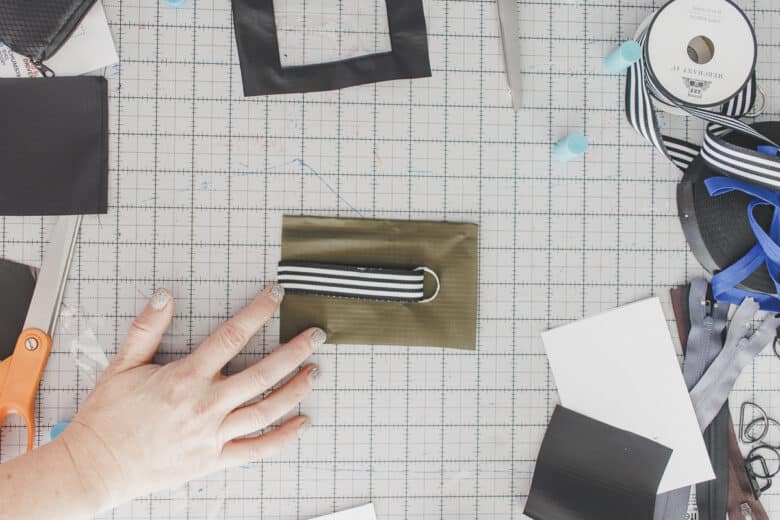
Open up the fabric and tack the ribbon to the center of the pocket, this will keep it from sliding and keep it secure since this is where the lanyard attaches.
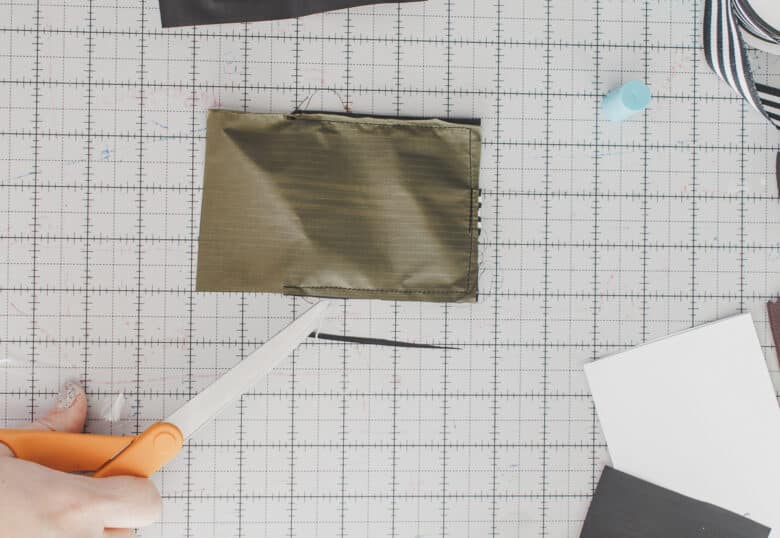
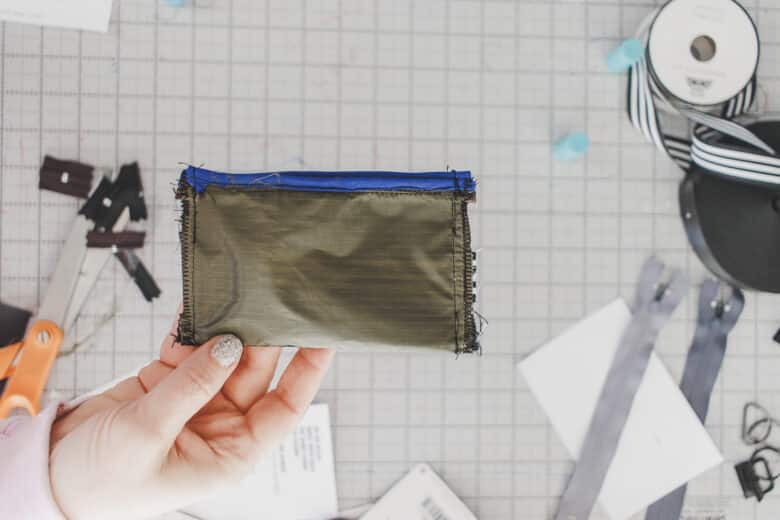
Sew up the side of this pocket piece {seen here from the back}, trim any extra fabric.
Take the pocket piece, the window piece and one zipper.
With right sides together and a zipper foot on your sewing machine, sew one side of the zipper to the pocket side. Add the window side to the other side of the zipper. Make sure the sides are lined up and sew. Now you should have the pocket on one side of a zipper and the ID window on the other. The right side of the zipper should face up when looking at it like the second photo.
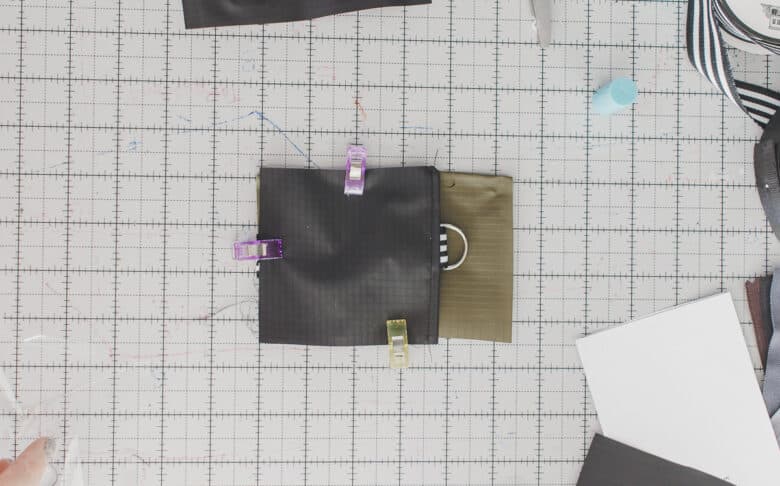
Turn this piece over to see the back side. Take the bigger pocket you finished at the beginning. Slide the pocket over the BACK side of the window and baste into place by sewing the sides and bottom.
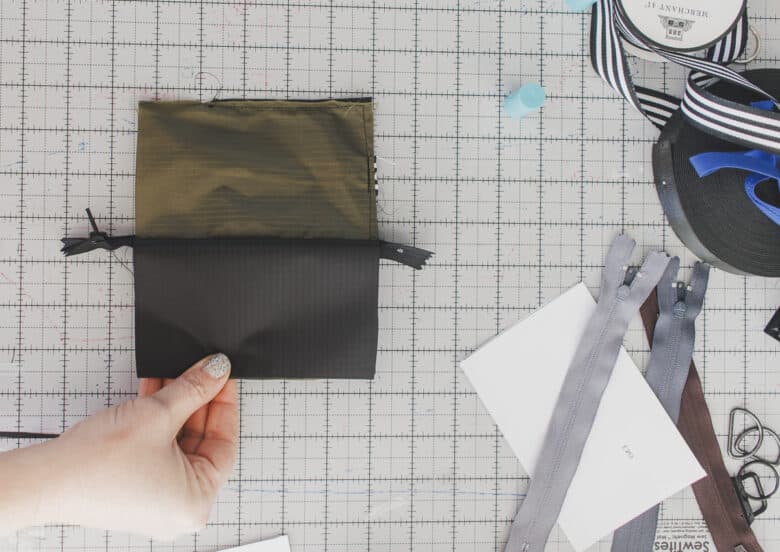
Place the piece right side up again, with the window on the bottom and and pocket on the top. Fold the pocket piece over and down to cover the window. You can see this in the first photo here. Now take the final main piece and lay it on top of the pocket you folded over. Line up the top edge along the zipper and sew this piece to the zipper with a zipper foot.
Now there is a flap in the middle of the window and pocket piece. When you open up the wallet and lay it down you will also now see the pocket behind the window.
Here is the pocket behind the window.
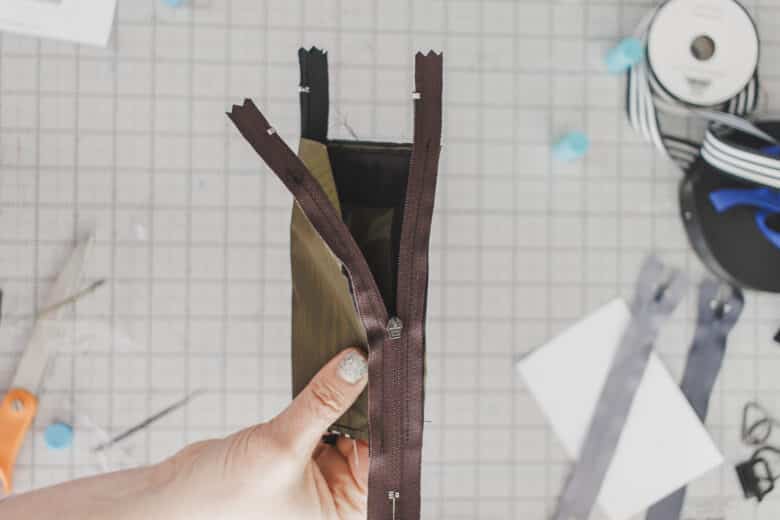
Lay the wallet open and add the second zipper on the window edge. Make sure the zipper tab is on the same side as the first zipper. Sew zipper with right sides together with a zipper foot.
After the zipper is sewn the to the window edge, fold over the pocket side and sew the long side to the other side of the zipper. Right side of the pocket should be sewn to the right side of the zipper.
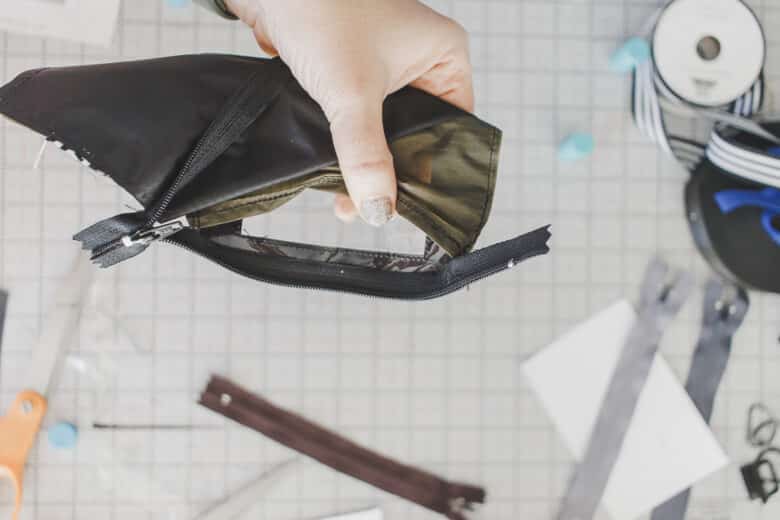
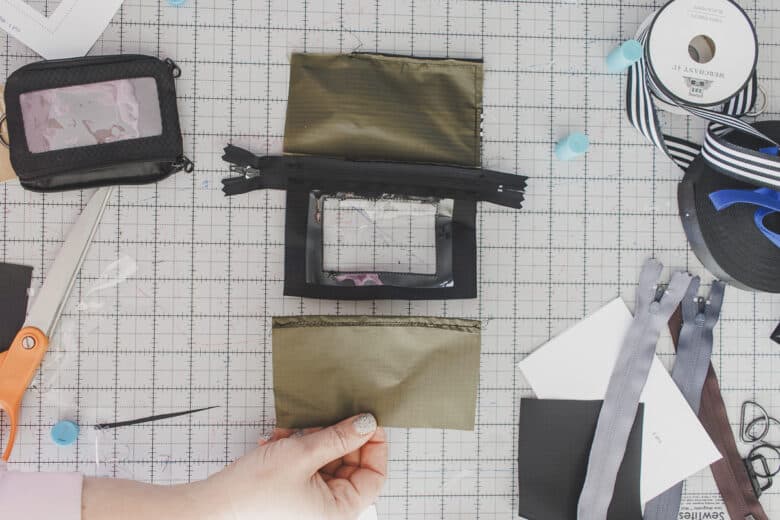
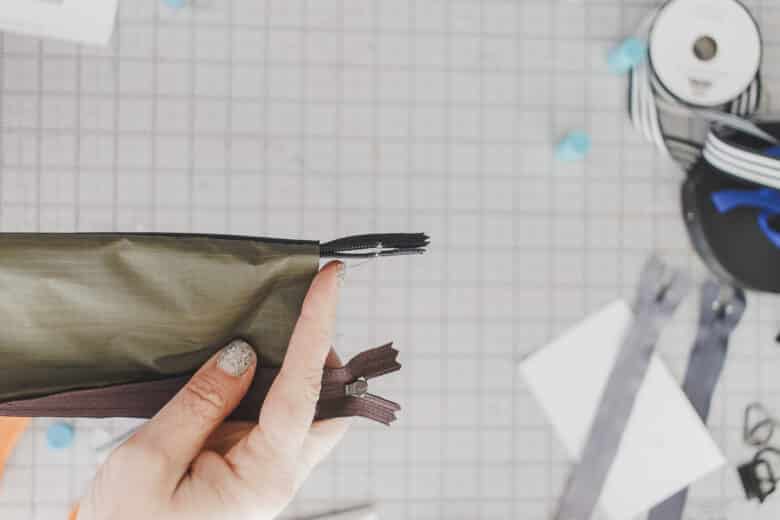
Now you should have sort of a tube, with the short ends open and the zippers on top and bottom. Its time to trim the zippers. Make sure the zipper tabs are INSIDE the fabric before trimming any extra zipper. On the zipper that is exposed, make sure it’s open at least 2/3rds of the way as you will use this to turn right side out.
After trimming the zippers you can finish bother sides of the zipper with bias tape to give a more finished look. Keep this zipper open for turning.
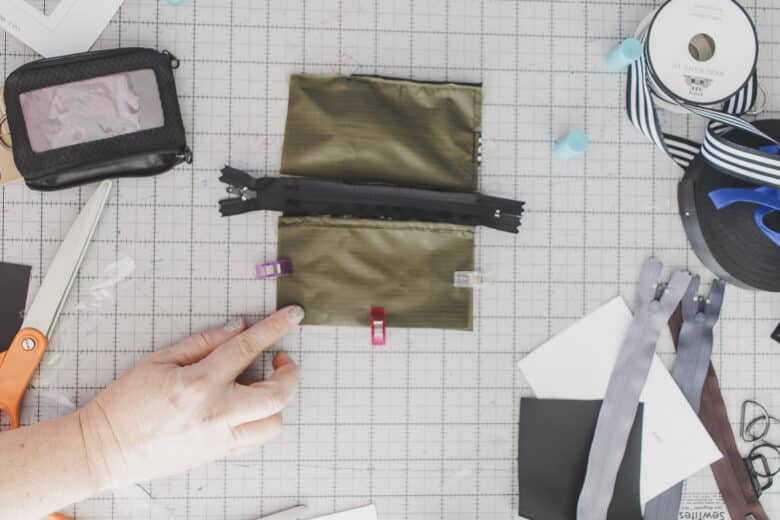
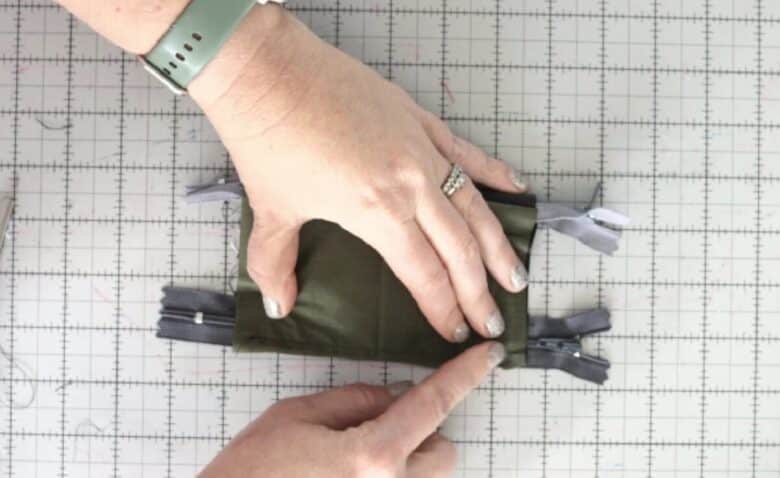
Now you will sew the short sides. Pin or clip to keep the zippers right on the fold. See the photo below {zippers are not trimmed in this photo, but should be at this point} Sew the short sides of this wallet. I used about a 3/8 seam allowance, then also finished the raw edge with a zig-zag stitch. You could also add bias tape here, but I was trying not to add bulk.
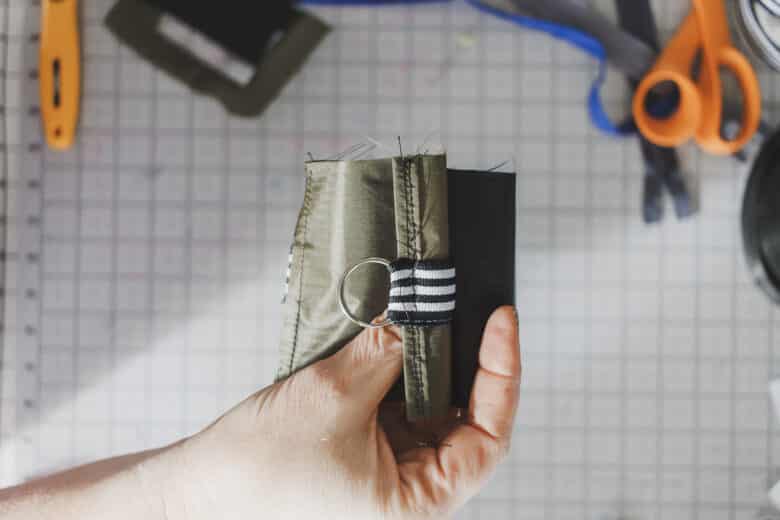
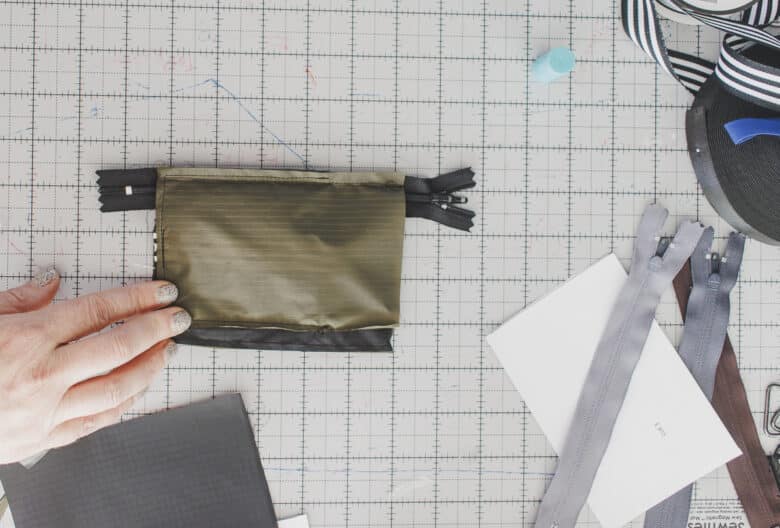
Turn right side out through the open zipper. Now you should have a zipper on the top and one on the bottom that both open different pockets.
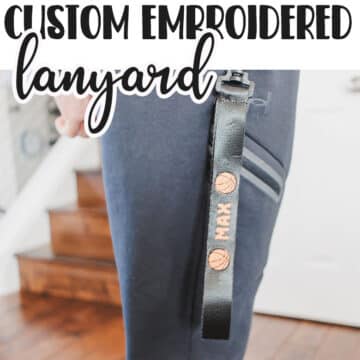
Cut lanyard to desired length, then sew a swivel hook or clamp and crimp on the end. Tutorial for my custom embroidered lanyard here, plus it shows how to sew in the swivel clip.
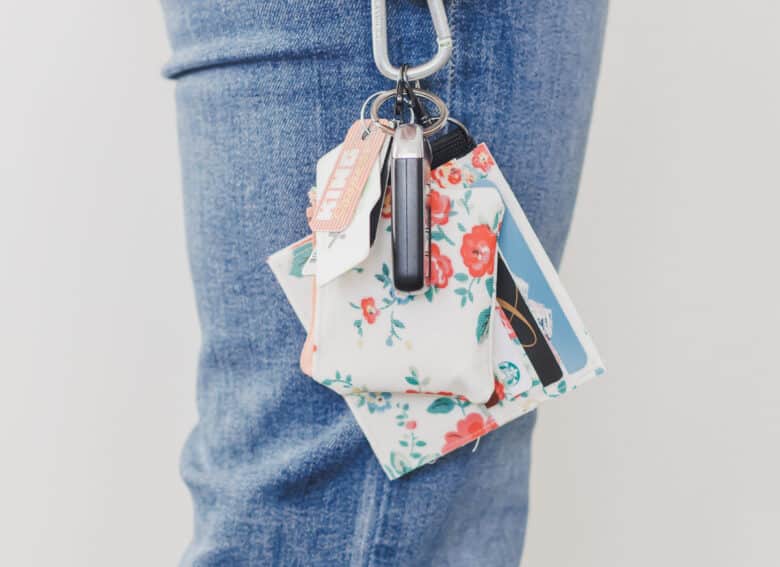
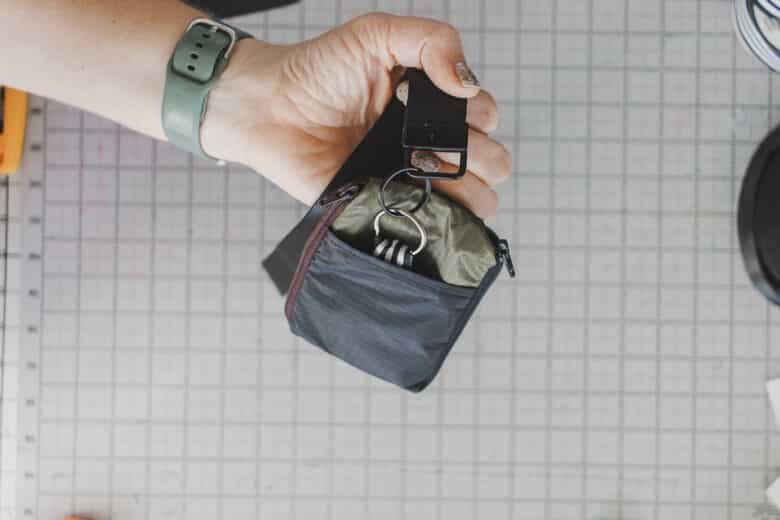
Attach your lanyard to the ring on the back of this wallet for a secure attachment. Add your ID and and cards and cash and you are ready to go!


Leave a Reply