
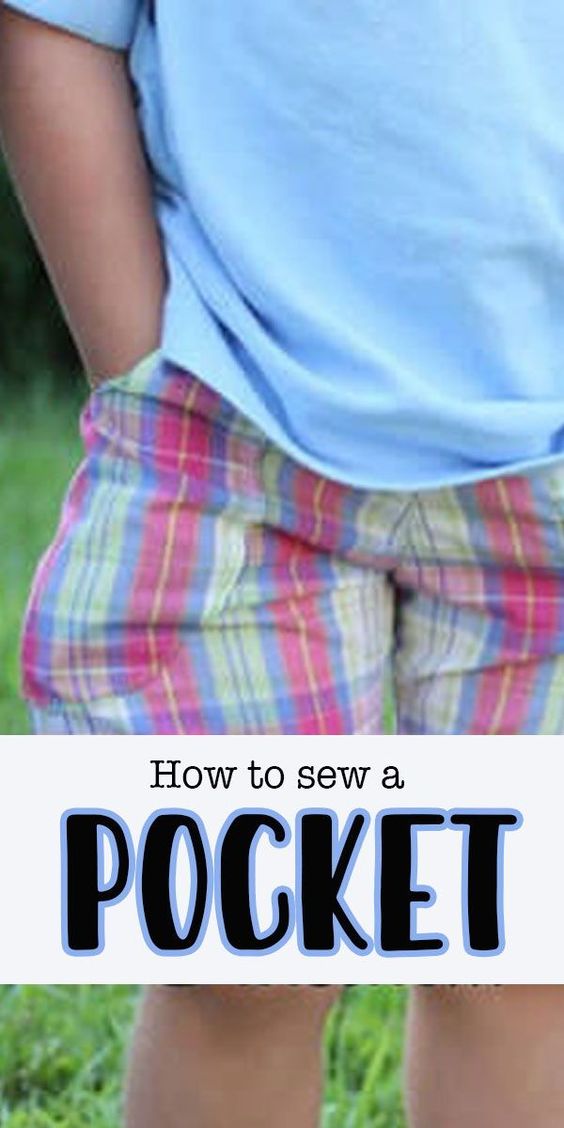
Today I’m going to share my pocket pattern and directions for how to sew a pocket. I’ve been adding pockets to the MADE shorts for years now… She actually just came out with a pattern for shorts with outside pockets as well. Mine might not be quite as great, but hey, its FREE! {ha!} Today I’m going to share my pattern and tutorial for two pocket options… early in Aug. I will be guest posting on Scattered Thoughts of a Crafty Mom and I’ll share the third pocket option then. I’ve shared how every year I make matching cousin clothes for the little cousins on my side of the family… well, its time to reveal what I made this year and how the photo shoot went… First up, here at the shorts I made:
I made size 3T, 4T and 5T and then we took this photo: {not too bad for 7 kids under 6!}

So you can’t see the shorts, but they are there! And then photo shoot went down hill quickly {oh these photos make me laugh!}

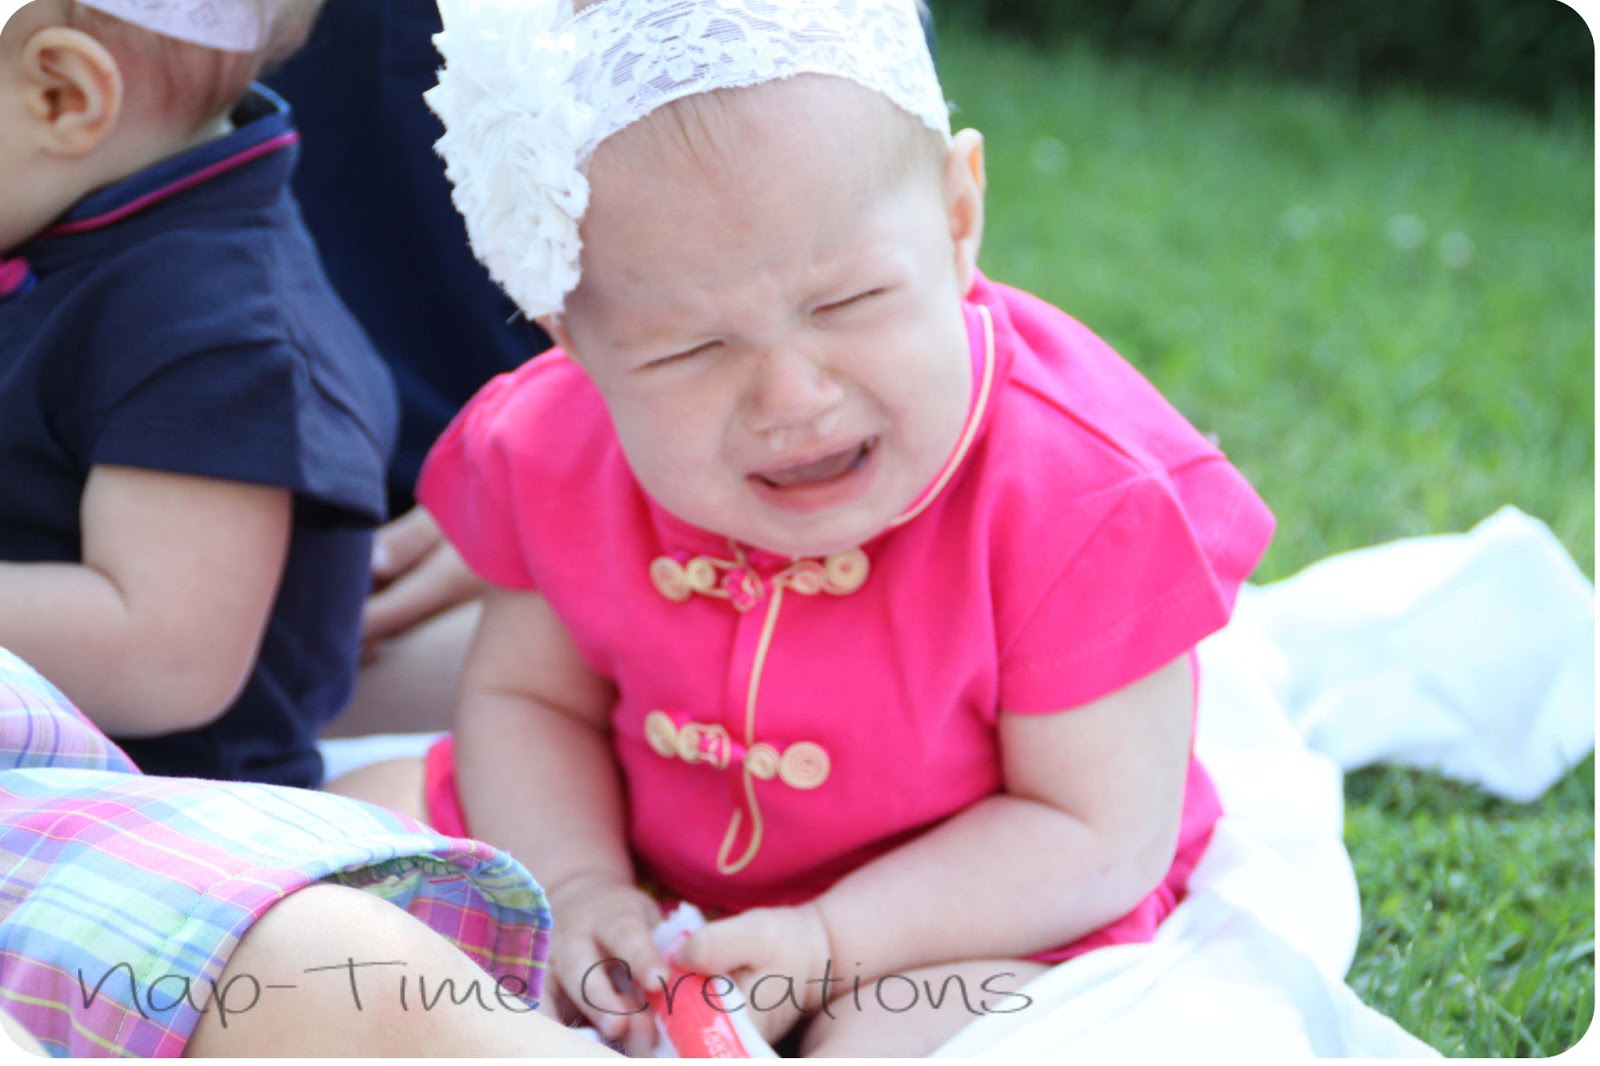
here you can see the pockets… and the cute dresses I bought the girls in China…


okay, now that you’ve had a glimpse into the craziness… let’s move onto the shorts!
here is what we will be looking at today:

okay, first up… go and print the FREE shorts pattern from MADE {actually its the pants pattern cut down} this link also has a tutorial for putting them together if you don’t know how… I’ll just talk pockets. Go HERE to print the Short Pocket Pattern. I used these pockets for sizes 3-5T shorts.. they worked fine… you can adjust smaller or larger as needed.


Cut out your shorts (any pattern or the one suggested here) and the pockets. You will need four of the pockets pieces.
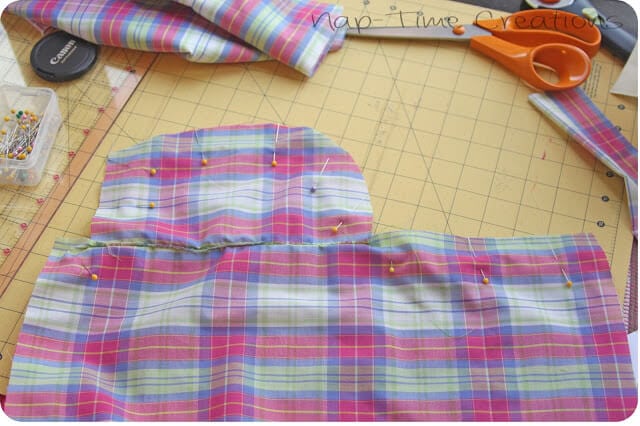
Sew the front and back of the shorts together first so you have two flat pieces {a front and a back} Pin and sew two pockets to the front and two to the back as shown below. I plan to turn the top down for a waistband so I sewed the pockets 1 1/2 inch from the top.
Sew the front and back of the shorts together first so you have two flat pieces {a front and a back} Pin and sew two pockets to the front and two to the back as shown below. I plan to turn the top down for a waistband so I sewed the pockets 1 1/2 inch from the top.
 I should look like this after its sewn.
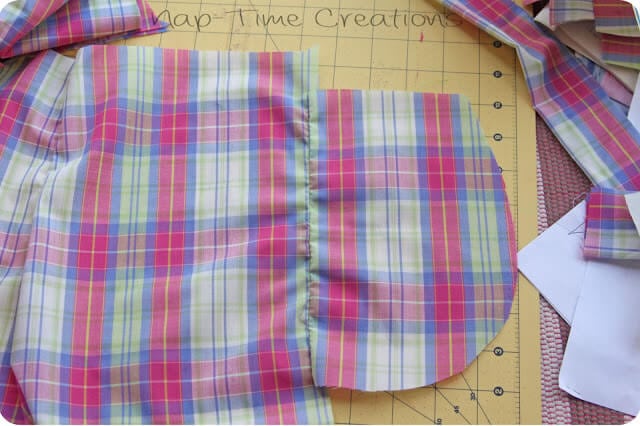
I like to keep things simple, so at this point I folded the pocket back {keep the right side of the shorts facing you} and top-stitched along the edge of the pocket.
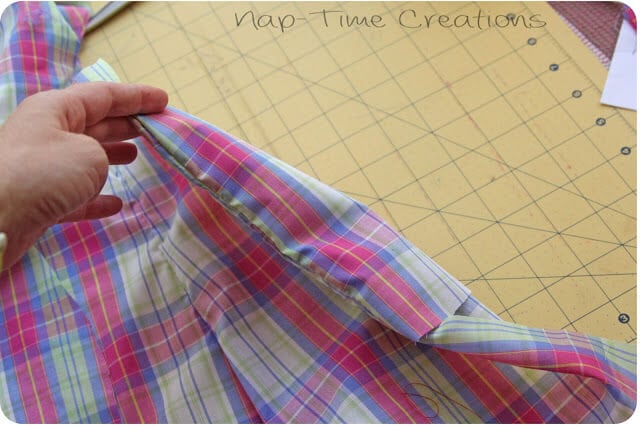
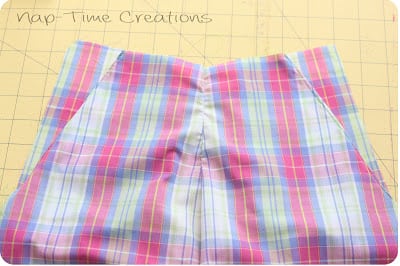
Now, Place your front and back pieces together, right sides together and sew along the entire side, sewing along the edge of the pocket…
Turn…fold over the waistband and sew as directed…Be sure to catch the pocket when you sew the band to keep it in place… and… so nice!


Now, for the second kind of pocket…. Cut out the other kind of Pocket pattern and cut 2 or 4… {you can cut two and turn under the edges or 4 and sew together turn right side out and top-stitch to shorts and sew below. I just hemmed the two curved side…
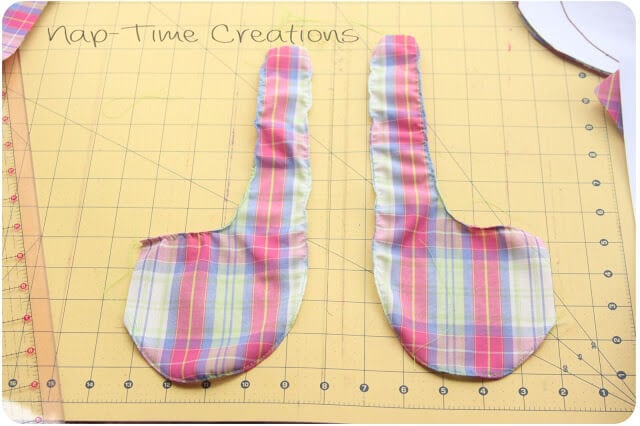
Again, you have your front and back of the shorts ready to go first. Lay the shorts on top of the front.. This time you want the top of the pocket to go all the way to the top of the shorts. Now, sew where the arrows indicate. The long curved side and just the top of the shorter curved side. You also want to pin the pocket at the side edges, so when you sew the sides, make sure to catch the pocket..


I put elastic in the whole band of these shorts {not flat front} and the top of the pocket gets folded over in the band.
I will be posting the tutorial for shorts with slant front pockets soon!
for more on How to Sew a Pocket and Cousin Clothes you can see these other posts.
shared at my Wed-Sunday Link parties.

![]()
Enter your email address:
Looking forward to seeing you around the blog…. don’t be a stranger!


Bethany says
Awesome tutorial! Thanks!
amy mayen says
I love your cousin clothes…and this is a great pocket tut:) you did amazingly well for the photoshoot!
Rose :: Fine Craft Guild says
Now that is a useful tutorial. I was just contemplating making myself a pair of shorts. This is exactly what I need. :-0
Britney Mills says
Thanks so much for this tutorial! I just had a little boy and plan on making some of his clothes in the future but pockets scare me a little bit. I’m excited to try this! Come link it up at the On Display Monday party.
Britney @ The Princess and Her Cowboys {dot} com
Abiola says
Thanks for sharing.
I followed the shorts series on MADE’s blog and succeeded in making two pair of shorts (with front pockets) each for my two boys, but now I just learnt how to make ‘inner pockets’, thanks to you.
sew sweet vintage says
LOVE your sweet photos and tutorial! What a nice Auntie:) Pinned:) Stop by. I posted fabric flower refashion to the House on the Way party!
Phat Quarters says
Those pics are great! lol! I loved this tutorial with all the different pocket options! 😀 Thanks for sharing!
Sam Dull says
Those pictures are too stinkin cute! At least you have one of everyone looking the same direction!
Sam
The Kitchen is My Dance Floor
Cathy Compeau says
This comment has been removed by a blog administrator.
Pam @Threading My Way says
I love how you make the kids clothes that are very similar, but still different!!! Two great looking pairs of shorts and a very comprehensive tutorial.
Carrie @ My Favorite Finds says
Cute, Emily! Love them! Those pictures are hilarious, too! Thanks for sharing at Pinworthy Projects.