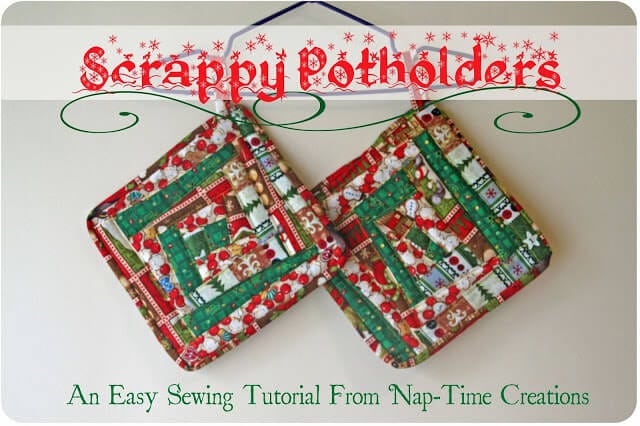
I love holiday sewing! A few projects to brighten up the house… Throw pillows, easy decor and table runners are a few of my favorite things to sew. Today I’m sharing a Christmas table runner sewing tutorial that’s easy to make with super cute results..


Ready to sew up this great little runner? I started with a half yard of five fabrics, it was all completely gone when I was done, but I think 2 1/2 yards is a good amount of fabric to start with. First, decide how wide and long you want your final runner to be. I was aiming for a 12×46 ” finished product. 12-14 inches is a good width, then measure your table to get the length.
I cut 35 pieces for the center of the runner. {2×9″} If I just sewed them all together with a normal seam allowance it would be too long, but I wanted to create various angles, so I needed the extra inches. Plan to have about half again more inches than you want in your final runner.
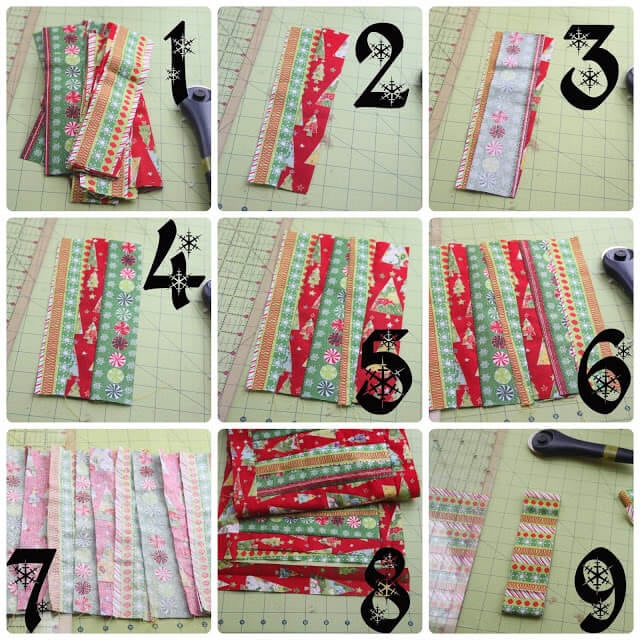
Look at steps 1-7, I sewed and ironed the pieces together. varied the angle of my seams and the width of each piece by angling the pieces. Try to maintain a straight line on the edges so the runner will lay properly, but we will trim later. You can see this best from the back {photo 7} Photo 8 shows the front side.. Now, to achieve the 12 inches width I added to borders to the center. {photo 9} Measure around the runner mine was 40+8+40+8… so I cut 100″ of border. I also made these pieces 8″ by the long length of the fabric… {photo 9}
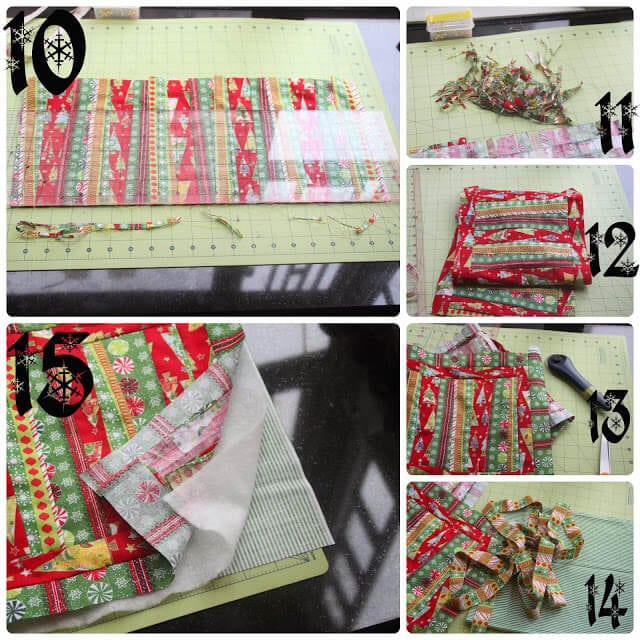
Now, I guess I need to go back a step… trimming up the runner. In photo 10 I squared up the runner and lost an inch from the width, so it was 8″ wide. 11. is all my scraps {ha!} In 12 I added a red border all the way around. Sew the border piece to the two short ends first, then the two long sides. Square the corners. I measured around again and cut a second border. You will need a bit more fabric for border two. Make it wider or narrower depending on what you want. 13. is with the second green border. Now, for the final cut, you will need to measure the border one more time, and cut that length by 2 1/2 inches. Sew into ONE long peice and iron in half. For a more detailed tutorial on quilt binding, see this post on blanket binding. You will need to cut a backing. I used one solid piece Layer this with some light batting and the finished top. {photo 15}
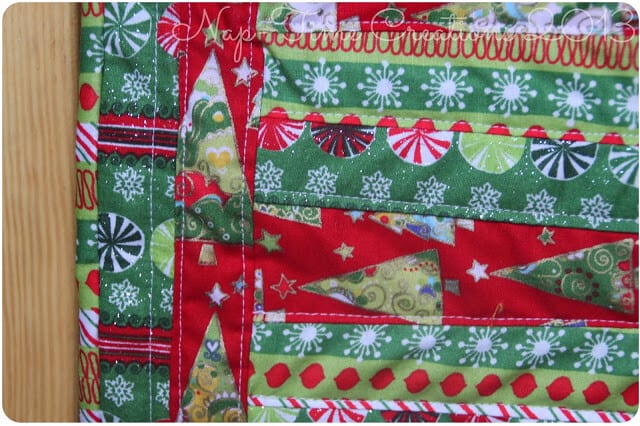
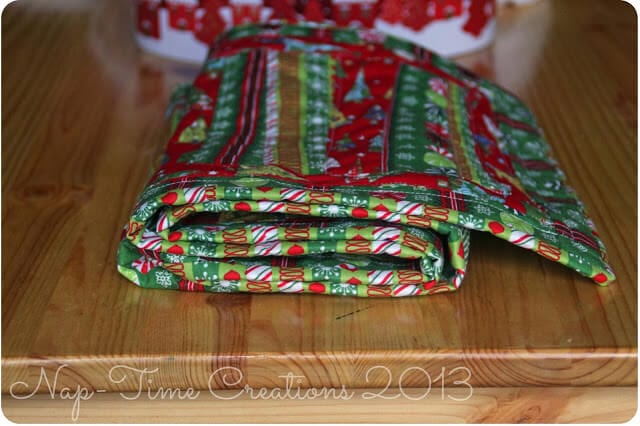
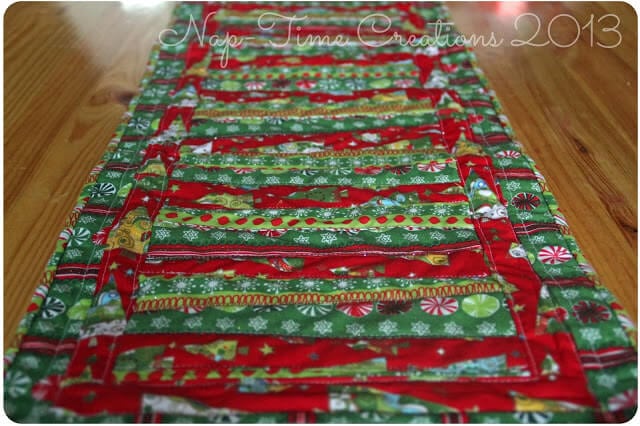
In this close up you can see the center, the red border, the green border and the binding. I also did some quilting before I put on the binding. With all three layers together, sew up and down each of the seams to keep it all attached. I used white thread. The square it up one more time and add the binding.
Its SO pretty, looking forward to using it!
I’m just thrilled with the way it turned out and I look forward to putting it on our table as soon as Thanksgiving is over… {I usually put up Christmas decorations the day after!} Id love to see what fabric you use to sew up this Christmas Table Runner.
Other Holiday Sewing Tutorials and Free Patterns








Cindy Eikenberg, Little Miss Celebration says
Hi Emily! This is pretty and colorful! I got a sewing machine for my birthday (in APRIL!) but haven’t had a chance to do anything with it yet! This is great inspiration! Thanks so much for sharing and pinning! Have a happy Wednesday!
Marion@Life Tastes Good says
You are so talented Emily! I always wanted to learn how to sew :). Pinning this in case I do. Thanks for sharing
Deby Coles says
Hi Emily and thank you so much for sharing your creative side over at So Sew Easy today. Those Potholders are a hit! I’ve never made anything like that before, but it looks like even I couldn’t go wrong with your clear instructions. Thank you again.
Allie Olsen says
This is super cute Emily! Sewing is a blast and I seriously might need to do this for my apartment this winter. 🙂 Pinned!
Emily Glover says
This is so cute! Thank you for sharing at the DBB. I will be pinning this!
Emily
Joanne DiPalo says
Hi Emily, this is a great project. I just took out my machine for another project. I just might keep it out to make this runner. Thanks so much for sharing,
Joanne
Britni Vigil says
What a cute idea and thanks for the tutorial. Love this! Thanks for sharing on the weekend re-Treat link party!
Britni @ Play. Party. Pin.