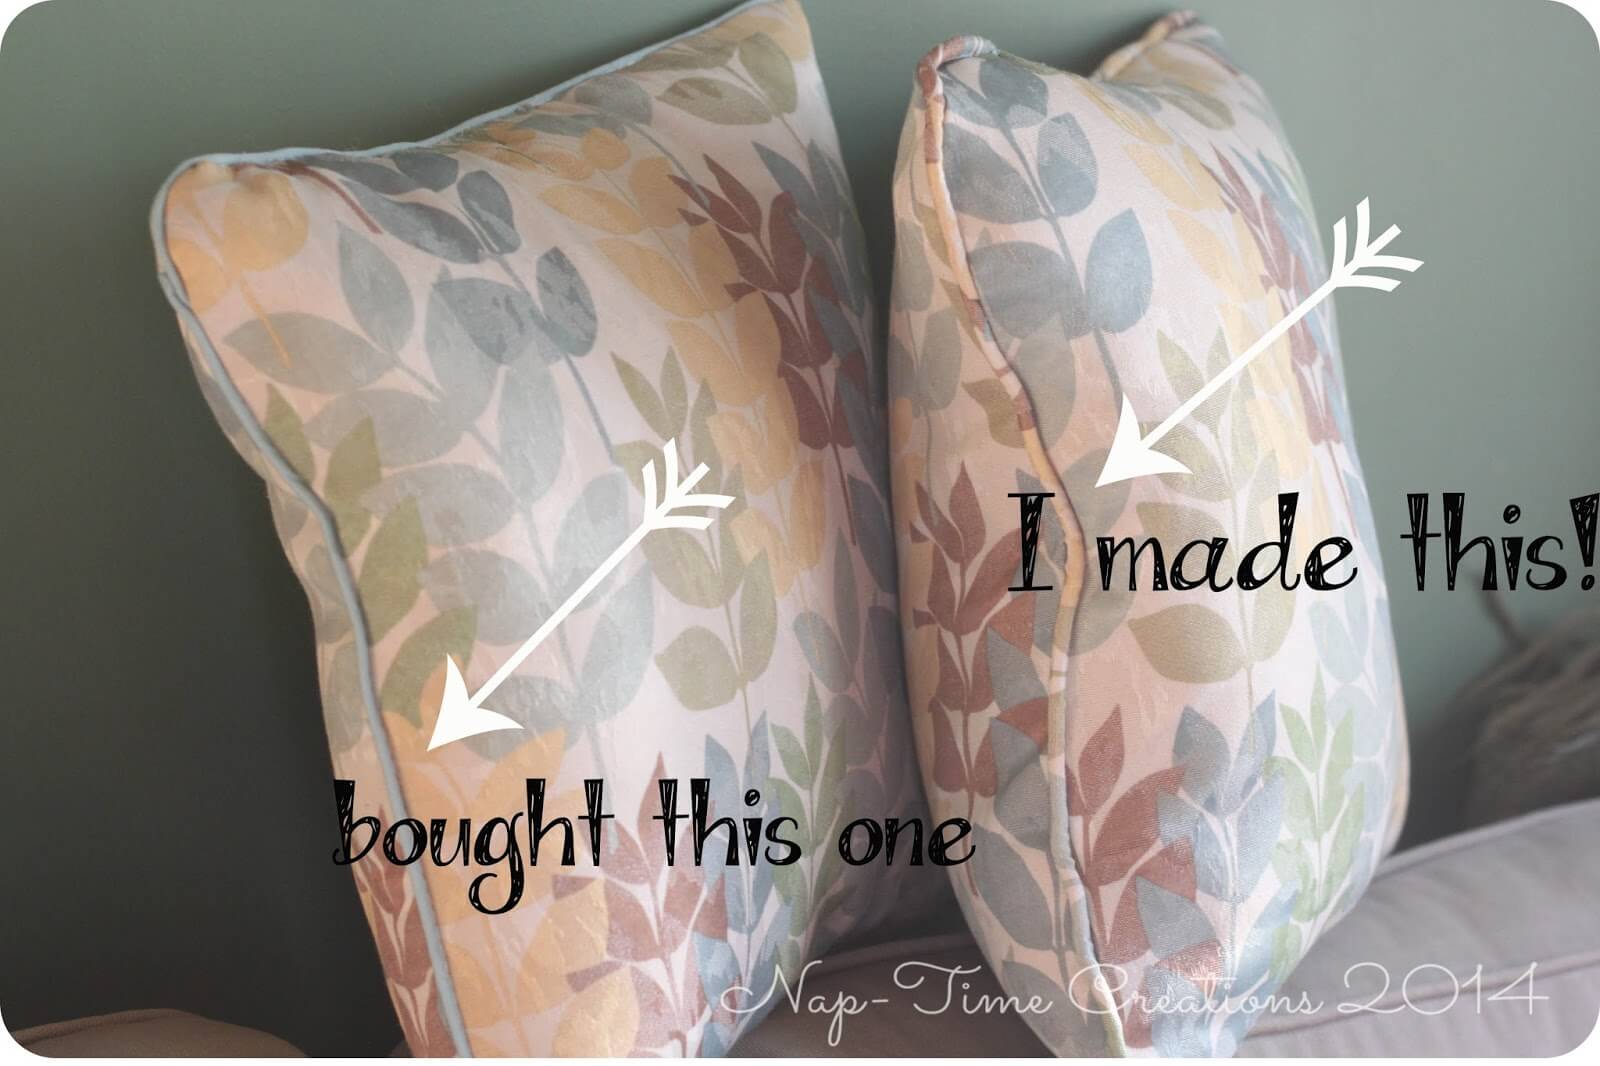
This DIY piping sewing tutorial is so easy, anyone can make their own piping and use it to customize your sewing projects. It’s easy to customize the fabric and size of piping for your next project. Adding the perfect piping can give a project a huge wow factor. Here are two pillows… on the left packaged piping and the right is the piping I made.
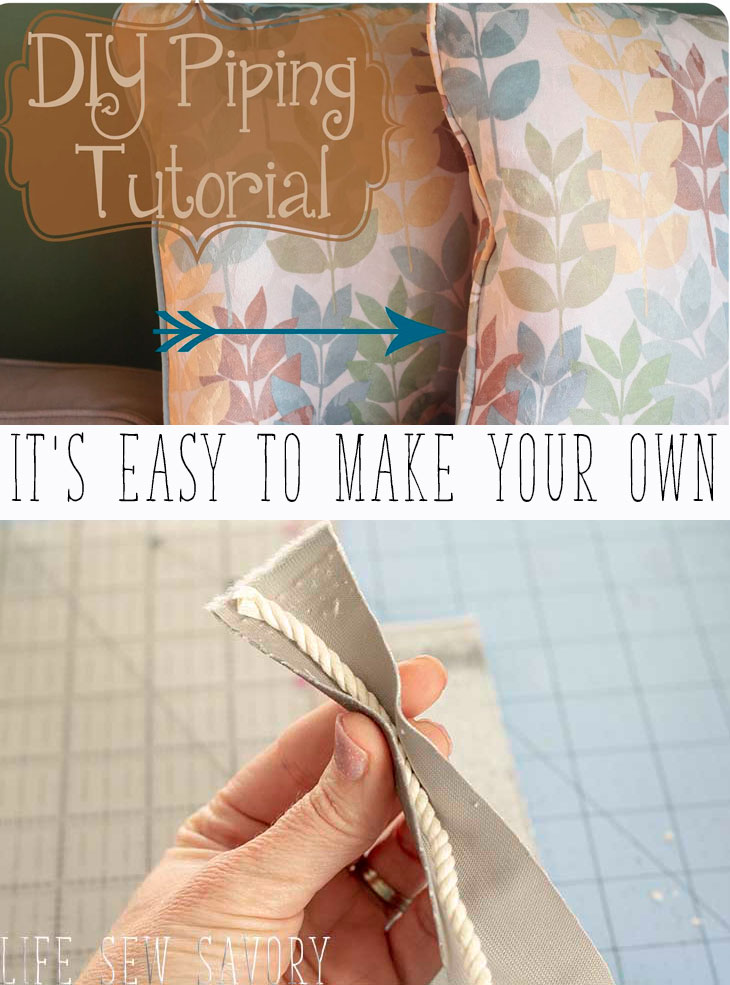
DIY Piping Sewing Tutorial
I’ve never sewn with piping before, shocking yes, {I know!}…But I went big on my first attempt….
I recently redid my living room couch cushions. {I’ll show you finished results tomorrow} I purchased the fabric on sale over the summer and picked up two packages of piping as well. Somehow in my head that would be enough… well, when I actually got into the project, those two little packages were only enough for two pillows… and I wanted to make FOUR… so I decided to make some DIY piping!
It was SO easy in the end.. today I’m going to show you how I put the piping together. {tomorrow we will get to a full tutorial of putting the pillow together}
You will just need fabric and cotton rope to make your own piping.
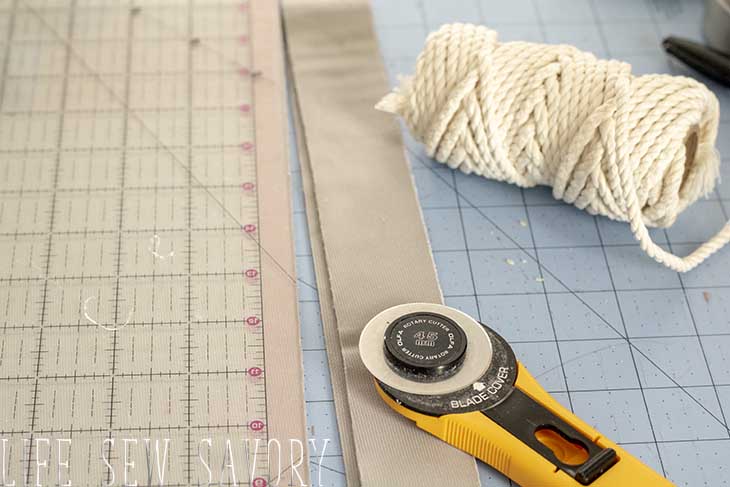
Start by cutting a long and thin piece of fabric. You can either use the same fabric as your main sewing project or a coordinating color. I measured around the edge of the pillow and then cut it that long x 1 1/2″.
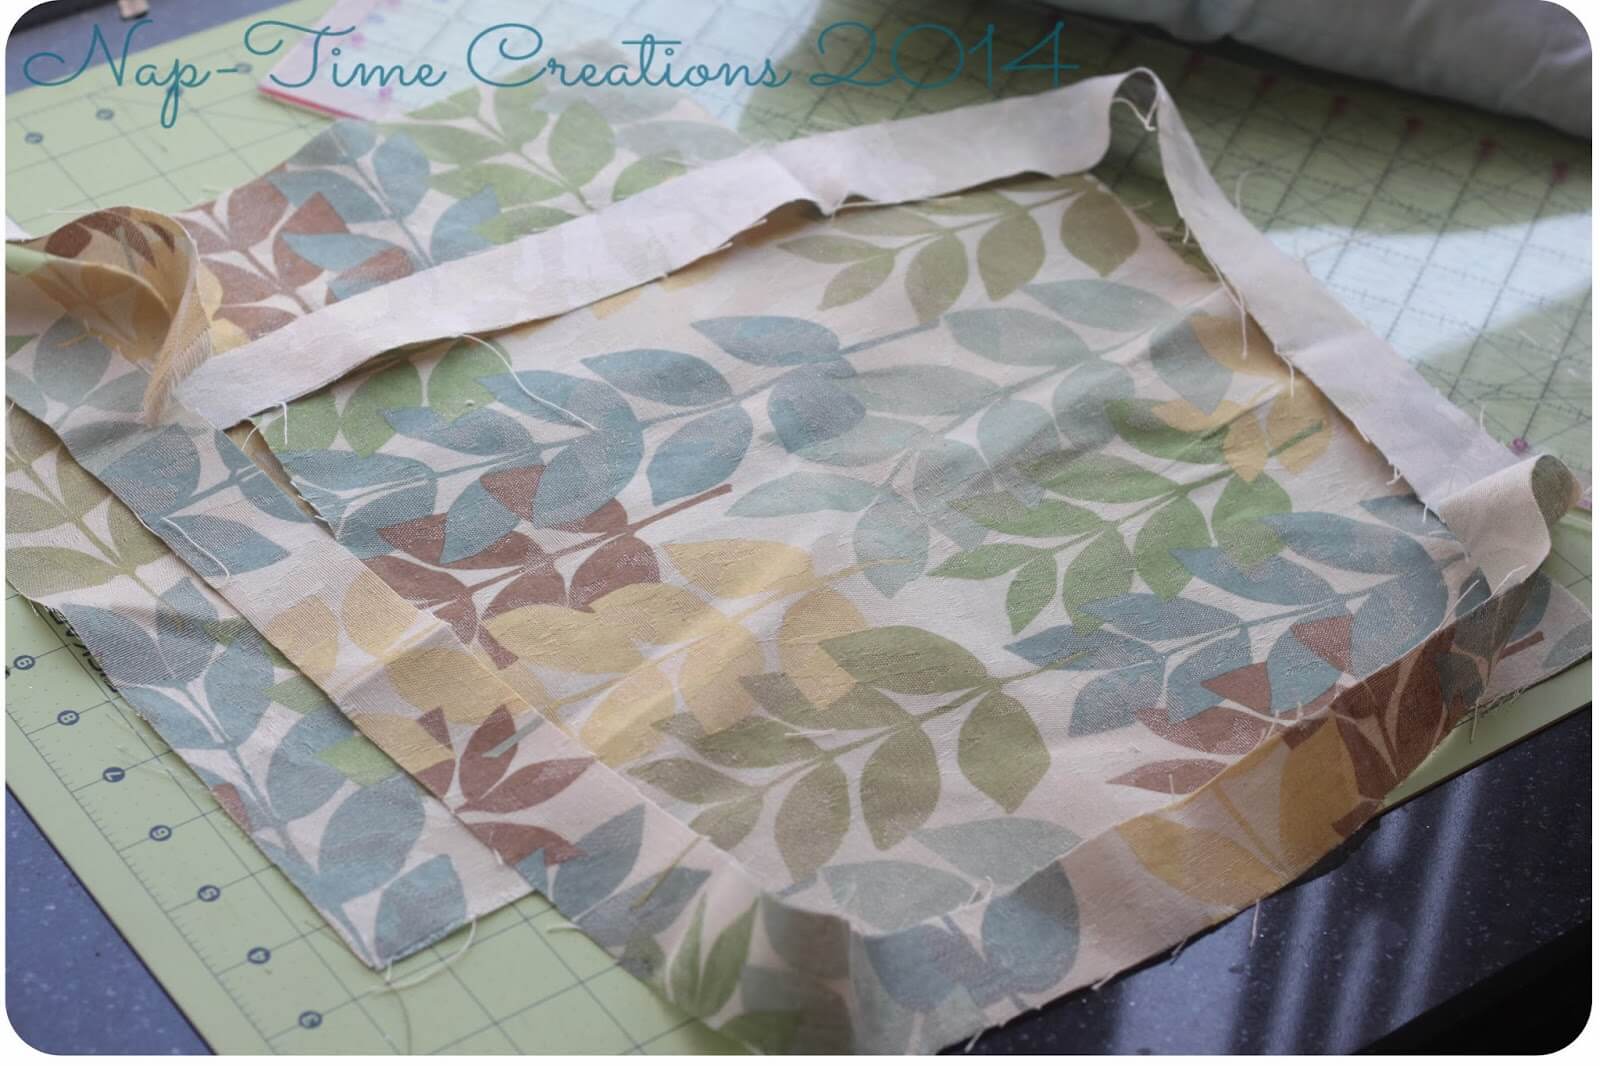
I wanted it to be a fat piping, so I pulled a pretty thick cotton rope from my stash. But you can use ANY size rope {or even no rope} to achieve the piping look you want.
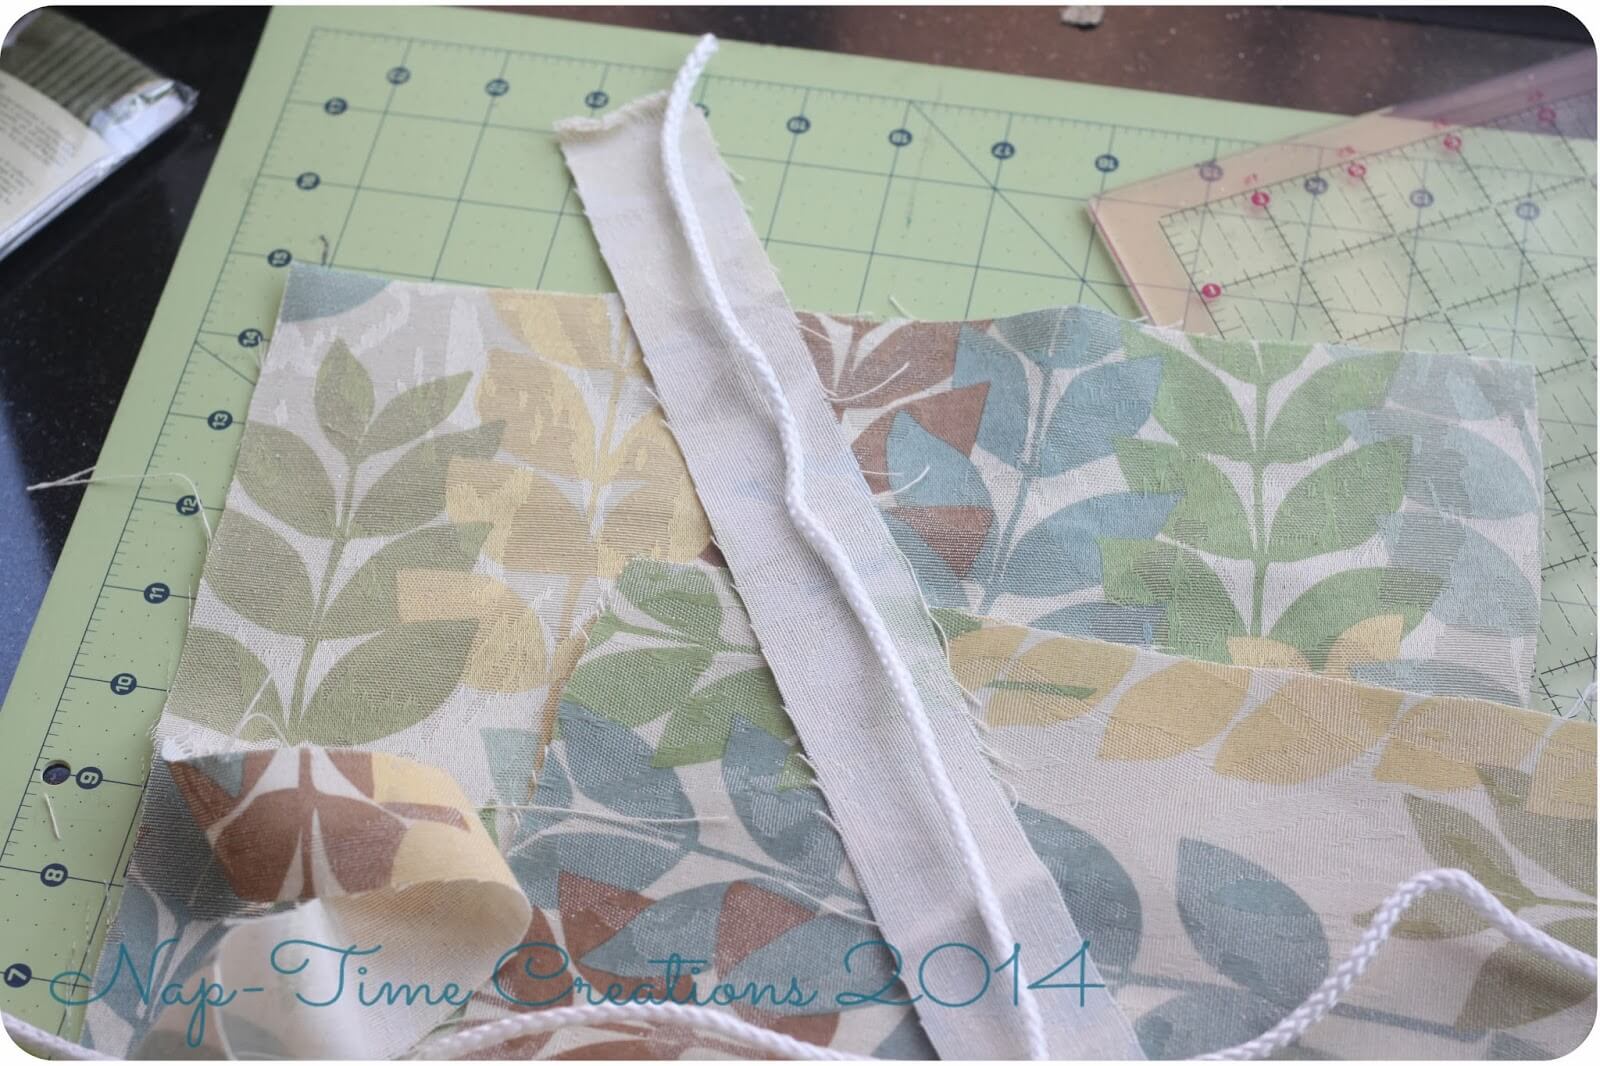
Put the rope in the center of the fabric {wrong side} and then sew the rope into the fabric.
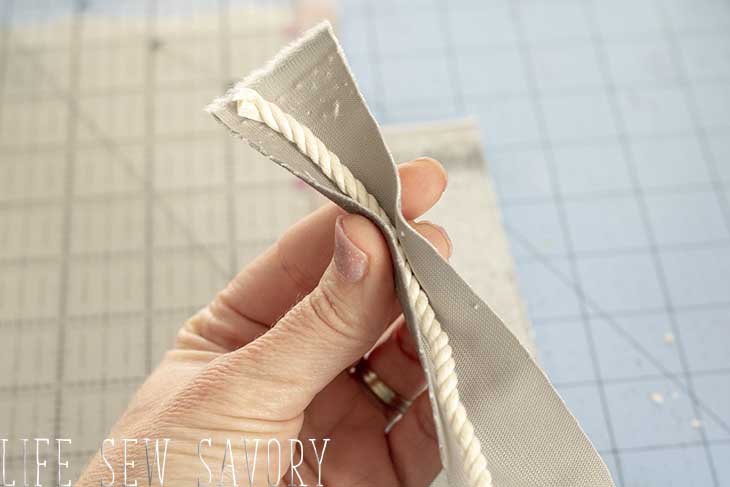
Use a sewing machine foot that allows you to sew close to the rope. I used my zipper foot. I also align my needle to the left to get closer to the rope.
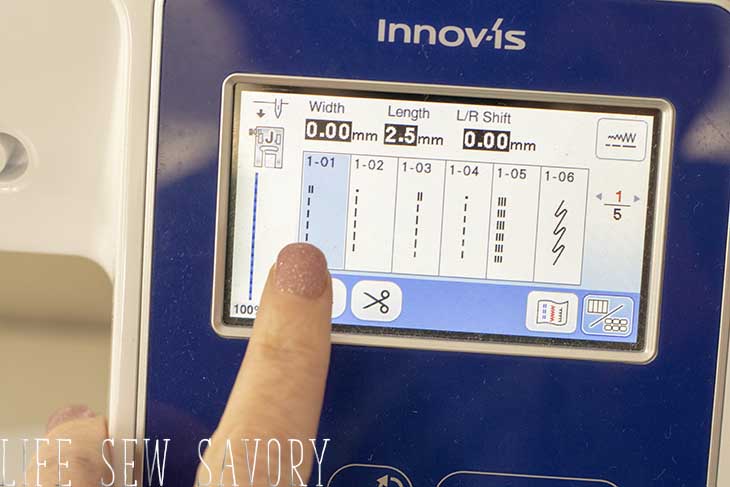
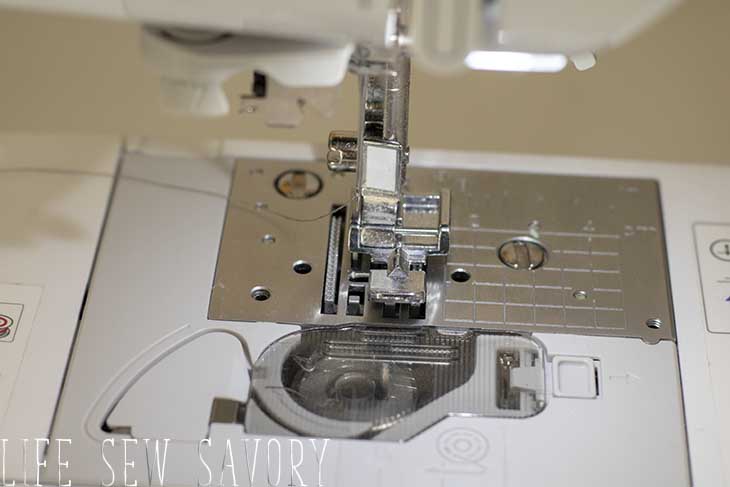
Here’s a short video that shows how to put it together.
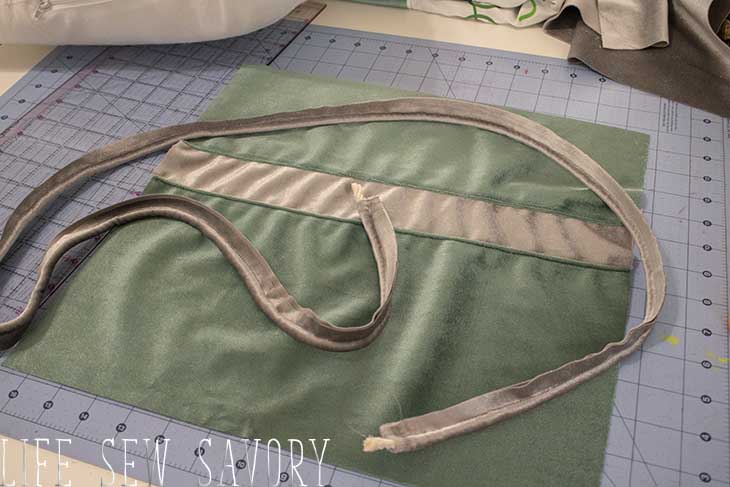
Okay, now you have a rope sewn into fabric! If you know how to sew piping, now you can use it… if you aren’t sure what to do now, head on over and check out my tutorial on using this to make beautiful throw pillows..
Here are a few other sewing tutorials for the home:






Abiola says
Necessity is really the mother of invention. Who could have thought?
Thanks for sharing.
Joanne DiPalo says
Hi Emily, thanks for sharing this tutorial. Piping makes a beautiful finish and this information is very helpful.
Pinned and shared.
Carolyn Zick says
Great tutorial!! Thanks for sharing. Piping seems a bit less daunting. 🙂
-Carolyn
MommyonDemand says
Who knew it was this easy!! Thanks for sharing over at The Weekend Re-Treat hope to see you Thursday evening!
Lori @ A Bright and Beautiful Life says
Thanks for your easy tutorial for making piping. It makes your pillows look professionally made. Would you be willing to share this at our Making Monday link party? We would love it and think our readers will, too. Thanks. Have a great day. http://www.abrightandbeautifullife.com/making-monday-22/
Jackie says
Hi – visiting from Kleinworthco Create Link Inspire. Really helpful tutorial. I love the fabric you’ve chosen, too.
Linda Schenk says
I sewed furniture for 21 years and the things I noticed in your video which would have been more helpful would have been to cut several strip lengths and sew all the seams together to make one very long strip. I have used this idea often and I have bought clothesline rope very inexpensively at Walmart. Make your welt (piping). Use as much rope as needed to go around your pillow or project. I would have actually sewed my corners and made them square and not curved the corners but then that is your preference. I also have a quicker way to do corners I will try to explain later. When you get the welt sewn on and you come to the end and need to join the rope you should lay the fabric flat on top of each other and then cut off the extra fabric being sure to allow enough fabric to sew a seam joining the beginning and end of the strip. Then with the strip laid open take the two rope ends and butt the two ends together and cut straight across the rope removing the excess rope. With some sort of sticky tape such as duct or masking tape take a small piece and wrap the tape around the rope ends to hold the joins together. Now the rope is considered one continuous piece. Then fold the fabric over the rope and stitch closed making the entire welt sewn down to the panel. Take the other panel and start sewing from the bottom of your pillow about a couple inches from the corner and stitch close to the welt with the zipper foot trying to cover your stitches. When you get to the other side and the bottom of the pillow sew a couple inches and back tack. Leave enough opening on the bottom to add pillow forms or loose stuffing. Stuff. Then turning the unsewn raw edge under sew down the panel to the welt to close. You can actually do that by machine and it should look like understitching would look or if you want to close it without machine stitching showing you can close the opening by hand. Now for my trick on doing the corners on a throw pillow when adding welt (this method also works great when not using welt) and you want just a flat sew pillow with some actual corners with some depth to them. Cut your panels to the desired size. On each corner cut out an inch (90 degree angle) on all 4 corners. Stitch the cutout closed with a 1/2″ seam. Sew the piping to the panel and do the same procedure on the other panel and lay on top of the welted panel lining up the corner seams. Now you have a pillow that has a little depth to to your corners. The deeper you cut your corners out the thicker and fluffier your pillow will be or the narrower you make your cut out corners the flatter your pillow. Usually 1″ is a good size for throw pillows.