I’ve been enjoying selfish sewing week, although sewing for myself is more practical than selfish this week. Today I’m sharing a quick tutorial to copy your favorite tank tutorial. I bought a tank top last summer and after wearing only a couple of times the fabric starting pulling in the front and didn’t look great. Anyway, I threw it in my old clothes bin and just pulled it out, cut it up, and made a copy. I love the way it turned out! So today let’s copy your favorite tank!
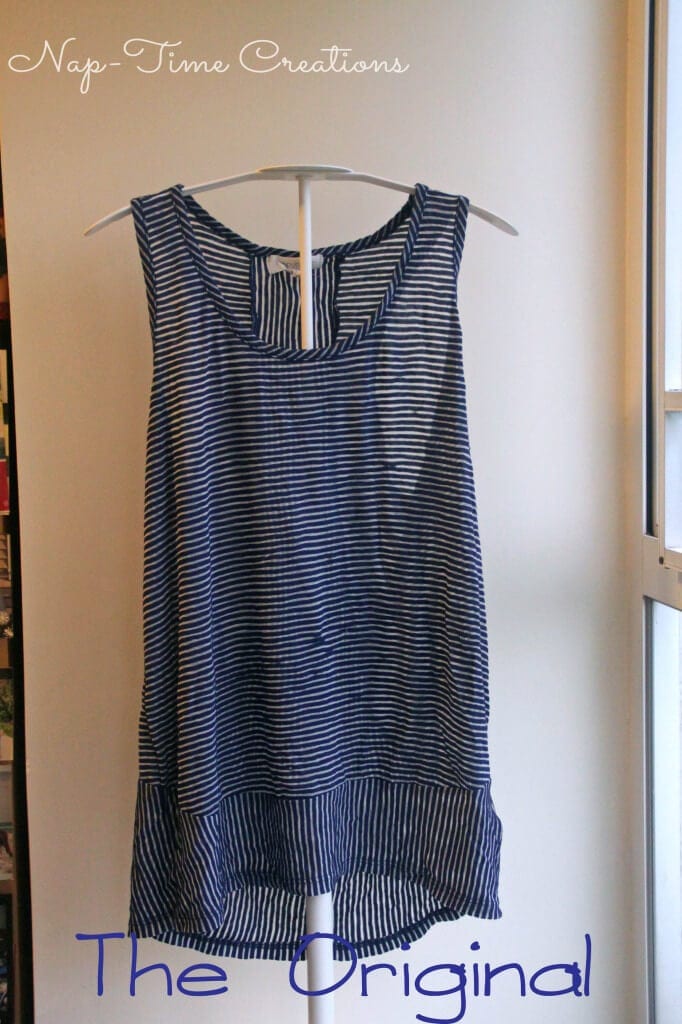
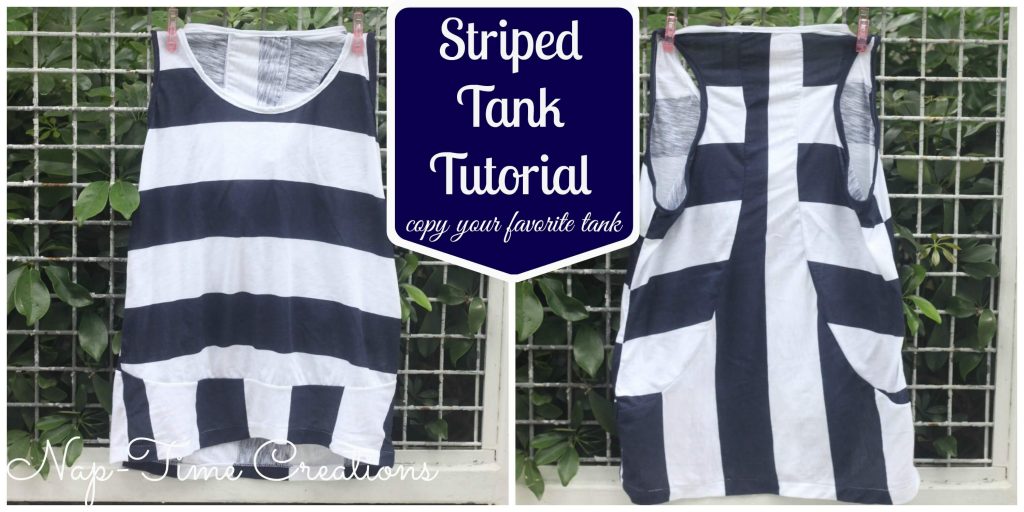
 Here is the original.. you can see how the fabric in the front is all pulled. I couldn’t find a photo of myself wearing it, but I got this before I cut it up.
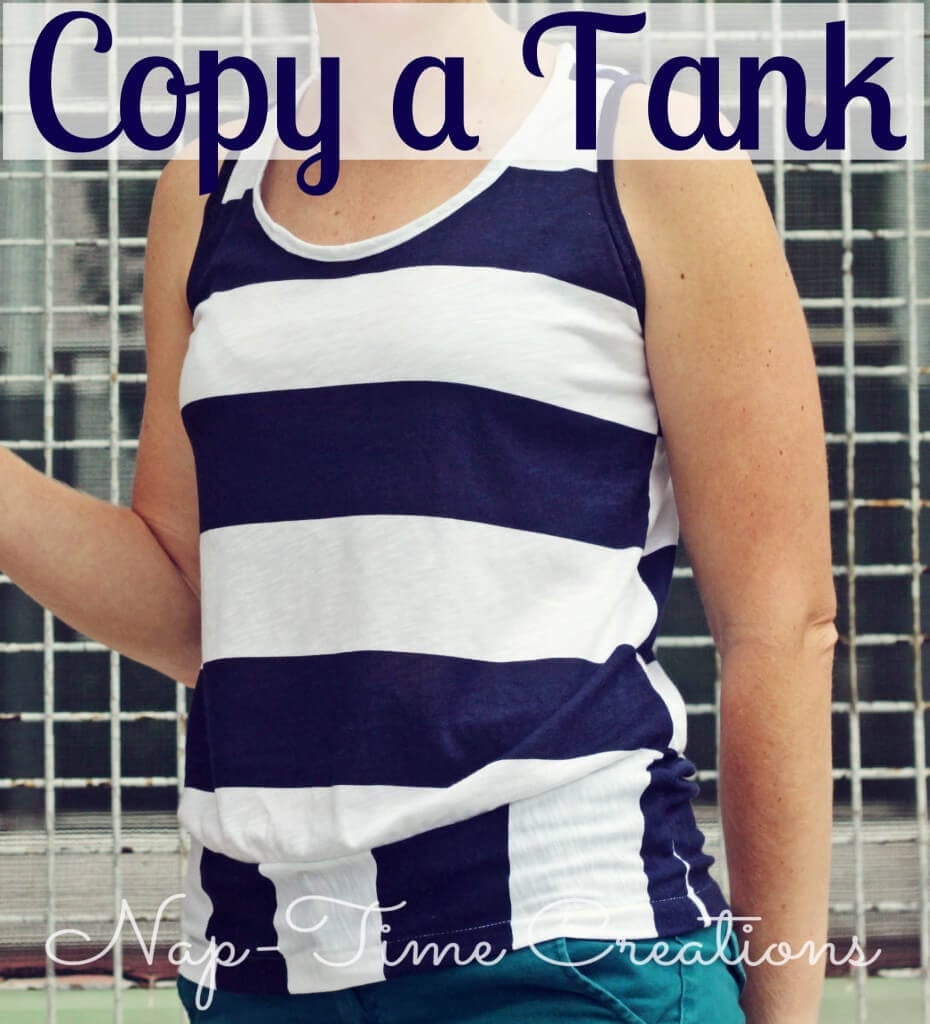
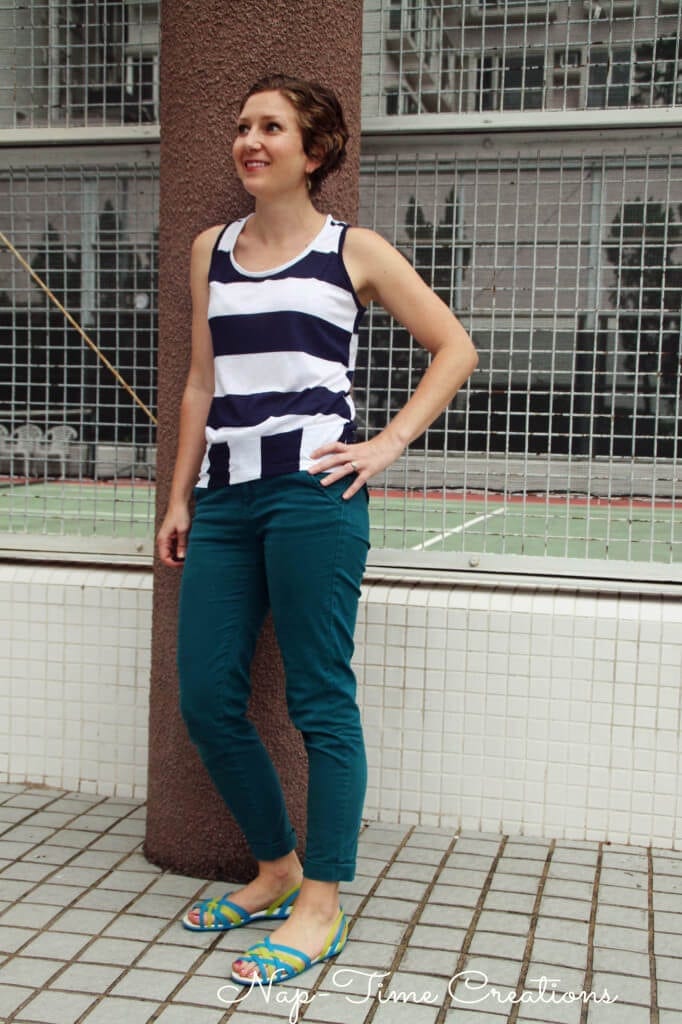
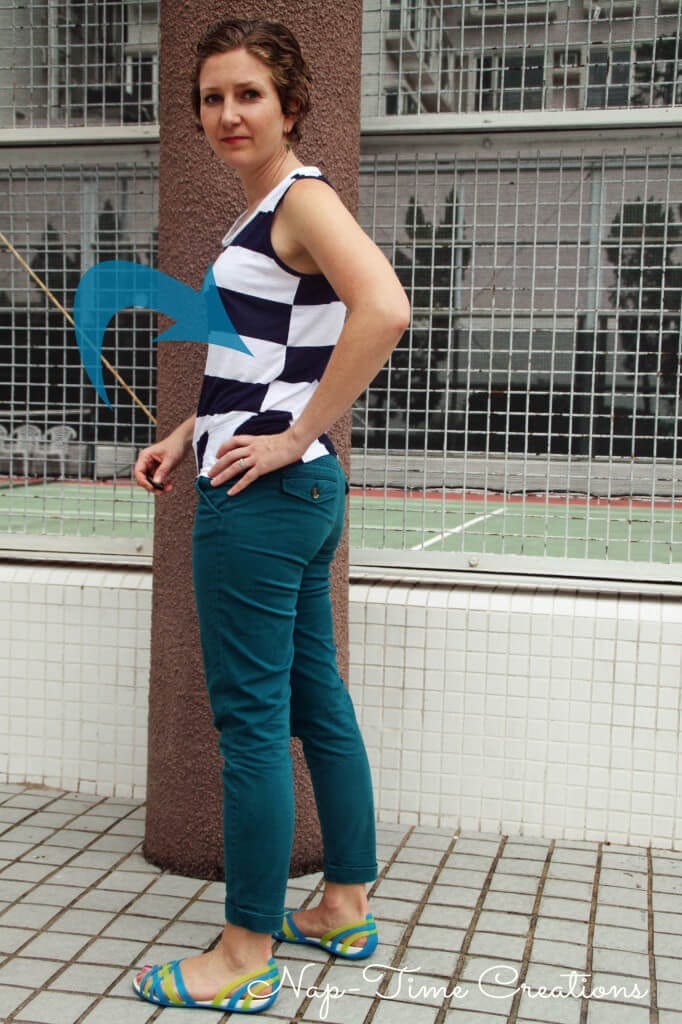
 And my copy! I love the racerback style and the use of the stripes in the original, so I tried out a copy and love the result.
So, grab a tank you love… that you don’t wear any more {stains?, ripped? need a teak on the fit?} let’s copy your favorite tank!
1. cut your shirt apart at all the seam lines.
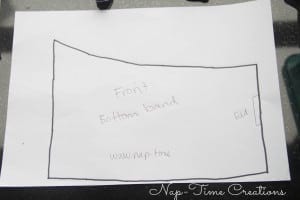
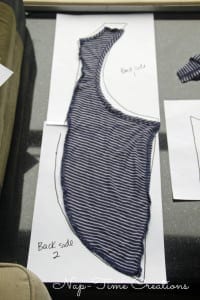
2. lay flat on paper. Trace around and add seam allowances on all side. Add more length to the bottom for the hem. Tweak the size {larger/smaller} if you need too. Some of the pieces I traced on the fold to save paper and to make sure they were symmetrical.
3. cut out with new fabric, similar to the original.
4. Sew up the front and back… I had piecing for both side in my tank. Use a walking foot if you have one or serger… this will help the knit to lay better.
5. sew the shoulder seams and side seams.
6. now the tricky part… finished the neck and arm holes. I’ll show you how I did this one, but I’m going to be trying a different method because this was a bit bulky. Let me know what you think!
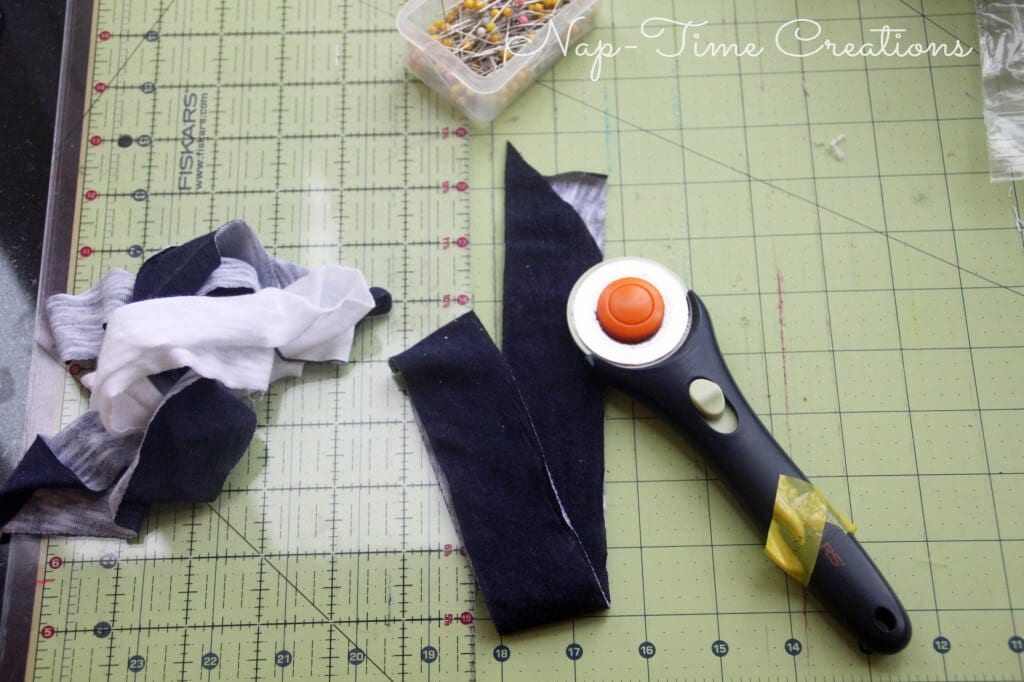
Cut some bias tape from your knit fabric. I made mine 1 1/2 inch wide.
Place the right sides of the bias tape and tank together and sew around the edge. Complete the circle and sew the short ends before sewing to the tank.
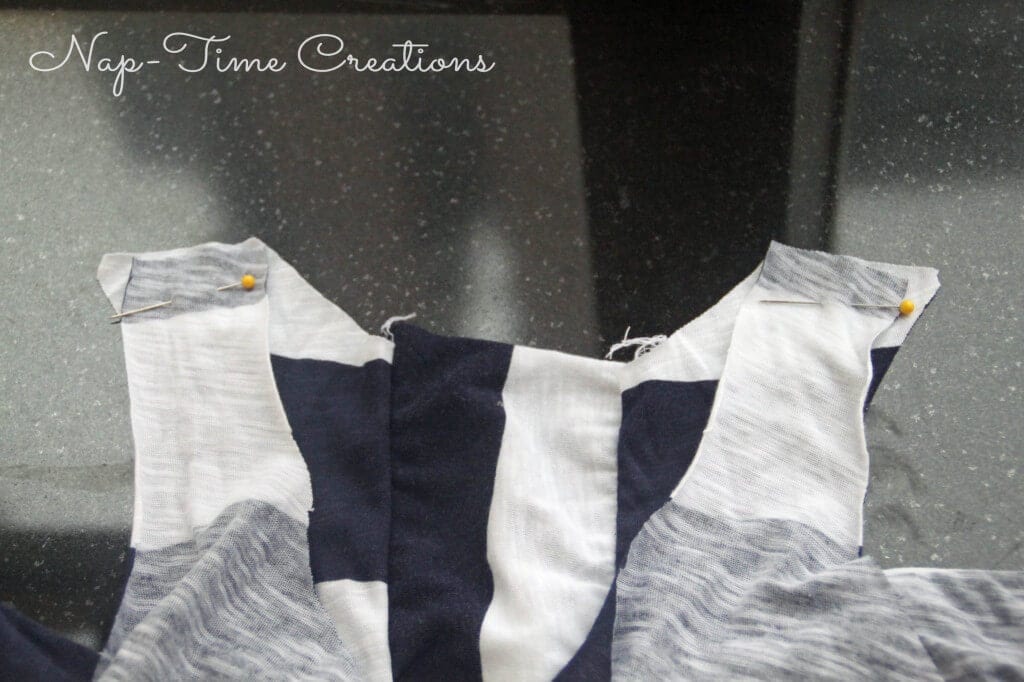
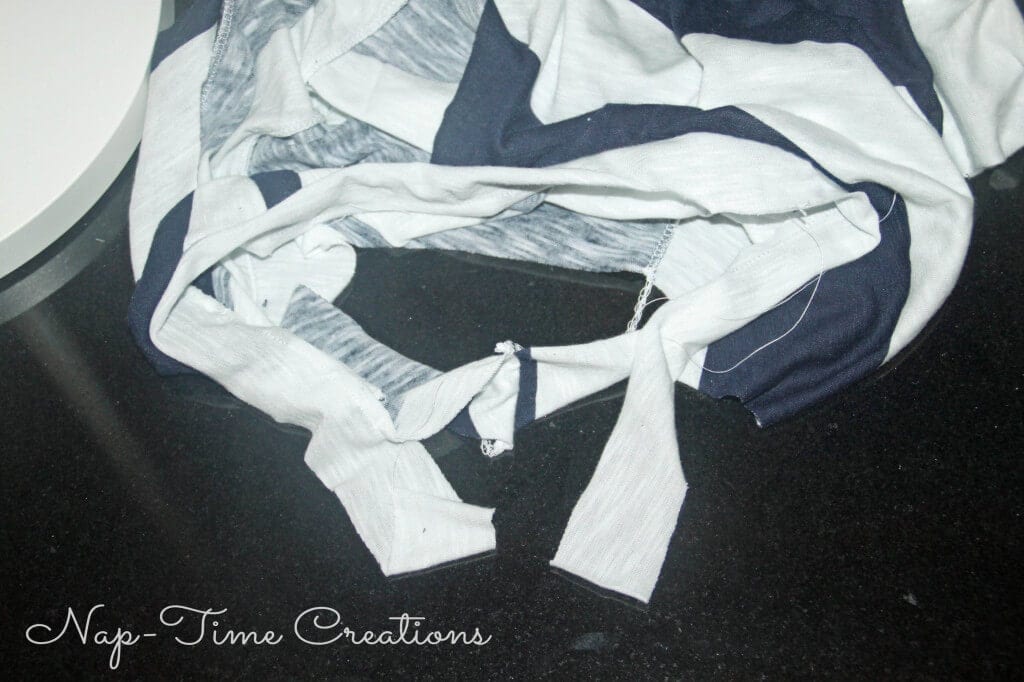 Now, from the wrong side of the shirt fold the edging down in half towards you, then fold in half again. You have now created a double fold bias without ironing it. Pin and continue to fold around the edge. Sew from the right side of the tank. Use a walking foot if you have one for a smoother edge….
 I love it! I’m hoping this fabric holds up better than the original… and I will be able to wear this all summer!
I matched the sides… but with the opposite color… looks great, right!?
And the back piece I cut with the colors split down the middle. 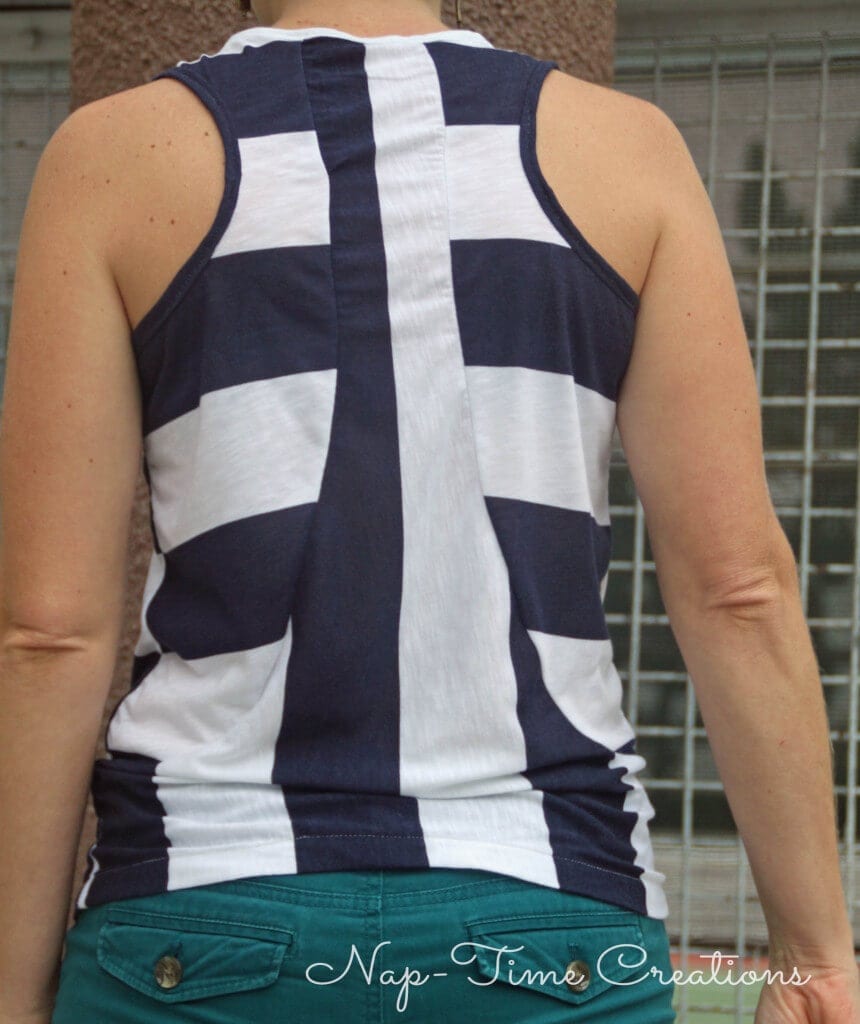
What do you think? I love it! I’ve got plans to make another one with some of the back pieces mesh… I also want to make it in tunic length… AND, I’ve created a free pattern in size S that I will be sharing next week. I’ll let you try it yourself before I share my pattern!
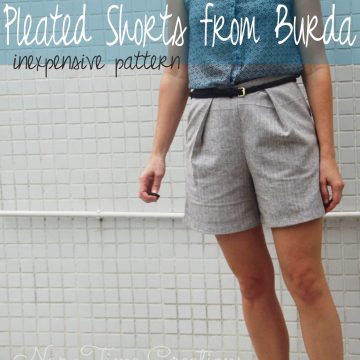
 This would go great with my pleated shorts or the Jeans I made…






Evelyn @ My Turn for us says
How clever, you have a talent!! I pinned it to two boards!!
Great job
Hugs
Emily says
thank you so much!!!
Amy Renea says
This is so great!
Emily says
thanks!
Pam @Threading My Way says
Awesome, Emily!!! Love the way you’ve alternated the stripes back and front. Looks great on you.
Emily says
thanks pam!! I just link it up to your ongoing party!!
Pam @Threading My Way says
I’ve featured your tank tutorial today, Emily…
Emily says
yeah!! thank you!
Shannah @ Just Us Four says
I love the way that this looks! Great job.
Emily says
thanks!
Shirley says
Love it!
Ren says
Love the detail of this tank and the though you put into using the stripes.